We made strawberry jam a few weeks ago and now it is time for raspberry. Raspberry freezer jam is my absolute favorite. It captures sunshine and summer for me all in one sweet bite. Raspberries can be quite maddening, as their shelf life is so very short. They are wonderful to eat that first day and I always find myself saving them, only to be disappointed that they don’t look quite as plump or luscious the next day. With this in mind, I love to make loads of raspberry freezer jam in the summer and imagine grey February skies brightened by the spreading of this yummy goodness on my English muffin come winter.
The process is almost exactly the same as with the strawberry jam. I like to make no-cook freezer jam, as I feel that the freshness of the berries is maintained better than with cooked jam methods. And, as I mentioned with the strawberry freezer jam, there is quite a lot of sugar in these recipes. I guess I am one that tries to enjoy small amounts of the good stuff and not worry too much about it. If you are interested in low sugar options, you will want to research low or no sugar needed recipes, as changing the amount in this recipe will result in your jam not setting properly.
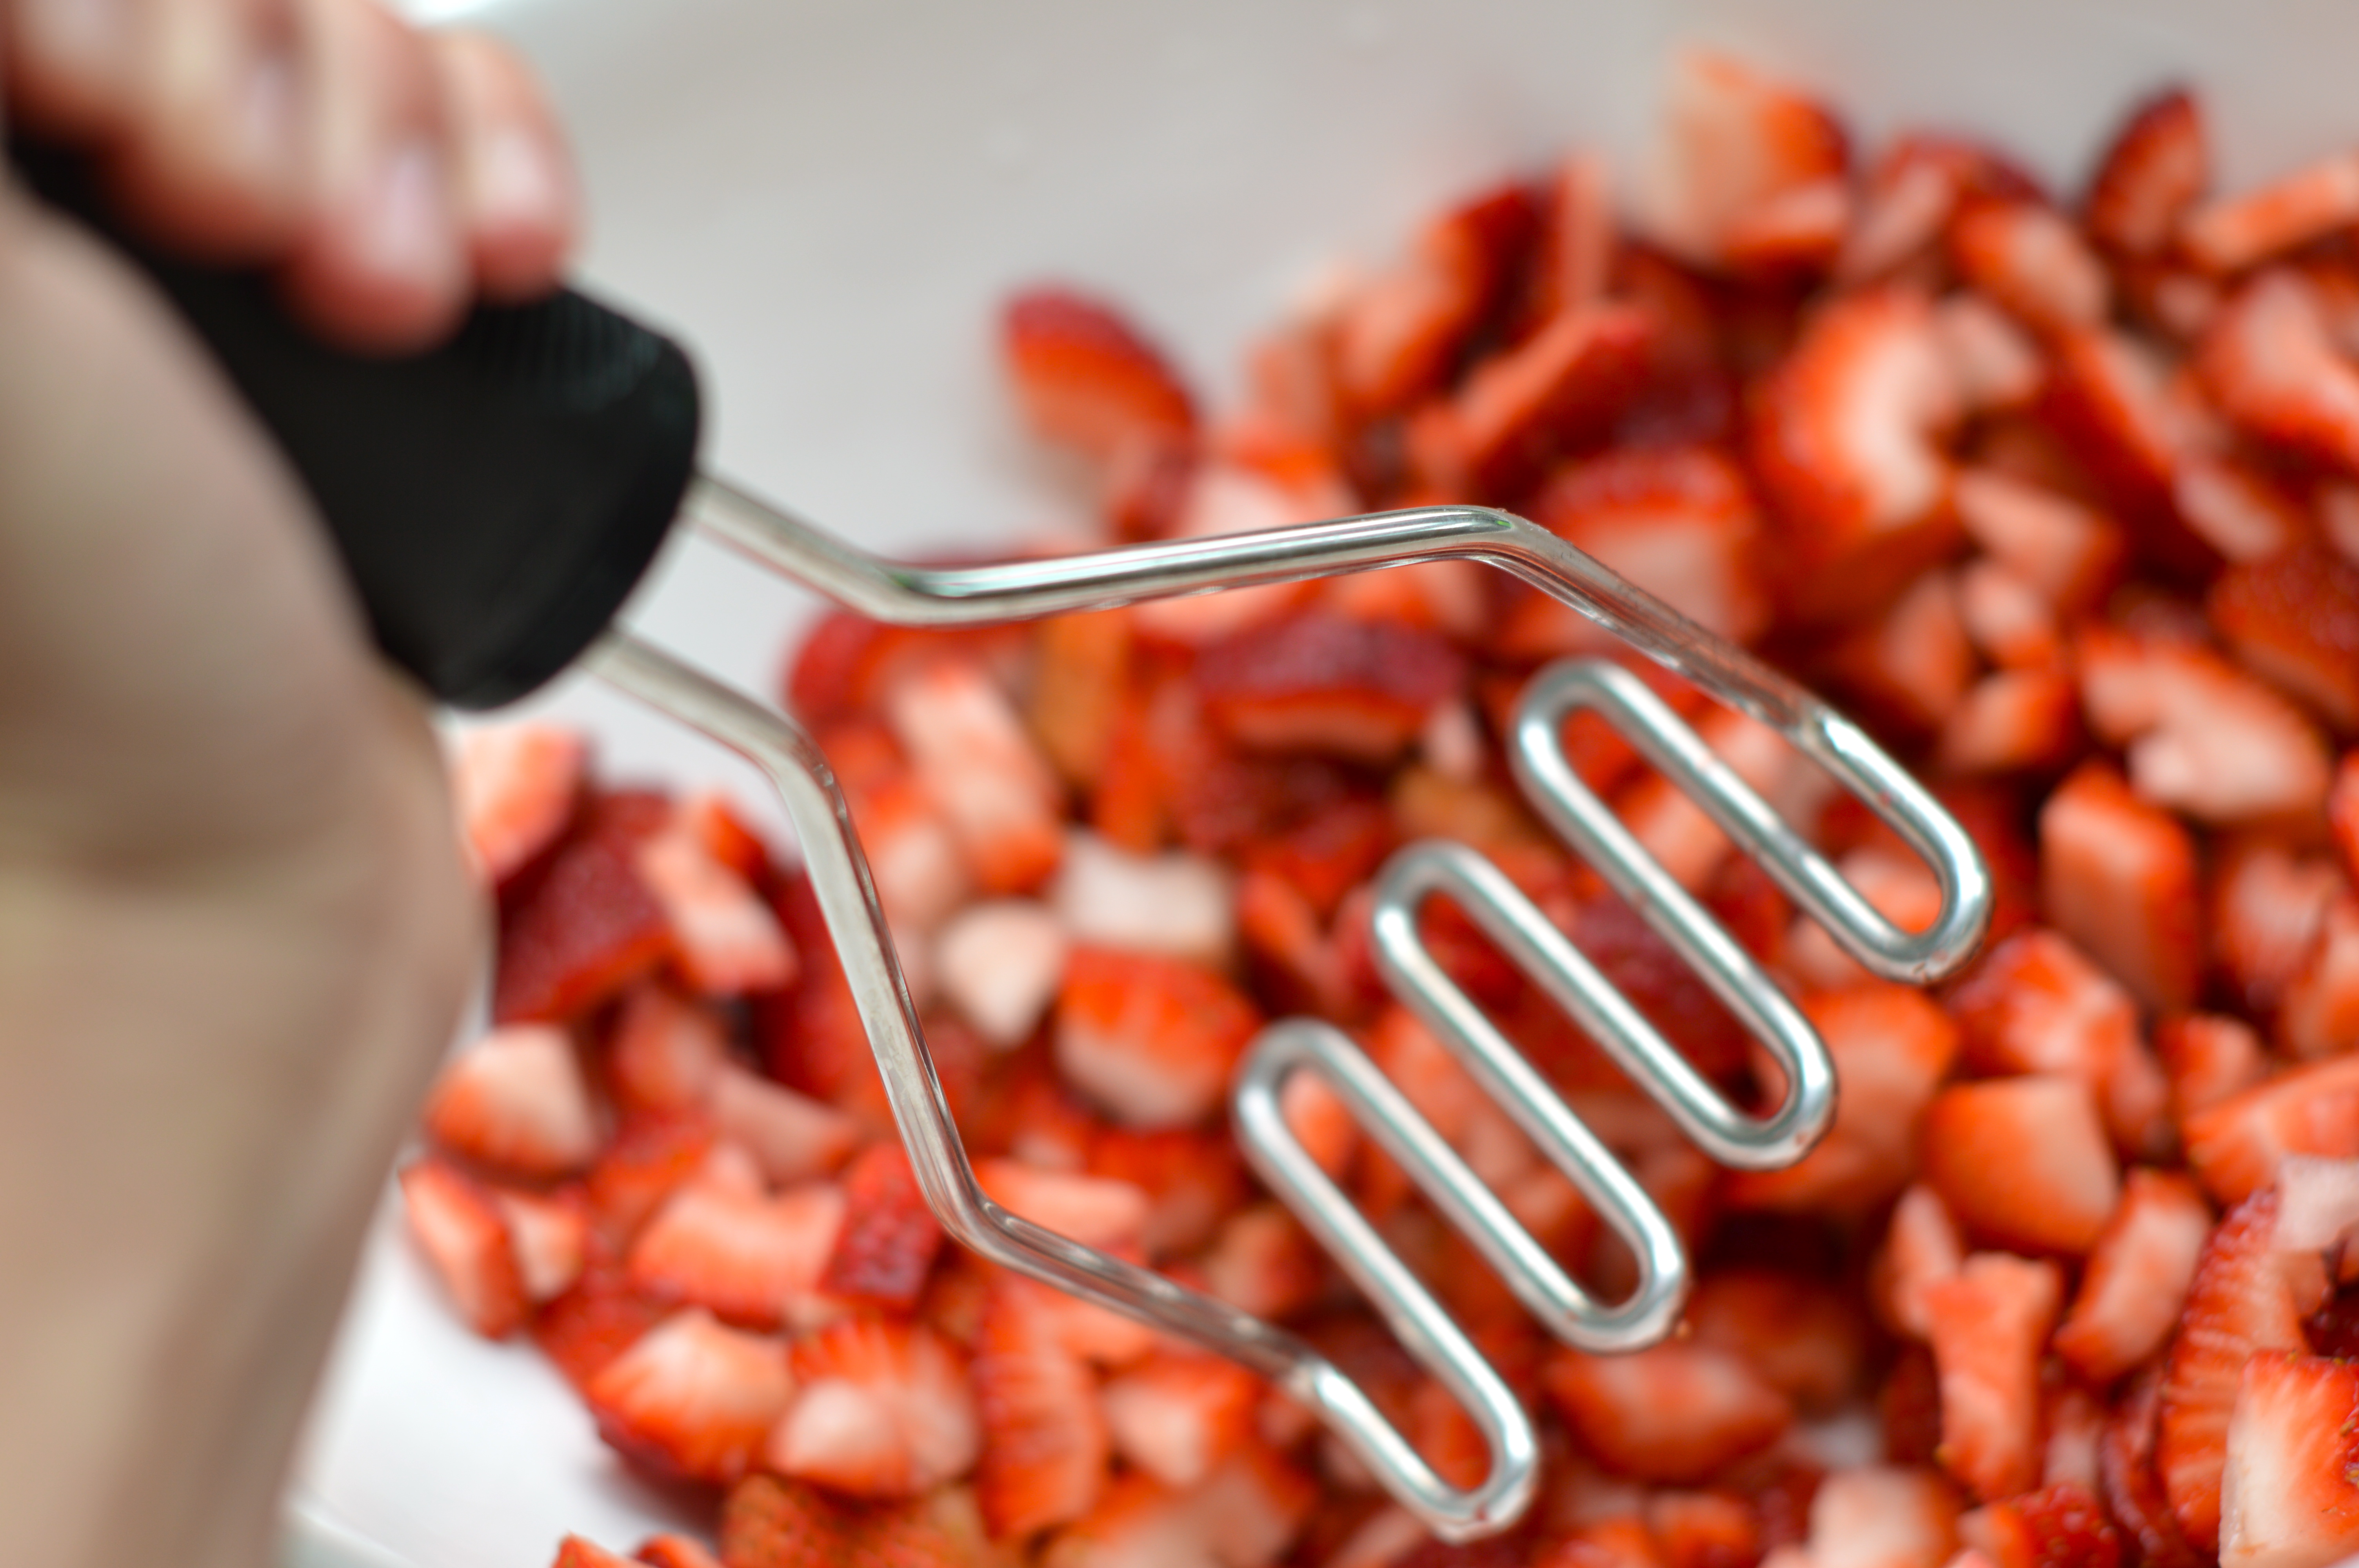
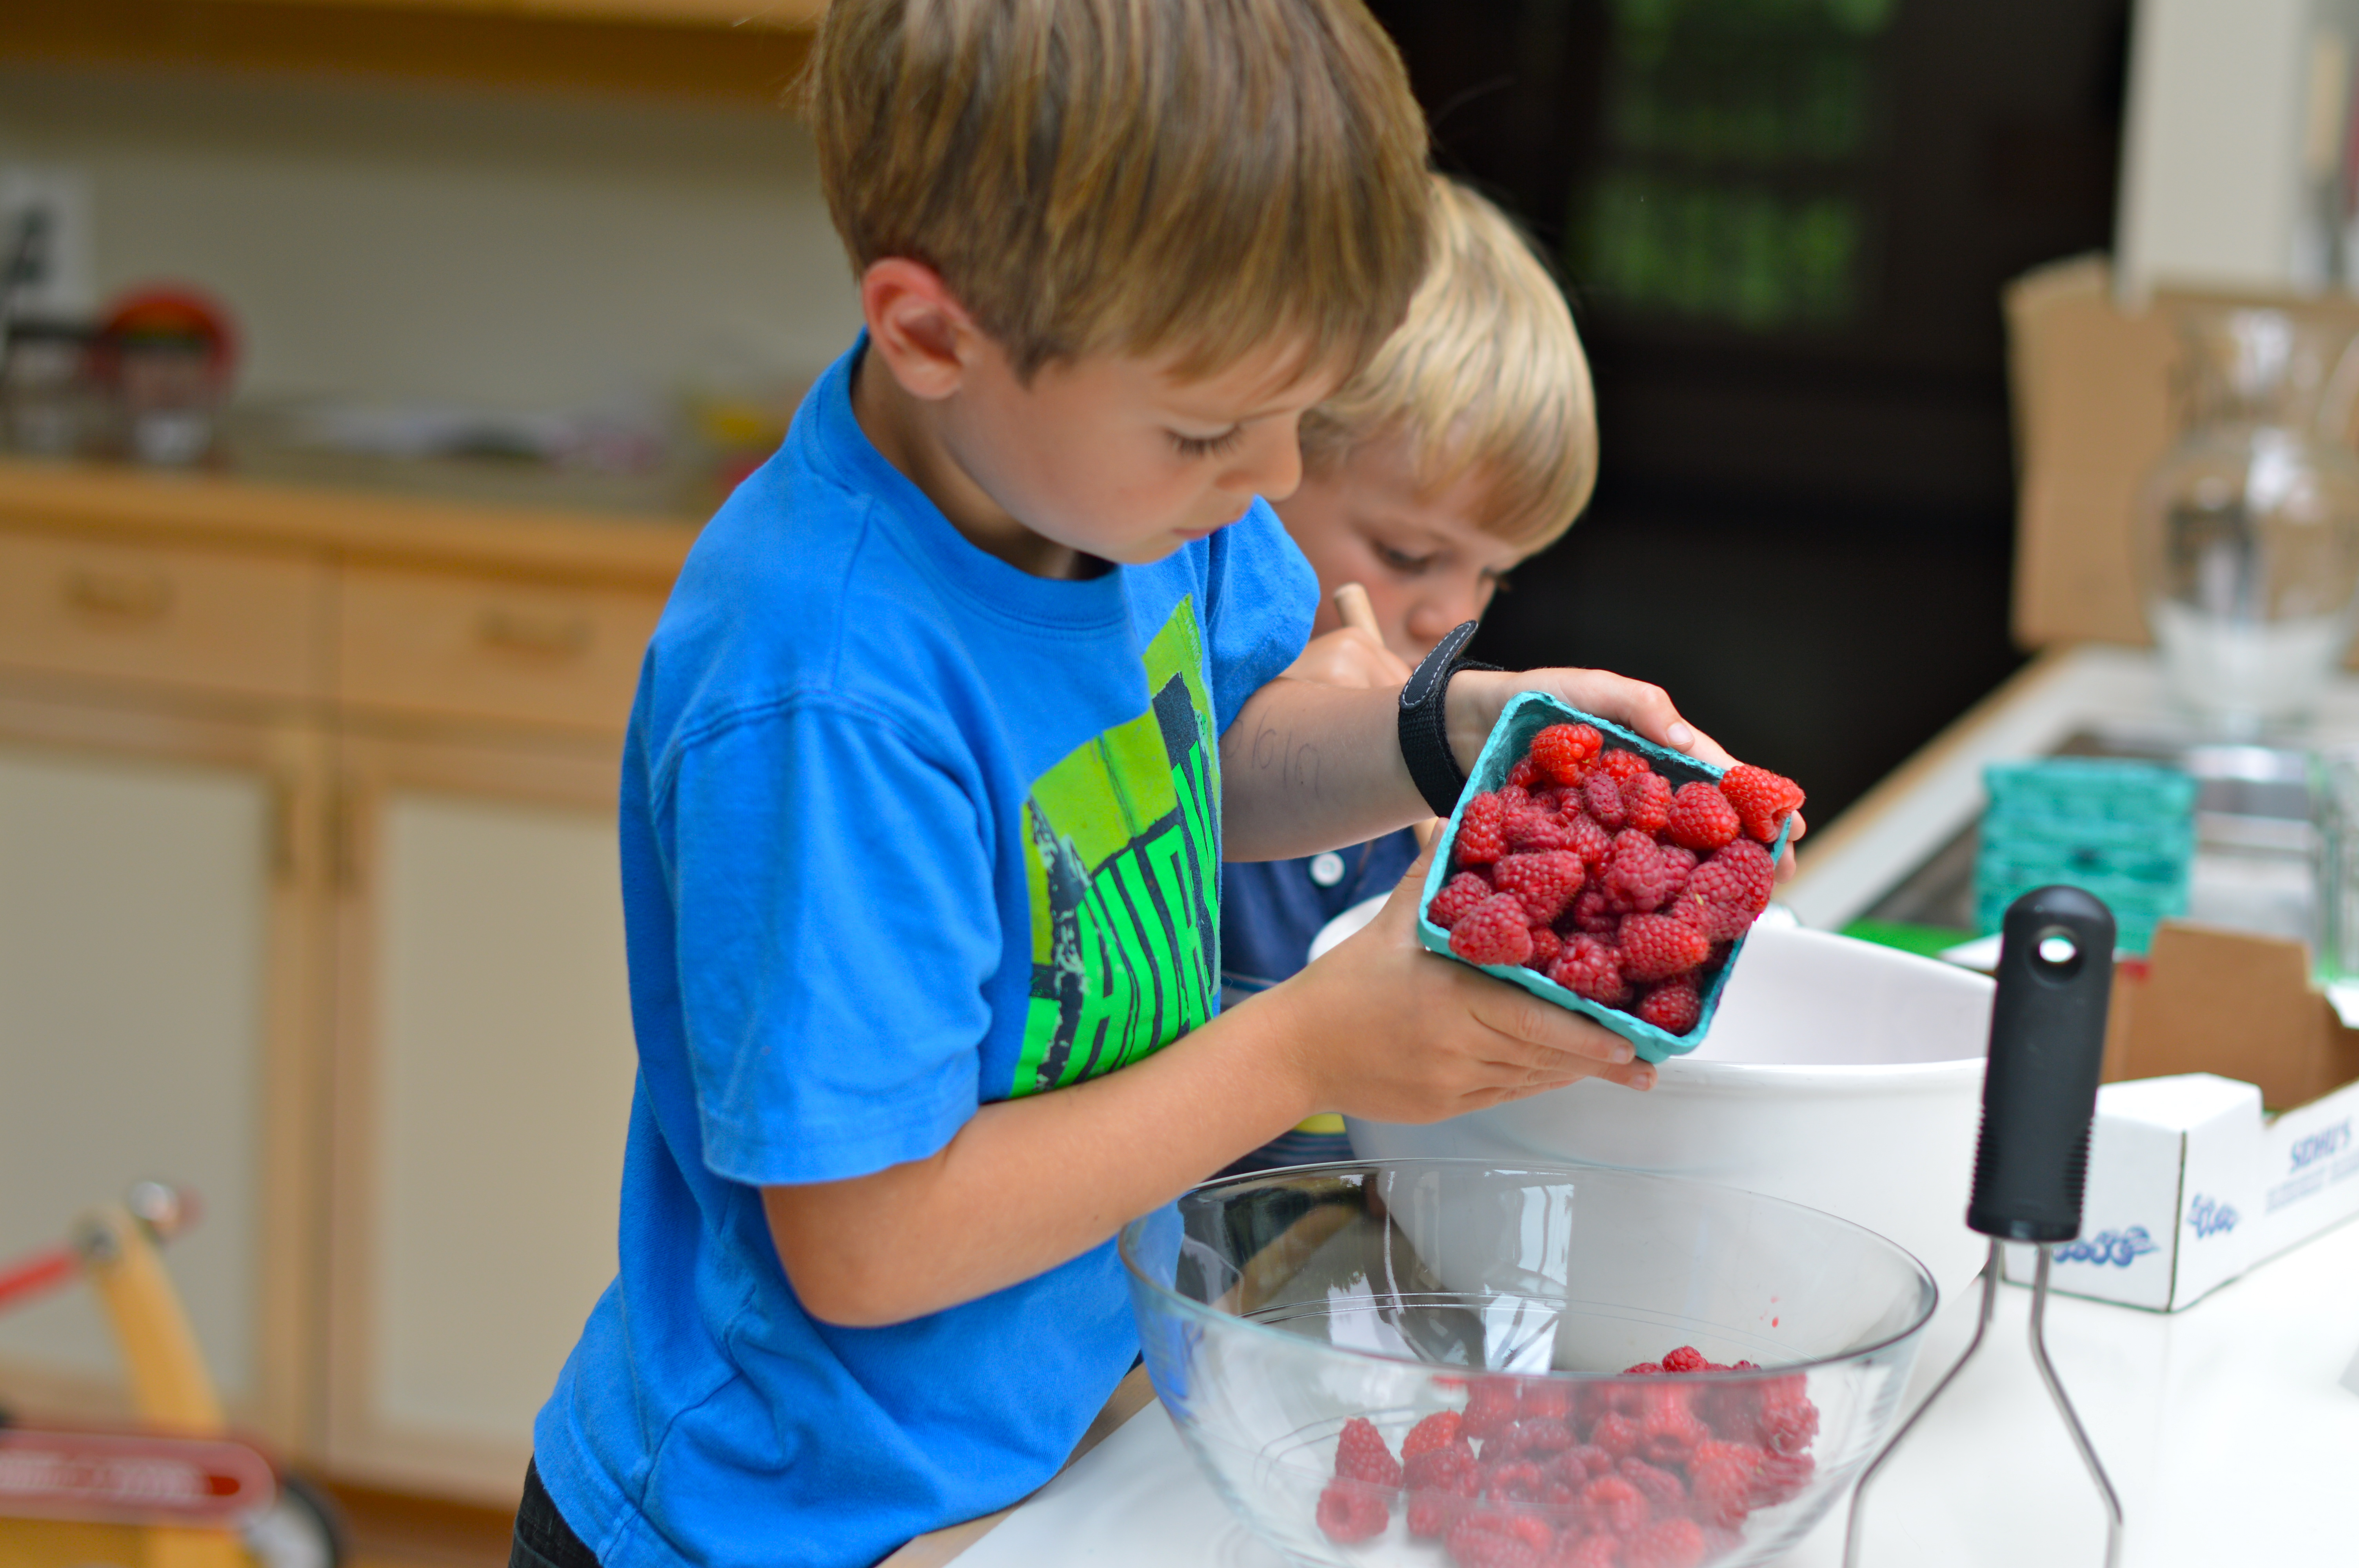
Another fun thing about freezer jam is that it is a great activity to do with the kids! There is no heat involved, so there is no risk of burning, as with other types of jams. The skills involved are measuring, pouring, mashing and stirring. The boys had a great time running the show and I loved that I could take the backseat on this project! Taste testing is always the final treat!


Classic Raspberry Freezer Jam
Ingredients
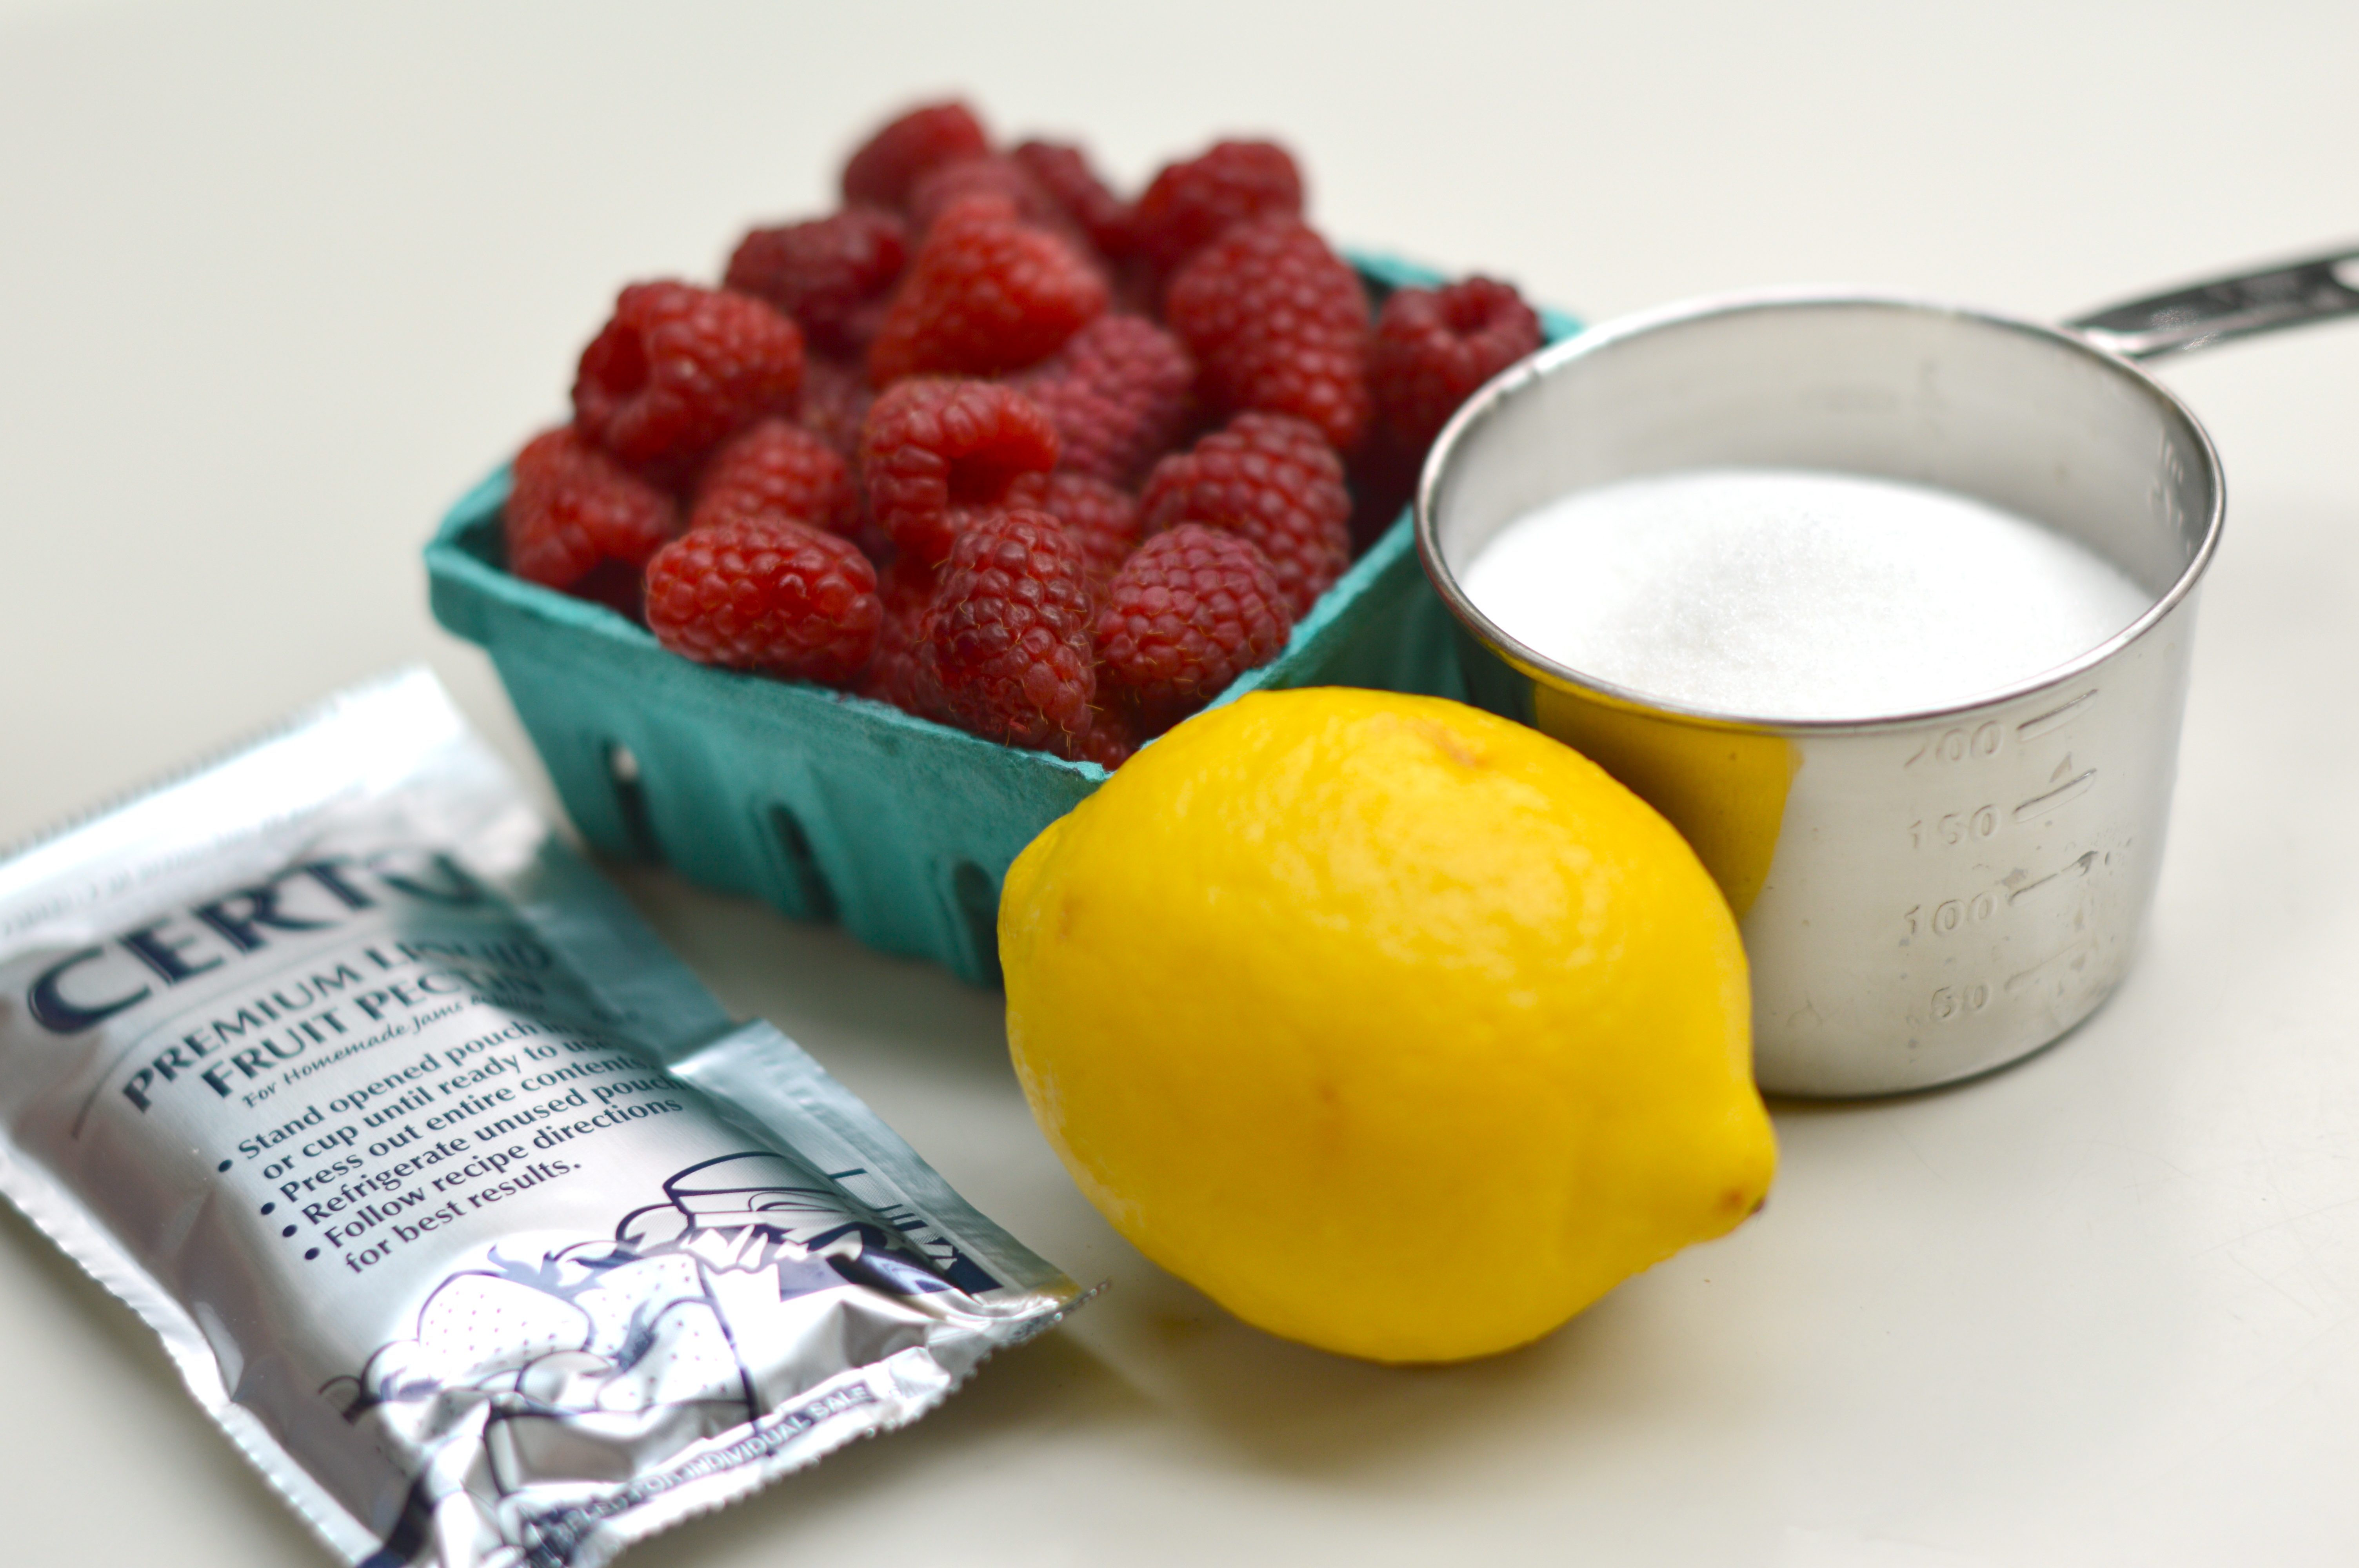
2 cups crushed raspberries
2 tablespoons fresh lemon juice
4 cups sugar
1 pouch liquid pectin (Certo)
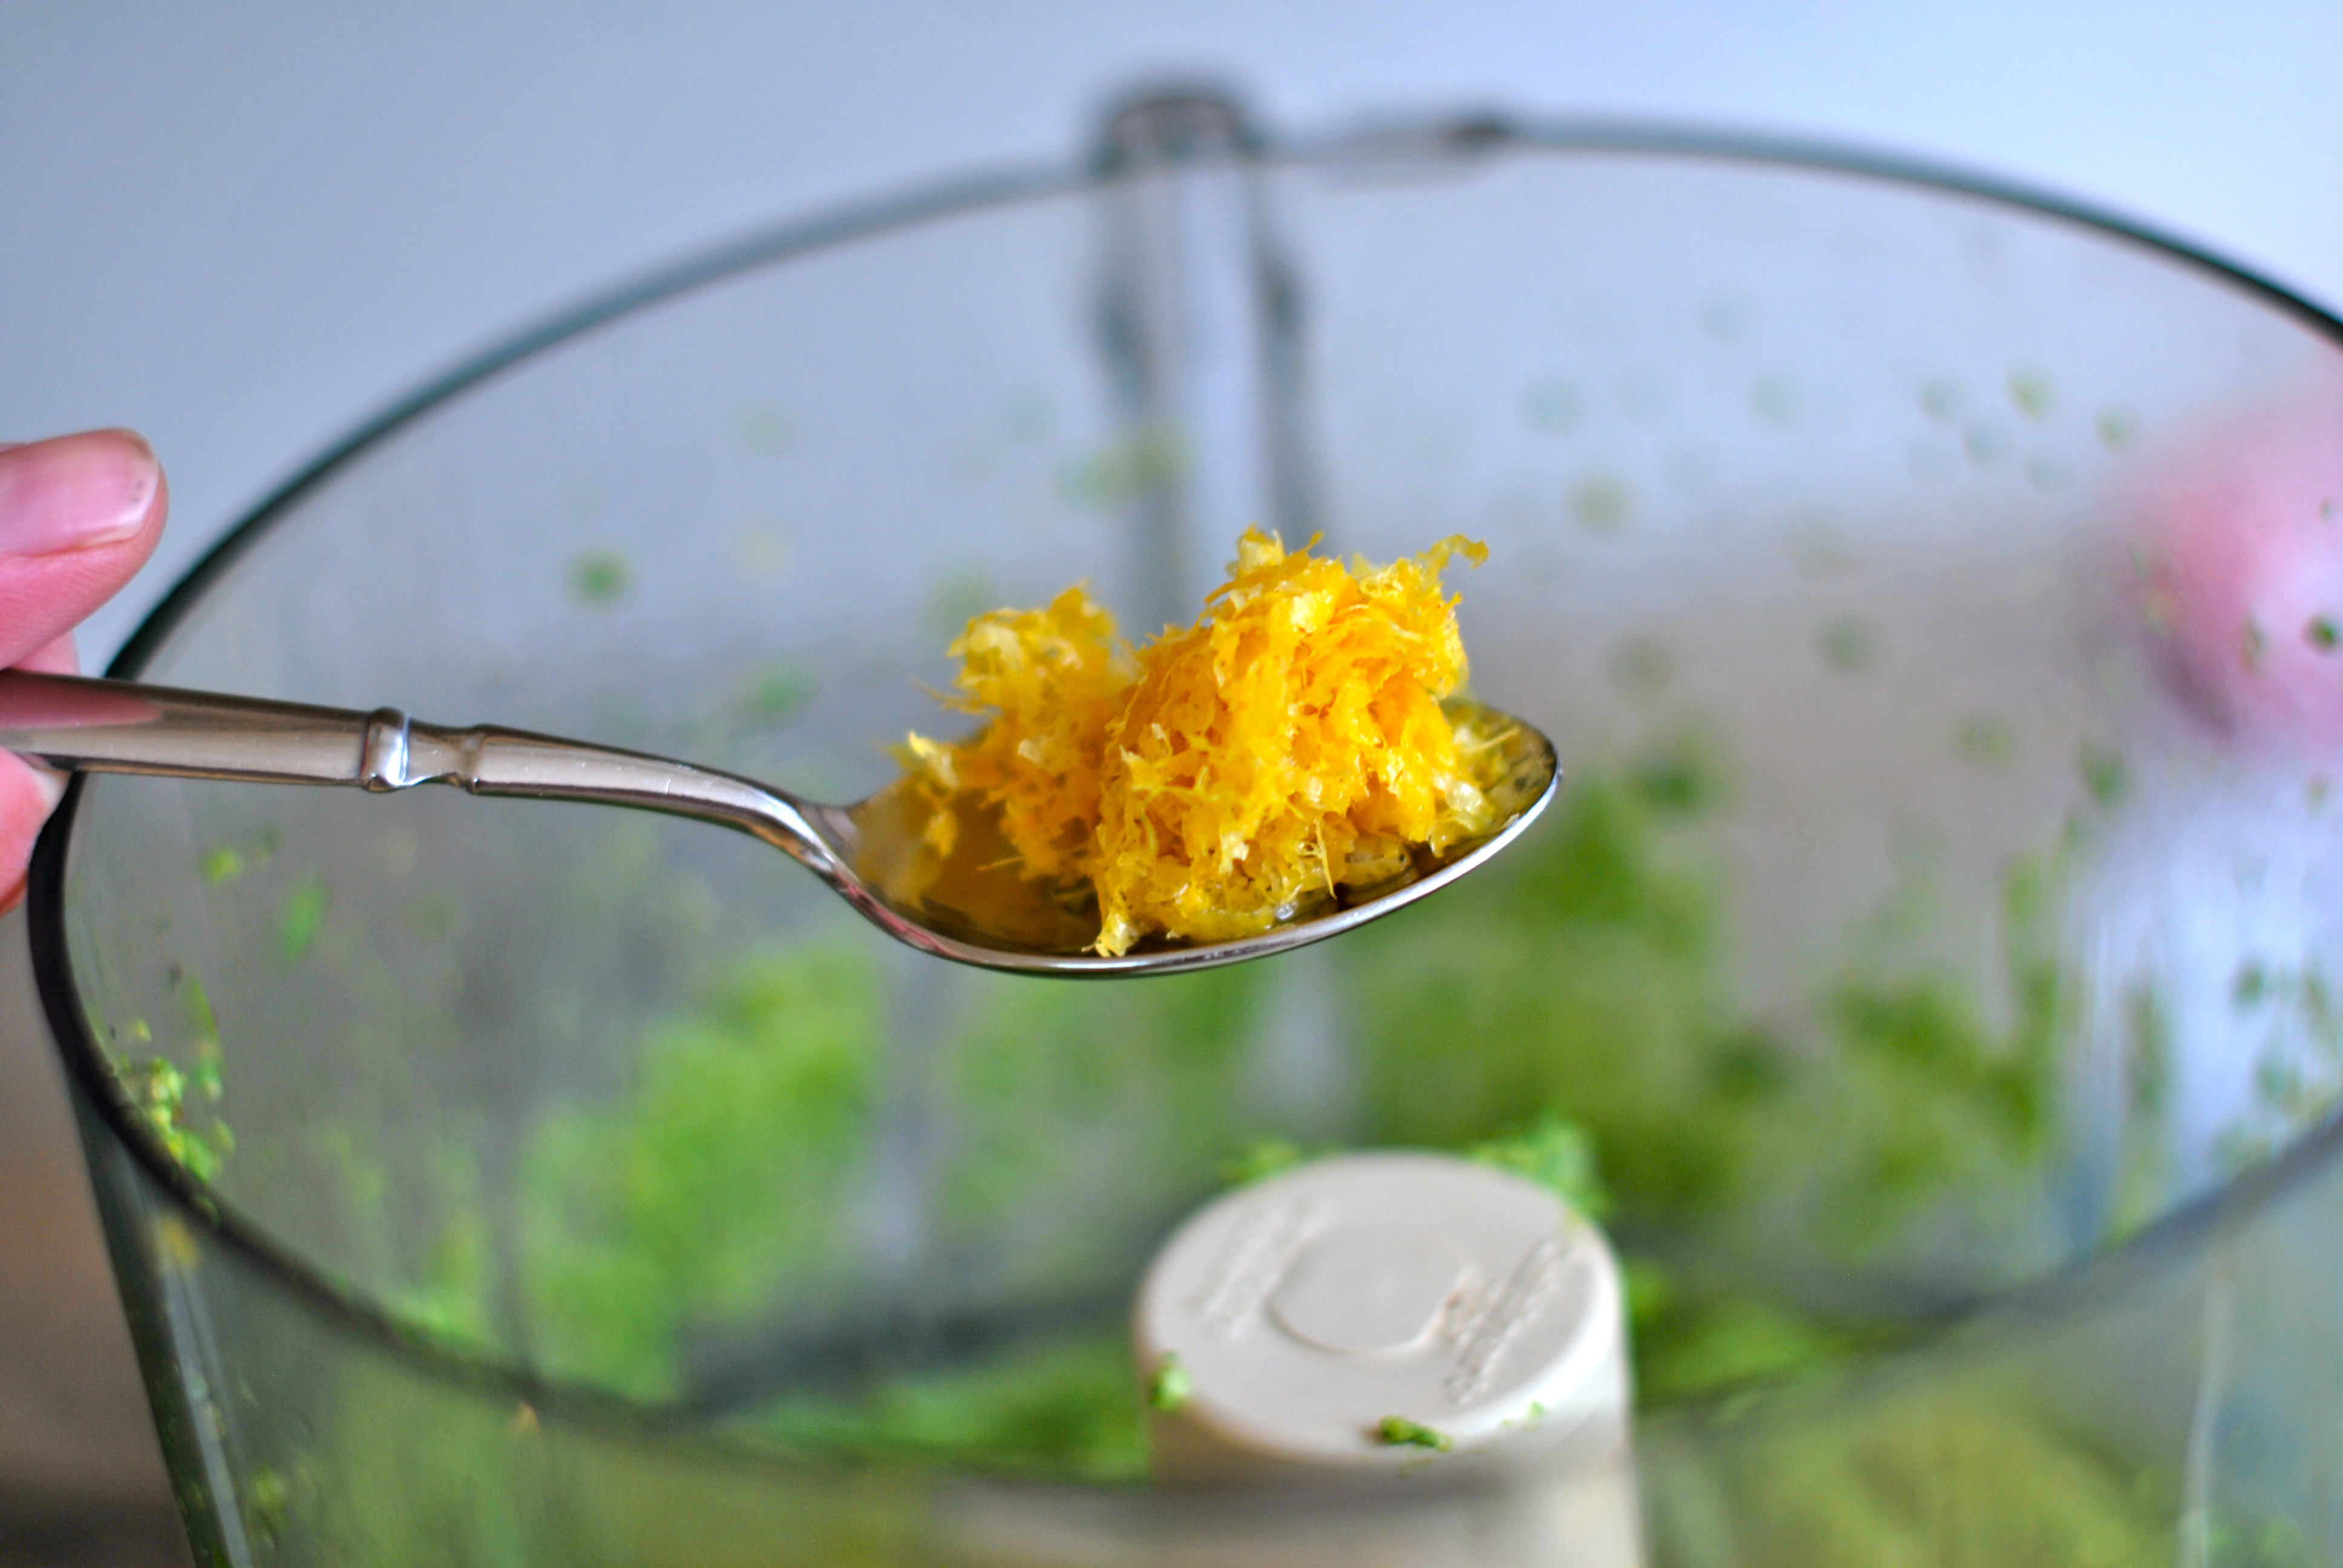
zest of one lemon
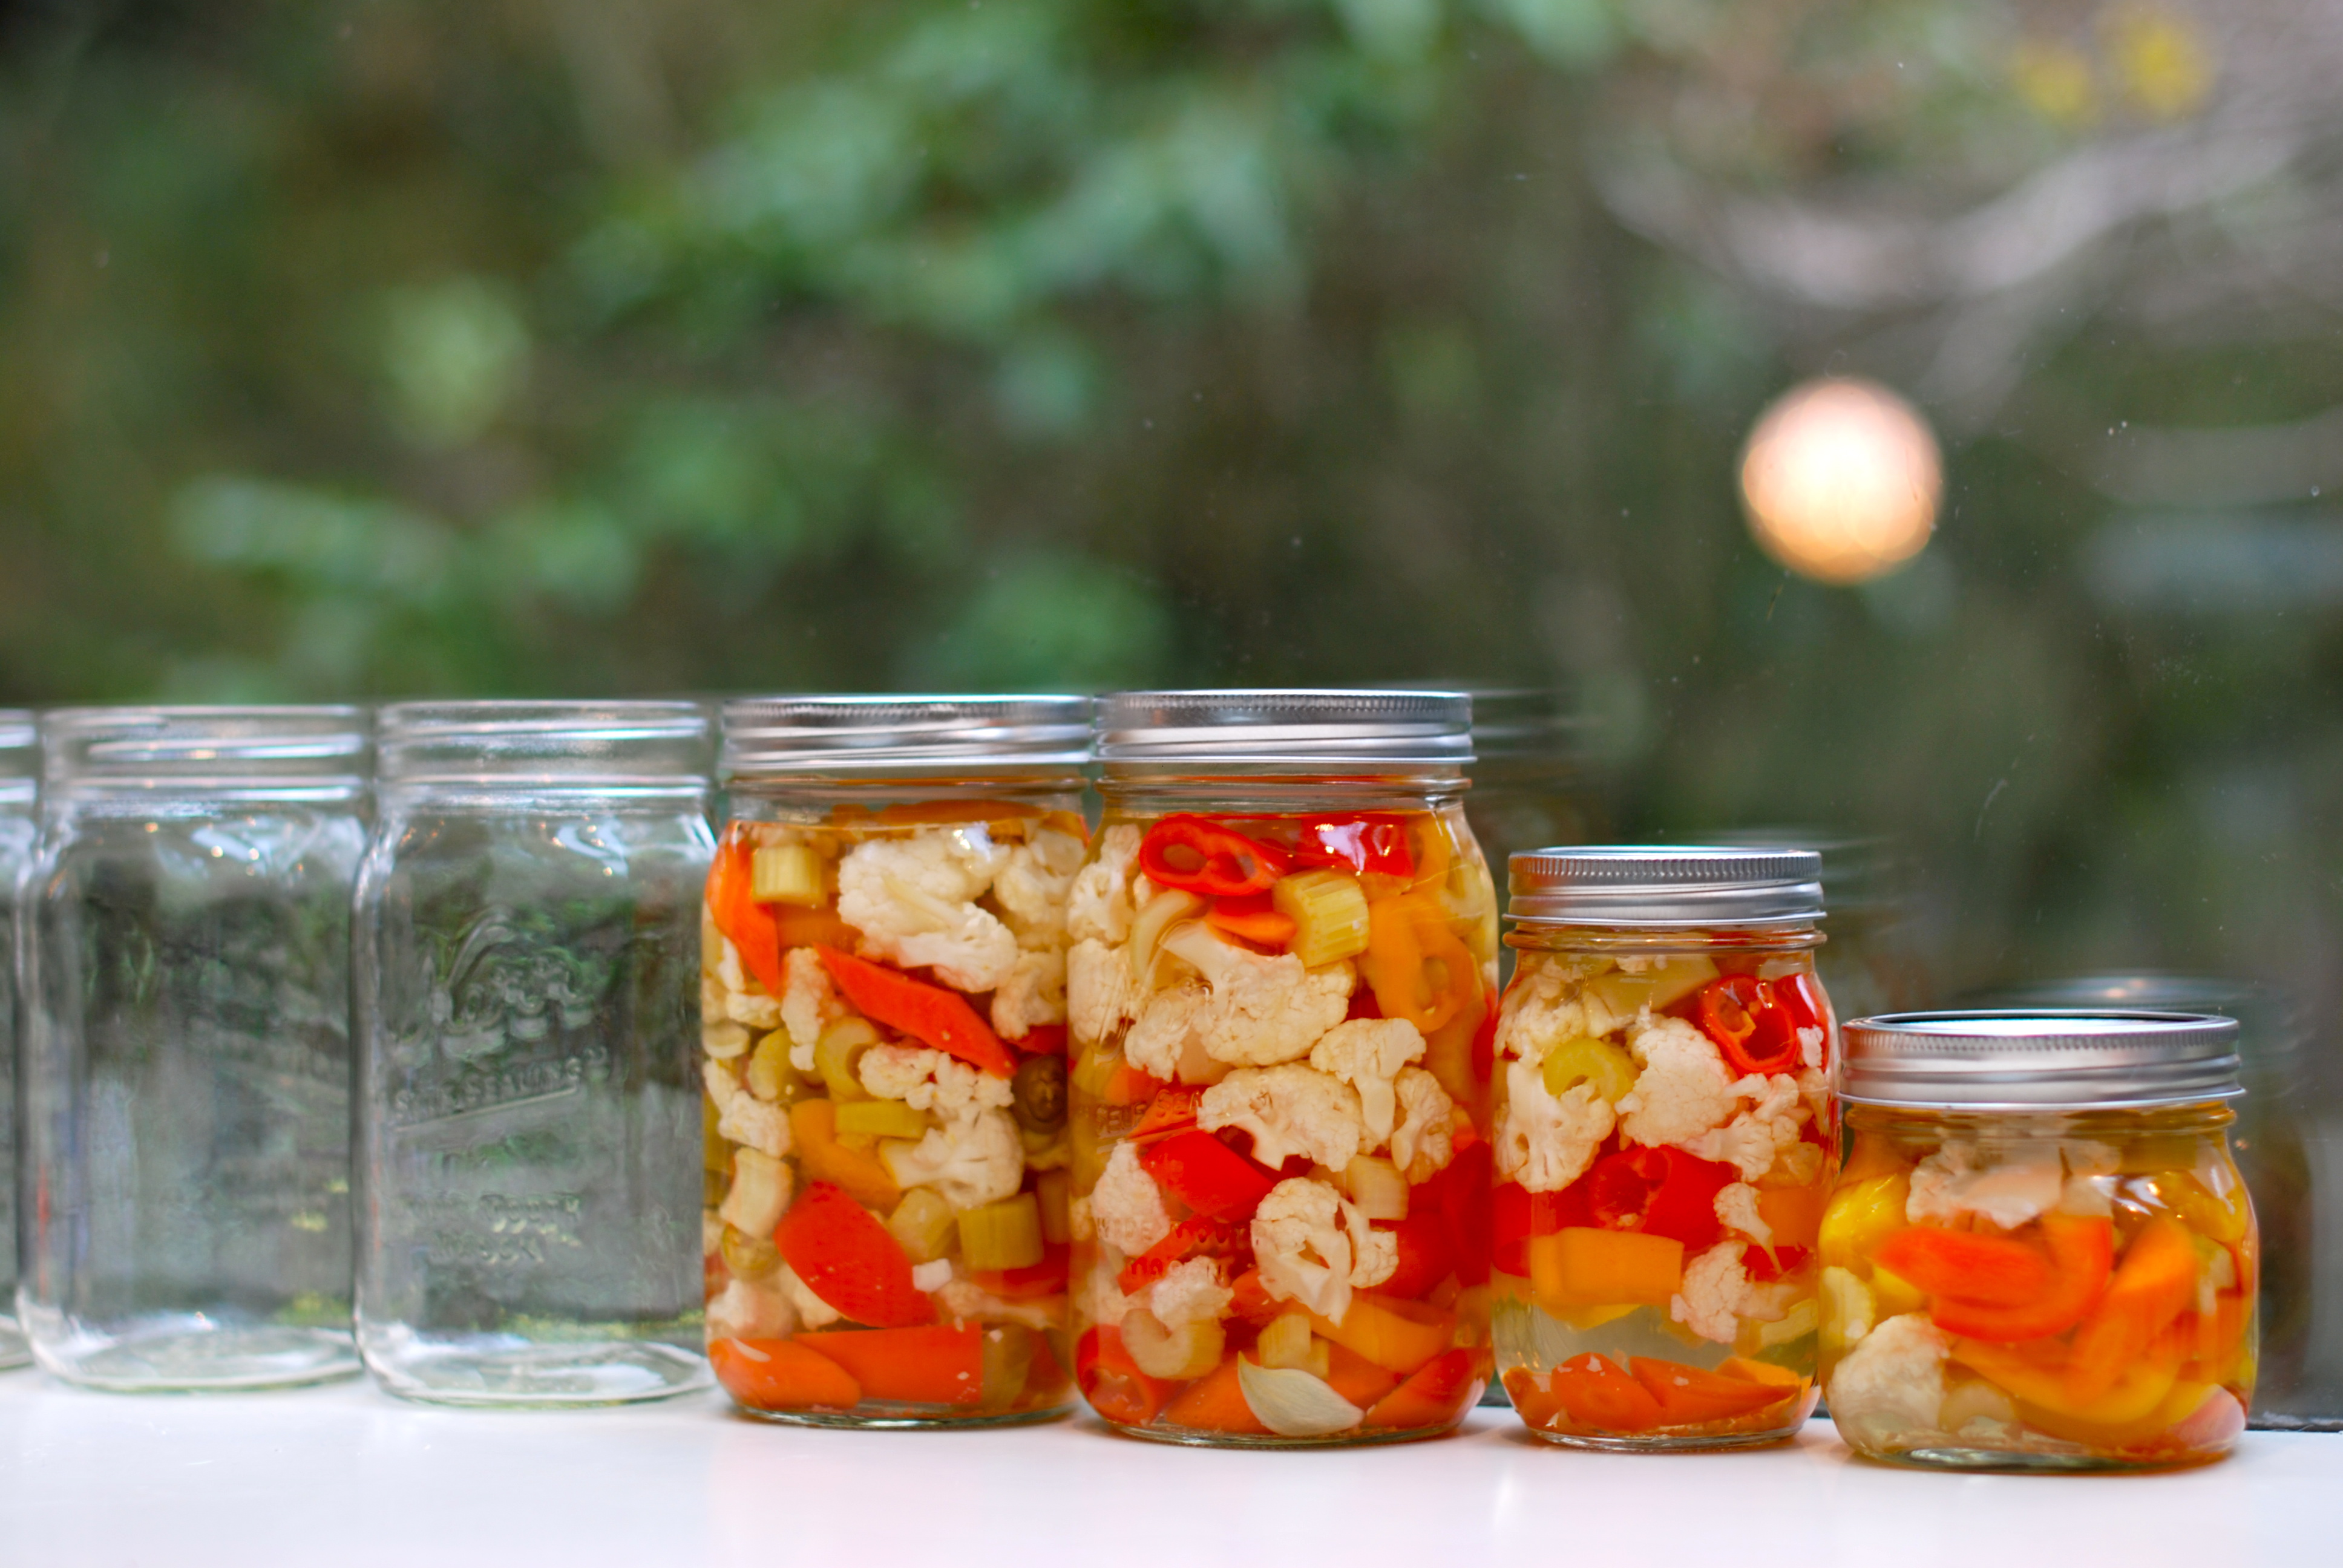
Wash and rinse plastic containers with tight fitting lids. Use 1 to 2 cup size containers.
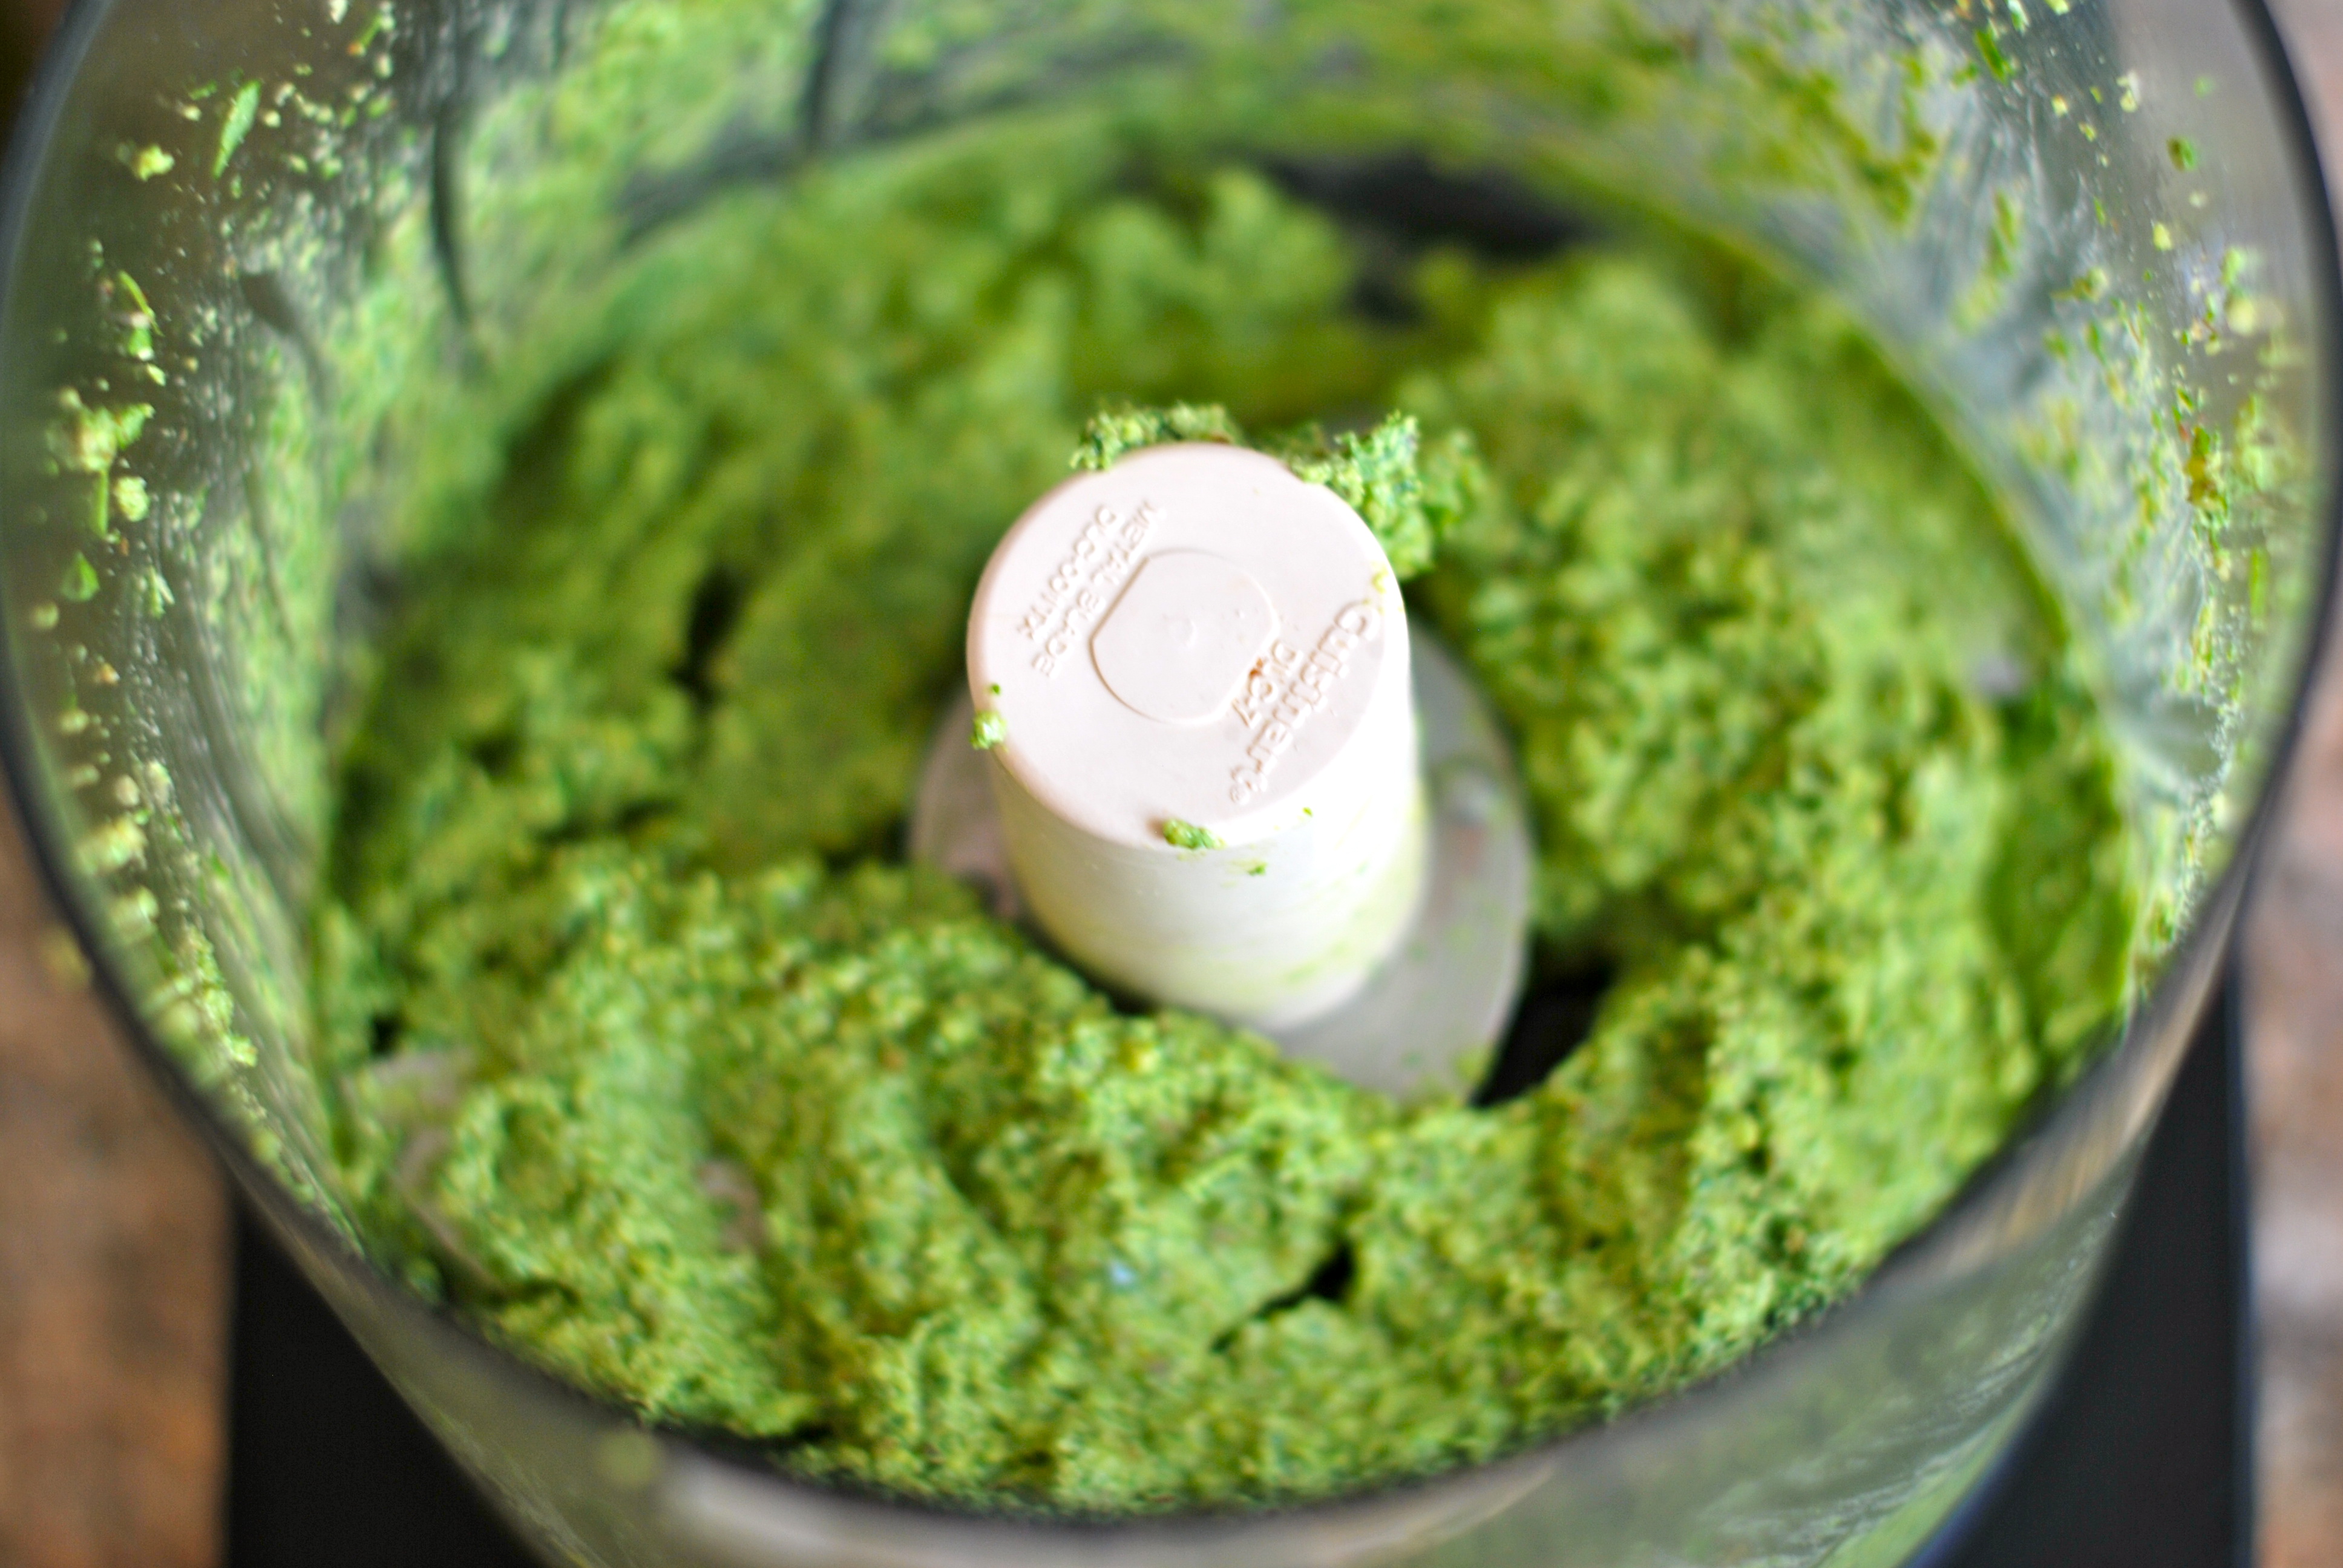
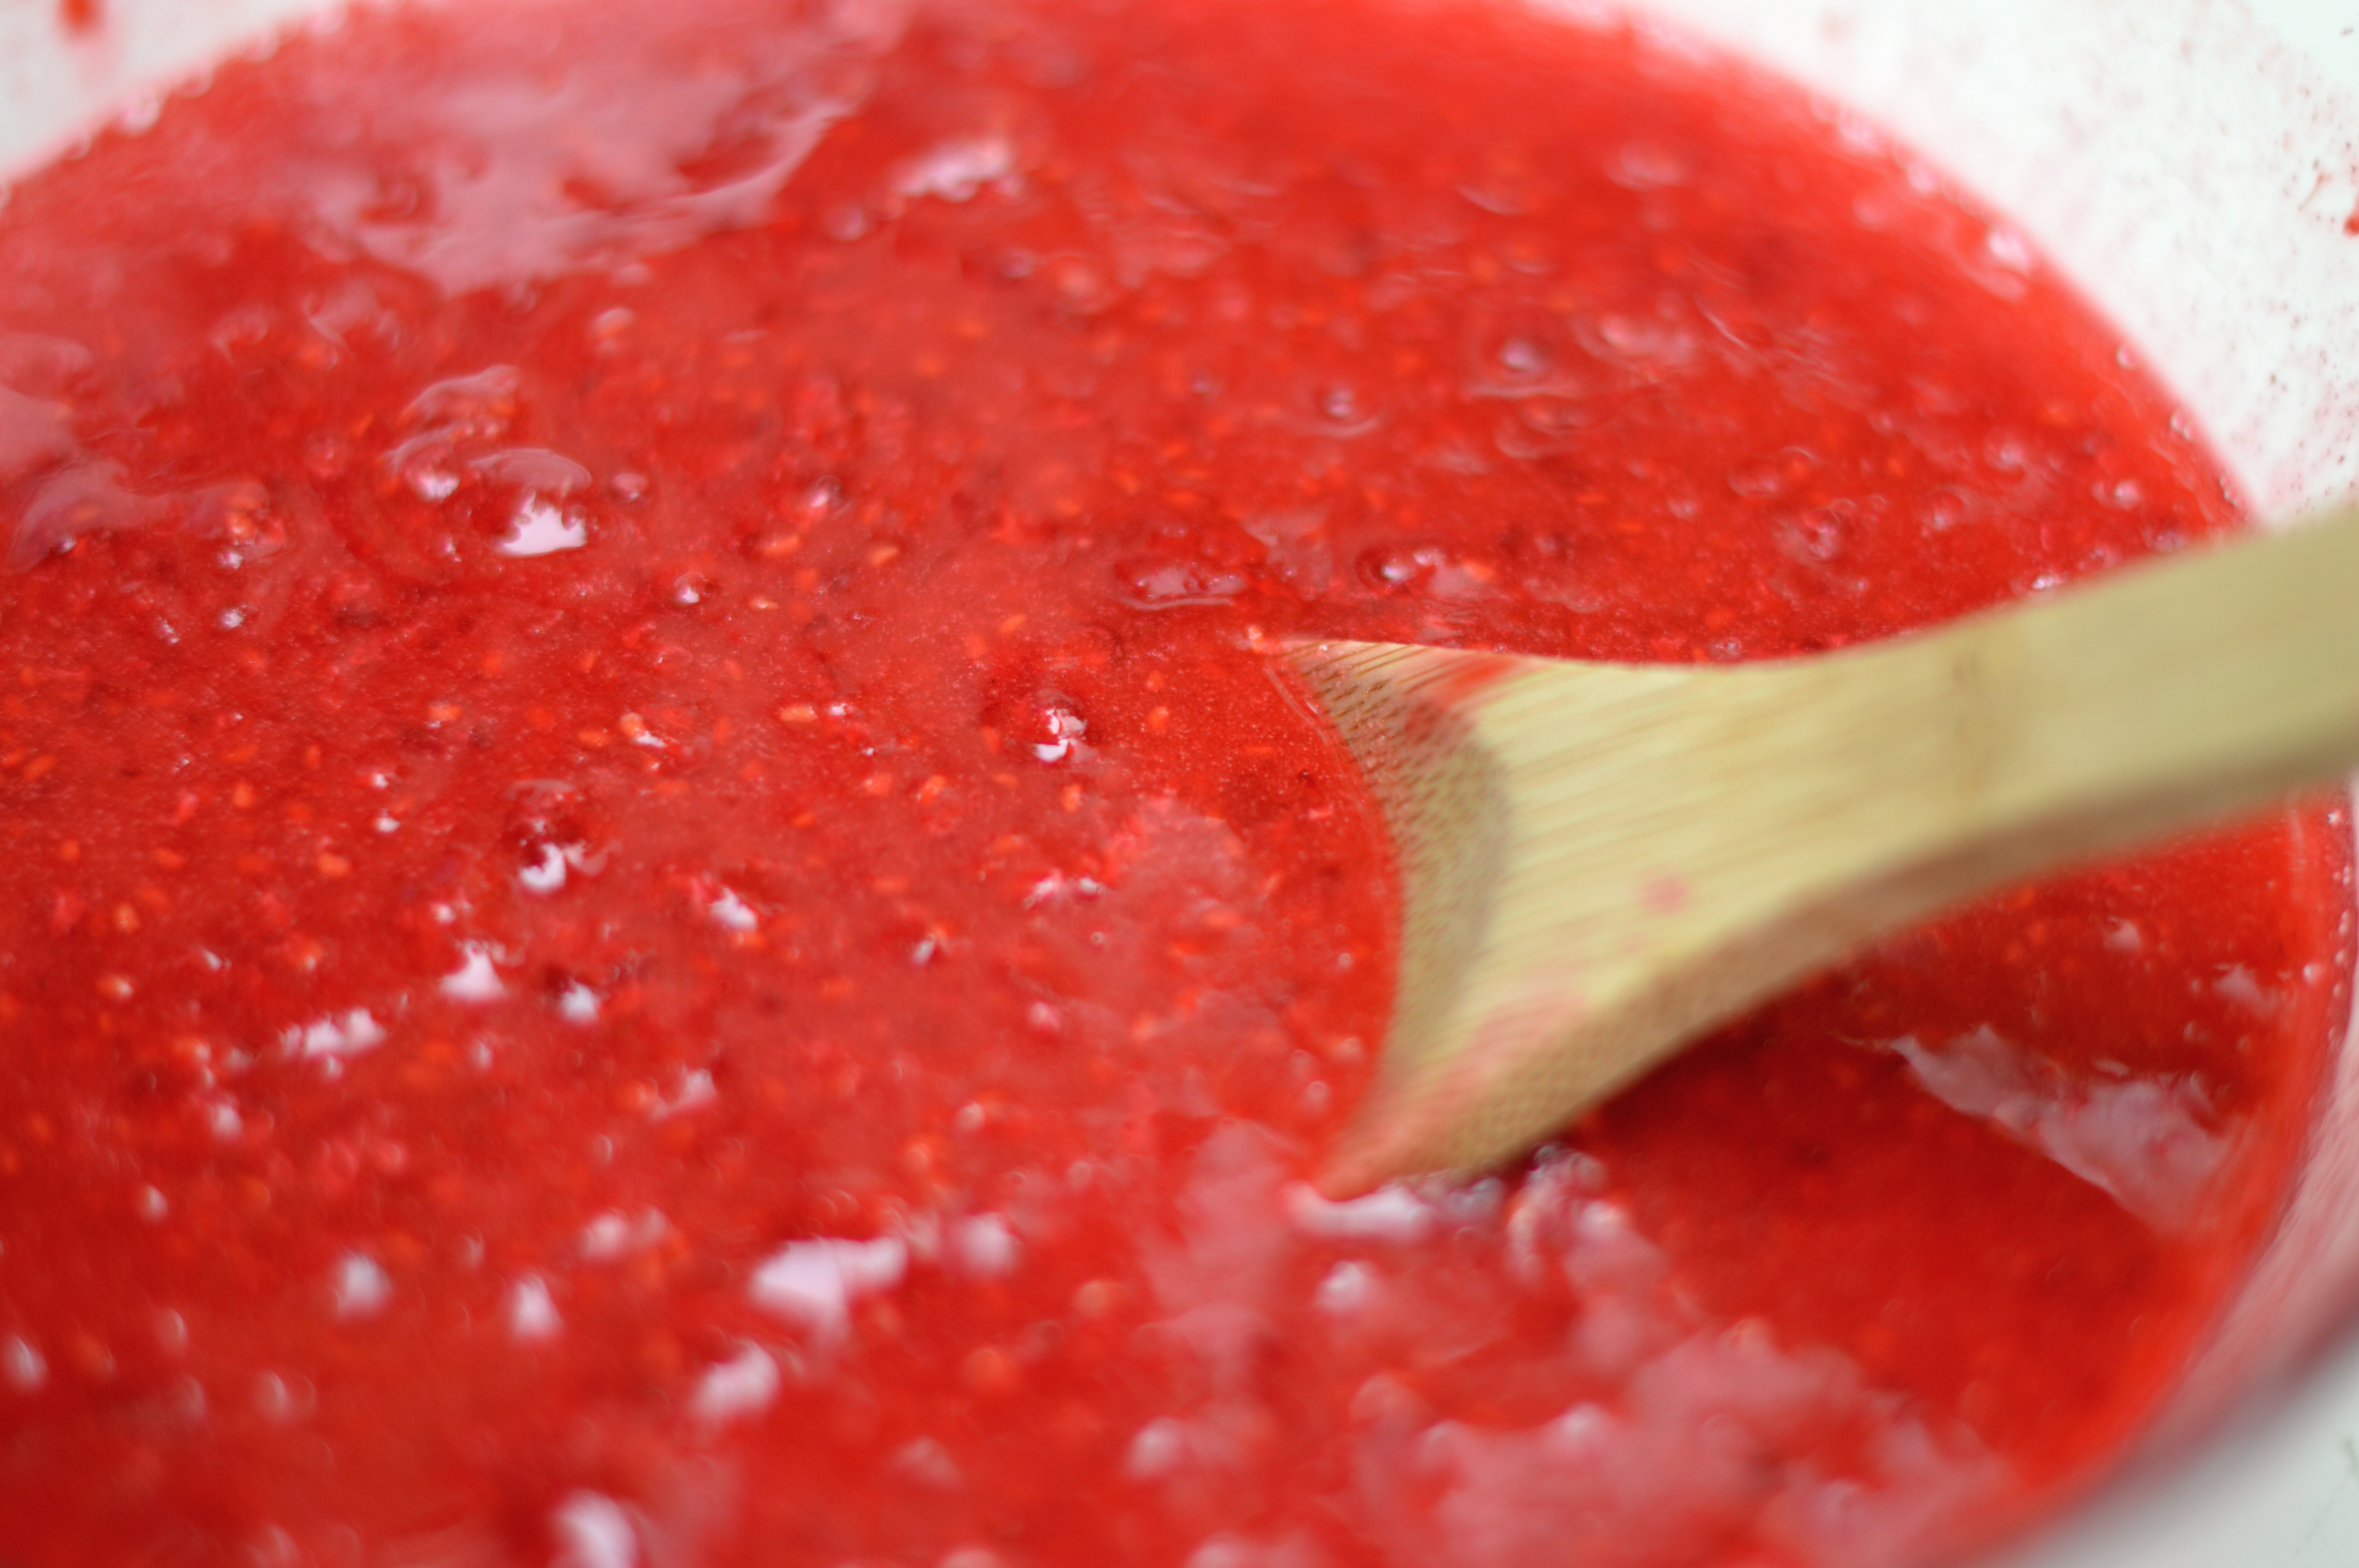
Crush berries. Sieve 1/2 of the pulp to remove some seeds, if desired. (I omit this step, as I don’t mind the seeds)
Measure exact amount of prepared fruit into a large bowl.
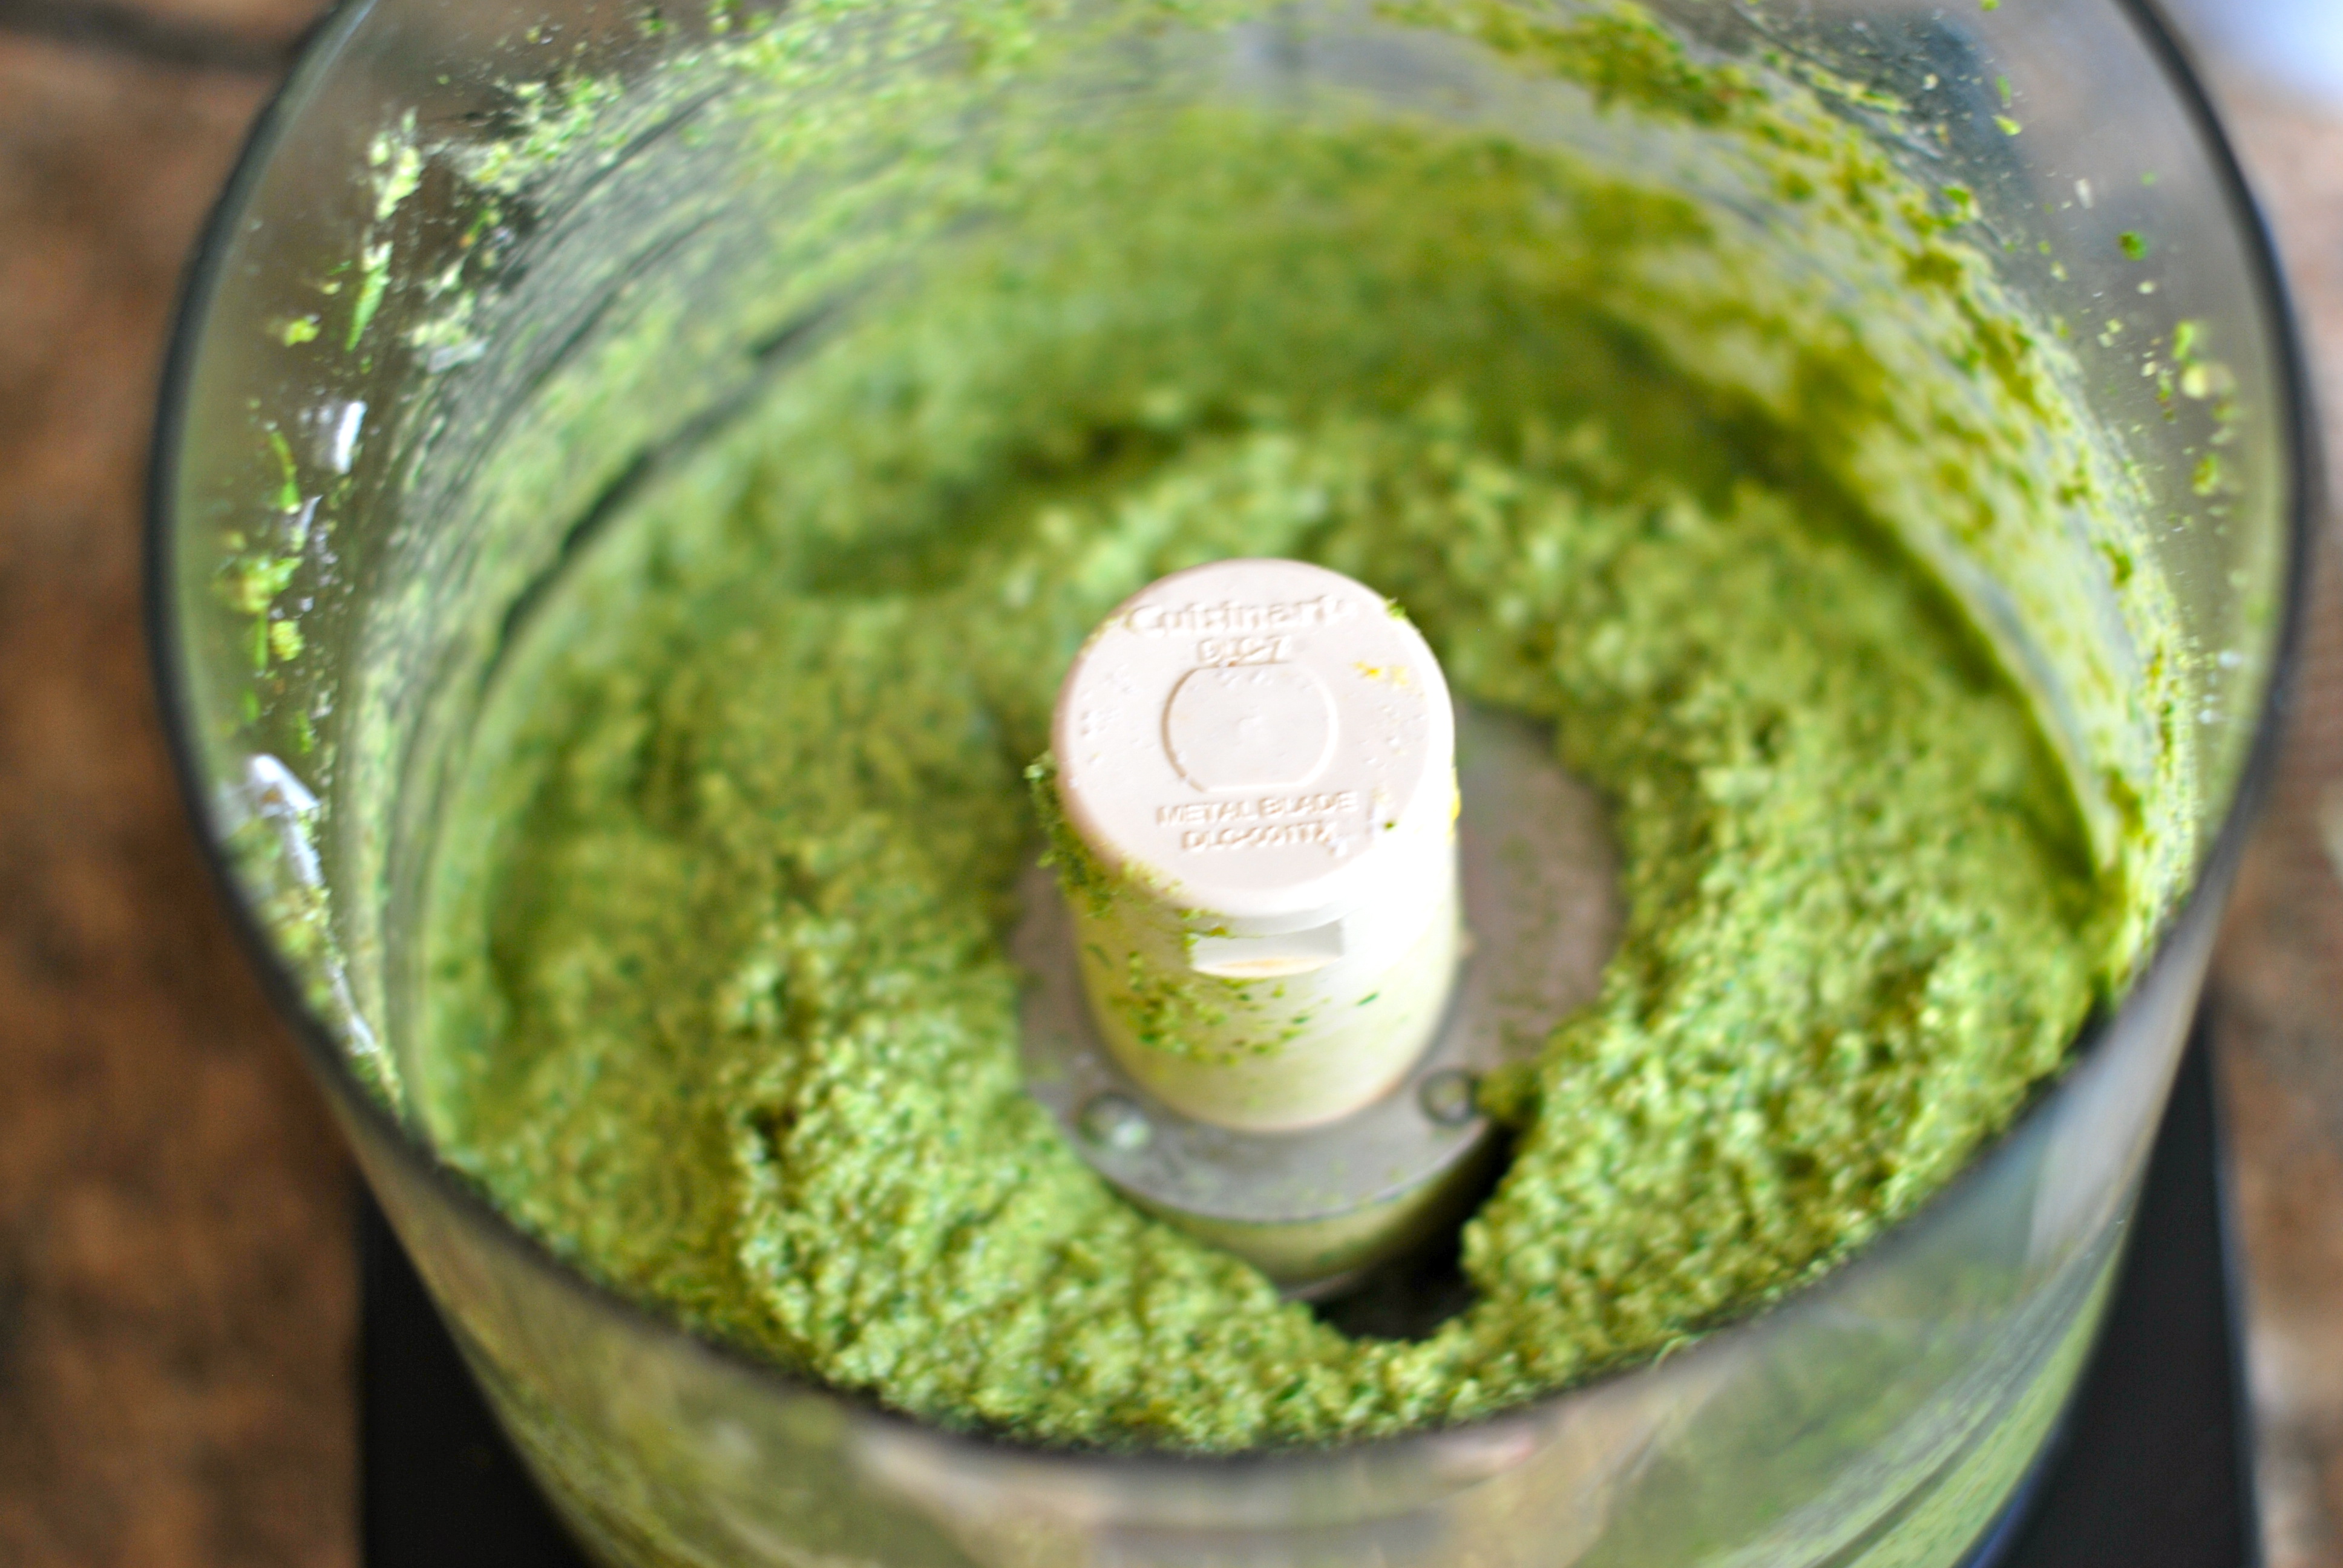
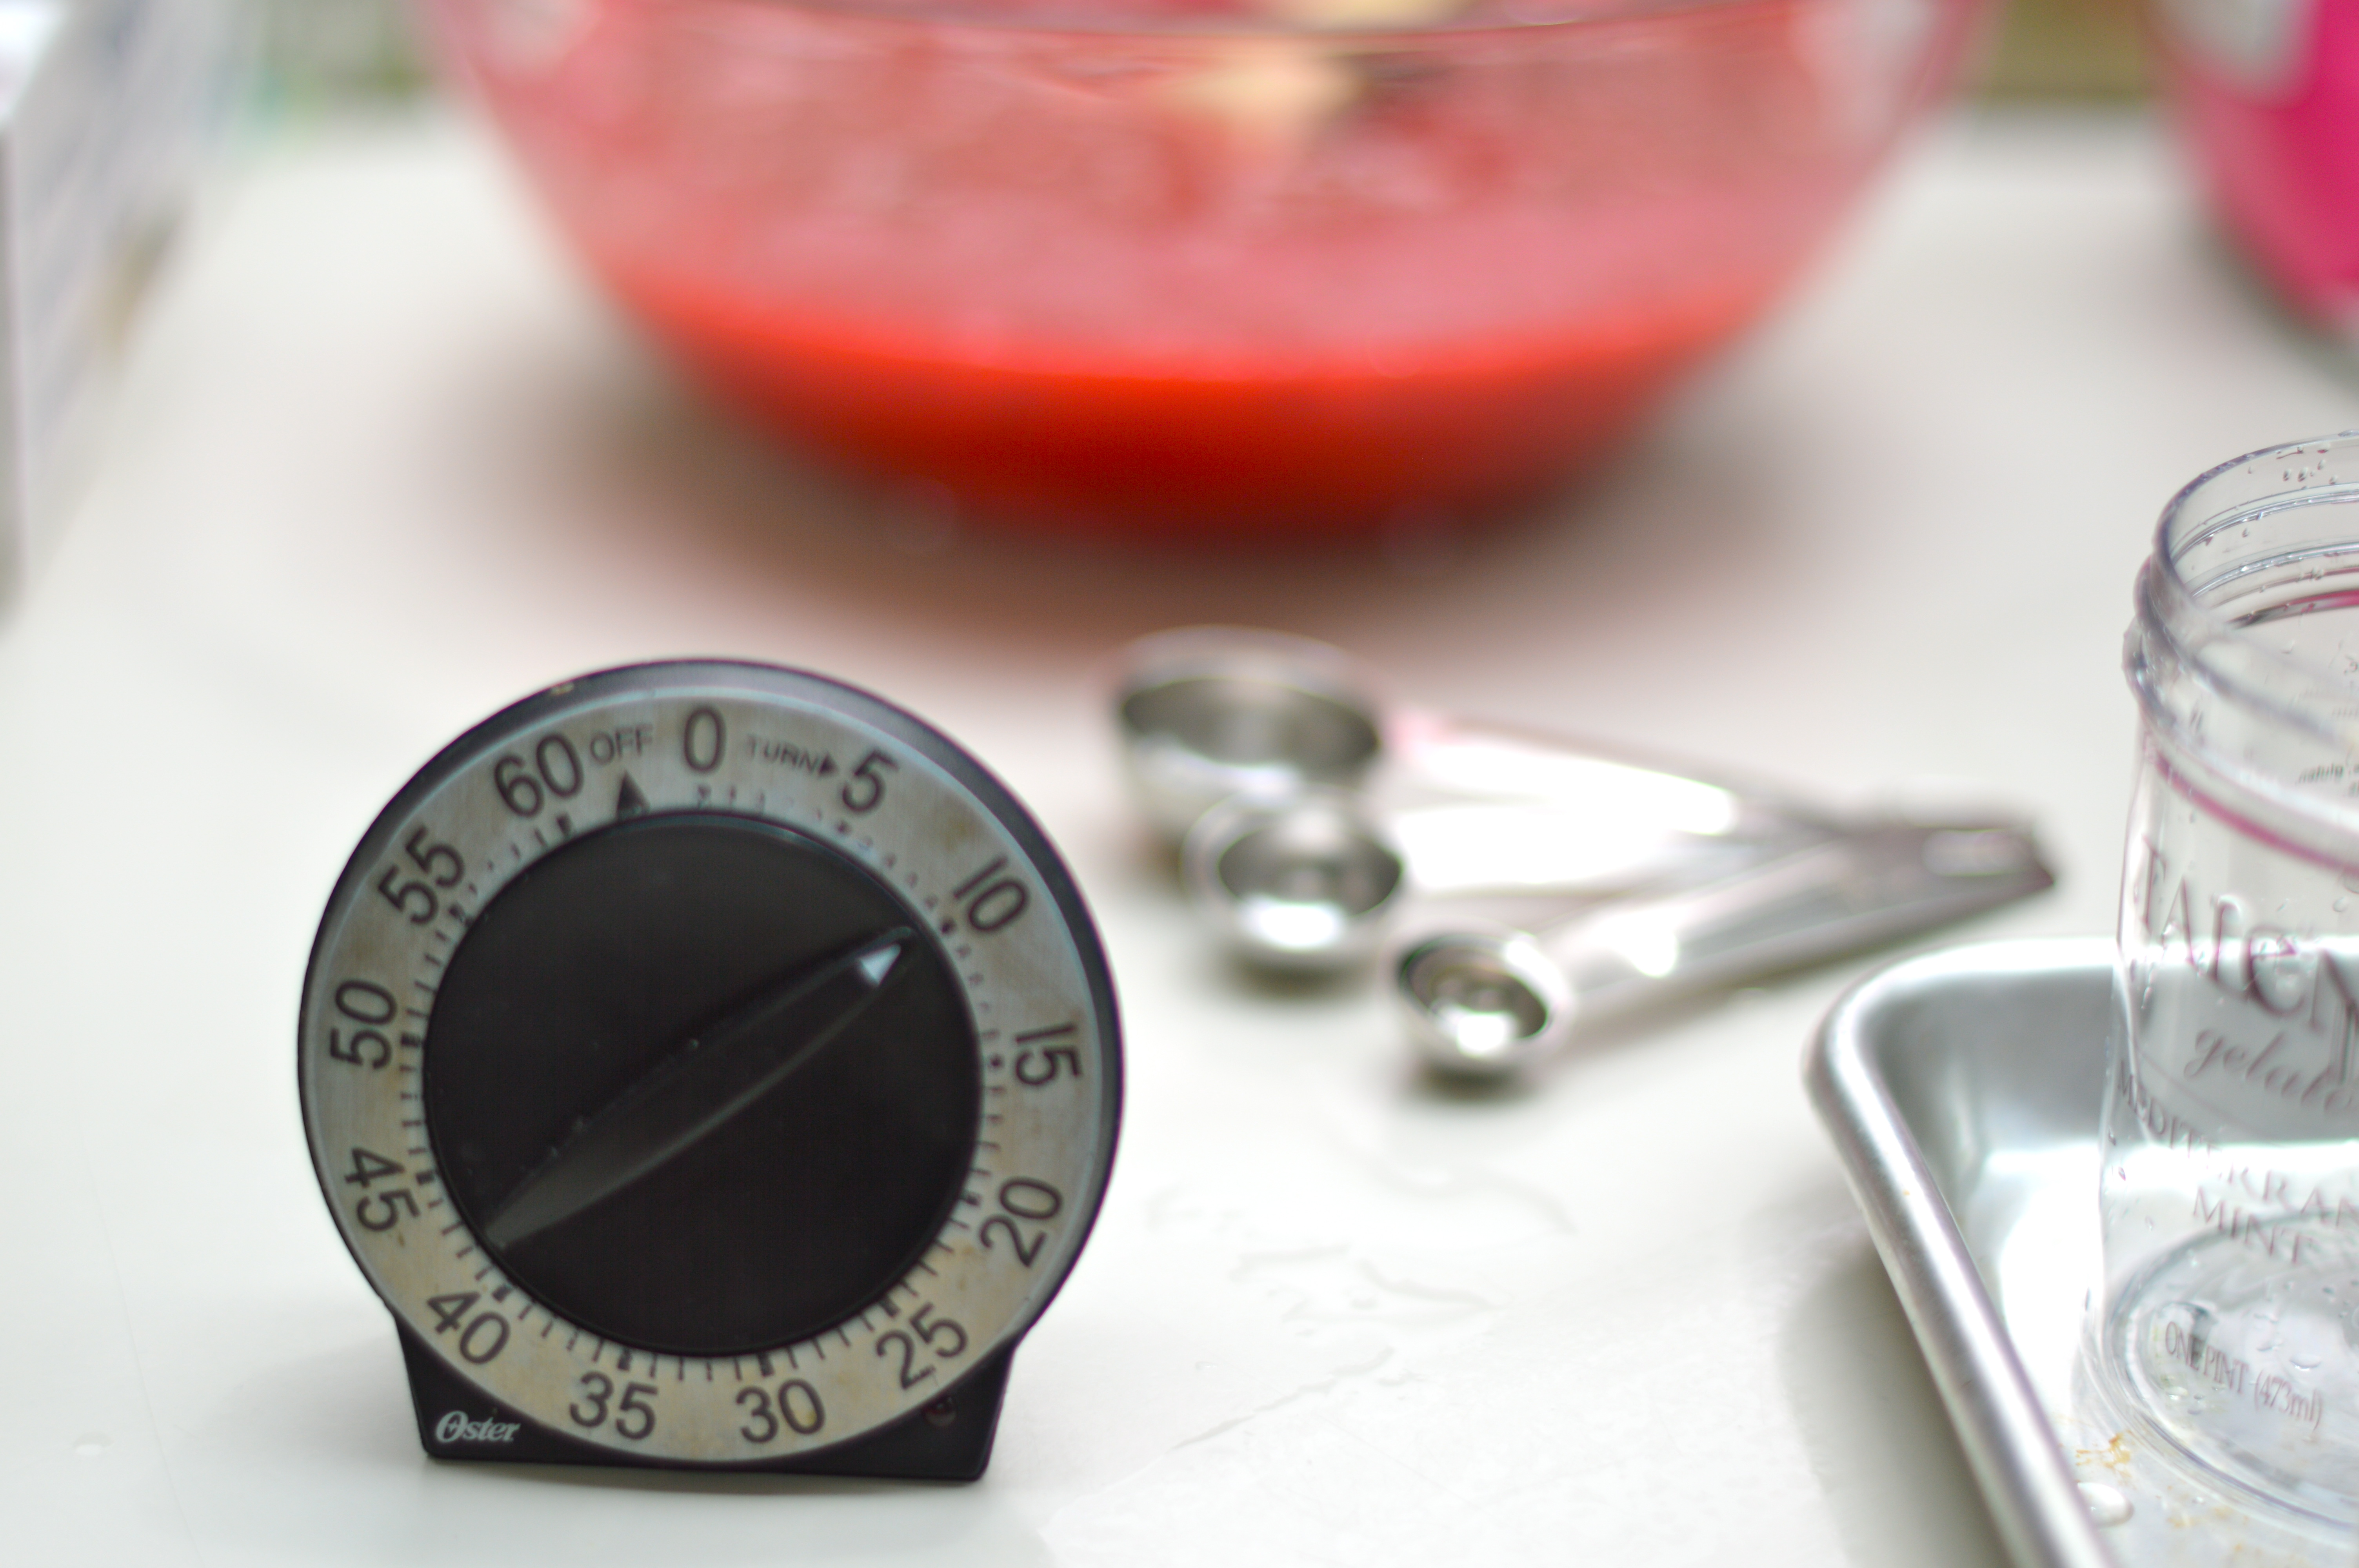
Measure exact amount of sugar into a separate bowl. Stir sugar into prepared fruit. Mix well. Let stand 10 minutes; stir occasionally. Stir pectin into lemon juice in a small bowl. Stir pectin mixture into prepared fruit mixture. Stir constantly until sugar is completely dissolved and no longer grainy, about 3 minutes. (A few sugar crystals may remain.)
Mix in lemon zest.
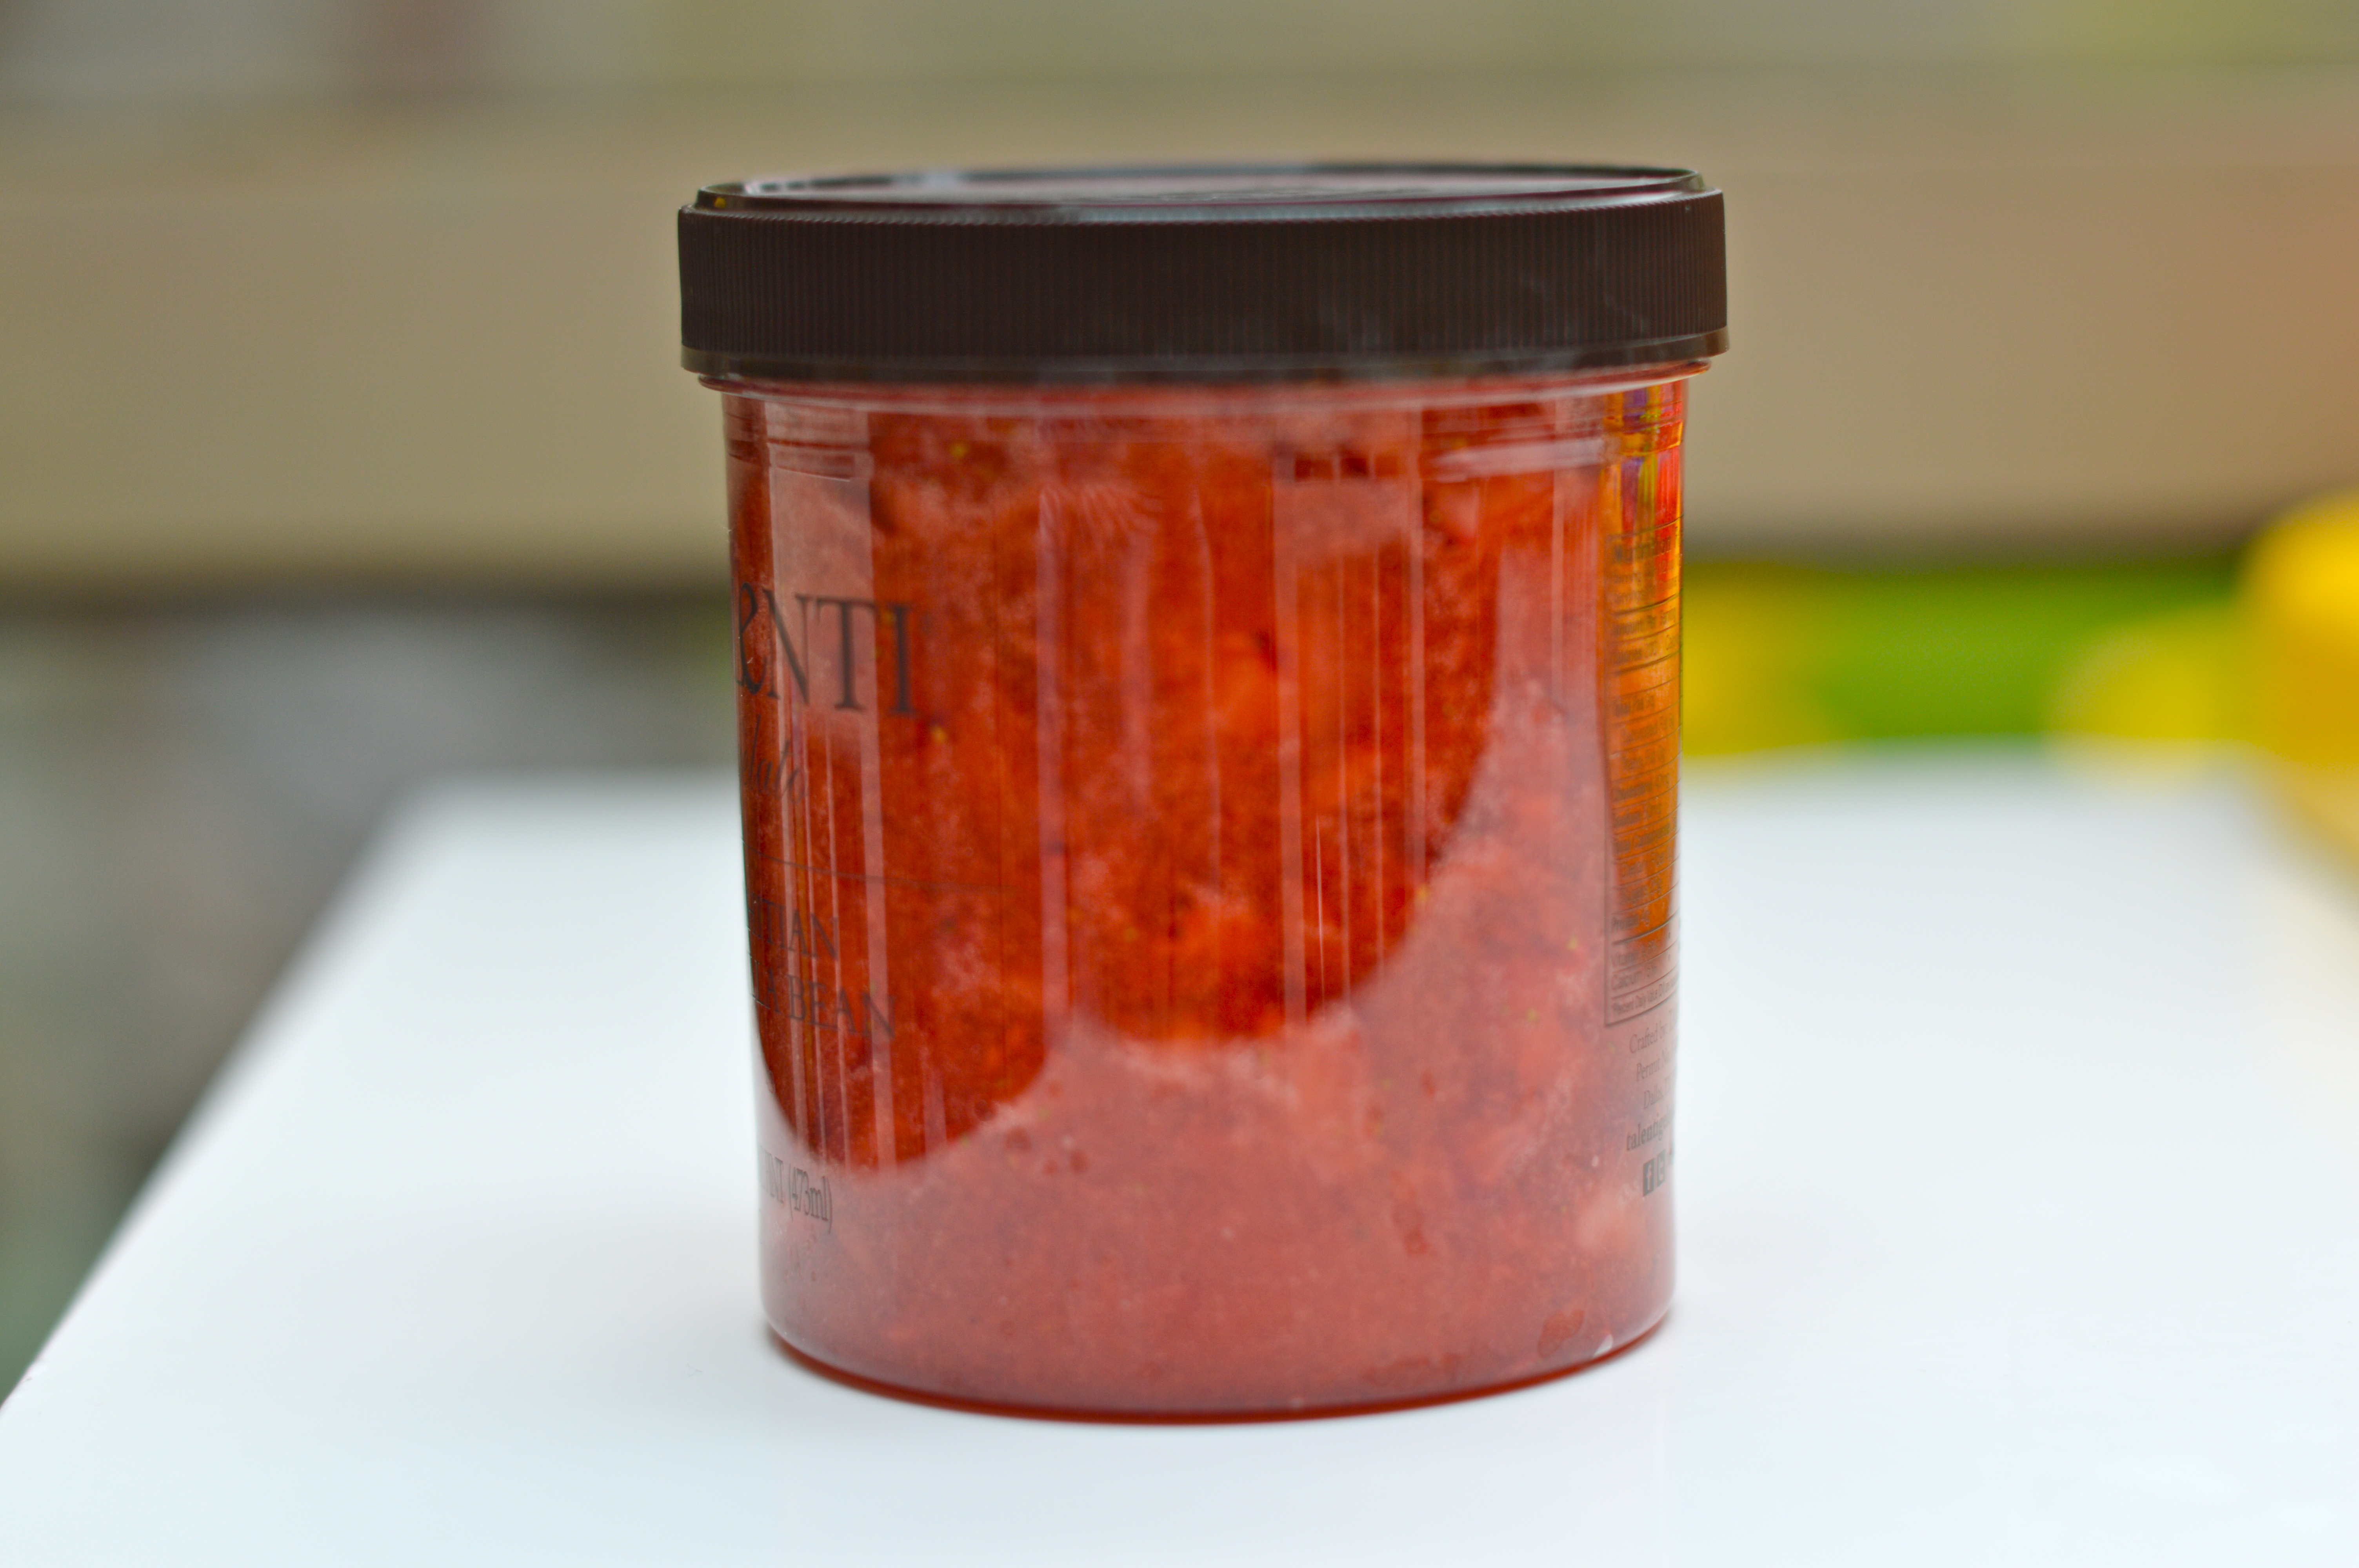
Pour into prepared containers, leaving 1/2 inch space at top of container for expansion during freezing; cover.
Let stand at room temperature 24 hours until set. Refrigerate up to 3 weeks. Or store in freezer for up to 1 year. Thaw in refrigerator.
Enjoy!!