Dill Green Beans

DSC_0003

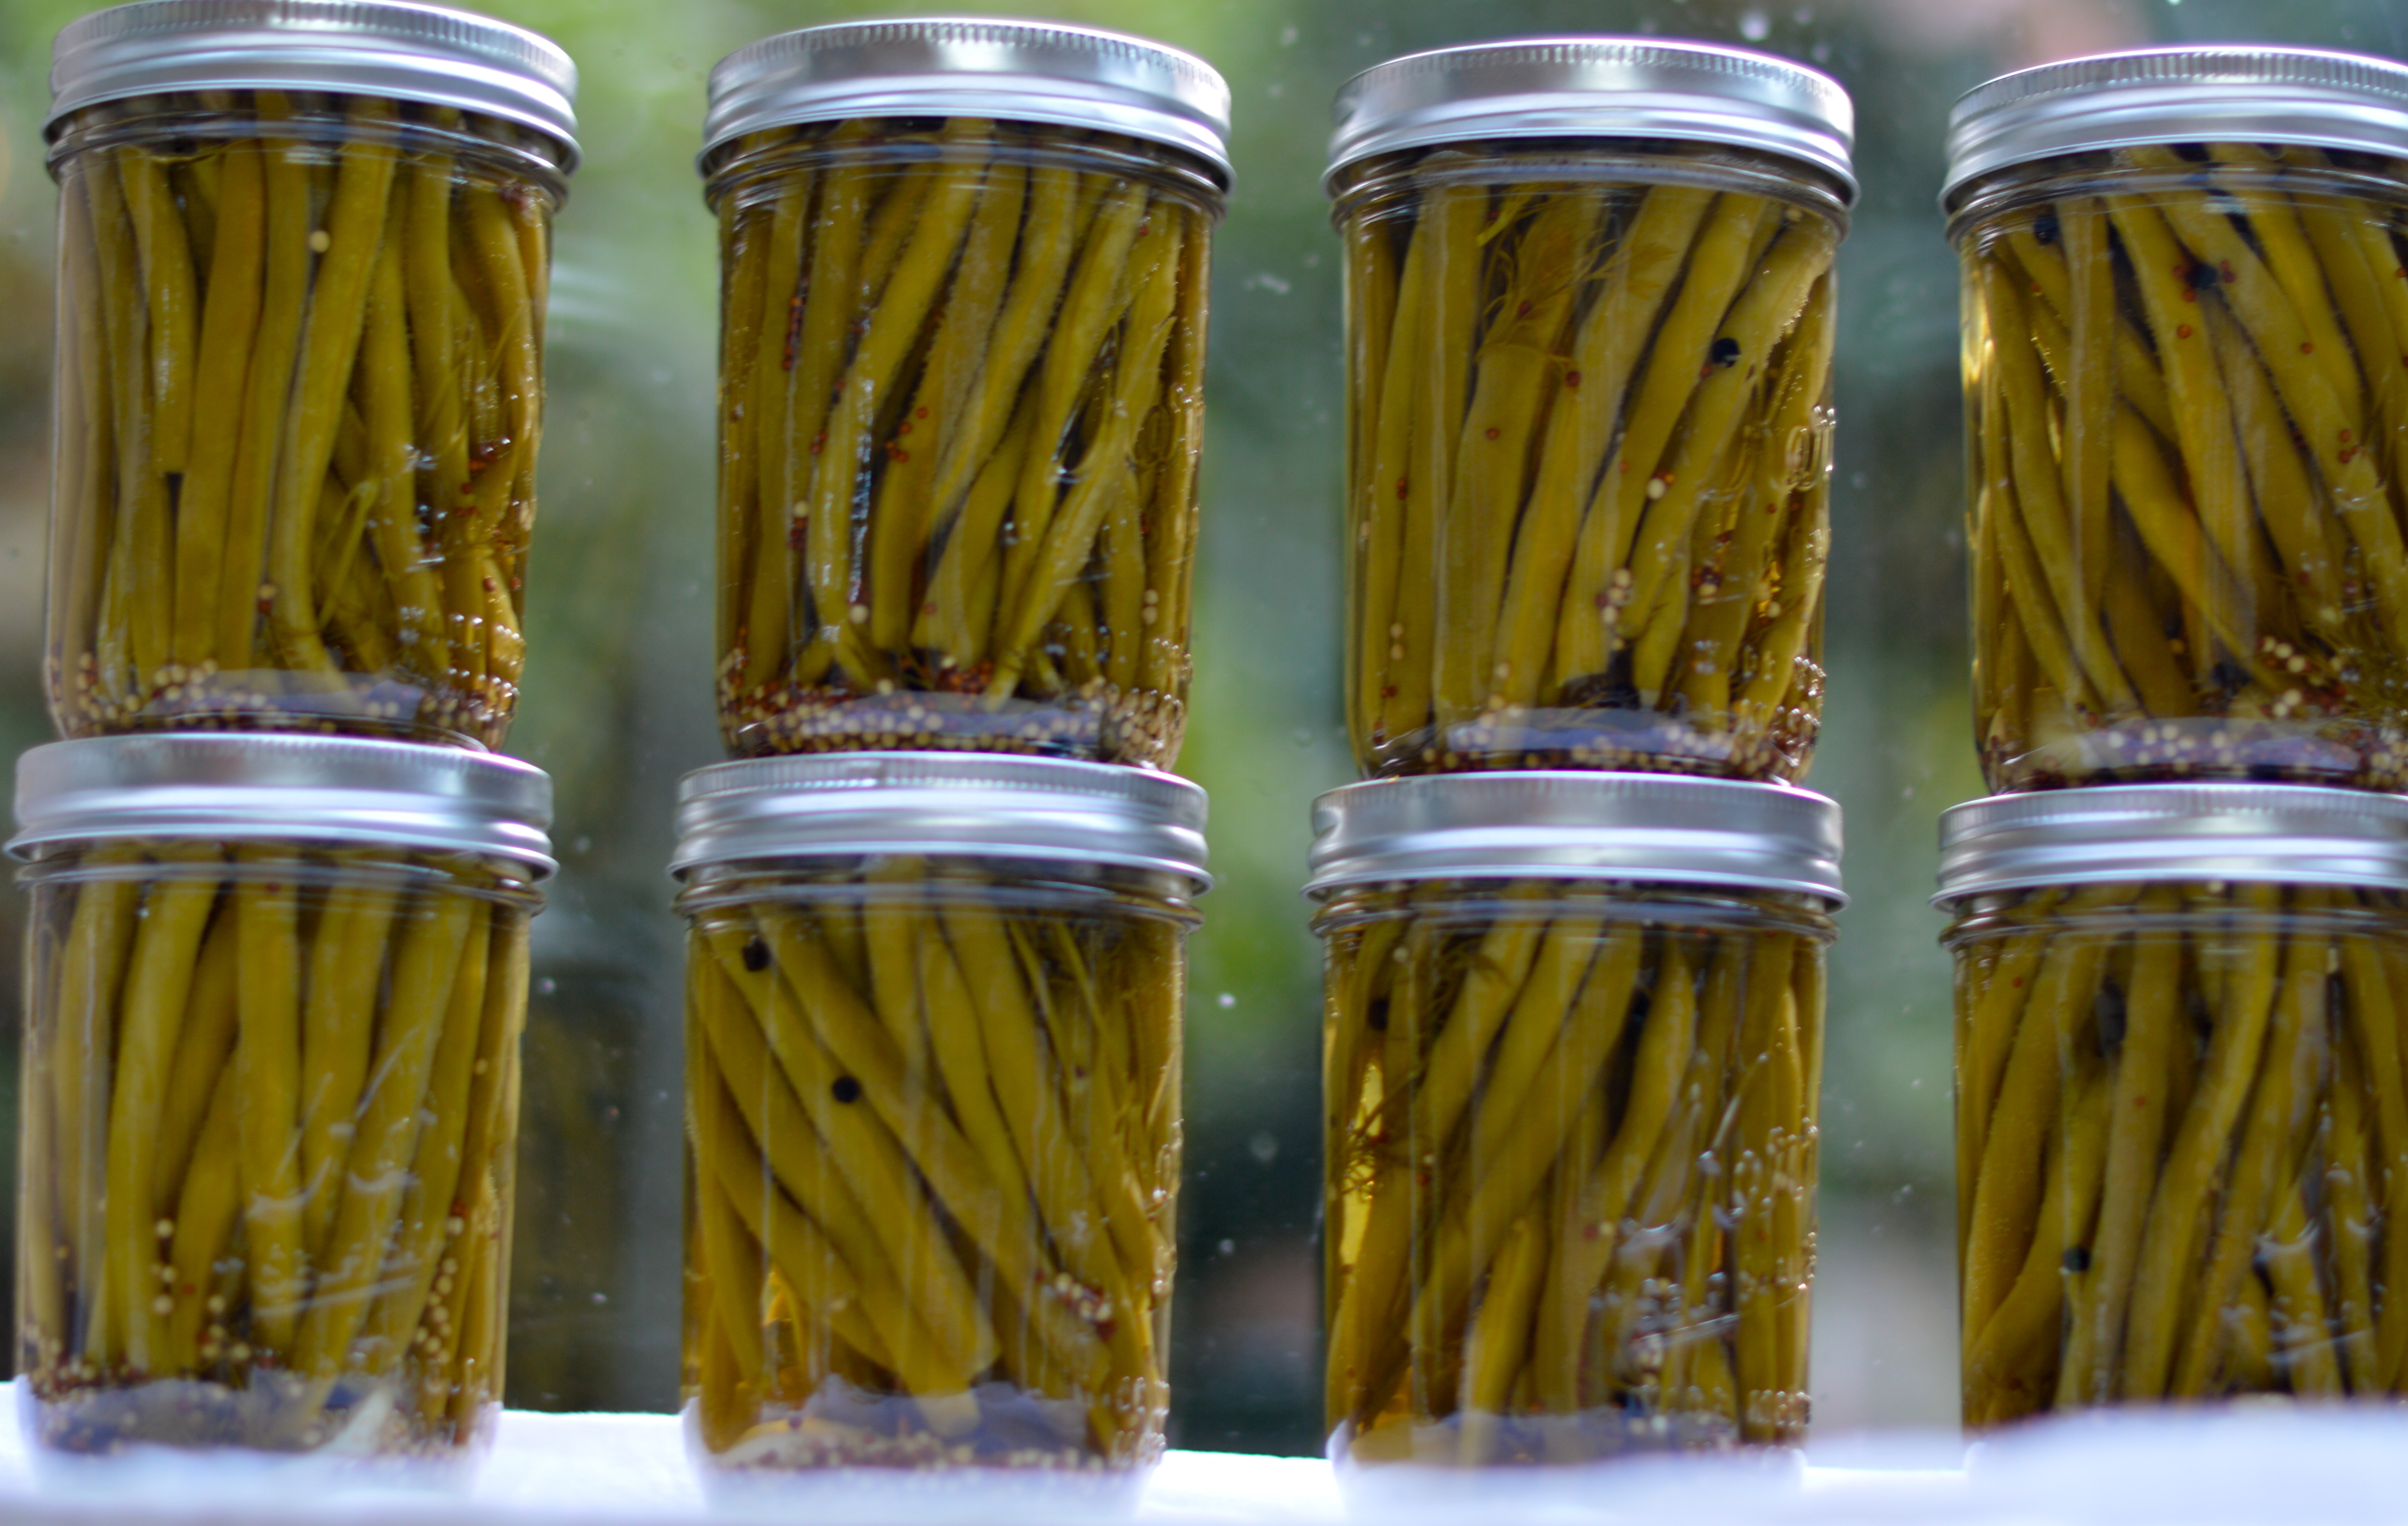
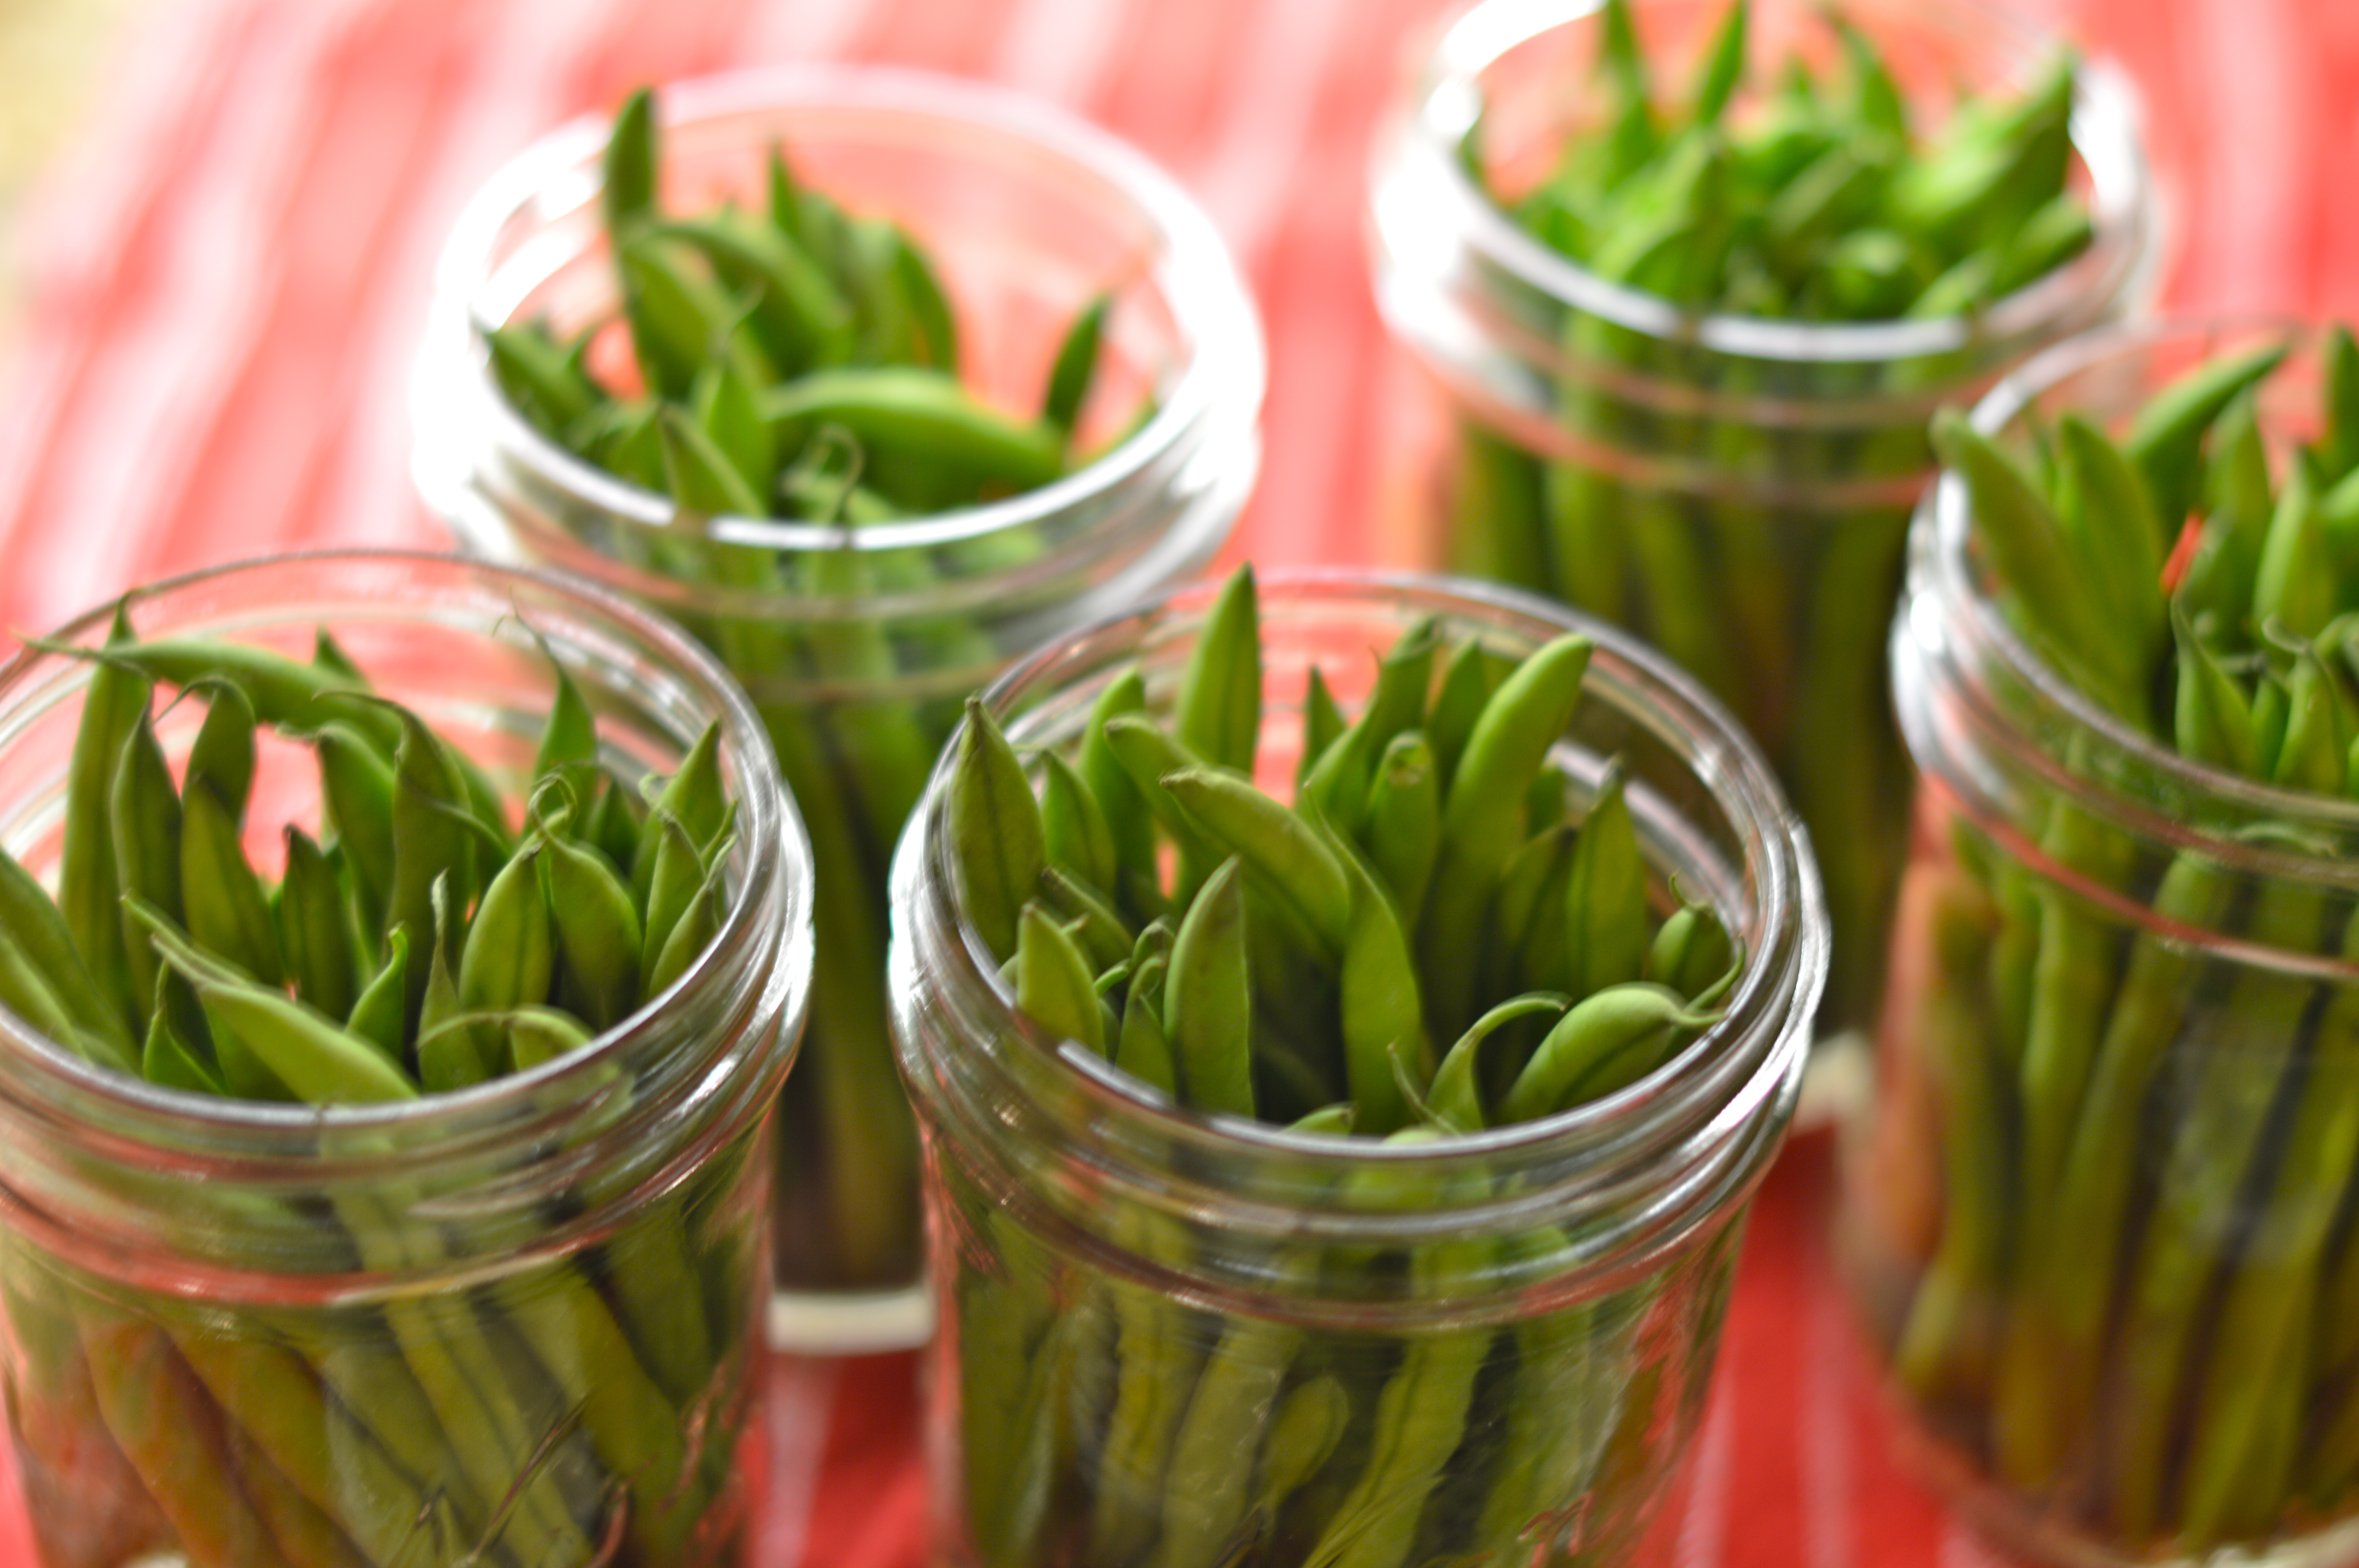
Pickled beans have always been a favorite of mine.  I remember once when I was about 12, we went to a silent auction and the only thing I wanted to bid on, besides a flourescent pink ski parka, were the pickled green beans.  I remember savoring that jar of beans.  Weird how those memories can stay with you.  Anyway, since then I have been pickling my own green beans and am excited to share my favorite recipe with you!  This recipe comes from one of my favorite canning books, Tart and Sweet: 101 Canning and Pickling Recipes for the Modern Kitchen by Kelly Geary and Jessie Knadler.  I have mentioned this book before, because it is one of my favorites for a quick and dirty lesson on canning and the recipes included both capture the traditional as well as the innovative.

DSC_0092

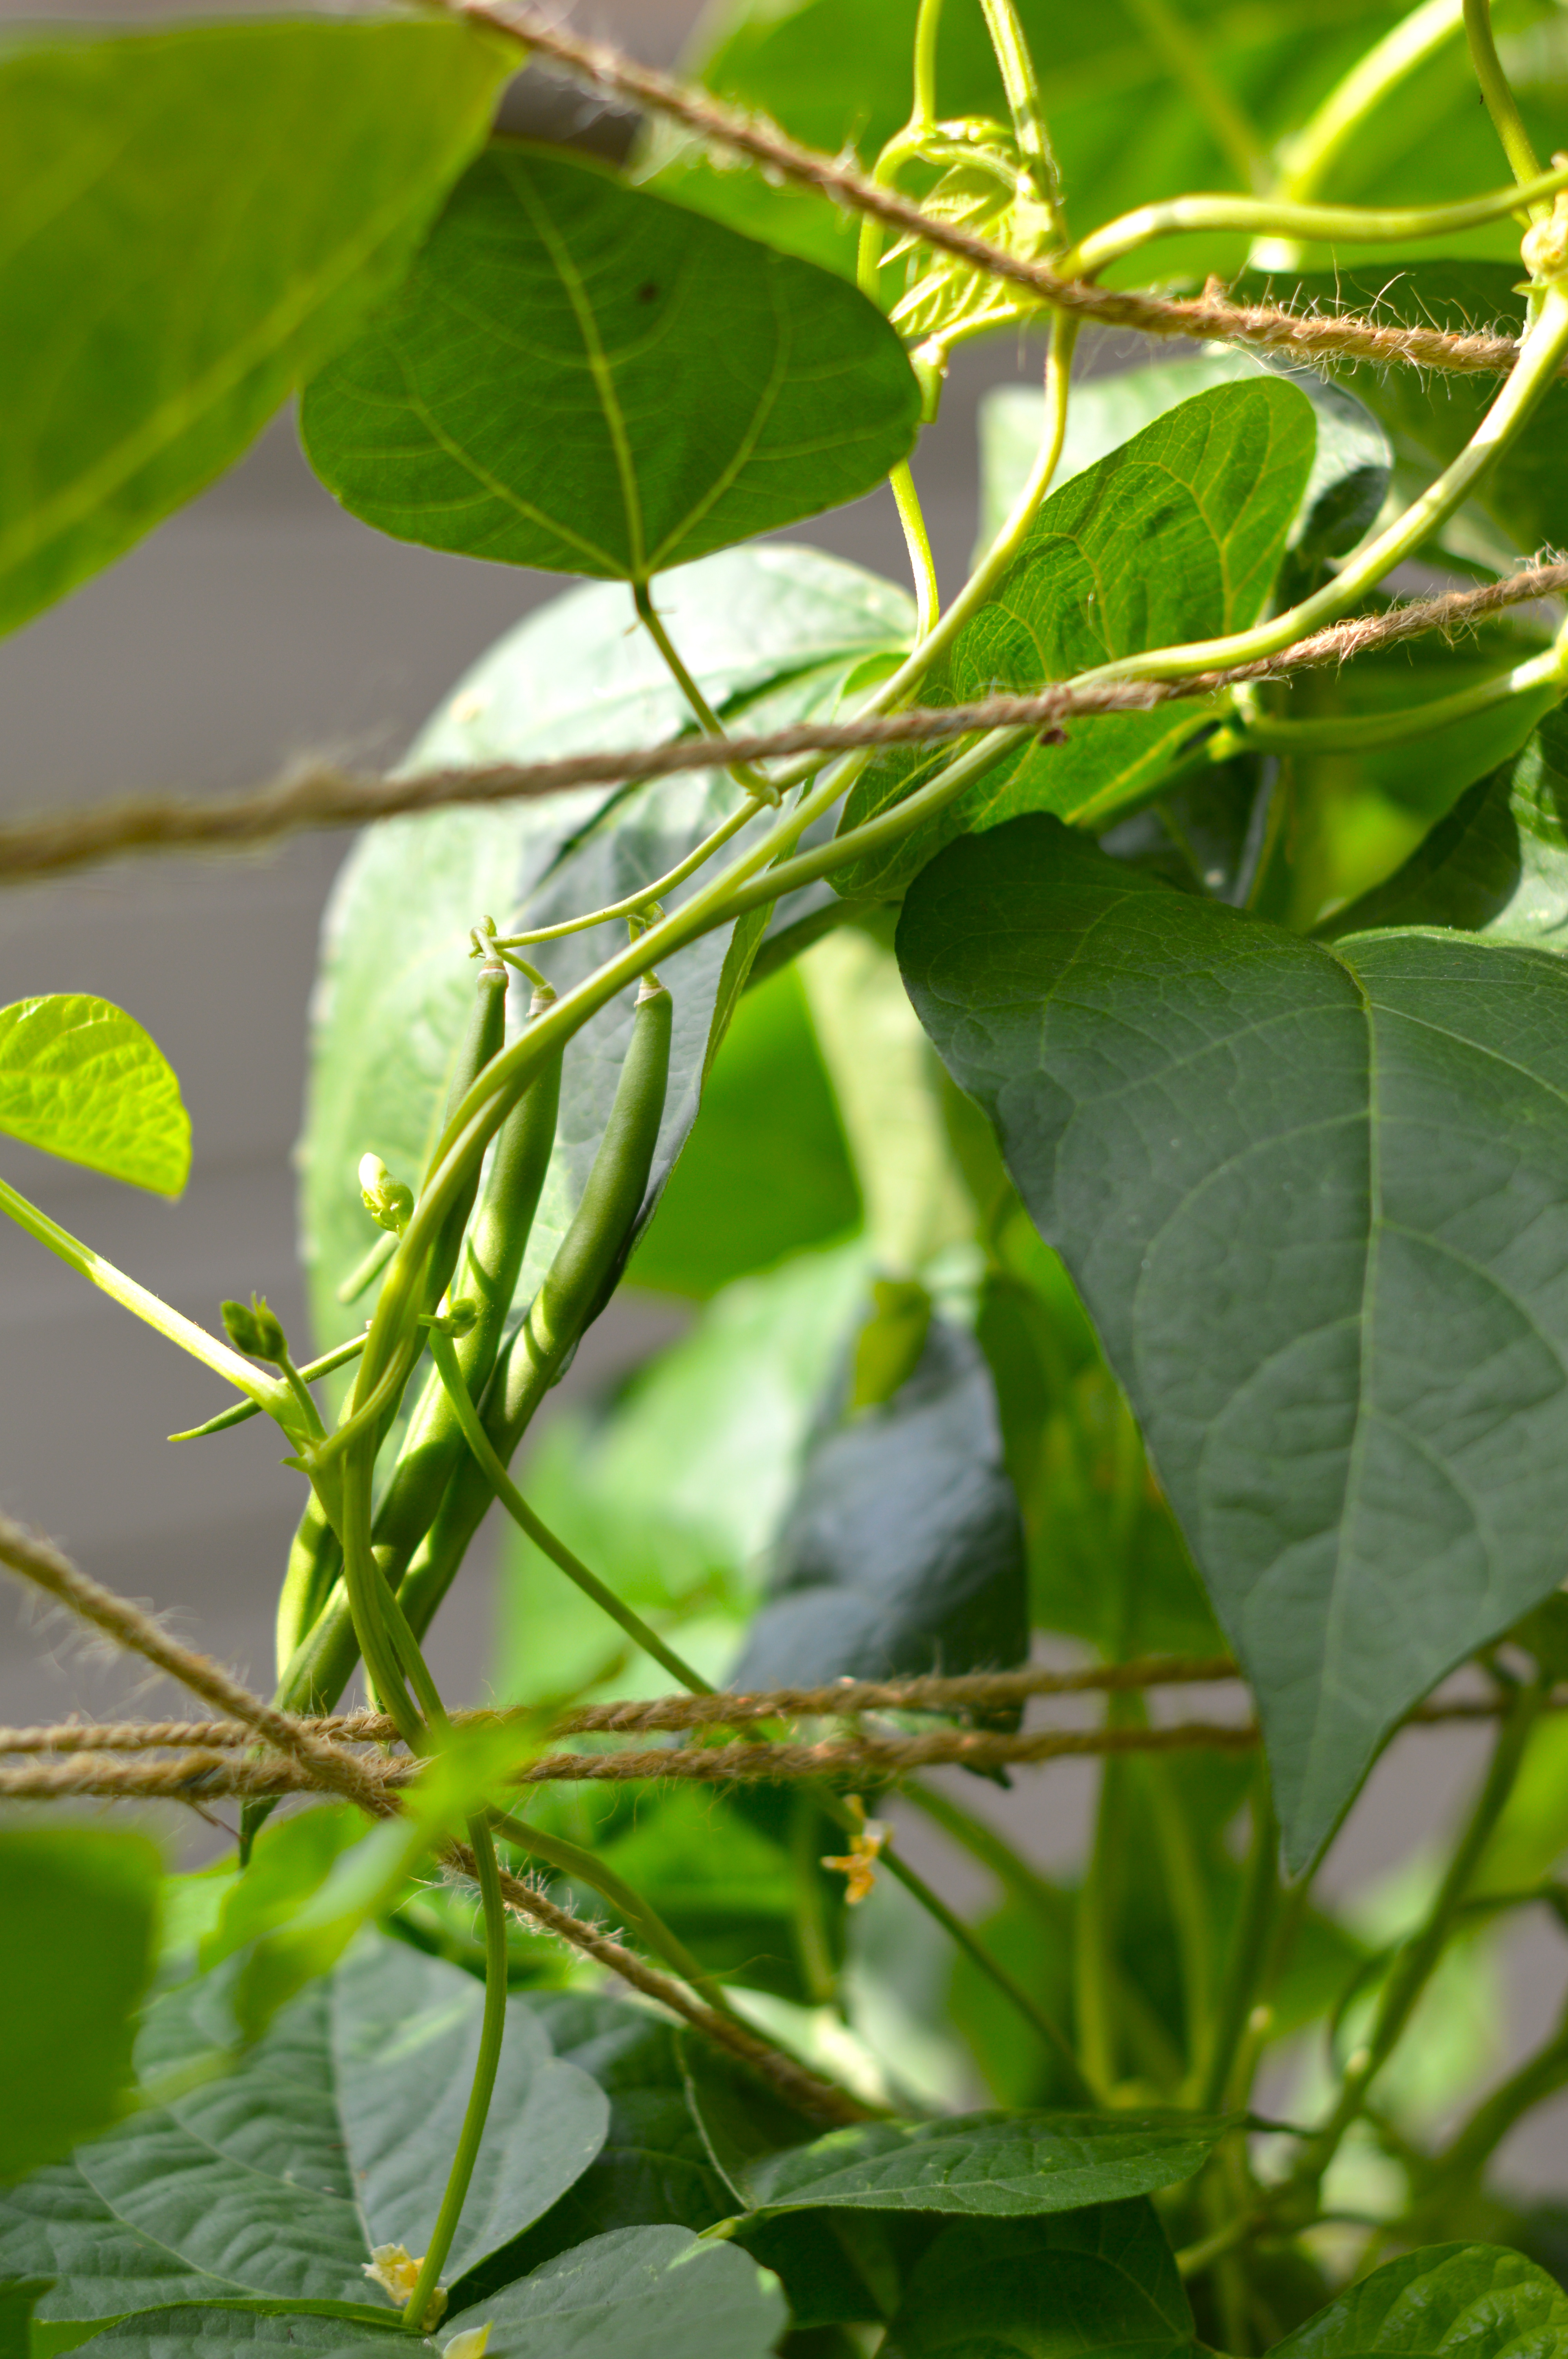
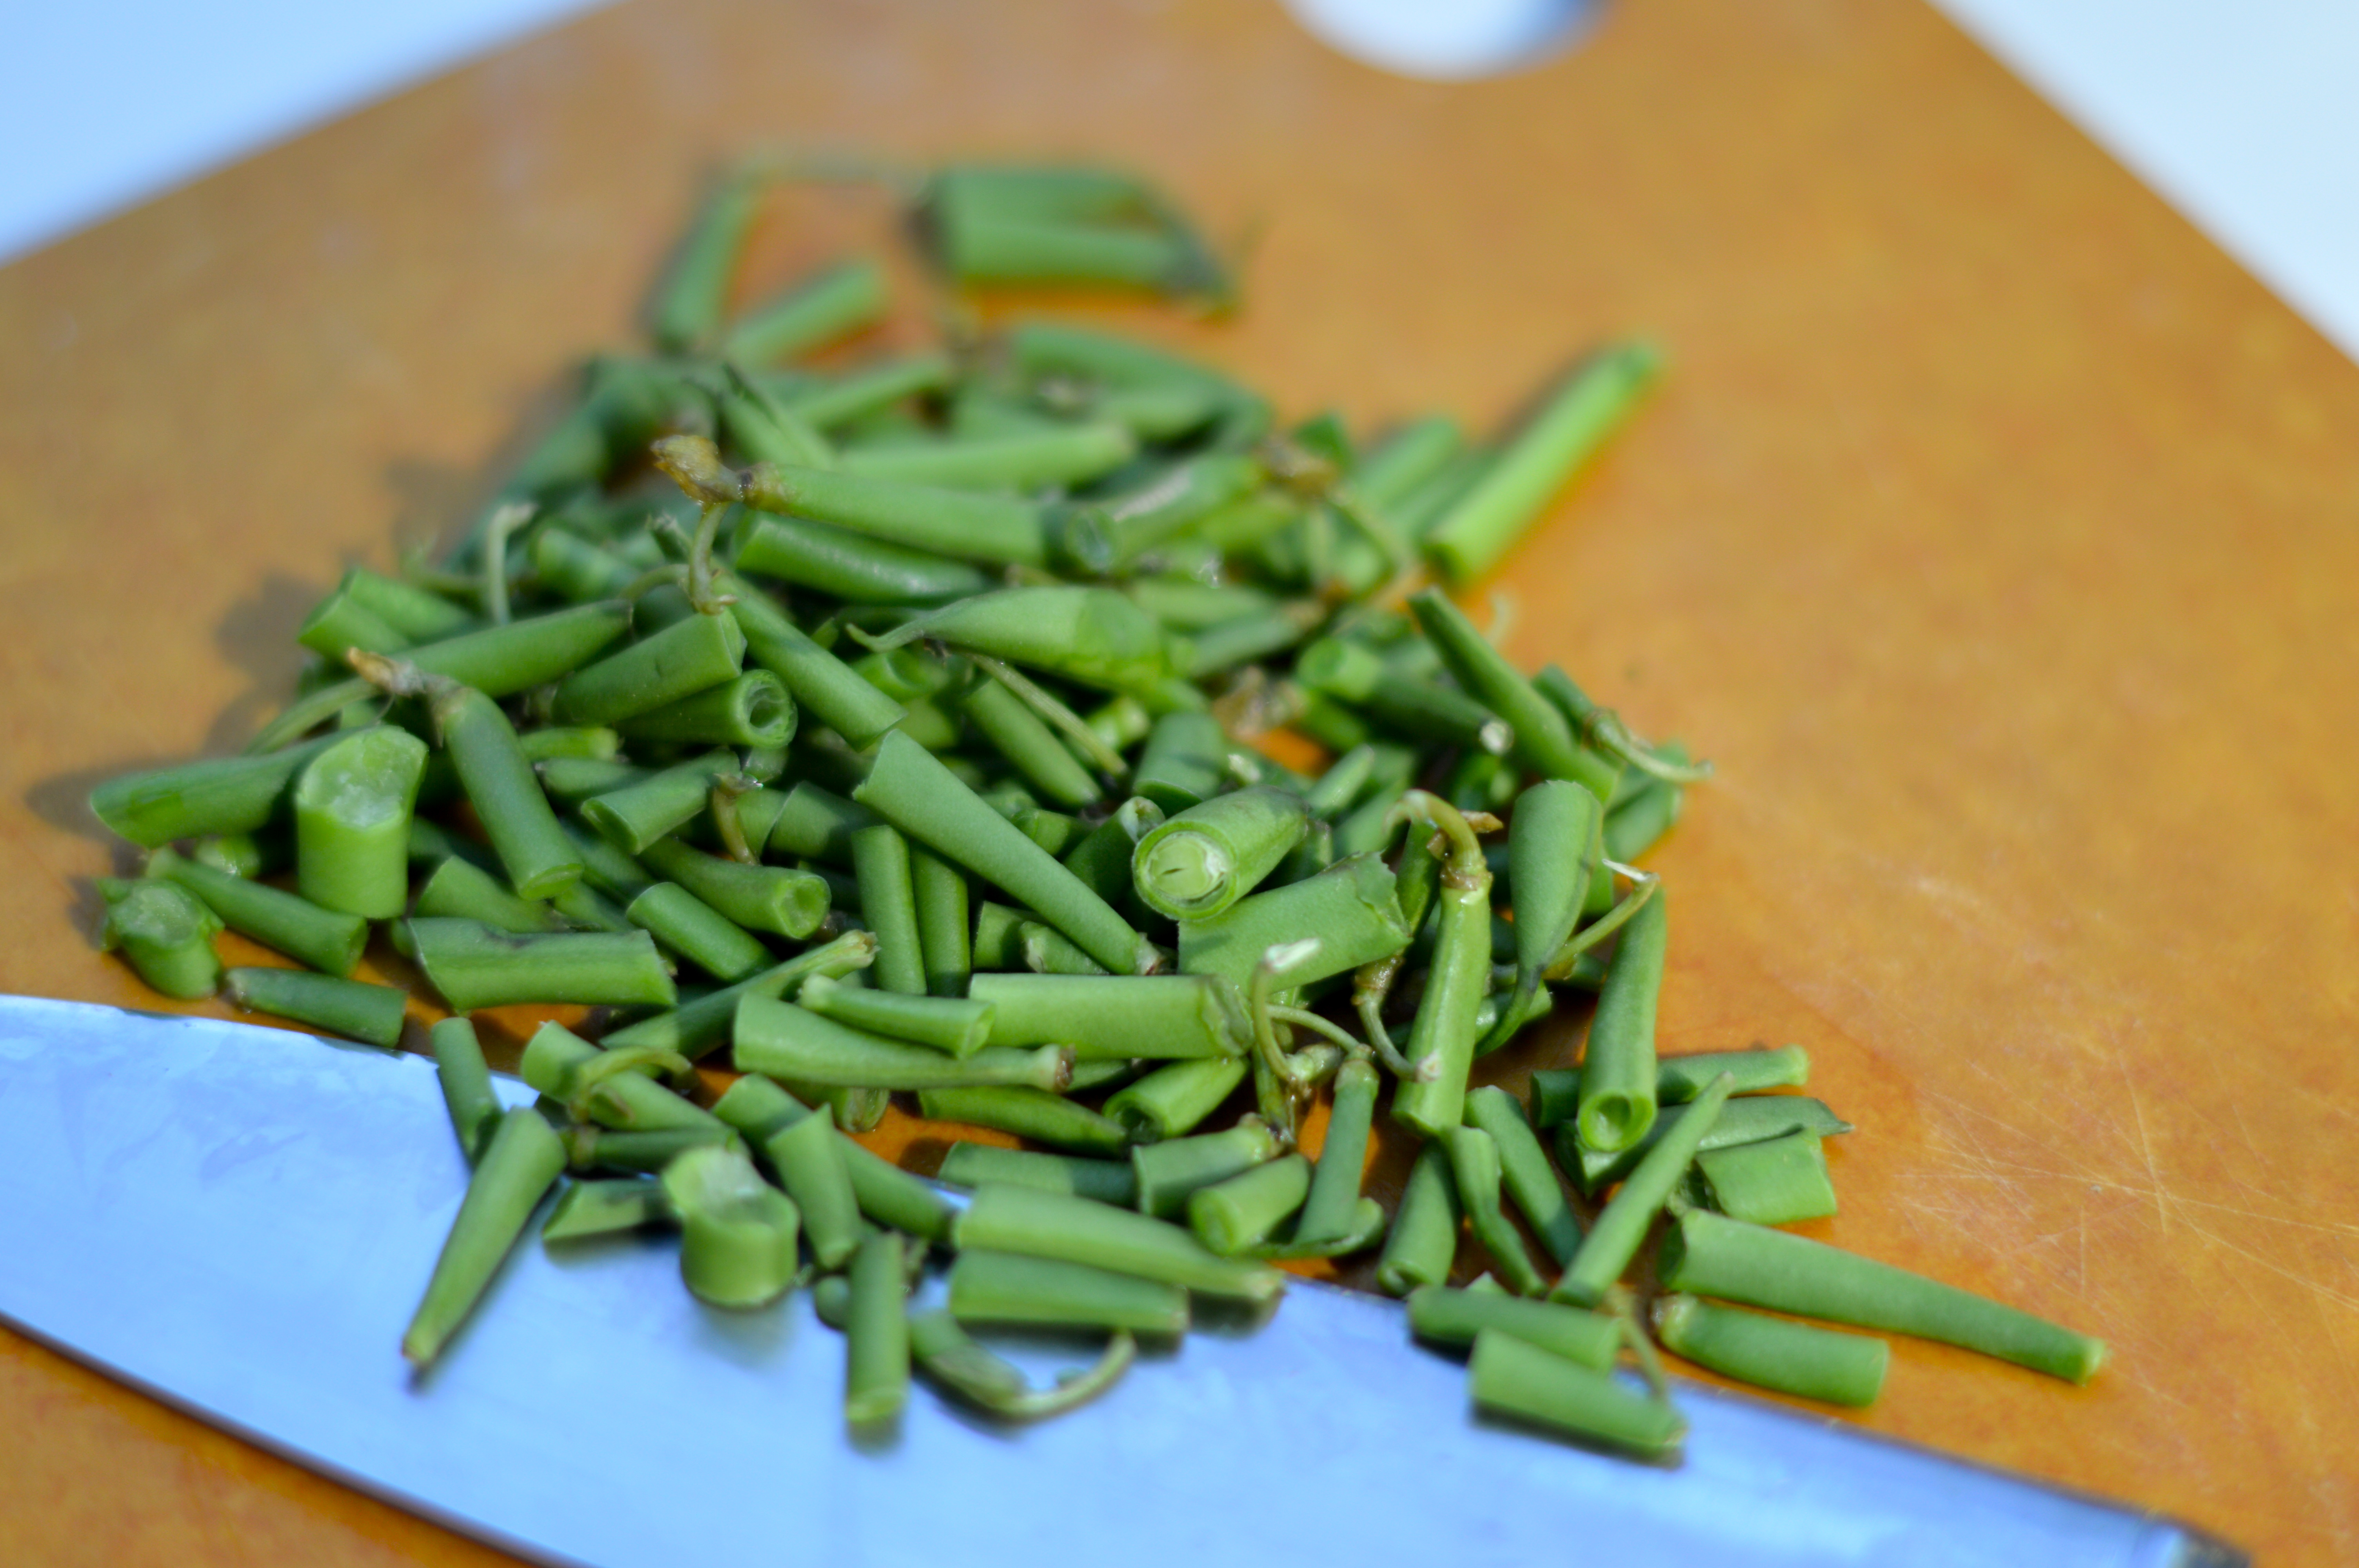
Since time is short and summer is busy, we’re going to get right down to it today.  We grew green beans in our garden again this year.  They are doing well, but I did need to supplement with more beans from the store.  If you have never pickled, this is an excellent recipe to begin your canning adventure with.  It is incredibly easy and the only part that takes any time at all is trimming the beans.  It is so easy and you will be very happy once you have tried this project… Your bloody mary recipe will thank you as well.

DSC_0023DSC_0043 DSC_0044 DSC_0045 DSC_0050 DSC_0058 DSC_0064 DSC_0065 DSC_0069 DSC_0073 DSC_0079 DSC_0084 DSC_0086 DSC_0087

Dilly Beans

yield: approximately 4 pint (500 mL) jars

4 cups white vinegar

3 tablespoons sherry vinegar

2 cups water

3 tablespoons kosher salt

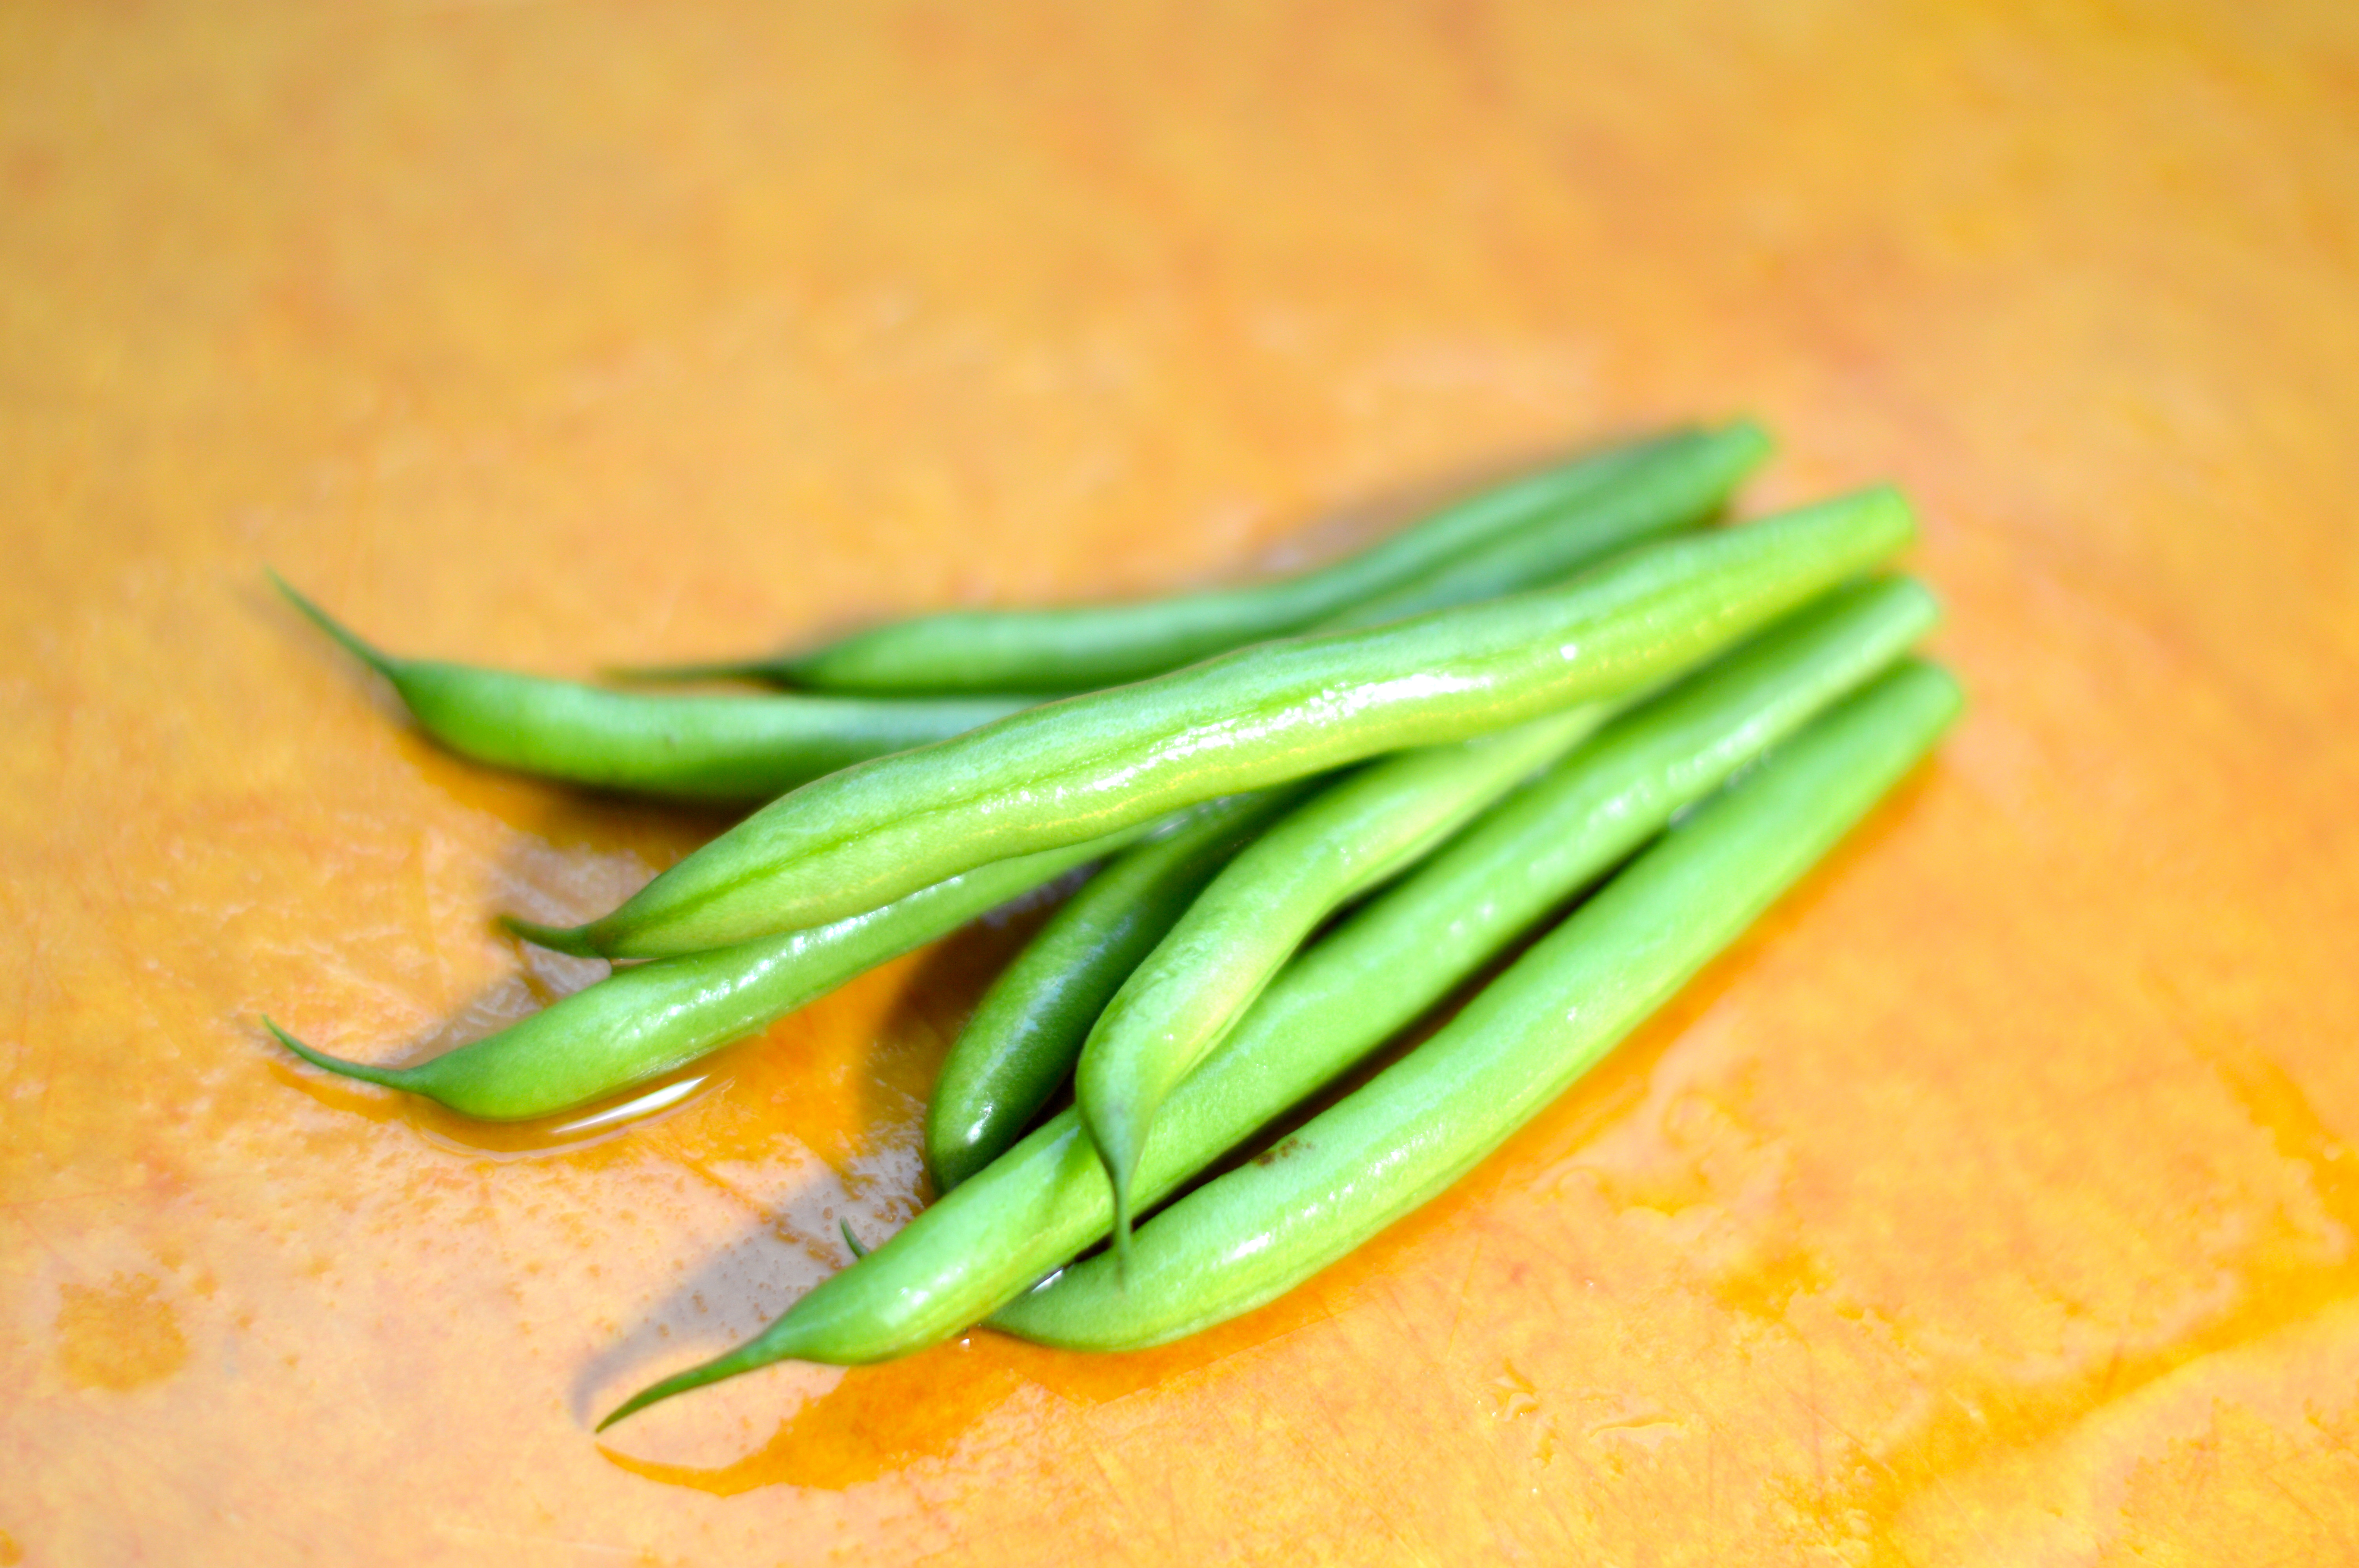
4 pounds green beans, trimmed to fit in jars

Per Jar:

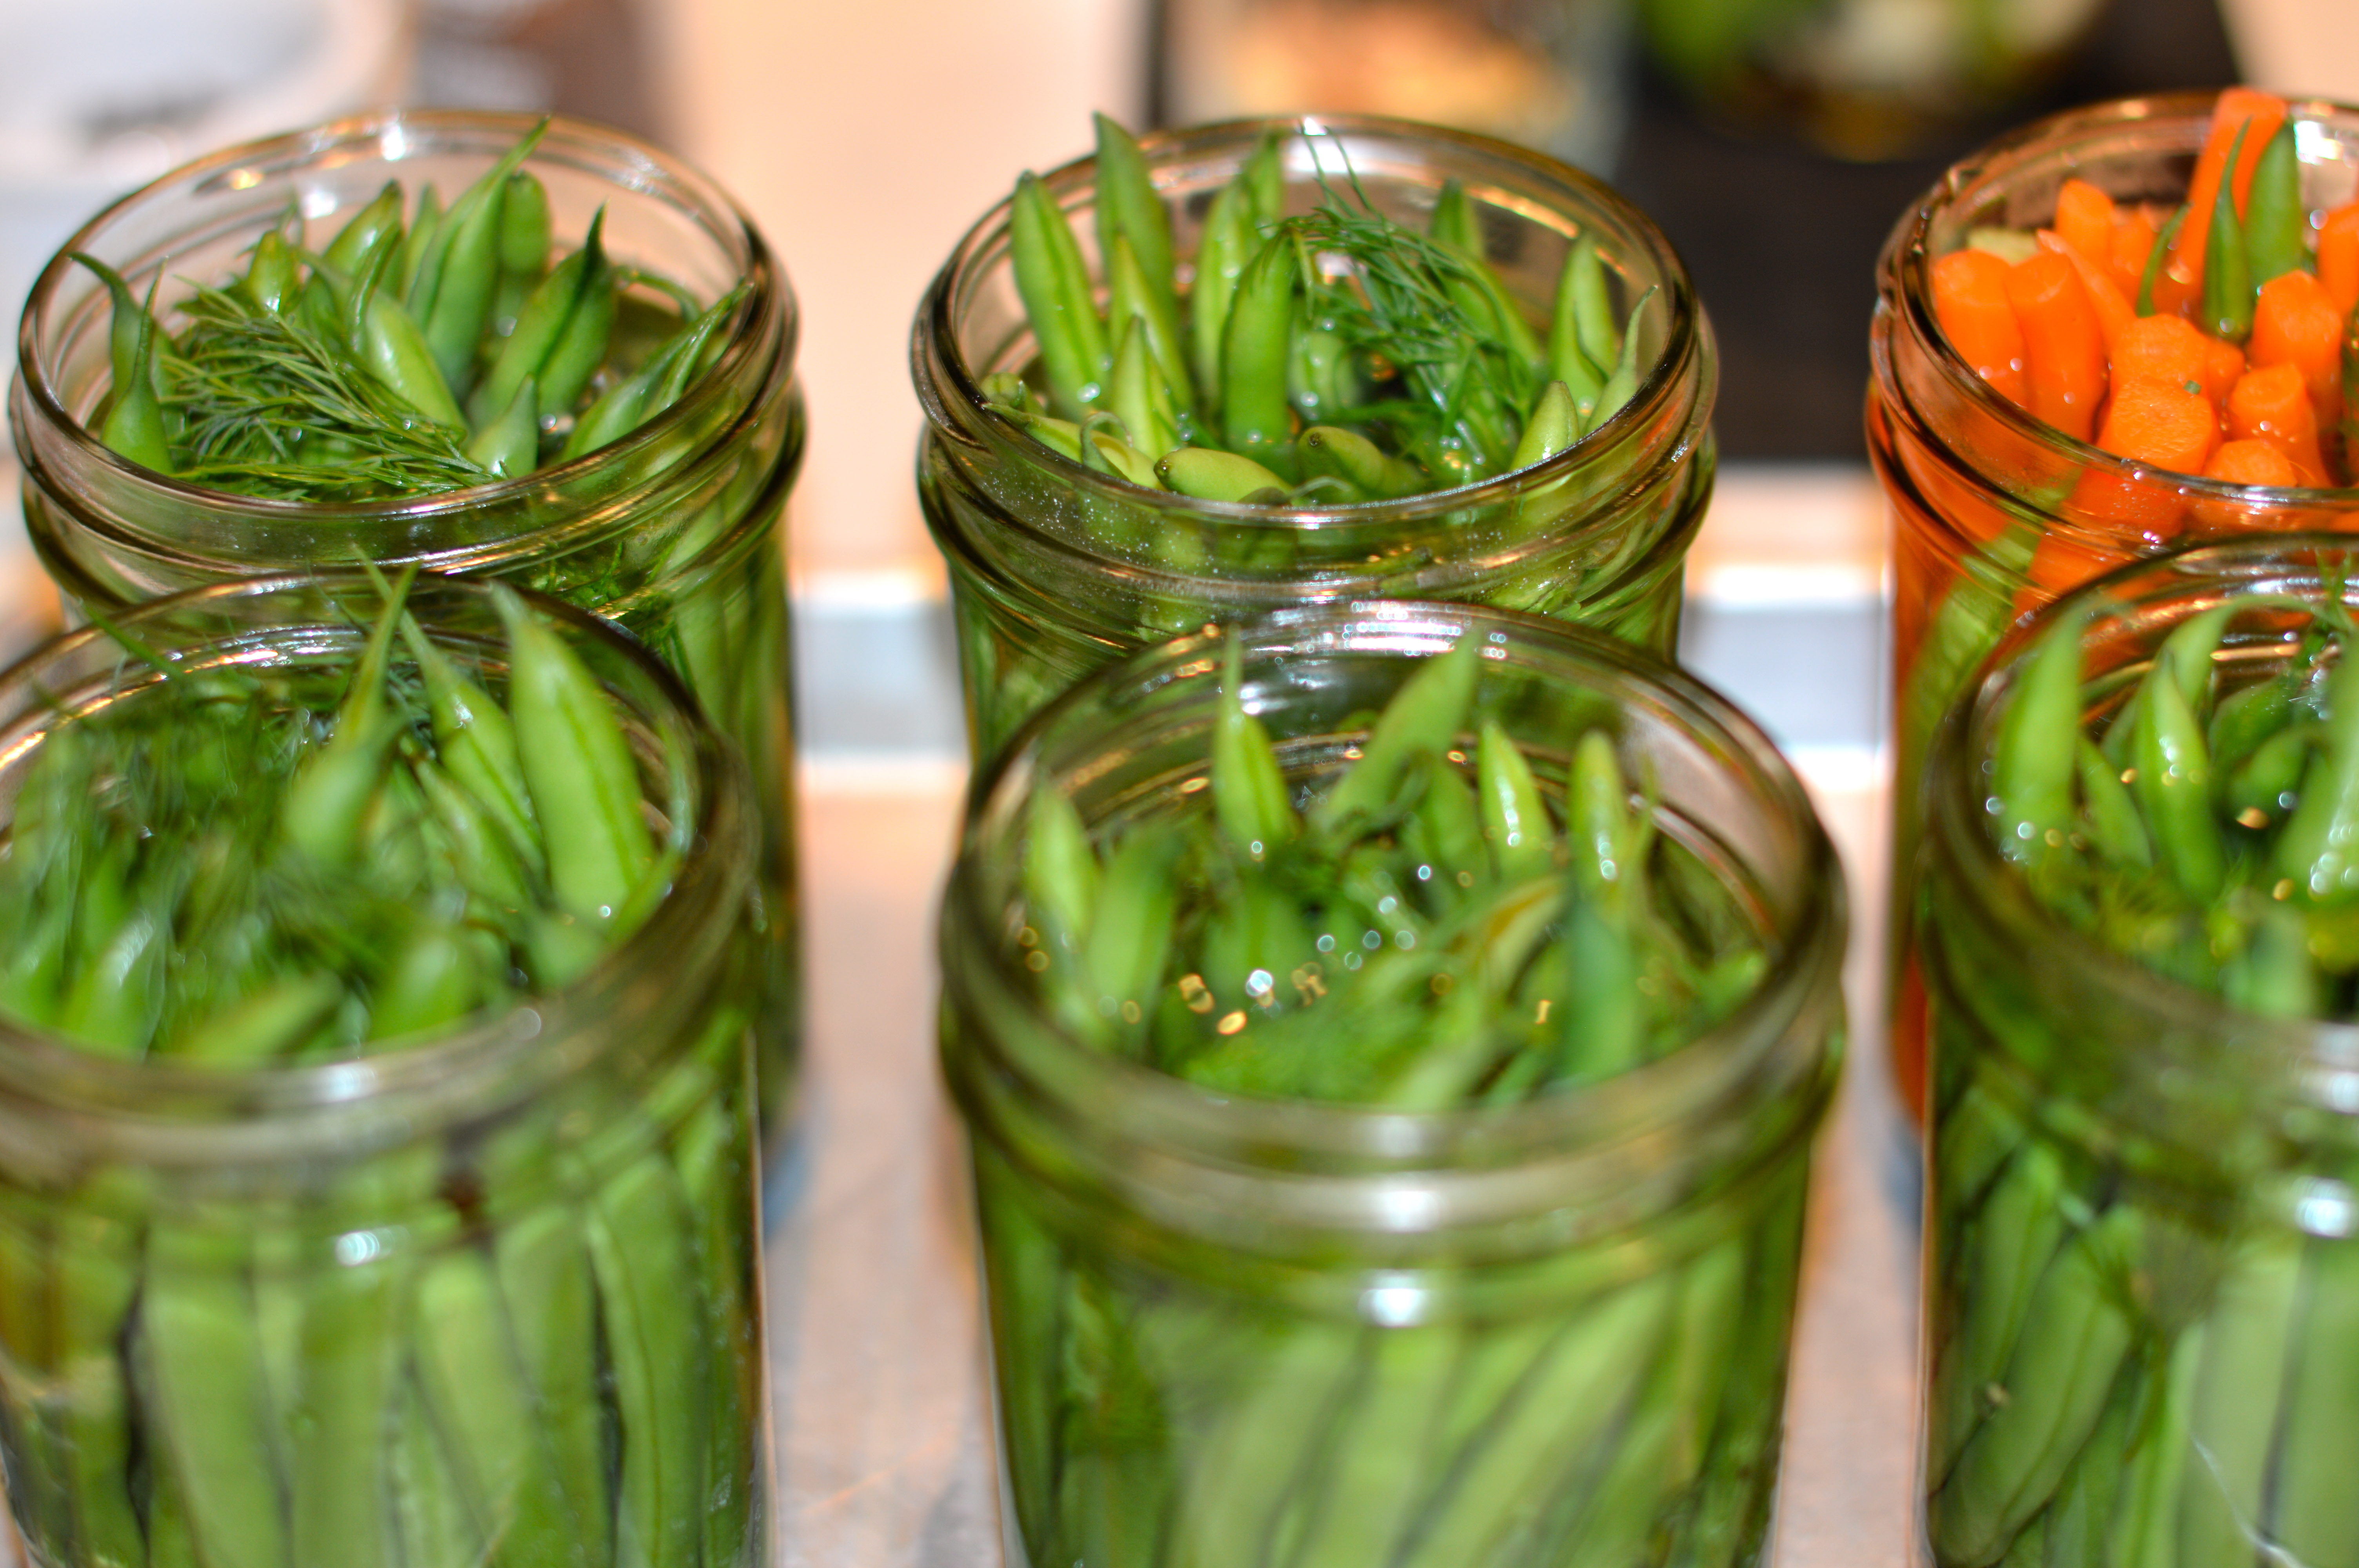
3 dill sprigs or 1 dill head

2 cloves garlic

1 teaspoon yellow mustard seed

1/2 teaspoon brown mustard seed

1/4 teaspoon black peppercorns

Prepare canning water, jars, and lids.

In a large steel saucepan, combine vinegar, water and salt.  Bring to a boil over medium-high heat, stirring to dissolve salt.

Place dill, garlic, mustard seeds, and peppercorns in each hot jar.  Pack the beans in tightly.

Pour boiling brine over the beans, leaving 1/2 inch headspace and making sure the beans are covered in liquid.  Check for air bubbles, wipe the rims, and seal.

Process for 10 minutes in water bath, adjusting for elevation.

DSC_0095

DSC_0097

DSC_0096

A few more tips:  Remember that canning is about preserving great produce, so can with the best ingredients you can find.  When packing jars for pickling, pack the jars as tightly as possible, without bruising produce, as the liquid will make everything float and ingredients will shift around.  Canning, especially if you are just beginning, is always more fun with a friend or two.  Use this project as the excuse to get together with a like-minded friend!  The act of having a project to do together always takes away the guilt I feel when just getting together with someone for coffee and a much-needed catch up.  That may not be your hang up, but it is one of mine.

Happy Pickling!

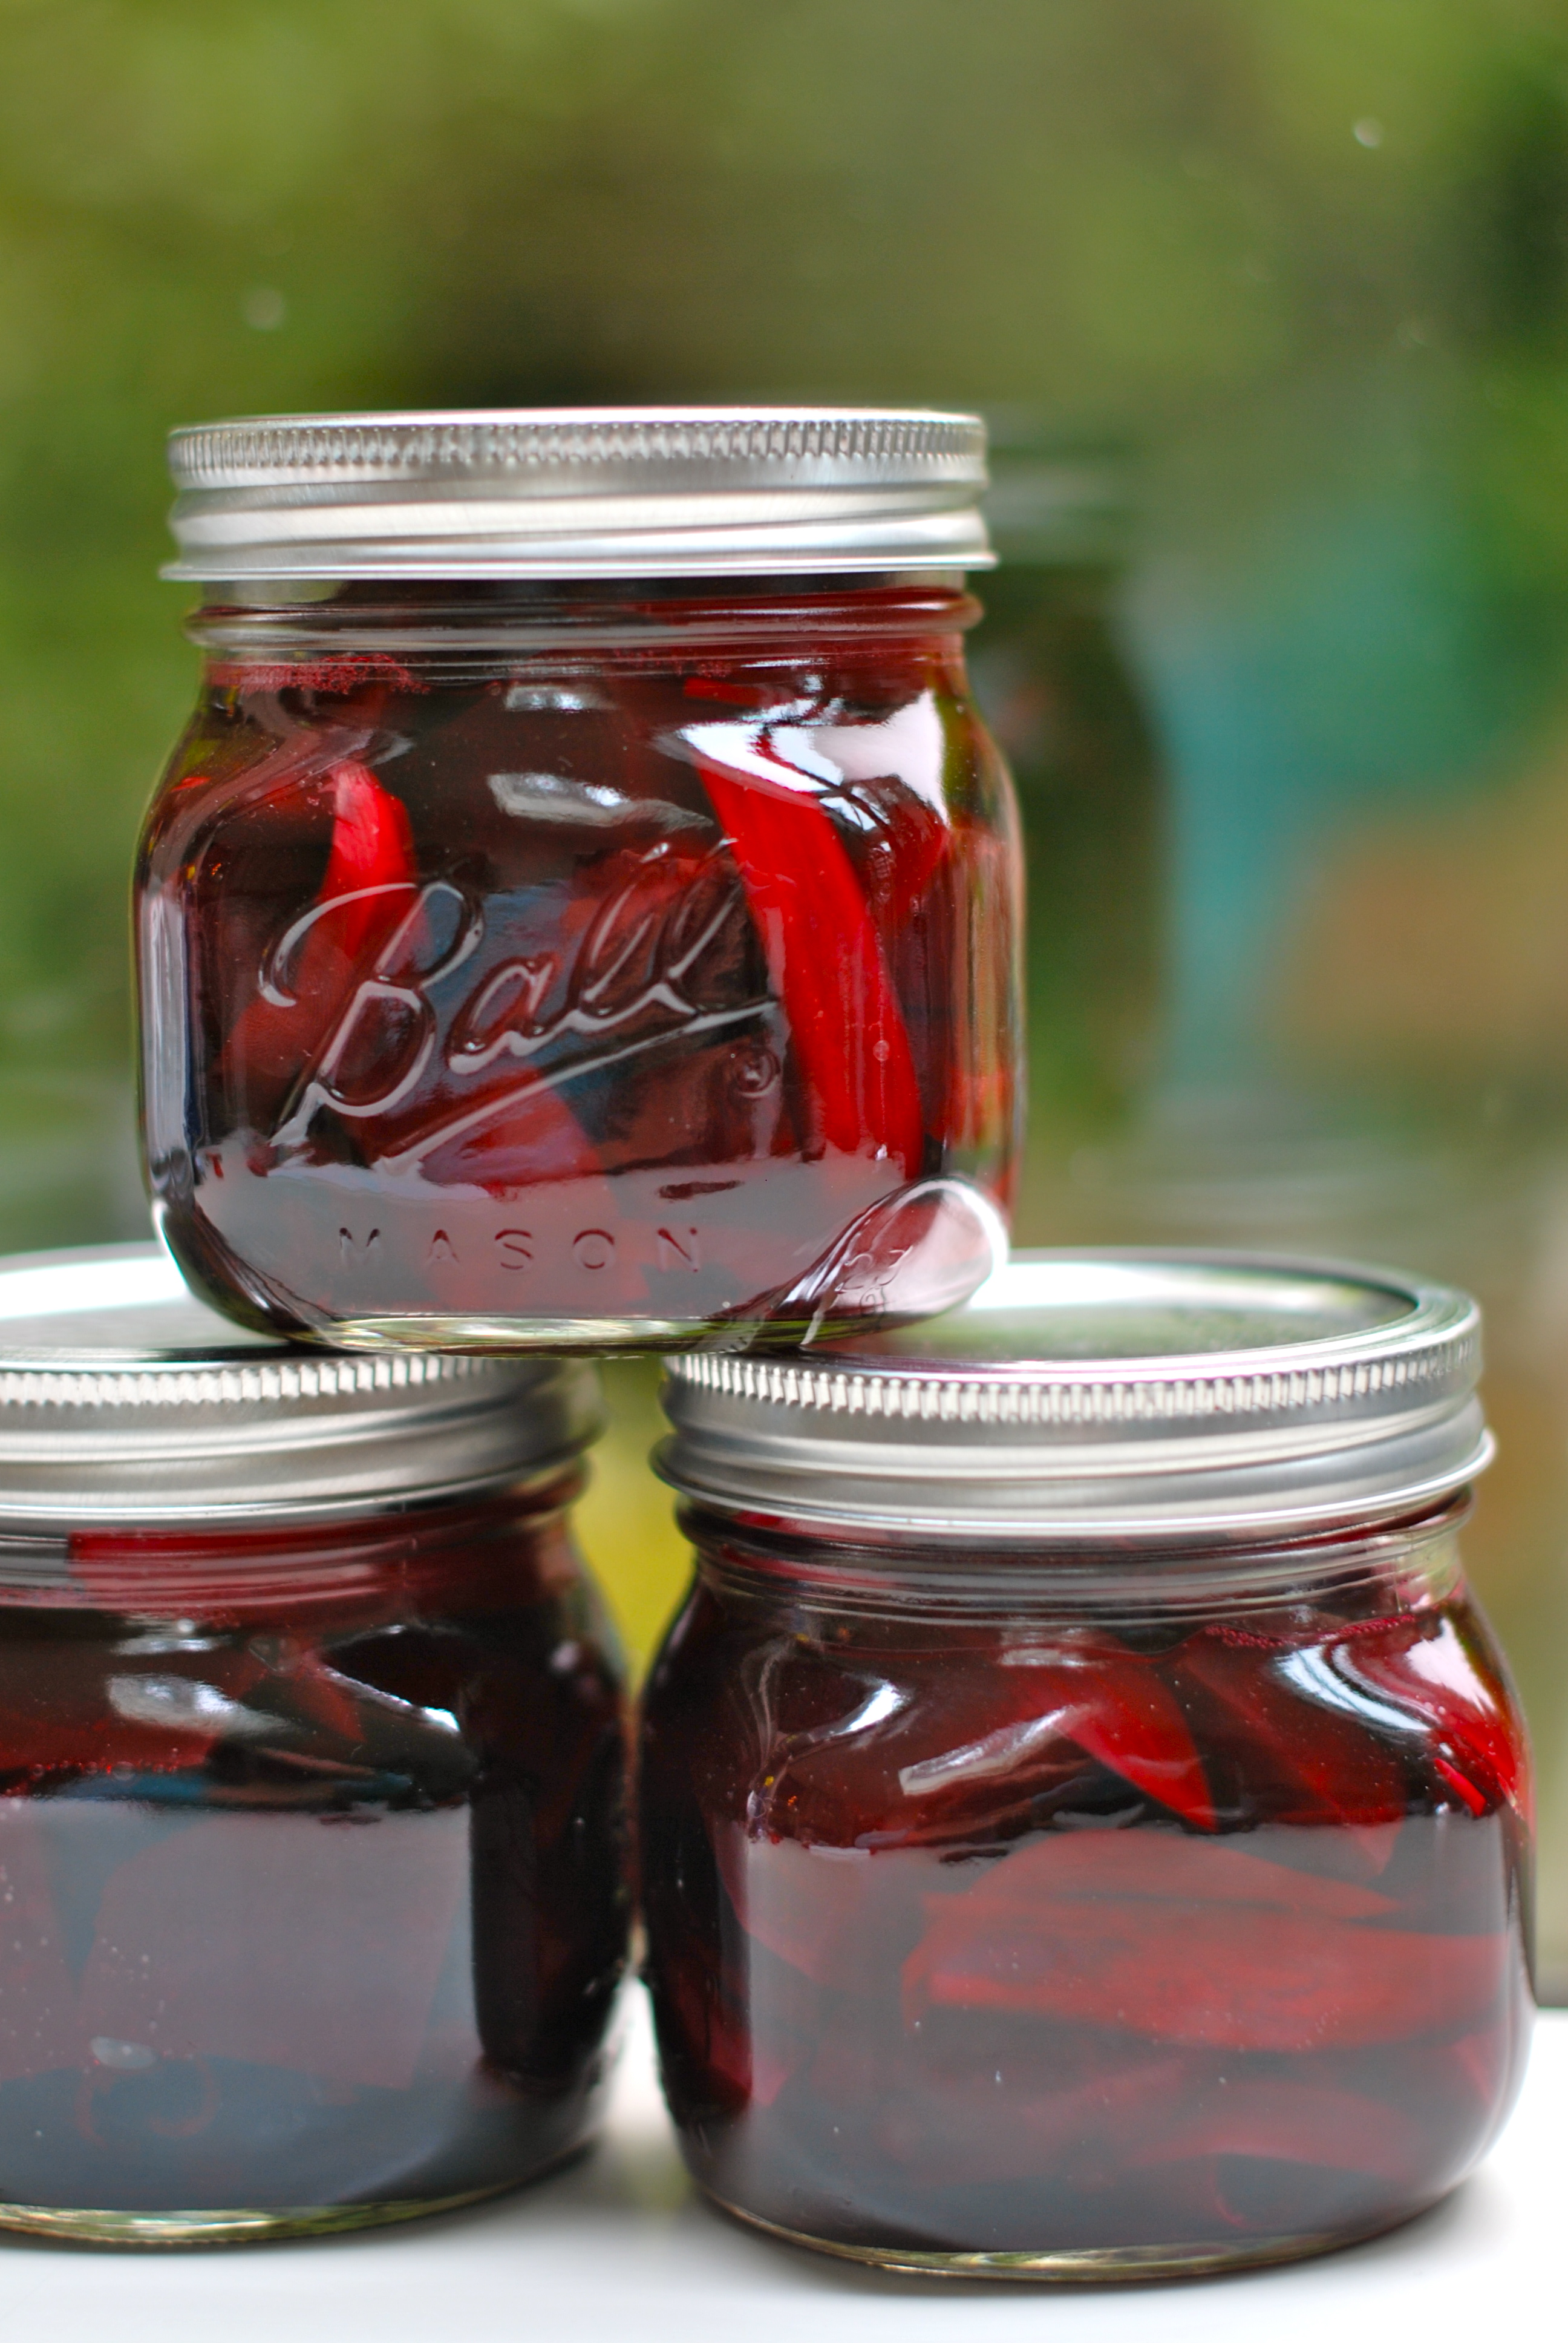
Author Note:  You might notice that one of these jars has carrots in it.  That is another quick tip.  If you have extra jars all ready to go, give your fridge a quick look to see if anything else in there could stand to be pickled!  Fun way to experiment with new combinations.  Also, this project happened in a post-bedtime burst of productivity, so the photos are not perfect.  These projects happen when they can happen in my life, so that’s the way it goes!  Hope it still inspires you to create!

Pretty Pickled Beets

Recently I heard beets described as “pedestrian”.  I was shocked… at first.  I thought to myself, “In what world are beets pedestrian?”  But after chewing on this for awhile, I am ready to admit that the presence of beets on restaurant menus has become de rigueur.  Like caesar salad, beets have become a mainstay within restaurant culture, everyone has their own slightly different version – some more successful than others.  Because of my love of beets, I can be counted on to order pretty much any beet on a menu.  I am very reliable that way.  Whereas at one point in time I was just happy to see the word “beet” on a menu, now I am becoming an expert and paying attention to how the beets are prepared and what accompaniments they are served with.  This has made me realize that not all treatments of beets are equal and I have become more discerning in my “beet love”.

Here are my unscientific findings:

  • I prefer beets cold versus warm
  • I like beets best in salad form, greens optional
  • Beets show off very well alongside salty cheeses (such as feta or goat) and earthy nuts (such as pistachios or walnuts)
  • Roasted beets are nice, but I have learned that I like them better once they have been marinated in vinaigrette or pickled.  They are similar to mushrooms in that they are a great vehicle for other flavors, since their own flavor can be subtle and earthy.

If you are thinking about preparing beets at home, it can feel a bit intimidating at first, with their long greens and dirt-covered skins.  But roasting beets is quite simple and I recommend that you try it, if you haven’t before.  (Here is a step-by-step guide to roasted beets.)  Pre-prepared beets are also available in most grocery stores.  I even saw a huge container of them at Costco the other day (maybe they are pedestrian after all)!  The question is, what do you do with these beets once roasted or taken out of their vacuum pack?  Have you opened that container, hoping to replicate your favorite restaurant-quality salad only to be a bit disappointed?  I have learned that by just letting them hang out in a vinaigrette for a half hour or so before adding them to a salad does wonders, or… (drum roll, please)… You can pickle them for later use!

This is my first foray into the world of pickled beets.  When I began to think about attempting this project, I did my usual routine of consulting all of my canning cookbooks to compare processes and flavors.  Every canning cookbook I own had their own slightly different version of beets.  This tells me that although I am new to the process, the pickling of beets is quite standard.  The recipe I ended up adapting is from Kelly Geary and Jessie Knadler’s book, Tart and Sweet: 101 Canning and Pickling Recipes for the Modern Kitchen.  I liked that their recipe for Sweet Apple Cider Baby Beets didn’t use loads of sugar and the spices seemed nicely aromatic, but not too crazy.  I have doubled the recipe in their book and added white onions, as I believe if you are going to the trouble of canning you may as well make more than just a few pints, if possible.

DSC_0038DSC_0041DSC_0046DSC_0050DSC_0052DSC_0024DSC_0026DSC_0028DSC_0030

Pretty Pickled Beets

yield: about 8 pints

ingredients:

6 pounds baby beets, scrubbed

1 white onion, cut into large slices

4 cups water

2 cups cider vinegar

4 tablespoons kosher salt

4 tablespoons brown sugar or honey

per jar:

1/2 teaspoon allspice berries

1/4 teaspoon black peppercorns

1 star anise pod

1 cinnamon stick

Have ready hot, sterilized jars and their lids.  (After cleaning my jars, I like to keep them in a 200 degree oven so that they are ready when I am.)

Trim the beets by cutting off the top part, near the stem, as well as the root end.  Place the beets in a large non-reative pot (if using different-colored beets, separate them into two saucepans).  Cover with water and boil for about 15 minutes, or until the beets are just tender.  (Roasting the beets is also fine.)   When the cooked beets are cool enough to handle, peel them and cut into slices 1/4 inch (6 mm) thick.

(Note: The beet skins should slip off easily – just rub them with your fingers.  You can wear latex gloves to prevent your fingers from getting stained.  If you have trouble slipping off the skins, you can also use a vegetable peeler.)

In a saucepan over medium heat, bring the vinegar, water, salt, and brown sugar to a boil.  Stir until the sugar and salt are dissolved.

Place allspice, peppercorns, star anise, and cinnamon in each hot jar.  Divide beet and onion slices among the jars, packing tightly without bruising them.  Ladle the hot vinegar mixture into jars, leaving 1/2 inch headspace.  Make sure the beets are fully covered with the liquid.

Check for air bubbles, wipe rims, and seal.  Process in a water bath for 10 minutes.  Let the jars stand undisturbed for 24 hours and then set them aside for 1 week for the flavors to develop.  If a seal has failed, store the jar in the refrigerator for up to 1 week.

Enjoy your beets straight from the jar or mixed into a salad!

Happy Pickling!