
Category: DIY
Inspire Me
Spring is all about new beginnings. And I find myself in awe of how many friends are setting out on new roads. As excited as I am for these friends and their new adventures, I am also aware of feelings of being somewhat left behind. So, in an effort to positively move forward, I have been working hard on finding new sources of inspiration. I have been sewing like crazy and getting into other fun projects, (but many of those will have to wait to be shared)!

Taking a class can be wonderful inspiration. It could be a class about something you have always wanted to learn or something that just seems fun, or even a bit random. I have taken sewing classes that have taken my skills to new levels, as well as a random wool felting class resulting in some cute (and odd) little animals. Sometimes the best thing about taking a class isn’t the subject as much as what it inspires inside, who we meet, or simply the satisfaction of creating something with our own hands.

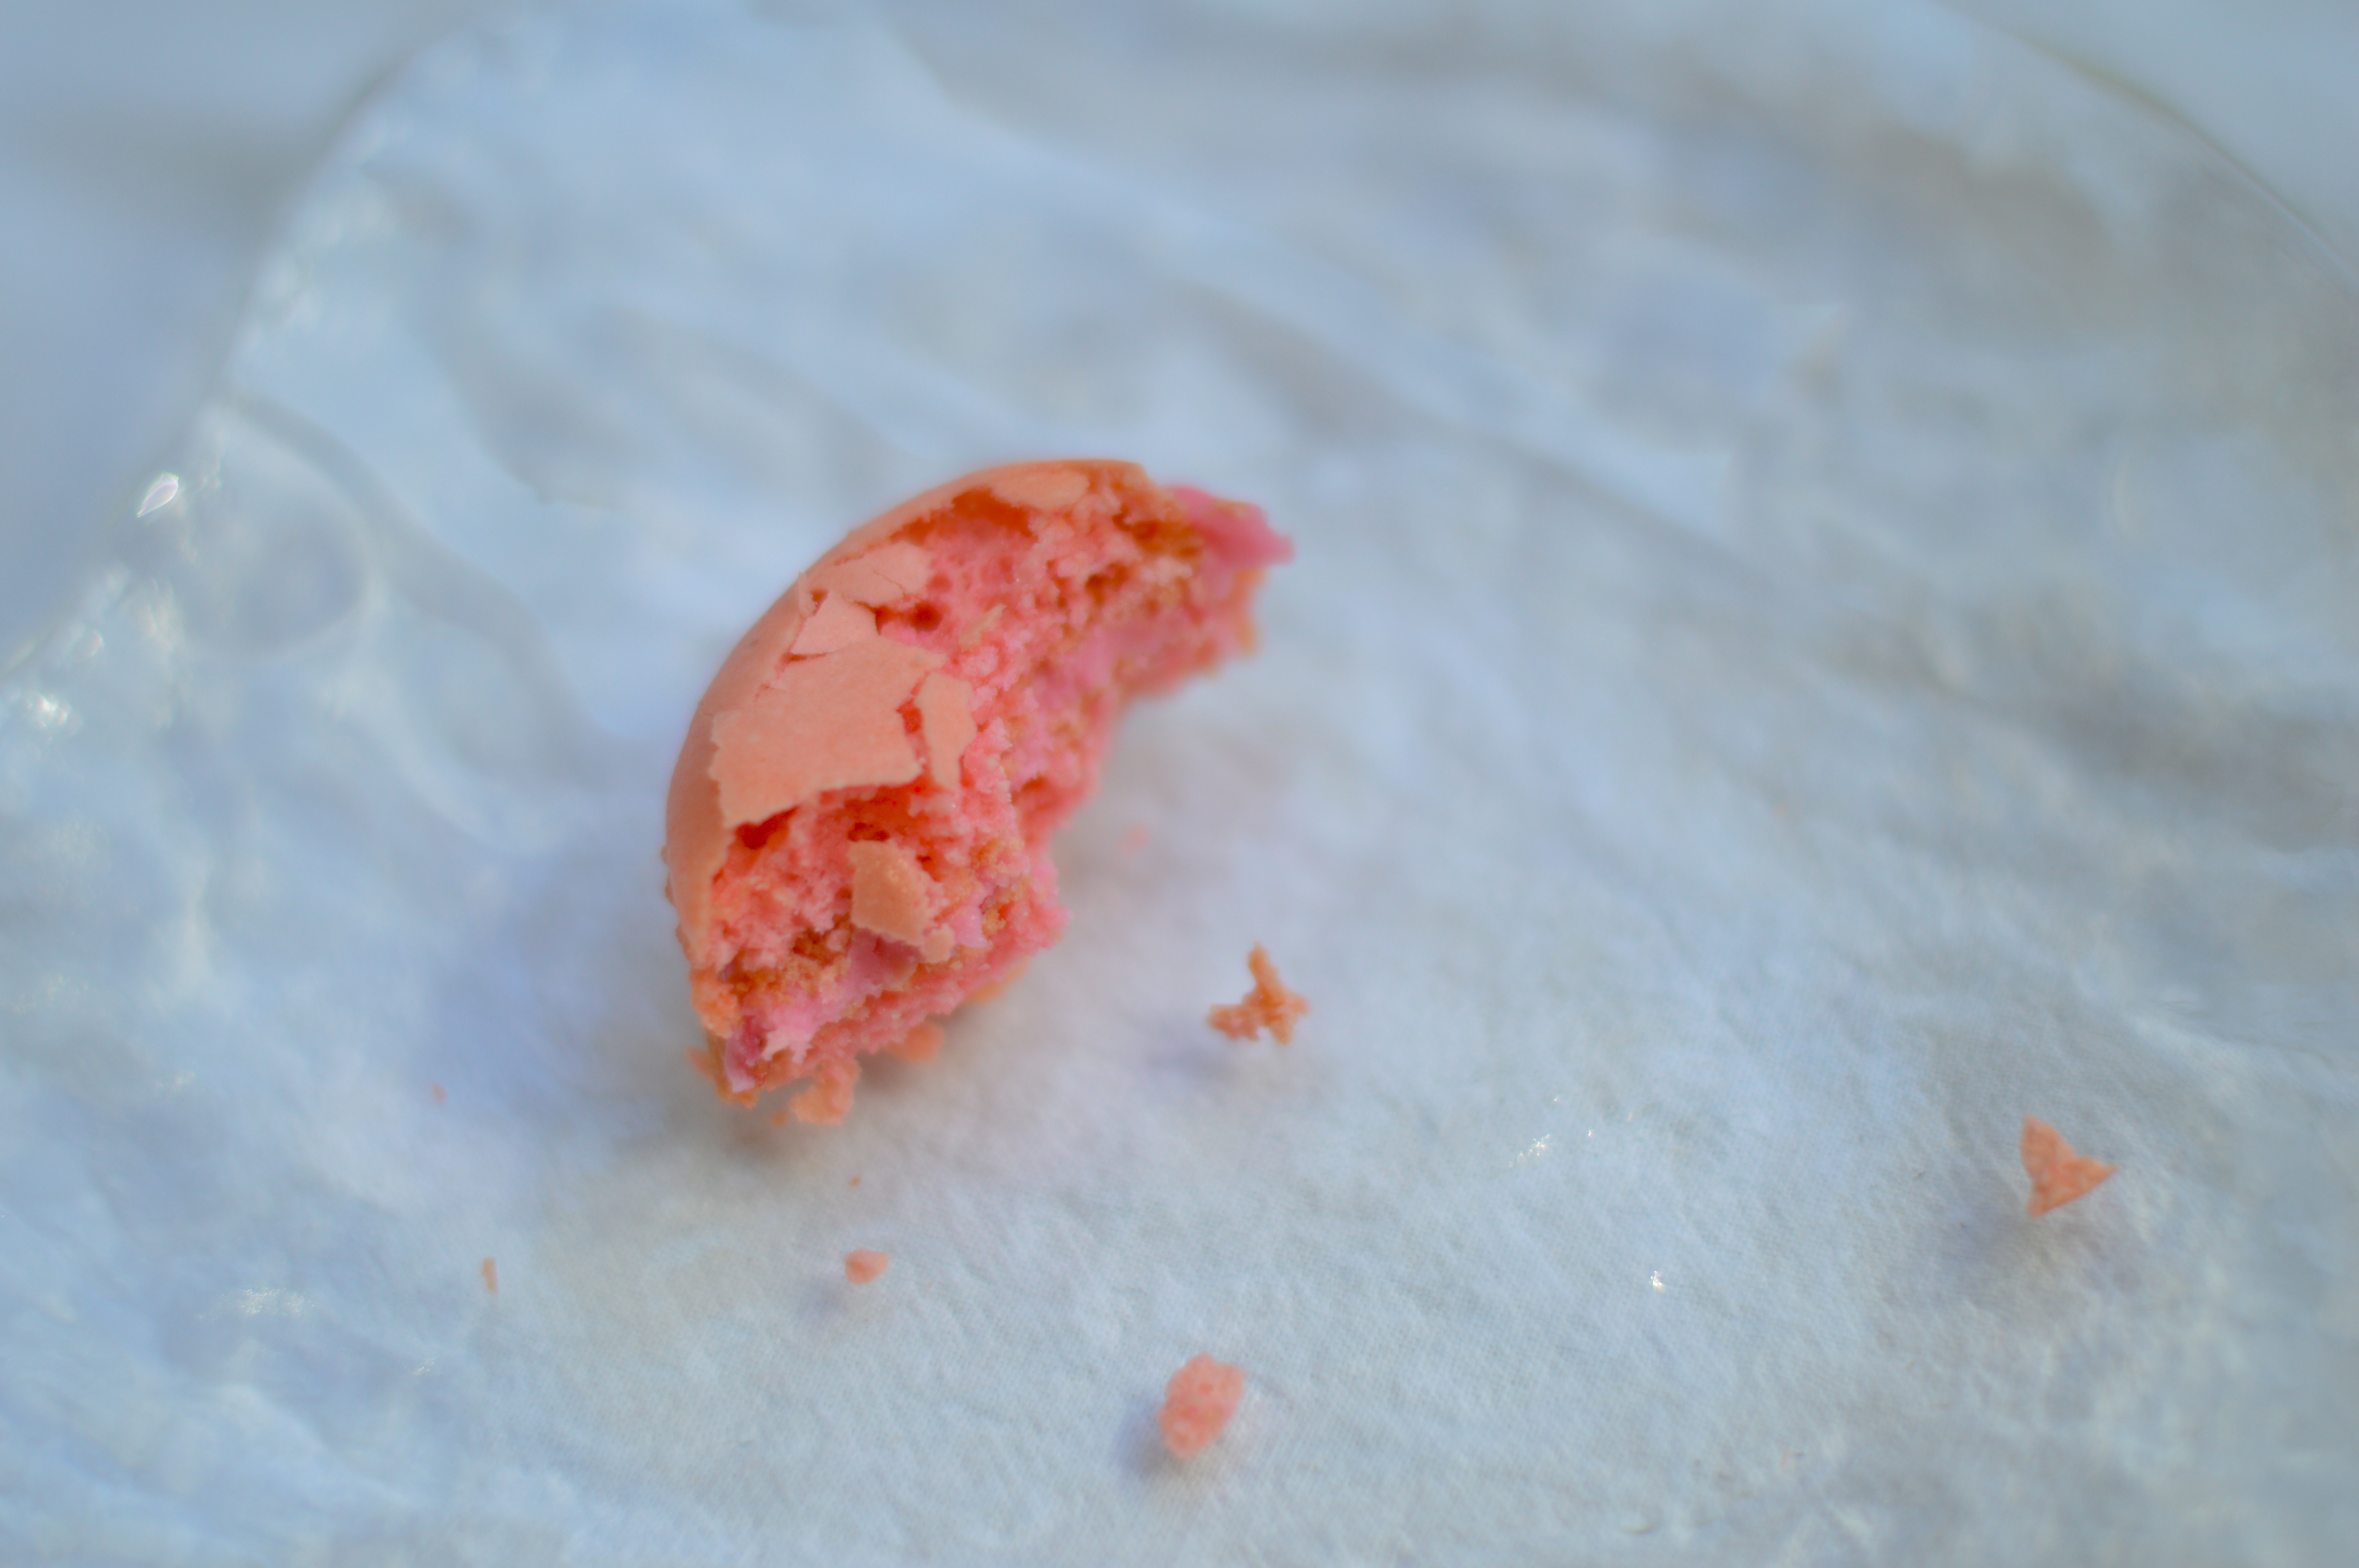
A few weeks ago a friend, M, and I took a class on how to bake french macarons. This is not something that I had a particular longing to know how to do… (I know how to buy them really well already). But, they do hold a certain fascination, don’t they? They reek of european sophistication and are currently very trendy. The crisp outer layer, the creamy center, the beautiful pastel colors… These three-layer cookies do make a happy little package, don’t you think?

And although I wouldn’t typically classify myself as a baker, I was reminded that it is so much fun to learn something new. There is something wonderfully beneficial in seeing someone demonstrate the intricacies of a recipe or process. By learning someone’s tips and tricks it removes the mystery and helps us to become a little more brave ourselves. Since our class a few weeks ago, at least nine batches of macarons have been made between the two of us. Can you say obsess much? We are currently looking for qualified taste-testers… Please contact me if you would like to be considered.


Author’s Note: I am excited to say that I will be taking my first Pantry at Delancey class this weekend. I have looked forward to trying out the The Pantry for a long time. It is a food photography workshop, so you can be the judge in future posts as to whether it was worth my time, but I’m sure it will be full of inspiration.
Happy Spring!
Signs of Spring

So spring doesn’t officially begin for 13 more days (not that I am counting), but signs of winter’s end are all around. I spotted our first camelia blooming, the daffodils are poking their little yellow heads out, and I now hear the birds chirping when I wake up in the morning.
I remember when Sam first went to preschool, he came home with a simple bird feeder that they made in class. The teacher reminded the students (and parents) that it can be difficult for birds to find food at this point in winter, so we can help by putting food out. The garden is still a bit bleak, with the grass just beginning to sprout, but by placing a bird feeder in our tree we can see wildlife happening right outside our kitchen window.
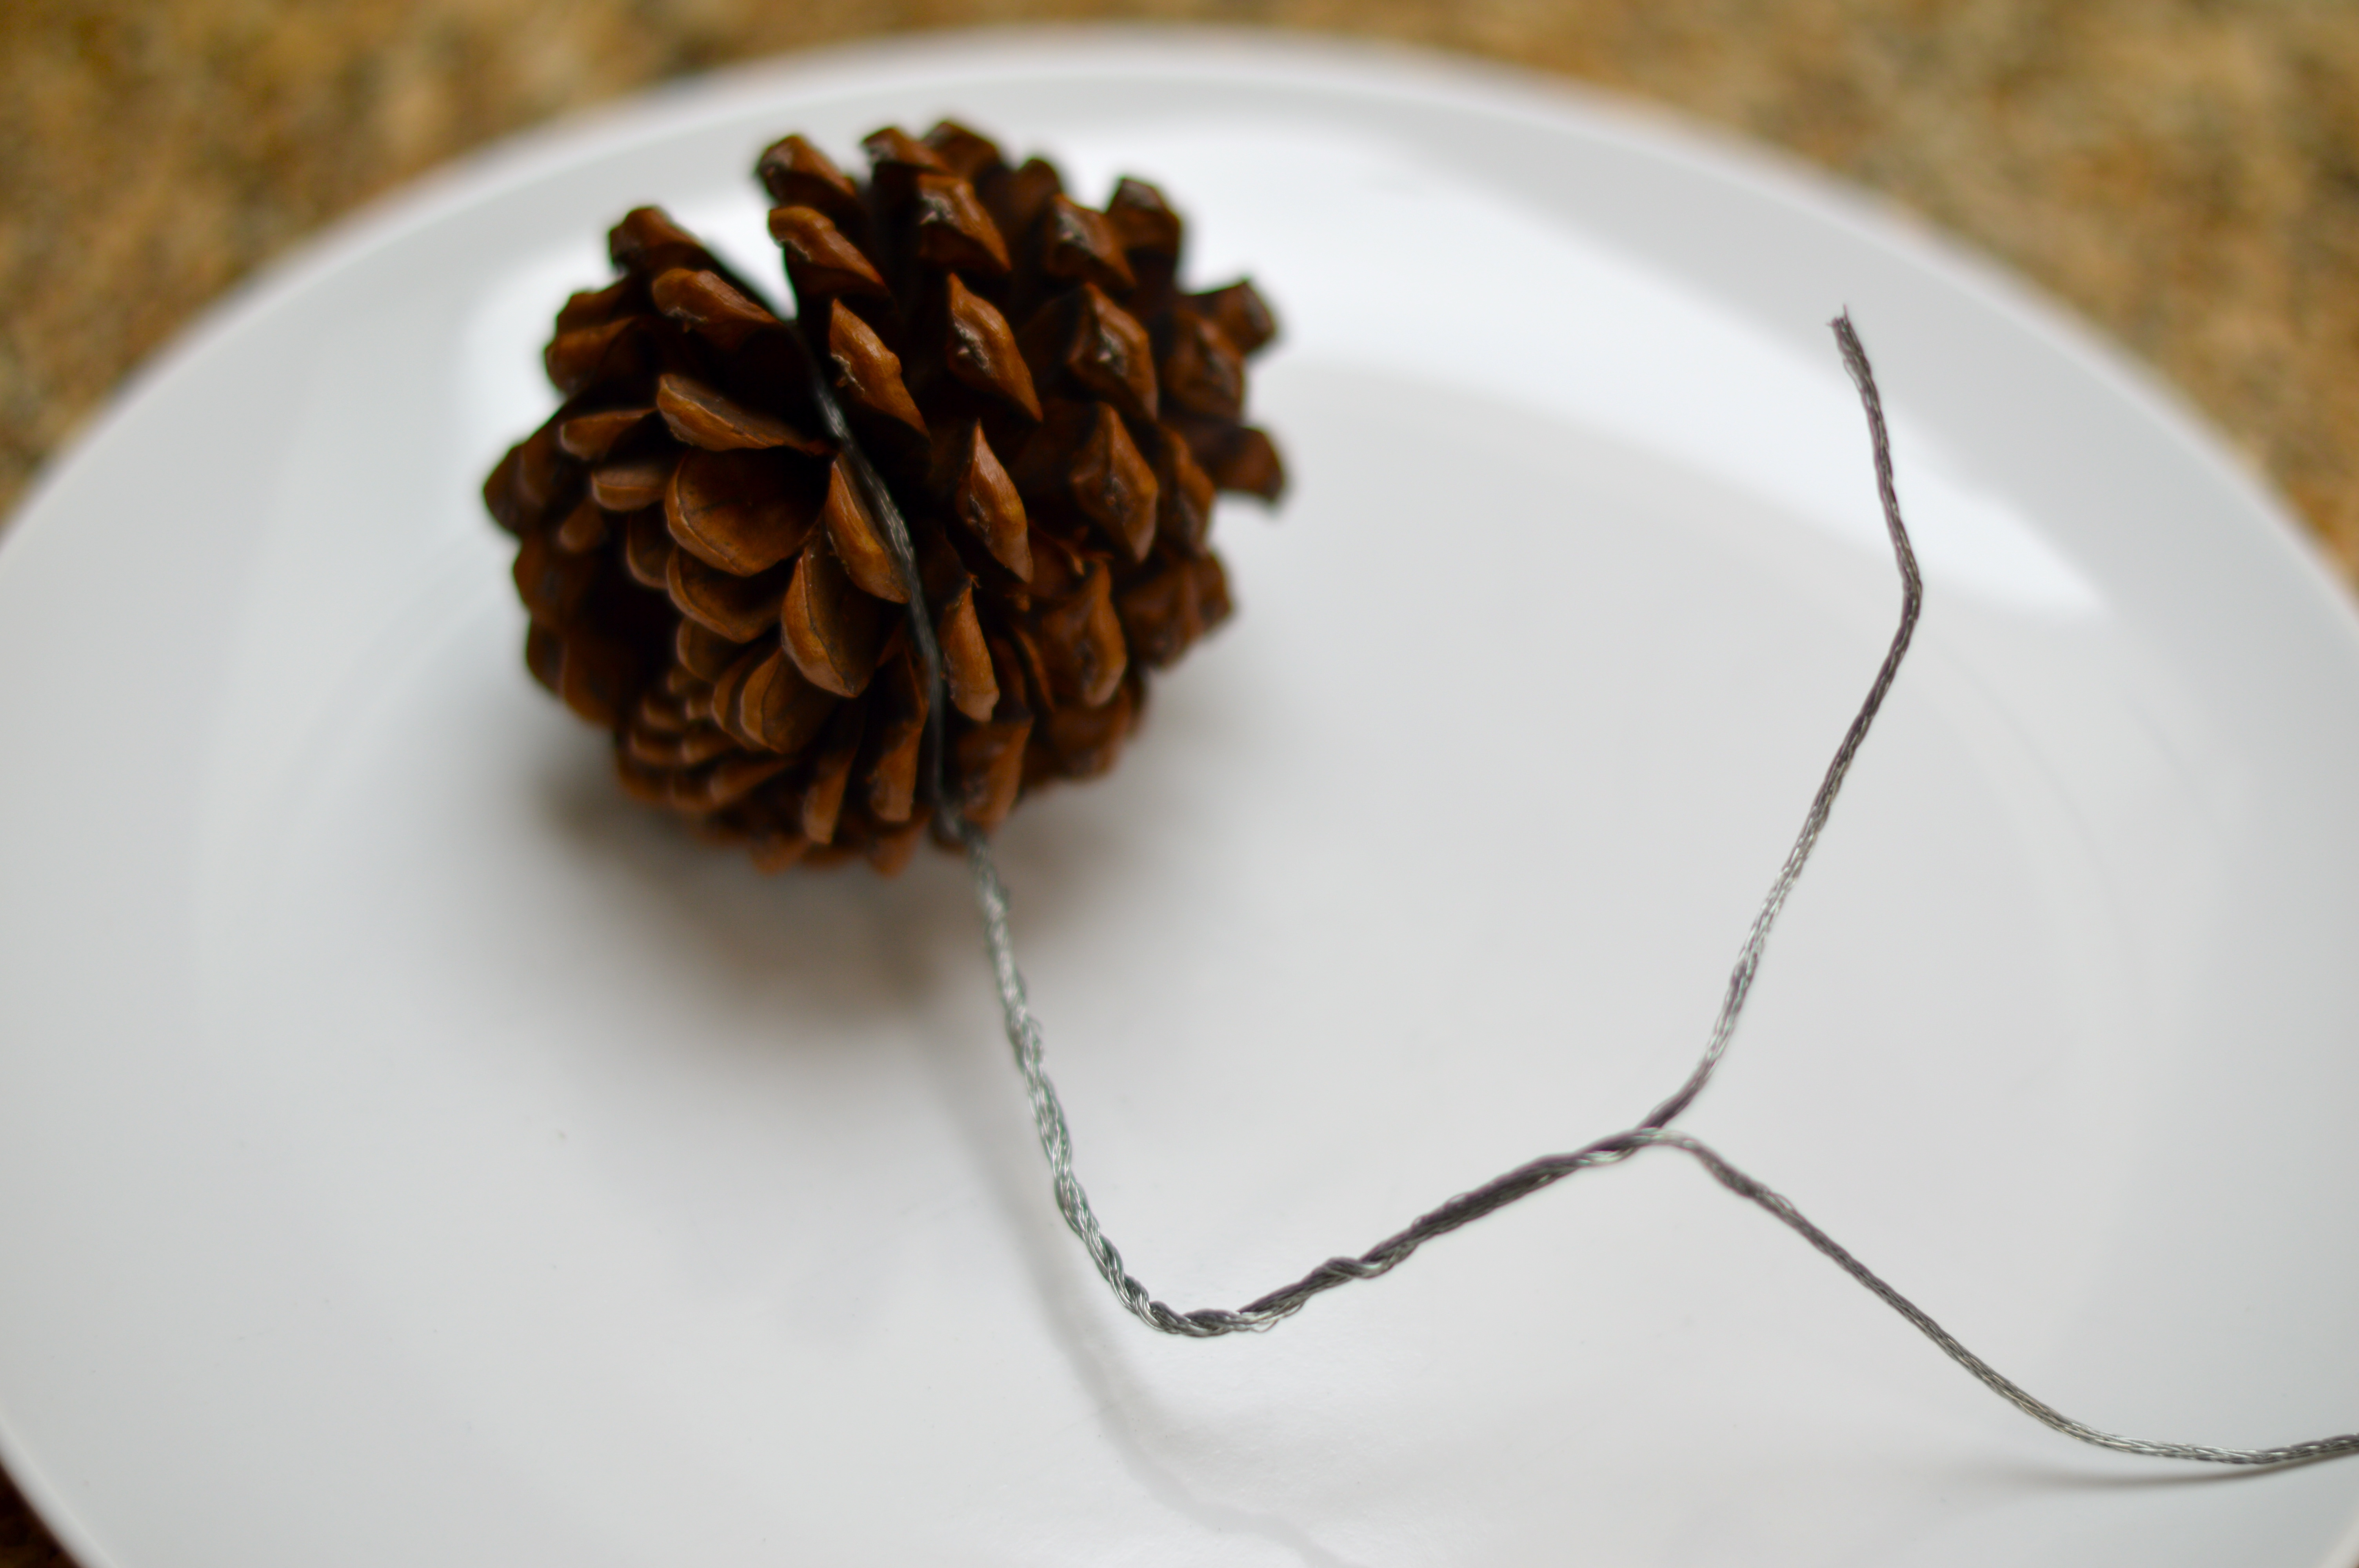
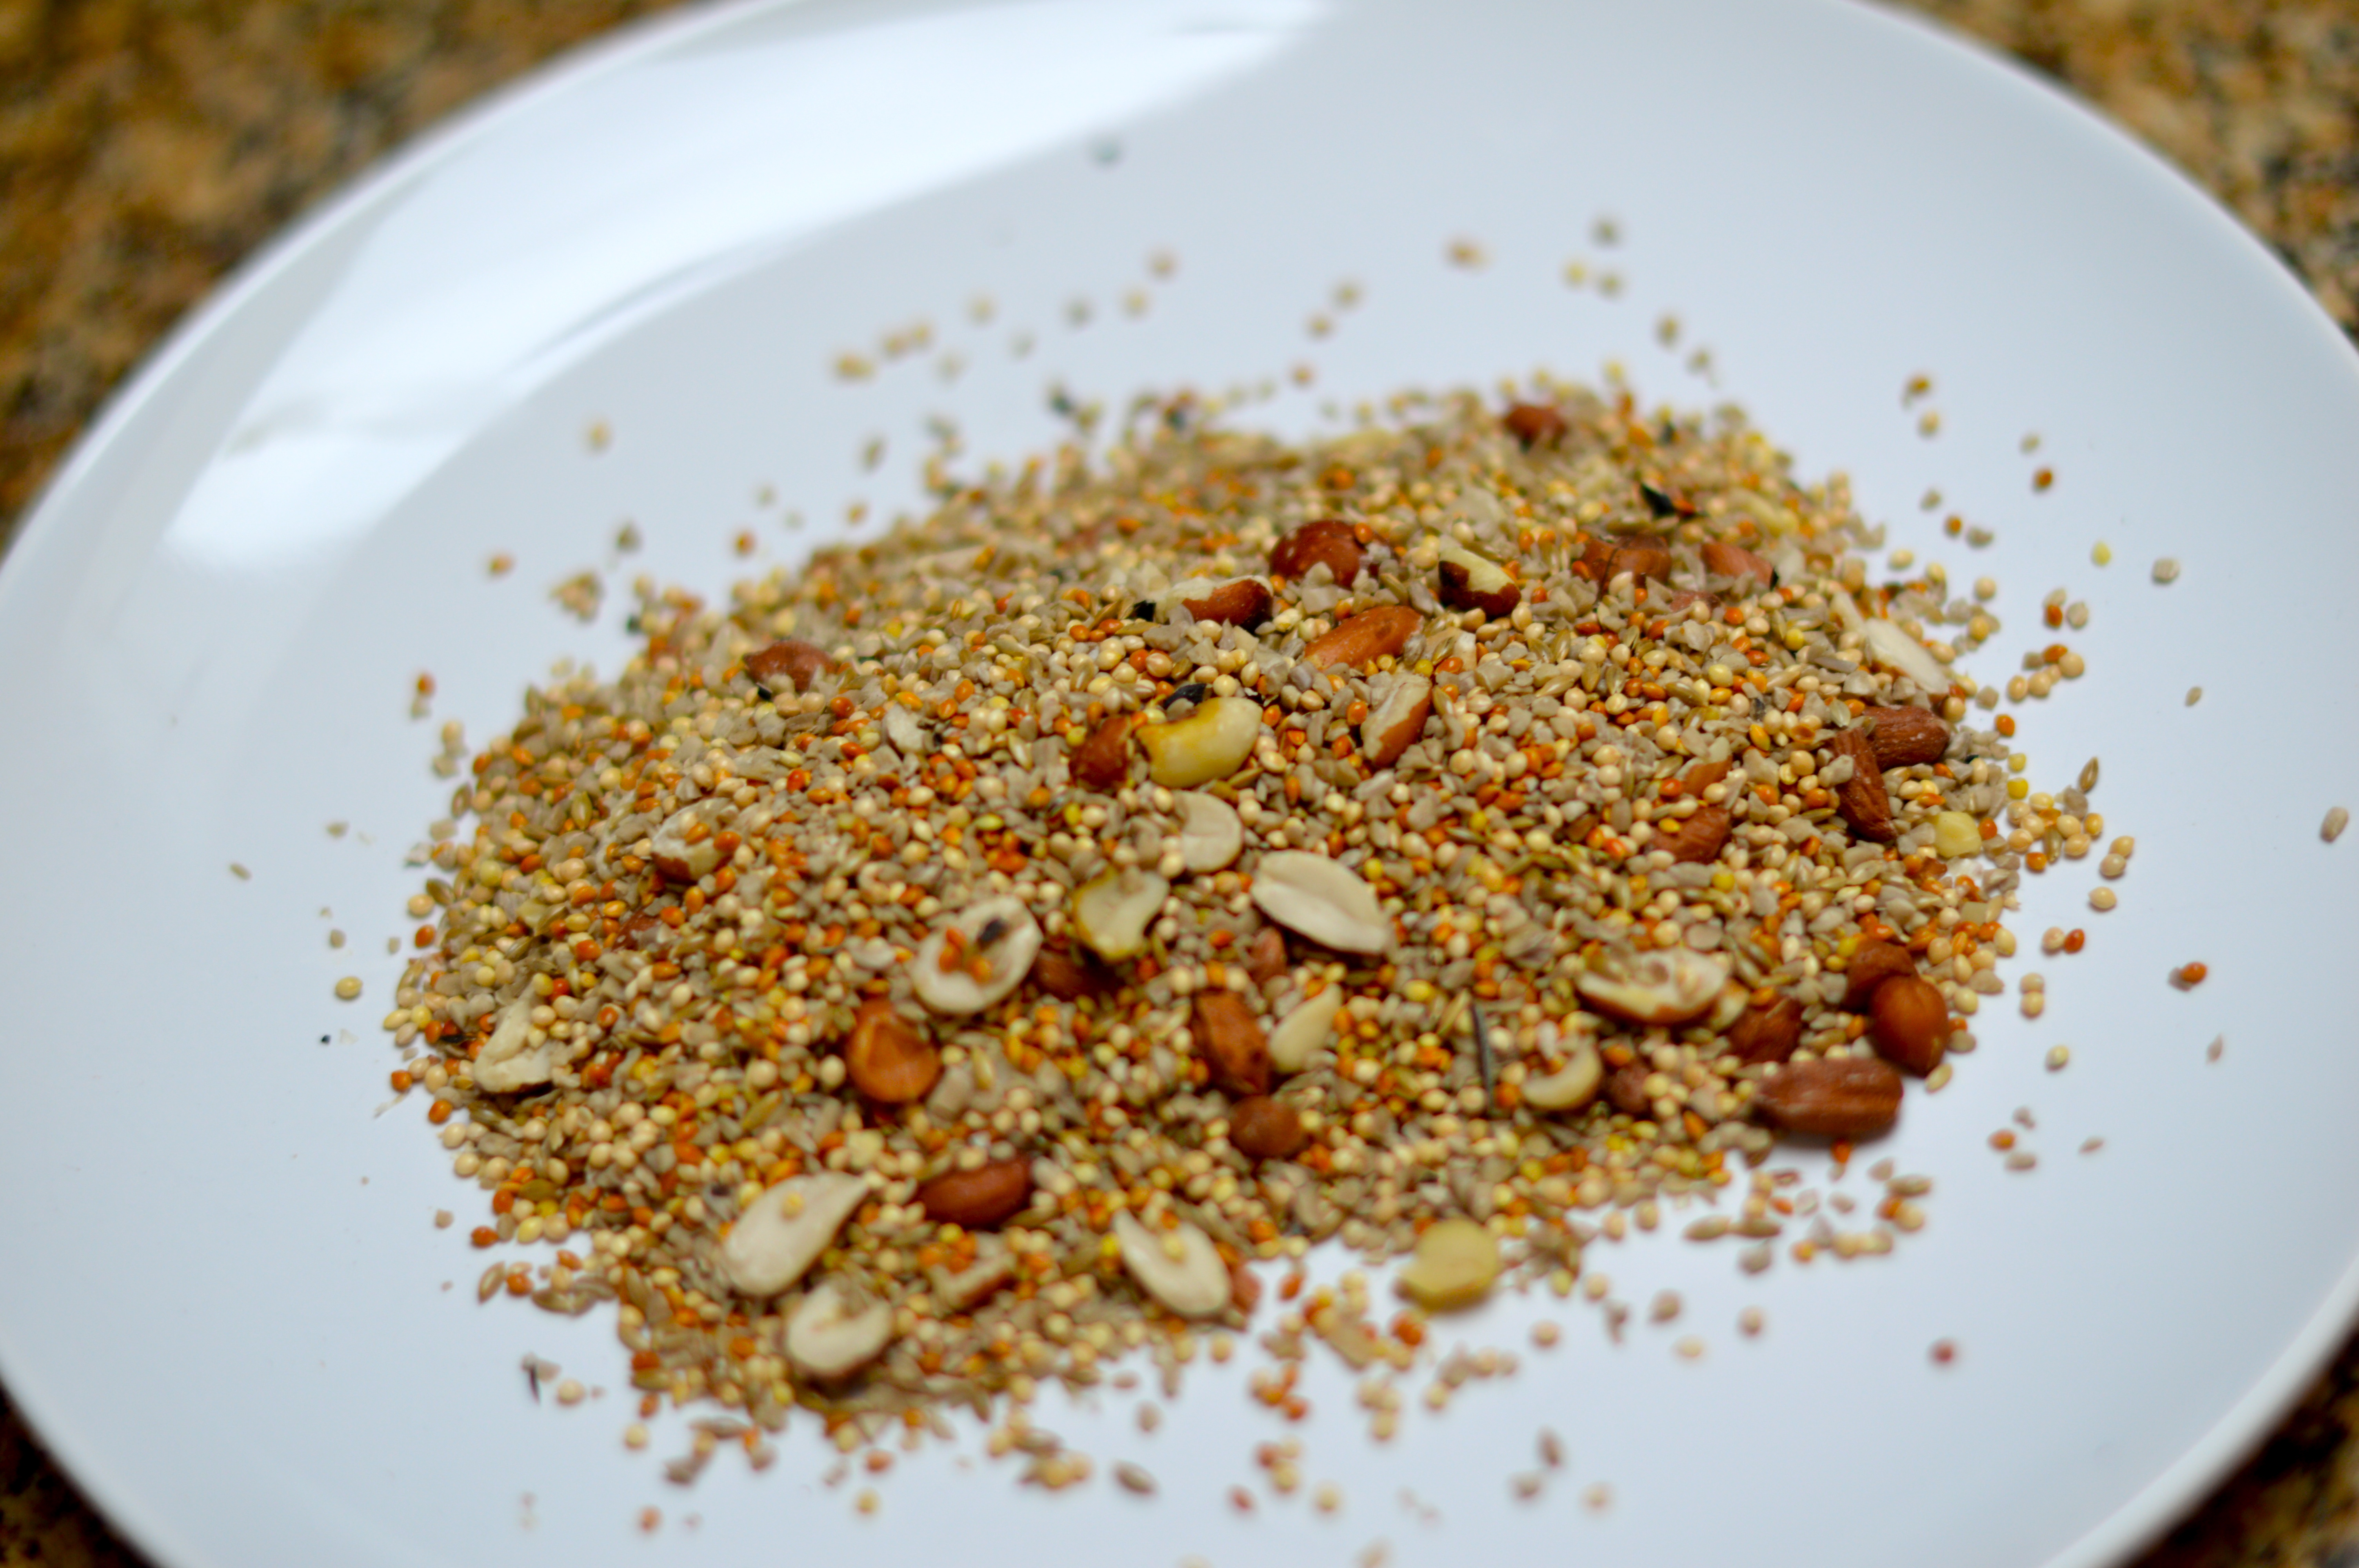
This is a quick and easy activity to do with the kids and it is so satisfying to see the birds (and squirrels) show up so regularly! We used peanut butter, a pine cone that we found outside, and a birdseed mix from our local hardware store. You can use any mix of peanut butter, vegetable shortening, or suet (a high-quality animal fat) and there are lots of choices of birdseeds. One tip we have learned is that wire is necessary to hang the pine cone. In years past, we have very hopefully hung our pine cones with string or yarn and were quickly thwarted by motivated squirrels that will bite through the string and steal the whole bird feeder! So far, the wire has worked like a charm.


Pine Cone Bird Feeder
1 large pine cone
12 inch length of flexible wire (we used some picture hanging wire)
1 cup peanut butter
1 cup birdseed mix
Wrap the wire around the pine cone, leaving a length at the end to twist around a tree branch. Spread peanut butter onto the pine cone, getting it into all the little crevices. Then roll peanut butter-covered pine cone in seeds on a dish. Hang from tree and watch the birds show up. Remember to choose a tree branch that you can see from a window in your house. It took the birds a day or two to discover our bird feeder, but it has been a week now and all the seeds and peanut butter are gone. Time to make another one!
Enjoy!
Bitters
IF THE BITTER CUP CANNOT BE PASSED, DRINK IT AND BE STRONG
Jeffrey R. Holland

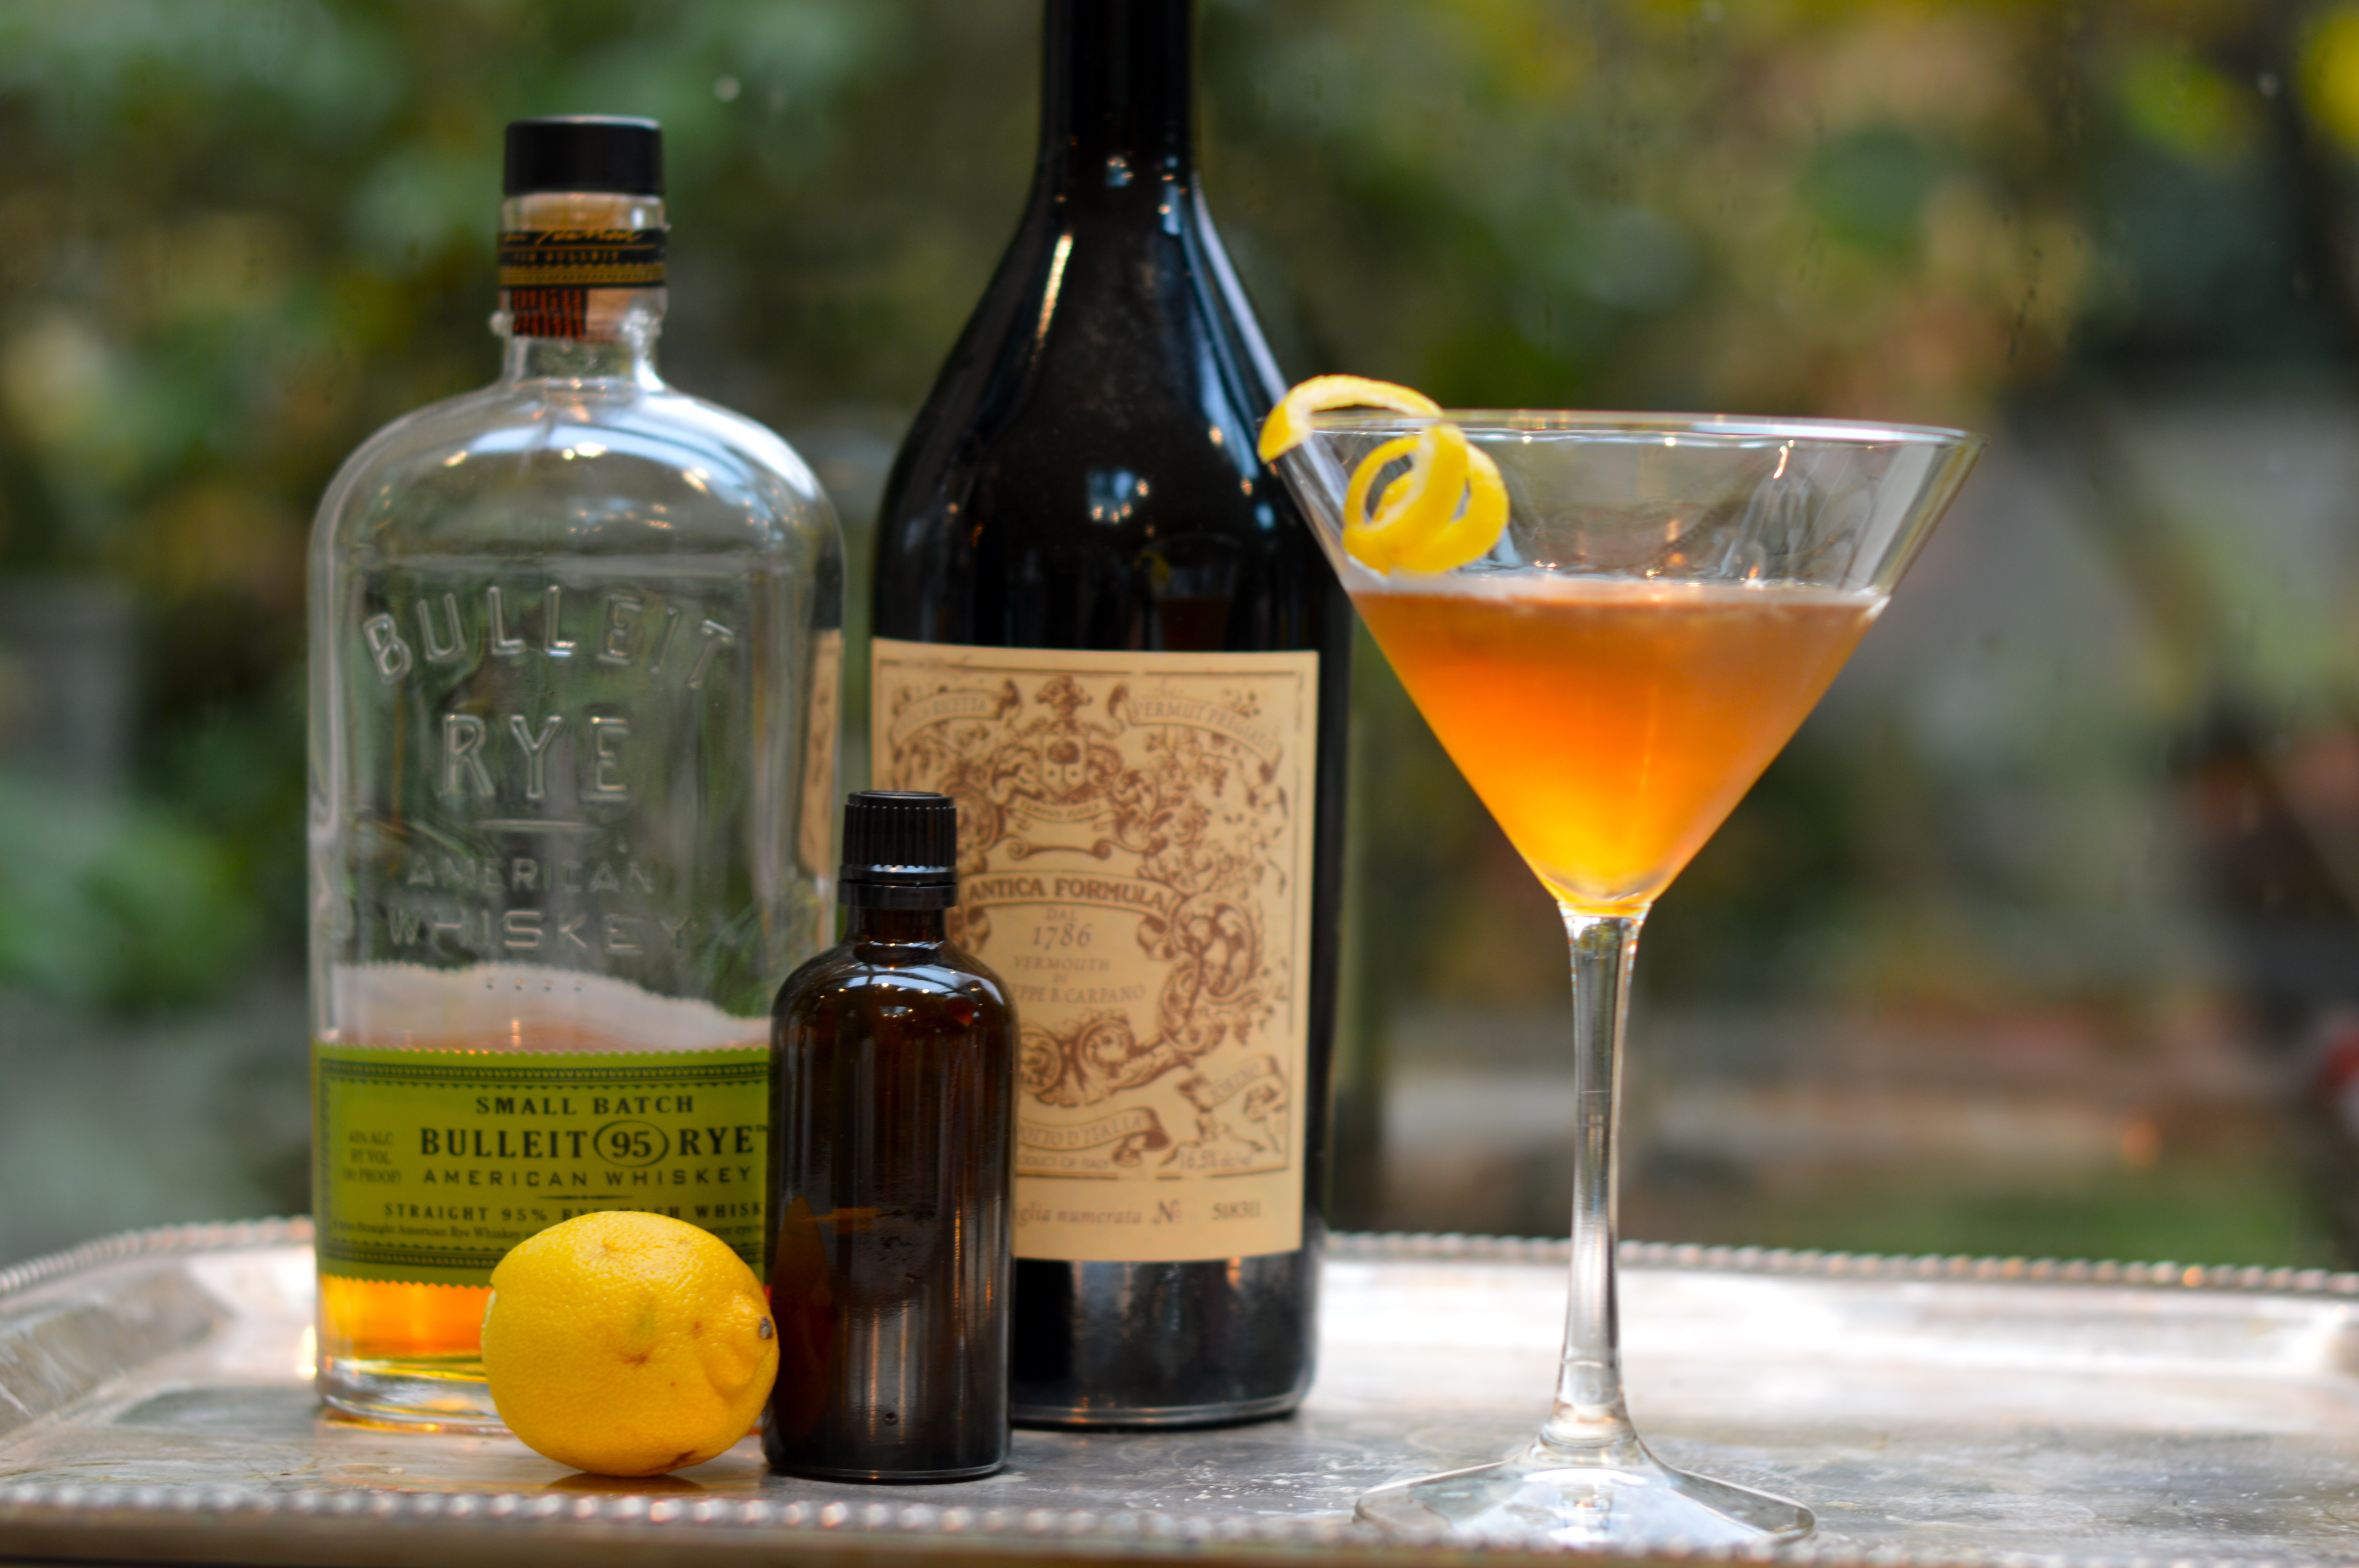
November has arrived and we need a little restart here on the blog. September and October were surprisingly busy and I am trying like heck to keep up with my life. I am also noticing that a different sort of drink is calling my name these days. As the leaves turn and fall off the trees, one of the warm-ups I relish is a lovely, mixed cocktail. This is a bit of a departure for me, as in the past I would have called myself a wine or beer drinker, but last winter I discovered rye whiskey and a fabulous cocktail from Zig Zag Cafe, called a Blessed Event. And it is just that… I was inspired to look at this drink a bit more closely and try to recreate it at home.
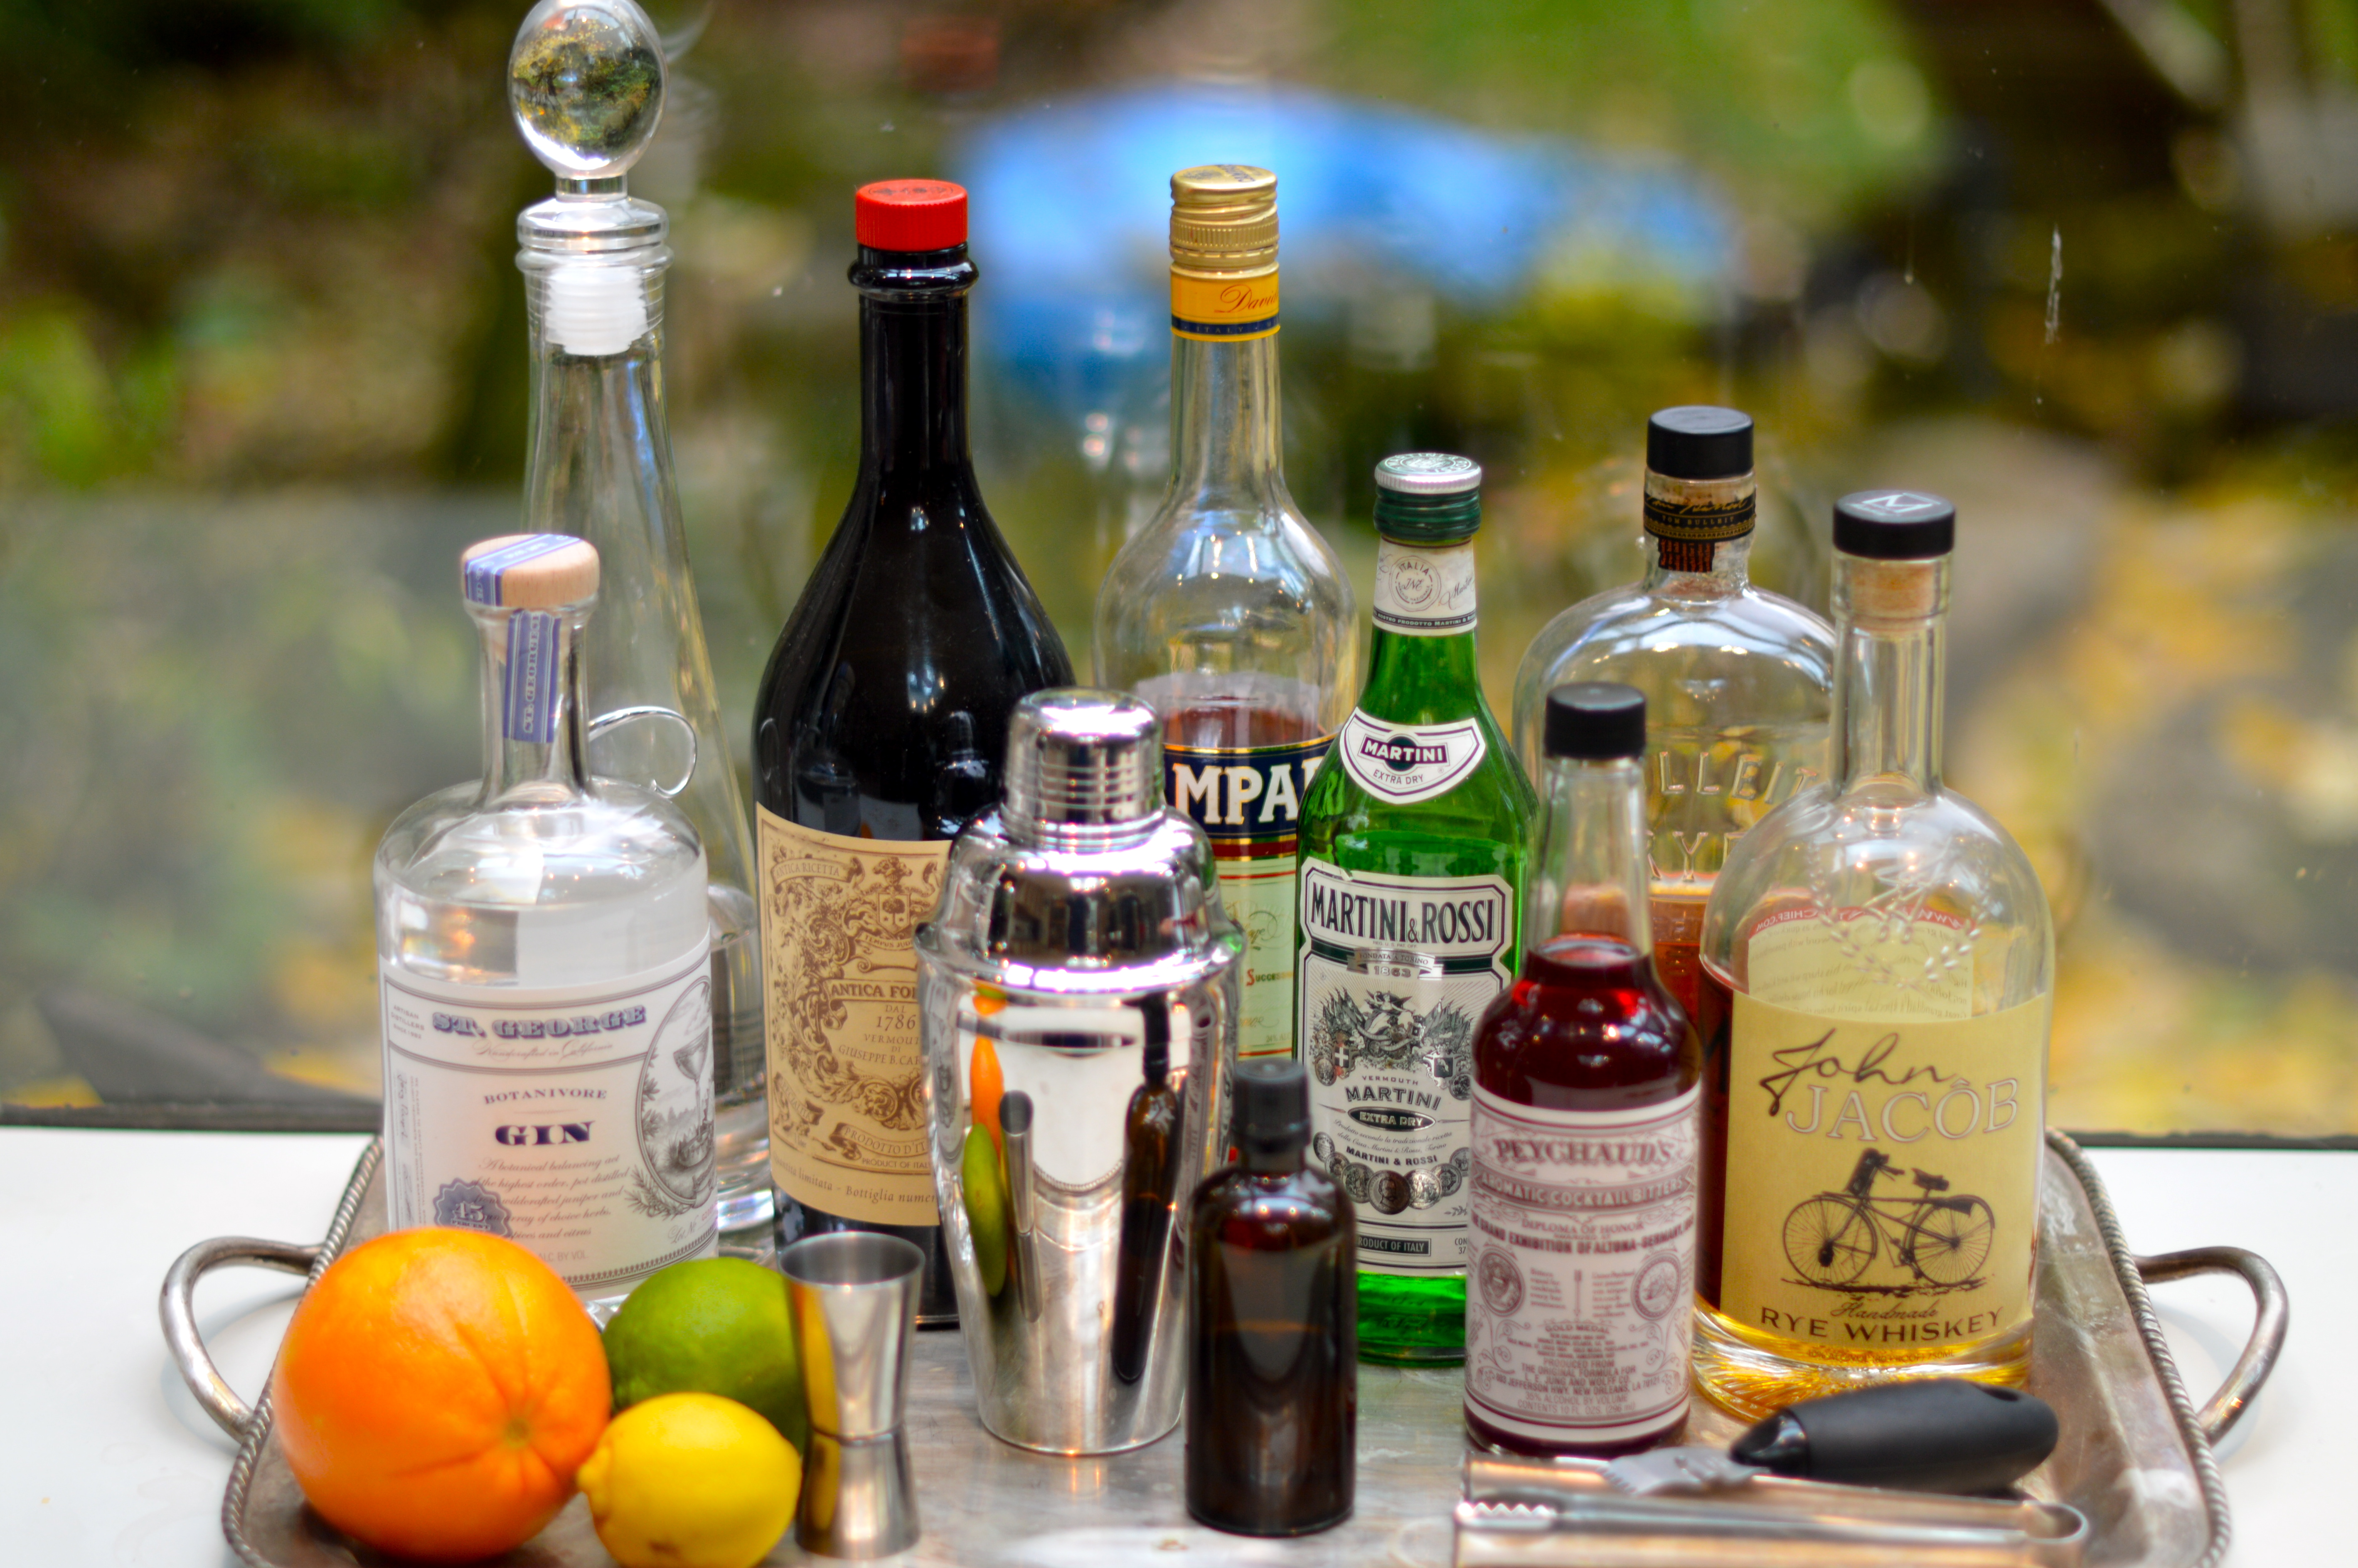
Over the last twenty years, both wineries and breweries experienced a surge in popularity and now it appears to be the distillery’s turn for a time in the spotlight. Distilleries are popping up all over the Pacific Northwest, as well as a revival of prohibition-style speakeasy bars, specializing in the “craft cocktail”. As we enter the season for entertaining, I recommend adding classic cocktails to your party menus. A well-stocked bar is easy to pull together, as long as you have a few ideas of what cocktails you are ready to make for your thirsty guests!
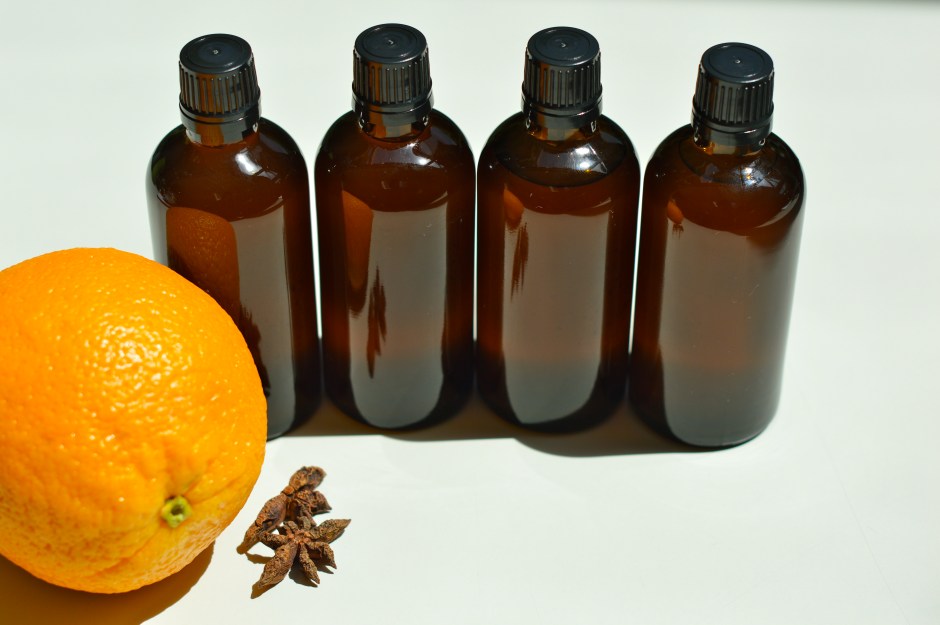
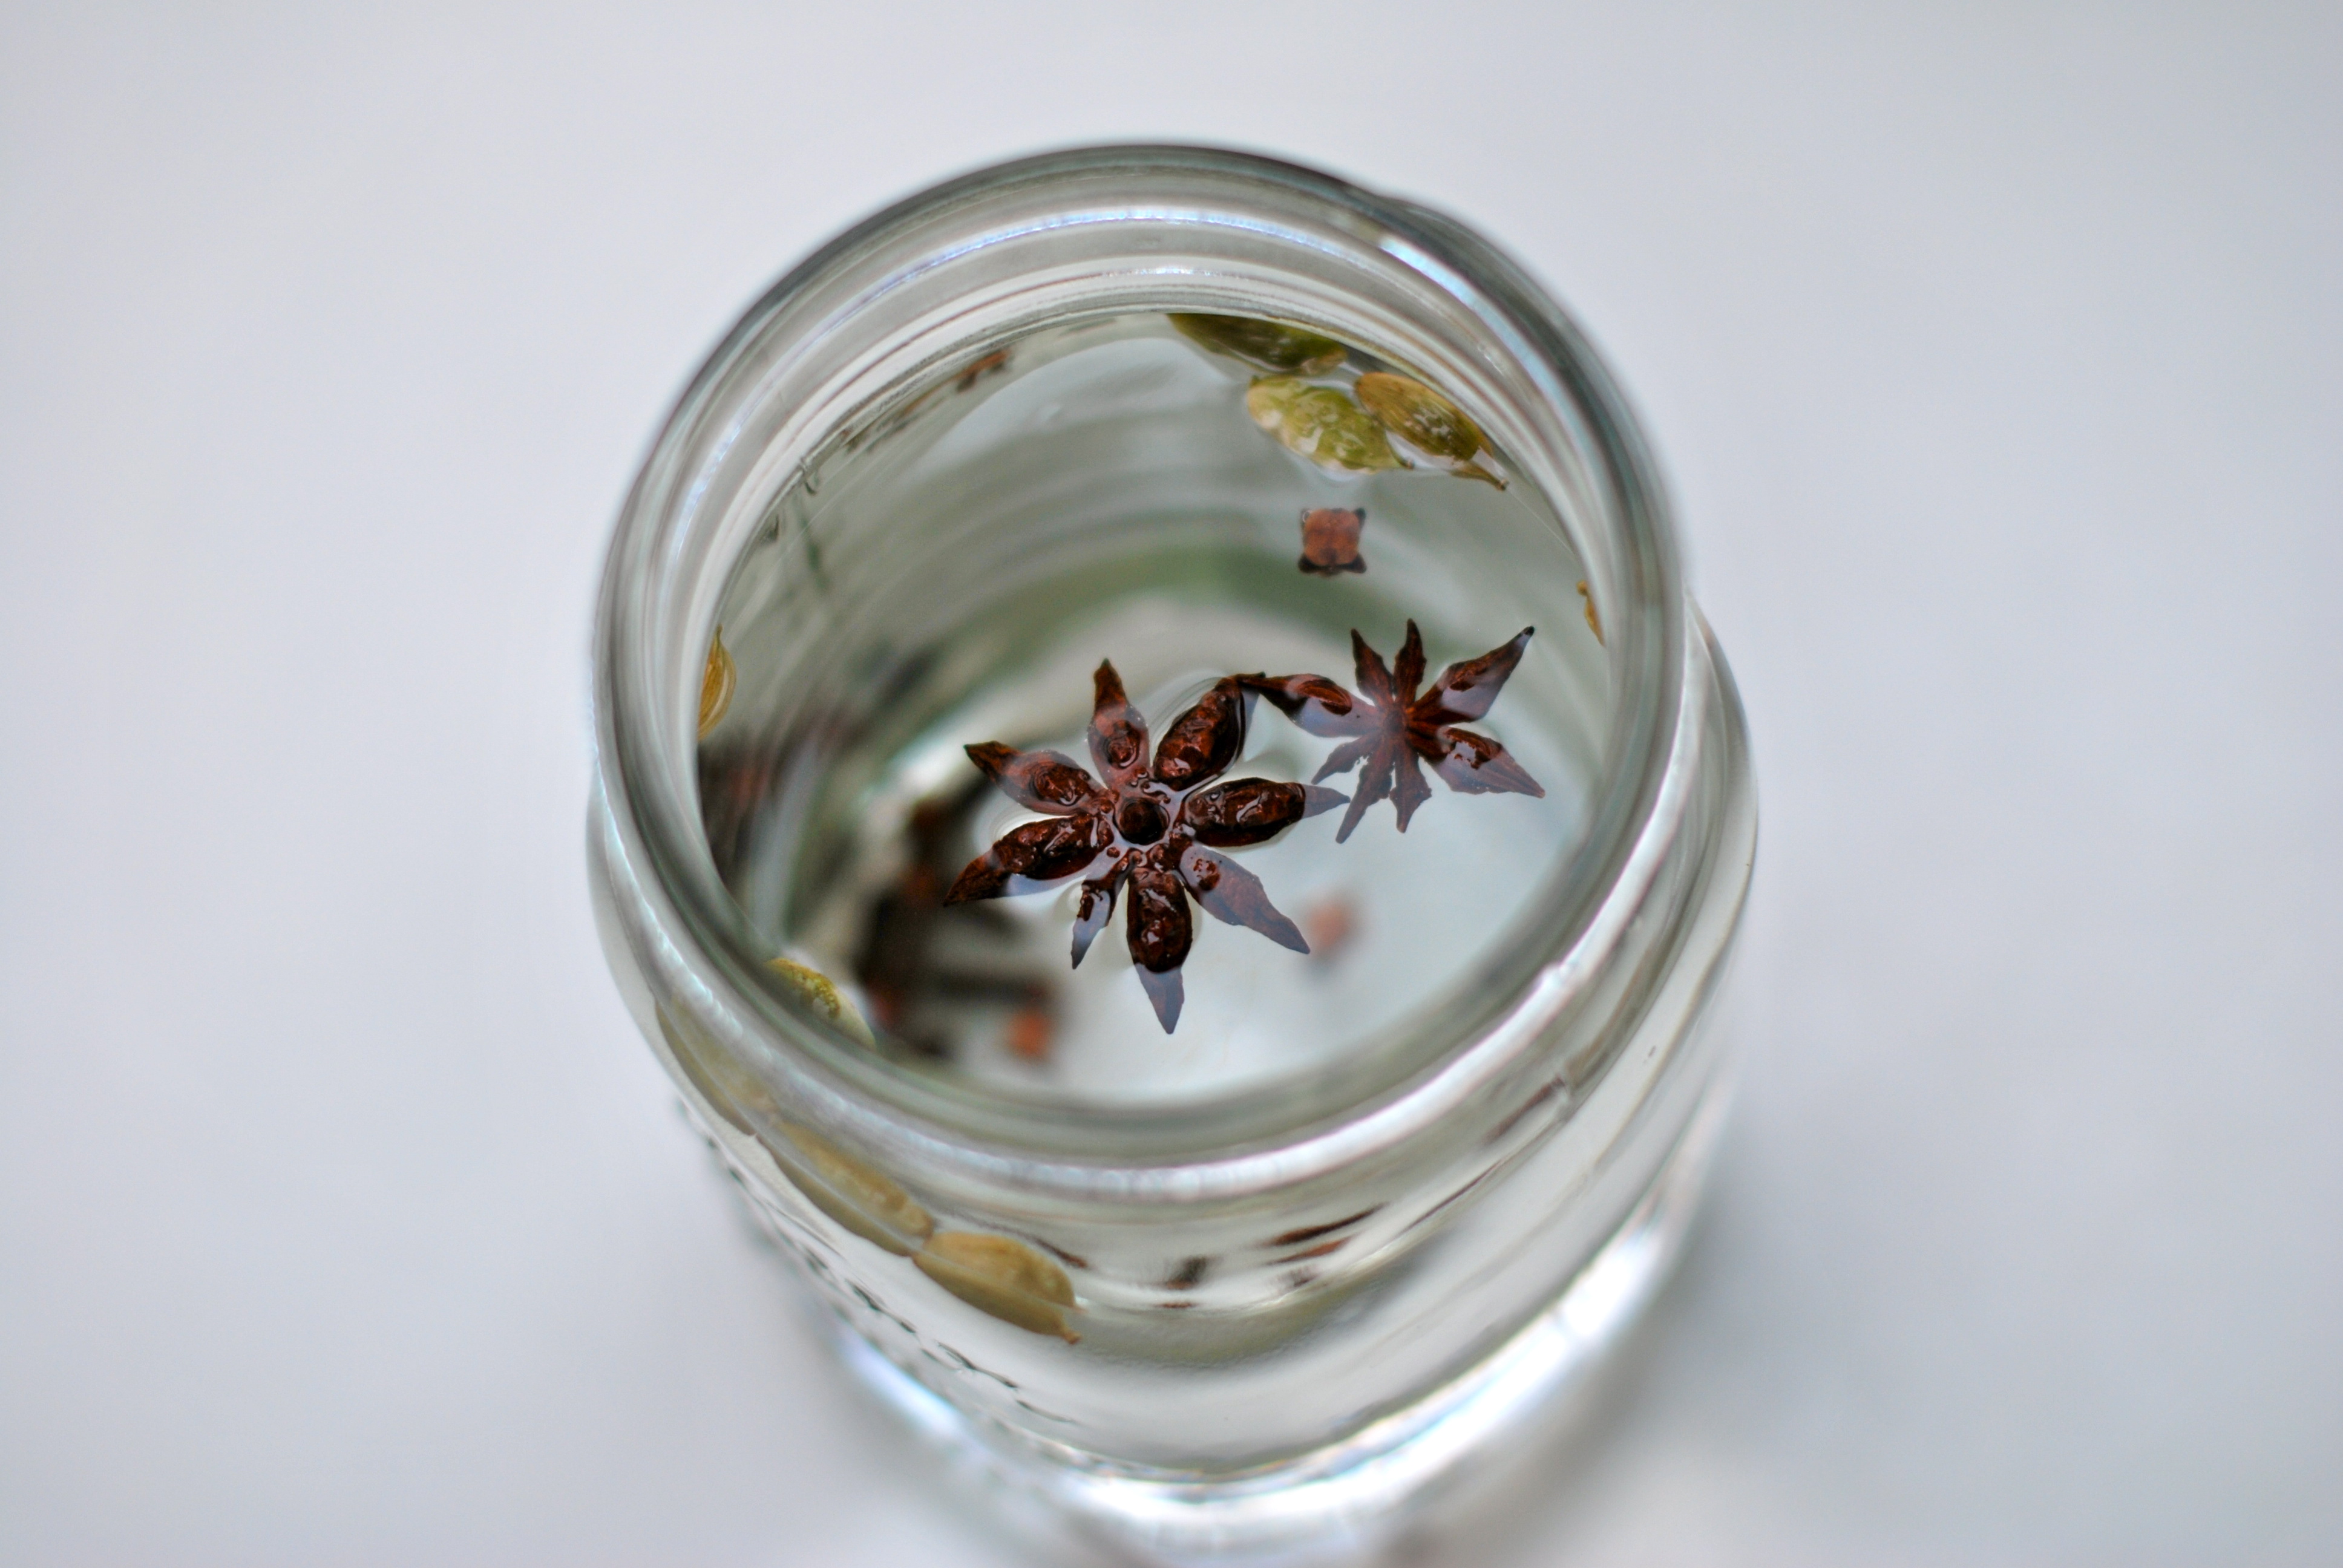
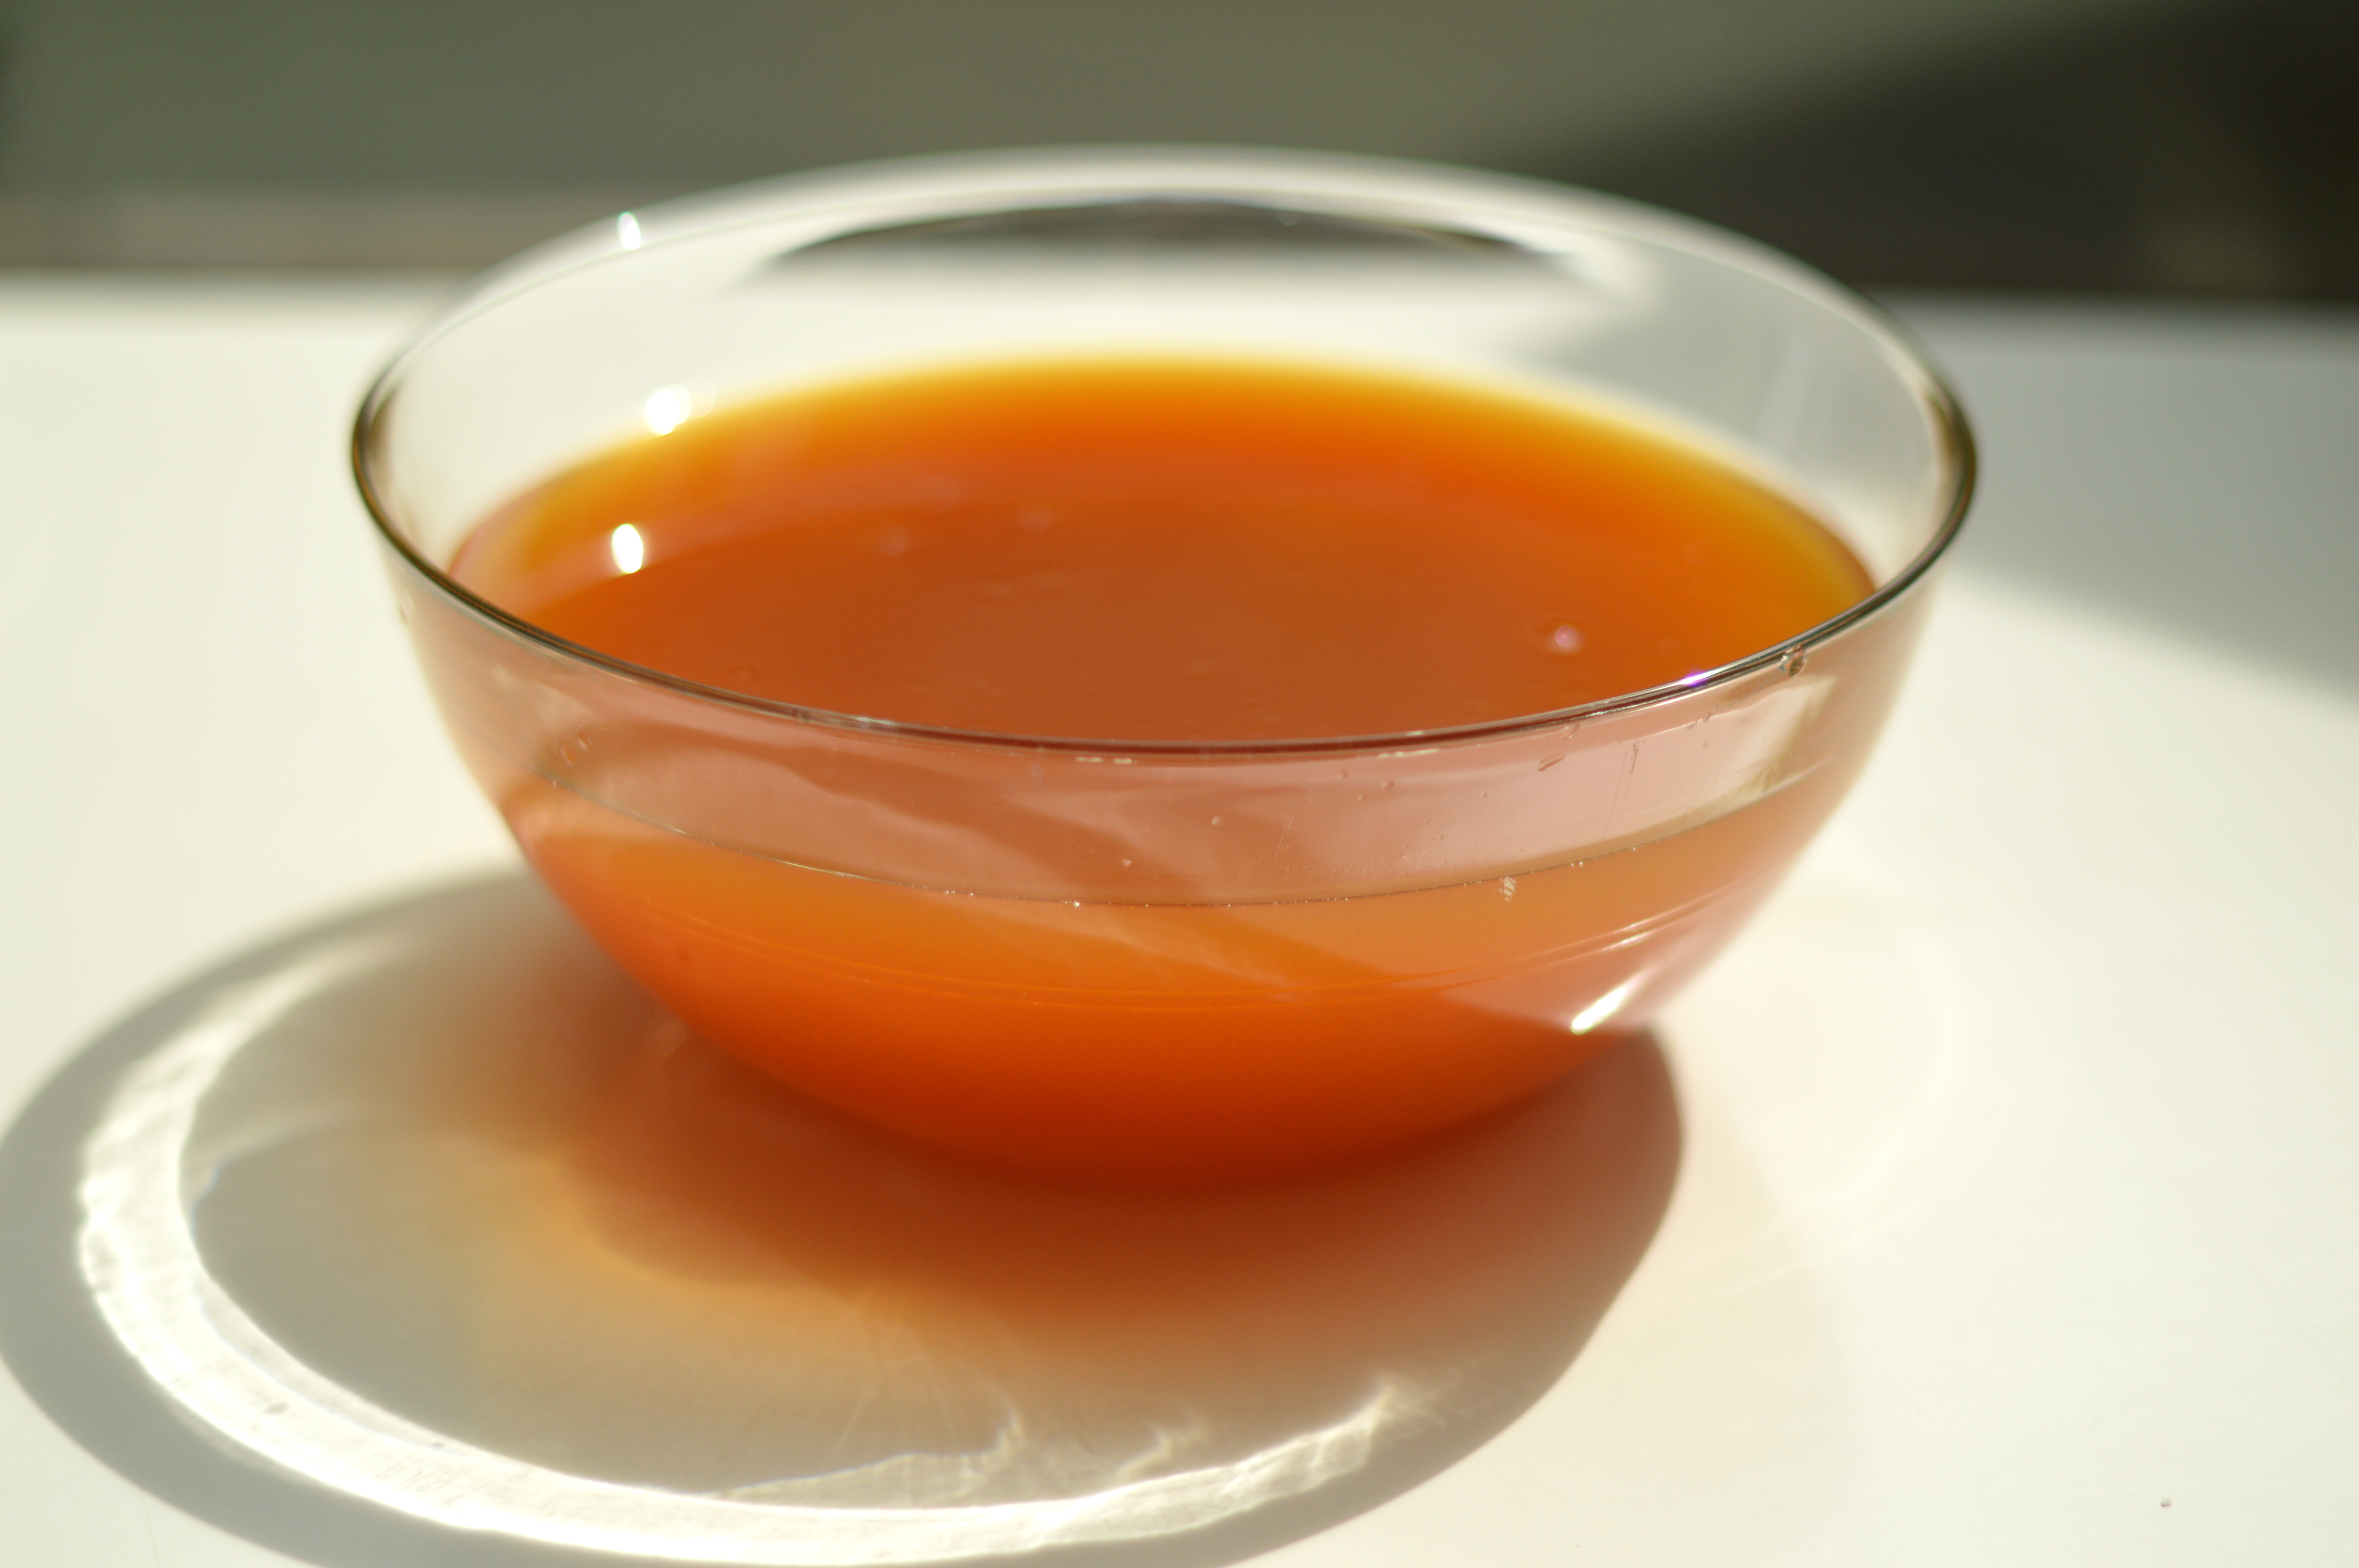
Bitters are an ingredient in many of these classic cocktails that I had never spent much time thinking about, but they are an intriguing element to be sure. With only a dash or two, bitters can transform your craft cocktail, adding warmth, complexity, and dimension. For a full description of bitters, head over to The Kitchn for their conversation on All About Bitters. Last winter it came to my attention that it is possible to make bitters. My curiosity was immediately piqued and I tried it. Over the course of a couple of weeks, I made my own bitters using wonderfully aromatic ingredients like orange peel, ginger, star anise, cinnamon, and cloves. Although I made this during the summer months, I kept thinking how perfect it would be come autumn. (Scroll down to see the recipe for orange bitters and the accompanying photos). But, if a cocktail is what you seek, we’ll start there…
As I mentioned above, this fall has been a crazy one. We have been getting used to the schedule of kindergarten, and this has been admittedly tougher than I thought it would be. I’d like to raise a glass to the fact that we are two months into this new elementary school gig and all members of the Poole household are here to tell about it. Sometimes it is just important to celebrate the fact that you are surviving. So, without further ado… three “bitter” cocktails that you can raise your respective glass to:
Part 1: Cocktail Recipes
1) The Classic Manhatten
This classic cocktail was my grandmother’s favorite. Listing it here is a nod to her and how eminently hip she was.
1 3/4 ounces rye whiskey or bourbon
2/3 ounce sweet vermouth (Carpano Antica formula is my favorite)
dash of bitters (homemade orange bitters, recipe below, was used)
maraschino cherry or twist of lemon (my grandmother always drank hers, “Up with a twist.”)
2) Blessed Event

As I mentioned above, this is my current fave. The renowned bartender, Erik Hakinen, at Zig Zag Cafe is credited with its creation, as a twist on the classic Boulevardier.
1 ounce rye whiskey
3/4 ounce sweet vermouth (Carpano Antica formula)
3/4 ounce Campari
1/2 ounce lemon juice
3) Soda with Bitters

I loved the article written about the refreshing nature of this simple beverage found here on The Kitchn. Bitters are known to have a medicinal quality and they add a light and refreshing, yet complex addition to a glass of soda.
Dash or two of bitters (Peychaud’s brand preferred)
Soda water
Wedge of lemon or orange
Cheers!
Part 2: Making Orange Bitters


Orange Bitters
- 2 oranges
- 1 bottle (750 ml.) Everclear* (grain alcohol)
- 10 cardamom pods
- 2 whole star anise pods
- 3 cinnamon sticks (each 2 1/2 in.)
- 1 teaspoon whole cloves
- 1 tablespoon plus 1 tsp. chopped fresh ginger
- 1 cup sugar
Preparation
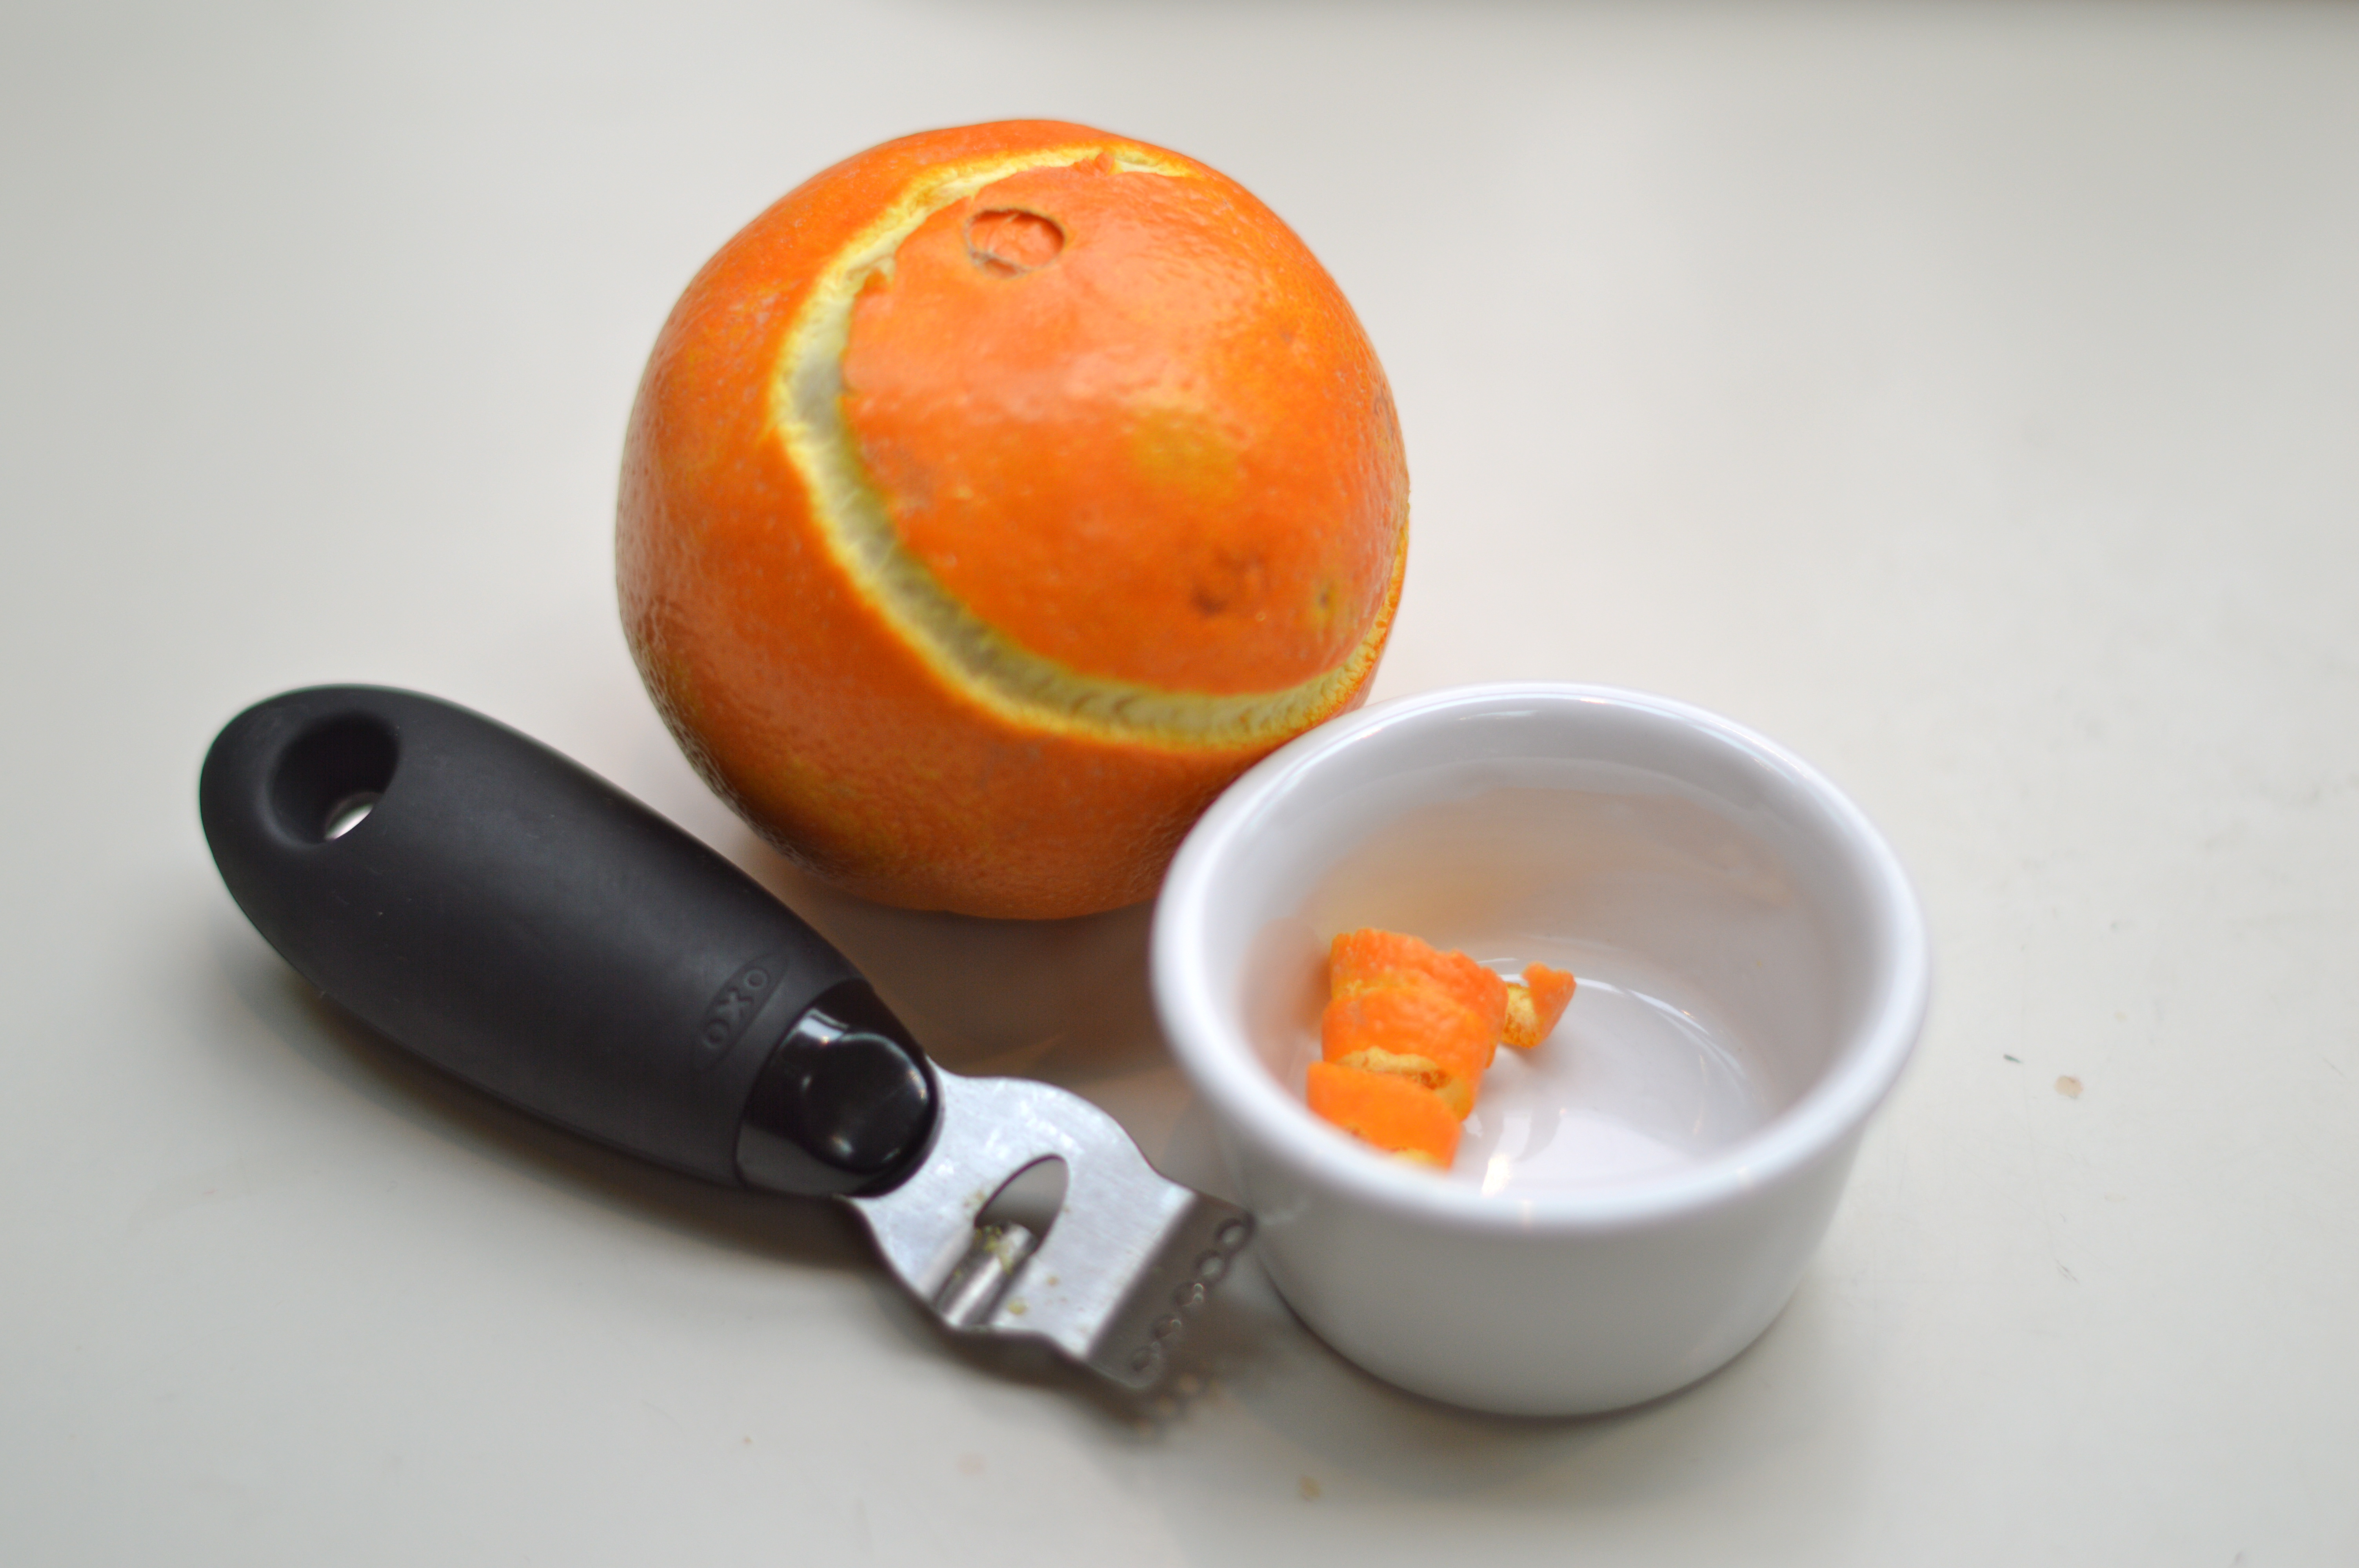
- Preheat oven to 250°. Remove zest from oranges with a vegetable peeler and put zest on a baking sheet (save fruit for another use). Bake until zest dries, starts to curl up, and begins to brown, 20 to 25 minutes. Let cool.
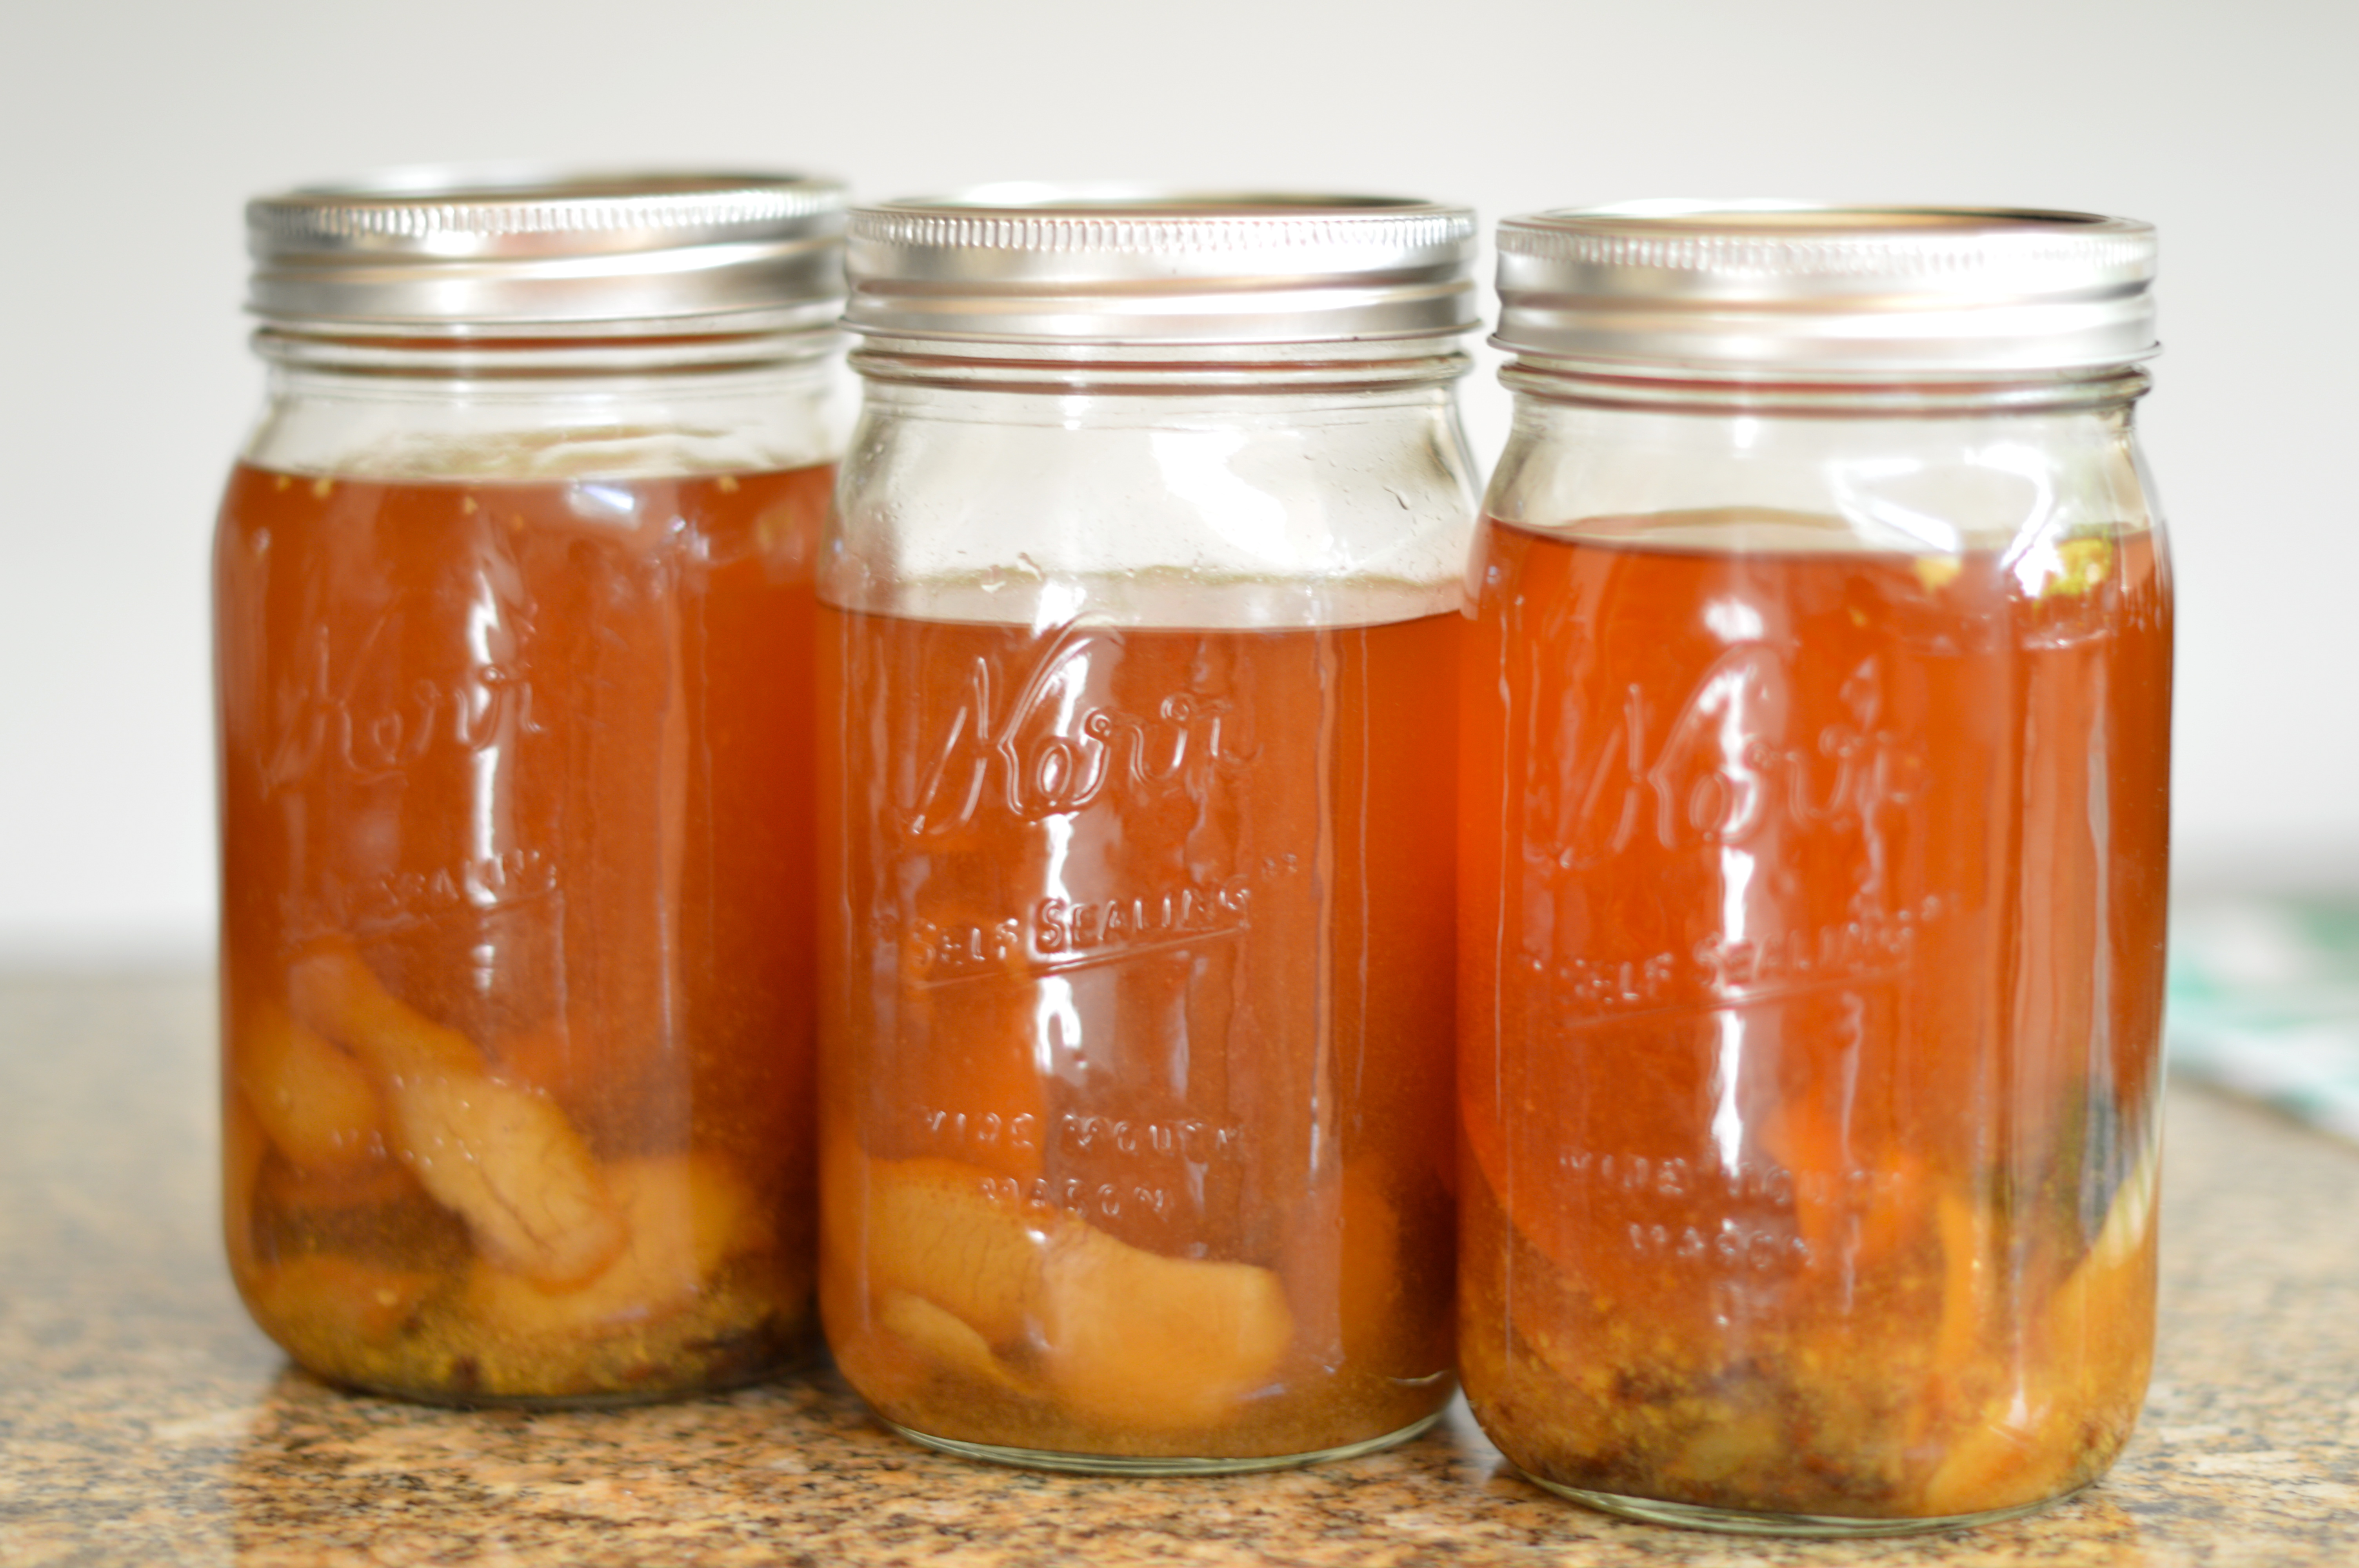
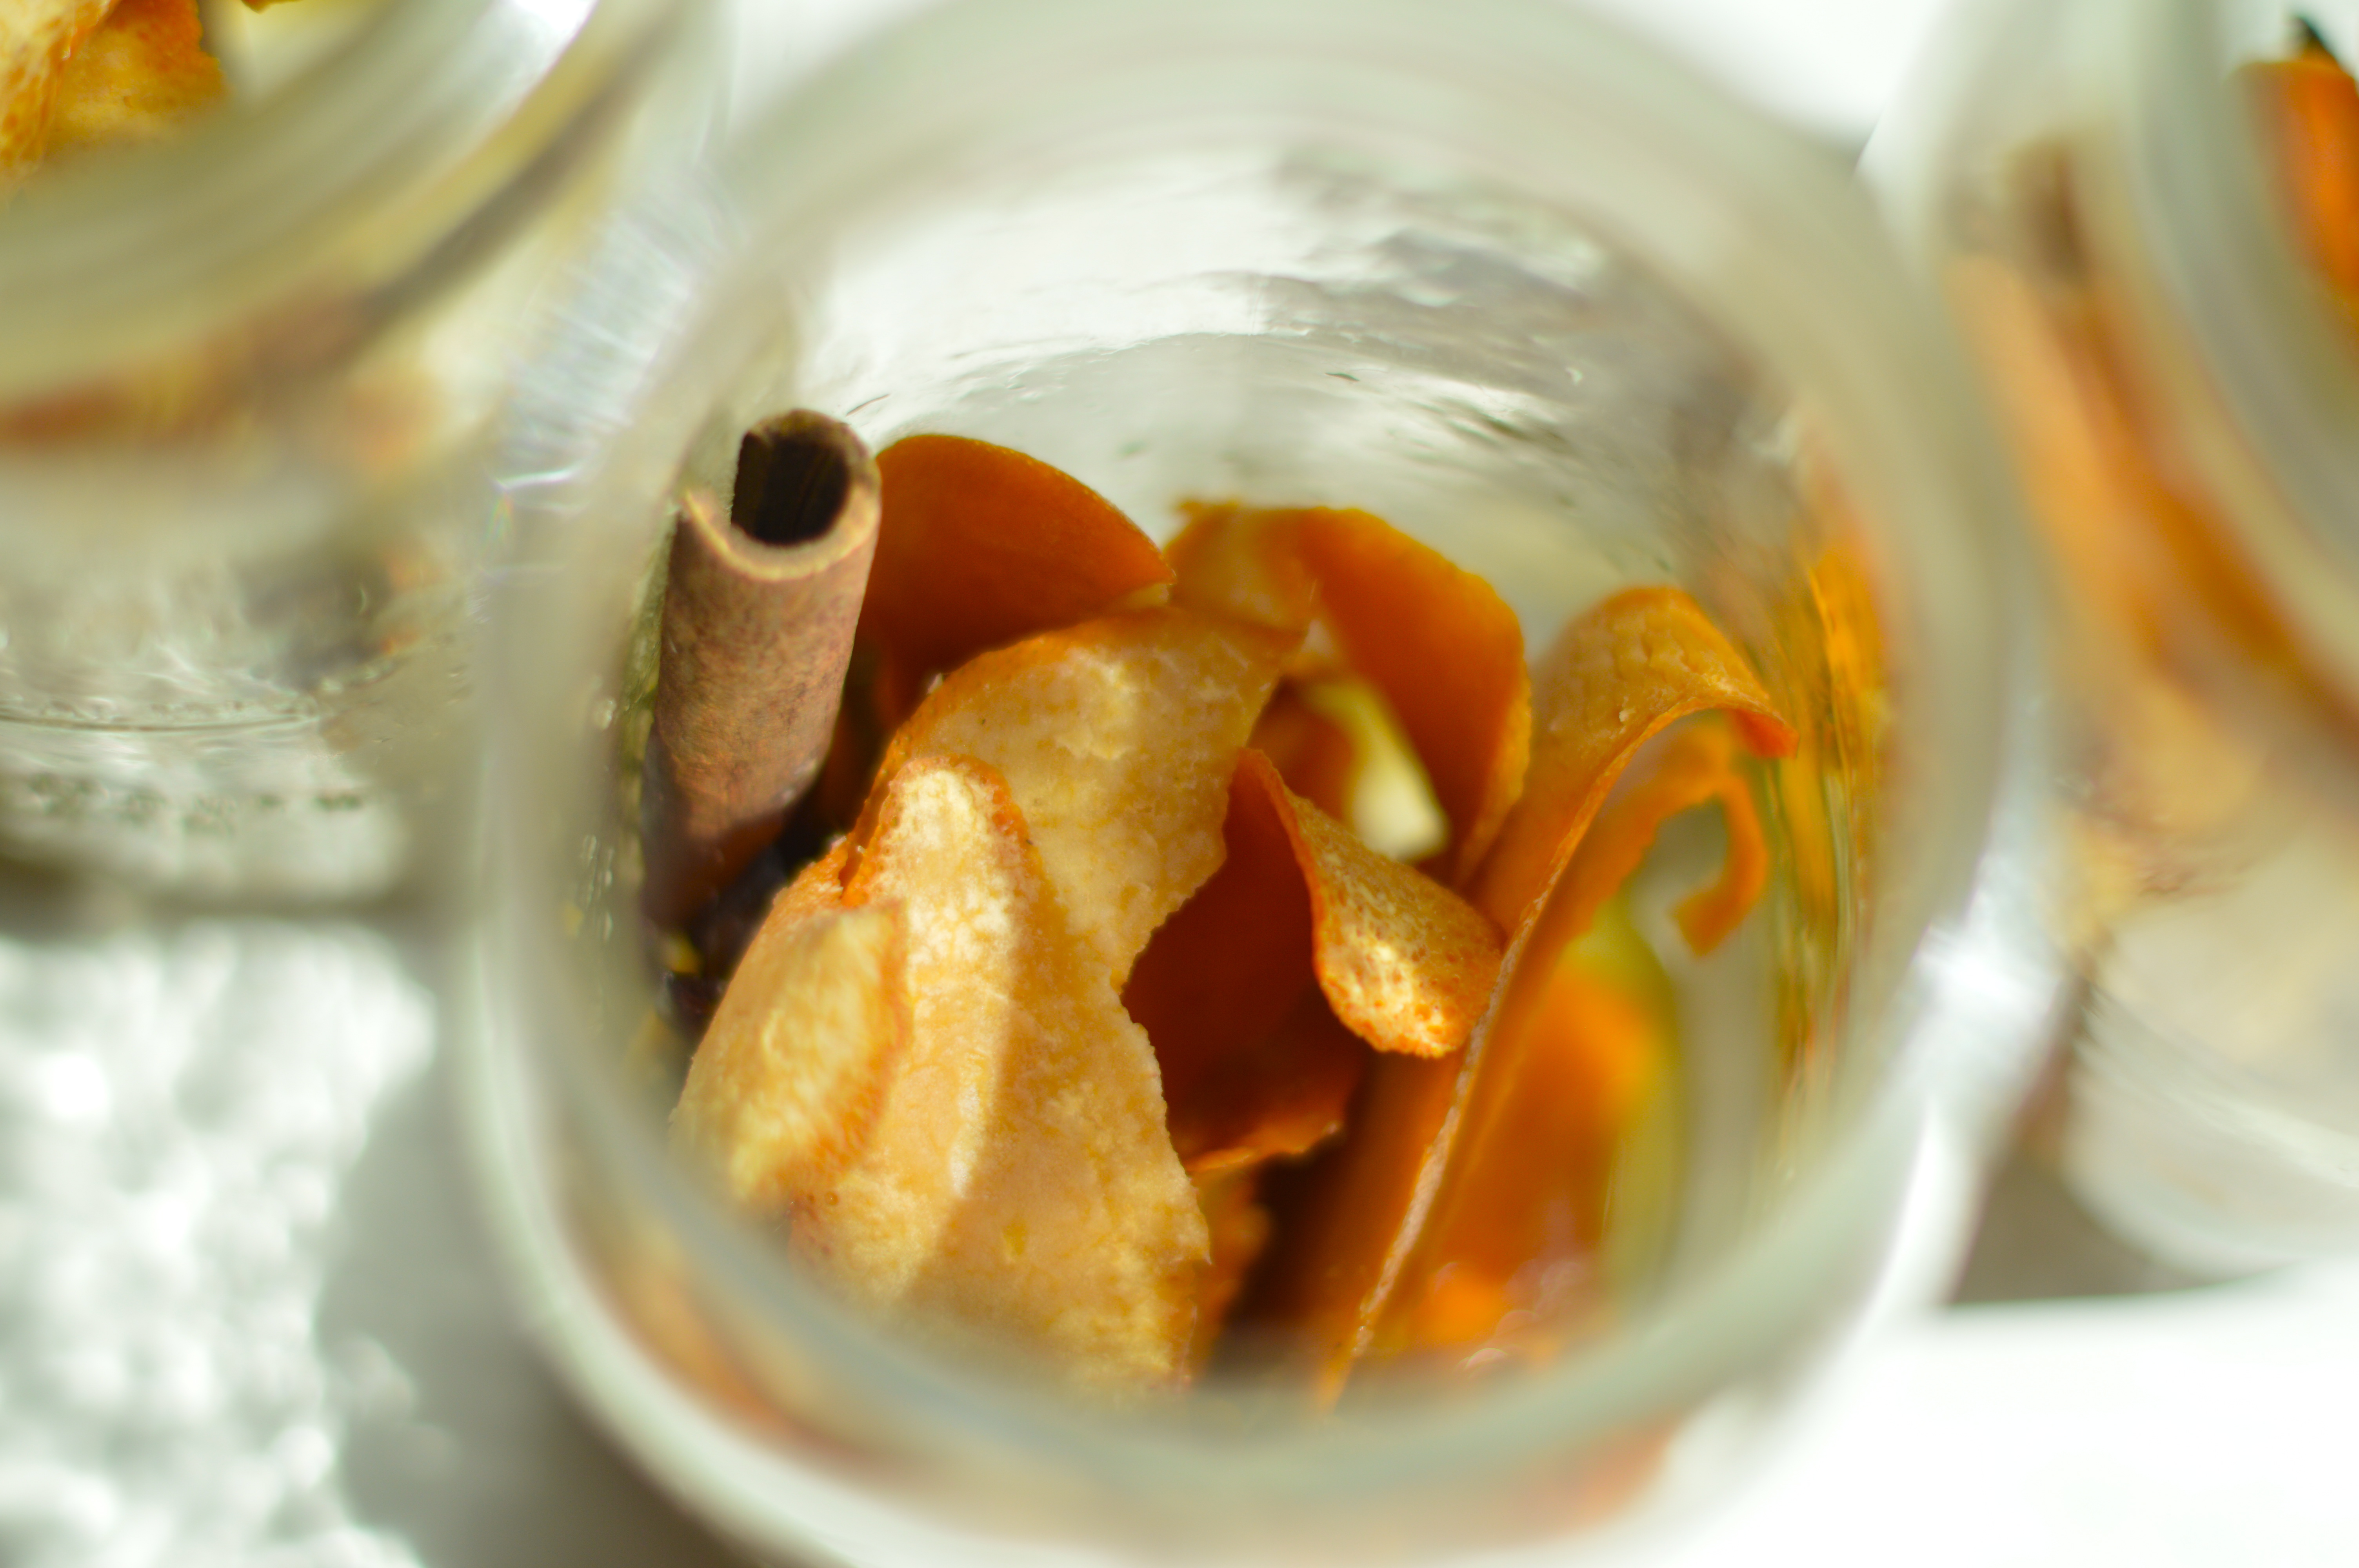
- Put all ingredients except sugar in a 1-qt. glass jar and seal tightly. Let sit in a cool, dark place for 2 weeks.
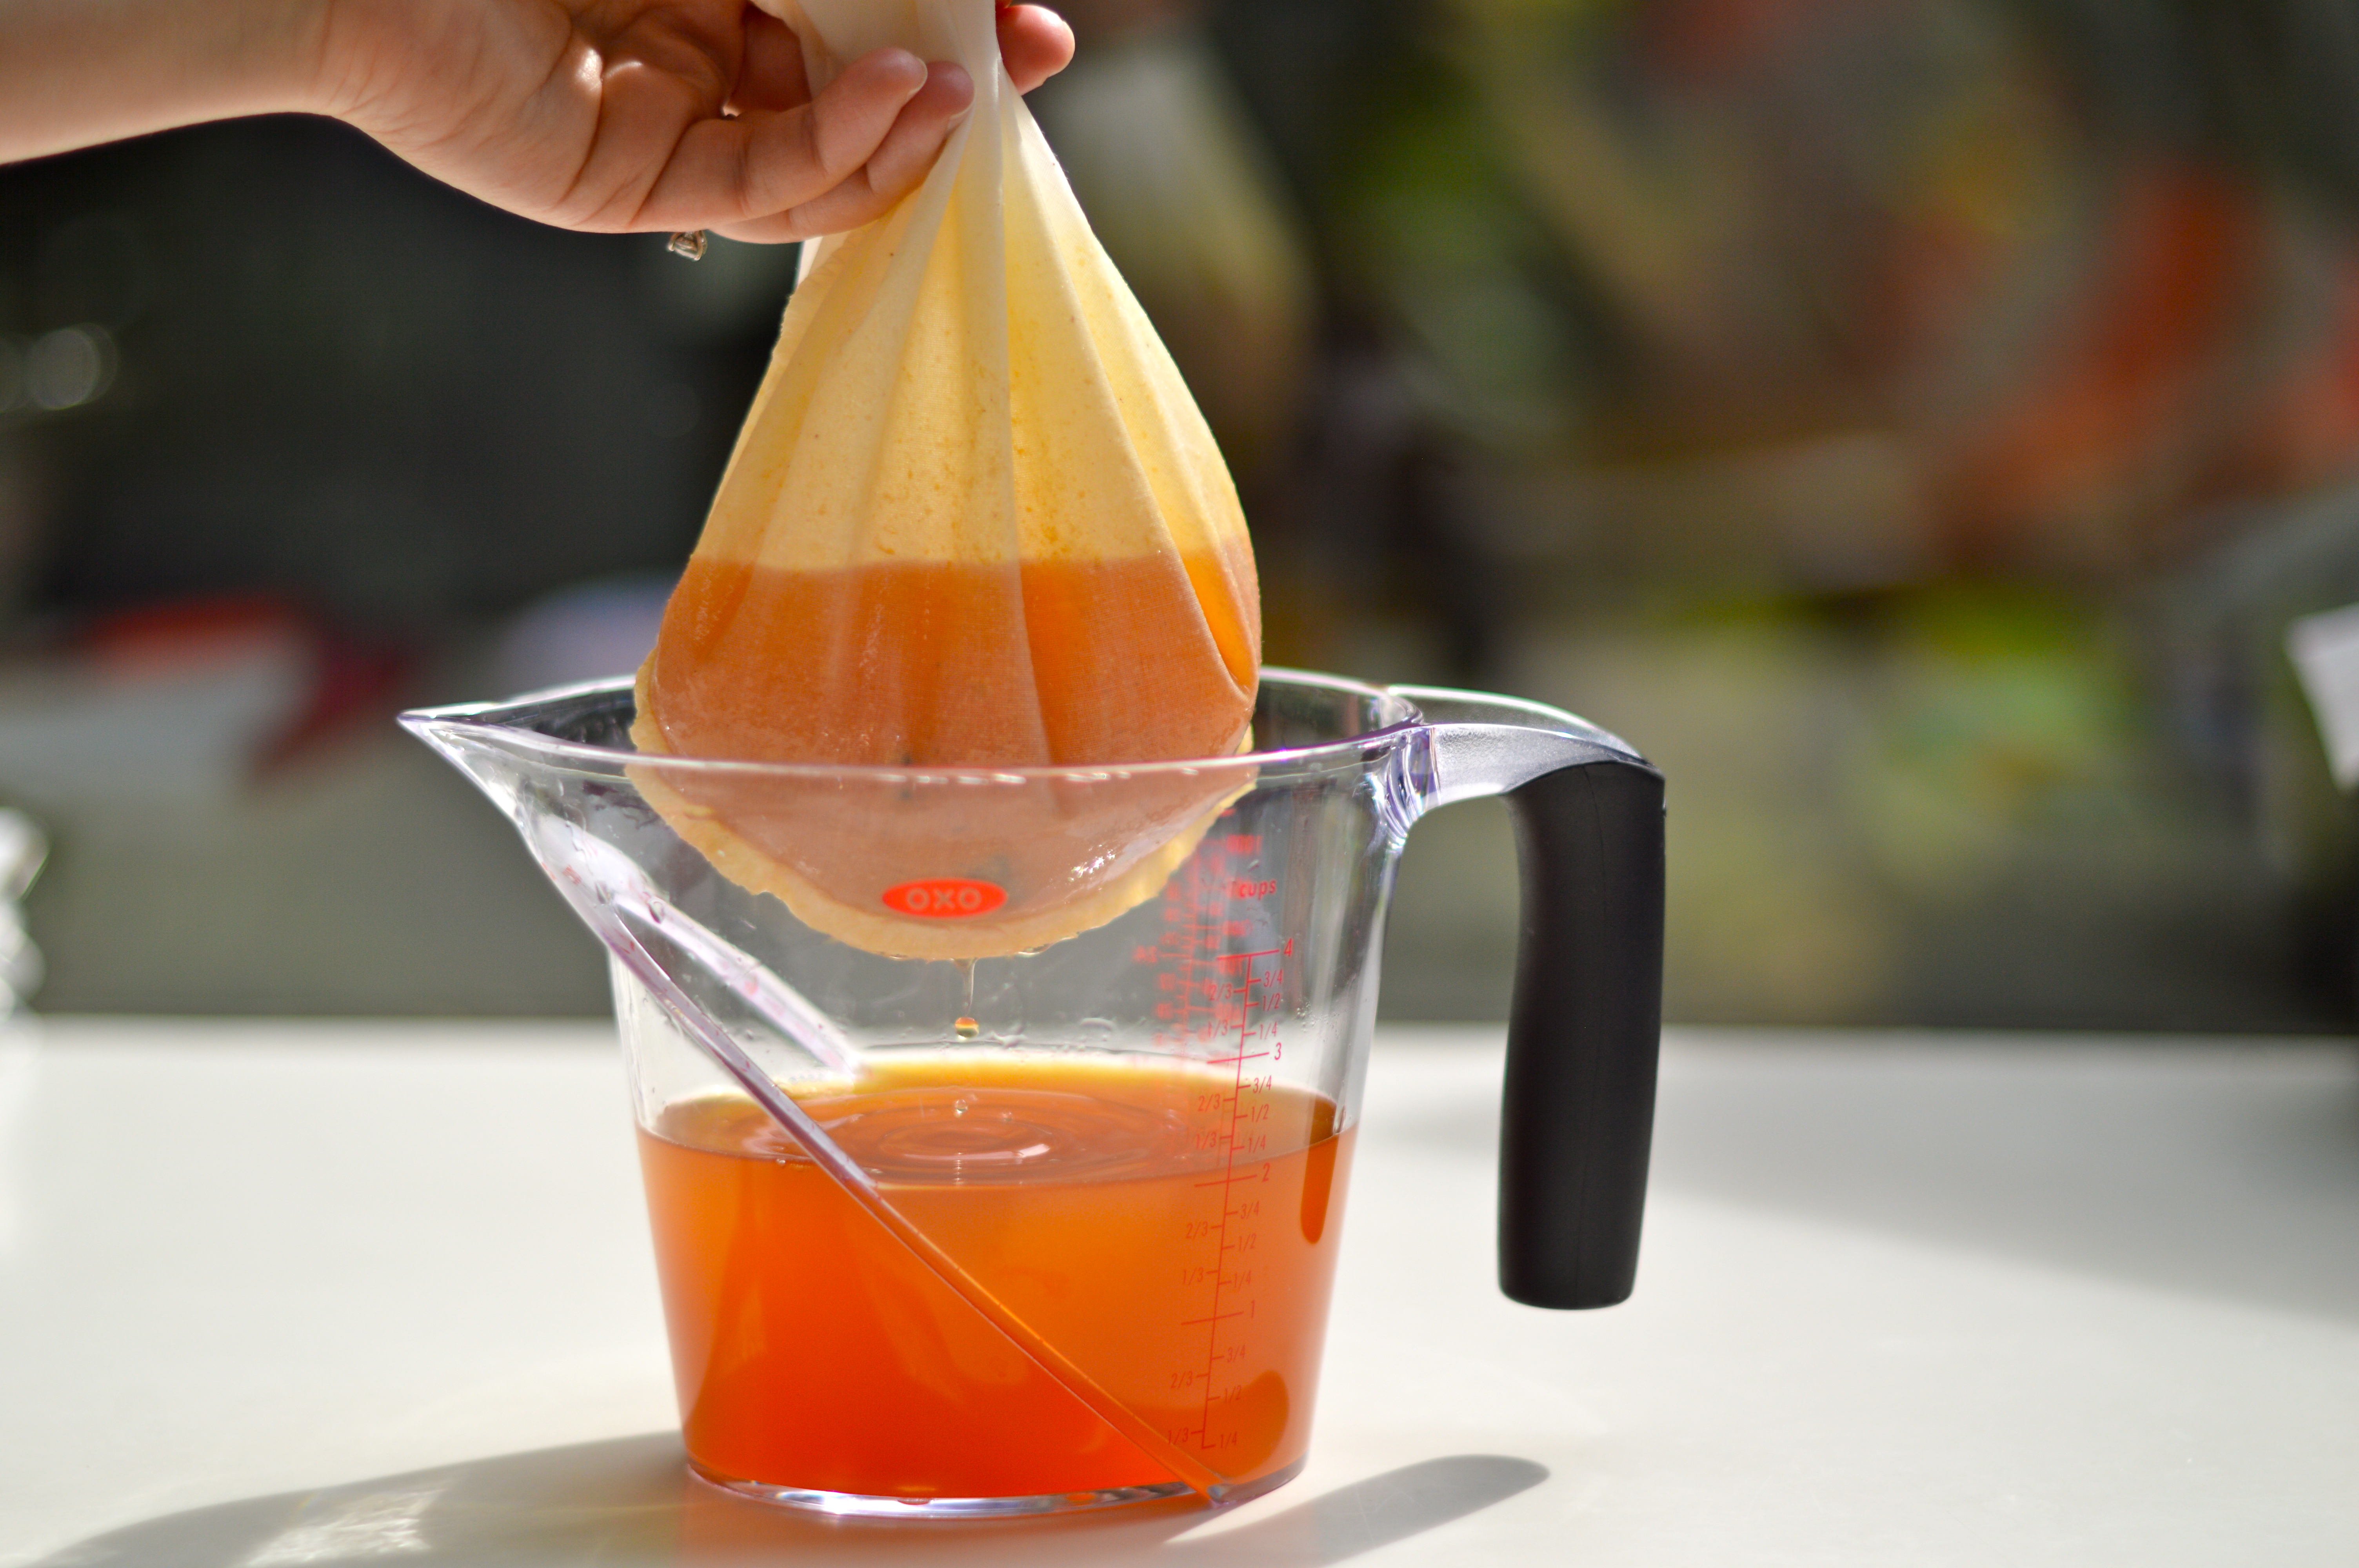
- Strain liquid through cheesecloth into a 1 1/2- to 2-qt. glass jar (save spice flavorings) and set aside. Put flavorings in a small saucepan with 2 cups water. Cover and bring to a boil, then reduce heat and simmer 10 minutes. Set aside.
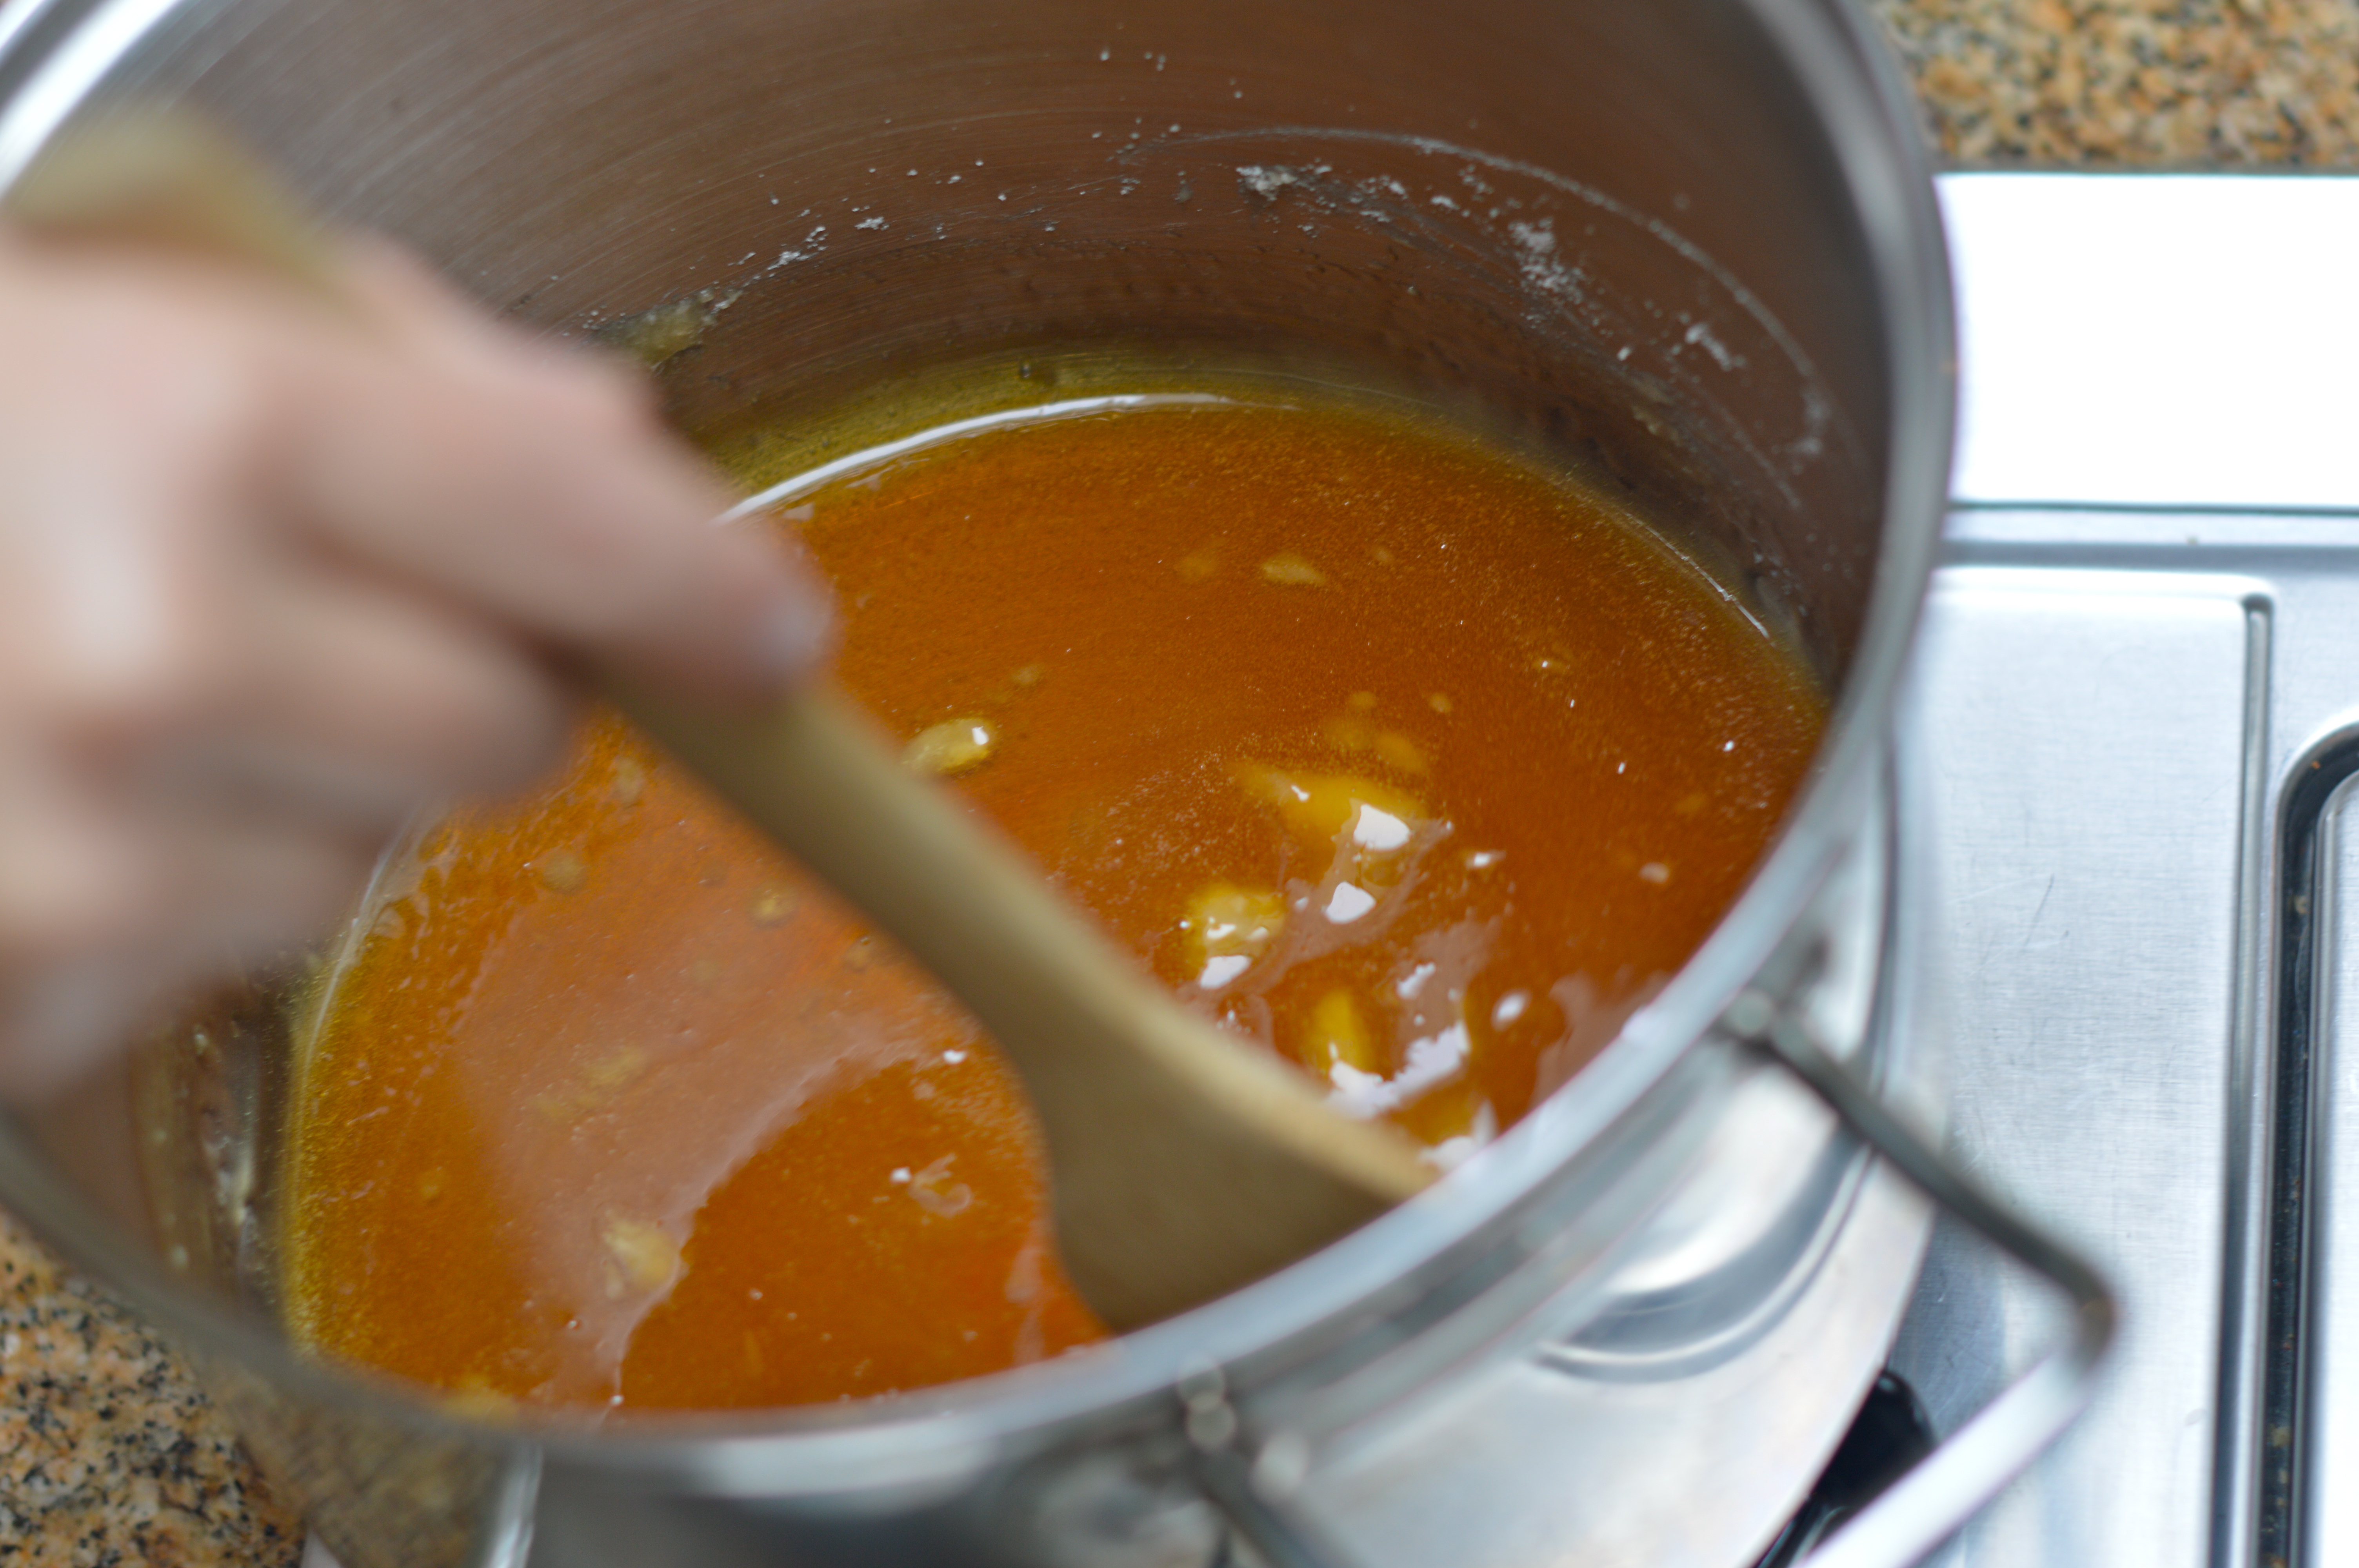
- Cook sugar in a small saucepan over medium-high heat, lifting and shaking pan occasionally, until sugar caramelizes and turns deep amber, 8 to 10 minutes. Pour caramel into liquid in pan (it will bubble furiously and may firm up). If needed, return pan to medium heat and cook, stirring, for a few minutes until caramel melts again.
- Set pan in a bowl of ice water until liquid is cold, about 10 minutes. Pour into jar with first infusion. Seal and let stand in a dark place 5 days.
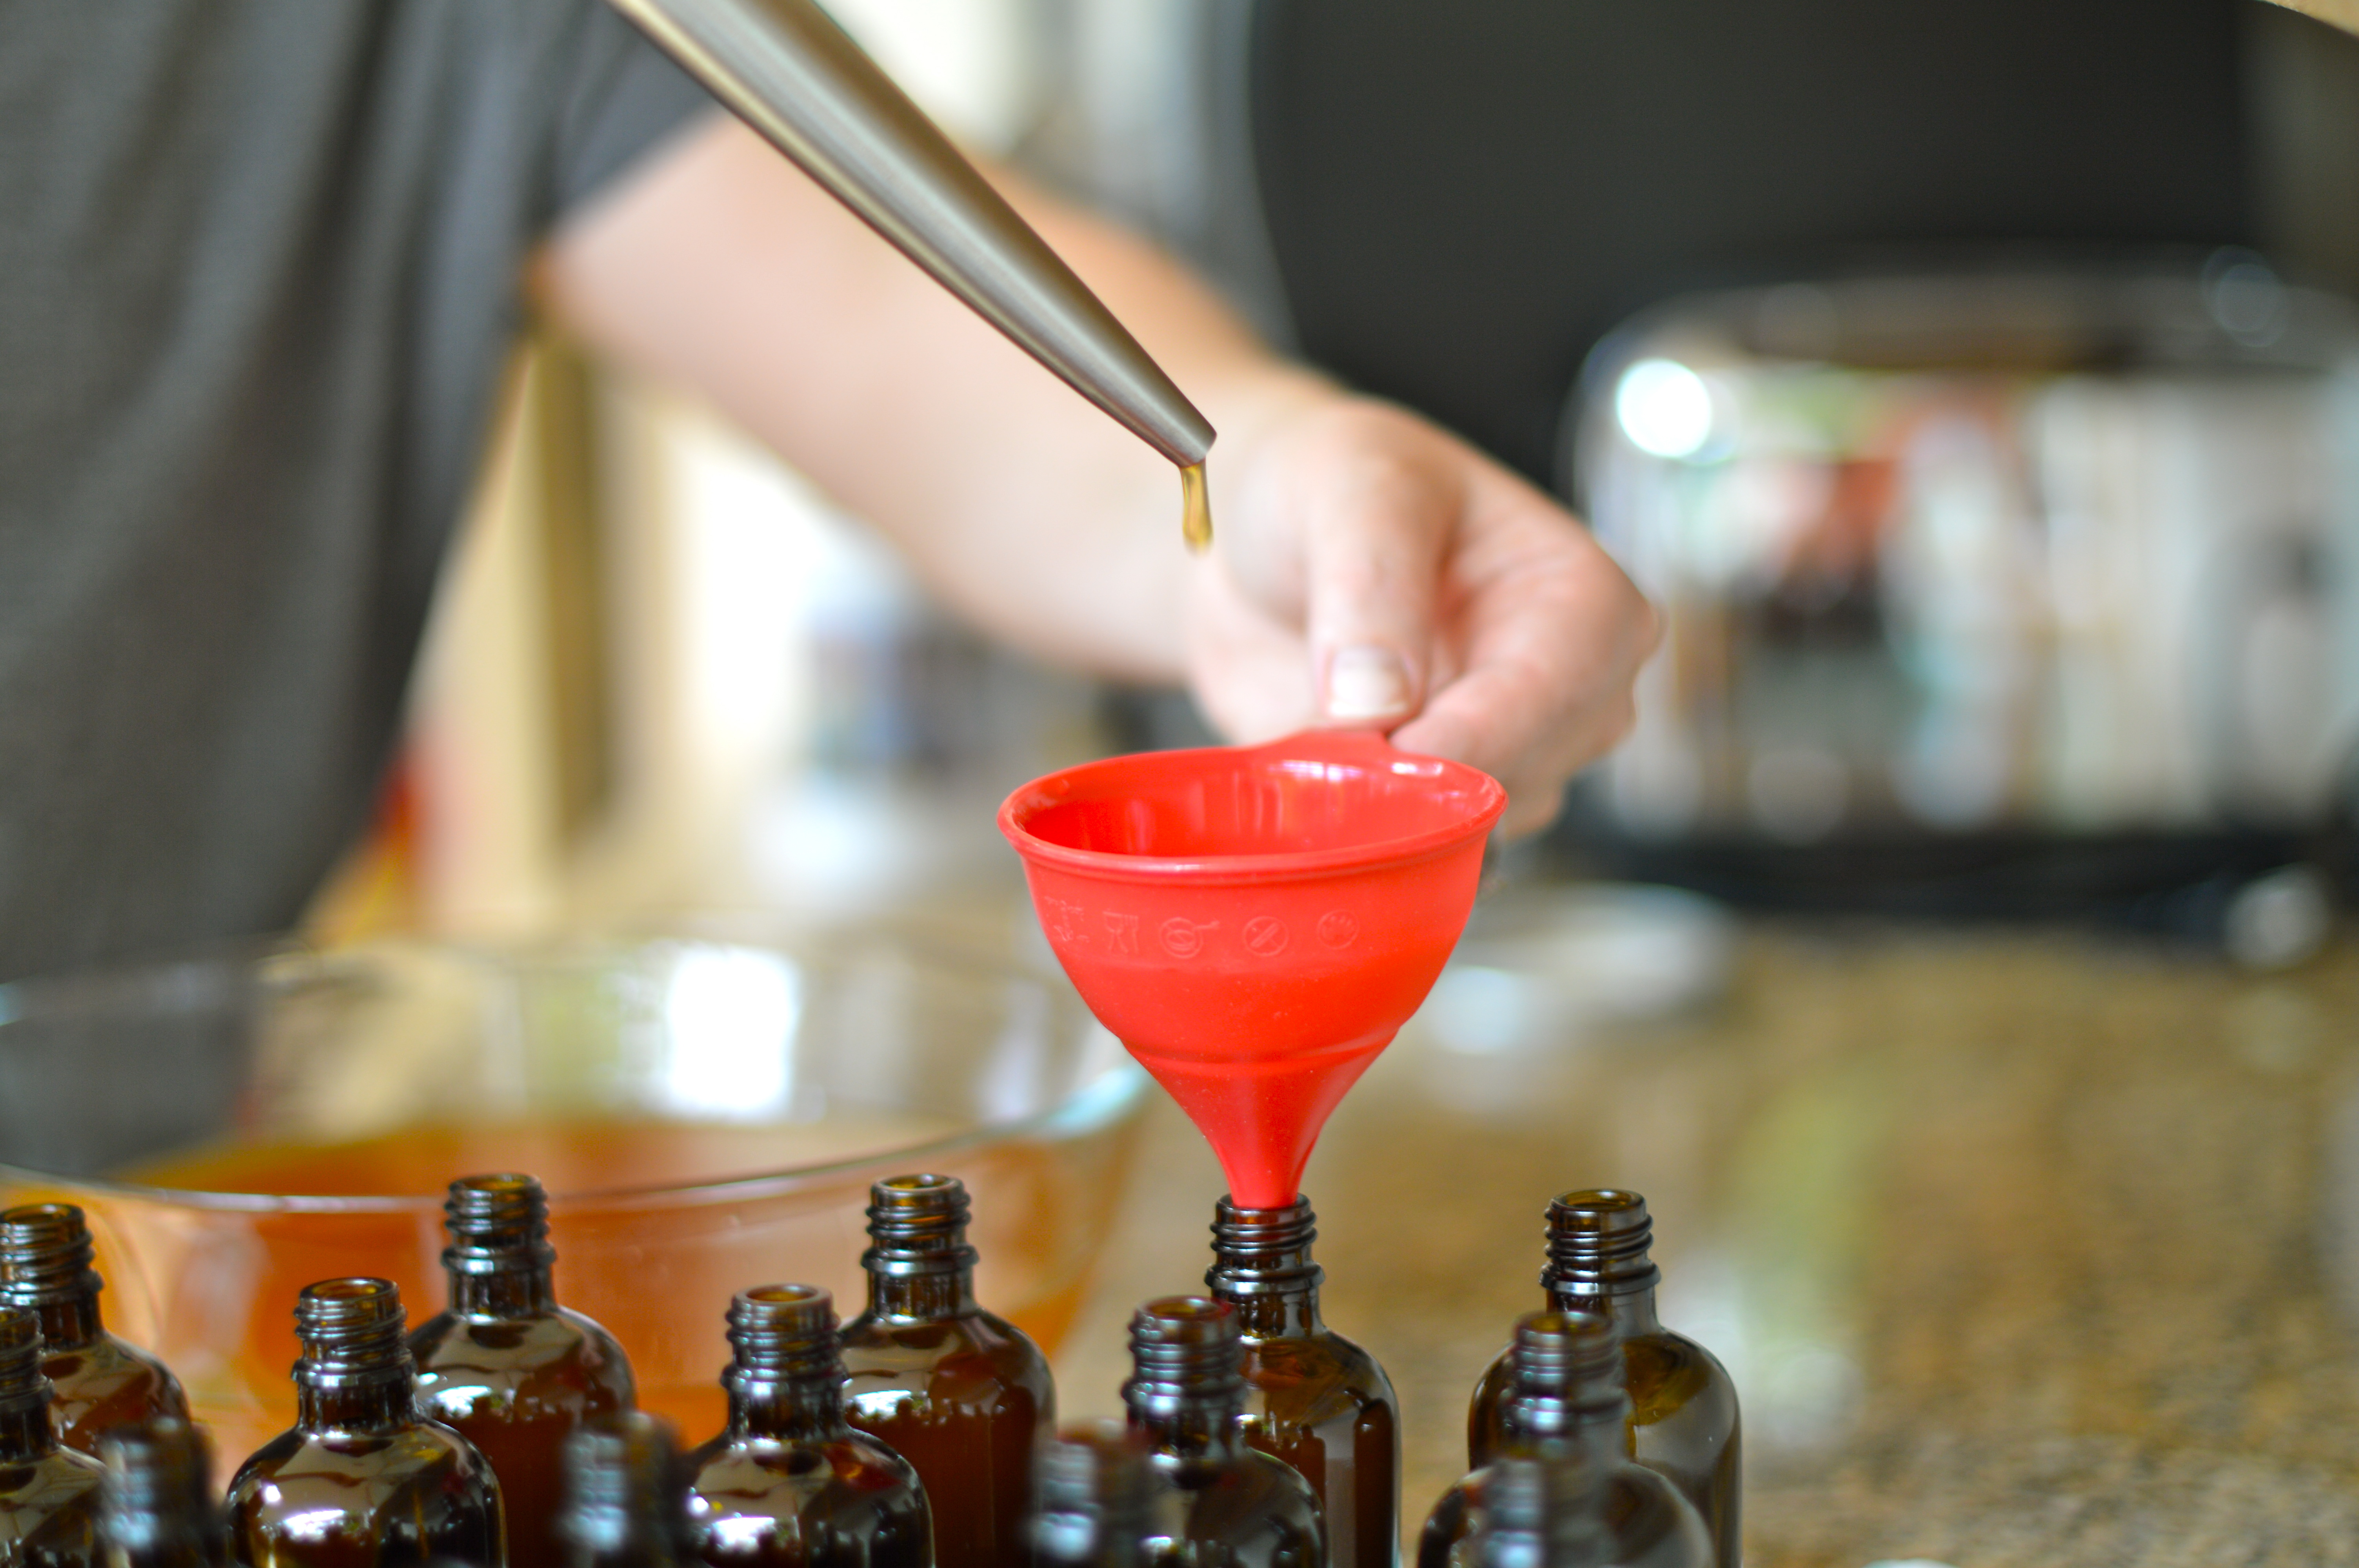
- Strain final mixture through cheesecloth into a glass measuring cup and discard flavorings. Divide bitters into small jars and seal tightly.
- Make ahead: Up to 1 year, chilled.
- Bottle it: 7.5-in. clear glass bottles
I am so excited to have tried this DIY recipe. It turned out beautifully and some of you will be receiving it this winter for Christmas. Now, you will, potentially, know what to do with it!!
Enjoy!
Friday Love
I am thrilled to share that Poole Party of 5 is featured on Assemble Shop & Studio’s website today! Andie Powers interviewed me as their Favorite Friday Friend today!

I used to work with Andie Powers years ago at Paper Source and always respected her talent and vision. We ran into each other at Alt Summit this summer and I got to meet her business partner, Emily Grosse. I had been following these ladies ventures for awhile, but it was so wonderful to get reconnected in real time. I am in awe of all that Andie and Emily are up to on Assemble and beyond. The ladies recently completed a kickstarter campaign and are definitely moving and grooving with lots of cool projects on the horizon. Go check them out!!
Click here to see the Poole Party of 5 interview: Assemble Shop and Studio: Favorite Friend Friday: Lesley Poole of Poole Party of 5
Thanks so much to Andie and Emily for the feature! I can’t think of a more fun and inspiring spot to be featured than Assemble.
Patience, Not Perfection
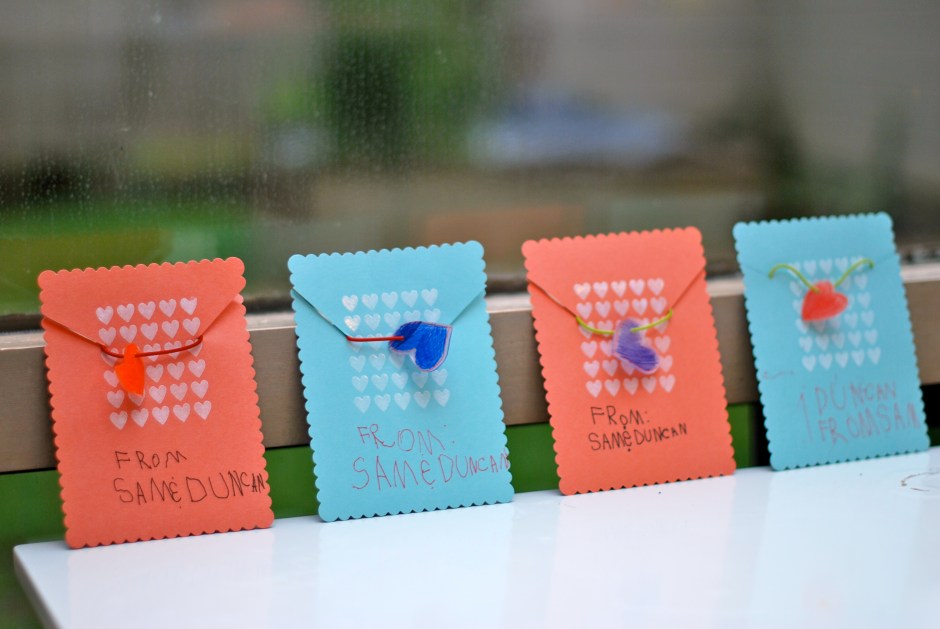
In our house, the Valentine Season is more about the valentines kids bring to their friends at school than a declaration of romantic love. Meaning, a few weeks ago we set out to make our school valentines and have yet to finish…

The part of me that loves coming up with projects to do with my kids finds this situation completely satisfactory. We get to work on a project together and have hours of entertainment! The kids will have an end product that they get to share with their peers! Fun! The other part of me that is a bit of a perfectionist with said projects is having a harder time with the process. In my mind’s eye, the valentines we made together were finished weeks ago and were exceptionally cute (read: professional).

Then came the realization that I had a choice to make. Would these by my valentines? Or, (correct answer) would these be my kids’ valentines? We all love to show the world what we can do (me included, obviously)… And yes, I do love me a good craft project. So, we compromised. The project did involve Shrinky Dink hearts and it did involve some group stamping, but more importantly, it involved letting my kiddo practice writing names over and over again. I must admit to feeling a teensy bit proud of myself that I did not take the pen away to write all the valentines myself (in my efficient, adult penmanship), but rather I am allowing my five-year-old the time and space to practice his budding handwriting skills night, after night, after night… This may not seem like a big deal. In fact, it may sound quite insane. But each of us has things we do well and areas where we are challenged. Right? (Insert head nod here.) Small victories.

In the end, these valentines will end up in the recycling bin after a day or two, but my son will feel more confident writing his and his brother’s names going forward. As we encourage our little people to spread their wings and master new skills, it is a good reminder, that although a project may take longer (most likely), will be messier (guaranteed), and may turn out differently than imagined (quite probably), there is more to be gained from the process than from doing it all ourselves. I am hopeful that we will be done by Thursday morning… Fingers crossed. Clearly, handwriting is not the only lesson being learned from this project!


Hello, Cupcake

“Winter White and One” was the theme of the party. It was important to me that Tatum’s first birthday party feel intimate and differentiated from the Christmas celebrations we had been involved in days before. I envisioned wiping away the holiday from one room and replacing the red and green with clean, white everything. I liked the idea of white cupcakes on white cake plates – white, white, white… but also wanted to find some unfussy design element that would help commemorate this milestone for my little girl.


There is a company I learned about called Ticings that makes “tattoos” for cupcakes. I was very intrigued by these when I came across them in a magazine. If their product was not cool enough, Ticings currently has an artist doing custom silhouette art for them. Perfect! Despite my late planning and holiday business, Ticings was able to accommodate all my requests and the customer service was a dream. I sent in a photo of Tatum and days later received custom cupcake tattoos with my baby girl’s silhouette. I also asked for the artwork to keep as a momento of the day.


Since I had already spent some money on the tattoos, I figured that I better bake the cupcakes versus purchase designer ones. I am a mediocre baker at best with a very old oven, so I was a little intimidated, but figured it would all work out. (At this point, it might have benefitted me to read the directions on the Ticings packaging, as my cupcakes were not as flat as they recommended which made application more difficult.) A few years ago I was given a cookbook called, “Hello, Cupcake! : Irresistably playful creations anyone can make”. Most of the cupcakes in this cookbook are fun to look at, but not something I would attempt in real life. My favorite thing about this cookbook is in the back there are some tips and tricks and recipes for semi-homemade cupcakes and frostings. The authors allow that homemade is usually best, but in a pinch there are ways to improve flavor and texture from store bought mixes, etc… Their “Perfect Cake-Mix Cupcakes” have worked really well for me:
Perfect Cake-Mix Cupcakes from Hello, Cupcake!
1 box (18.25 ounces) cake mix (French vanilla, devil’s food, or yellow)
(Note from PP5: I like Trader Joe’s brand)
1 cup buttermilk (in place of the water called for on the box)
Vegetable oil (the amount on the box)
4 large eggs (in place of the number called for on the box)
Preheat the oven to 350 degrees. Line 24 muffin cups with paper liners.
Follow the box instructions, putting all the ingredients in a large bowl and using the buttermilk in place of the water specified (the box will call for more water than the amount of buttermilk that you are using), using the amount of vegetable oil that is called for, and adding the eggs. Beat with an electric mixer until moistened, about 30 seconds. Increase the speed to high and beat until thick, 2 minutes longer.
Spoon half of the batter into a ziplock bag. Snip a 1/4 inch corner from the bag and fill the paper liners 2/3 full. Repeat with the remaining batter. Bake until golden and a toothpick inserted in the center comes out clean 15-20 minutes. Remove the cupcakes from the baking pans, place on a wire rack, and allow to cool completely.
Next, I used one of the cookbook’s frostings and was very happy with the result.
Almost-Homemade Vanilla Buttercream
Makes 3 1/2 cups
1 container (16 ounces) Marshmallow Fluff
3 sticks (3/4 pound) unsalted butter, softened and cut into 1-inch pieces
1 teaspoon vanilla extract
1/2 cup confectioners’ sugar, plus additional sugar if necessary
Spoon Marshmallow Fluff into a large bowl. (Marshmellow Fluff twice in one month?!?!?) Beat with an electric mixer on low. Gradually add the butter pieces, well after each addition, until smooth. Add the vanilla extract and the 1/2 cup confectioners’ sugar. Scrape the bowl well to incorporate. Add more confectioners’ sugar, if necessary, to adjust the texture.


As we were frosting these cupcakes, my sister and I were unsure about how messy the frosting looked. My mom had a helpful tip that I will pass on to you. After frosting your cupcakes, run your knife under hot water and wipe over frosted cupcake for an ultra-smooth look. (note: The cupcakes were definitely a group effort – thanks, ladies! The moral support was the best part of all.)


I will admit that the Ticings cupcake tattoos were a little more difficult to apply than I had hoped. We used their gold sprinkles to cover mistakes around the edges. In the end, I love the modern look of the silhouette on the cupcake. I was and am really happy with the result!


The family enjoyed a beautiful morning. Cupcakes were a hit and the birthday girl couldn’t have been happier. Tatum is sporting a Poole Party Designs original and sitting in her custom chair from Auntie. It is safe to say she enjoyed her day! Success!

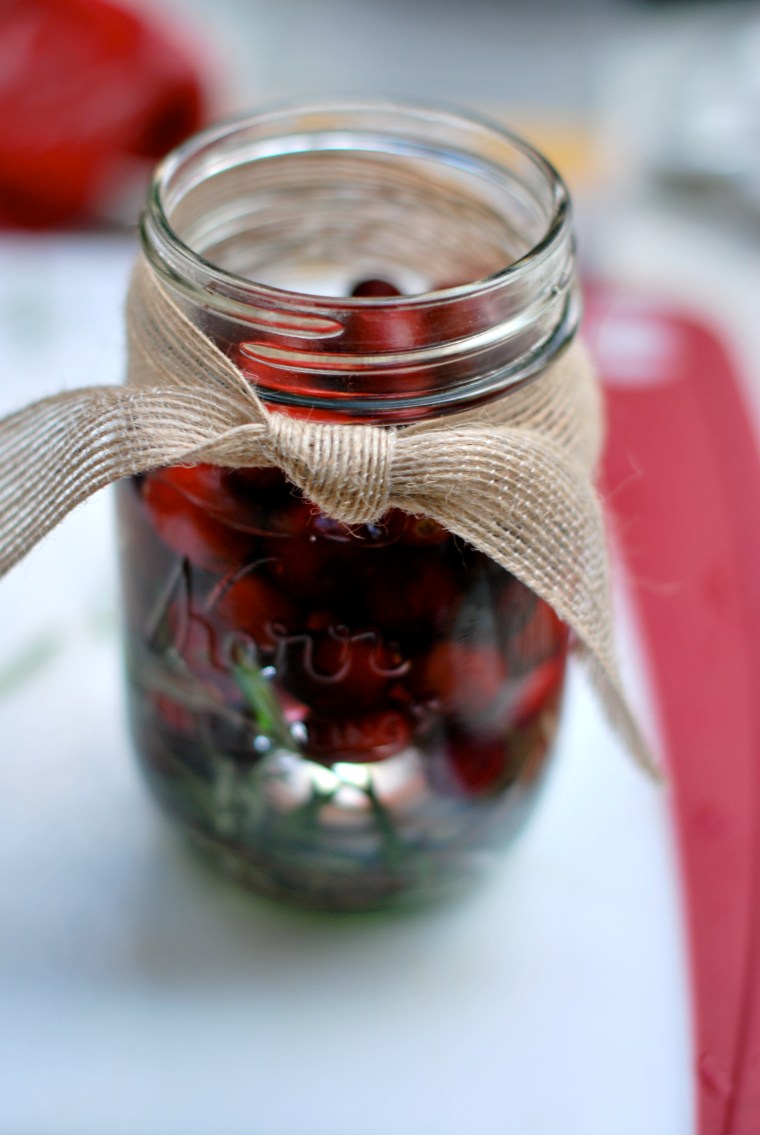
A Bright Idea

So there is a wonderful little item on the market that you might just add to your wishlist this holiday season… Michael’s sells Submersible LED Lights. Have you ever heard of such a thing? These little lights are so fun. I placed them inside Cranberry Rosemary Arrangements and they just made the whole thing glow!
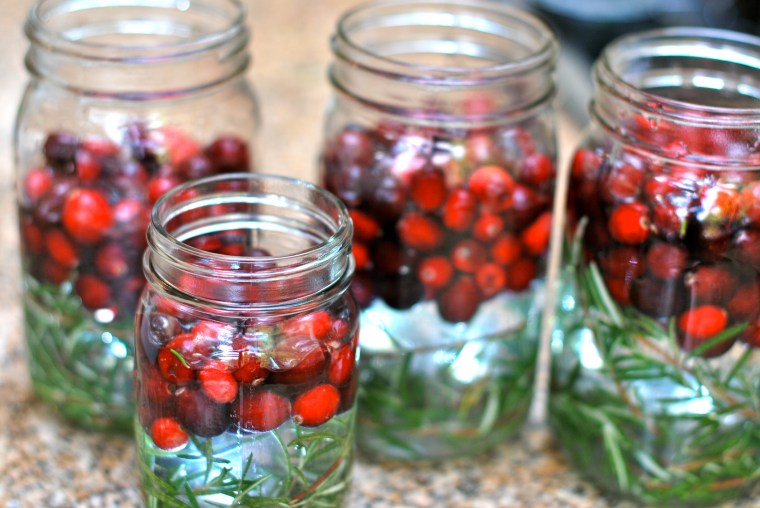


Cranberry Rosemary Arrangements
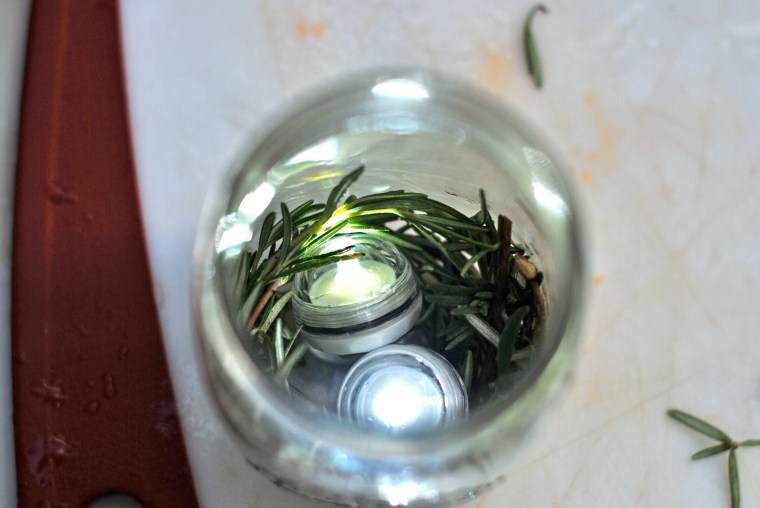
For these arrangements, I used empty mason jars for my vase. I placed a ring of rosemary in the bottom of the jar and then dropped a light or two in the center at the base. By doing this, the lights shine through the greenery of the rosemary and the rosemary hides some of the light casing. Remember to turn on your lights before you do any more steps, as the arrangement will need to be taken apart in order to remove the lights.

Then drop a couple handfuls of fresh cranberries on top of the lights and fill the jars with water. Adjust the water and cranberry amounts until you are happy with the amount of space between the floating cranberries and the rosemary at the bottom of the jar. (In a few of the jars I inserted a few sprigs of rosemary that I had tied together with hemp twine to add to the height of the arrangement and maintain the natural evergreen look I was going for.) 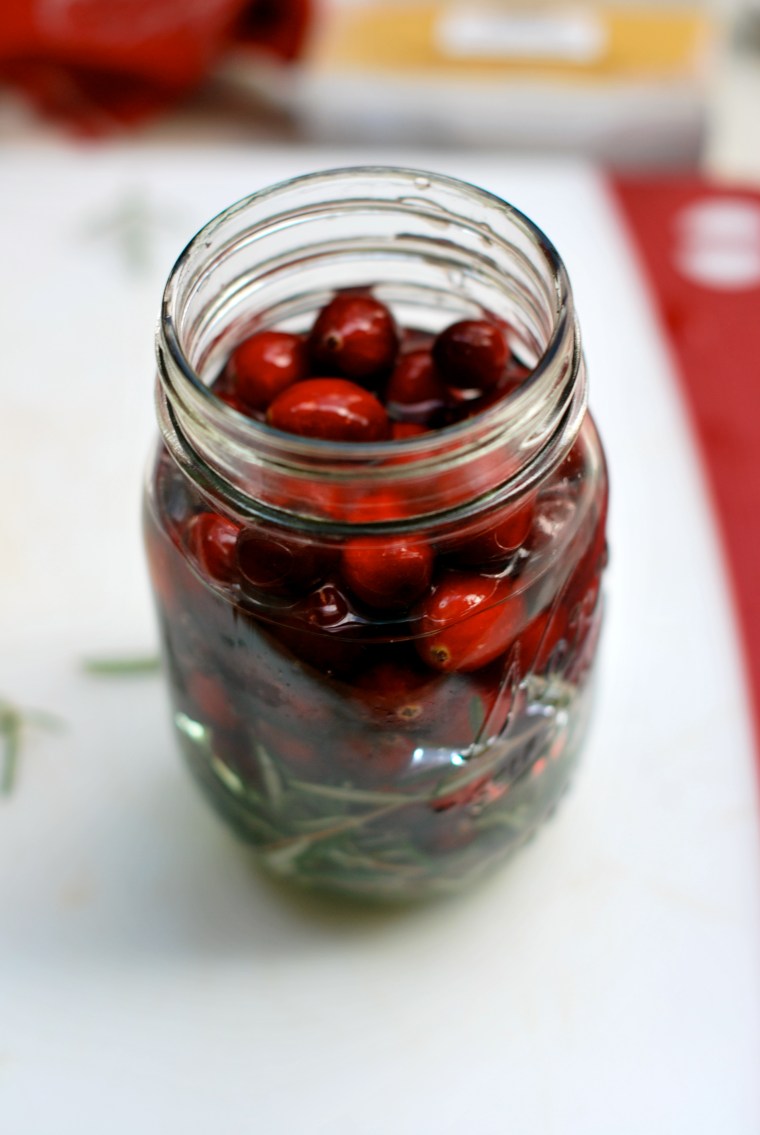

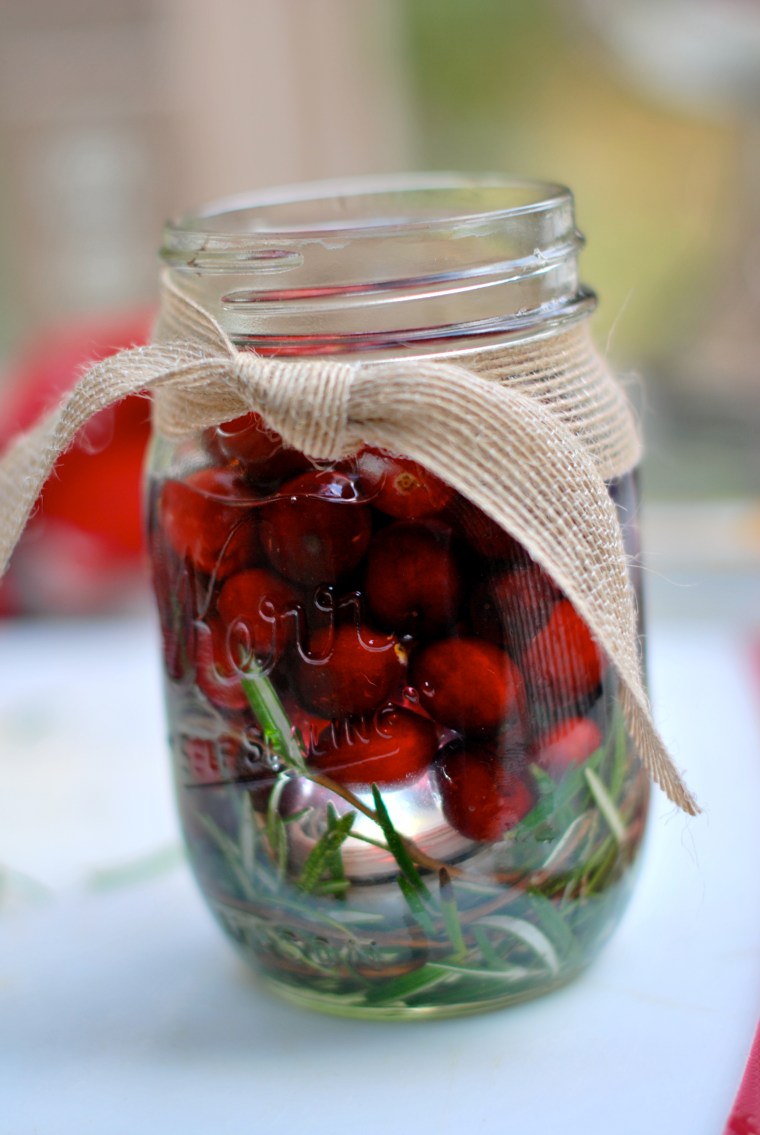
Lastly, tie a burlap ribbon around the top of the jar. These arrangements are beautiful as well as wonderfully aromatic! Happy decorating!


Book Bag Fever

Apples on the trees, school in session – seems like the perfect time to start making some book bags!
I will admit that this project began out of necessity. The boys’ new preschool does not like the kids to bring backpacks. Curious. Apparently, the cubbies are just too small. They were being overwhelmed by backpacks. I love the image of backpacks pouring in from all corners, filling the room! Be that as it may, the kids are bringing stuff home every night – artwork and papers everywhere! Hence, the need for a slimmer, more streamlined bag to keep the mama from losing her head. Ideally, it would be appropriately sized for a preschooler to carry. Where does one find such a thing? “Hmmm…” I say, (with a closet full of awesome fabric…) “I’ve seen a book bag before, I bet I can figure this out.” And so the bag-making frenzy begins at the Poole house…


Why do school supplies evoke such lovely memories? Even though I don’t need to buy myself #2 pencils or lined paper anymore, these book bags make me feel like a kid all over again! This little project was not based on a pattern, so if and when I refine my process, I will post a tutorial. Also, I am feeling a bit obsessed with monograms, if you haven’t noticed. You will be seeing more of them in items soon to be listed to the shop. In the case of the book bag, there was a dual purpose for the monogram; easy preschool identification and style. Here is Duncan modeling his new tote (I find his cross-body-carry especially hip). My personal favorite, to date, is the elephants!

Heirloom Tomato Basil Jam

The last preserves of the season… well, for this season anyway. Tomato Basil Jam.
I read about this jam last year and have been intrigued by it ever since. I wondered if it would taste good, if it would be tough to make, and if I could figure out what to put it on. Well, it is delicious. It was not too tough. And like many of the more “decorative preserves” they go great with cheese and crackers, a component on an interesting sandwich, or simply on top of an english muffin… maybe not an everyday work horse, but since I enjoy eating these things, it works. More importantly, in November, or January, or June when tomatoes are not in season this little number will provide a hit of late August sunshine that might be very welcome in any form. Things have been very busy, so I almost didn’t write this one up, but I do like the idea of having a record here of what I made this summer and photos of heirloom tomatoes are simply good for the soul. So here it goes.


I found these lovely heirloom tomatoes from our local farmer’s market and was given a deal because these were not even the most attractive of the bunch. Keep that in mind when shopping for produce for jams – you want the fruit to be ripe, but it does not need to be beautiful! The recipe I used is taken from Canning For A New Generation, by Liana Krissoff. The thing that sold me on this recipe is the opening line, “There’s almost nothing more appealing than a toasted and buttered english muffin spread with the herbal sweet-tart goodness of tomato and basil jam.” I mean, who wouldn’t want to make that?
Tomato and Basil Jam with Sherry Vinegar
3 pounds ripe tomatoes, peeled, cored, and diced
2 pounds Granny Smith apples, diced but not peeled or cored
1 lemon, chopped
2 cups sugar
1/4 cup sherry vinegar (7% acidity)
1/4 cup chopped fresh basil


Put the tomatoes in a wide, 6- to 8-quart preserving pan. Bring to a boil over high heat and cook until the juices cover the tomatoes, about 5 minutes. Pour into a colander set over a large bowl. Return the juice to the pan and add the apples and lemon. Bring to a boil over high heat. Boil, stirring occasionally, until the apples are completely broken down and the peels have separated from the pulp, about 15 minutes.


Dump the tomato solids into the bowl and place a sieve over the bowl (I didn’t have one of these, so I used my colander.) Pour the apple and lemon mixture into the sieve and press as much of the juice and apple pulp through the sieve as you can. Discard the solids in the sieve.
Rinse the preserving pan and pour the tomato mixture; add the sugar and vinegar. Bring to a boil over high heat and boil, stirring frequently, until a small dab of the jam spooned onto the cold plate and set in the freezer for a minute wrinkles when you nudge it, about 15 minutes. Remove from heat and stir in the basil. Fill jars and process in water canning bath for 5 minutes.
Makes about 4 half pint jars.
Enjoy!

