Category: Seasonal

Snowflake Slump
Oh the cold weather outside is frightful
But the fire is so delightful
And since we’ve no place to go
Let It Snow! Let It Snow! Let It Snow!!
For years, paper snowflake making has been a rite of passage in our home, welcoming in the winter season. It is something our family does together and like many other families we decorate our windows with these paper creations. But for years, we have been making snowflakes that are simply adequate. This year, when the topic of snowflake making came up, my oldest son asked his grandmother if she had a book that would tell us how to make really beautiful snowflakes. And, being the amazing grandma that she is, my mother went out to our local bookstore to ask about such a book. Well, one thing led to another and a book was ordered. (At this point in the story, I must say that I was a bit skeptical. Keep in mind that the oldest of our three kids is six years old. I figured that any book we came home with about “snowflake making” would be a complicated manual that would definitely be over his head; ending in a more frustrating versus helpful situation for my little perfectionist.) But, I will say it here, I was completely wrong. Our wonderful local bookstore, Island Books, found a fantastic book that has taken our mediocre snowflake making to the next level. Until looking at this book, I really didn’t even know that I had been in a snowflake slump all these years!
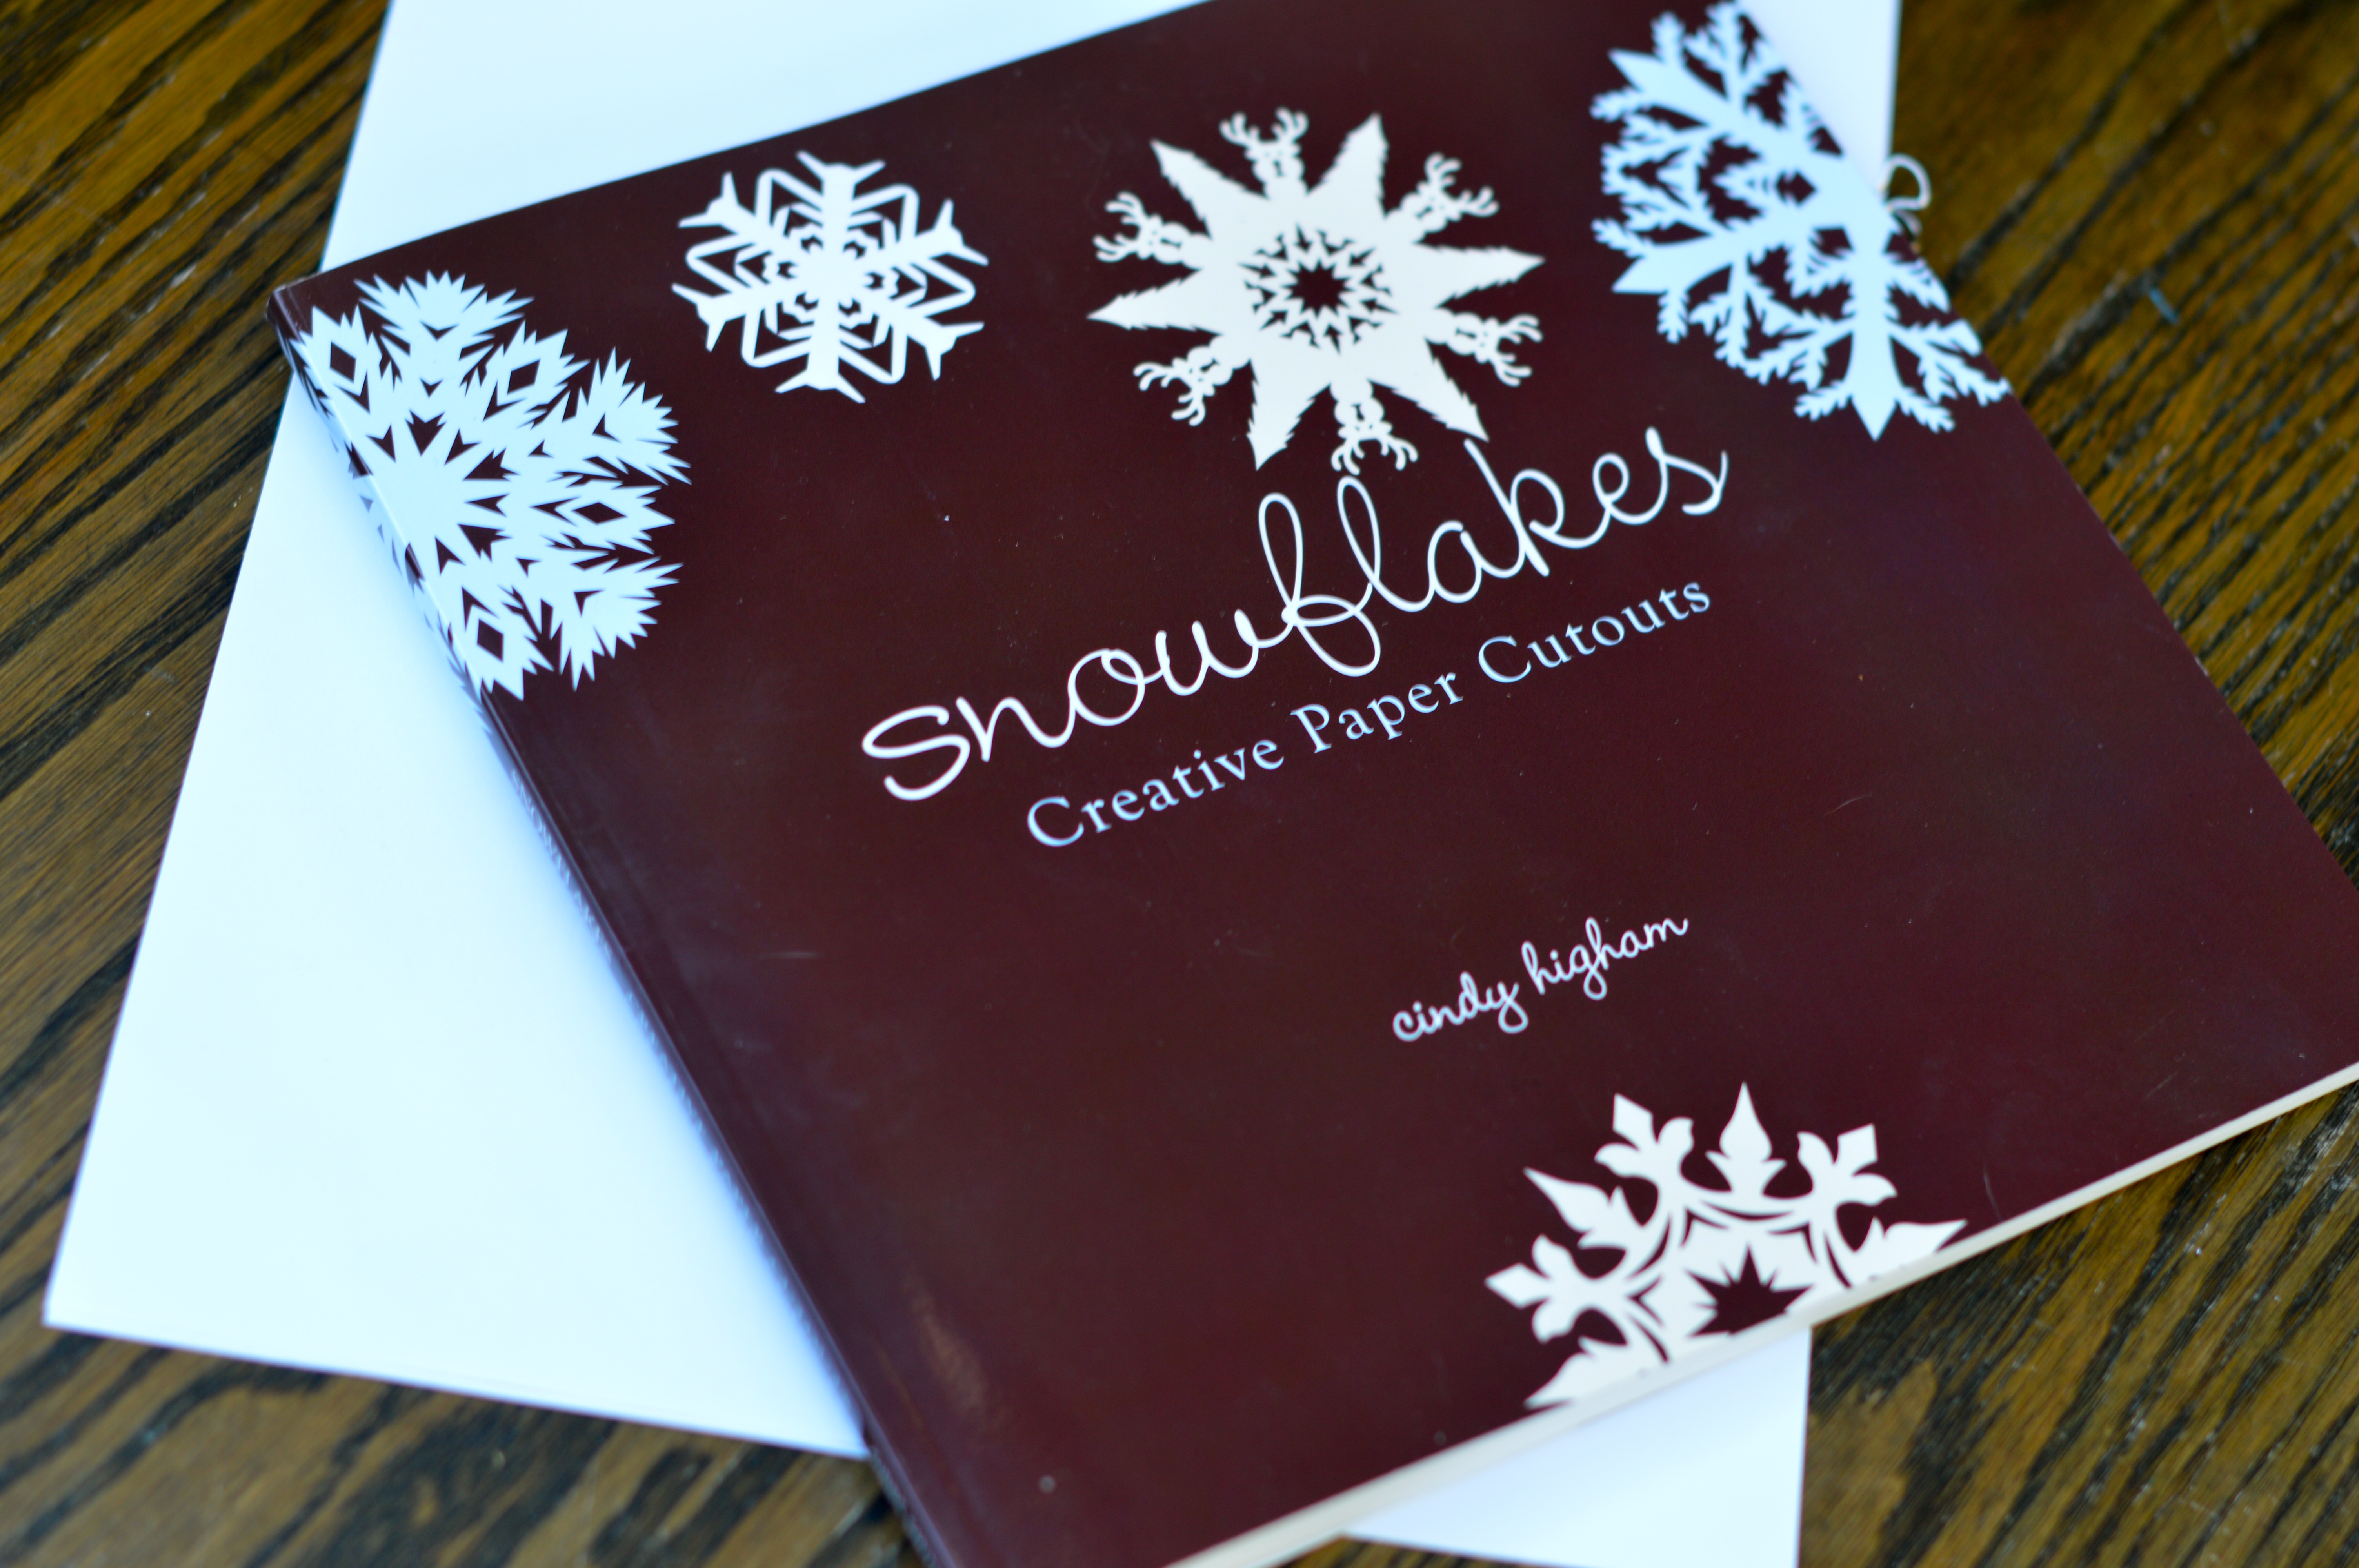
Snowflakes: Creative Paper Cutouts by Cindy Higham touts that it can turn anyone into a snowflake pro, and I believe it. The book includes 75 snowflake designs that include easy-to-follow directions and very clear pictures. Buy the book, or just check out the photos below, for an example of how to make your home a winter wonderland.

Paper Snowflakes
Supplies necessary: white paper & scissors
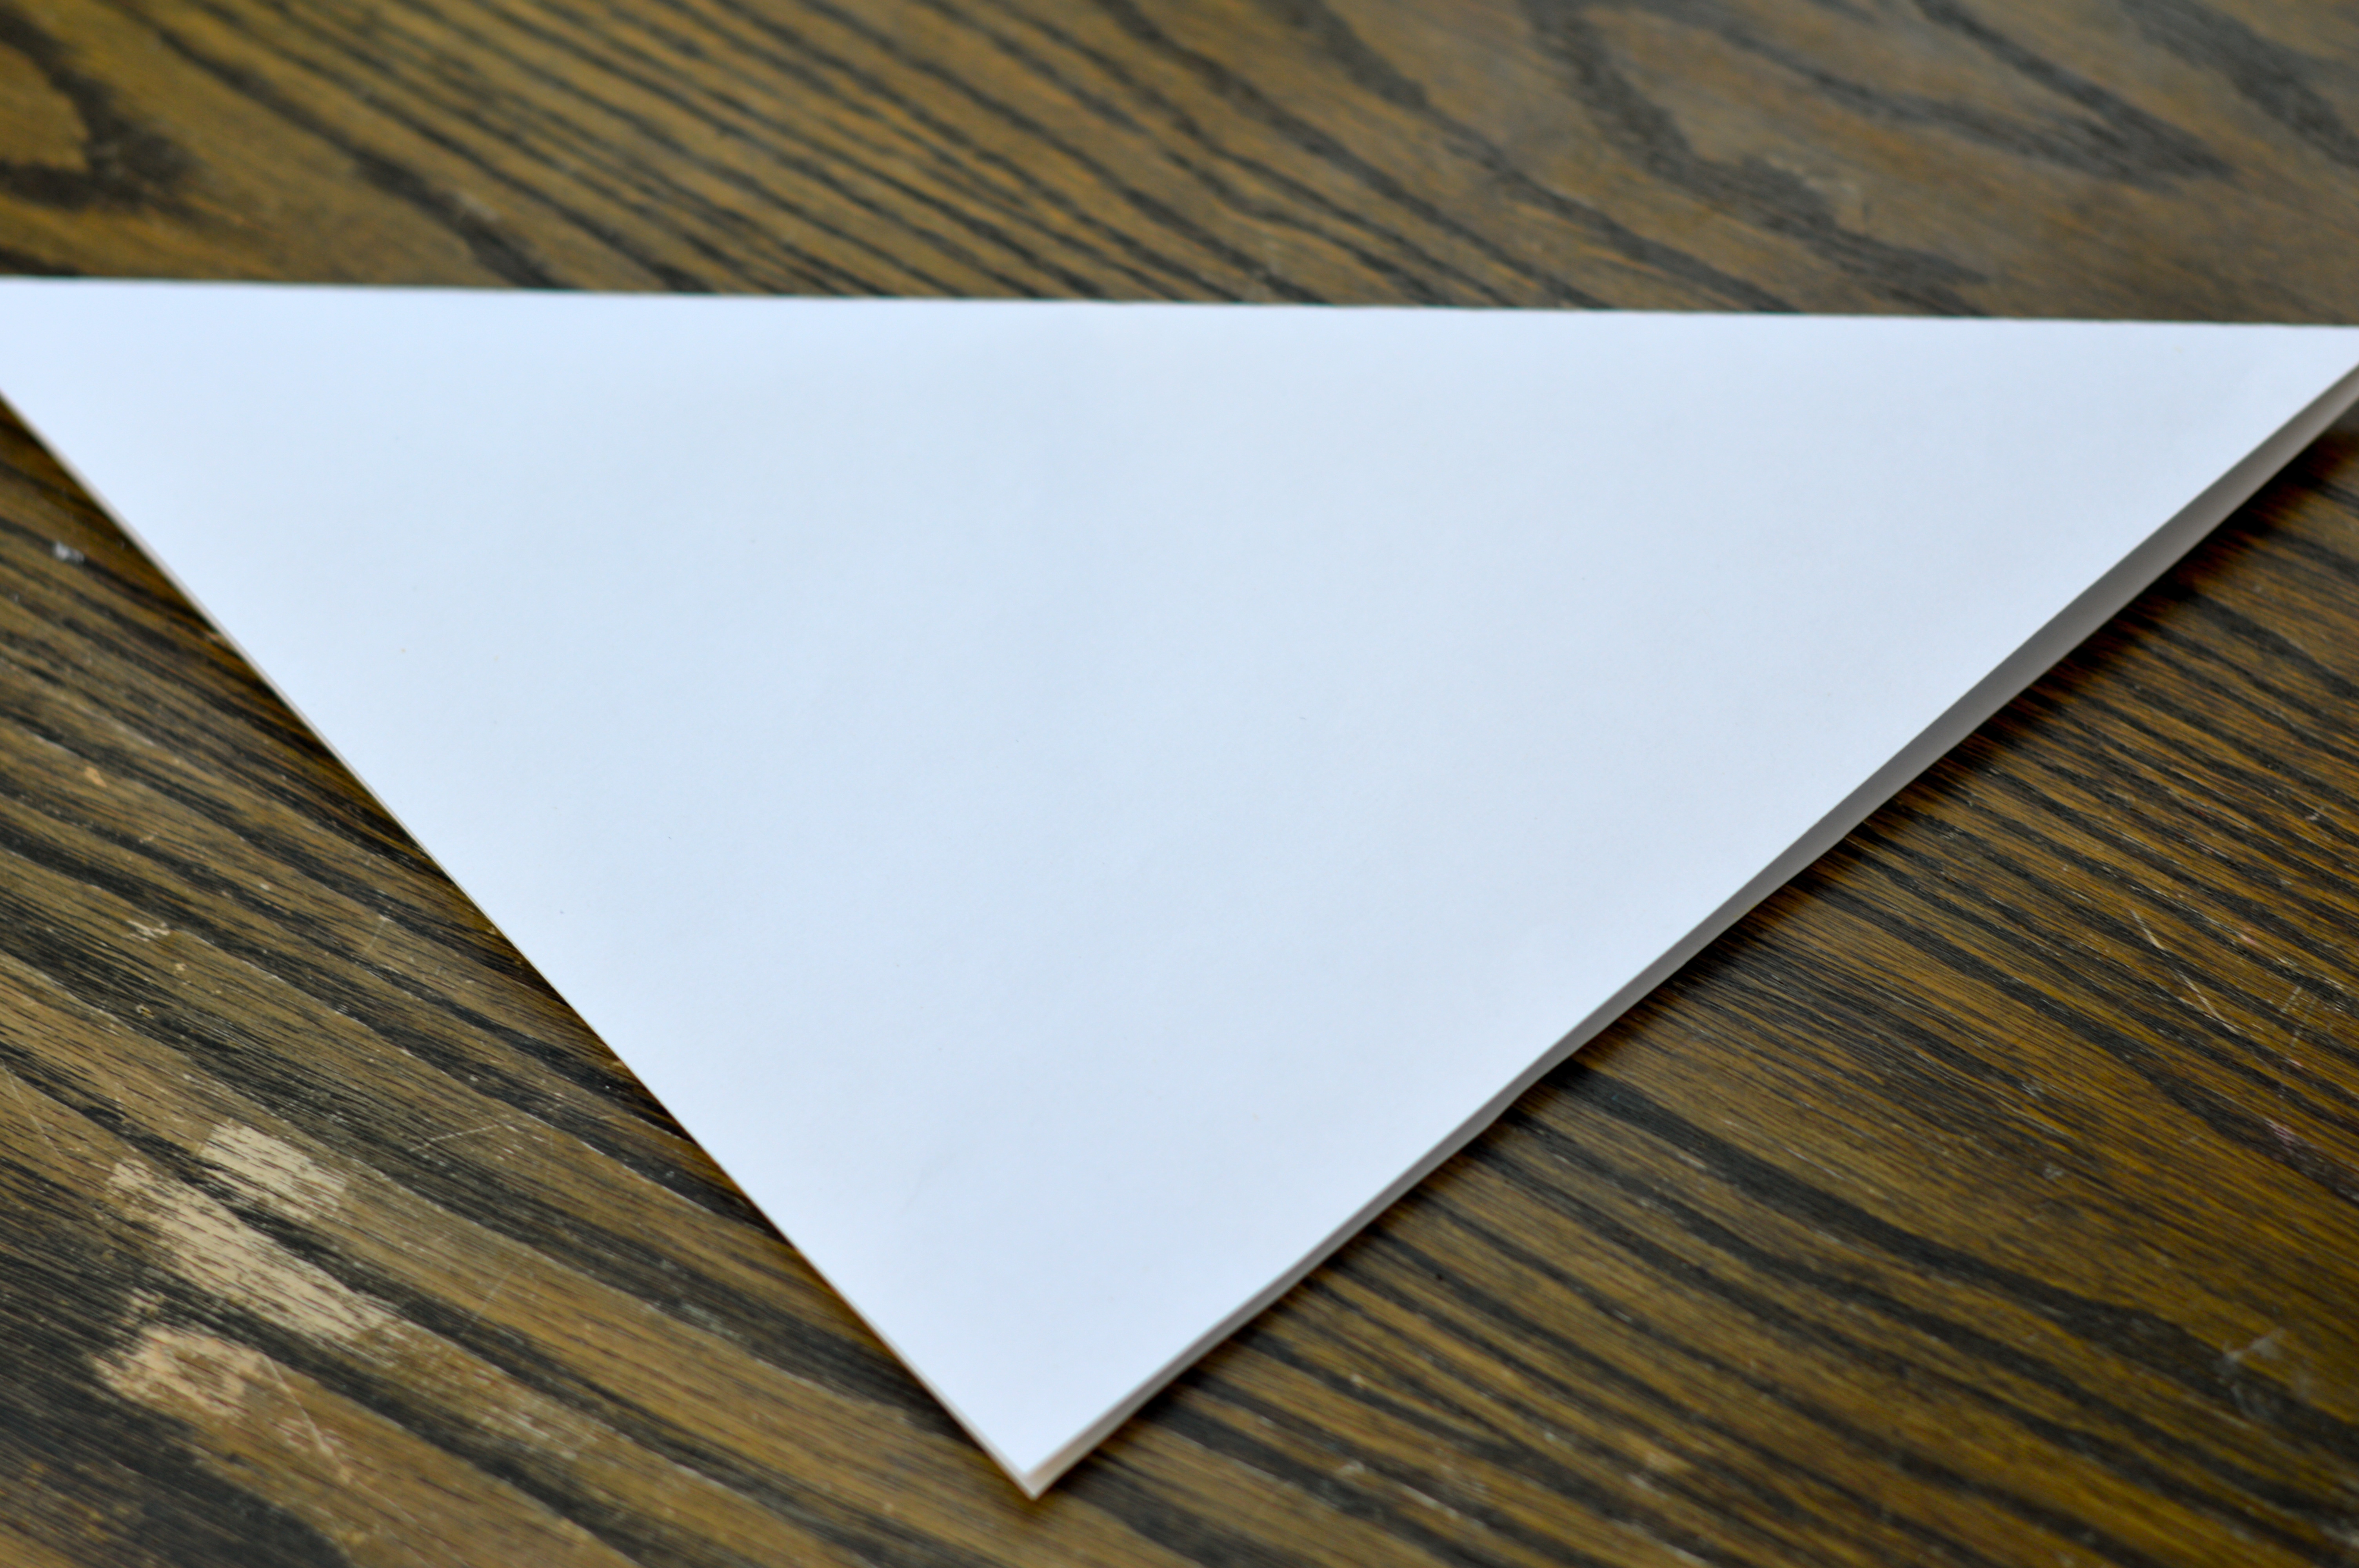
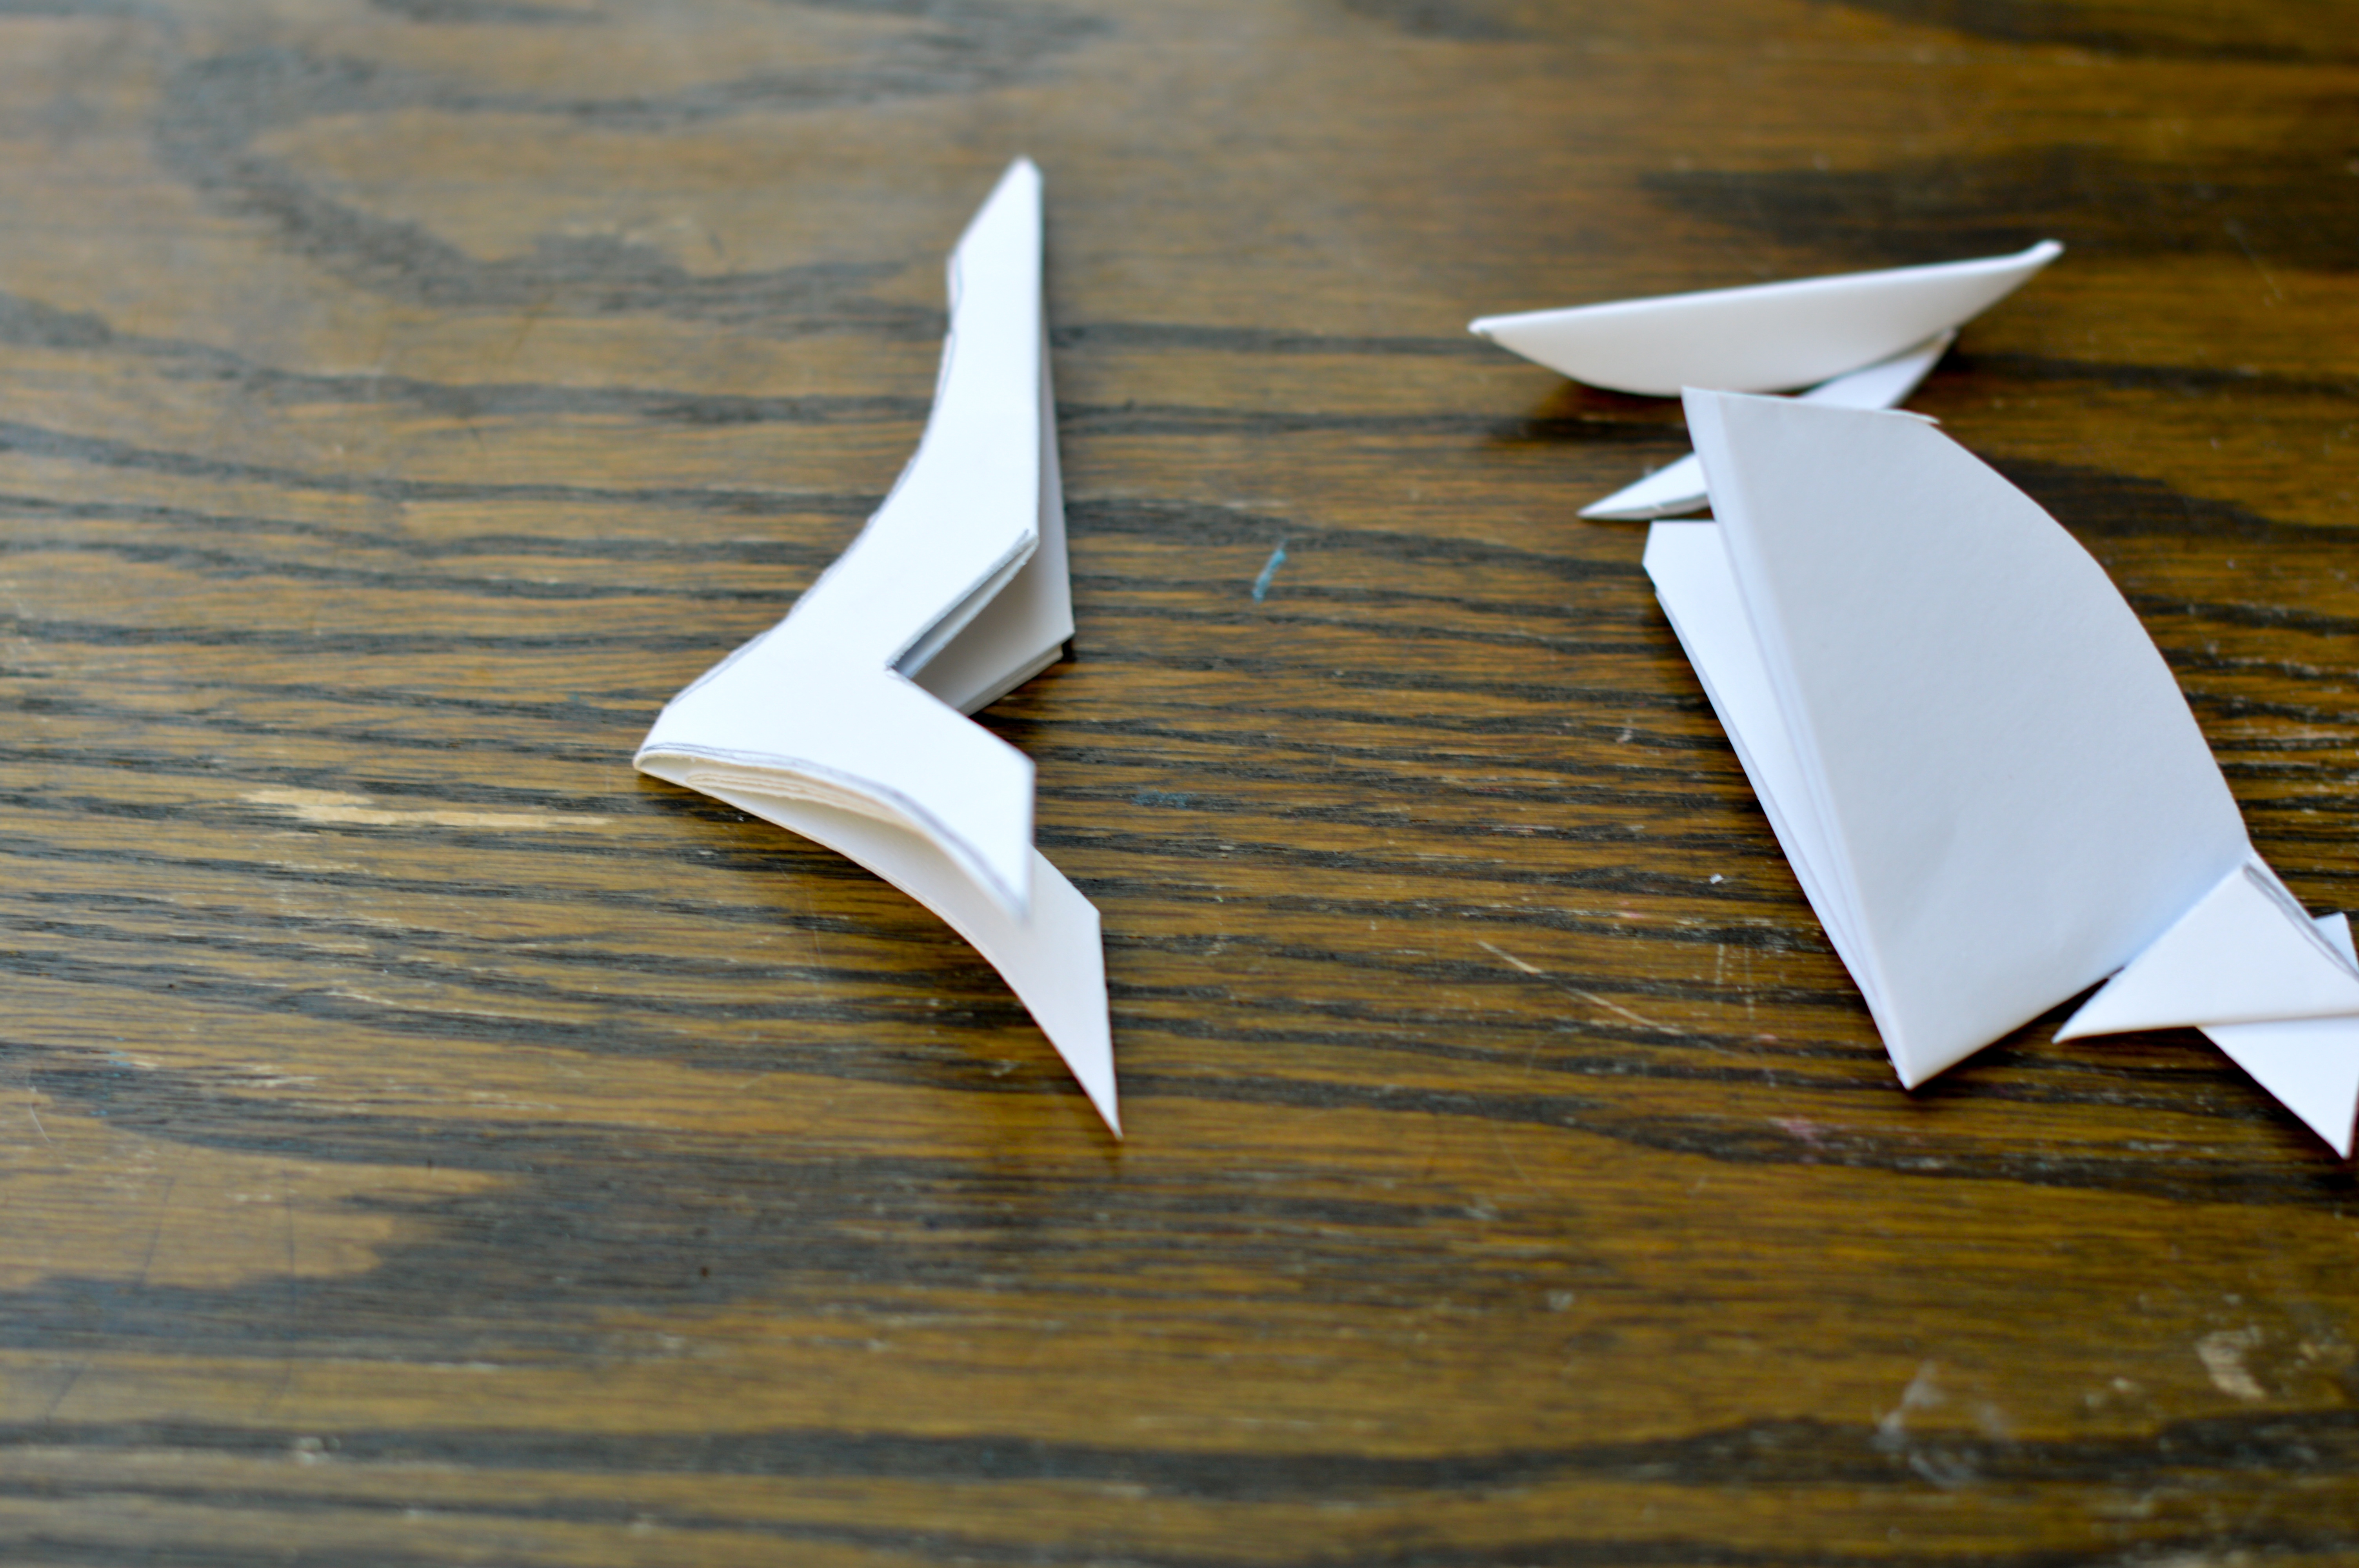
- Begin by making your folded paper triangle from an 8.5″ x 11″ piece of paper. Standard copy paper or something similar works best.
- If your paper is a rectangle, fold a top corner to opposite edge. Cut off the paper that extends past the triangle you have folded. Unfold your triangle and now you have a square.
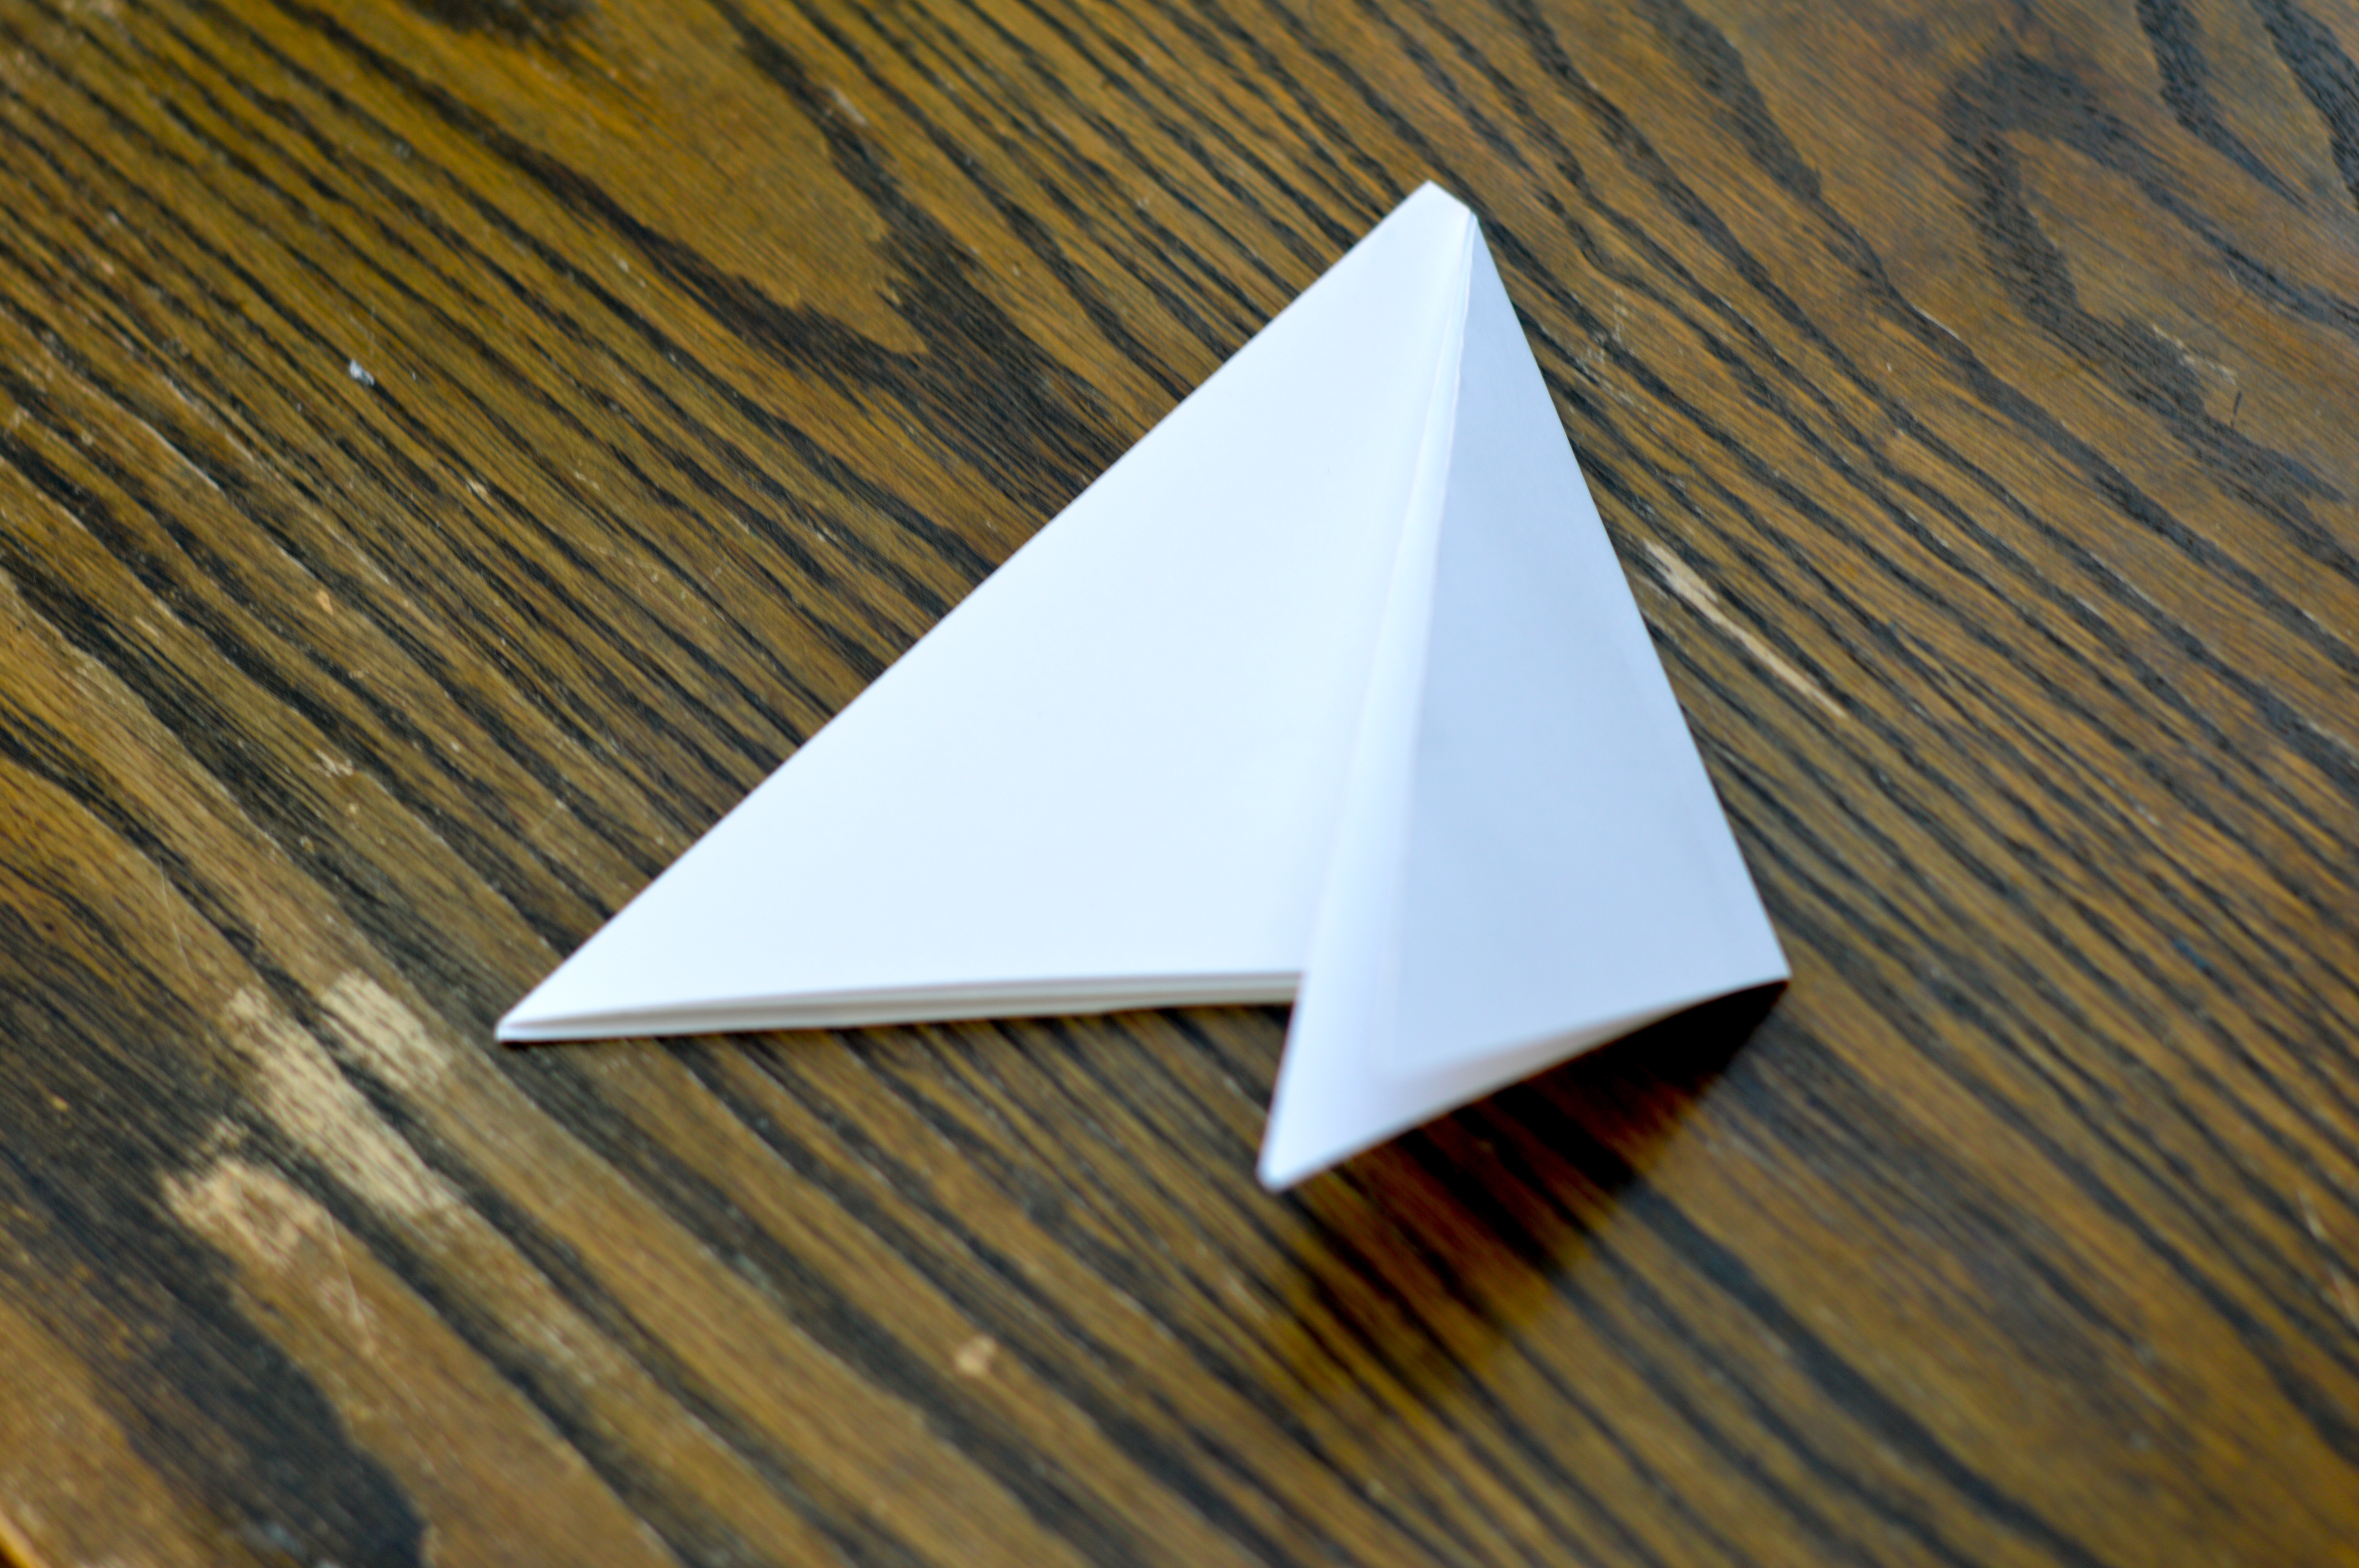
- Refold your square into a triangle again and repeat one more time to make a triangle one quarter the size of your square. It is worth noting here, the tighter and more perfect your folds are, the more perfect your snowflake will be. But, even if it is not perfectly folded, it will still work.
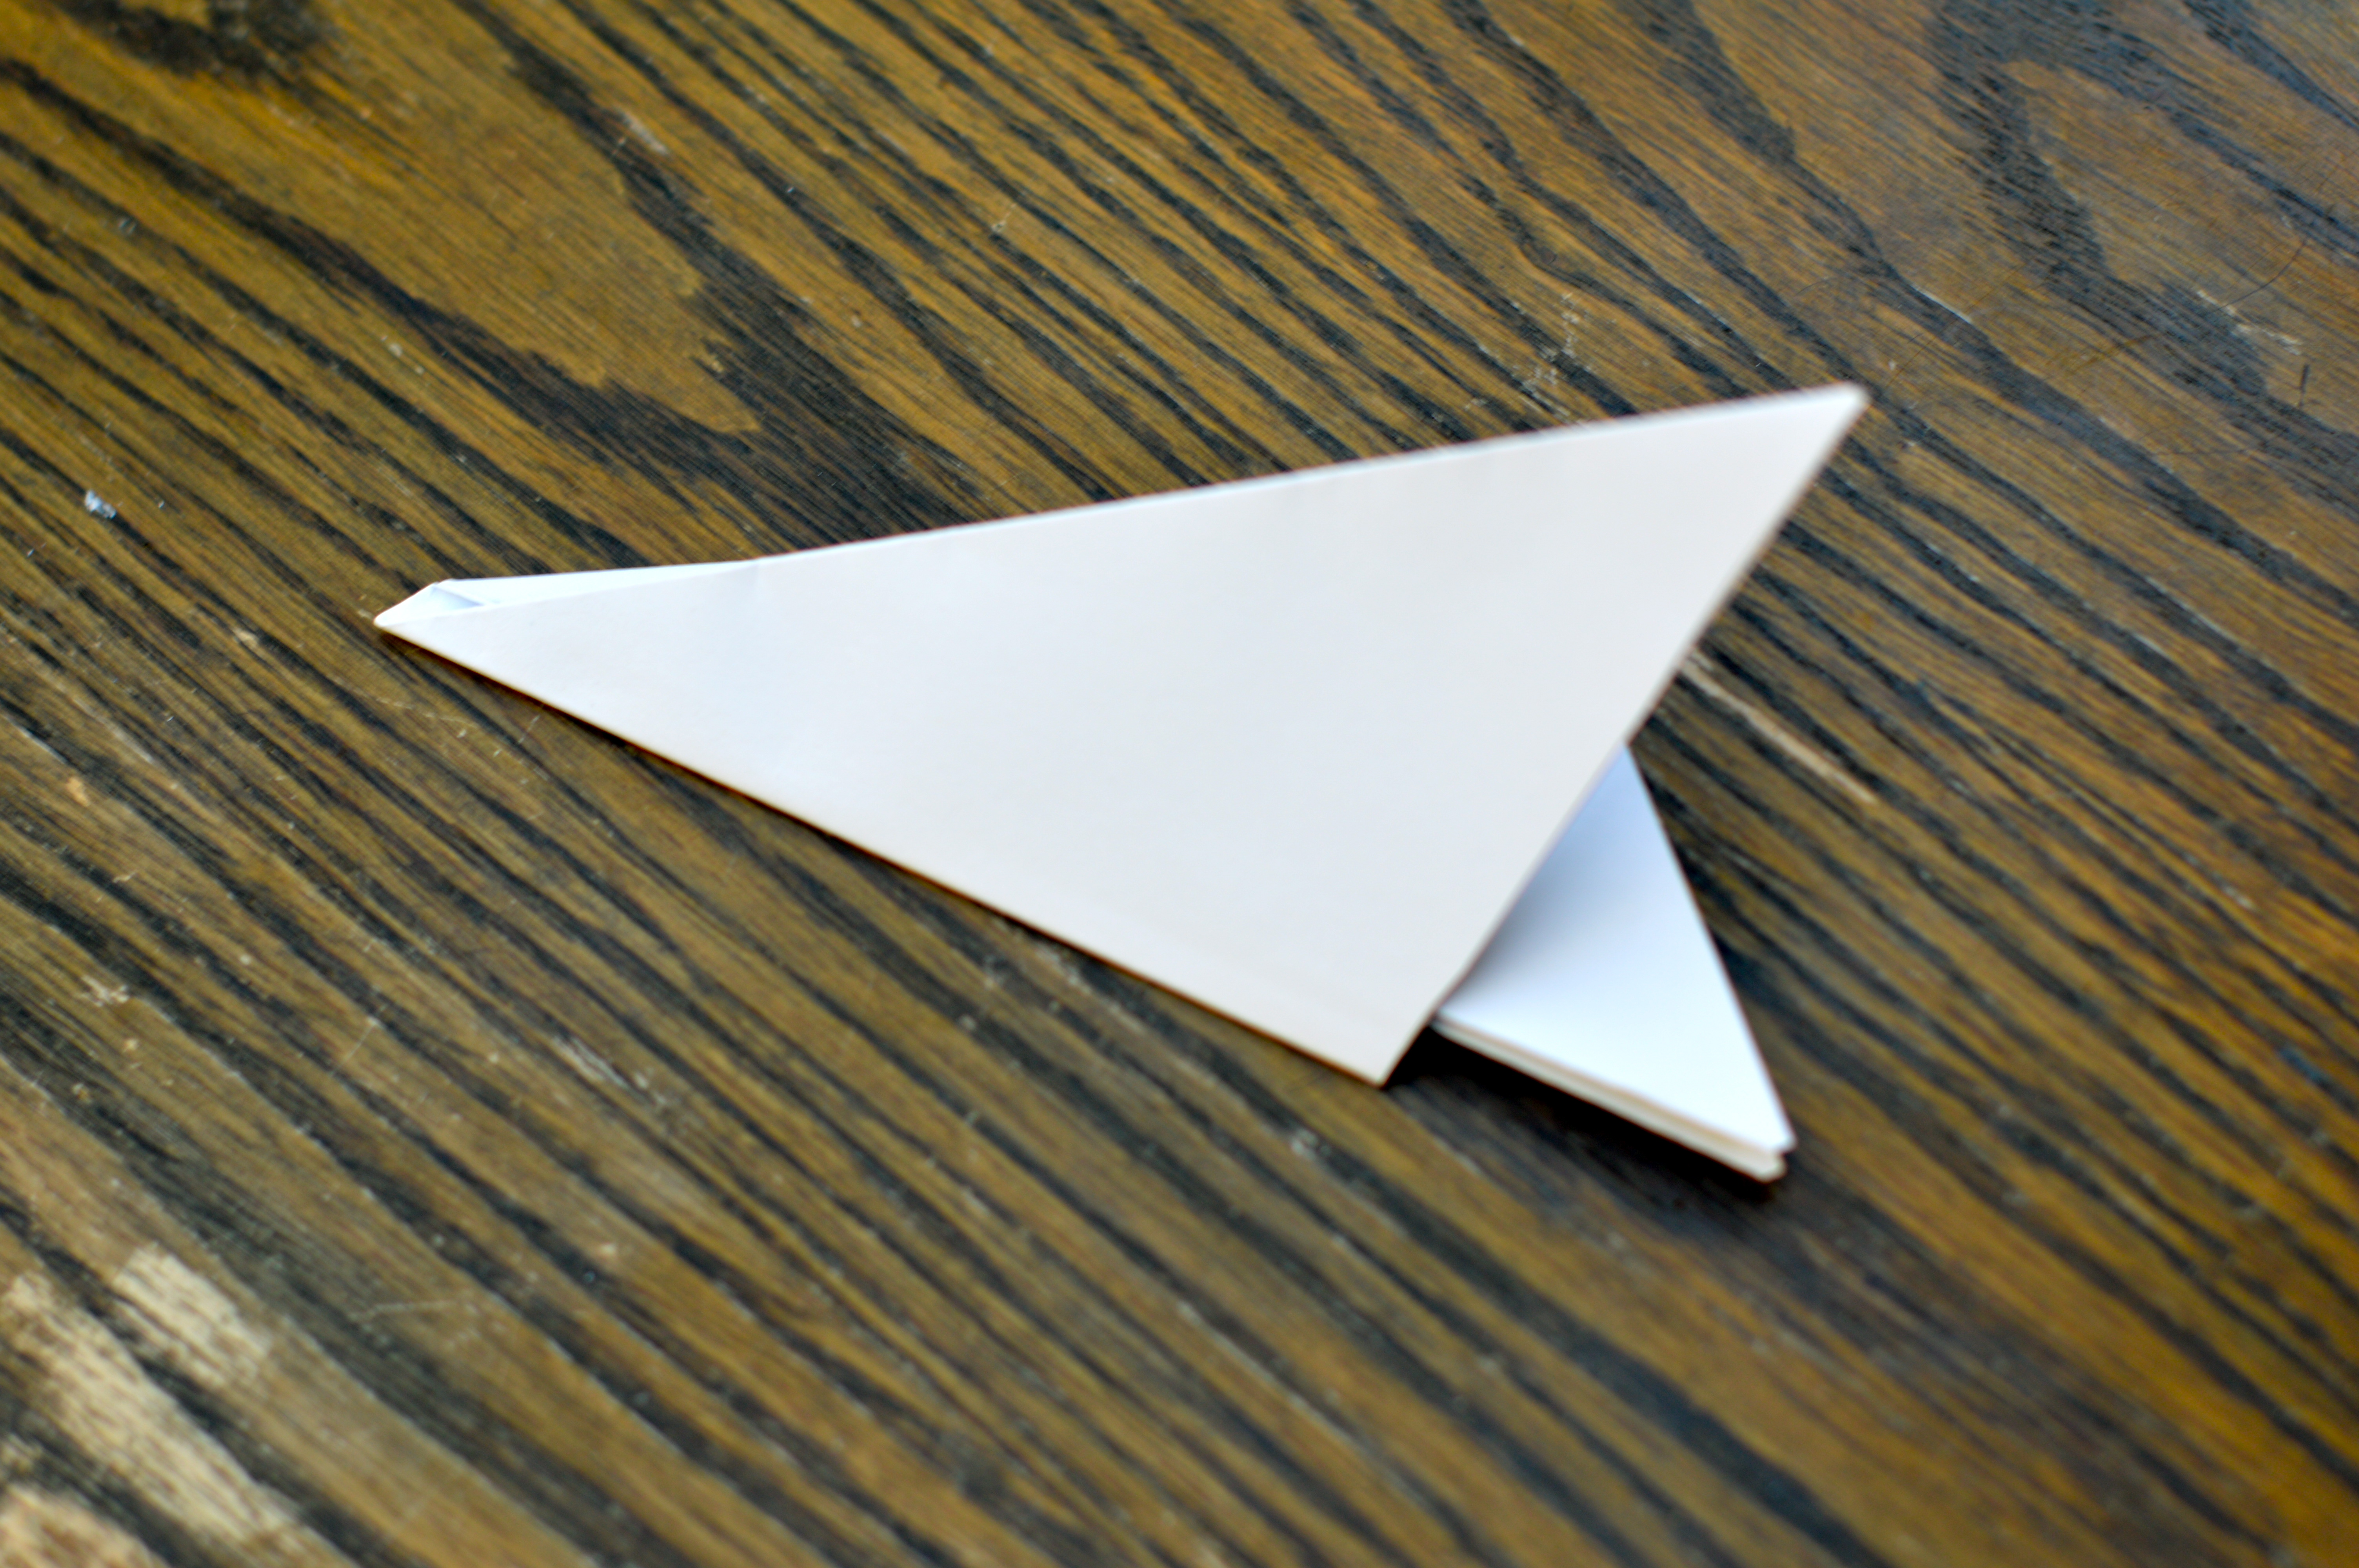
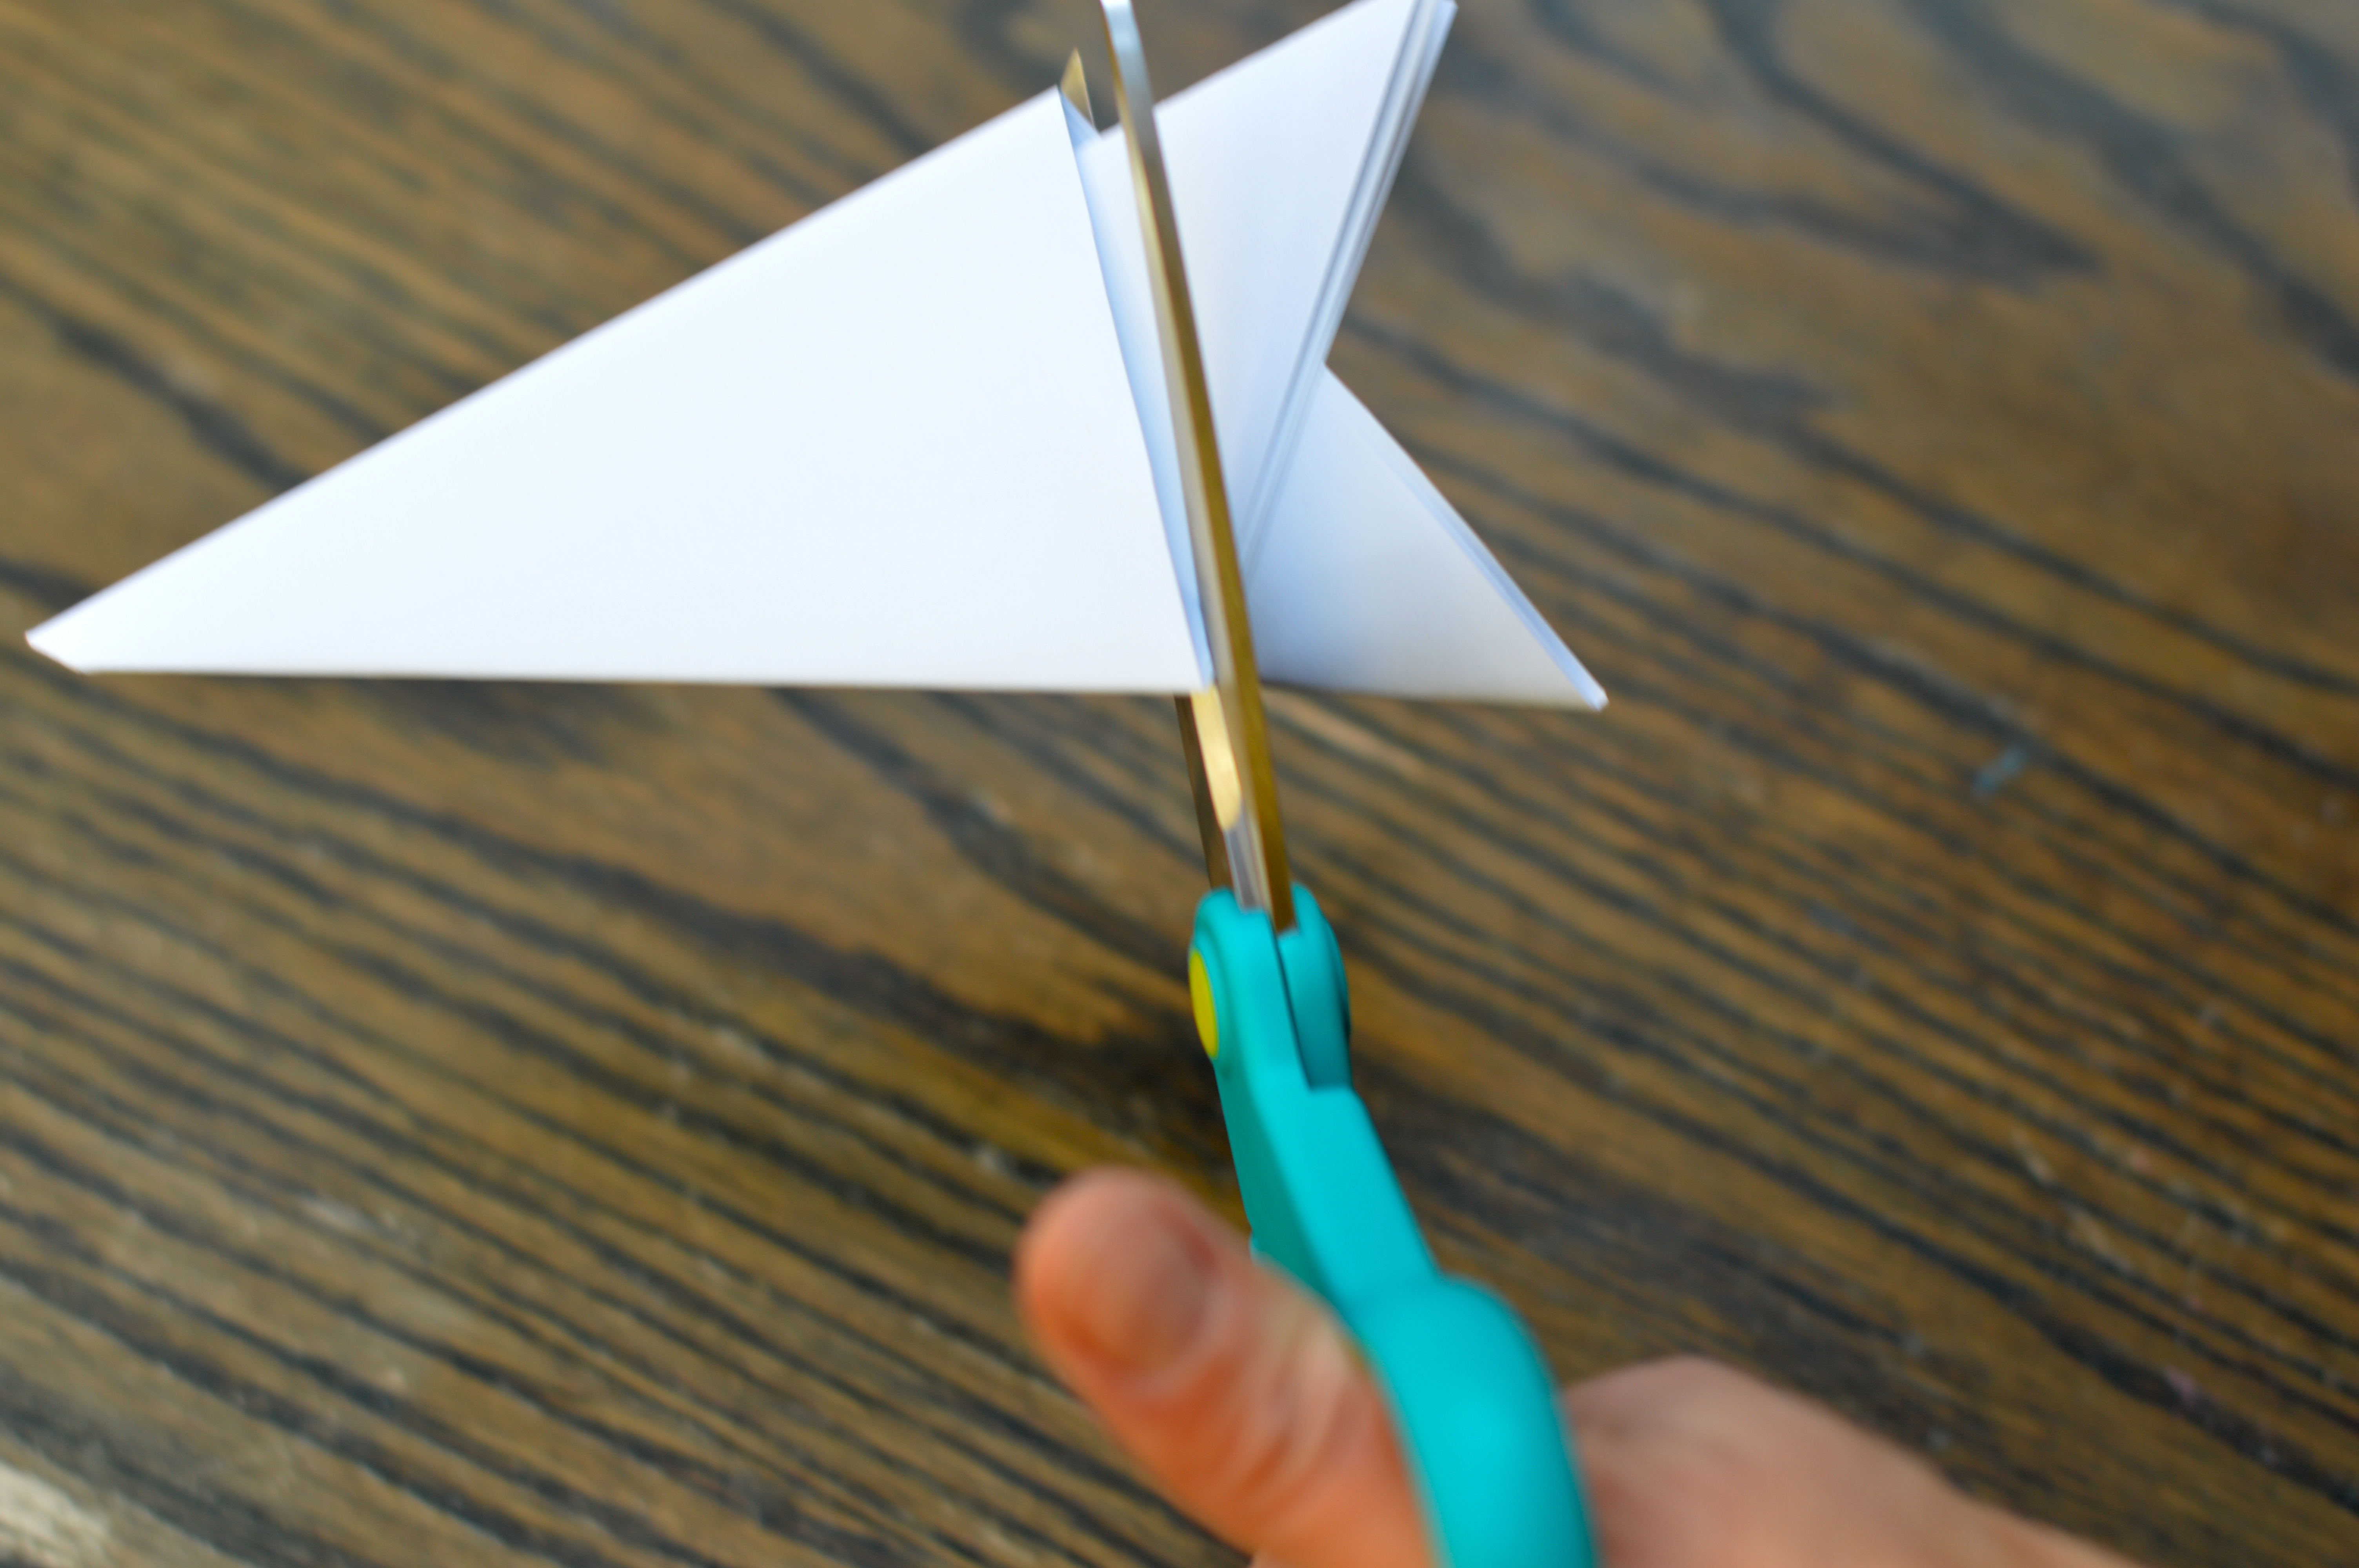
- Fold your triangle into thirds. Cut points off the bottom of your triangle in a straight line. You are now ready to begin!
- Once your triangle is folded, you are ready to choose a design.


- Refold your square into a triangle again and repeat one more time to make a triangle one quarter the size of your square. It is worth noting here, the tighter and more perfect your folds are, the more perfect your snowflake will be. But, even if it is not perfectly folded, it will still work.
- Fold your triangle into thirds. Cut points off the bottom of your triangle in a straight line. You are now ready to begin!

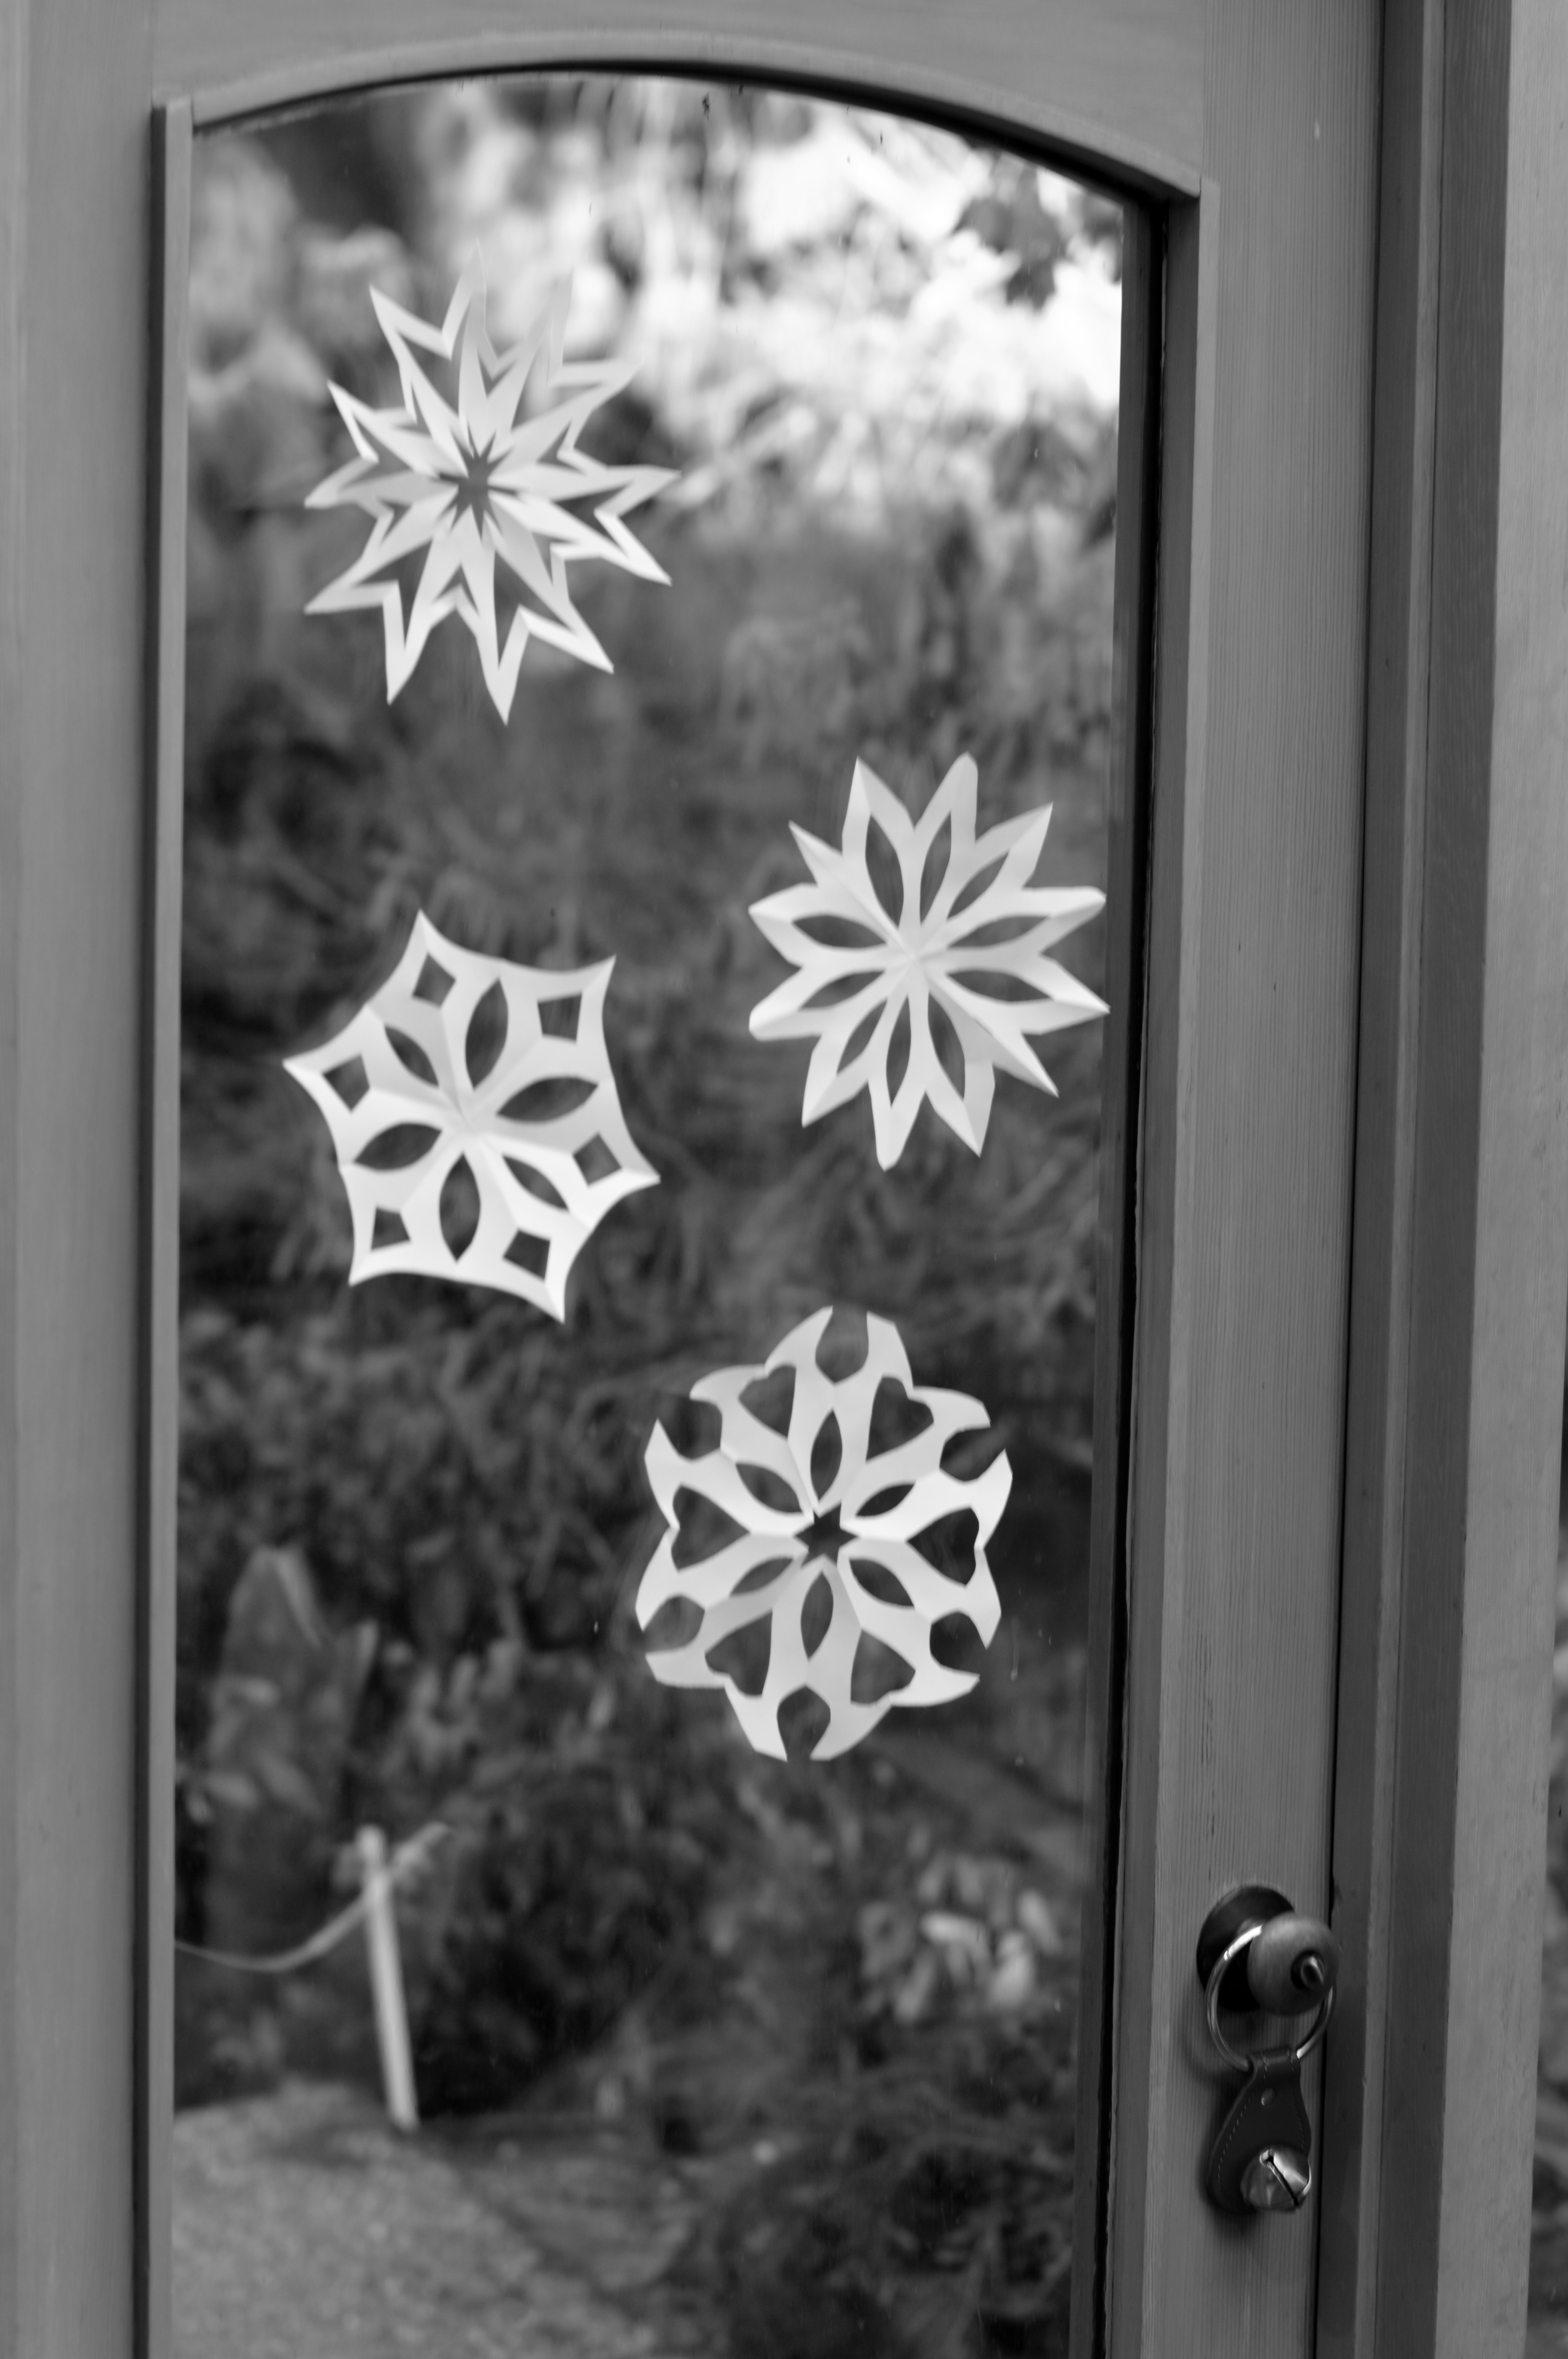
The beauty of this book is how simple it is. All the designs are shown two ways: 1) as the snowflake will look once complete, and 2) as the folded triangle with lines necessary to cut in order to achieve that particular snowflake. If you own this book, you can copy the photos and actually tape them onto your triangle for perfect cuts. I was happy to simply look at the photos for inspiration and cut them in a “close enough” fashion. You choose what makes you feel happy.


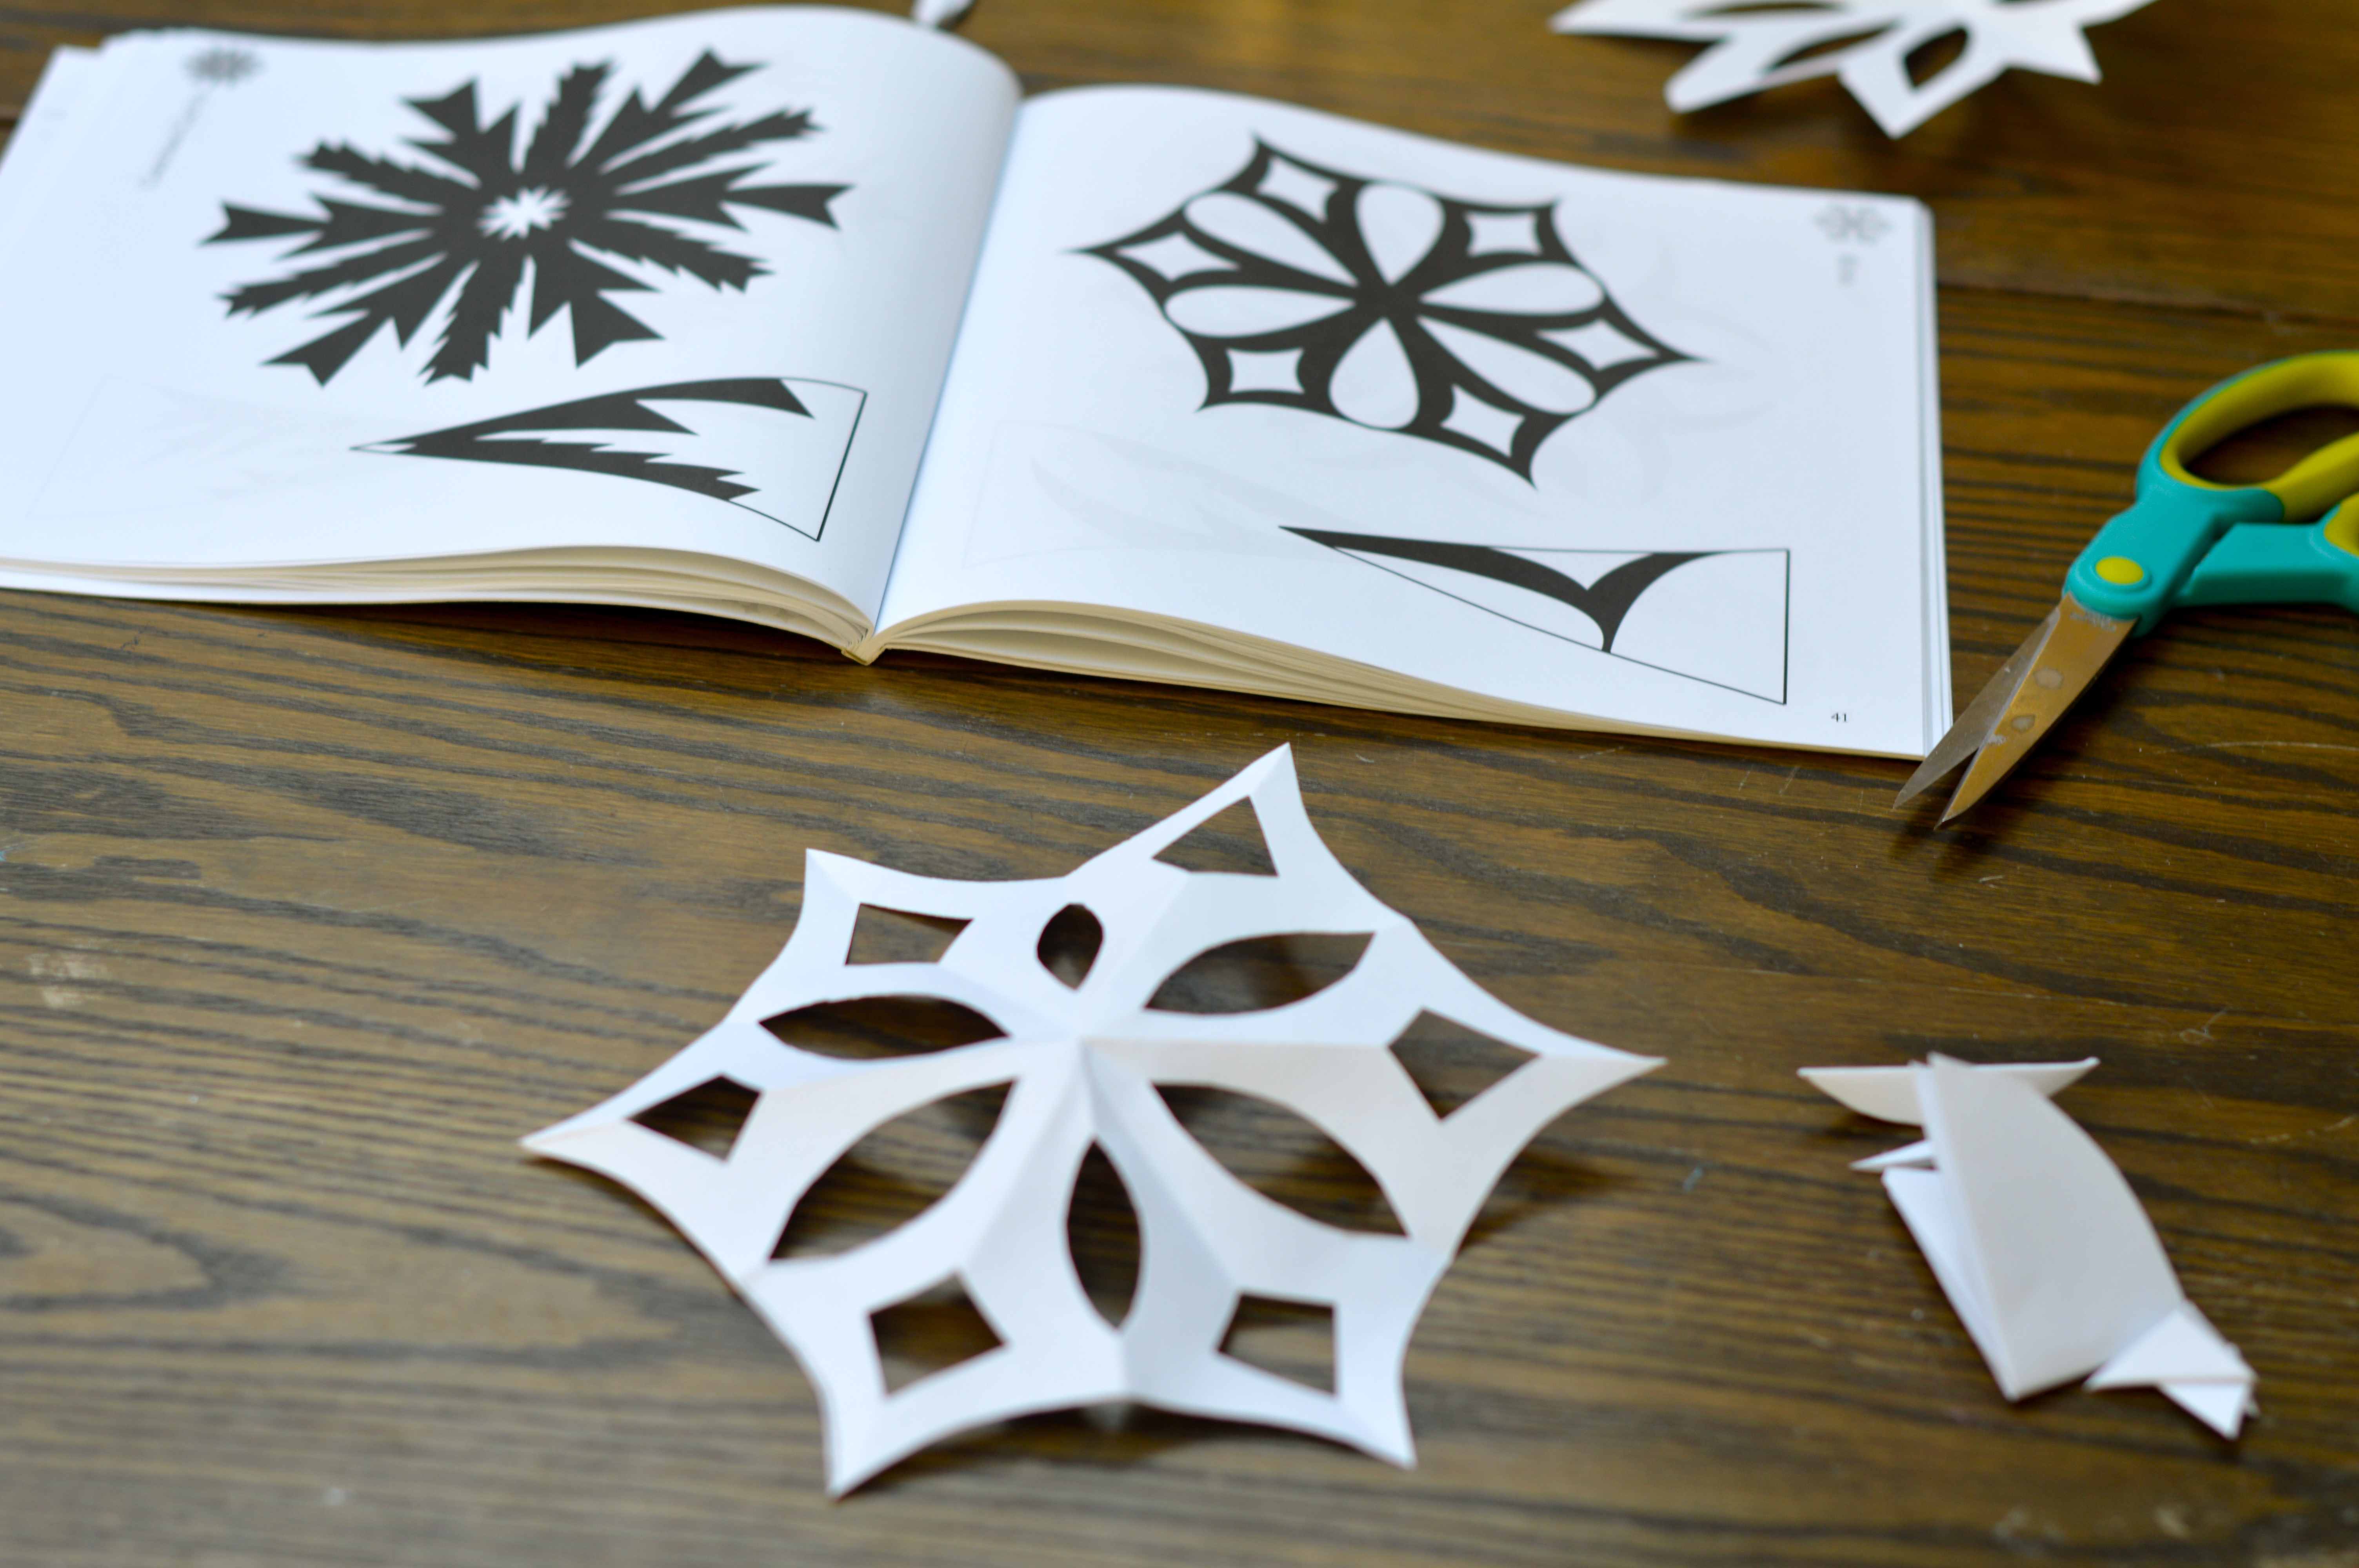
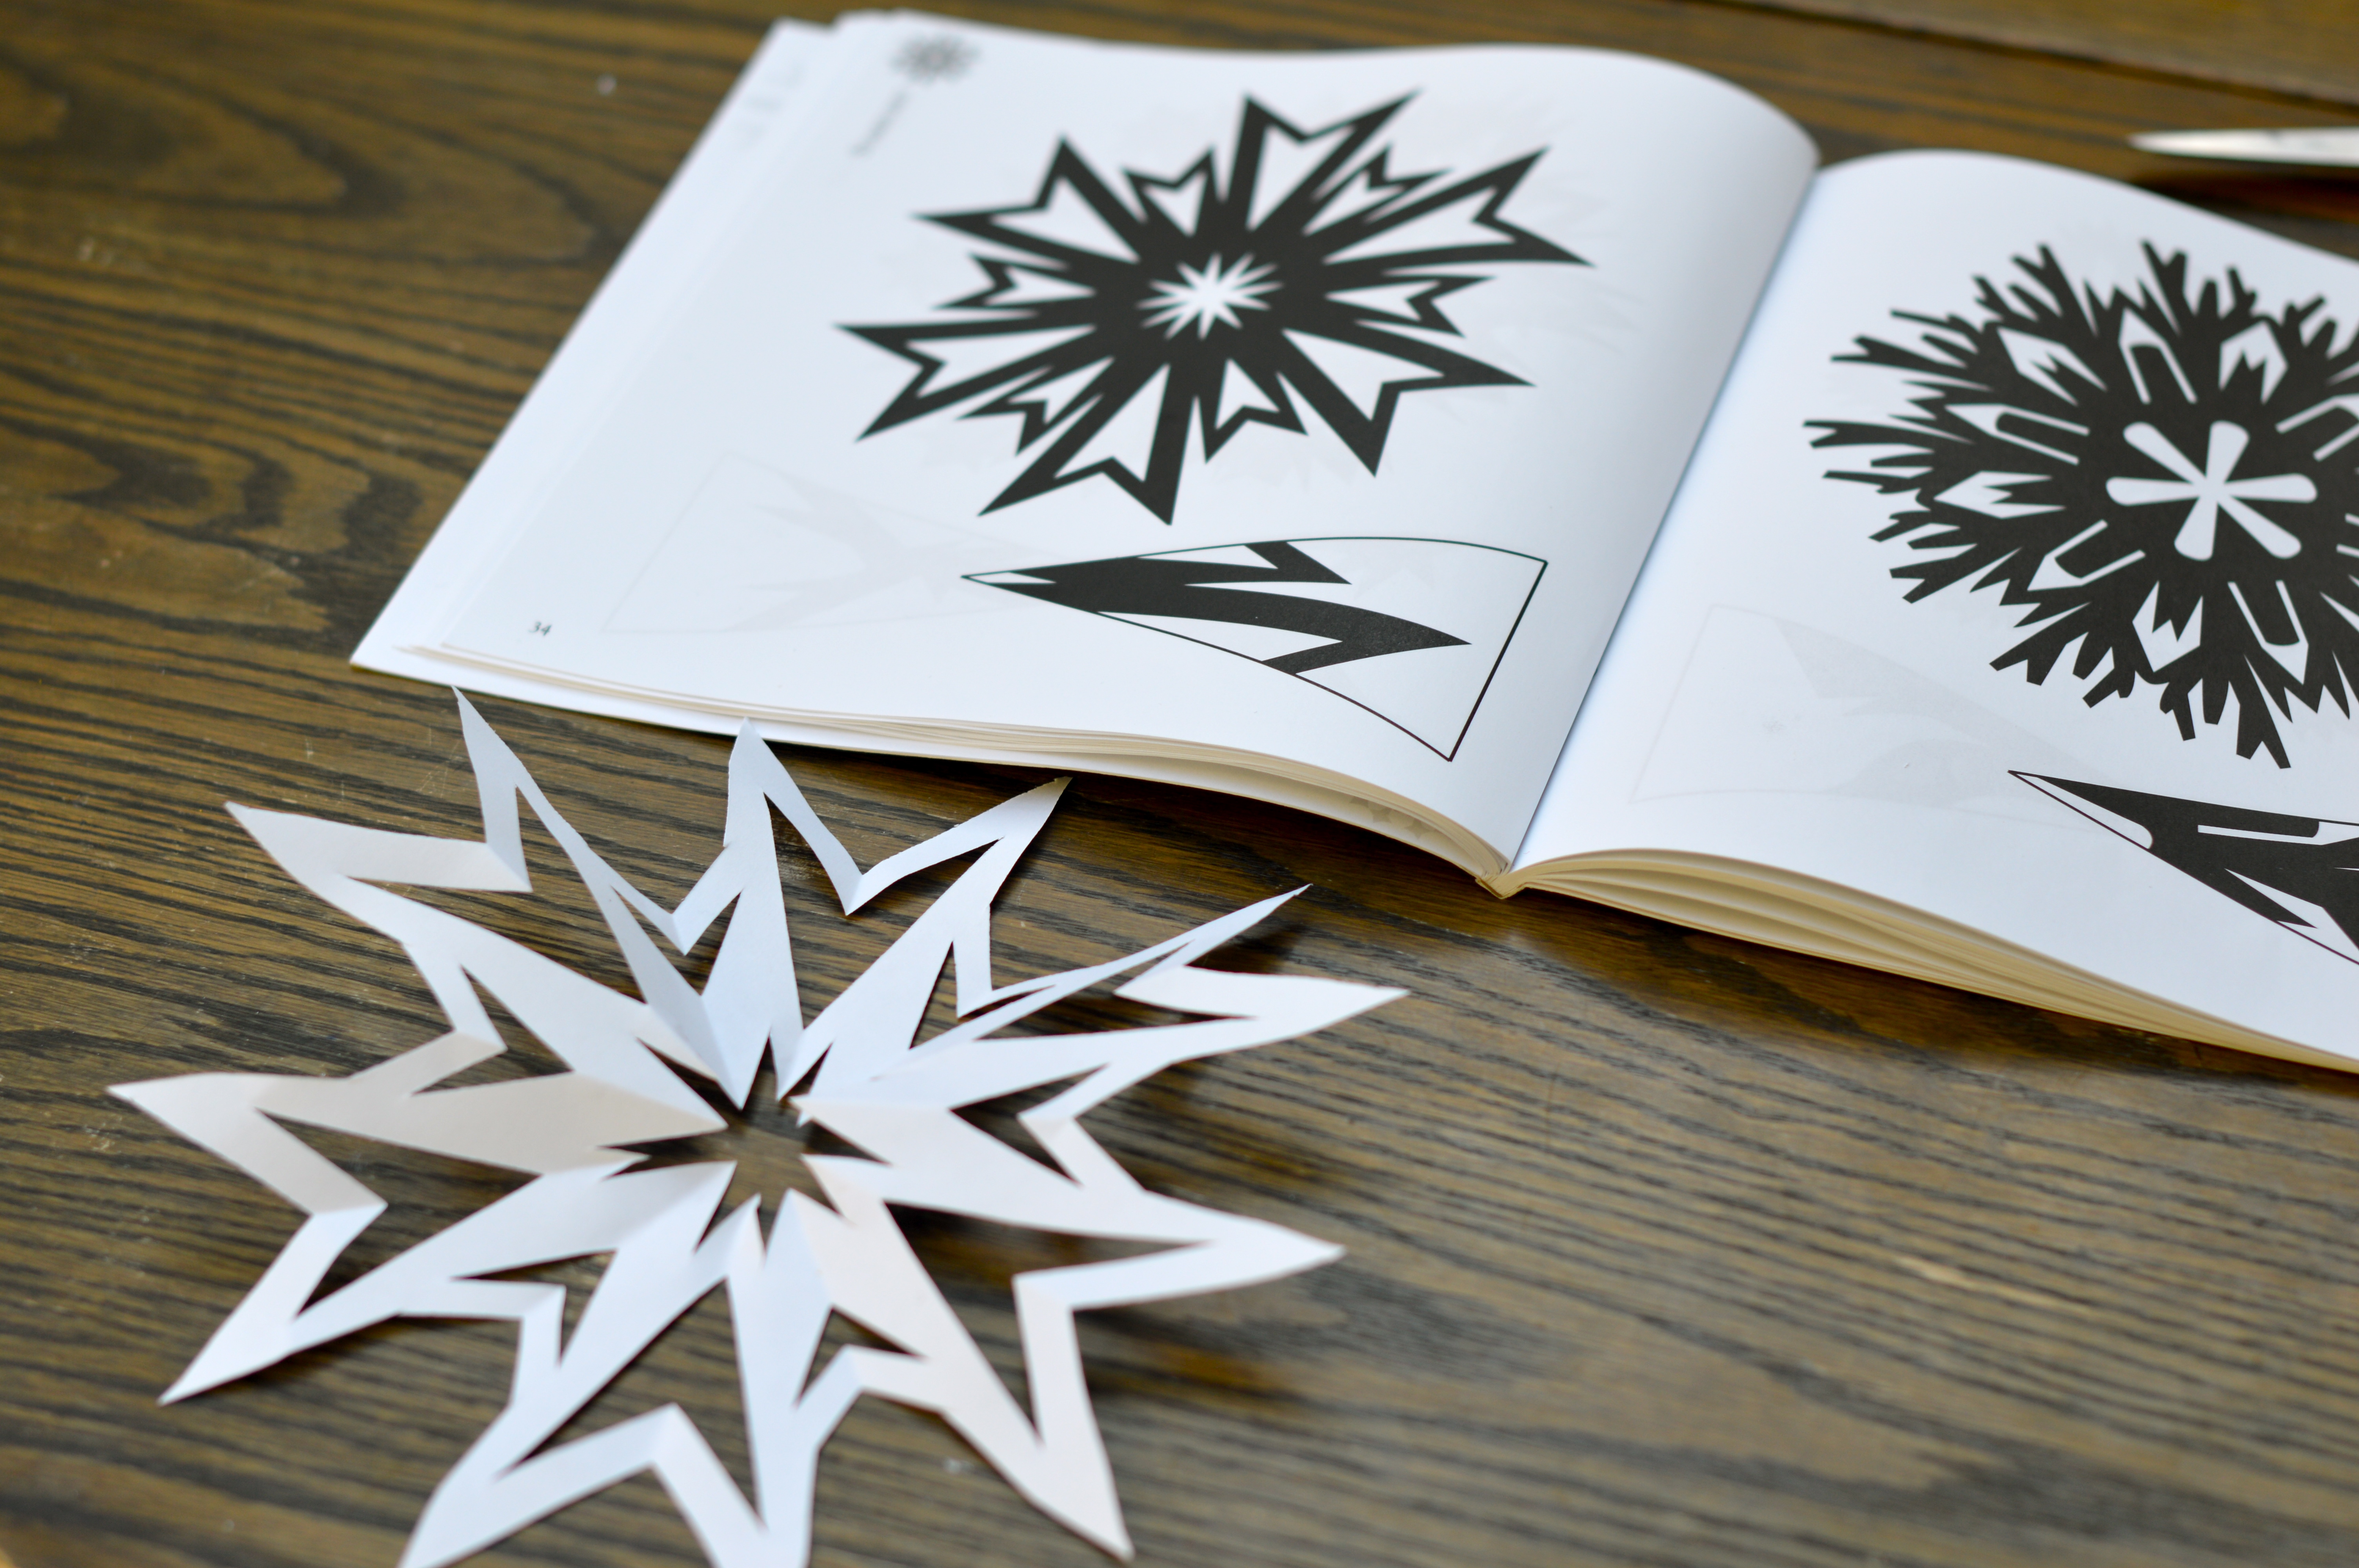
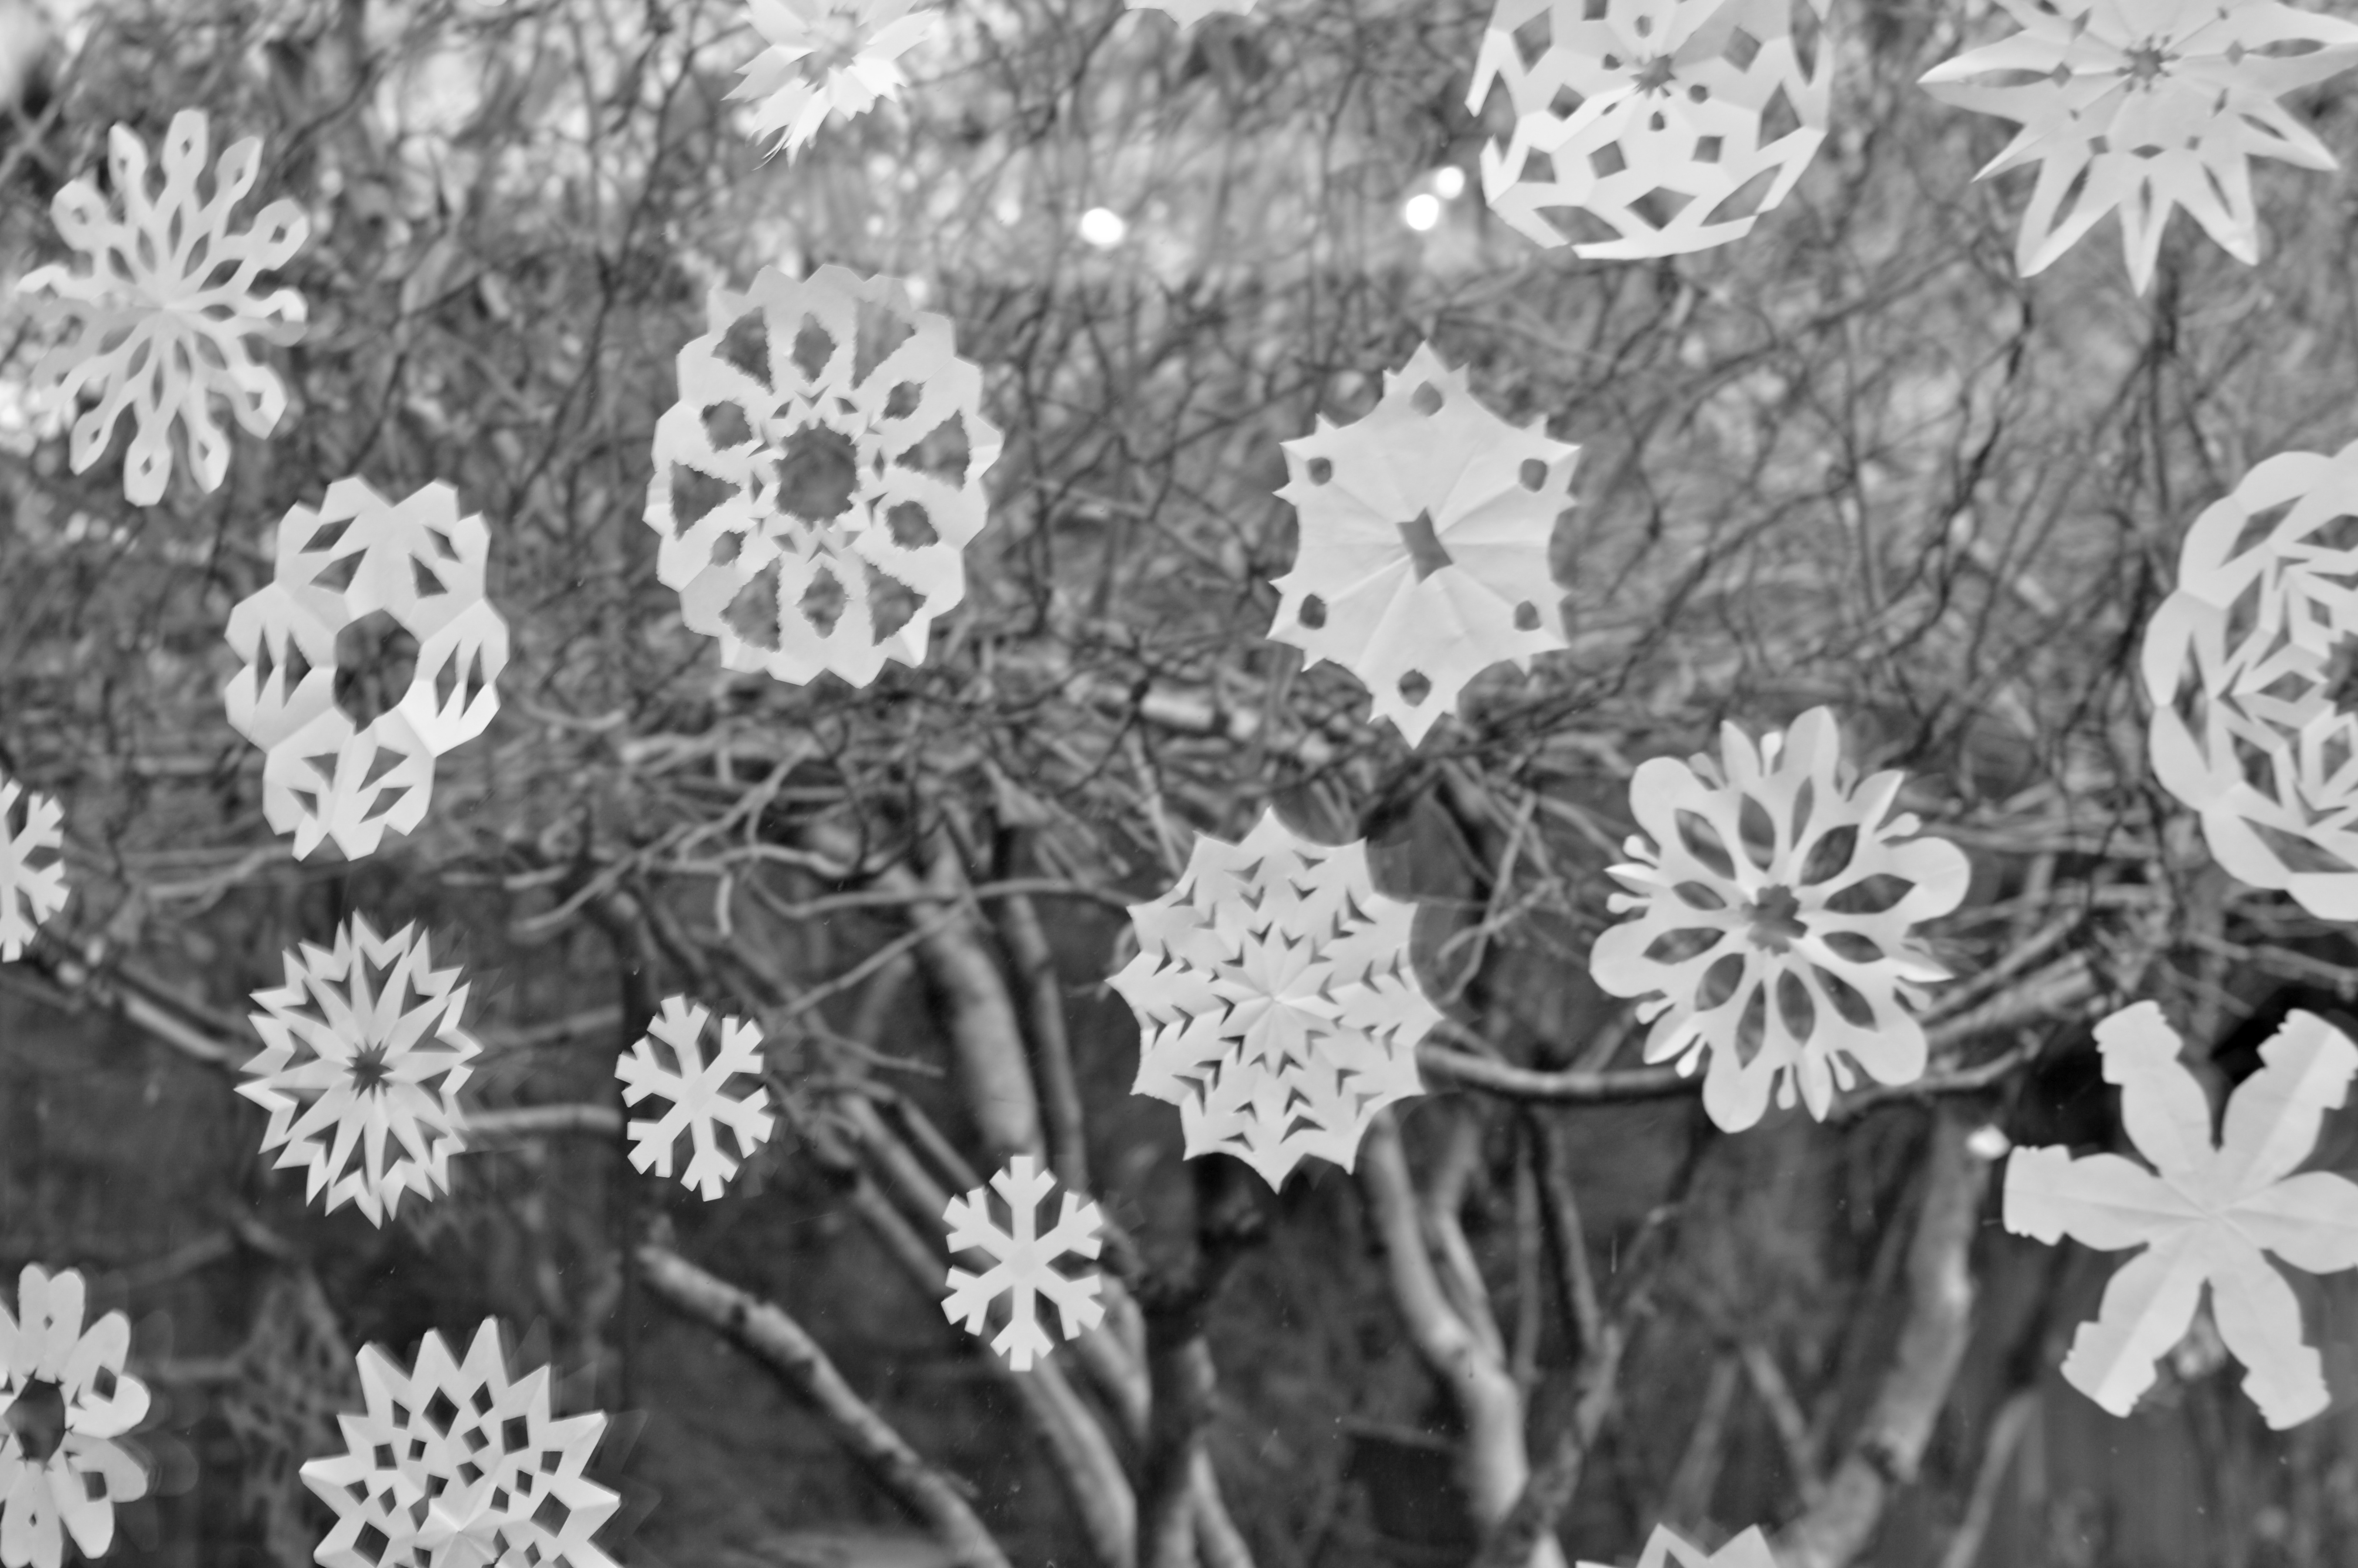
I love looking at how simple the cuts can be on the triangle image, and what kind of amazing snowflake you can create! Our windows are covered and I am happy to say that many of them were created by my kiddo.
Happy Snowflake Making!
Bitters
IF THE BITTER CUP CANNOT BE PASSED, DRINK IT AND BE STRONG
Jeffrey R. Holland

November has arrived and we need a little restart here on the blog. September and October were surprisingly busy and I am trying like heck to keep up with my life. I am also noticing that a different sort of drink is calling my name these days. As the leaves turn and fall off the trees, one of the warm-ups I relish is a lovely, mixed cocktail. This is a bit of a departure for me, as in the past I would have called myself a wine or beer drinker, but last winter I discovered rye whiskey and a fabulous cocktail from Zig Zag Cafe, called a Blessed Event. And it is just that… I was inspired to look at this drink a bit more closely and try to recreate it at home.
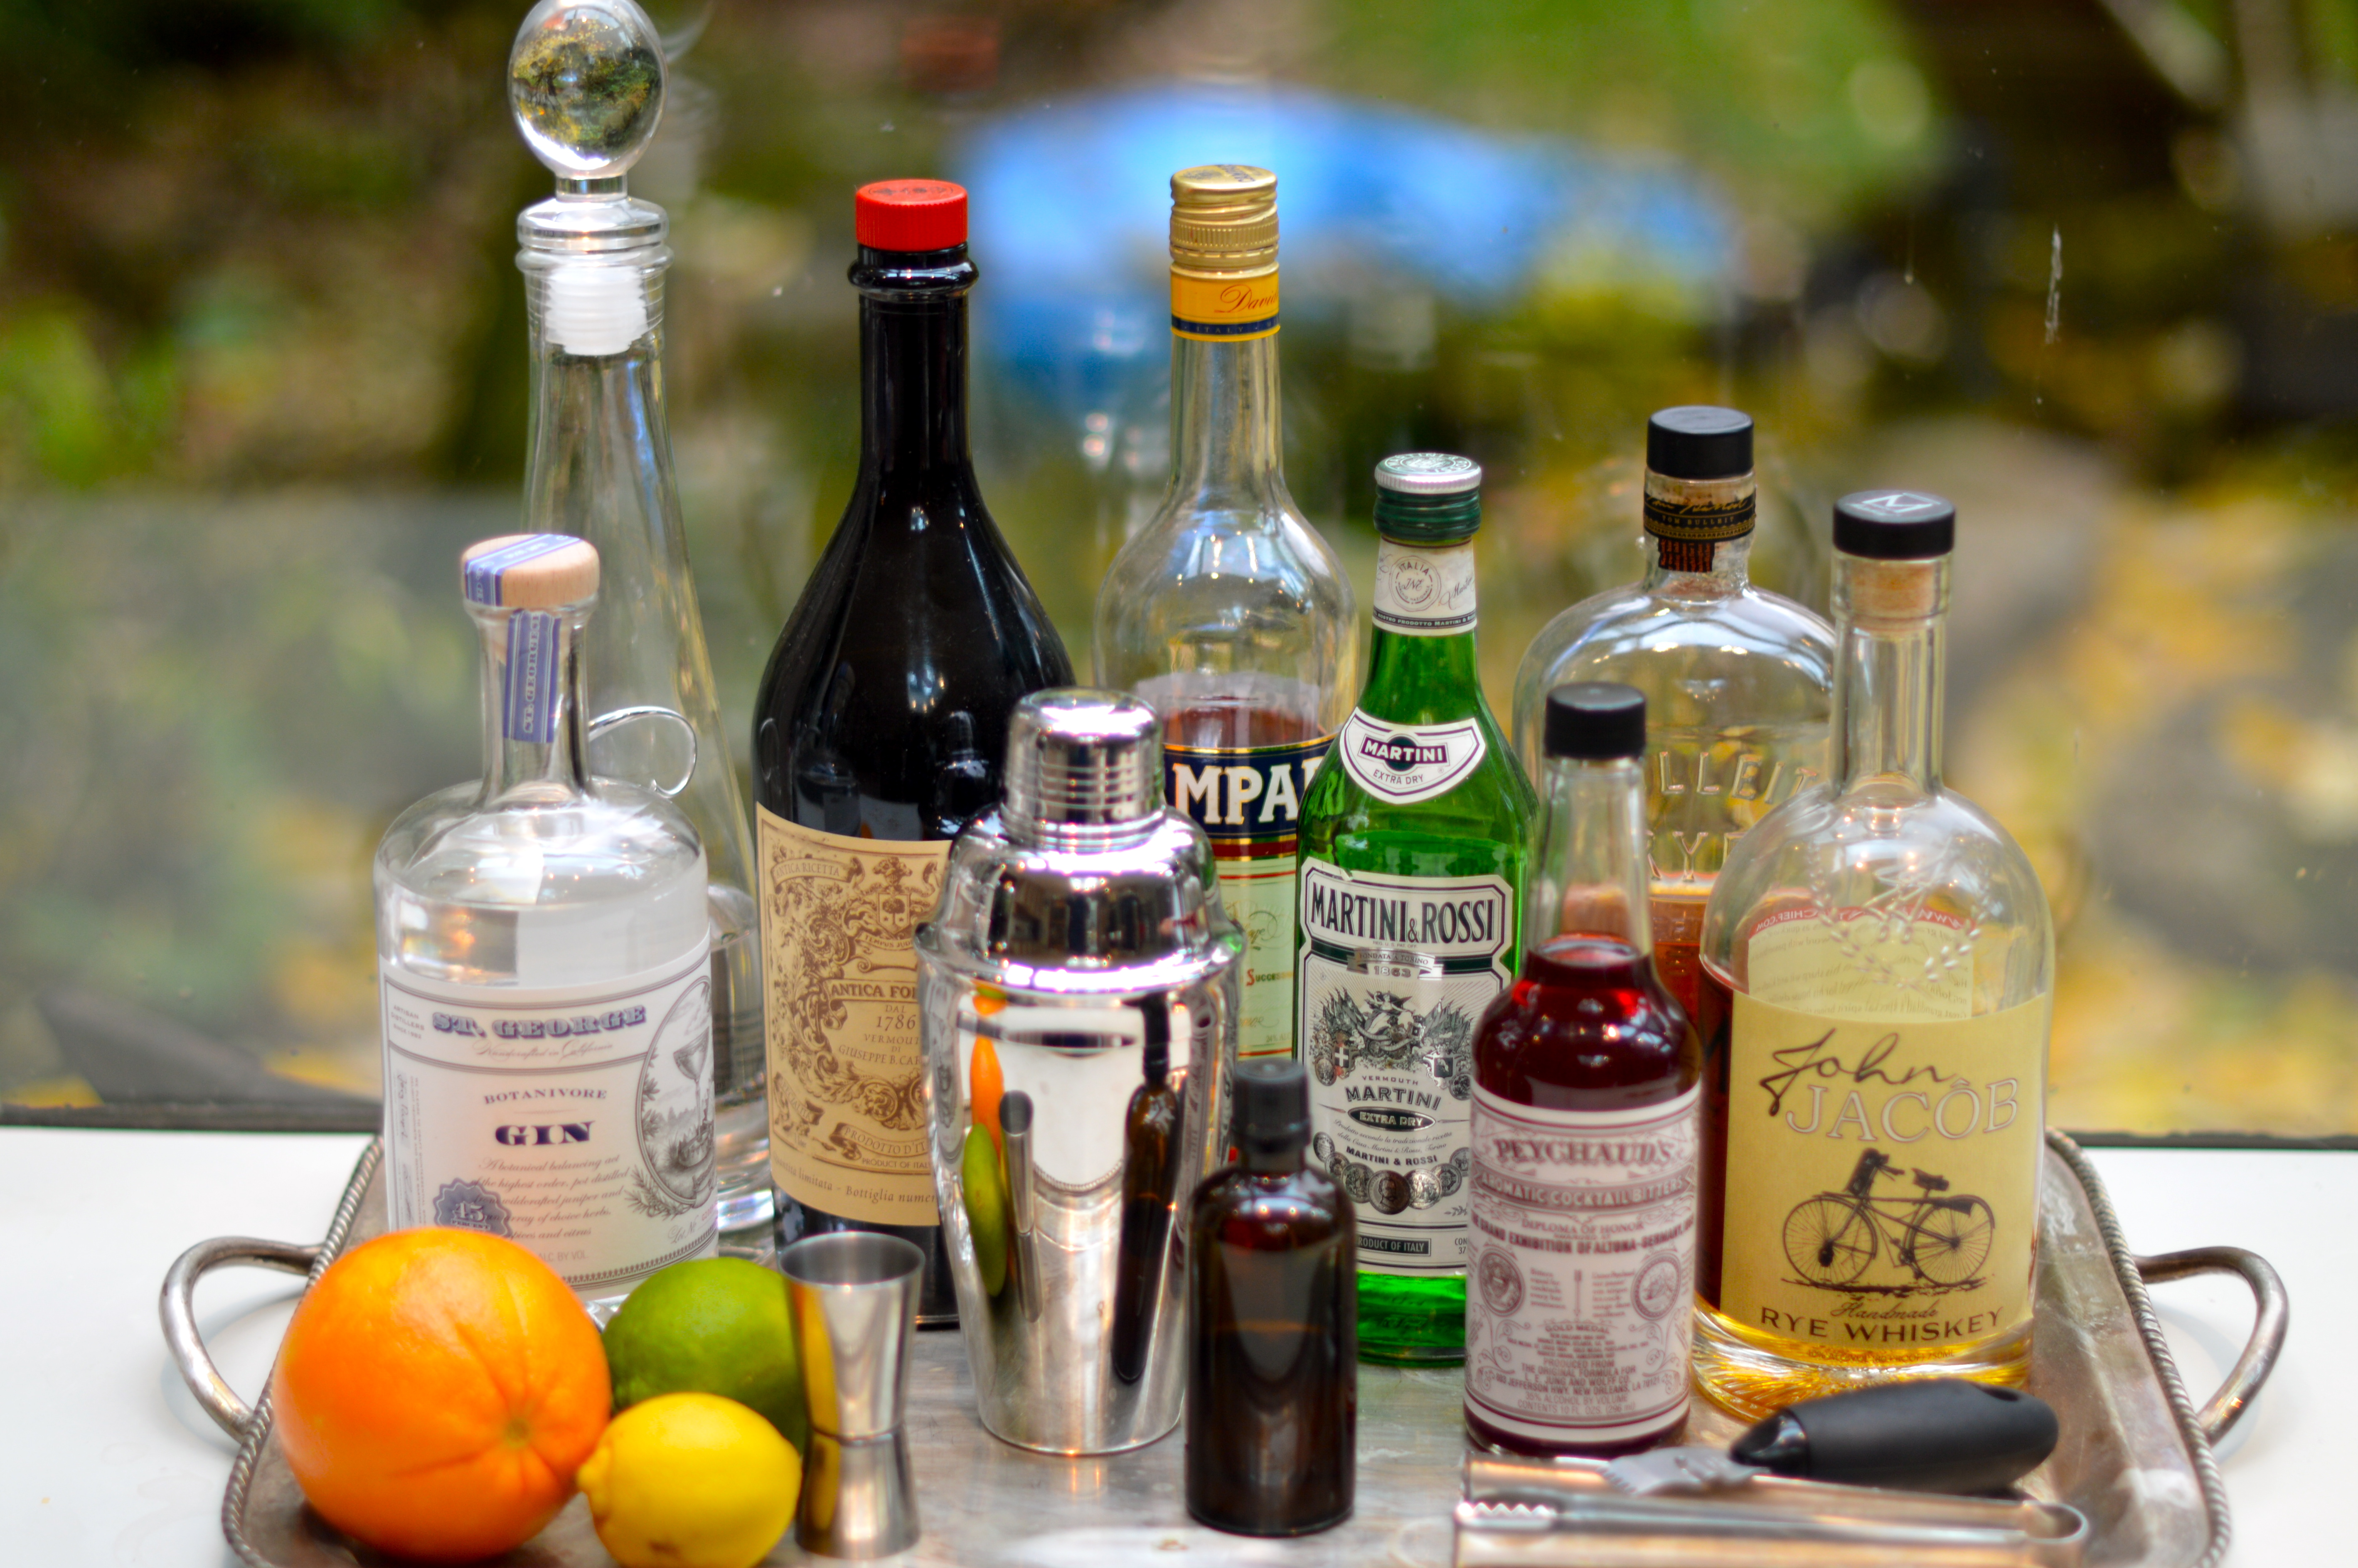
Over the last twenty years, both wineries and breweries experienced a surge in popularity and now it appears to be the distillery’s turn for a time in the spotlight. Distilleries are popping up all over the Pacific Northwest, as well as a revival of prohibition-style speakeasy bars, specializing in the “craft cocktail”. As we enter the season for entertaining, I recommend adding classic cocktails to your party menus. A well-stocked bar is easy to pull together, as long as you have a few ideas of what cocktails you are ready to make for your thirsty guests!
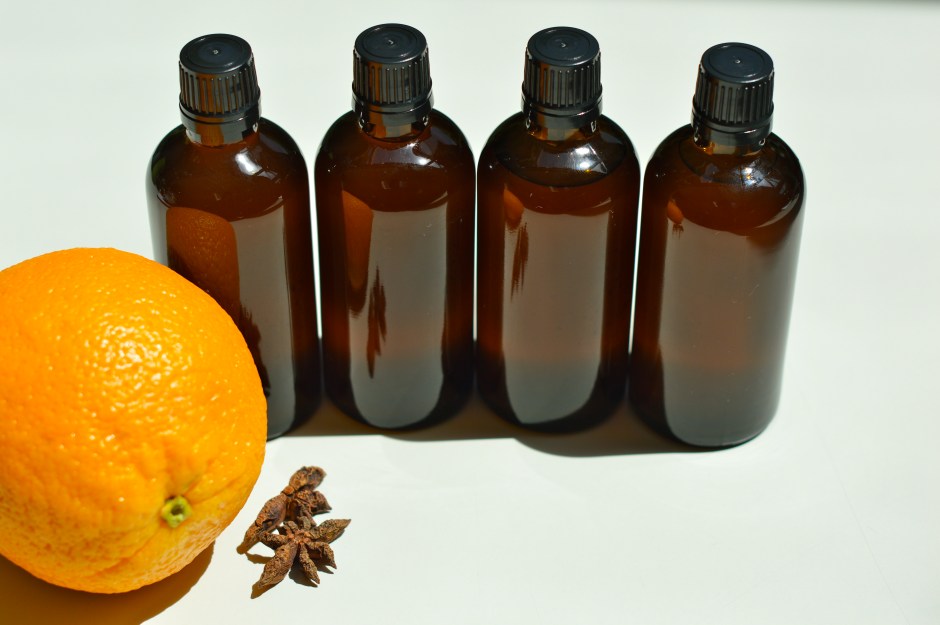
Bitters are an ingredient in many of these classic cocktails that I had never spent much time thinking about, but they are an intriguing element to be sure. With only a dash or two, bitters can transform your craft cocktail, adding warmth, complexity, and dimension. For a full description of bitters, head over to The Kitchn for their conversation on All About Bitters. Last winter it came to my attention that it is possible to make bitters. My curiosity was immediately piqued and I tried it. Over the course of a couple of weeks, I made my own bitters using wonderfully aromatic ingredients like orange peel, ginger, star anise, cinnamon, and cloves. Although I made this during the summer months, I kept thinking how perfect it would be come autumn. (Scroll down to see the recipe for orange bitters and the accompanying photos). But, if a cocktail is what you seek, we’ll start there…
As I mentioned above, this fall has been a crazy one. We have been getting used to the schedule of kindergarten, and this has been admittedly tougher than I thought it would be. I’d like to raise a glass to the fact that we are two months into this new elementary school gig and all members of the Poole household are here to tell about it. Sometimes it is just important to celebrate the fact that you are surviving. So, without further ado… three “bitter” cocktails that you can raise your respective glass to:
Part 1: Cocktail Recipes
1) The Classic Manhatten
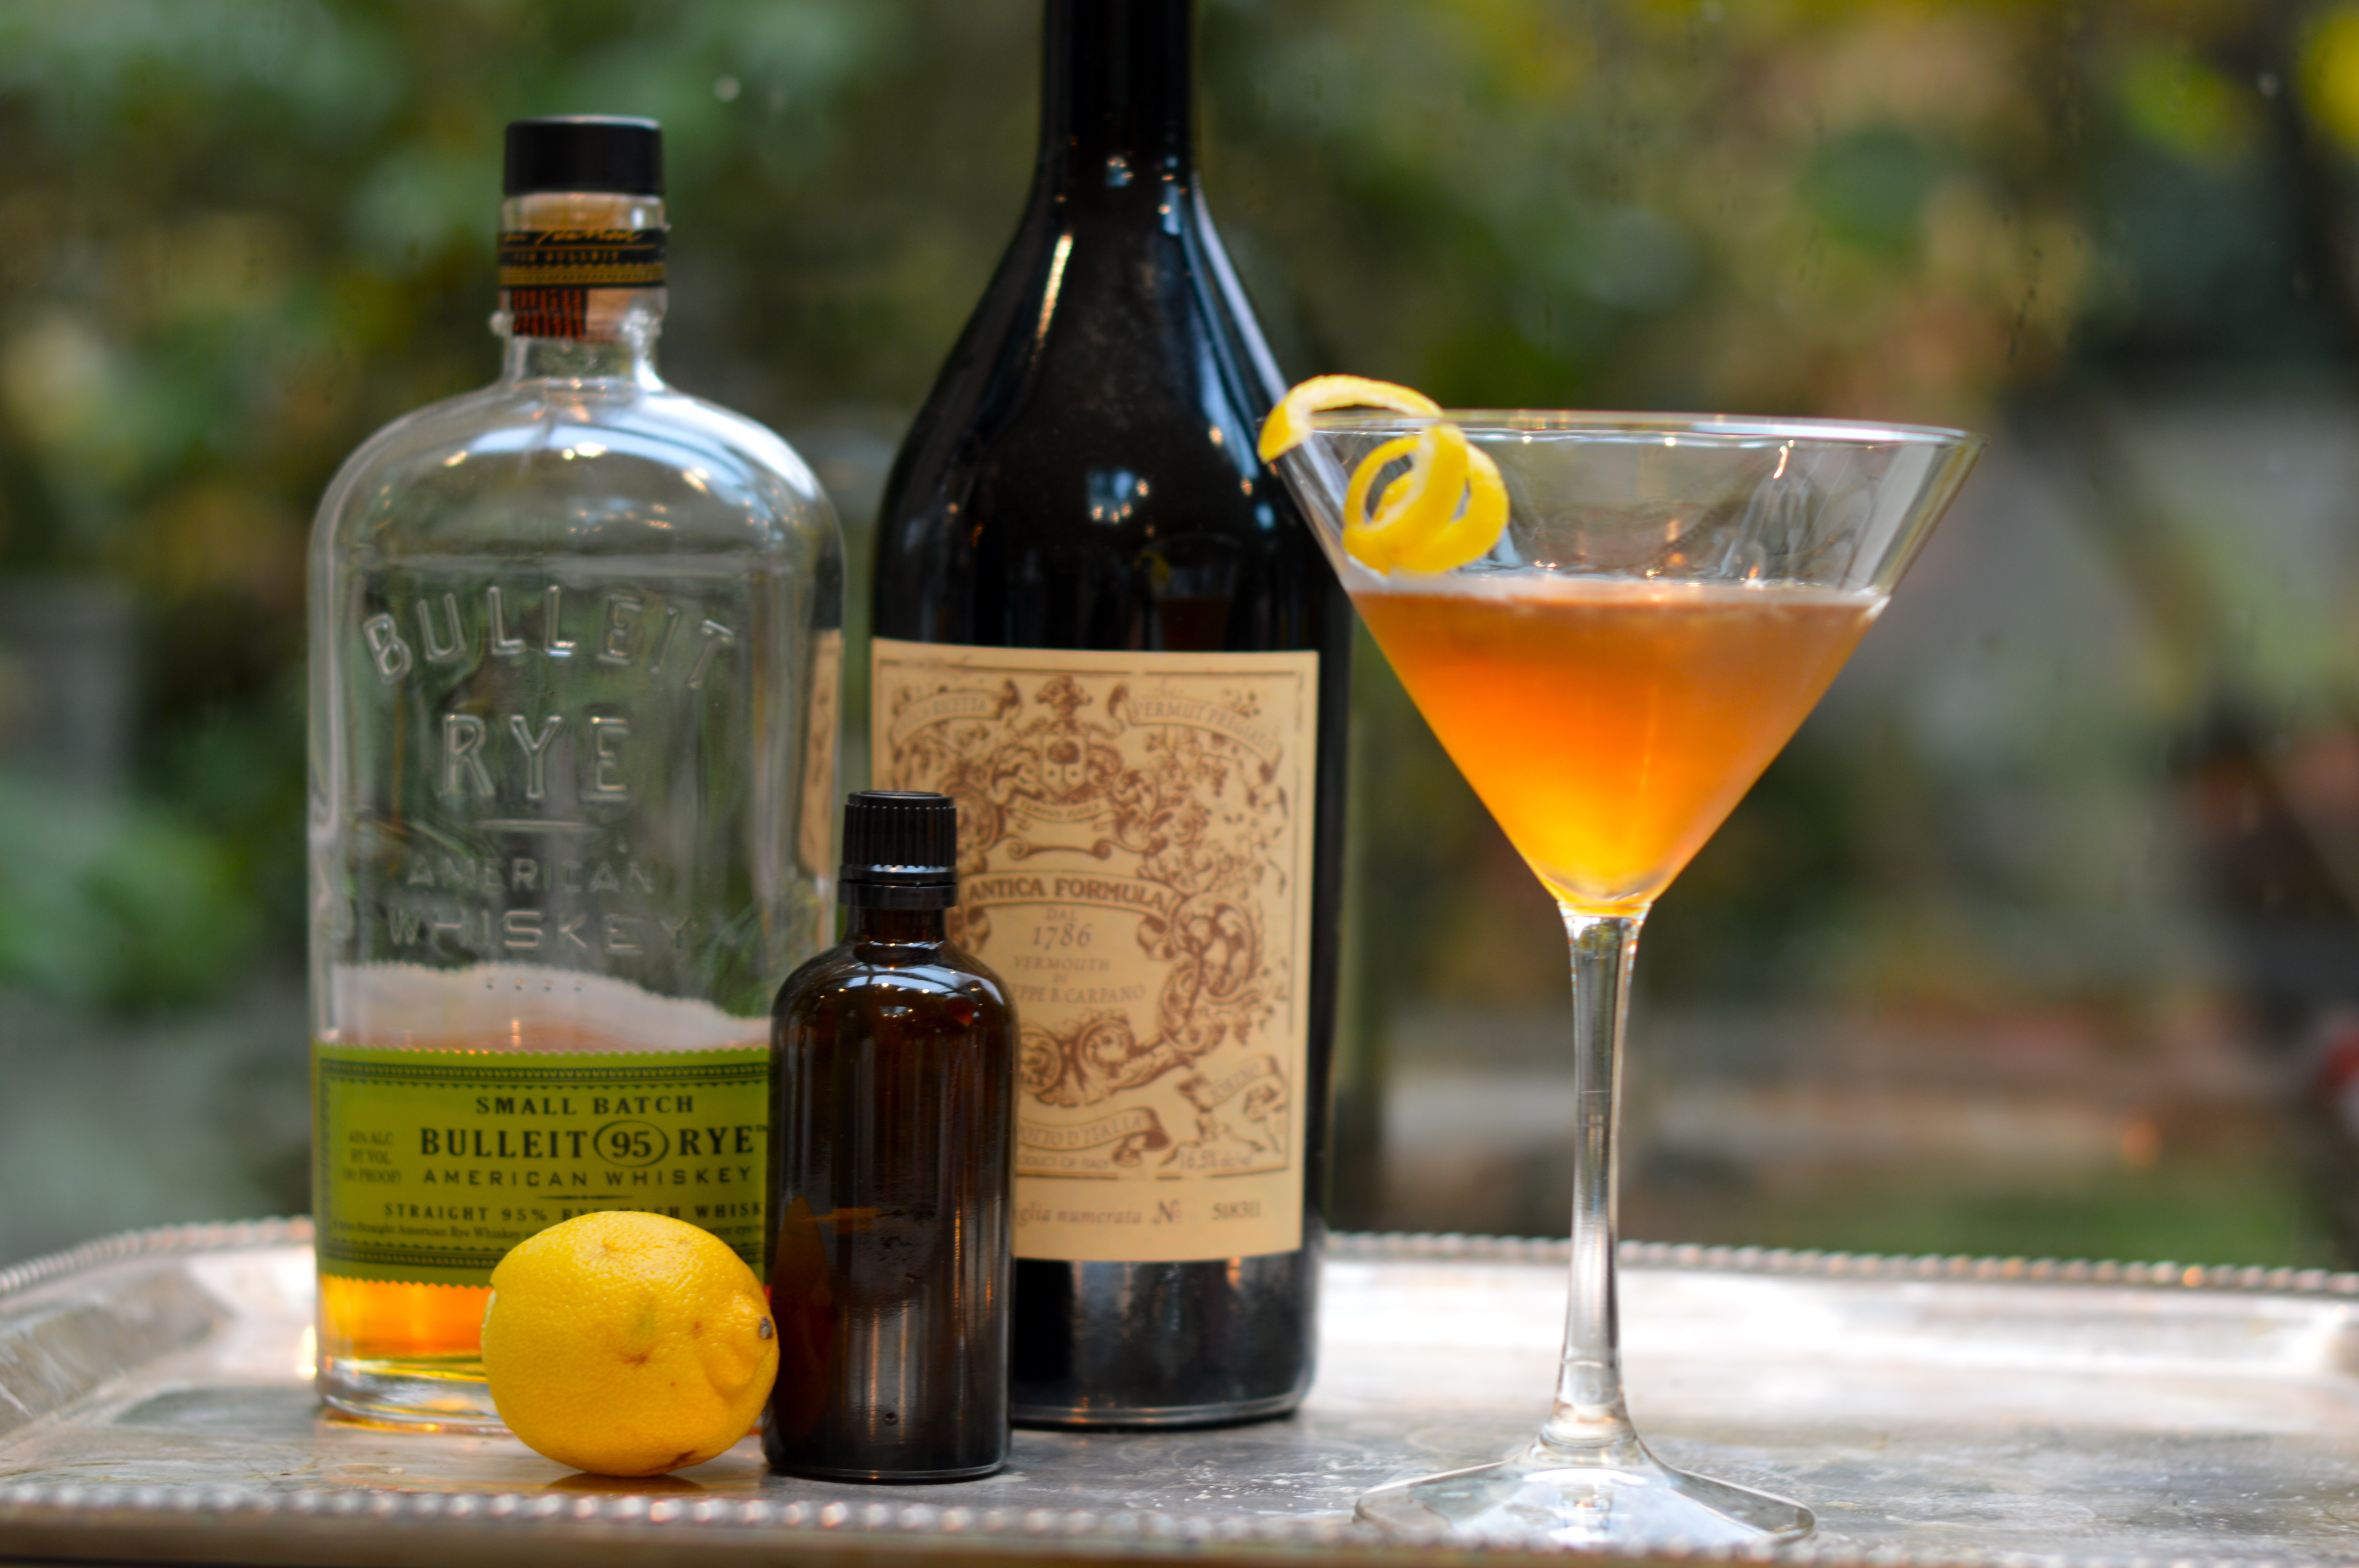
This classic cocktail was my grandmother’s favorite. Listing it here is a nod to her and how eminently hip she was.
1 3/4 ounces rye whiskey or bourbon
2/3 ounce sweet vermouth (Carpano Antica formula is my favorite)
dash of bitters (homemade orange bitters, recipe below, was used)
maraschino cherry or twist of lemon (my grandmother always drank hers, “Up with a twist.”)
2) Blessed Event

As I mentioned above, this is my current fave. The renowned bartender, Erik Hakinen, at Zig Zag Cafe is credited with its creation, as a twist on the classic Boulevardier.
1 ounce rye whiskey
3/4 ounce sweet vermouth (Carpano Antica formula)
3/4 ounce Campari
1/2 ounce lemon juice
3) Soda with Bitters

I loved the article written about the refreshing nature of this simple beverage found here on The Kitchn. Bitters are known to have a medicinal quality and they add a light and refreshing, yet complex addition to a glass of soda.
Dash or two of bitters (Peychaud’s brand preferred)
Soda water
Wedge of lemon or orange
Cheers!
Part 2: Making Orange Bitters


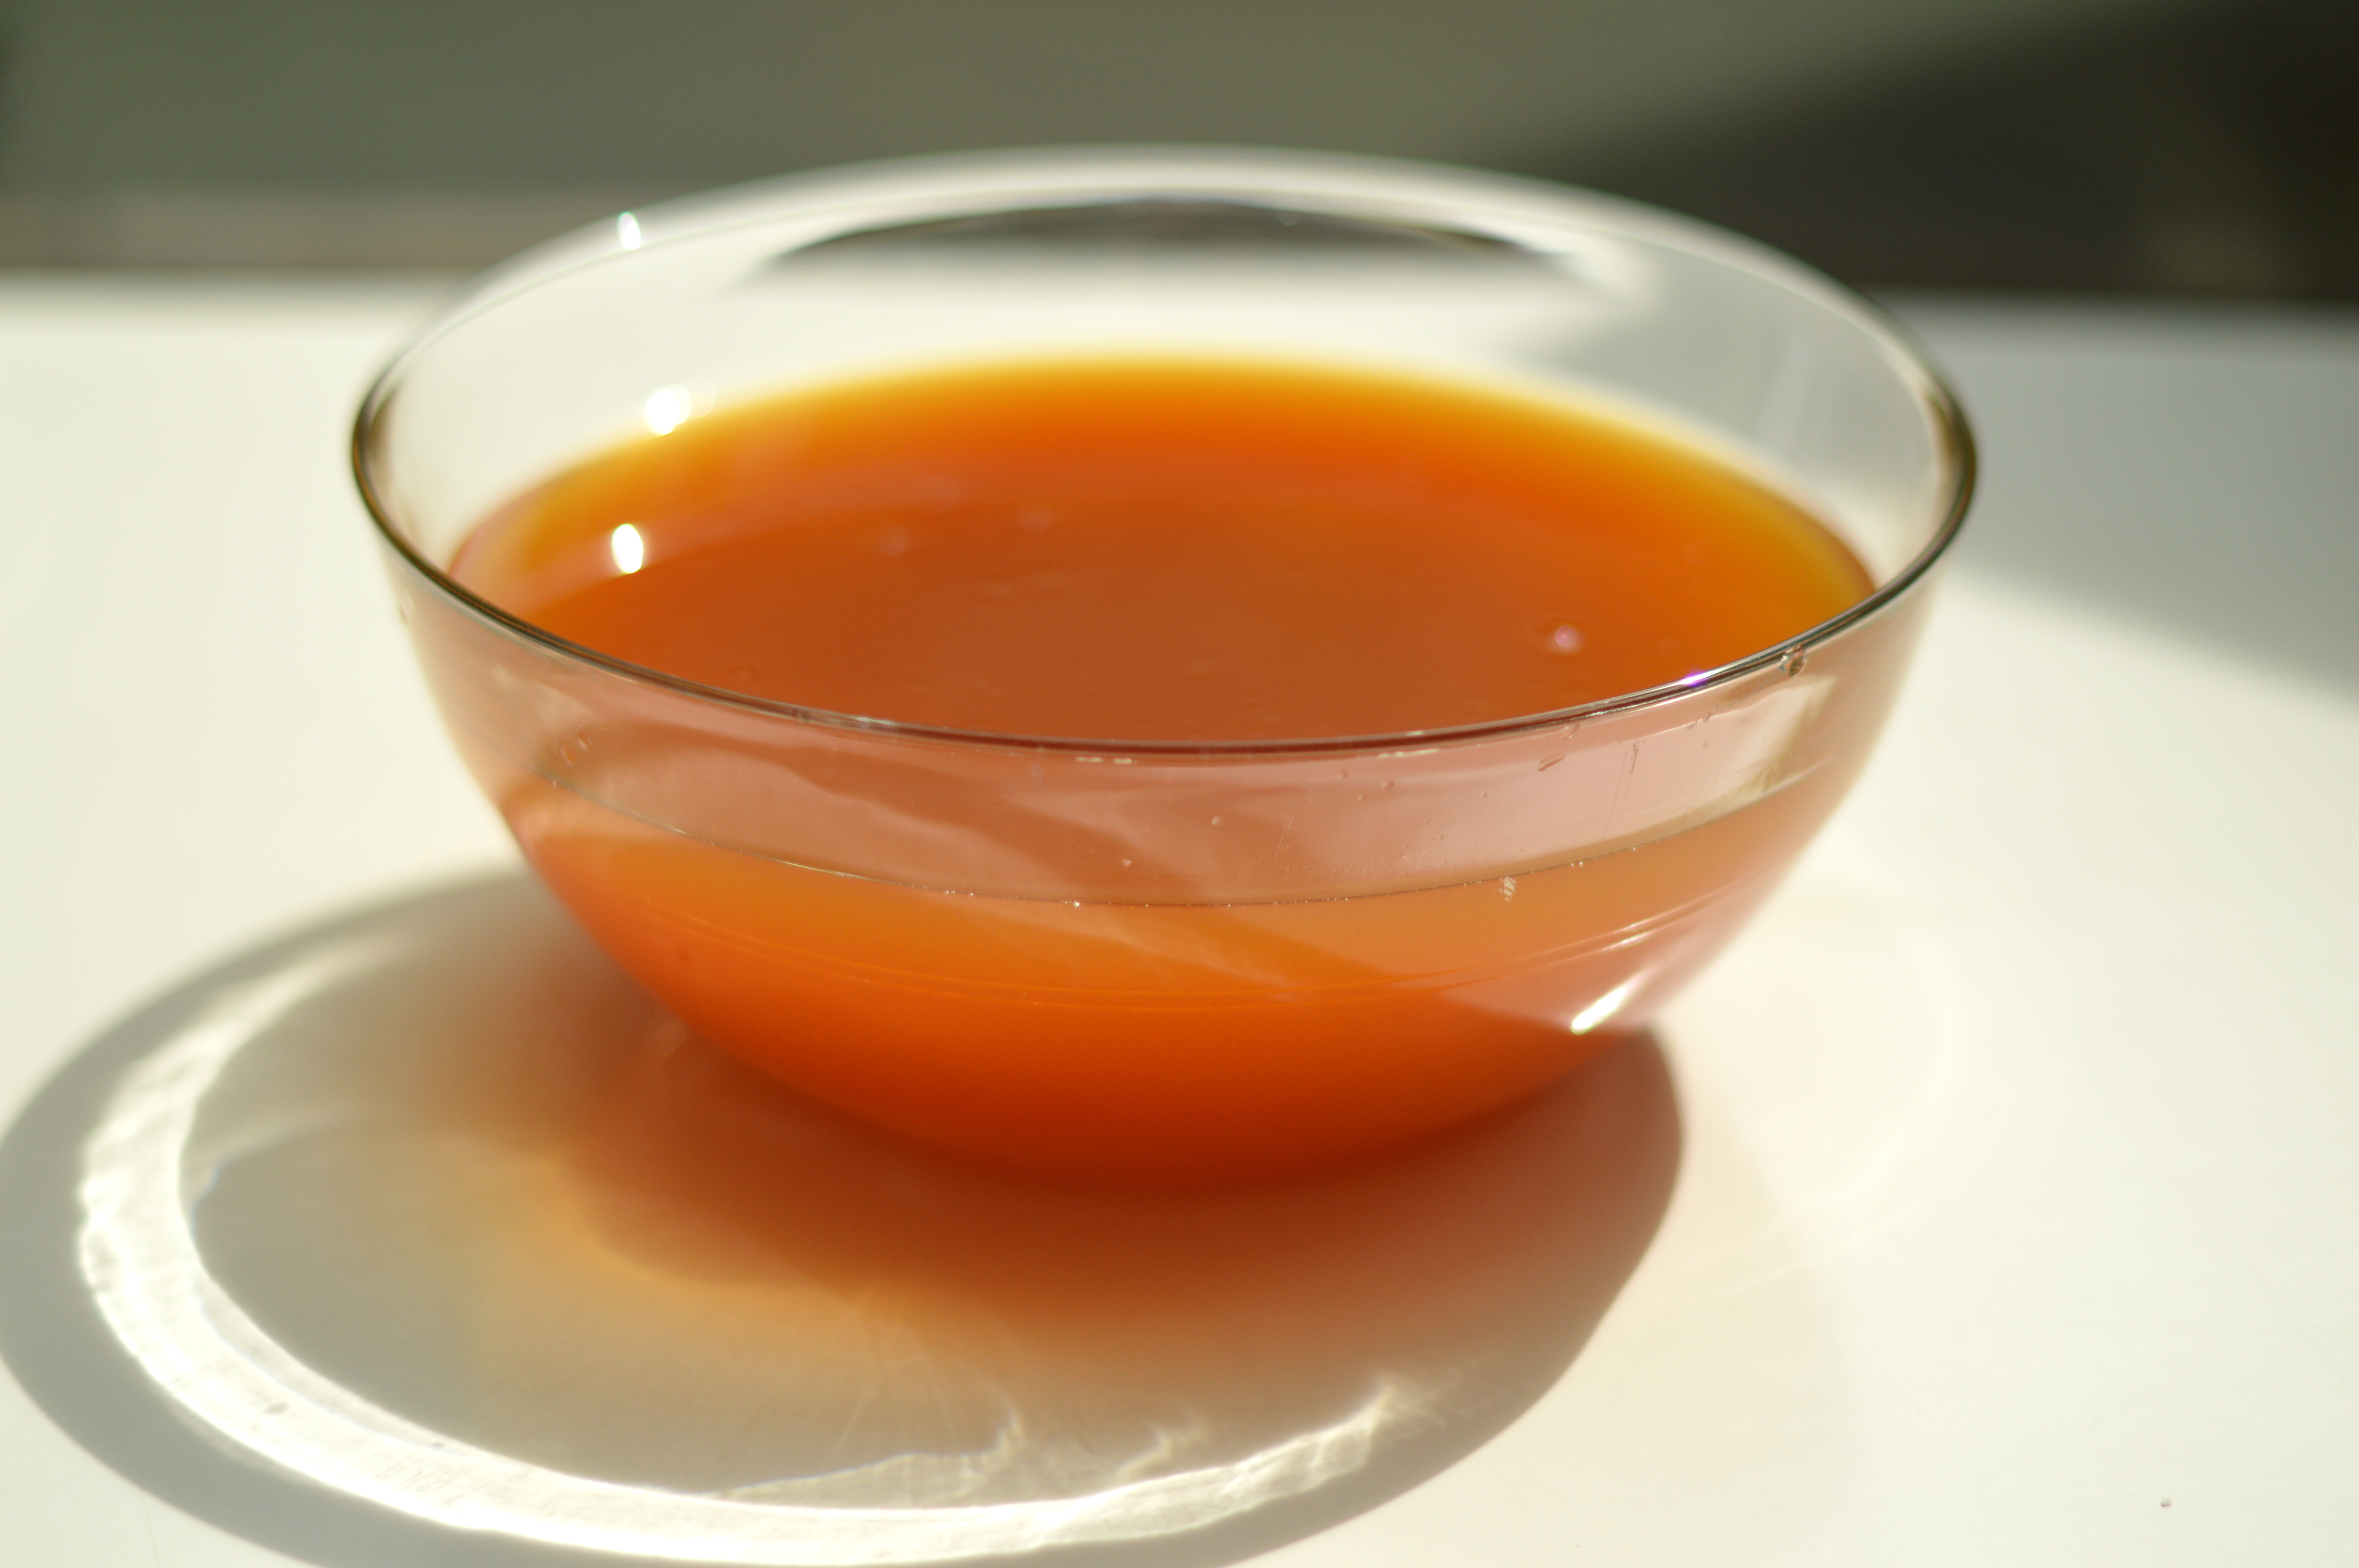


Orange Bitters
- 2 oranges
- 1 bottle (750 ml.) Everclear* (grain alcohol)
- 10 cardamom pods
- 2 whole star anise pods
- 3 cinnamon sticks (each 2 1/2 in.)
- 1 teaspoon whole cloves
- 1 tablespoon plus 1 tsp. chopped fresh ginger
- 1 cup sugar
Preparation
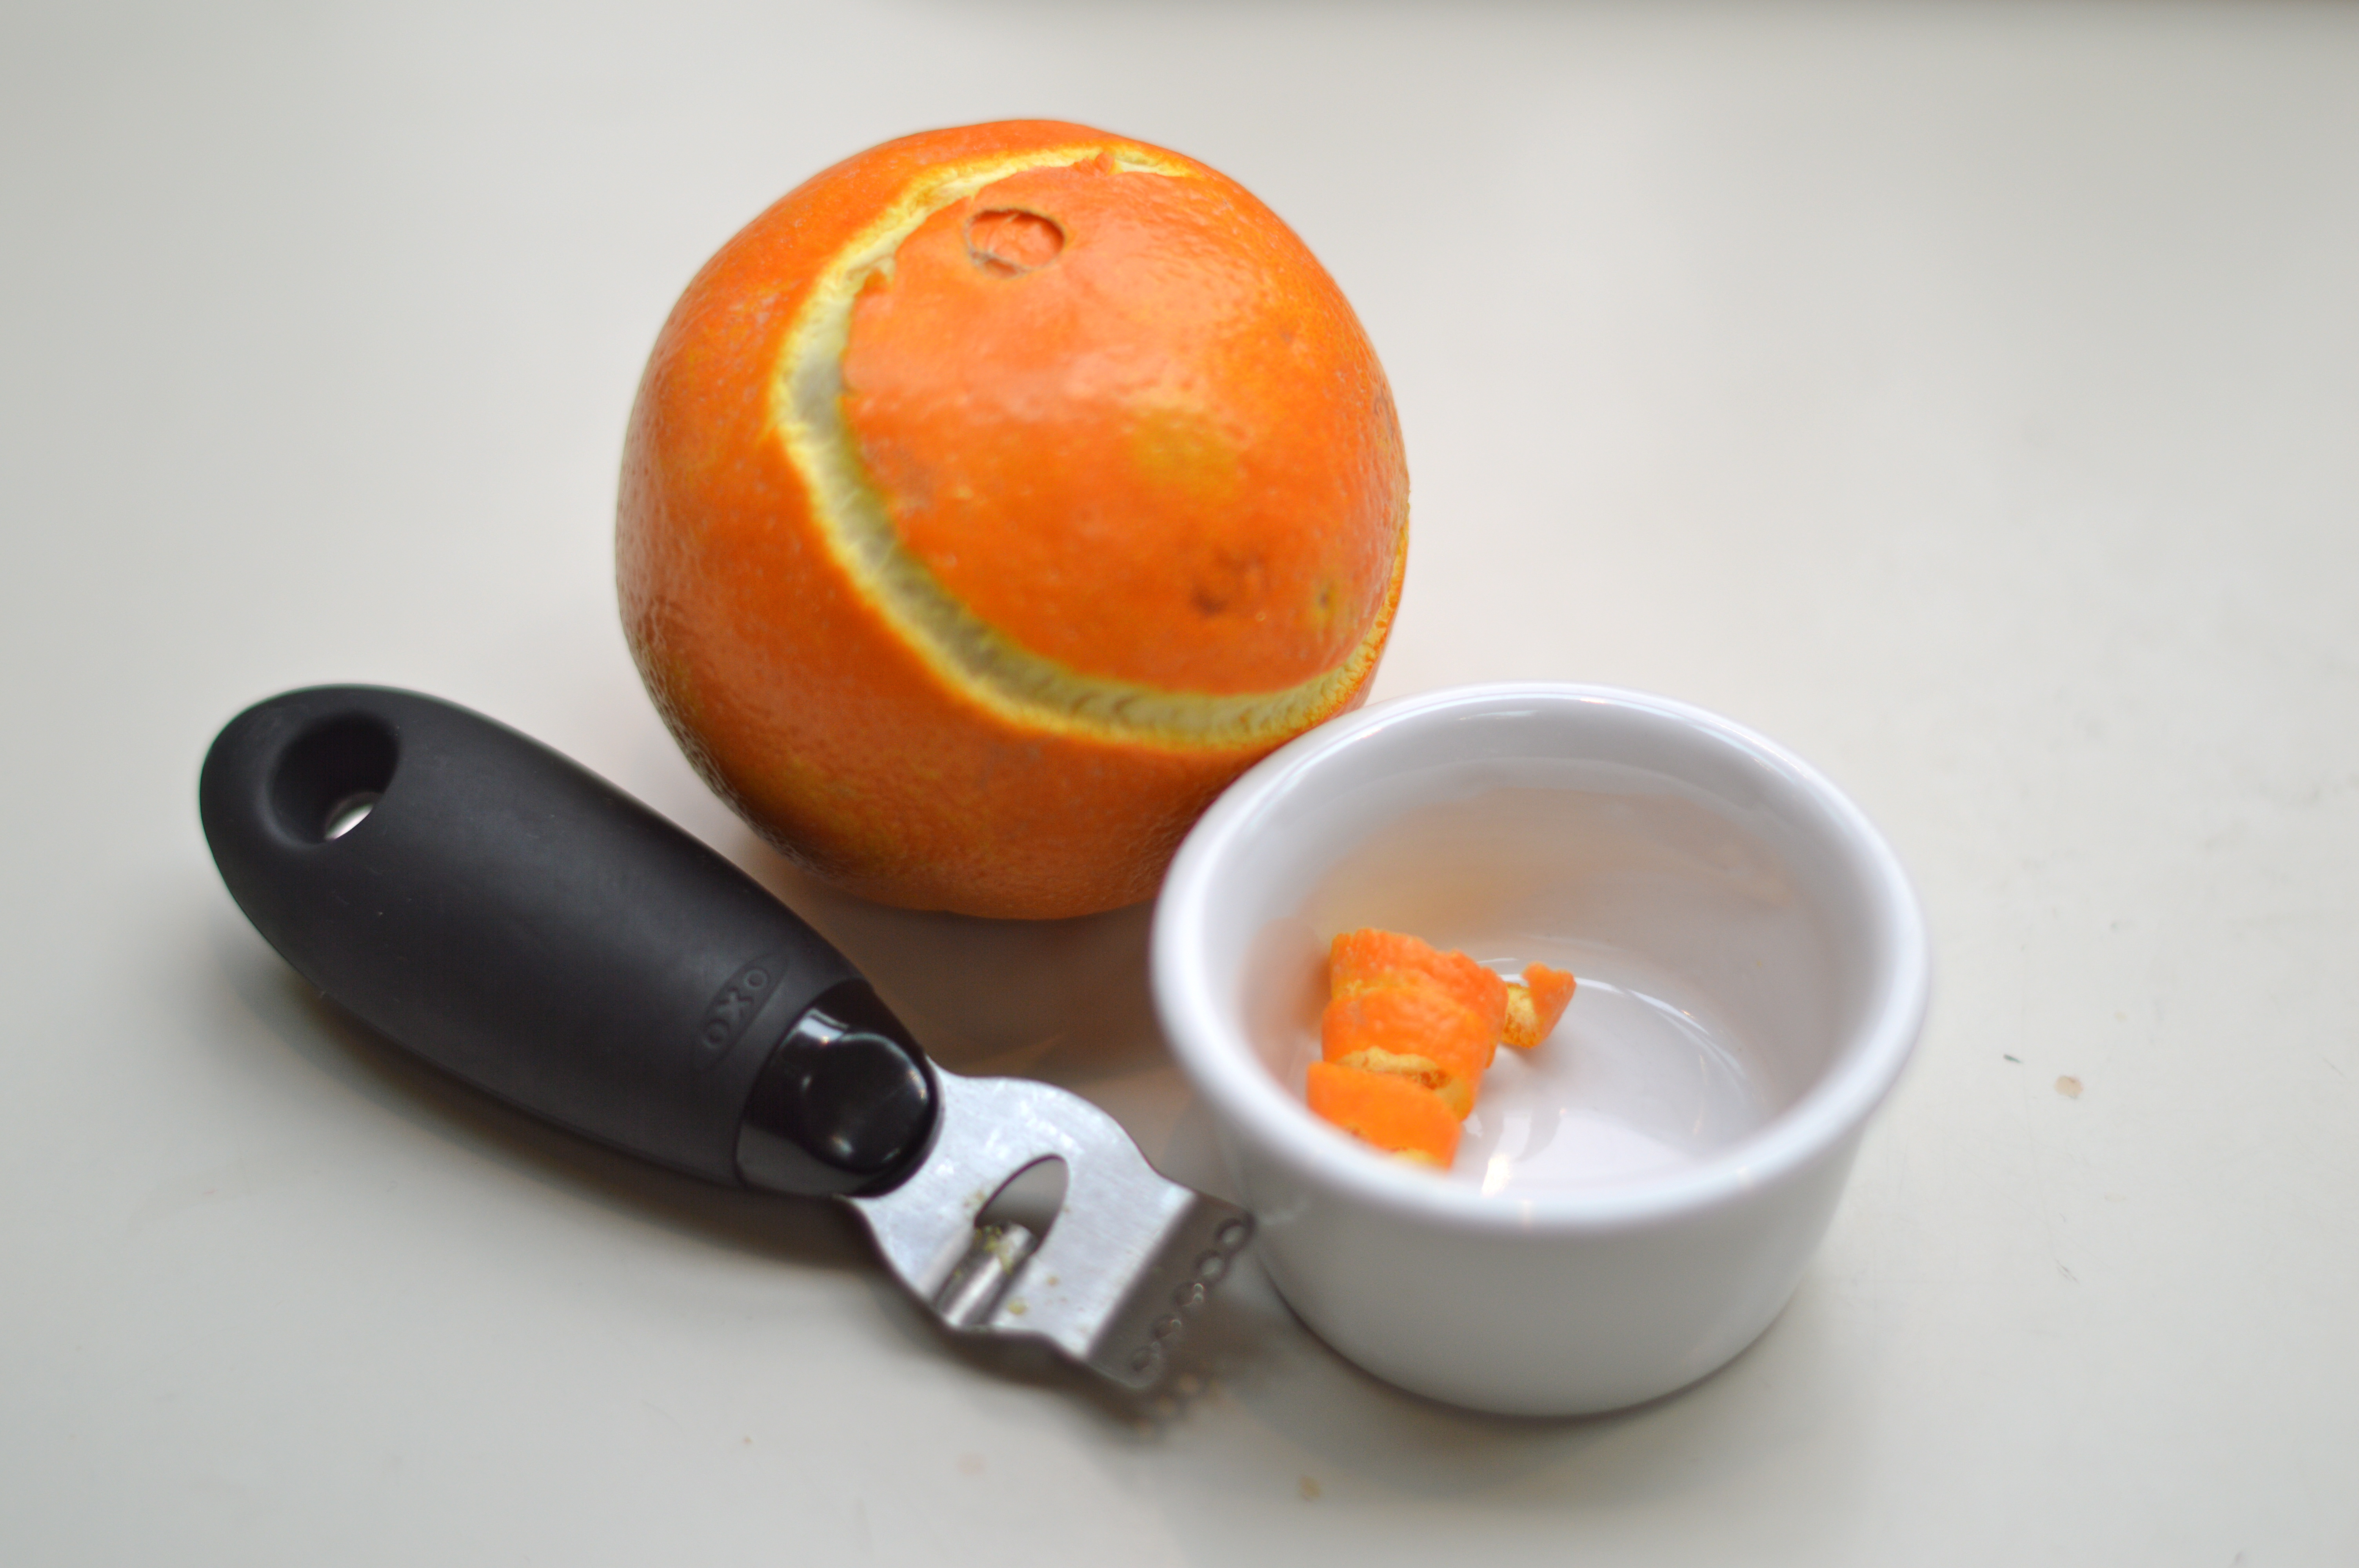
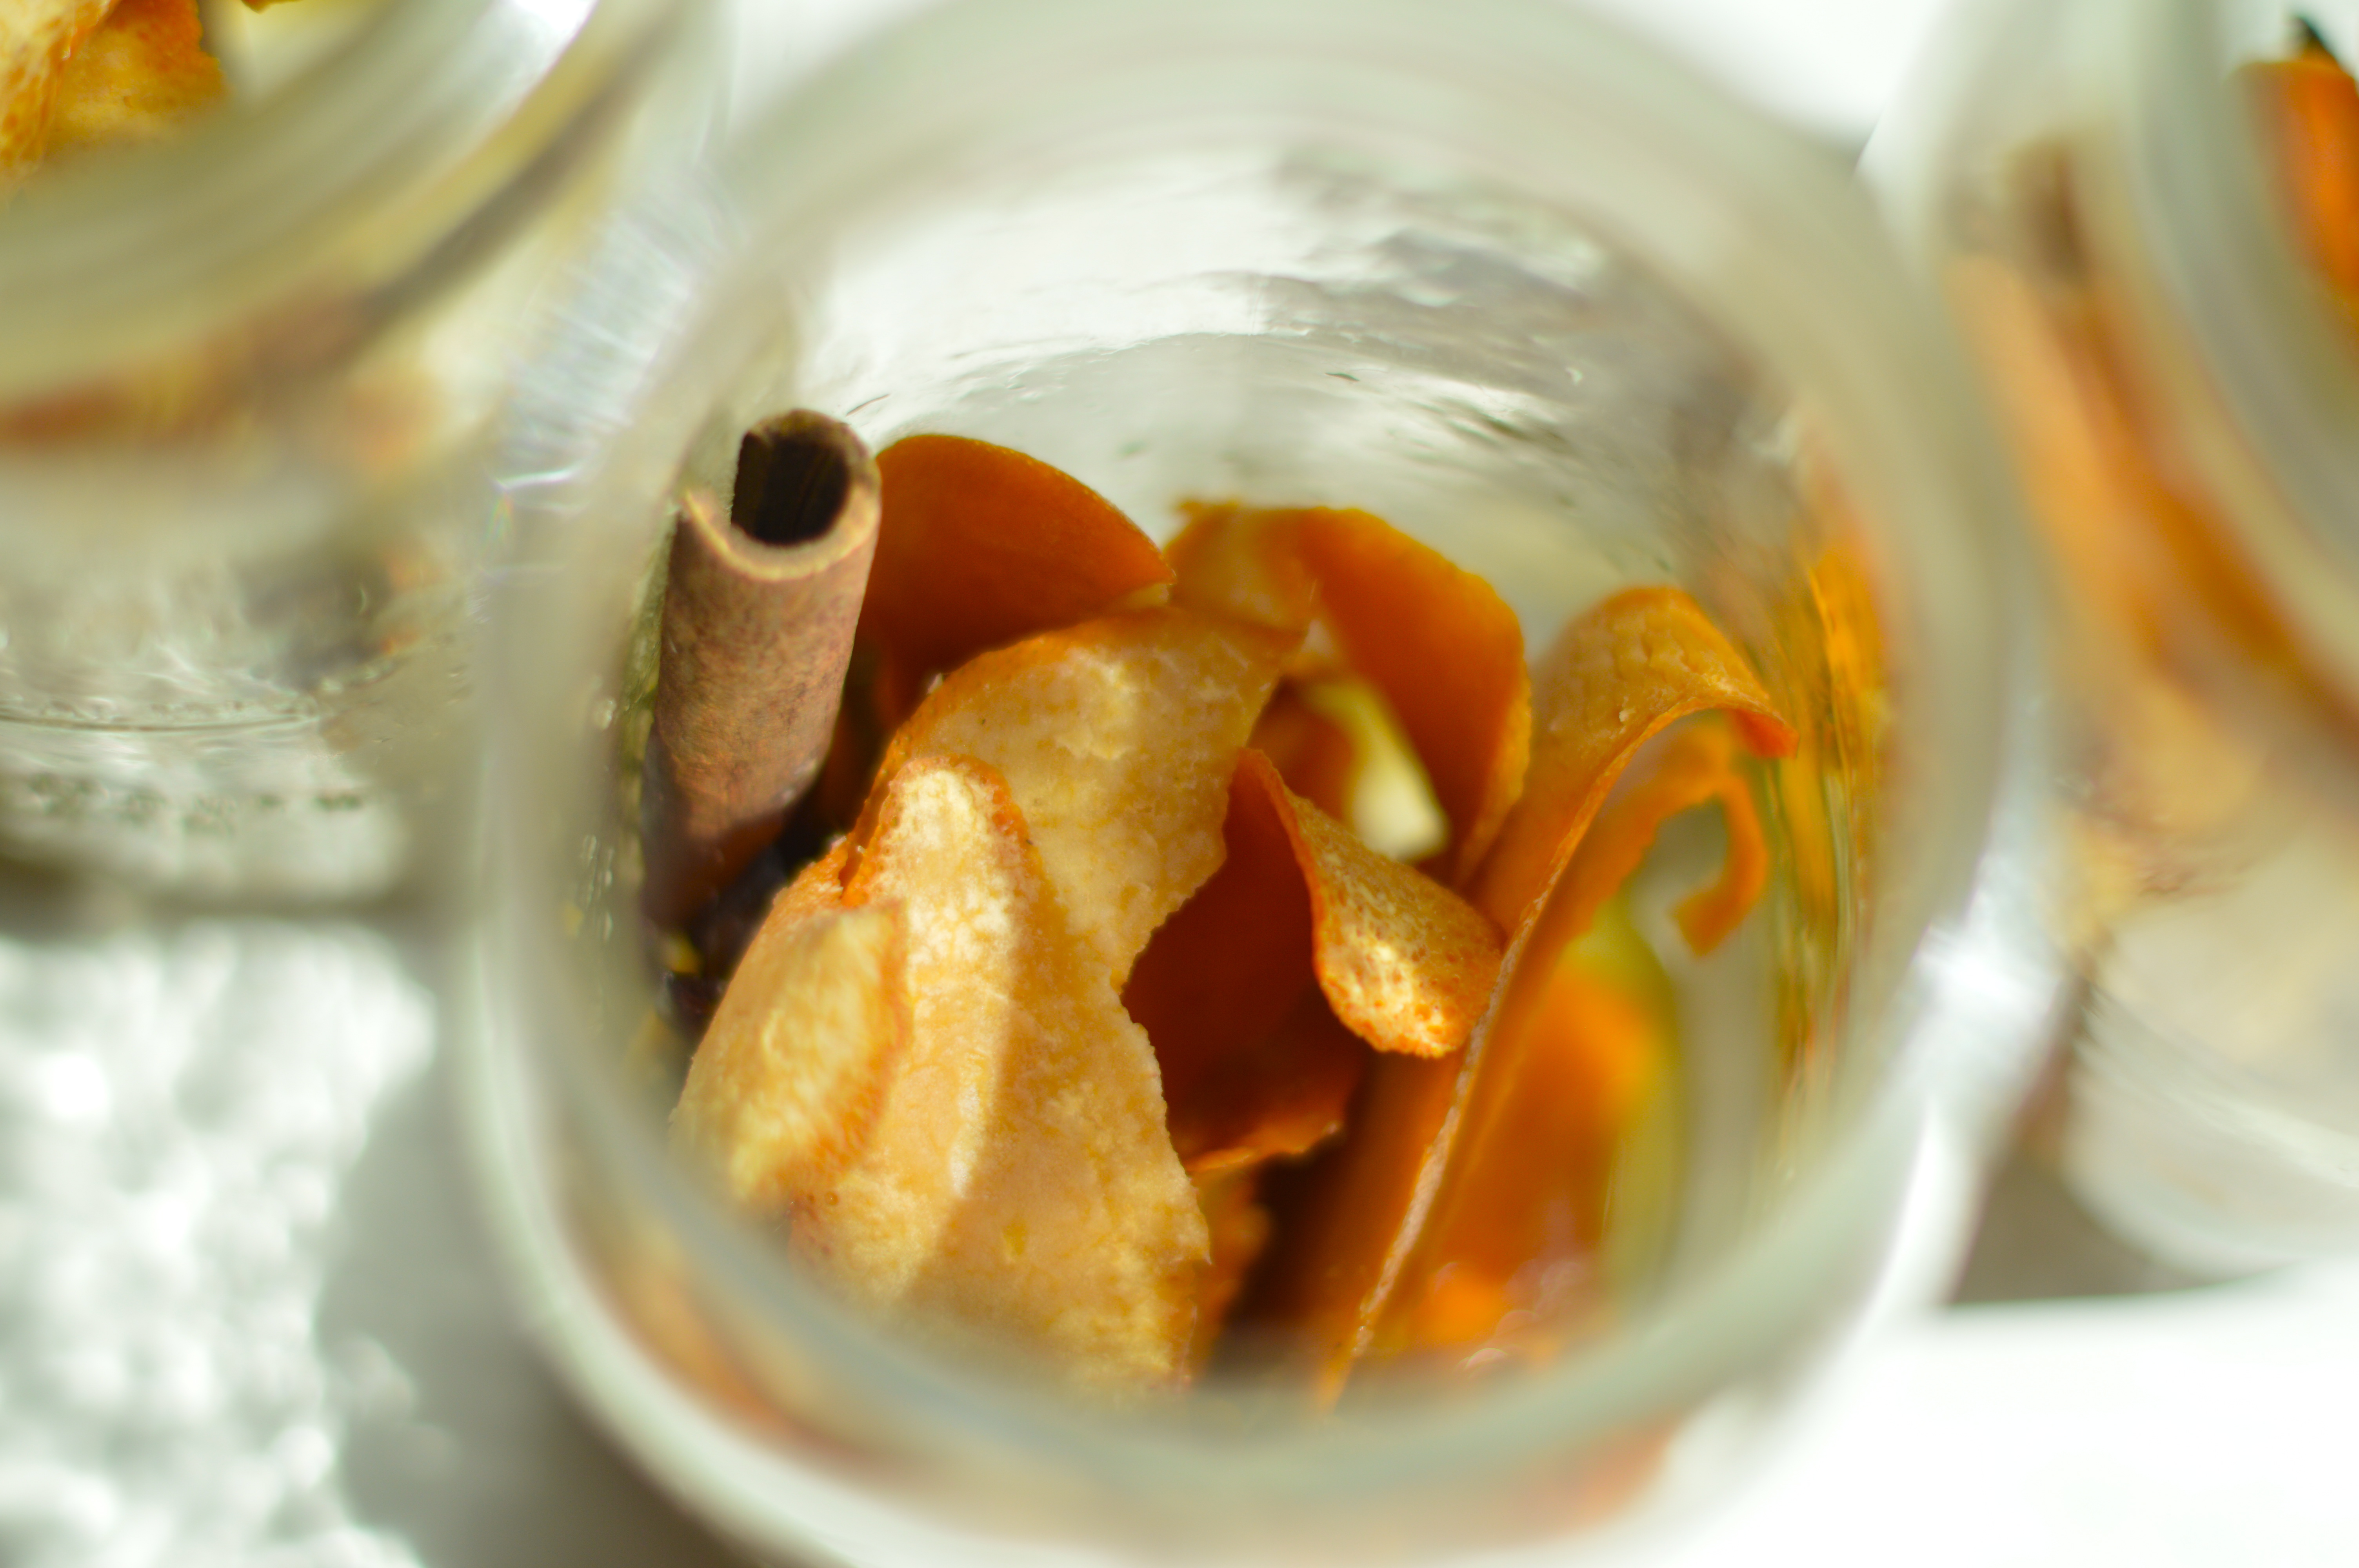
- Preheat oven to 250°. Remove zest from oranges with a vegetable peeler and put zest on a baking sheet (save fruit for another use). Bake until zest dries, starts to curl up, and begins to brown, 20 to 25 minutes. Let cool.
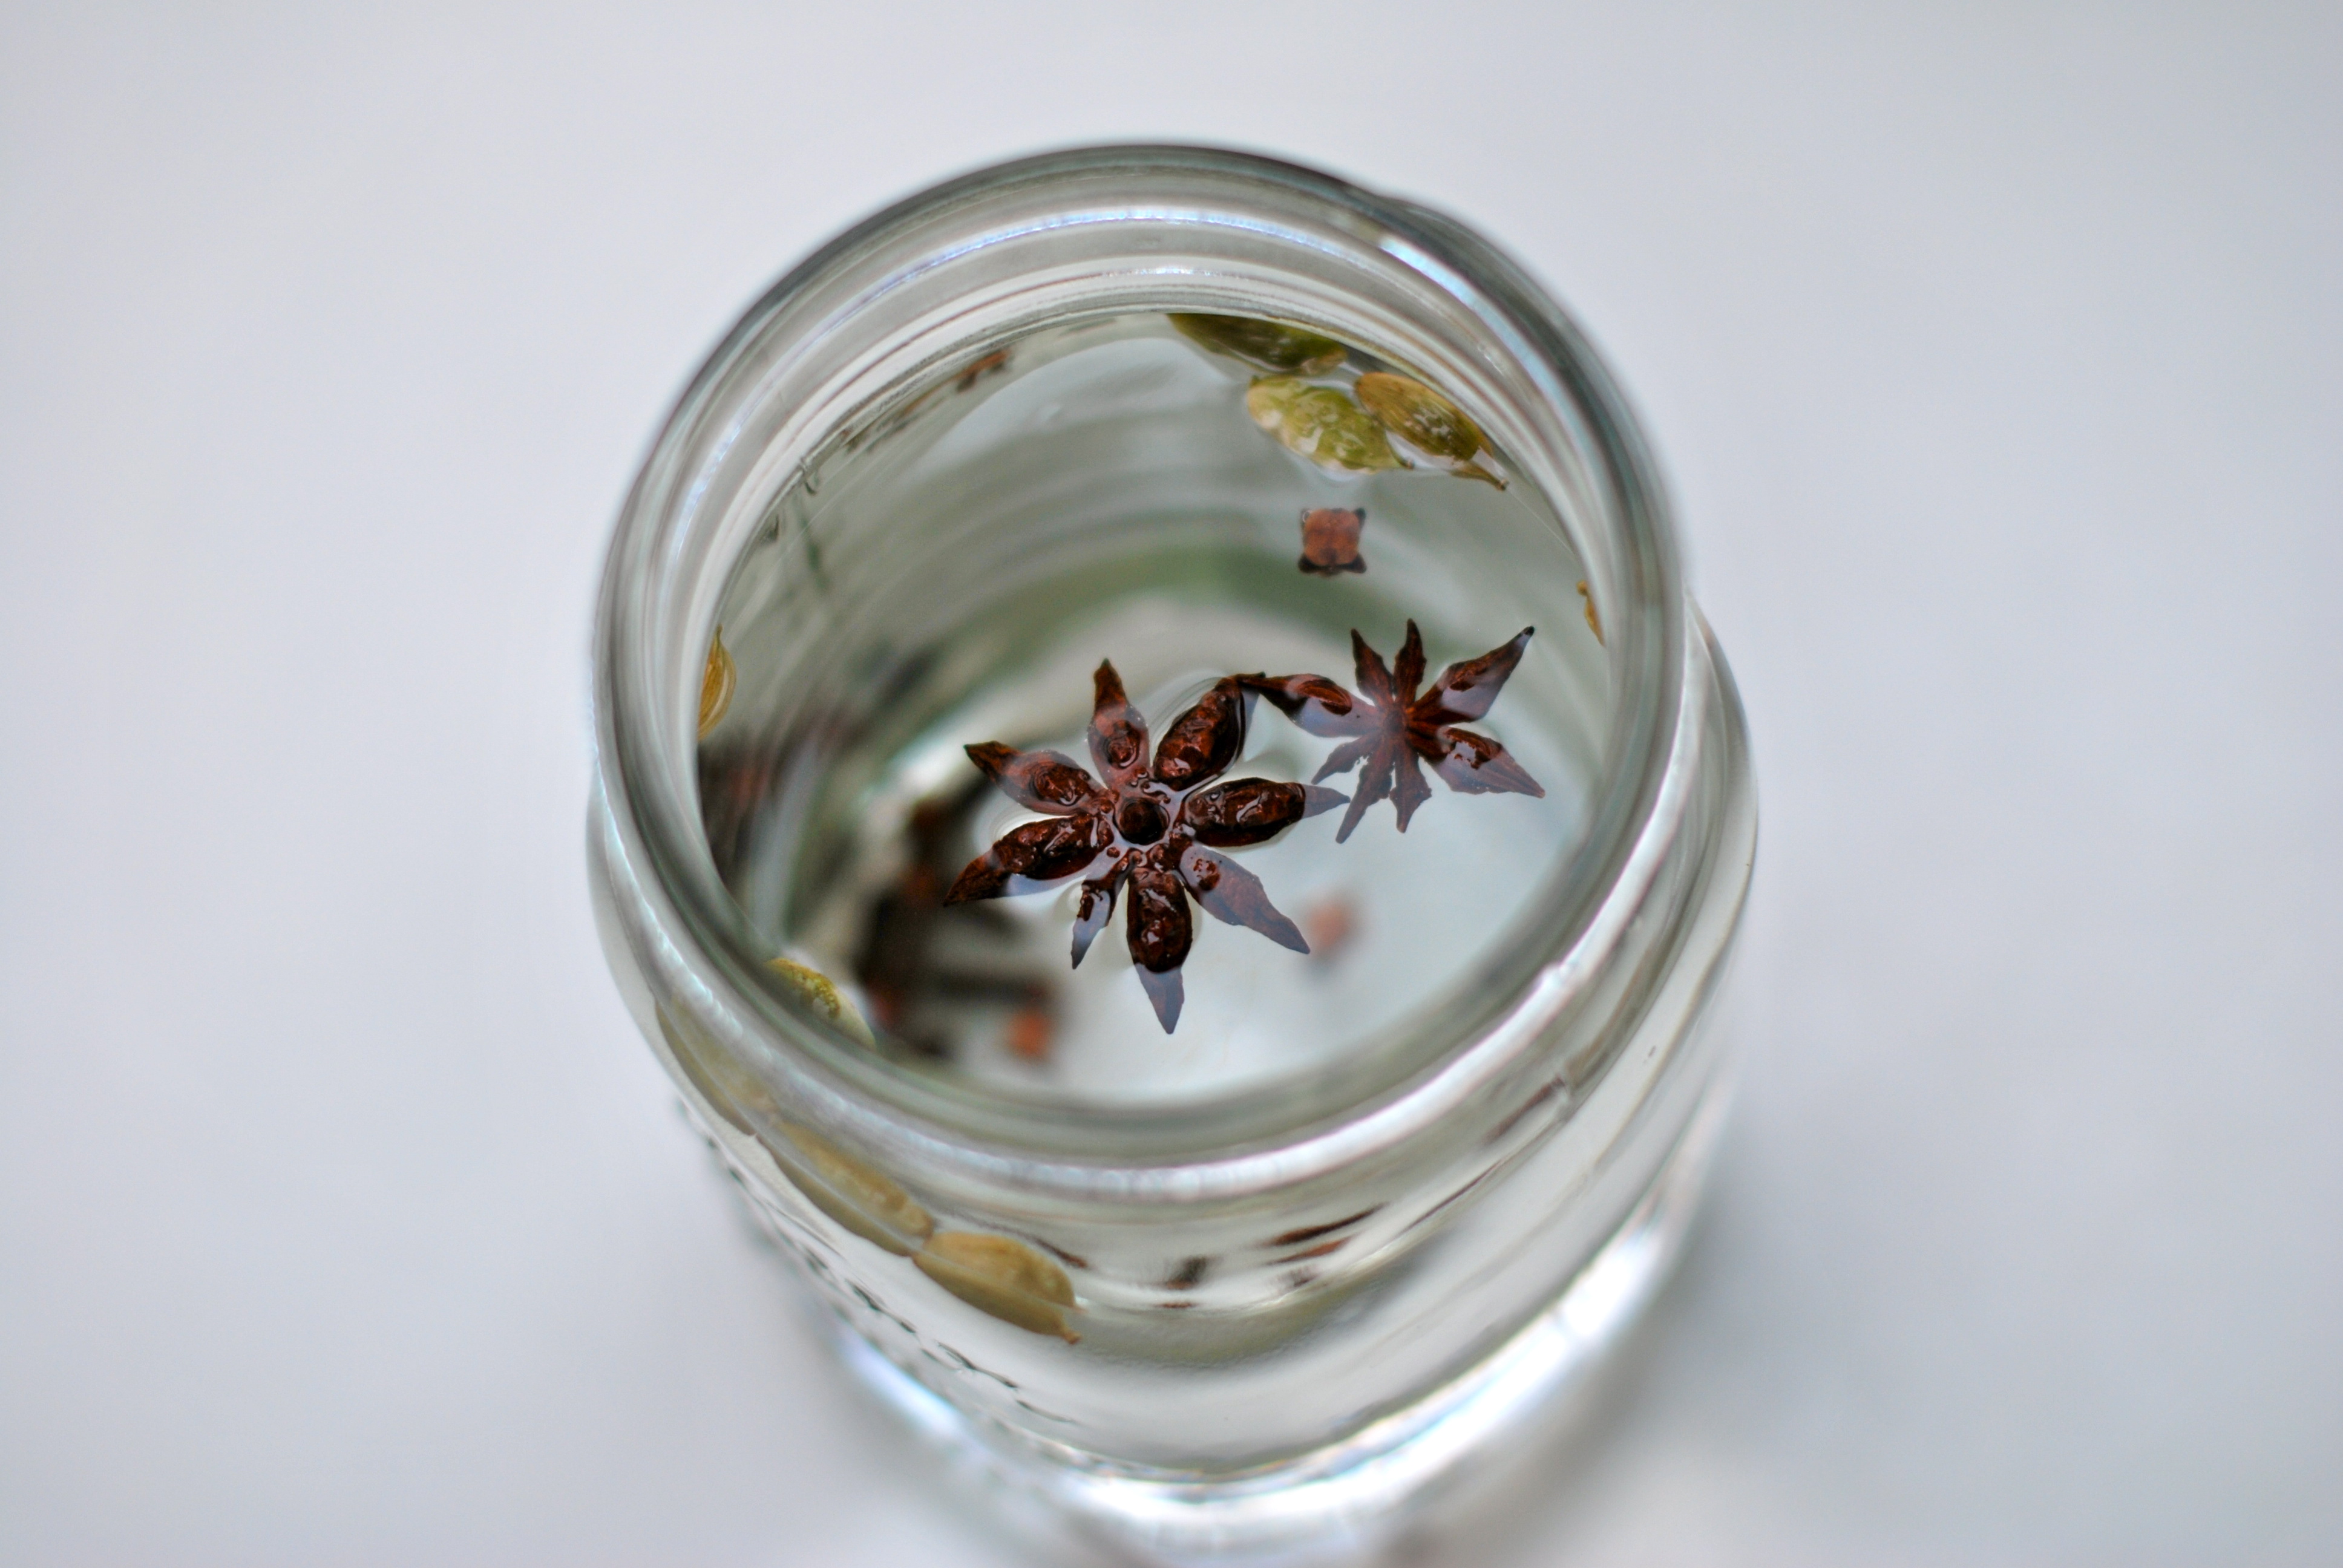
- Put all ingredients except sugar in a 1-qt. glass jar and seal tightly. Let sit in a cool, dark place for 2 weeks.
- Strain liquid through cheesecloth into a 1 1/2- to 2-qt. glass jar (save spice flavorings) and set aside. Put flavorings in a small saucepan with 2 cups water. Cover and bring to a boil, then reduce heat and simmer 10 minutes. Set aside.
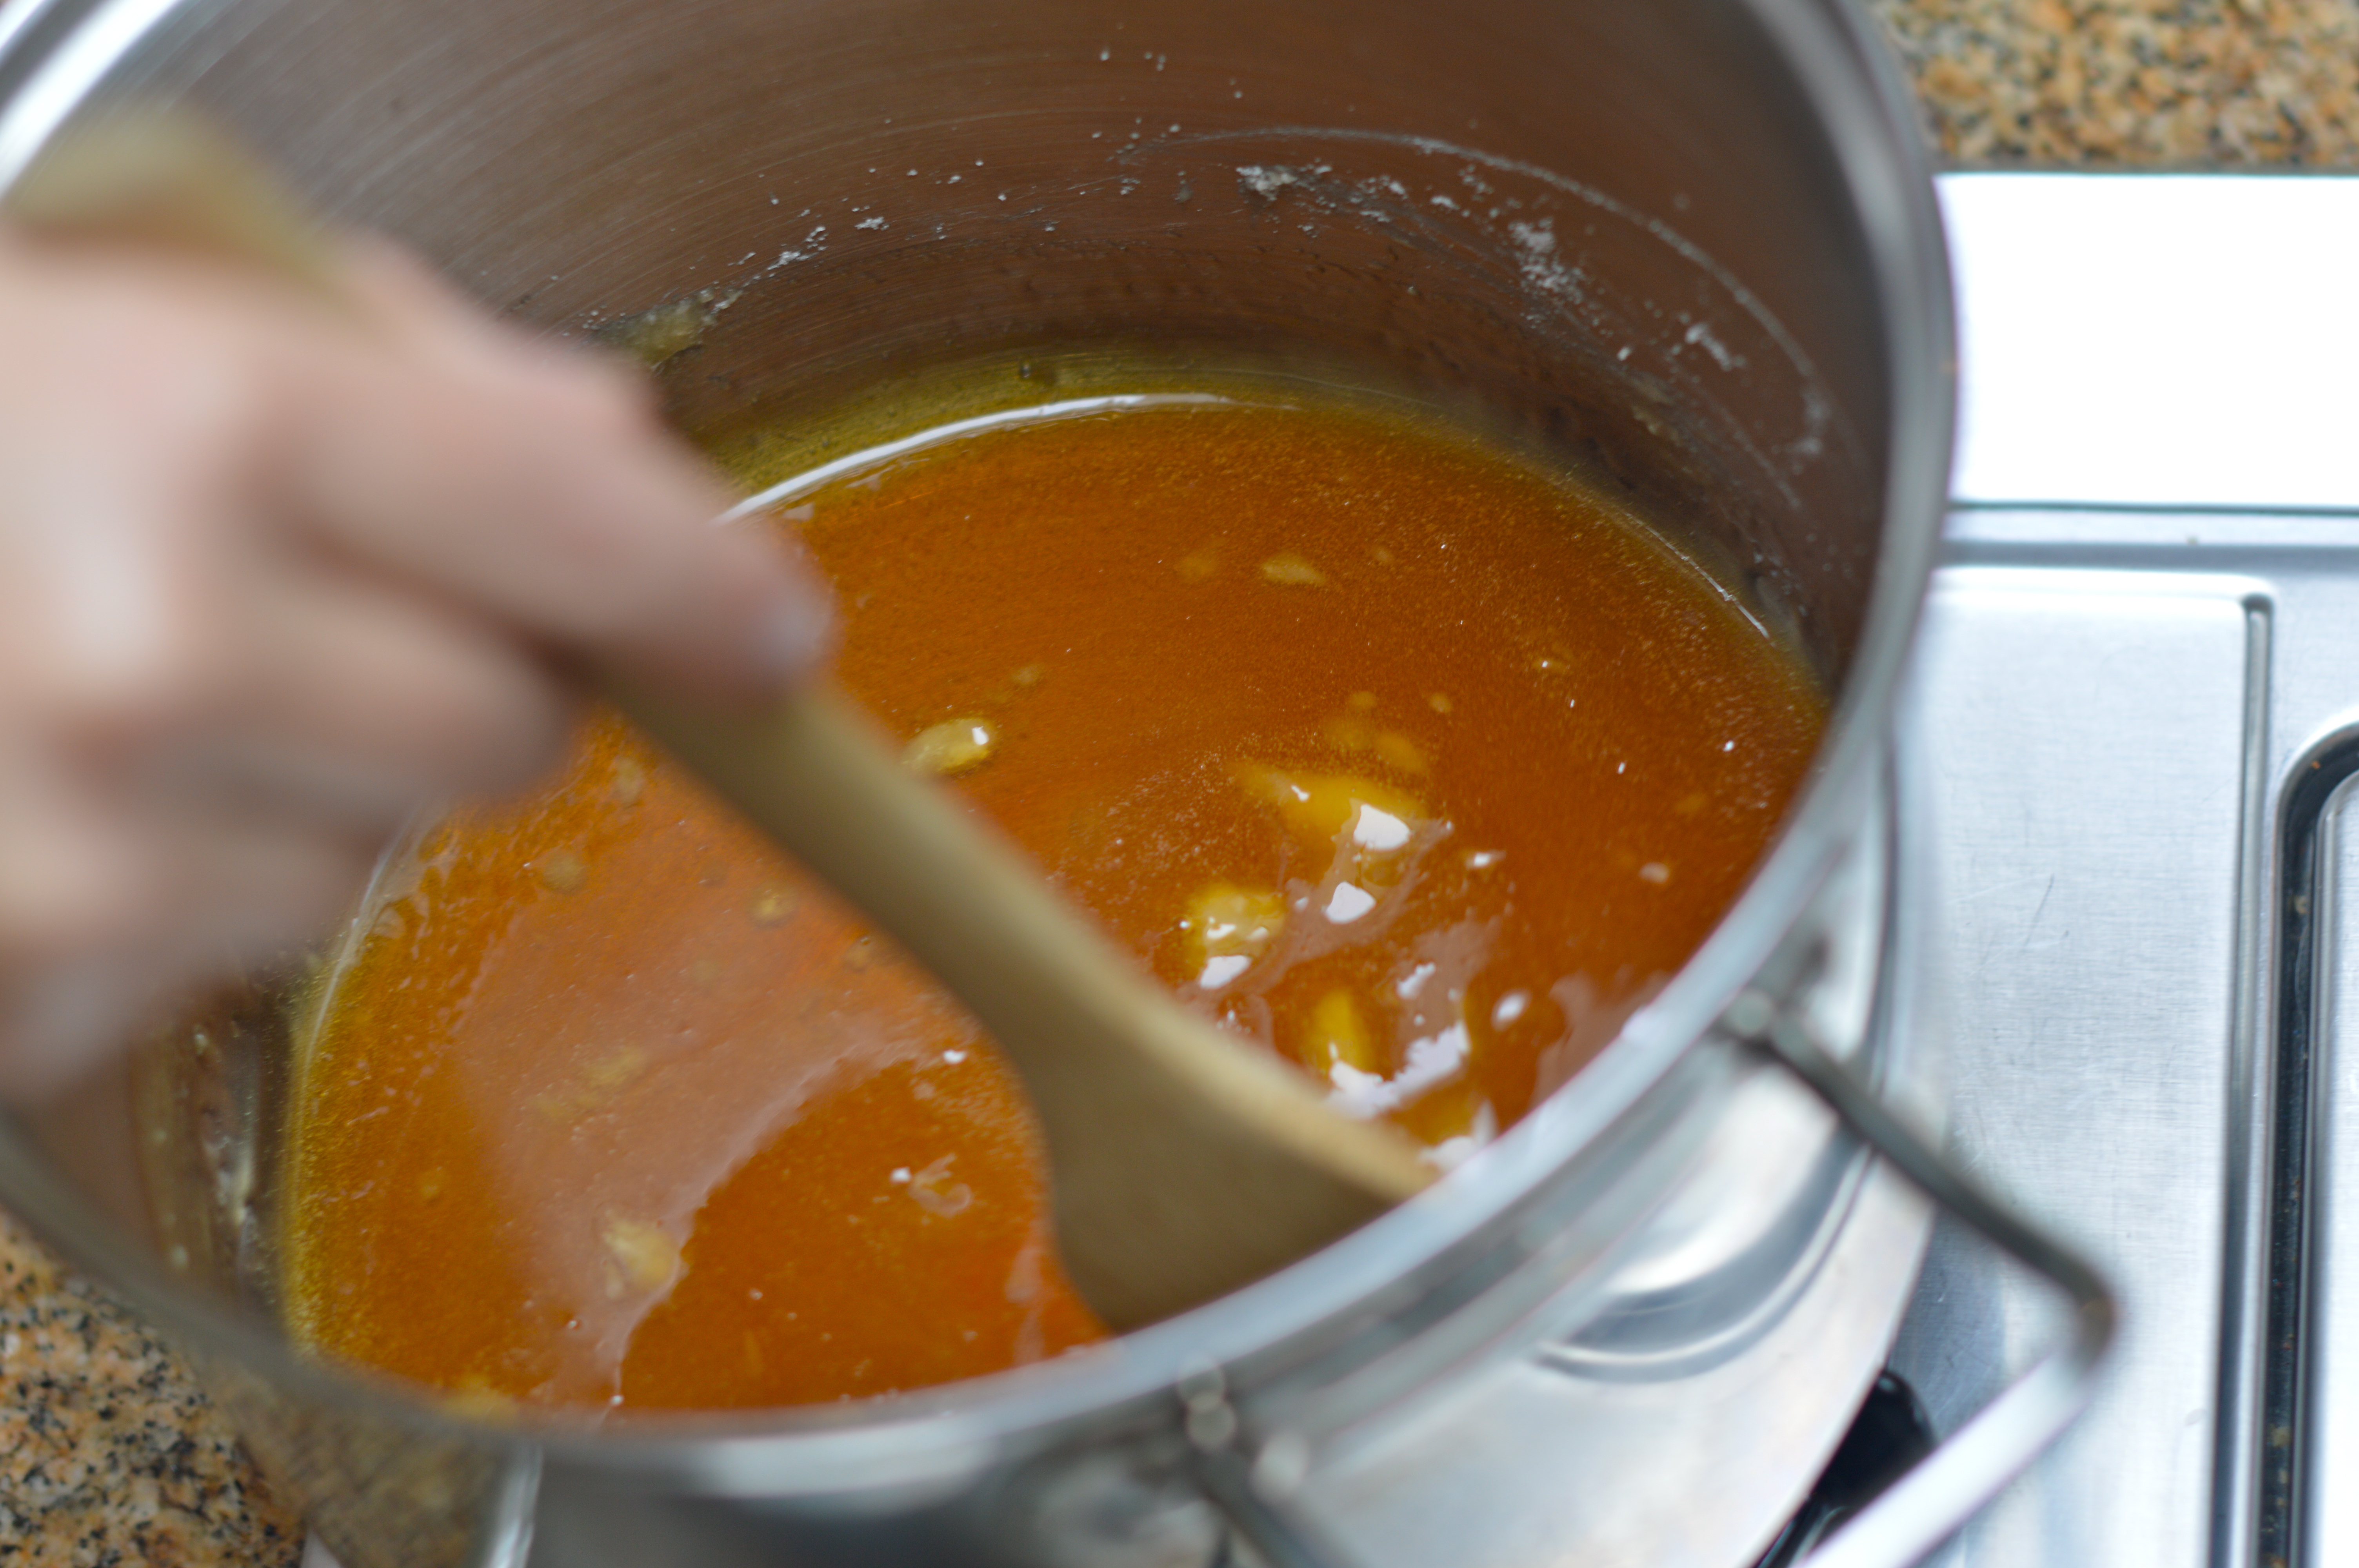
- Cook sugar in a small saucepan over medium-high heat, lifting and shaking pan occasionally, until sugar caramelizes and turns deep amber, 8 to 10 minutes. Pour caramel into liquid in pan (it will bubble furiously and may firm up). If needed, return pan to medium heat and cook, stirring, for a few minutes until caramel melts again.
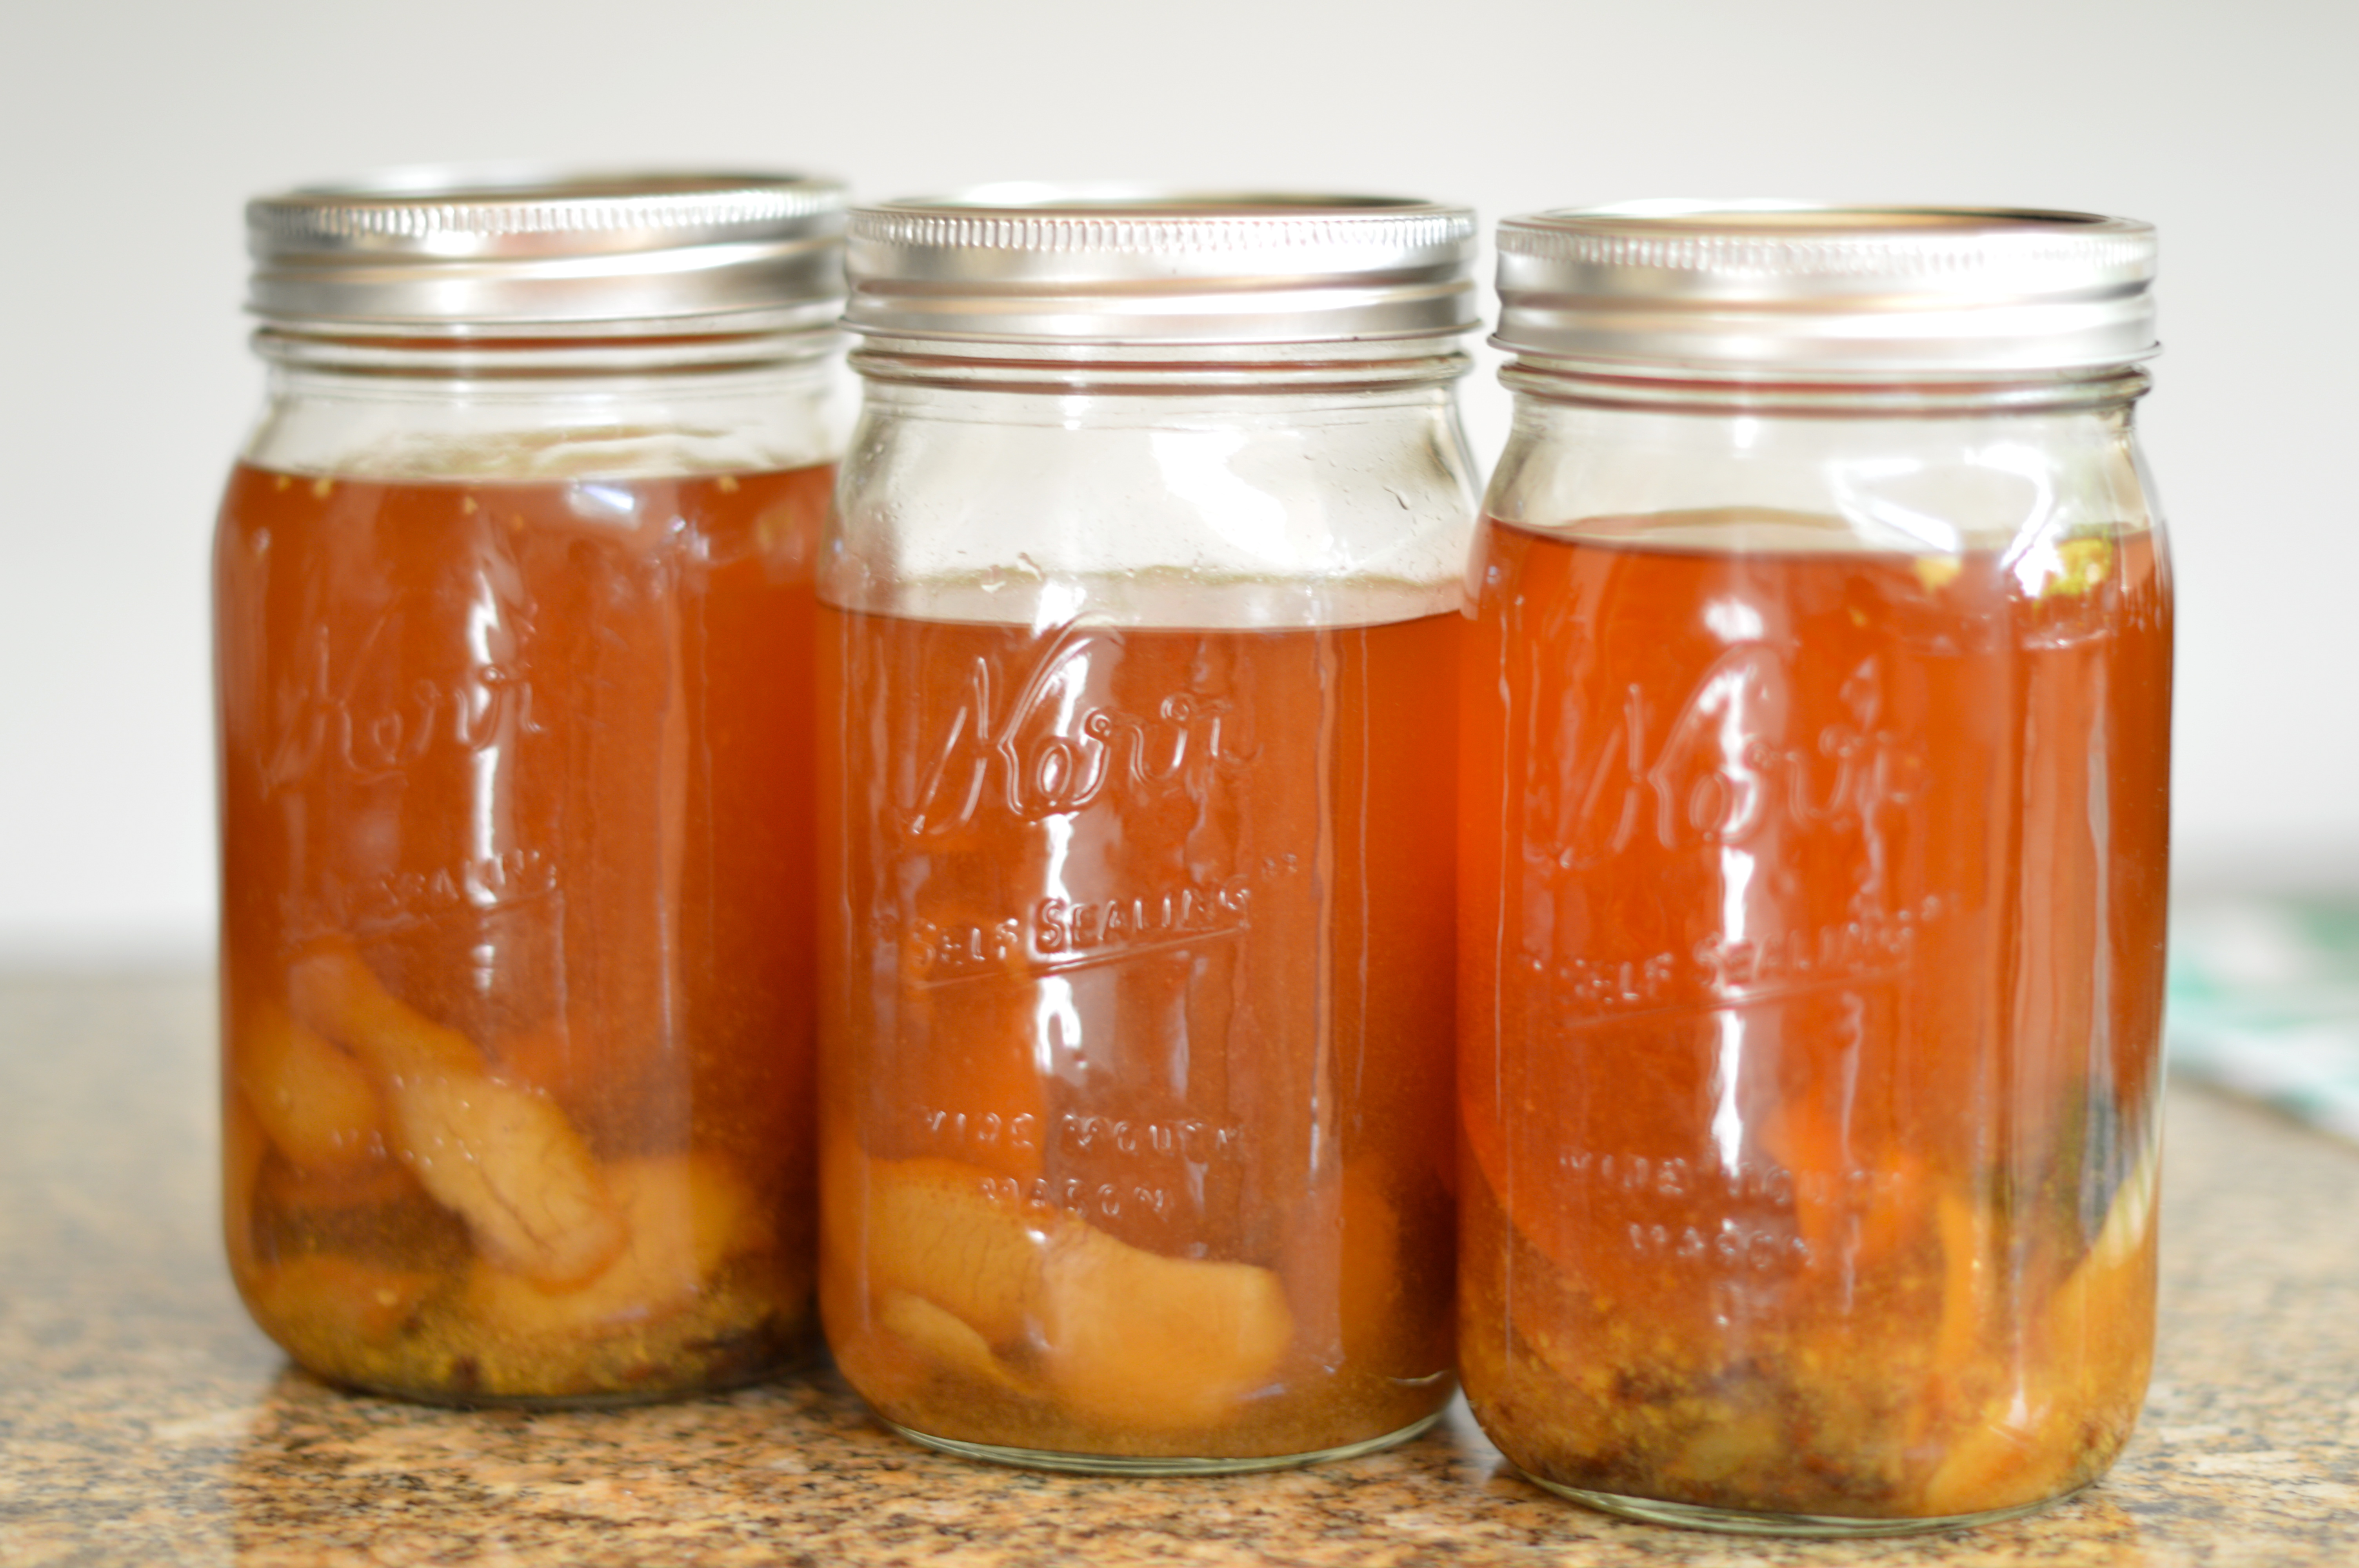
- Set pan in a bowl of ice water until liquid is cold, about 10 minutes. Pour into jar with first infusion. Seal and let stand in a dark place 5 days.
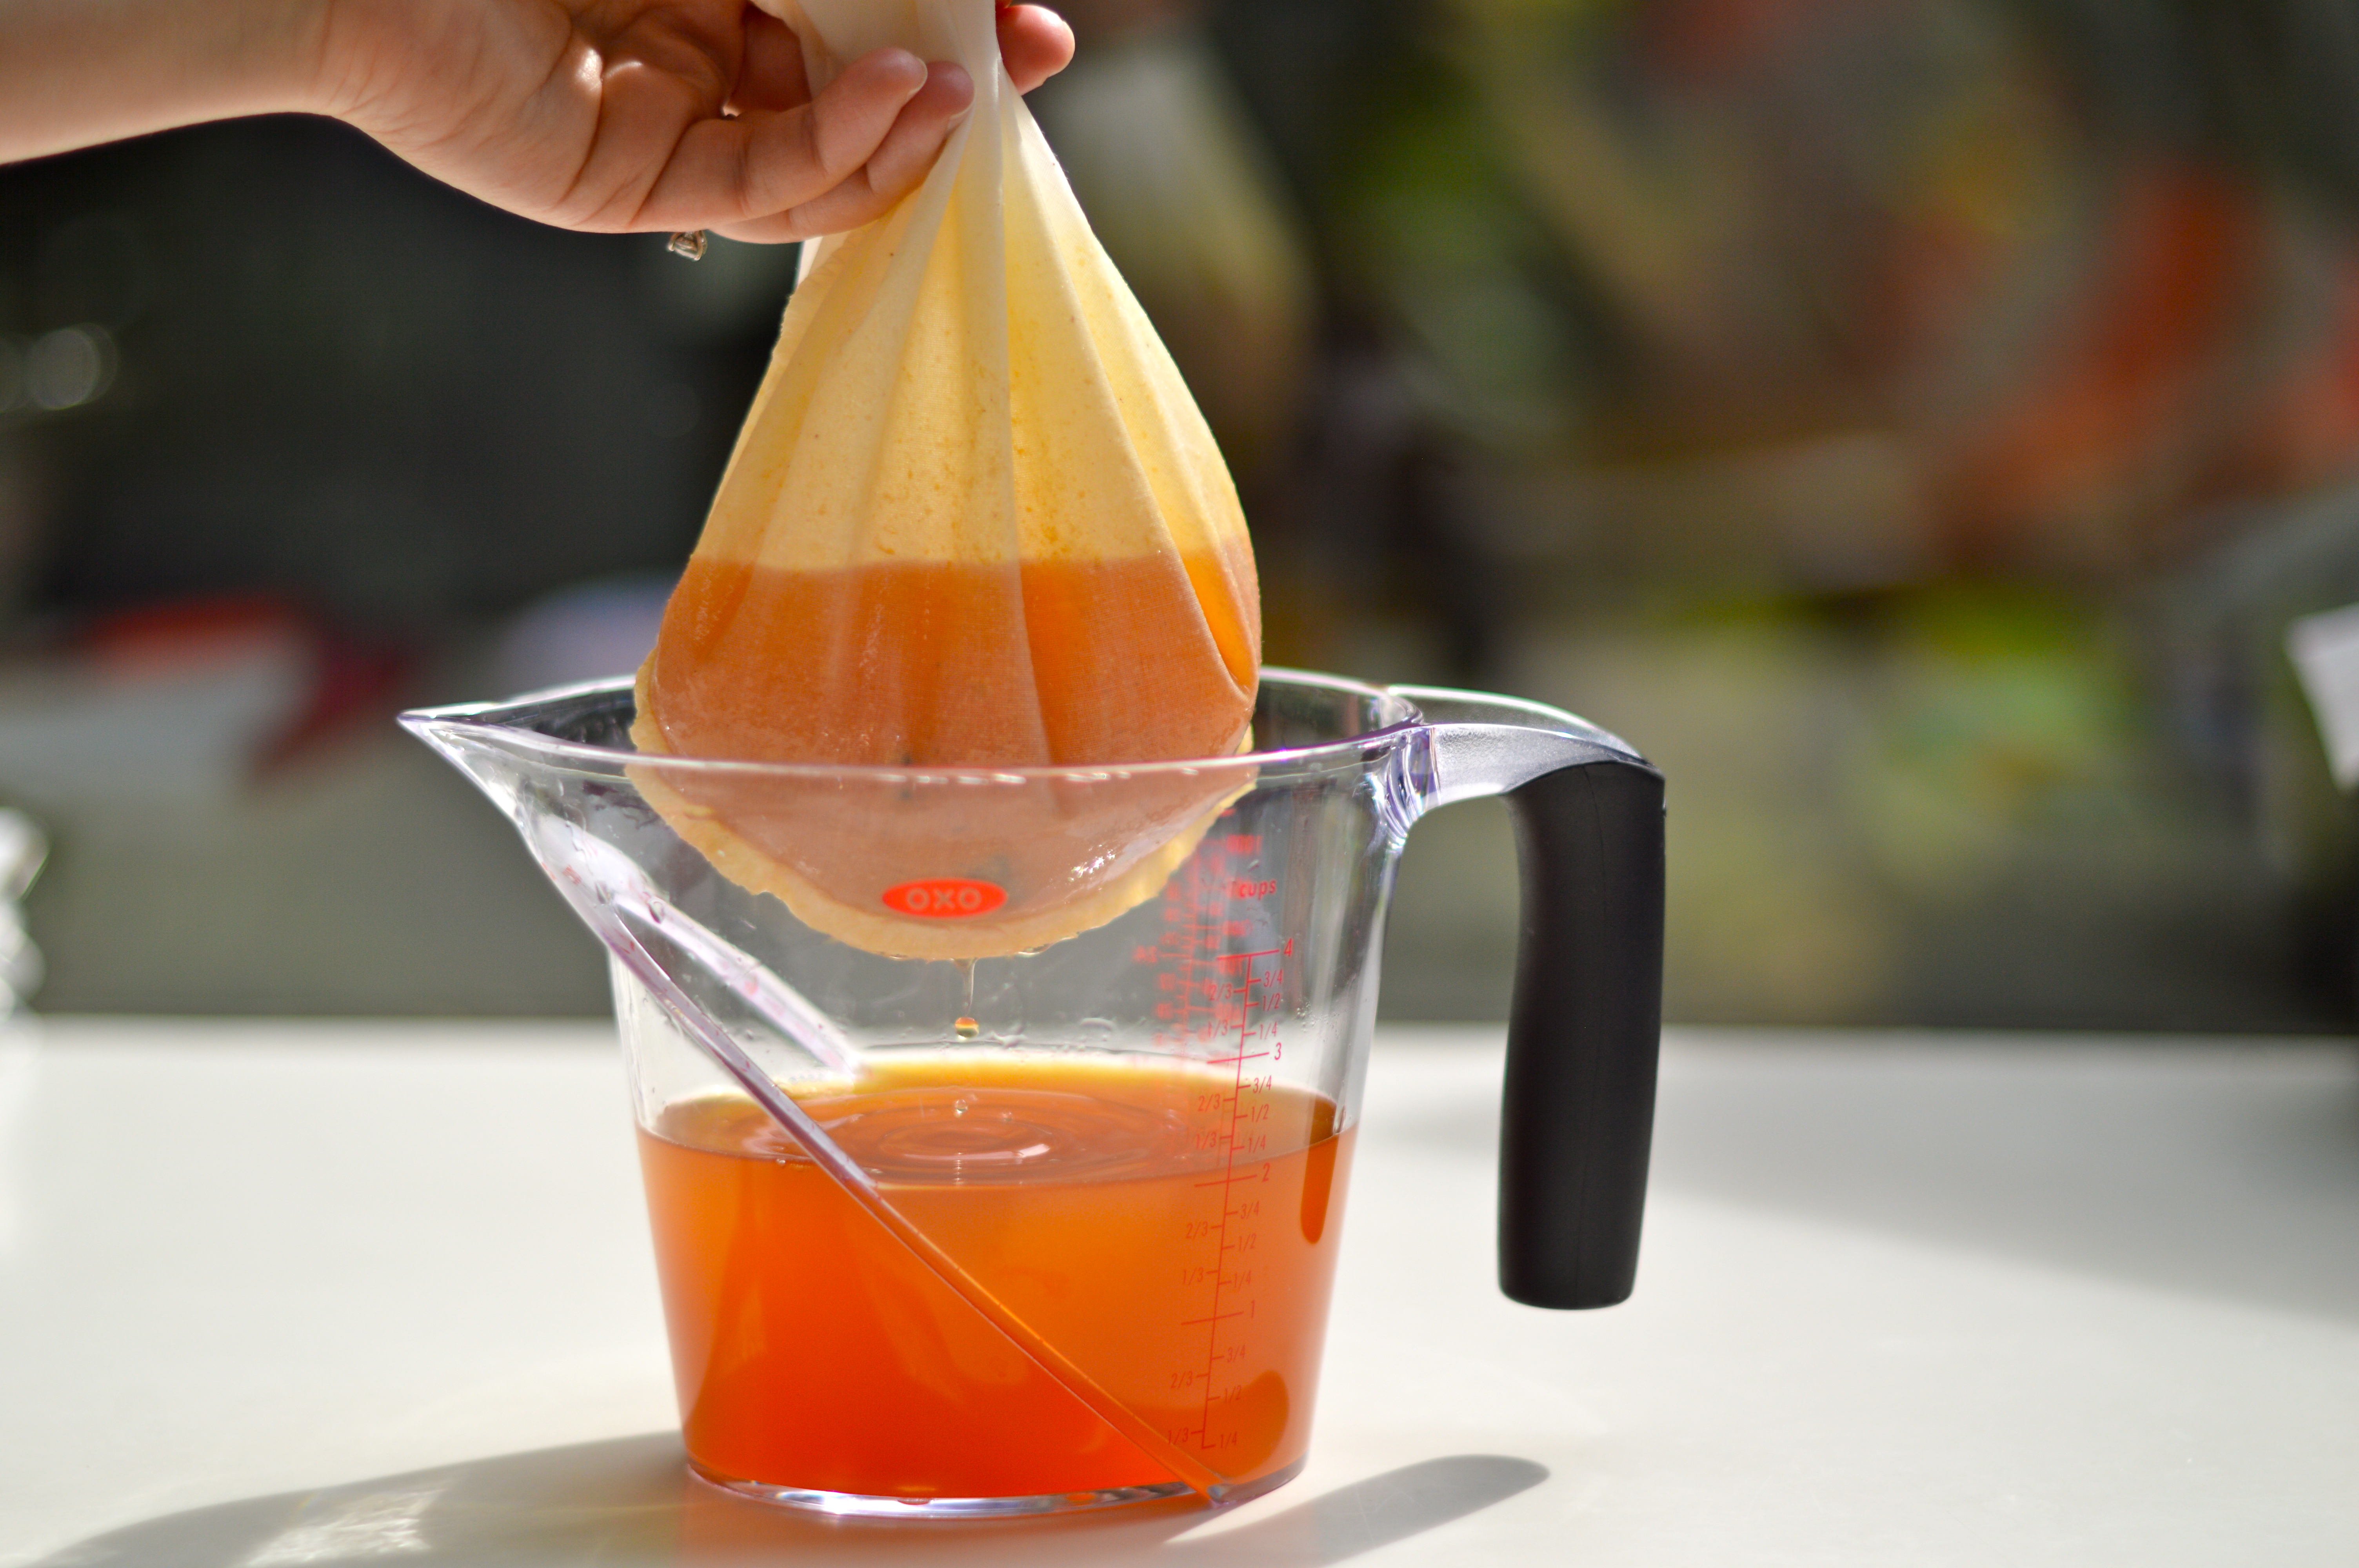
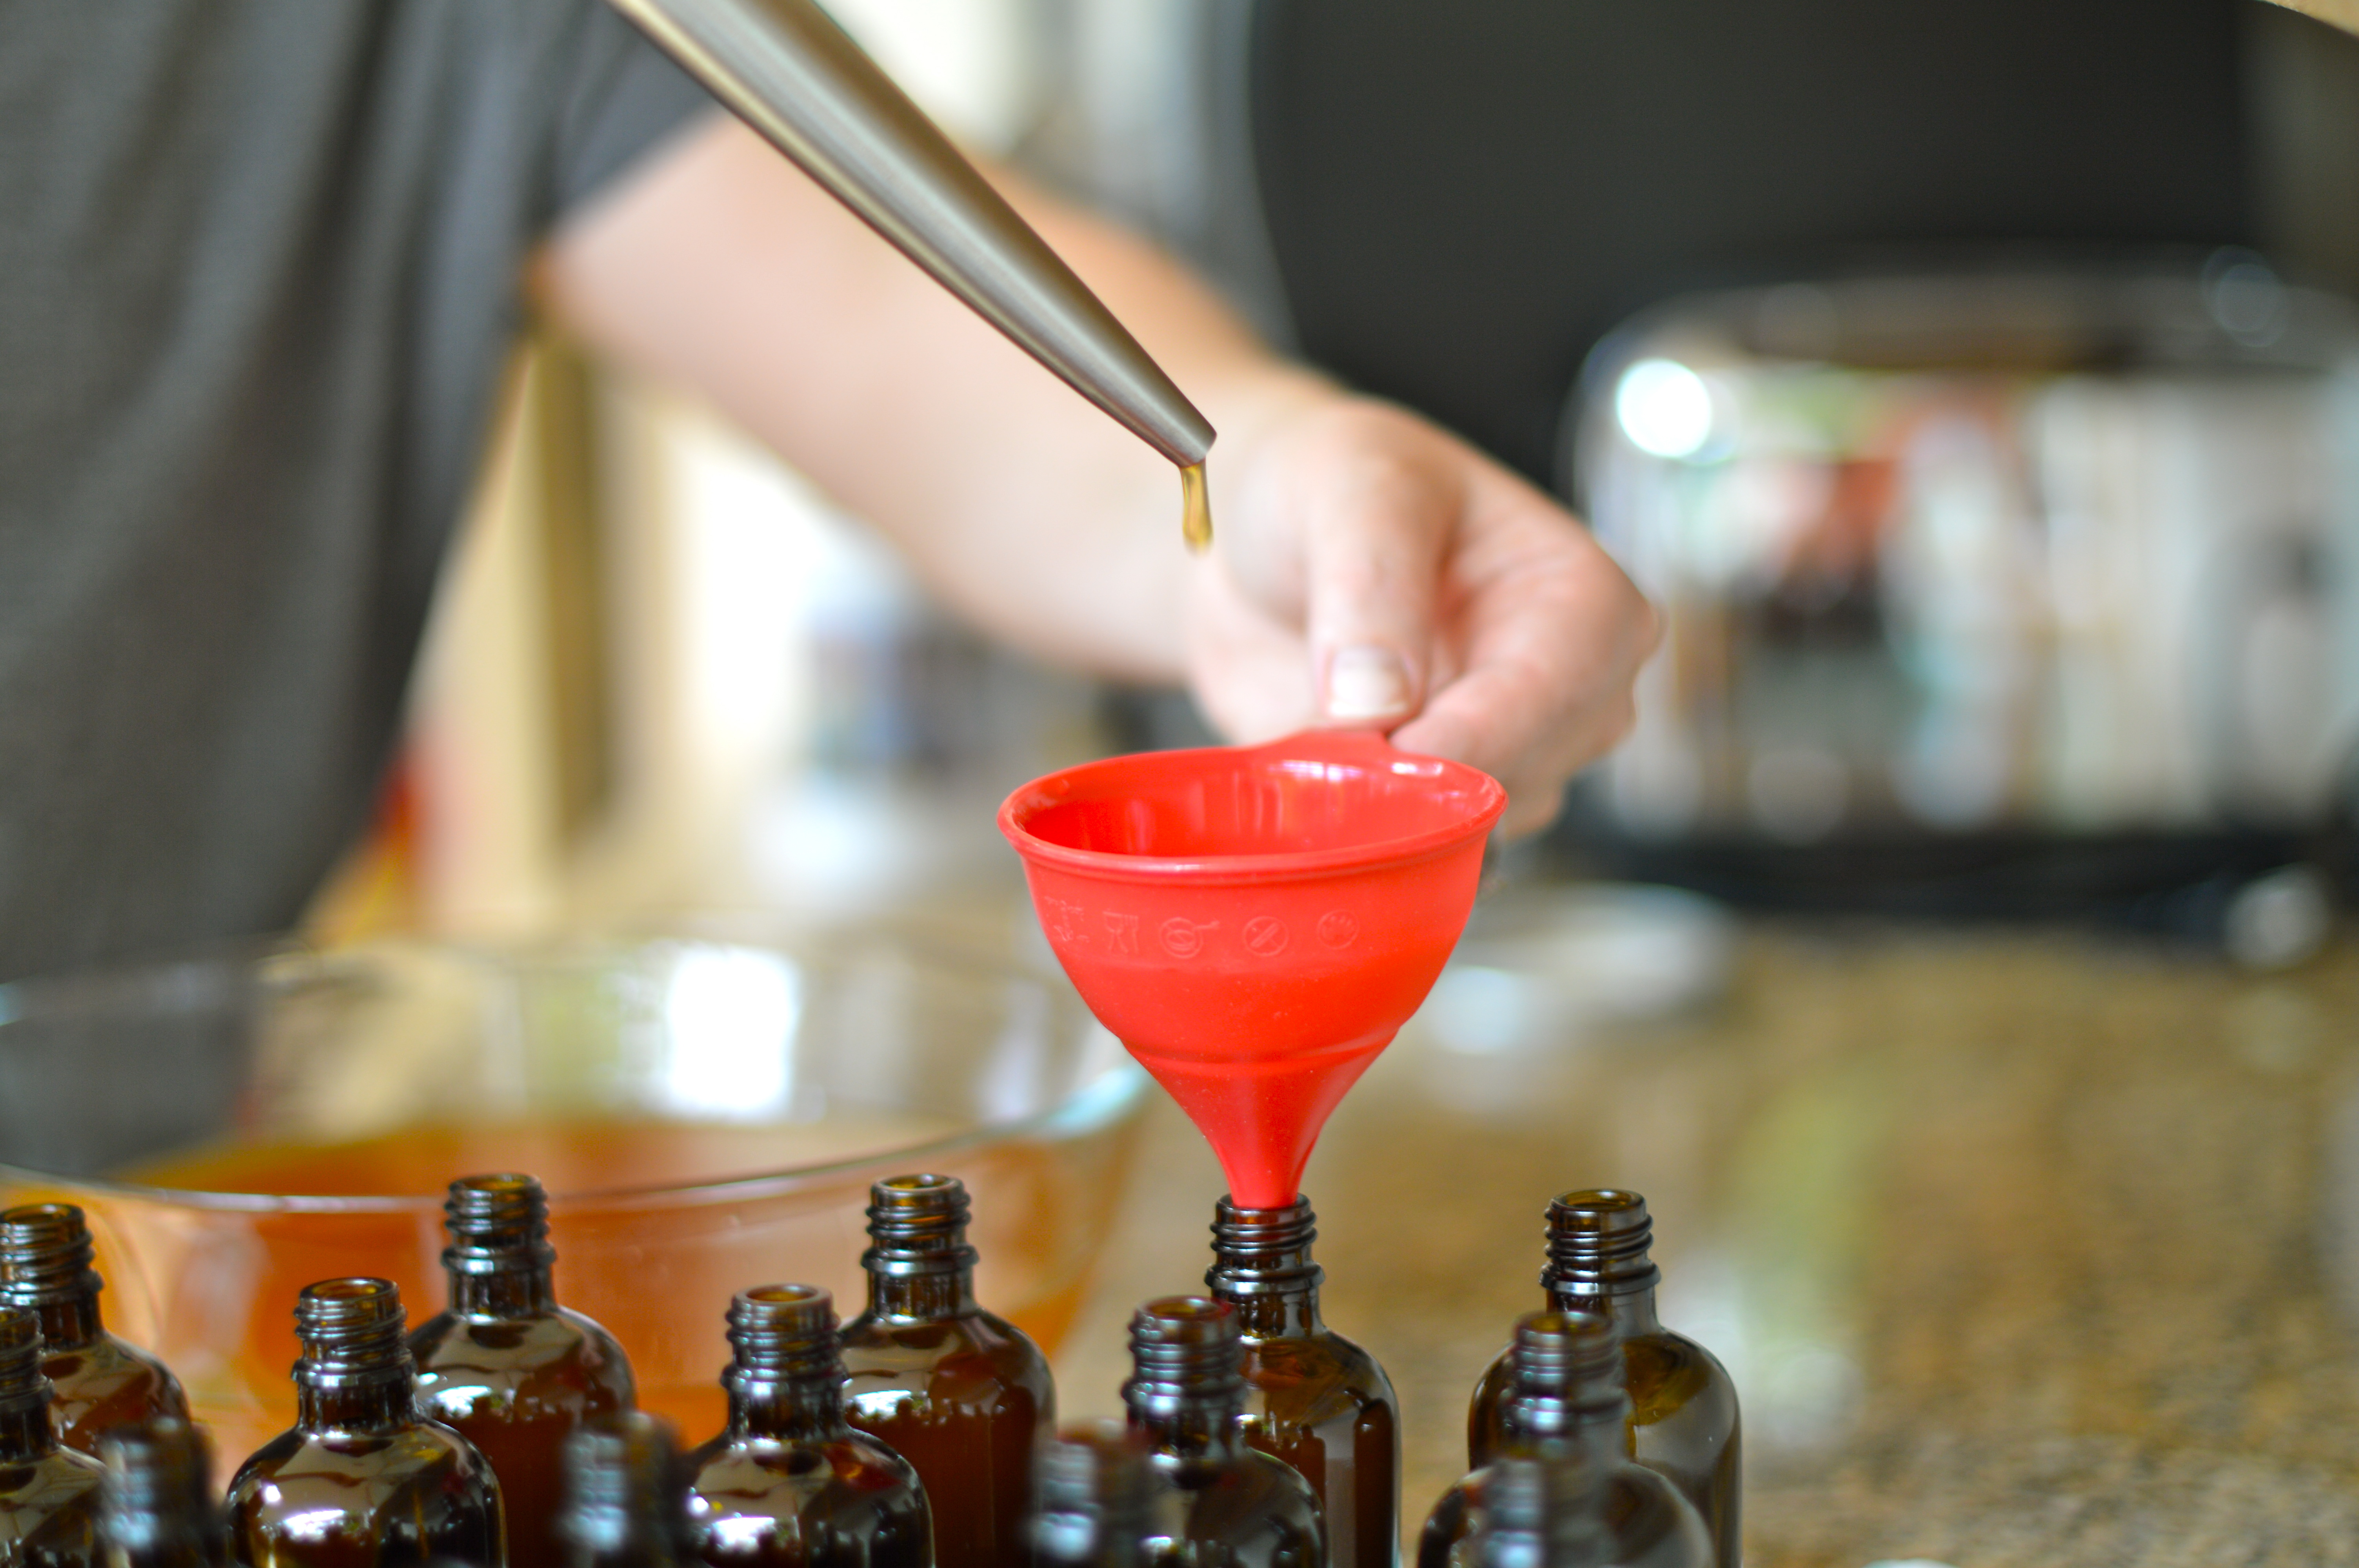
- Strain final mixture through cheesecloth into a glass measuring cup and discard flavorings. Divide bitters into small jars and seal tightly.
- Make ahead: Up to 1 year, chilled.
- Bottle it: 7.5-in. clear glass bottles
I am so excited to have tried this DIY recipe. It turned out beautifully and some of you will be receiving it this winter for Christmas. Now, you will, potentially, know what to do with it!!
Enjoy!

Fresh Peach Ice Cream
The kids picked out peaches this week and we decided to make ice cream. When the weather is warm, who doesn’t like a little ice cream to cool things down? We have an ice cream maker that we have owned for years, but only recently discovered how easy ice cream can be! In only a few steps we were ready for a little weeknight ice cream social!
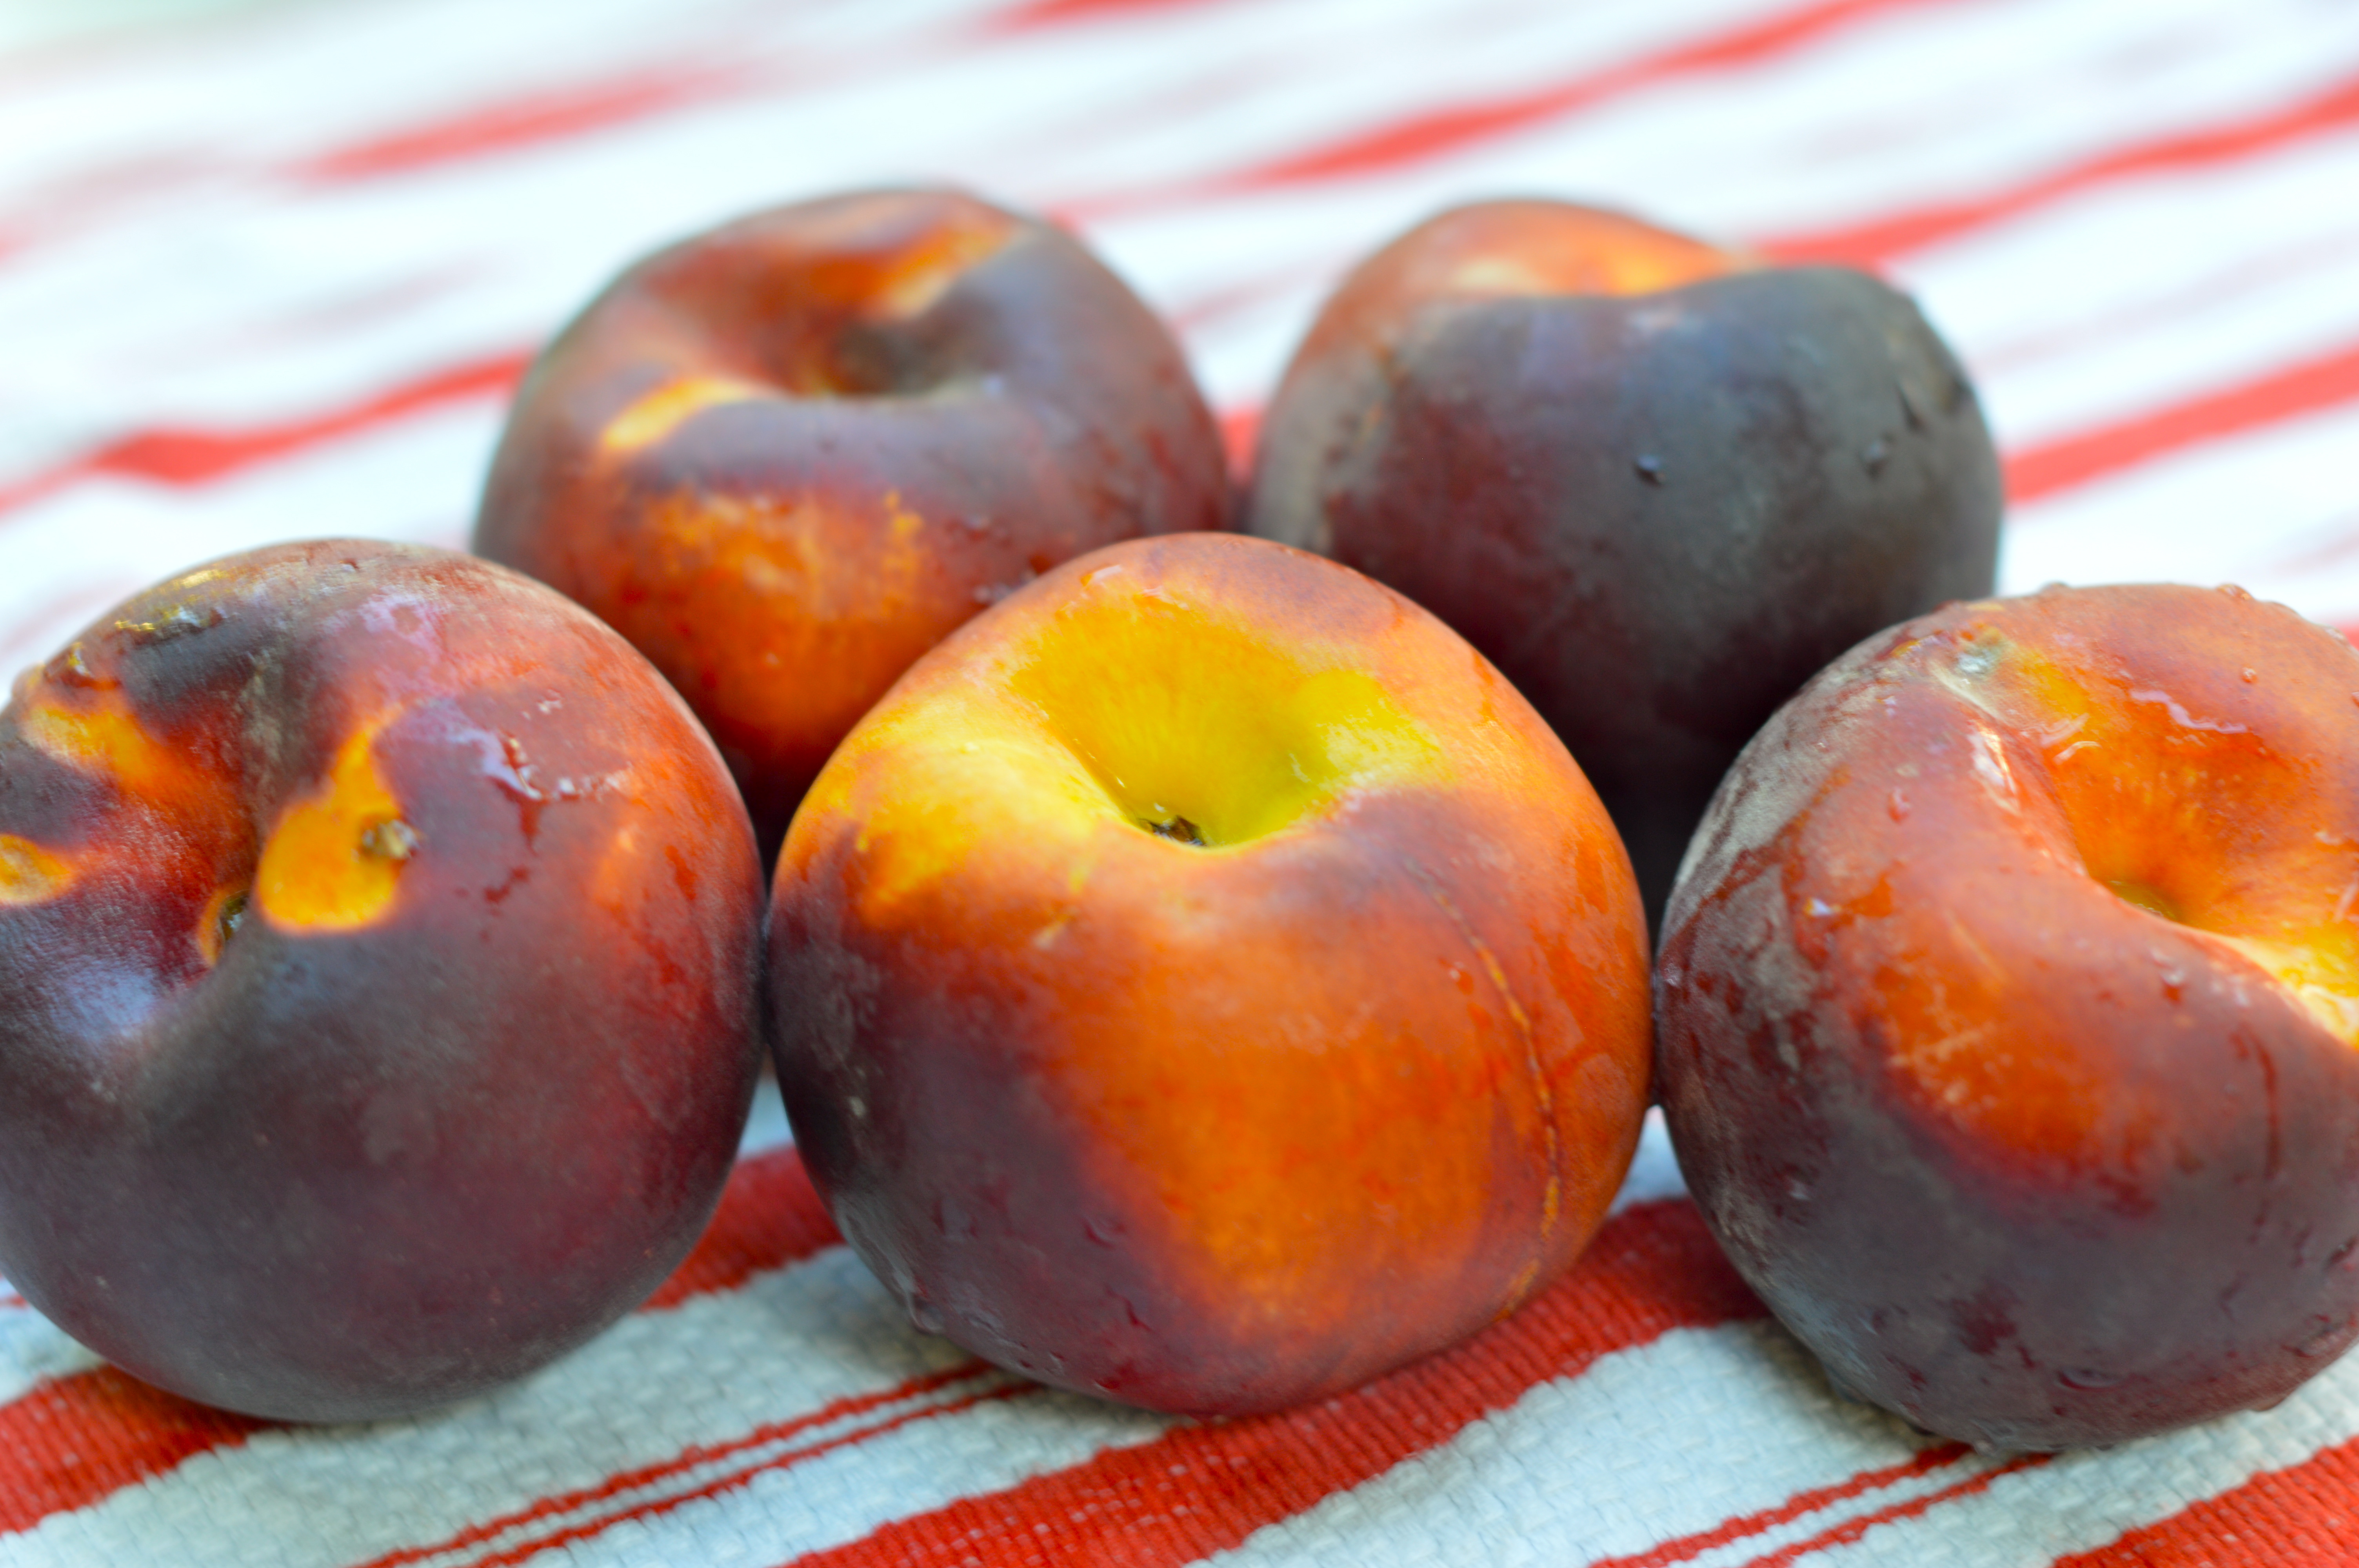


We adapted a recipe from our Cuisinart Ice Cream Maker Recipe Booklet for fresh strawberry ice cream and used peaches instead. This ice cream is best made when peaches are at their peak of freshness – this ice cream is light, sweet and fruity!
Fresh Peach Ice Cream
Makes about 5 cups (ten 1/2-cup servings)
Ingredients:
1 1/2 cups fresh peaches, pits removed and cut in half
3/4 cup whole milk
2/3 cup granulated sugar
pinch salt
1 1/2 cup heavy cream
1 1/2 teaspoon pure vanilla extract
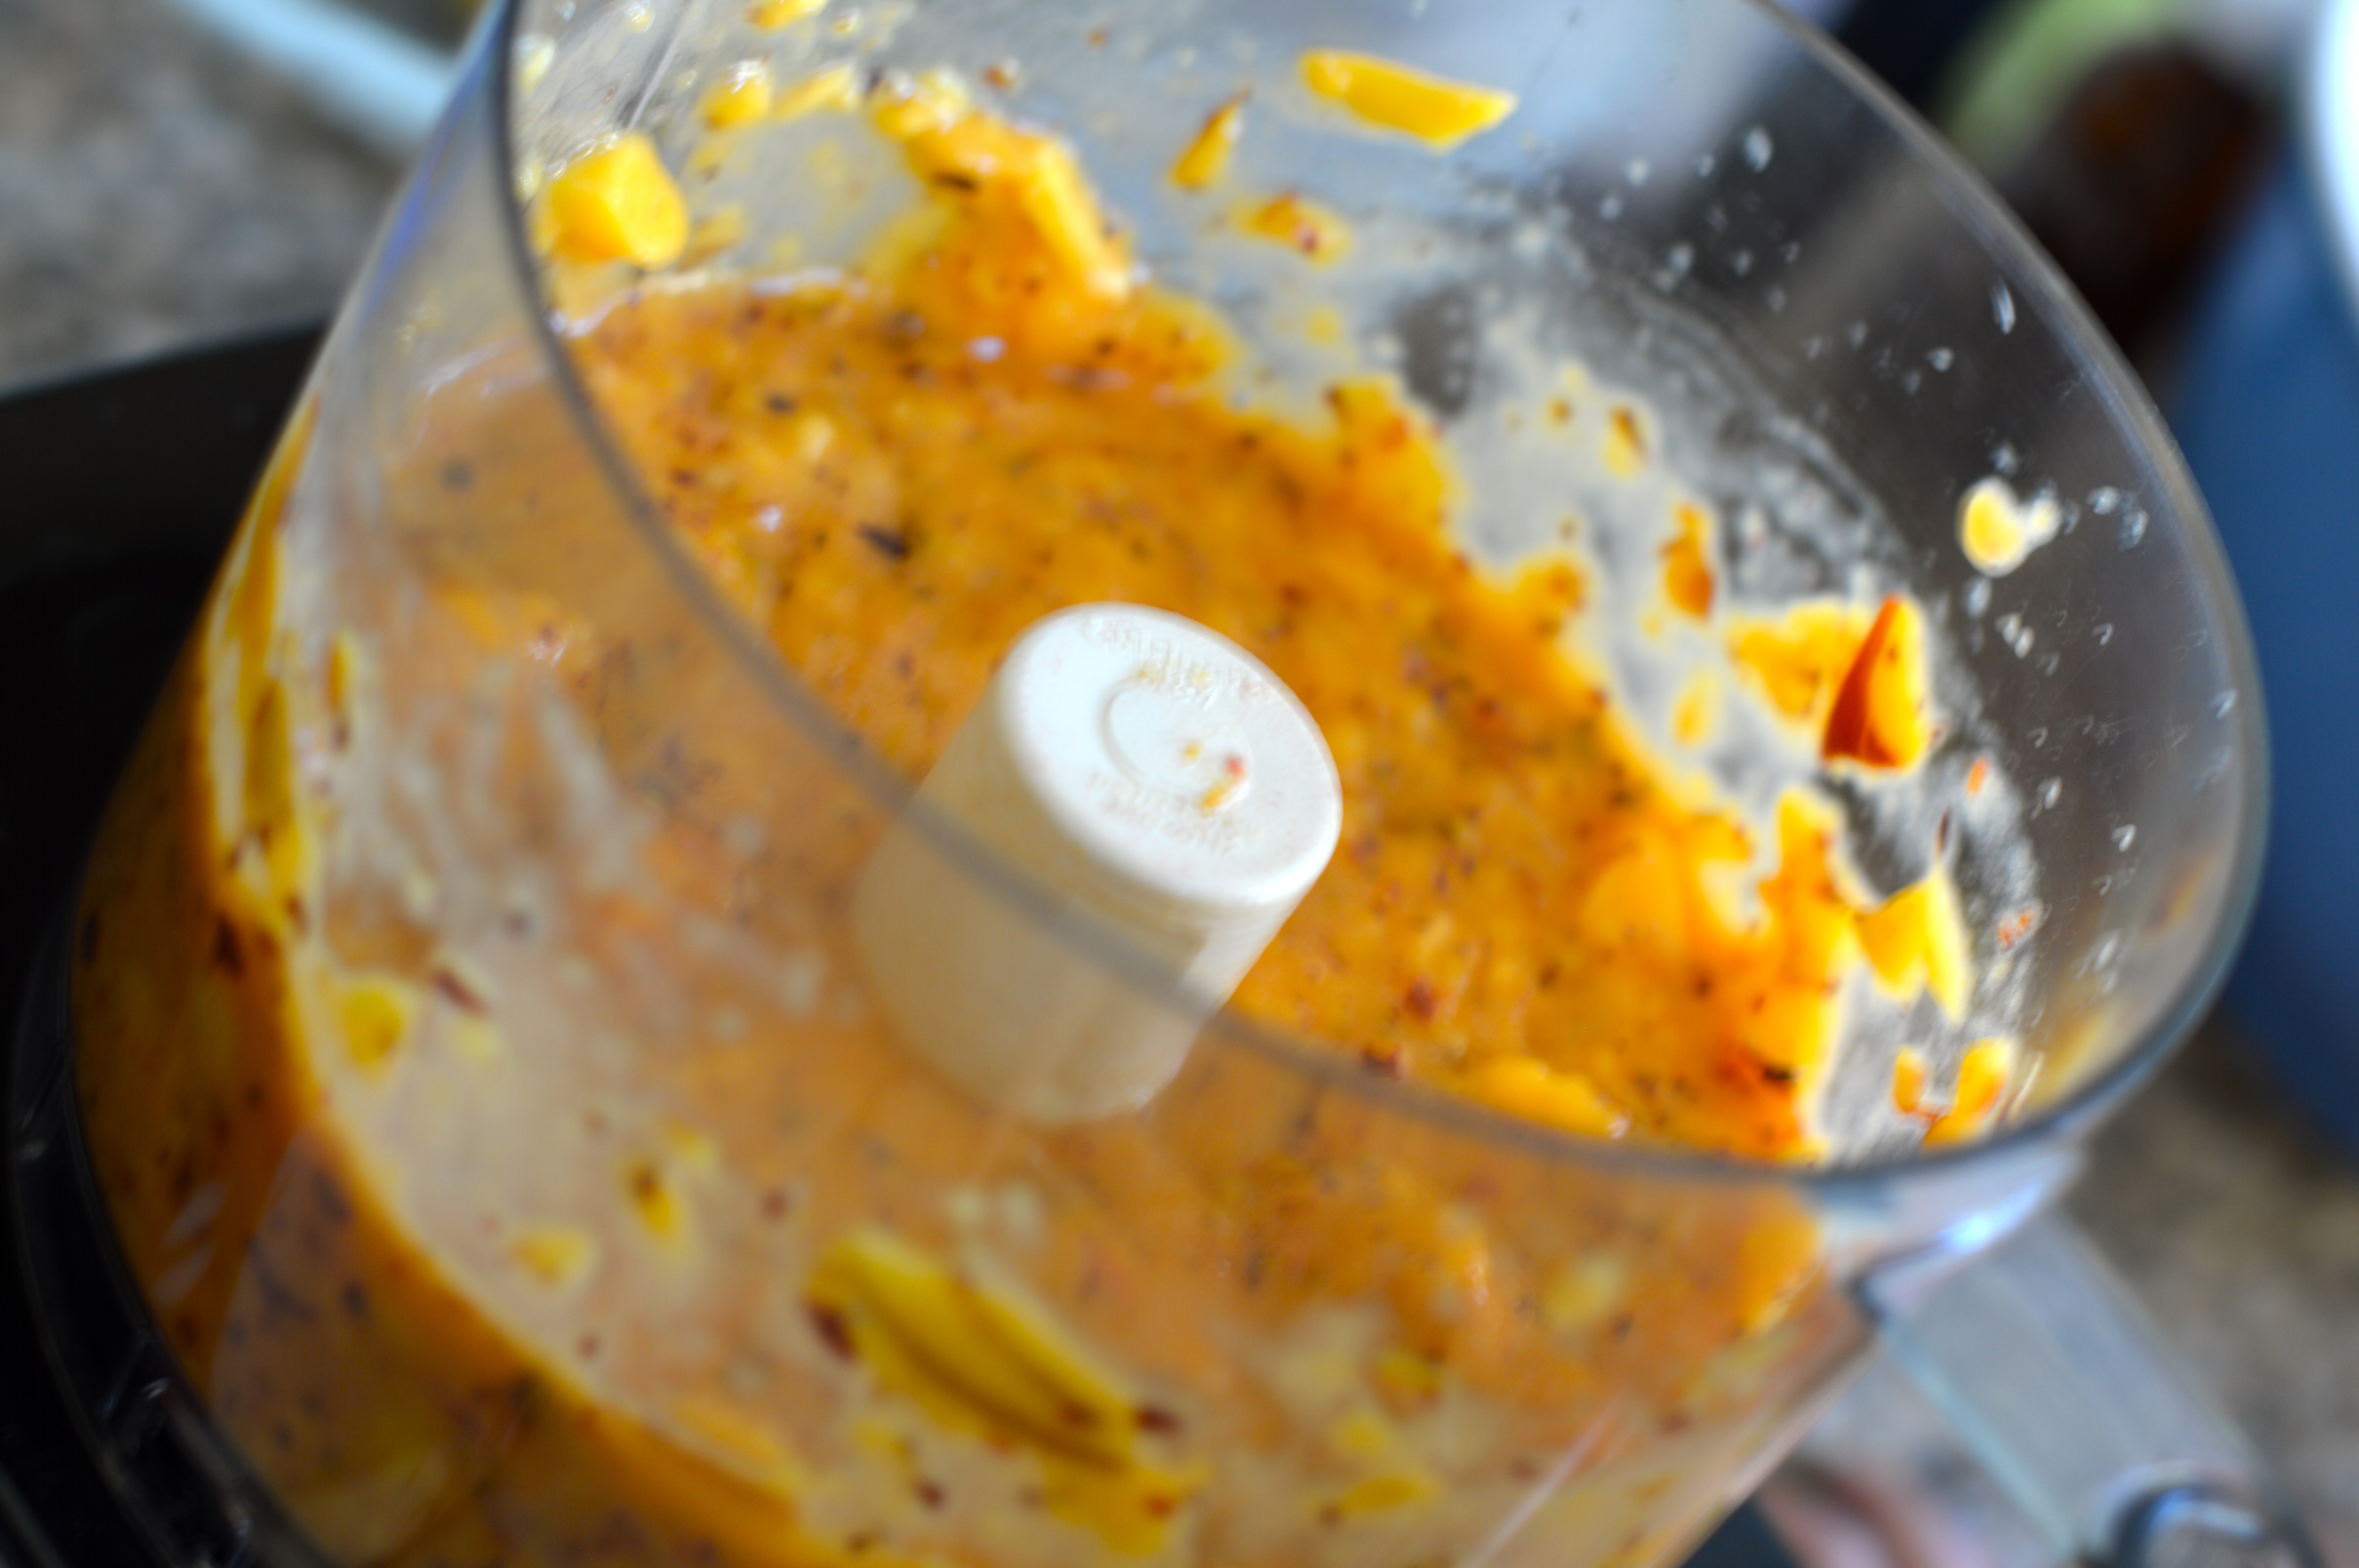
1. Put peach halves into the bowl of a food processor fitted with the chopping blade. Pulse peaches until rough/finely chopped (depending on preference). Reserve in bowl.
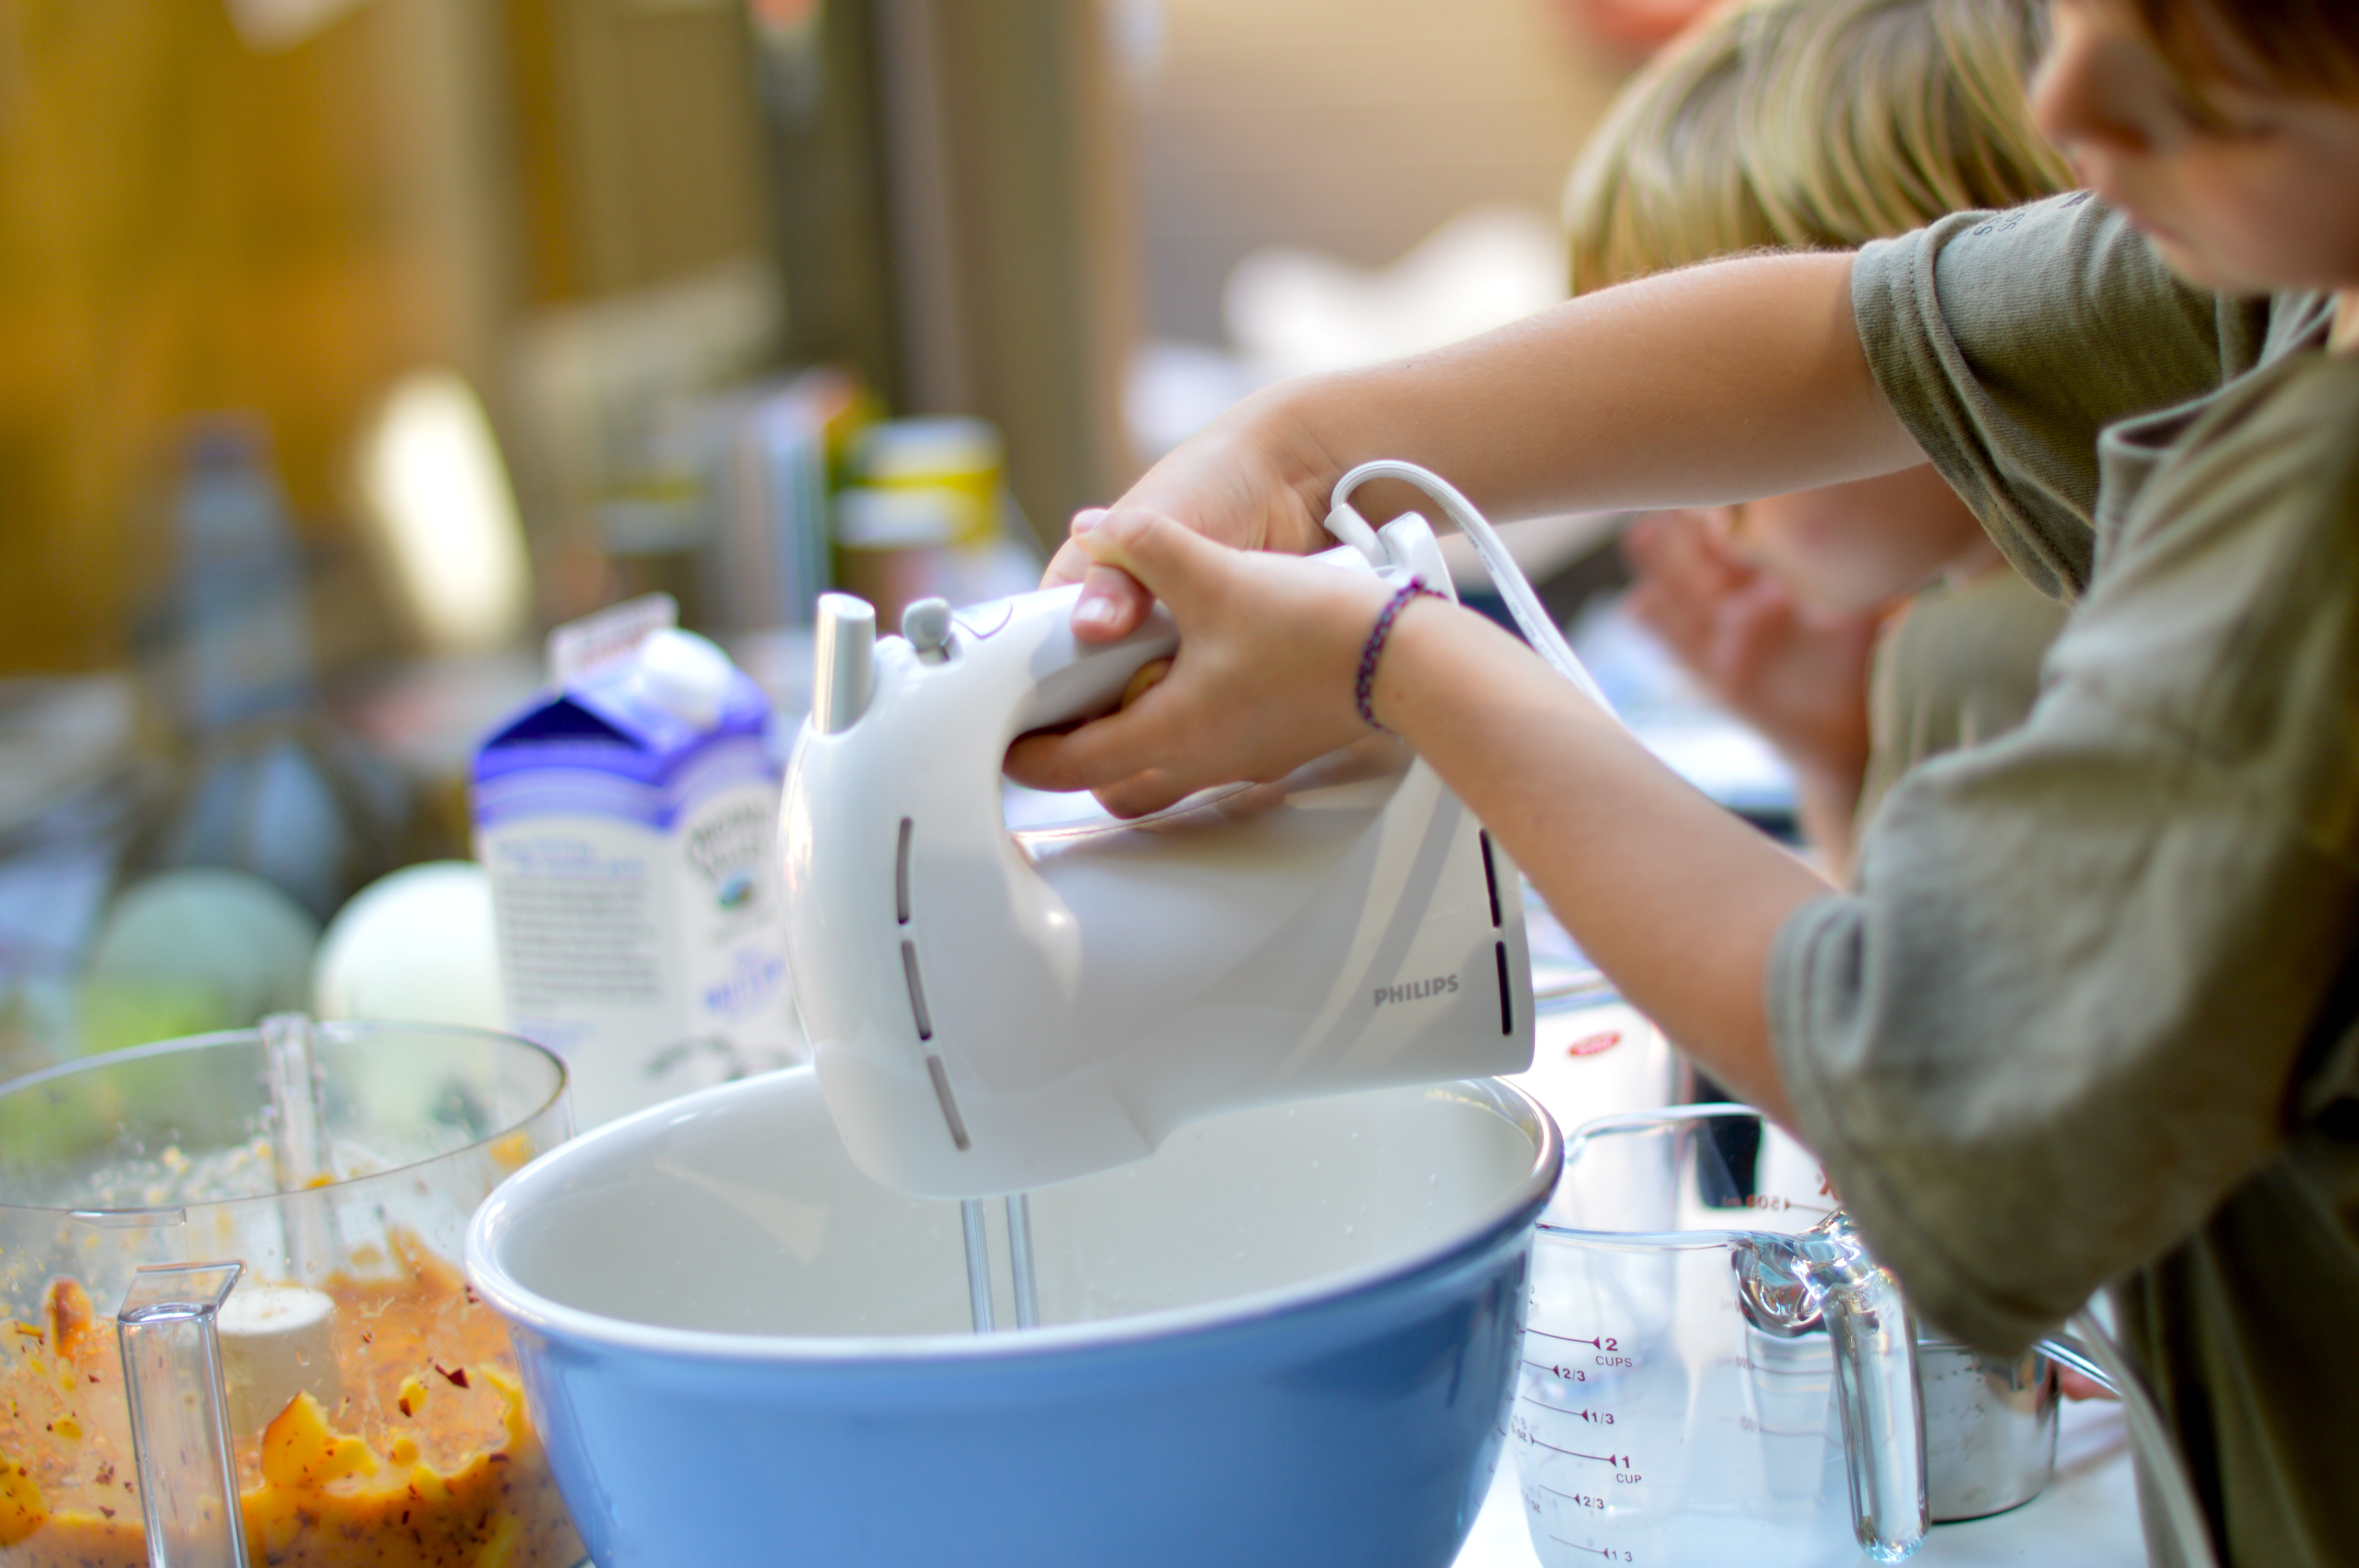
2. In a medium bowl, use a hand mixer on low speed or whisk to combine the milk, sugar and salt until the sugar is dissolved. Stir in the heavy cream and vanilla. Stir in reserved peaches with all the juices. Cover and refrigerate 1 to 2 hours, or overnight.
3. Turn on your ice cream maker and follow instructions for your maker. For our Cuisinart ice cream maker that means, pouring the mixture into the frozen freezer bowl and let mix until thickened, about 15-20 minutes. The ice cream will have a soft, creamy texture. If a firmer consistency is desired, transfer the ice cream to an airtight container and place in freezer for about 2 hours. Remove from freezer about 15 minutes before serving.
Enjoy!

A Look Back
Things are a bit crazy right now! It is the first week of summer for the kiddos and things are also getting busier with Poole Party Designs! I have been spending a lot of time at the sewing machine and it makes me think back to what was going on a year ago!
Here is a look back at some of my favorite moments from June 2012:
1. We were celebrating the upcoming birth of a good friend’s baby: Inspiration

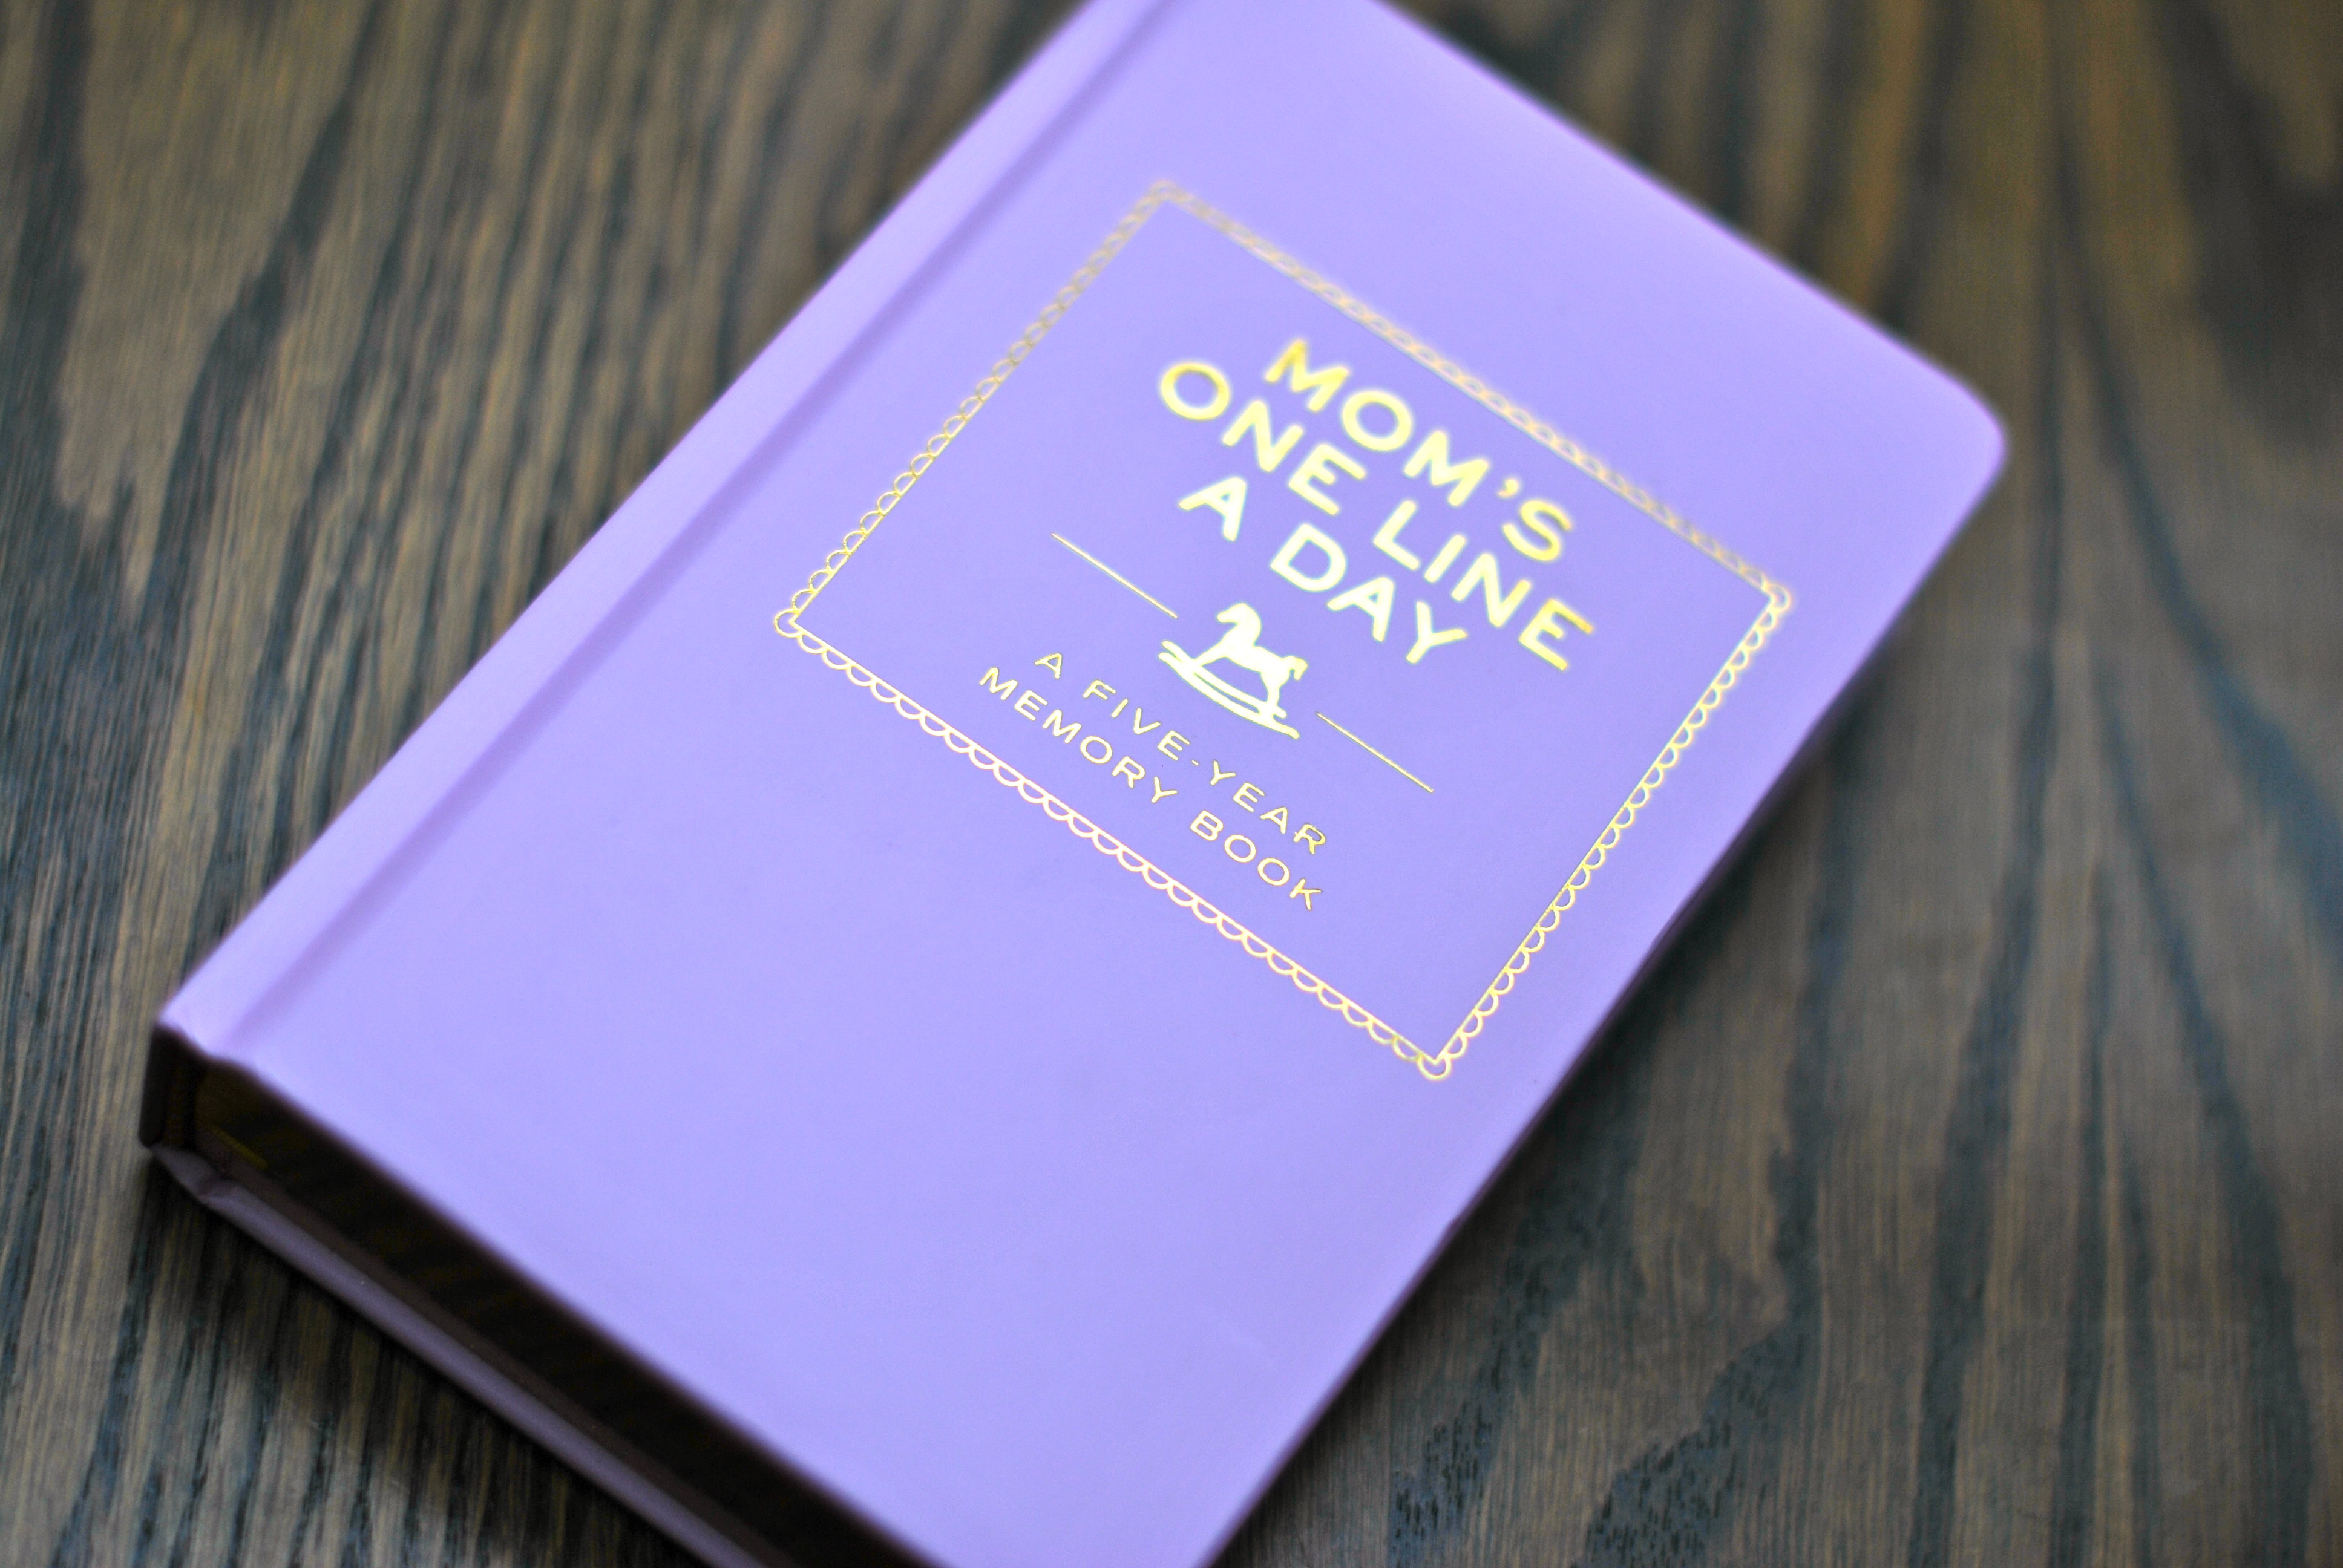
2. School was coming to an end and my thoughts were on how to document time: Holding A Memory
3. My baby was still spitting up and the Poole Party Burp Cloths were born: Product Testing

Time can feel like it goes by quickly, yet look how much has happened!!
Happy Summer!!

Poole Party Gift Ideas
THERE IS STILL TIME!!
:: Order your holiday onesies for wearing now…


:: And your monogram totes and shirts for easy gifting!


:: Free gift wrap available and custom orders encouraged!
:: We are happy to send gifts directly to your recipient, to help you check things off your list!
:: Happy Holidays from Poole Party Designs

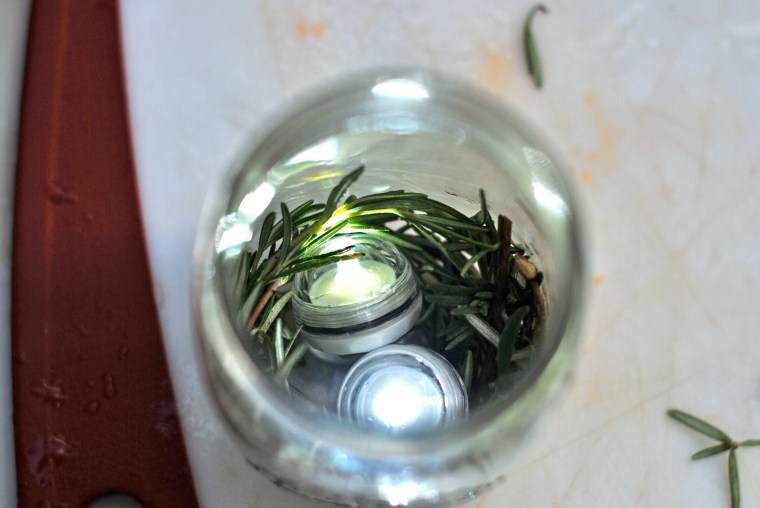
A Bright Idea

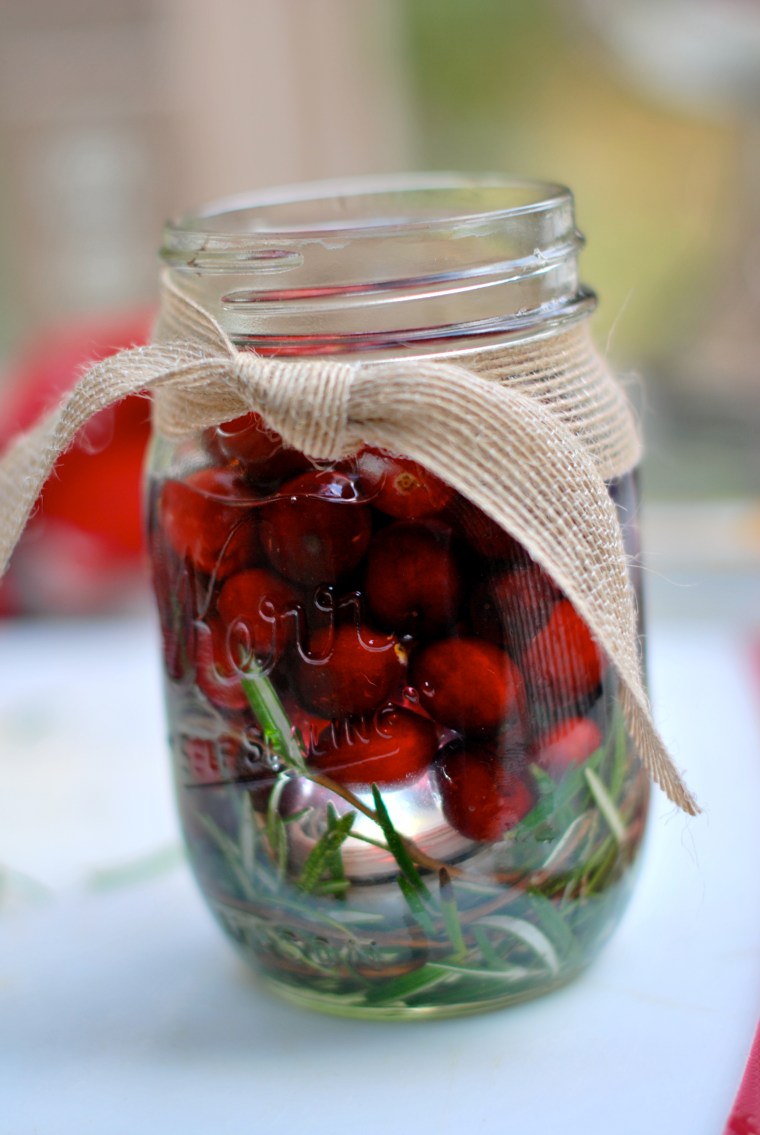
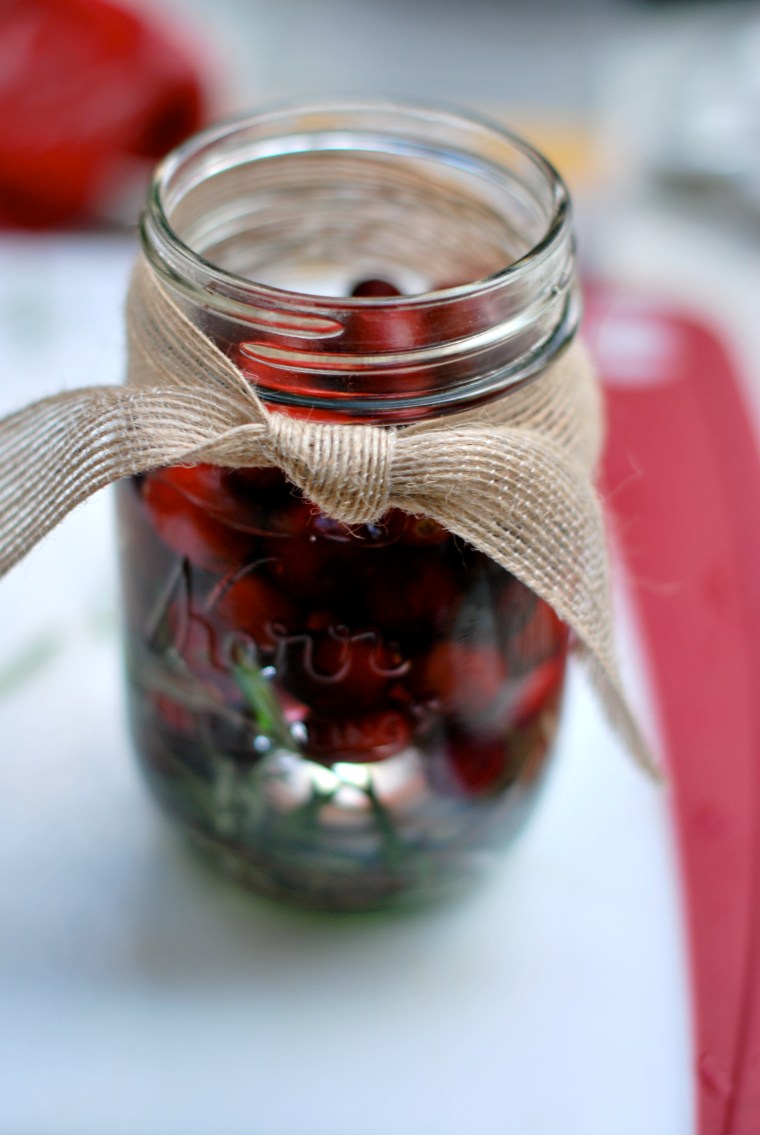
So there is a wonderful little item on the market that you might just add to your wishlist this holiday season… Michael’s sells Submersible LED Lights. Have you ever heard of such a thing? These little lights are so fun. I placed them inside Cranberry Rosemary Arrangements and they just made the whole thing glow!
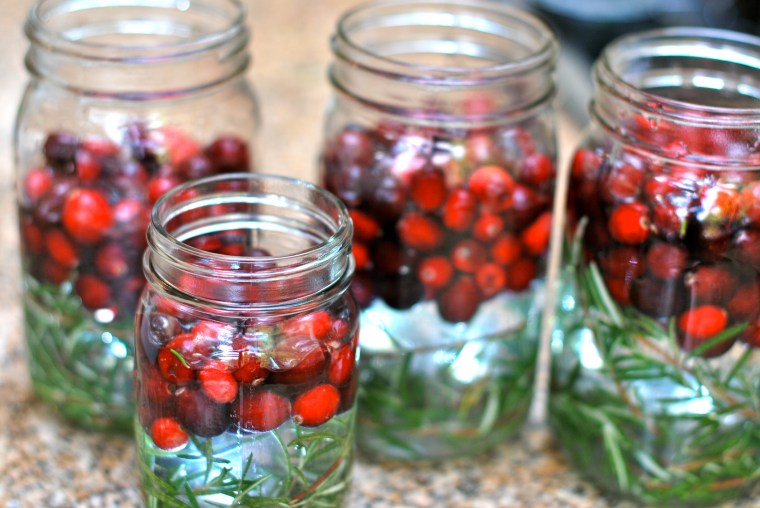


Cranberry Rosemary Arrangements
For these arrangements, I used empty mason jars for my vase. I placed a ring of rosemary in the bottom of the jar and then dropped a light or two in the center at the base. By doing this, the lights shine through the greenery of the rosemary and the rosemary hides some of the light casing. Remember to turn on your lights before you do any more steps, as the arrangement will need to be taken apart in order to remove the lights.

Then drop a couple handfuls of fresh cranberries on top of the lights and fill the jars with water. Adjust the water and cranberry amounts until you are happy with the amount of space between the floating cranberries and the rosemary at the bottom of the jar. (In a few of the jars I inserted a few sprigs of rosemary that I had tied together with hemp twine to add to the height of the arrangement and maintain the natural evergreen look I was going for.) 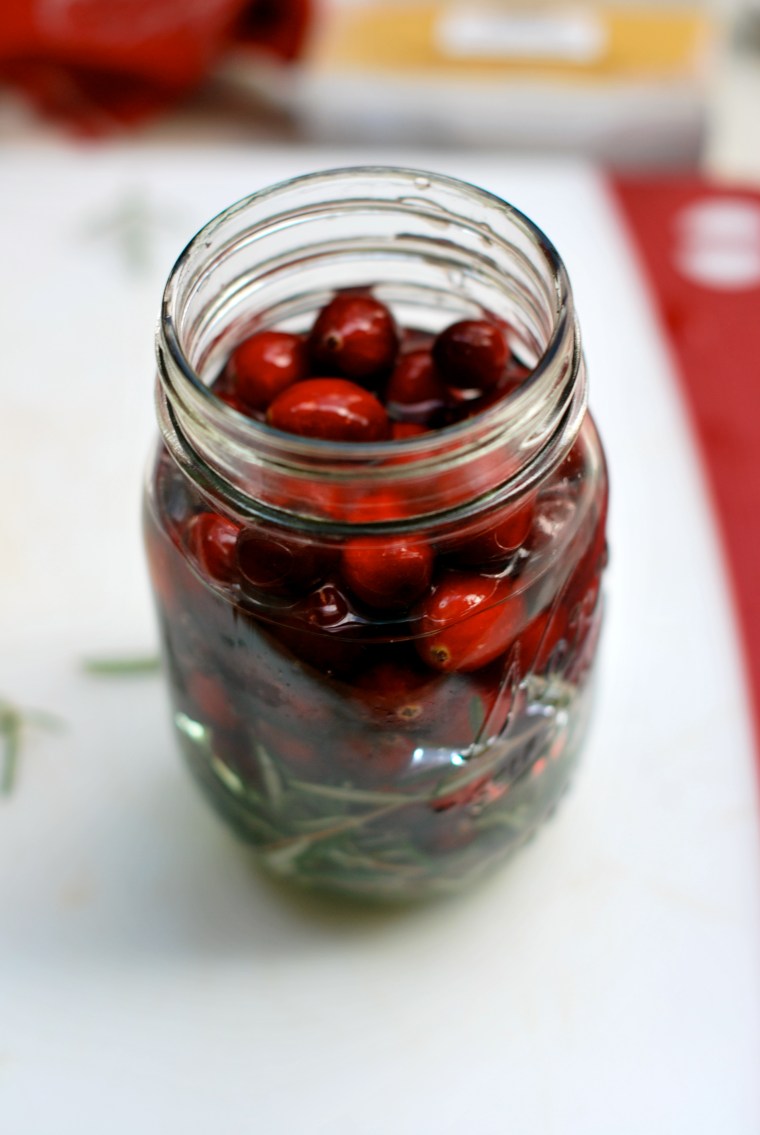

Lastly, tie a burlap ribbon around the top of the jar. These arrangements are beautiful as well as wonderfully aromatic! Happy decorating!