Oh the cold weather outside is frightful
But the fire is so delightful
And since we’ve no place to go
Let It Snow! Let It Snow! Let It Snow!!
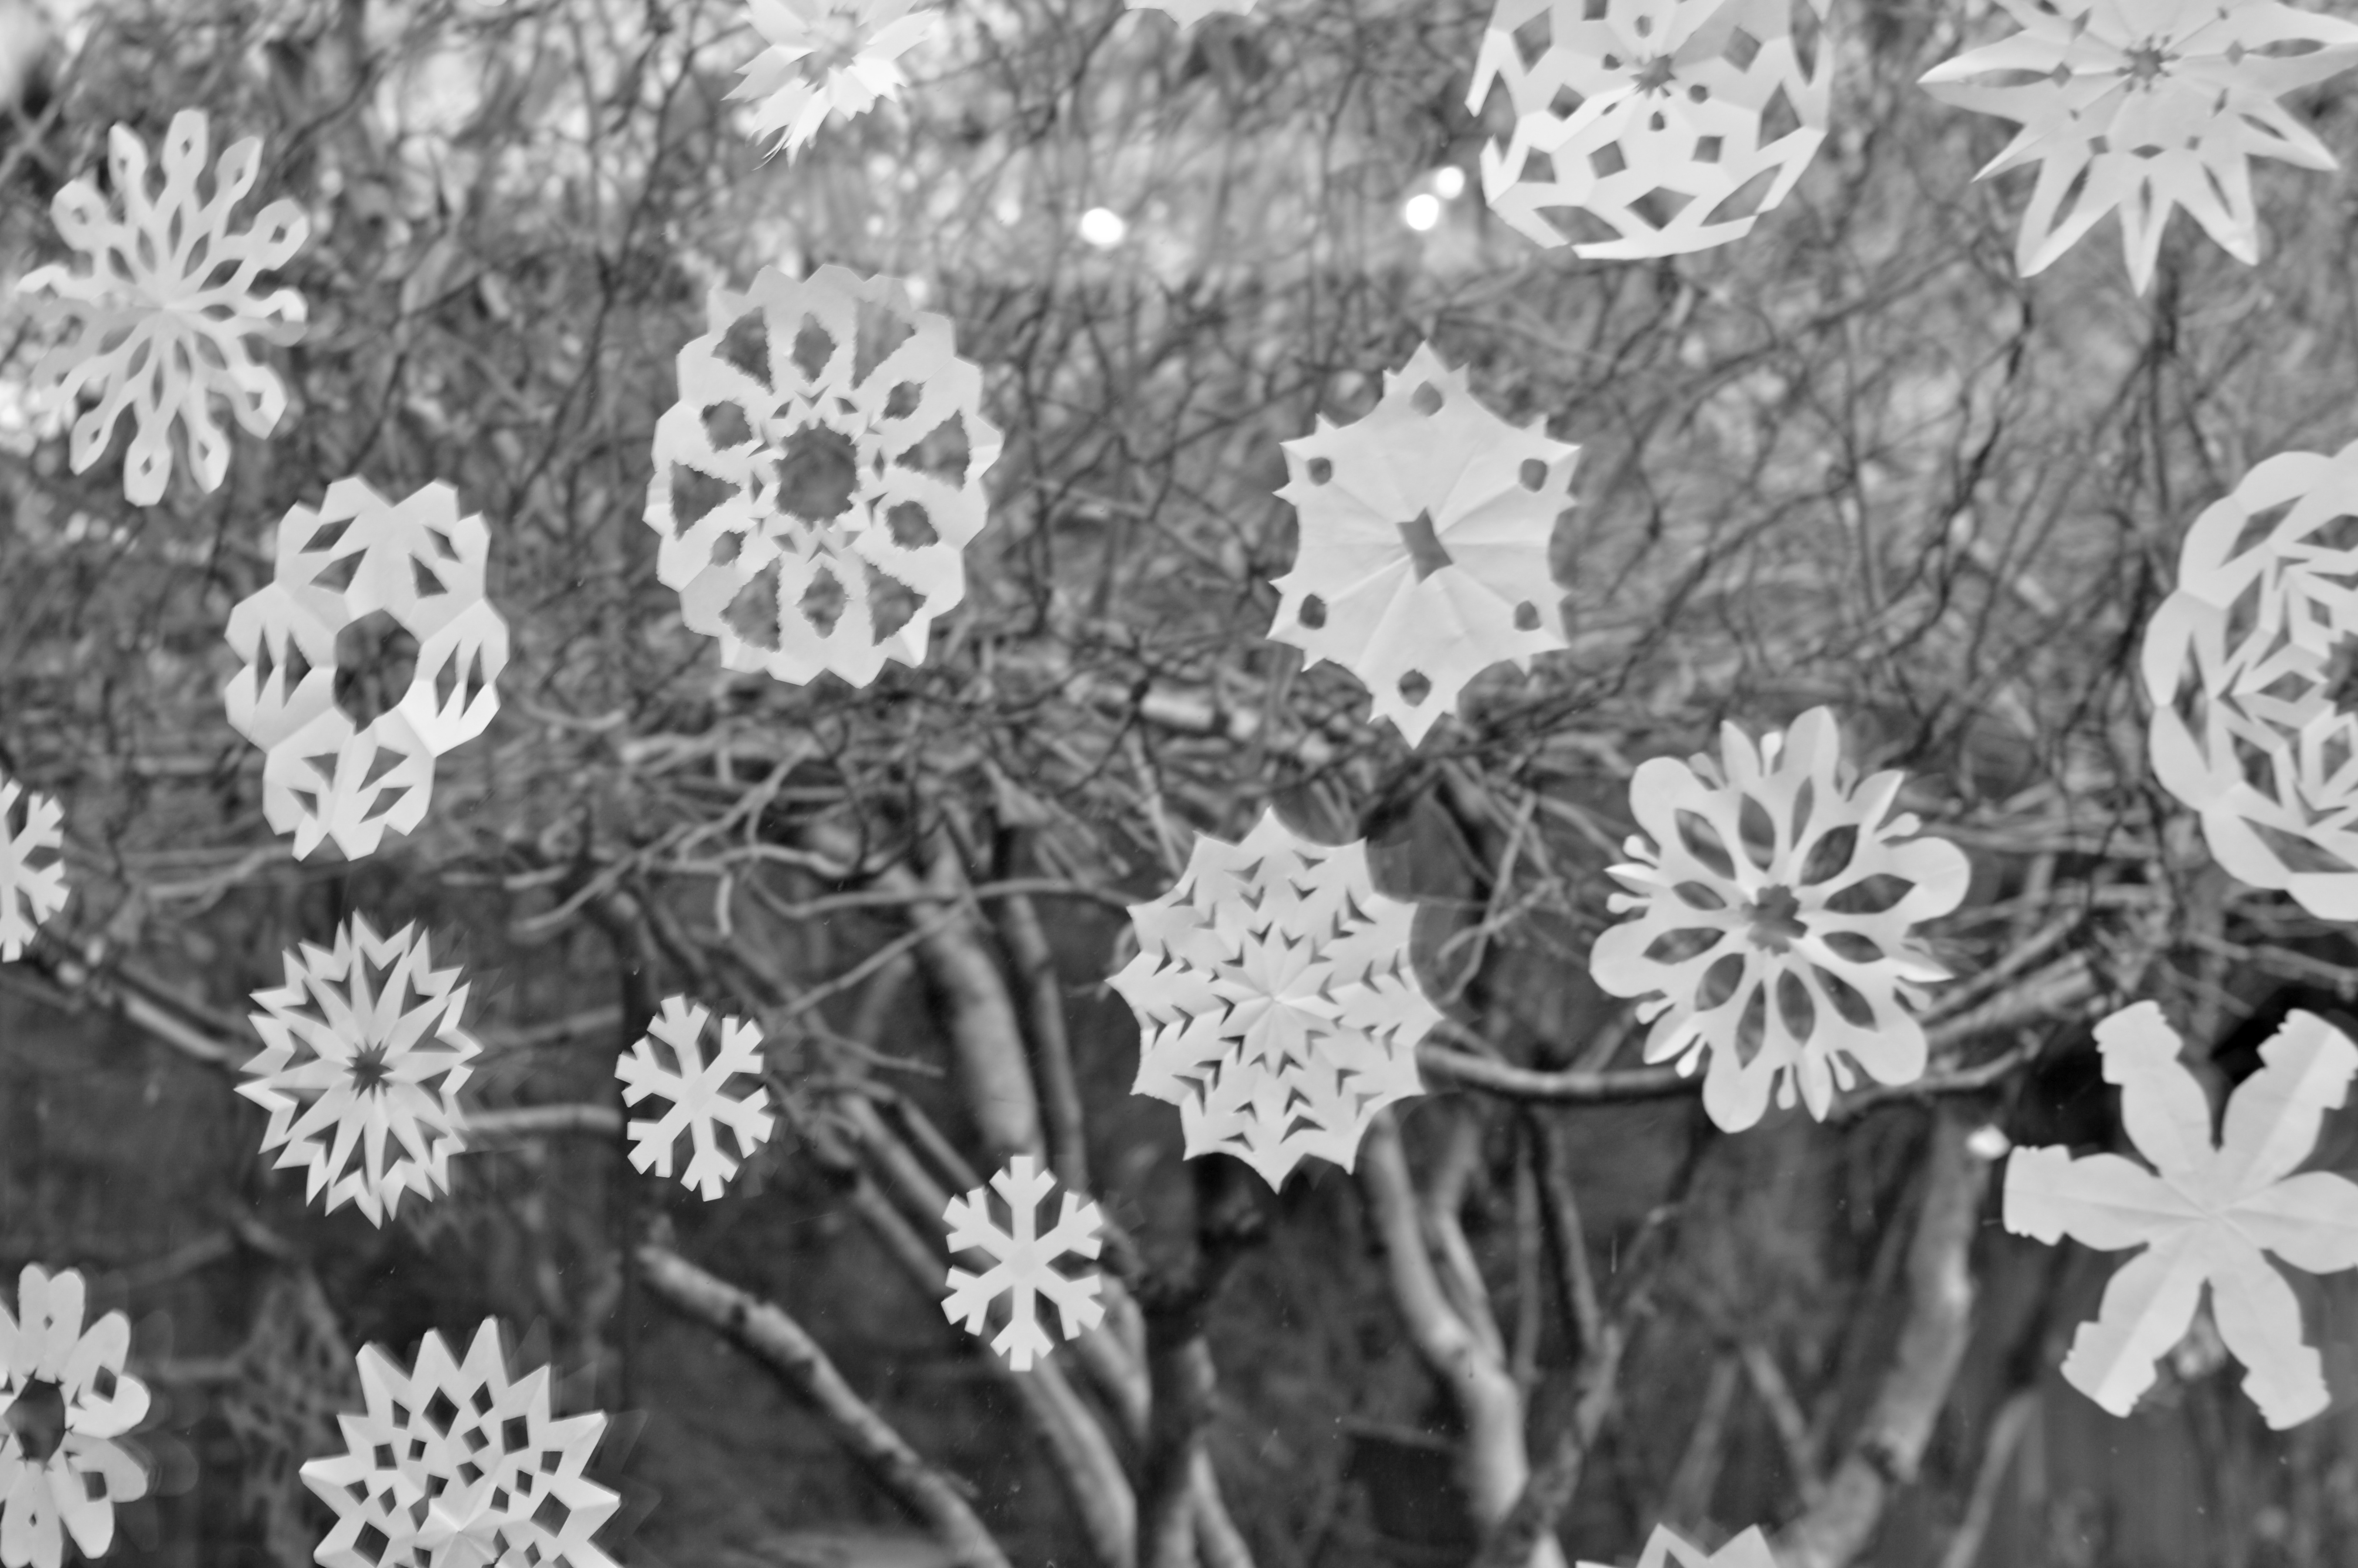
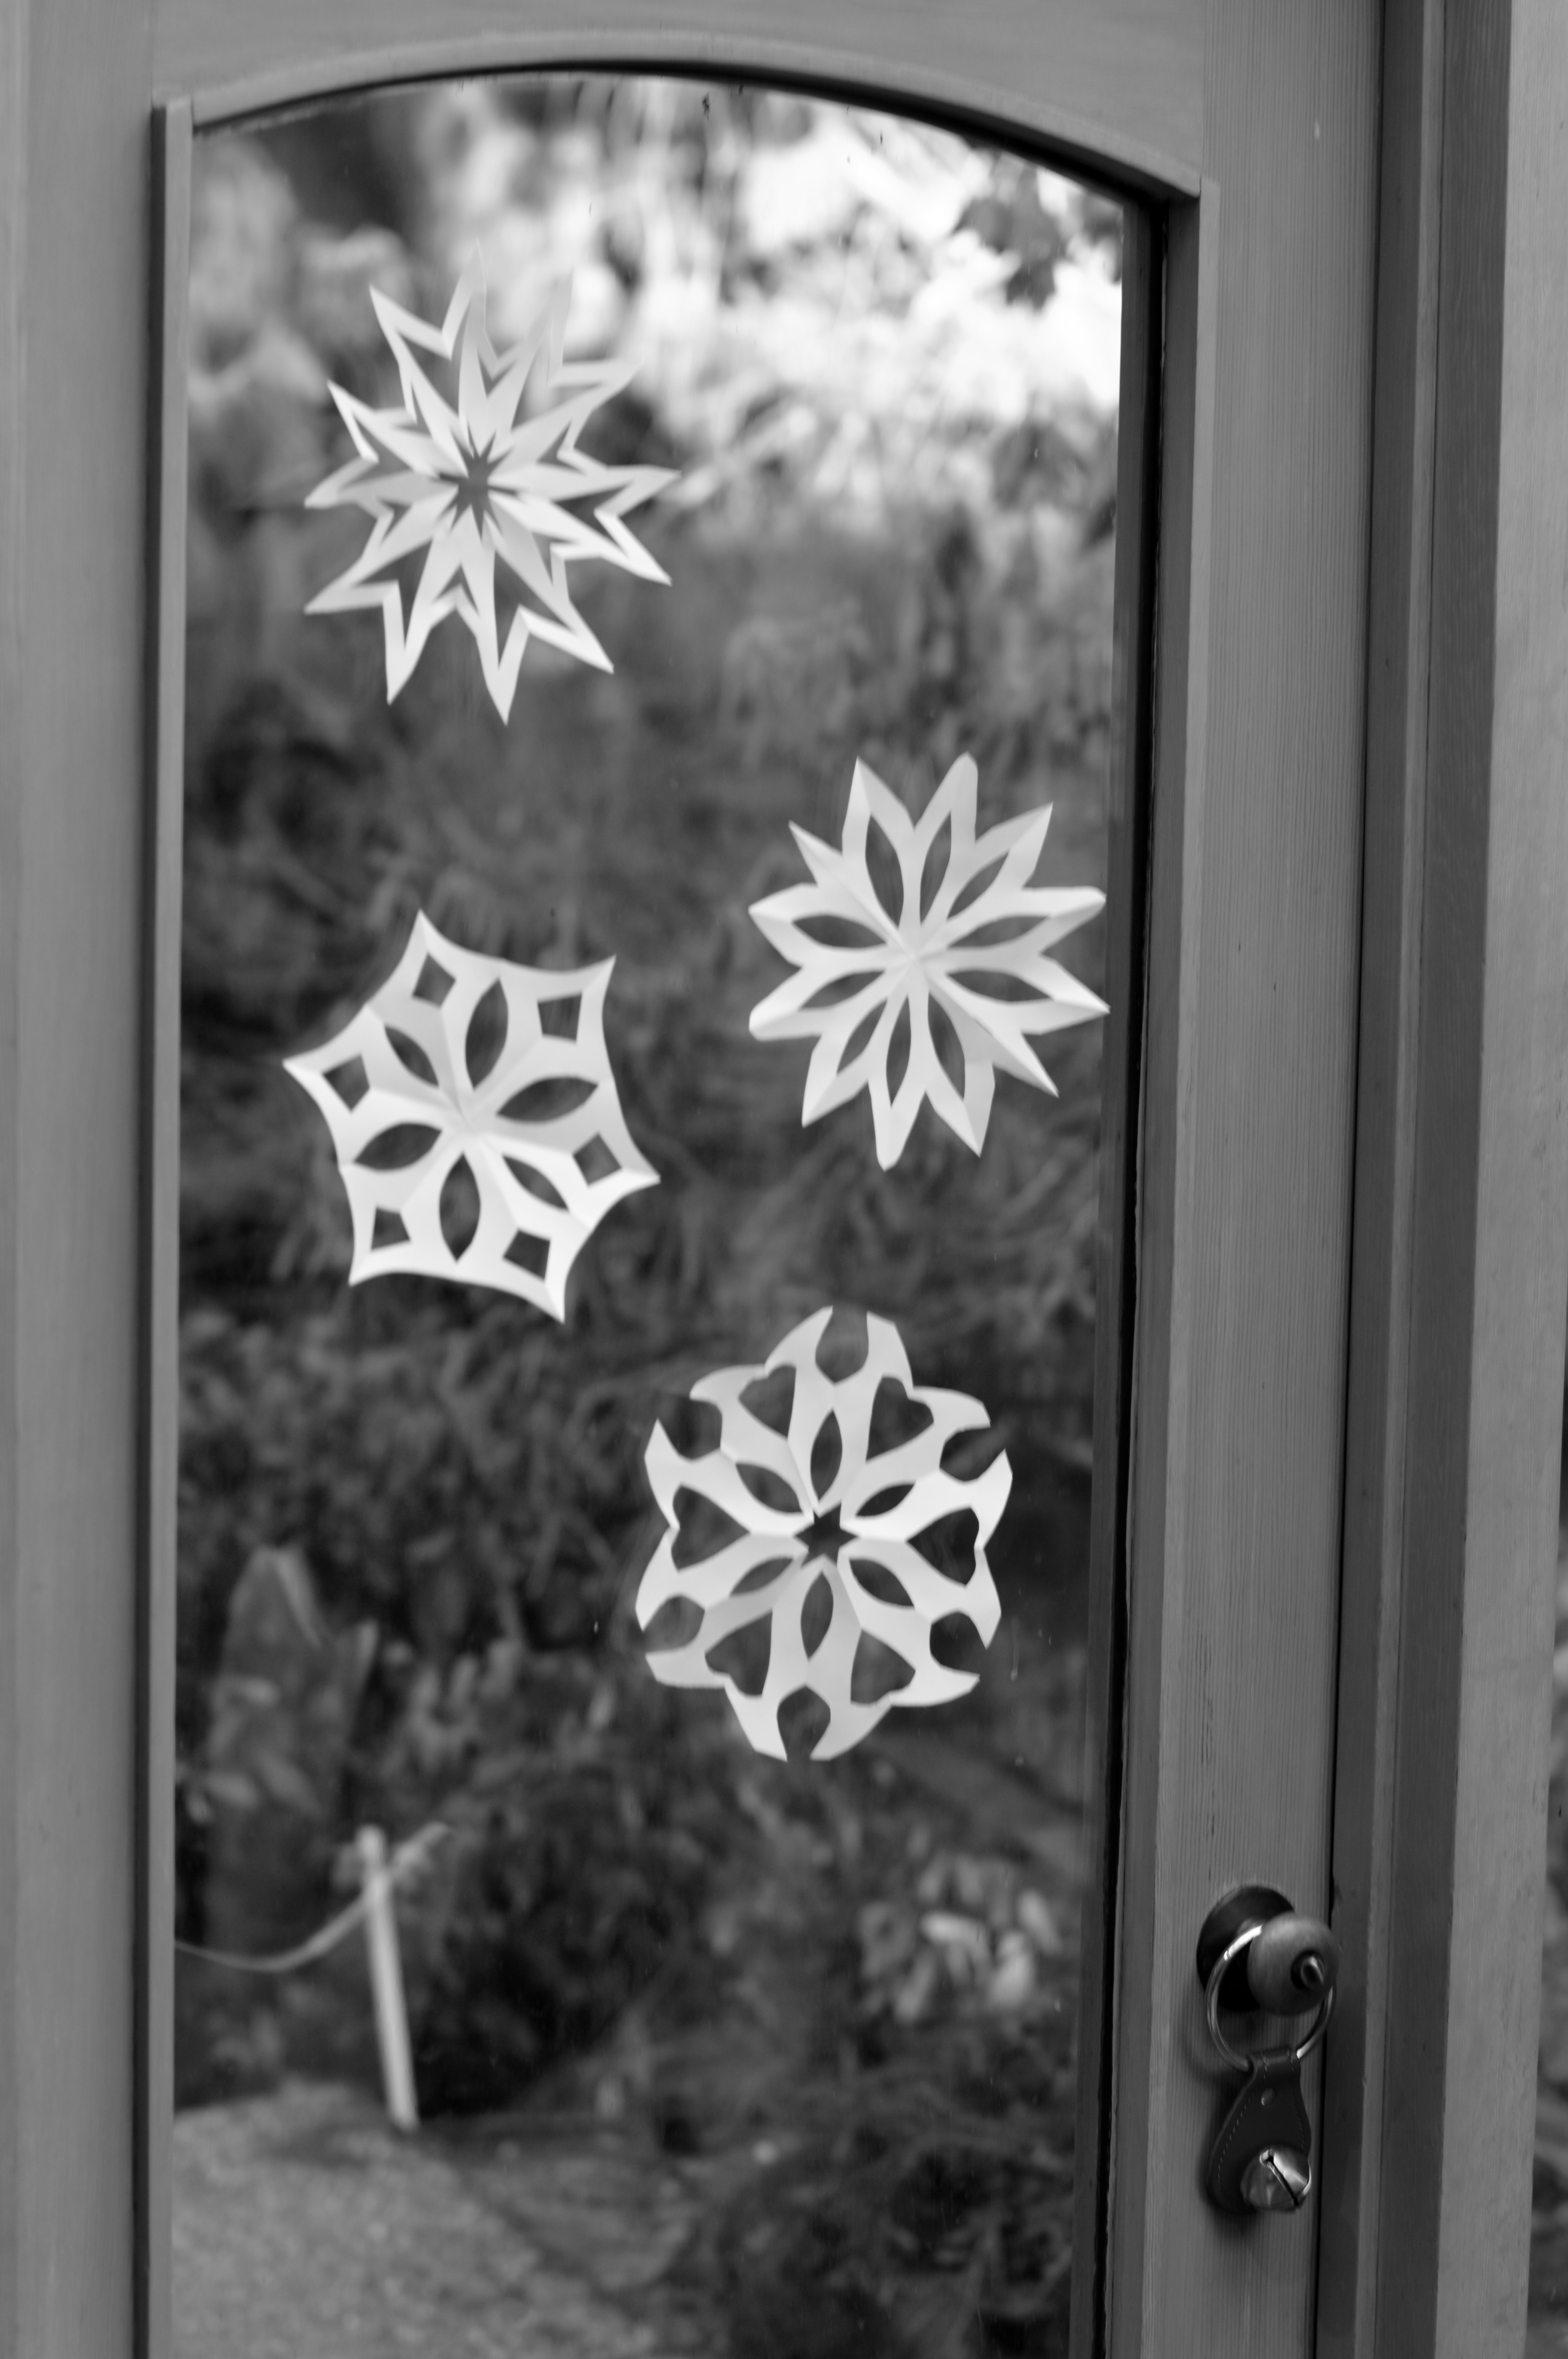
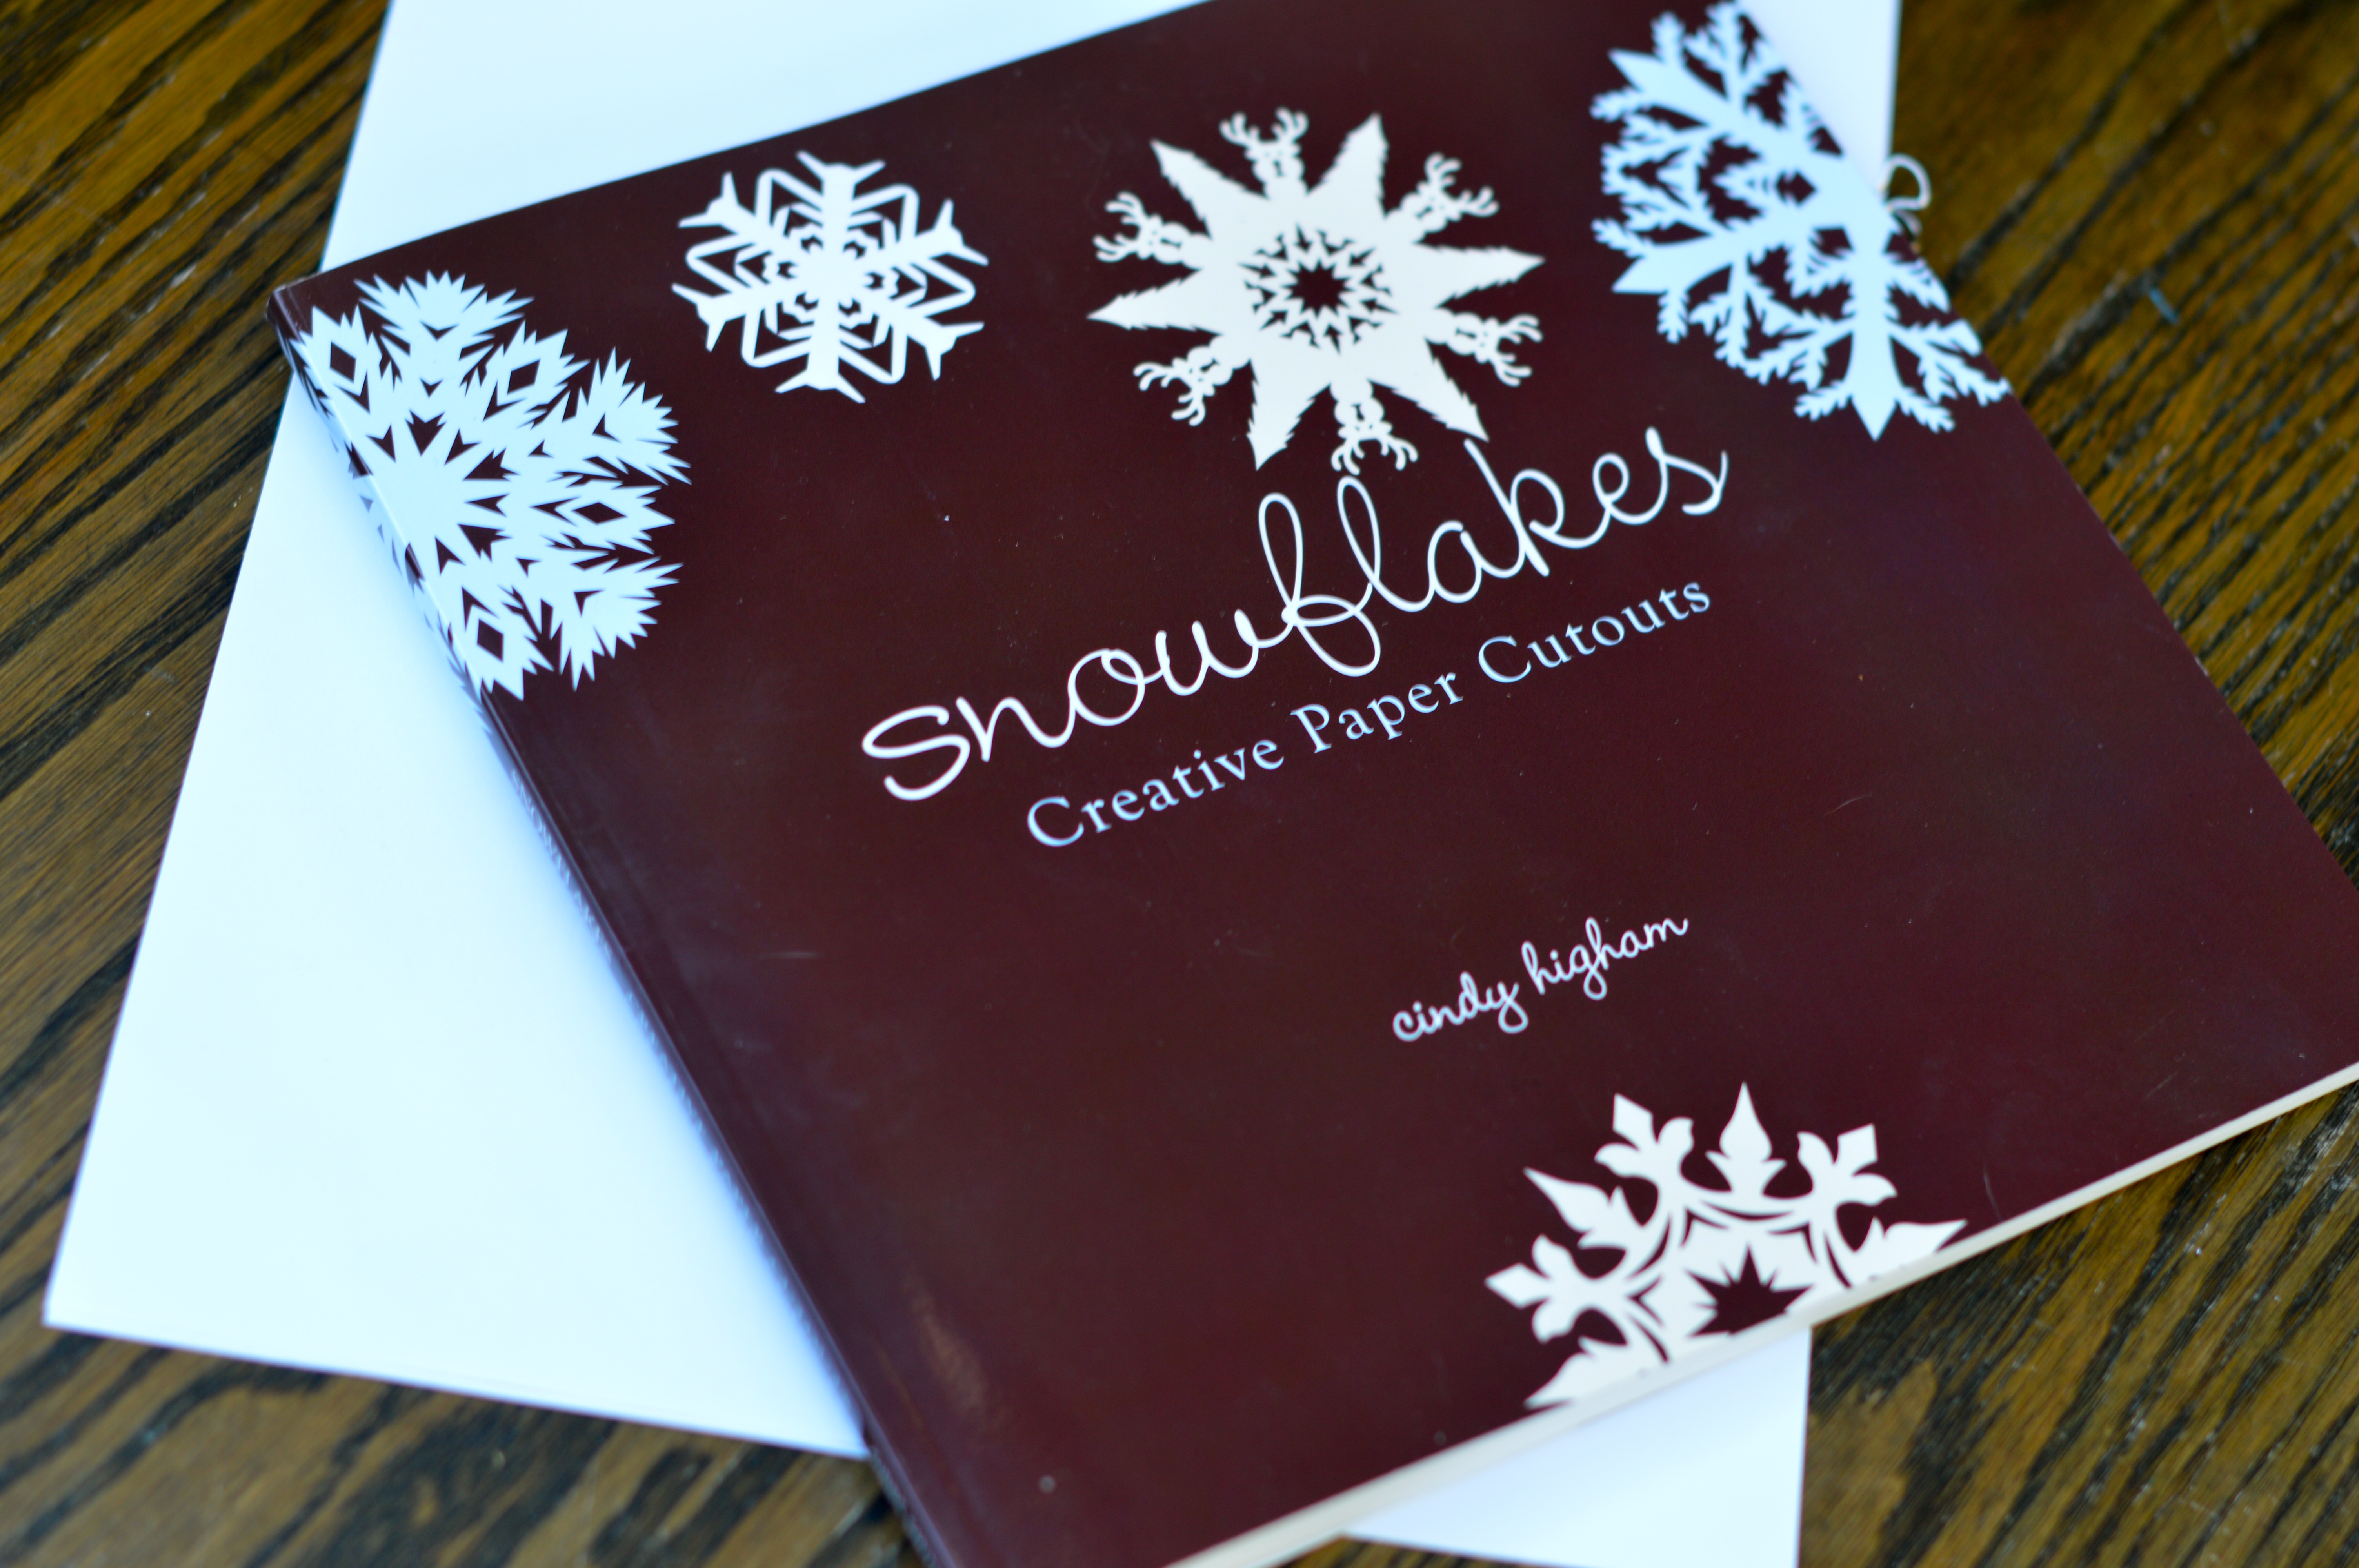
For years, paper snowflake making has been a rite of passage in our home, welcoming in the winter season. It is something our family does together and like many other families we decorate our windows with these paper creations. But for years, we have been making snowflakes that are simply adequate. This year, when the topic of snowflake making came up, my oldest son asked his grandmother if she had a book that would tell us how to make really beautiful snowflakes. And, being the amazing grandma that she is, my mother went out to our local bookstore to ask about such a book. Well, one thing led to another and a book was ordered. (At this point in the story, I must say that I was a bit skeptical. Keep in mind that the oldest of our three kids is six years old. I figured that any book we came home with about “snowflake making” would be a complicated manual that would definitely be over his head; ending in a more frustrating versus helpful situation for my little perfectionist.) But, I will say it here, I was completely wrong. Our wonderful local bookstore, Island Books, found a fantastic book that has taken our mediocre snowflake making to the next level. Until looking at this book, I really didn’t even know that I had been in a snowflake slump all these years!
Snowflakes: Creative Paper Cutouts by Cindy Higham touts that it can turn anyone into a snowflake pro, and I believe it. The book includes 75 snowflake designs that include easy-to-follow directions and very clear pictures. Buy the book, or just check out the photos below, for an example of how to make your home a winter wonderland.

Paper Snowflakes
Supplies necessary: white paper & scissors
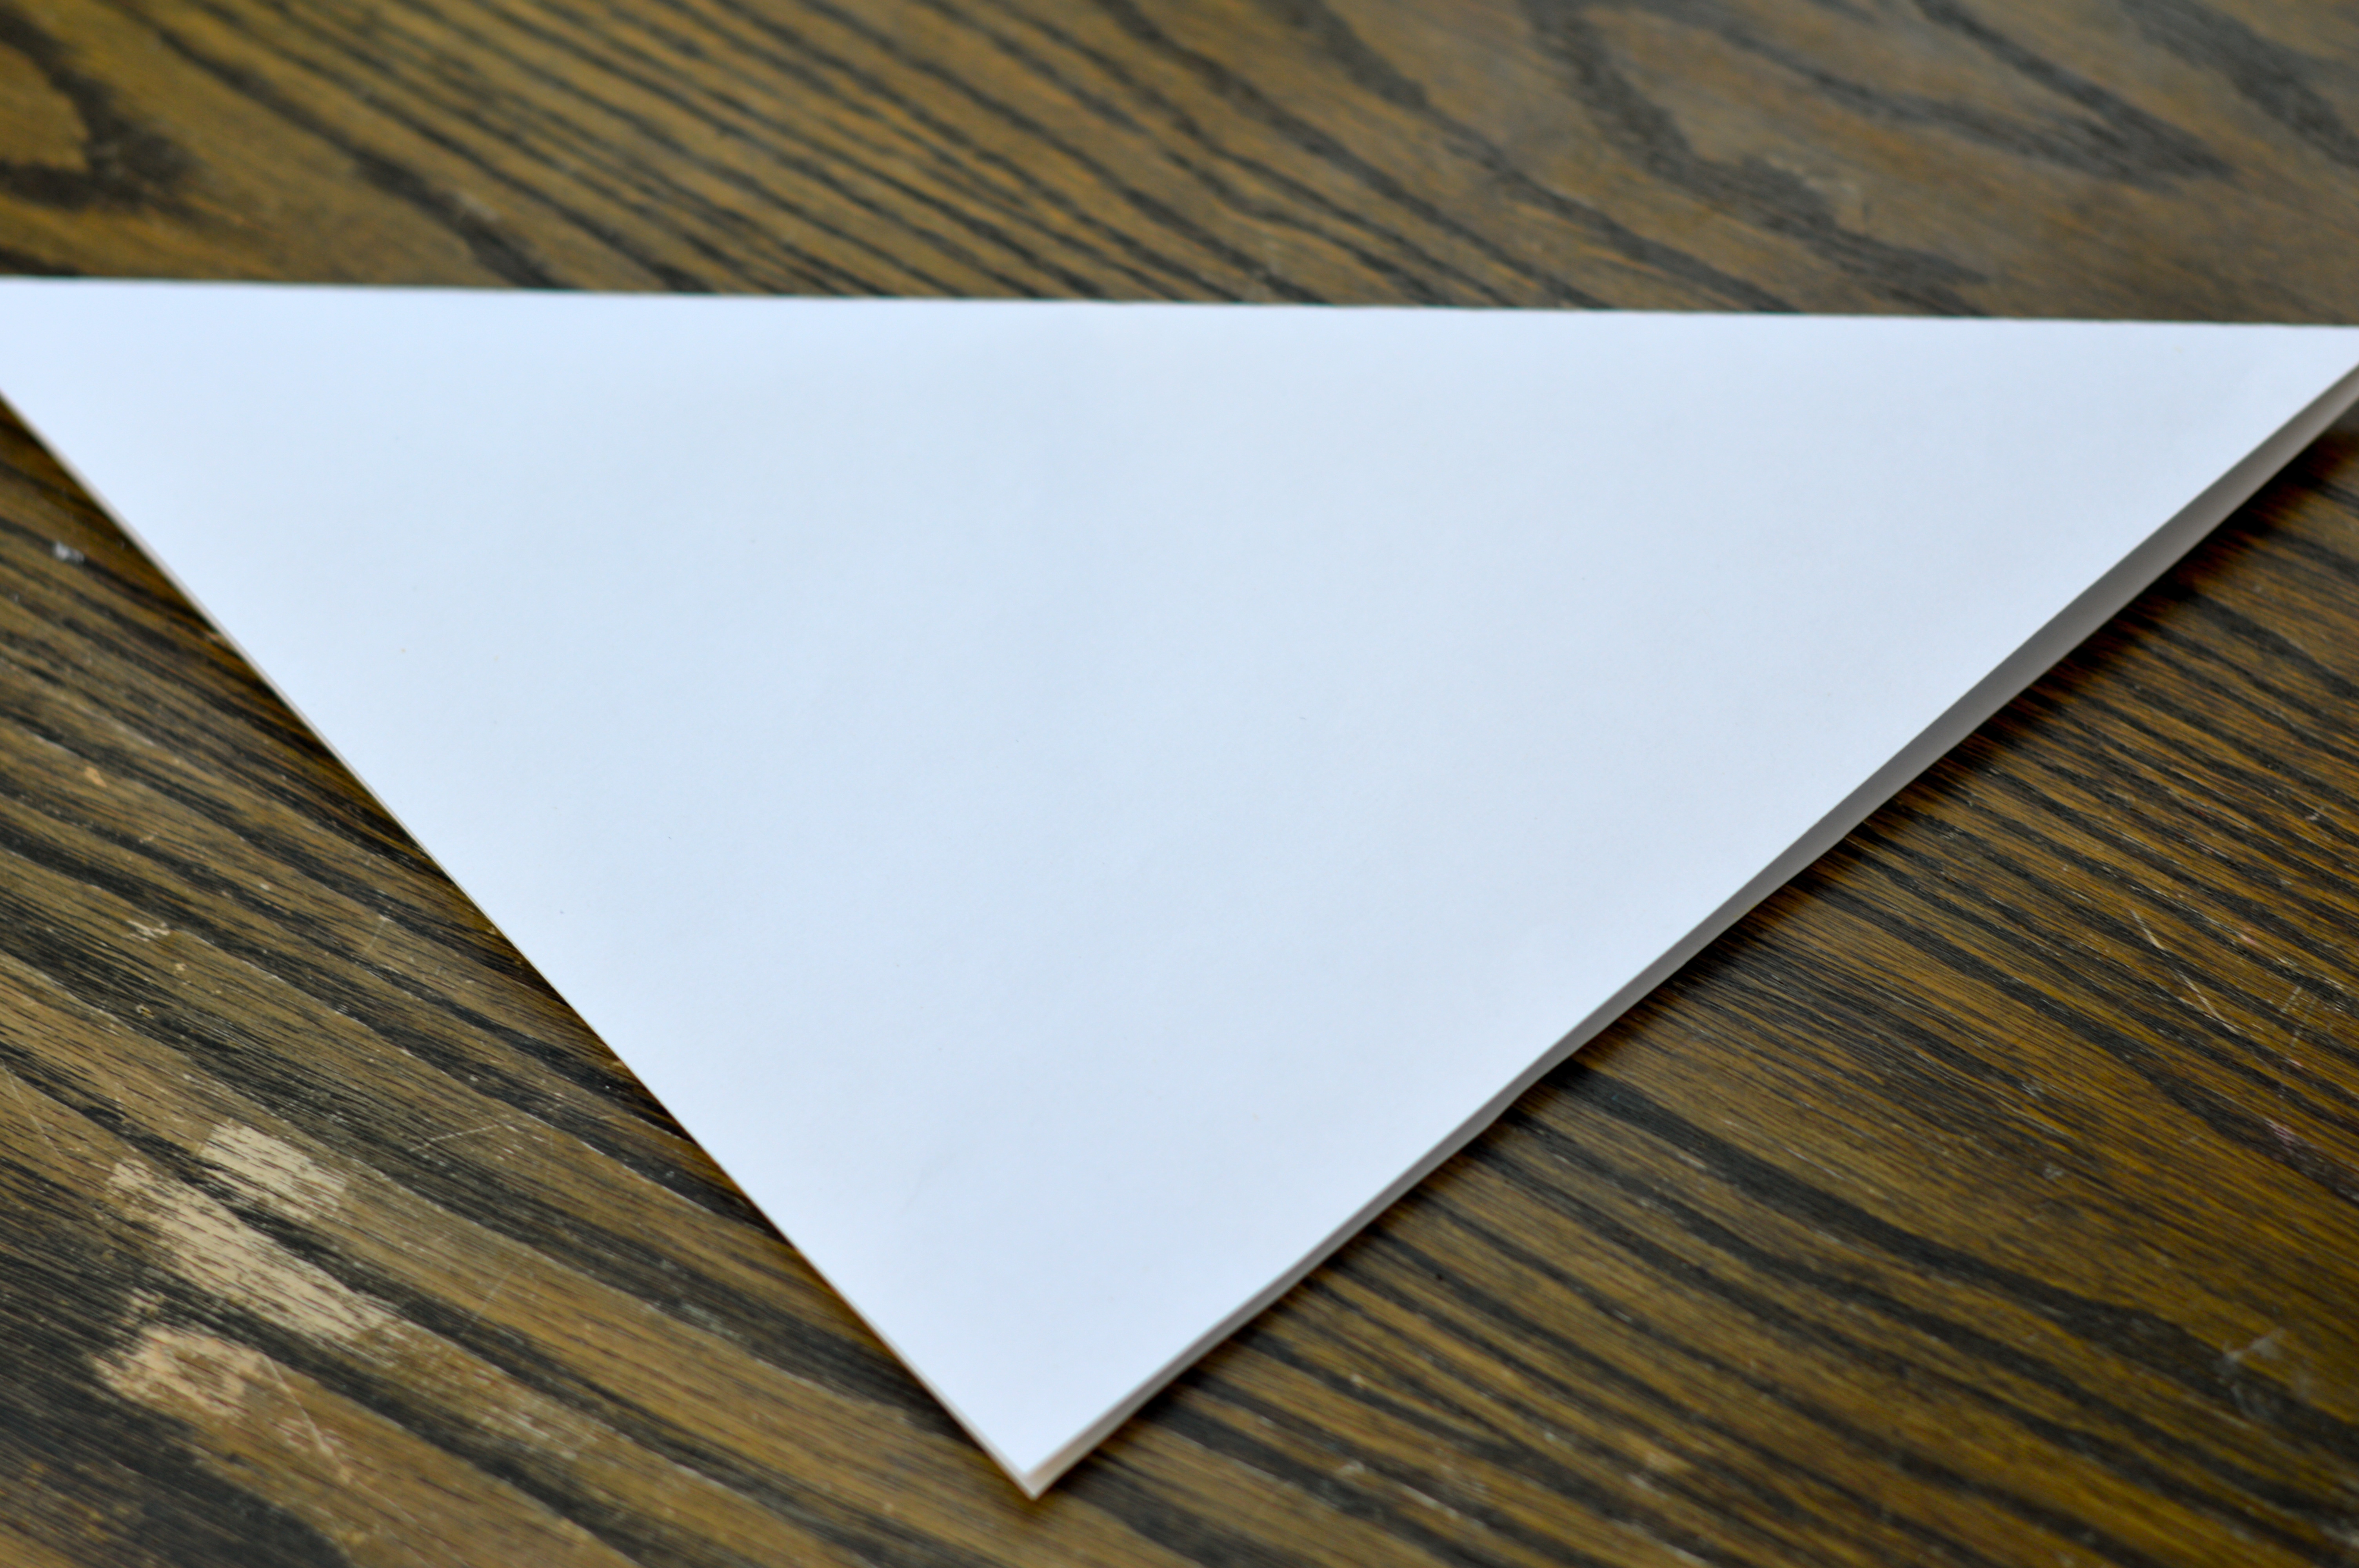
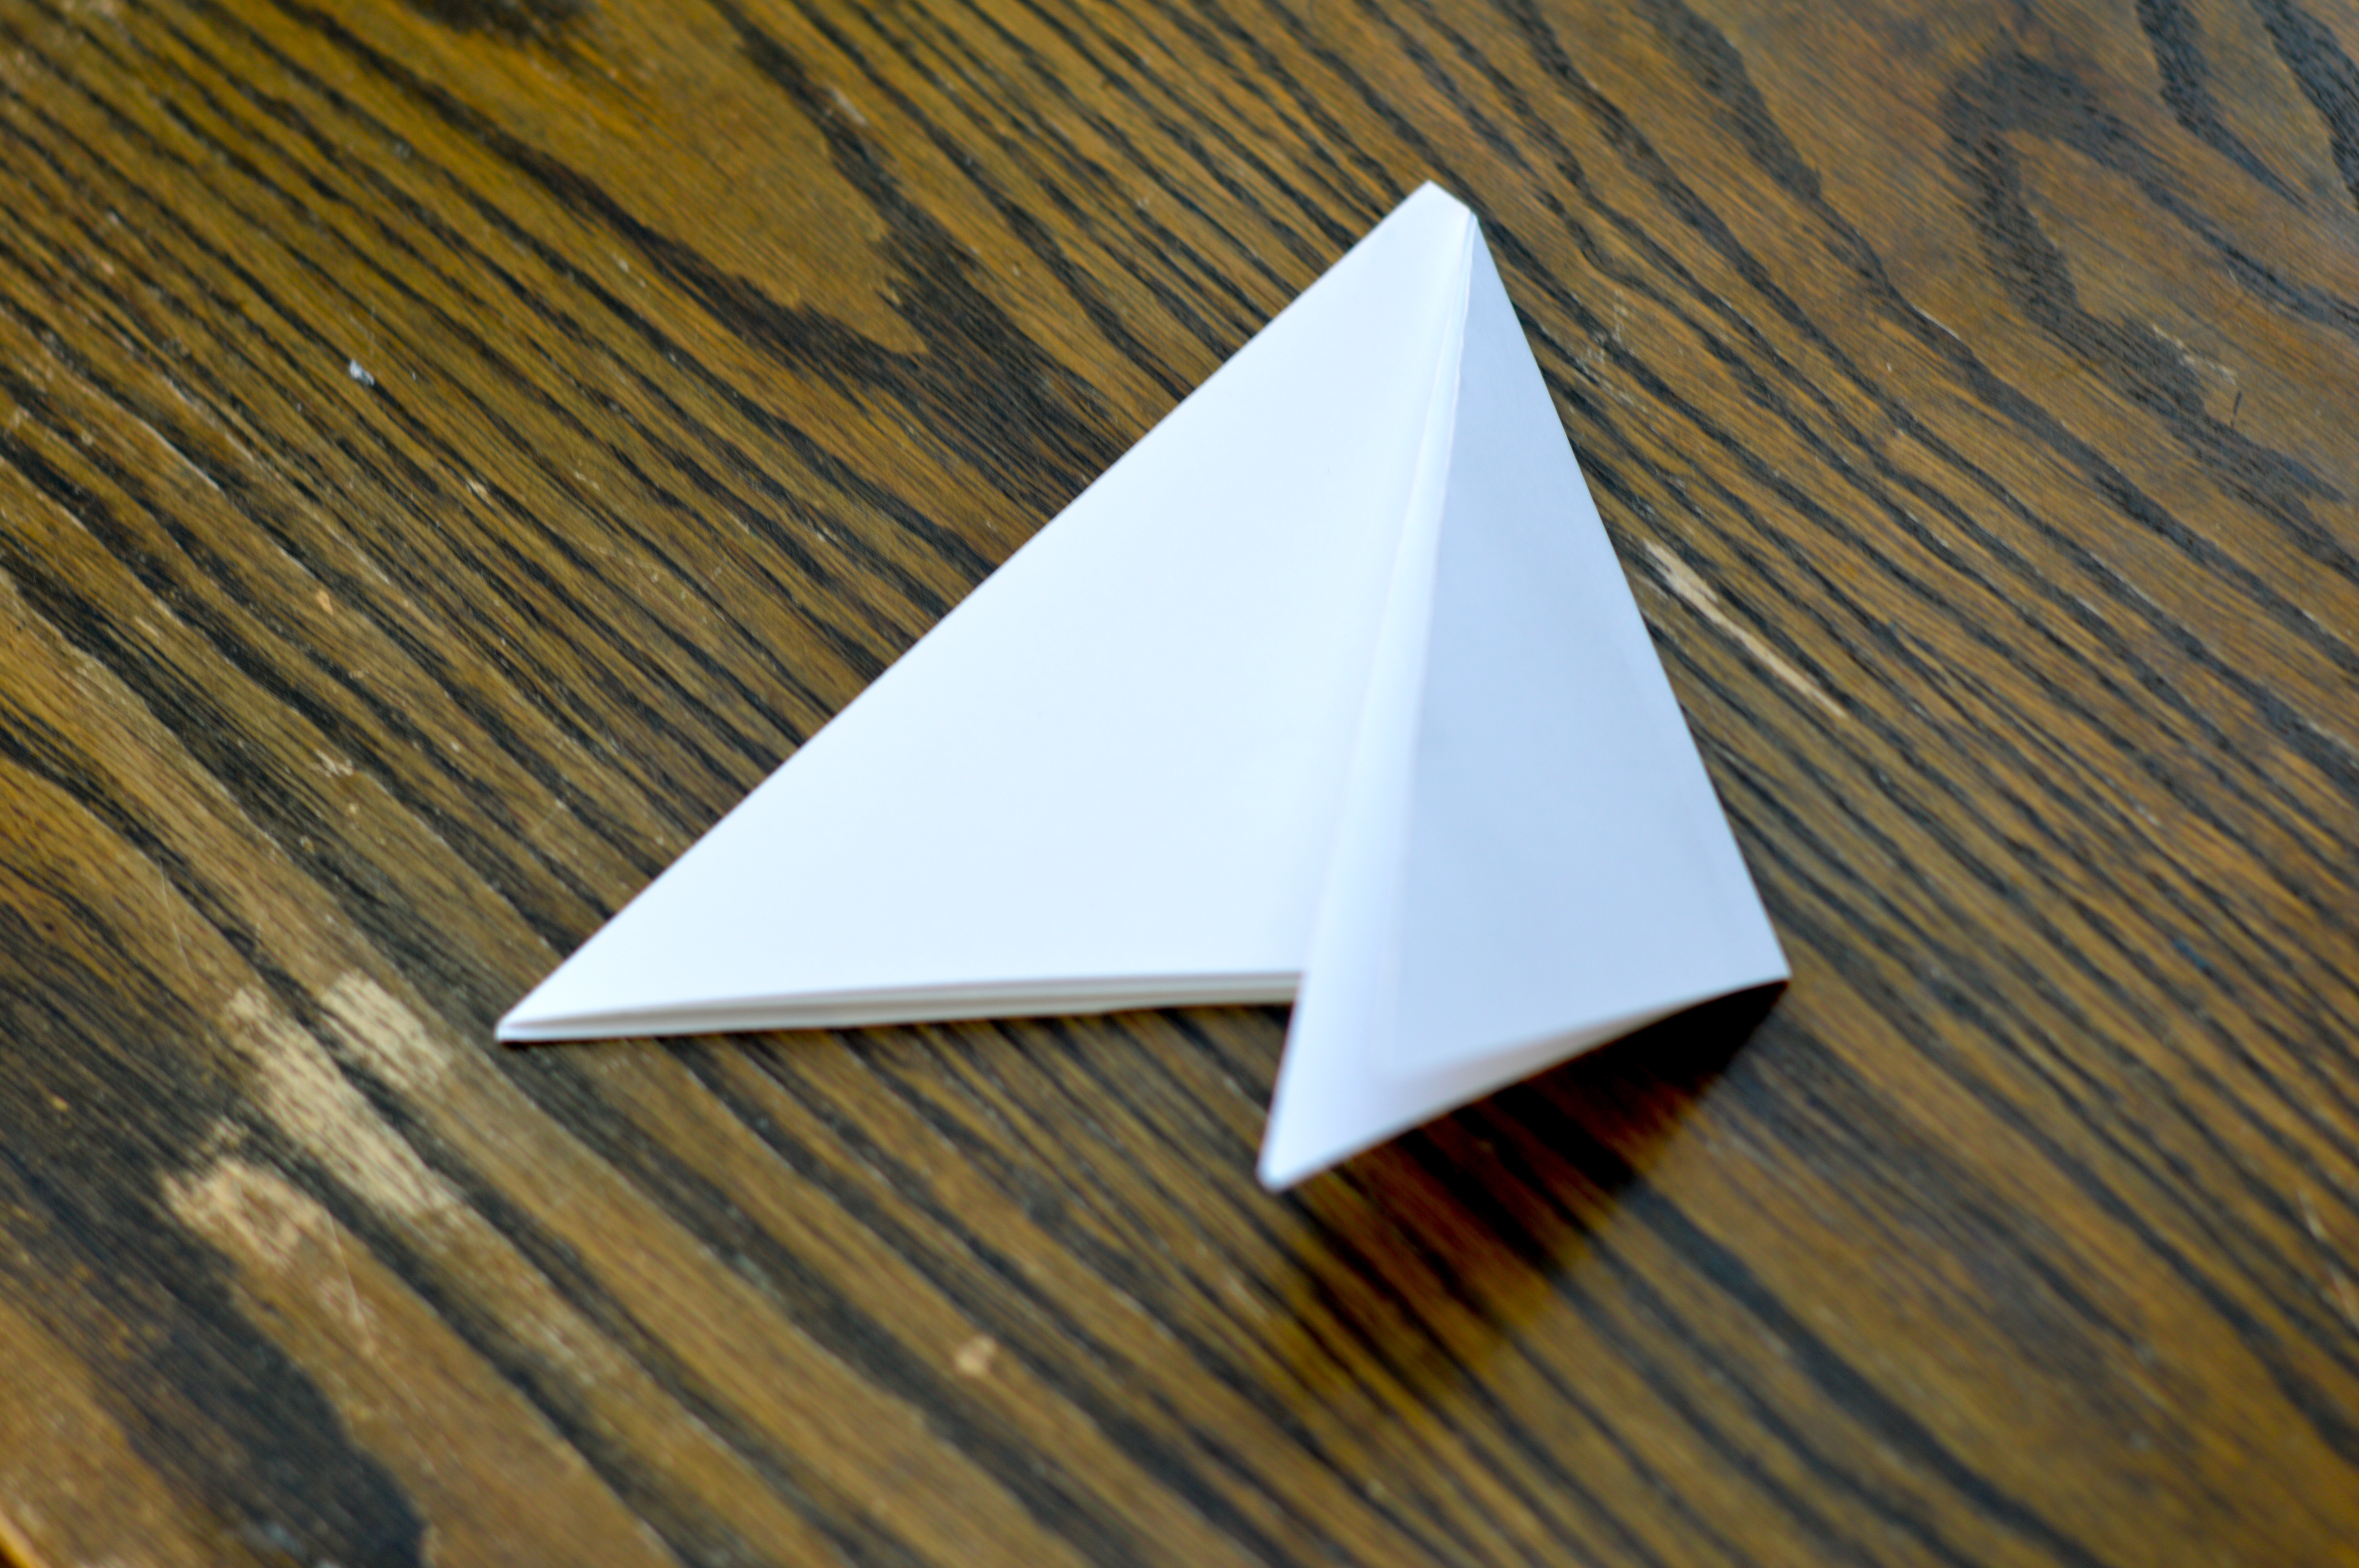
- Begin by making your folded paper triangle from an 8.5″ x 11″ piece of paper. Standard copy paper or something similar works best.
- If your paper is a rectangle, fold a top corner to opposite edge. Cut off the paper that extends past the triangle you have folded. Unfold your triangle and now you have a square.
- Refold your square into a triangle again and repeat one more time to make a triangle one quarter the size of your square. It is worth noting here, the tighter and more perfect your folds are, the more perfect your snowflake will be. But, even if it is not perfectly folded, it will still work.
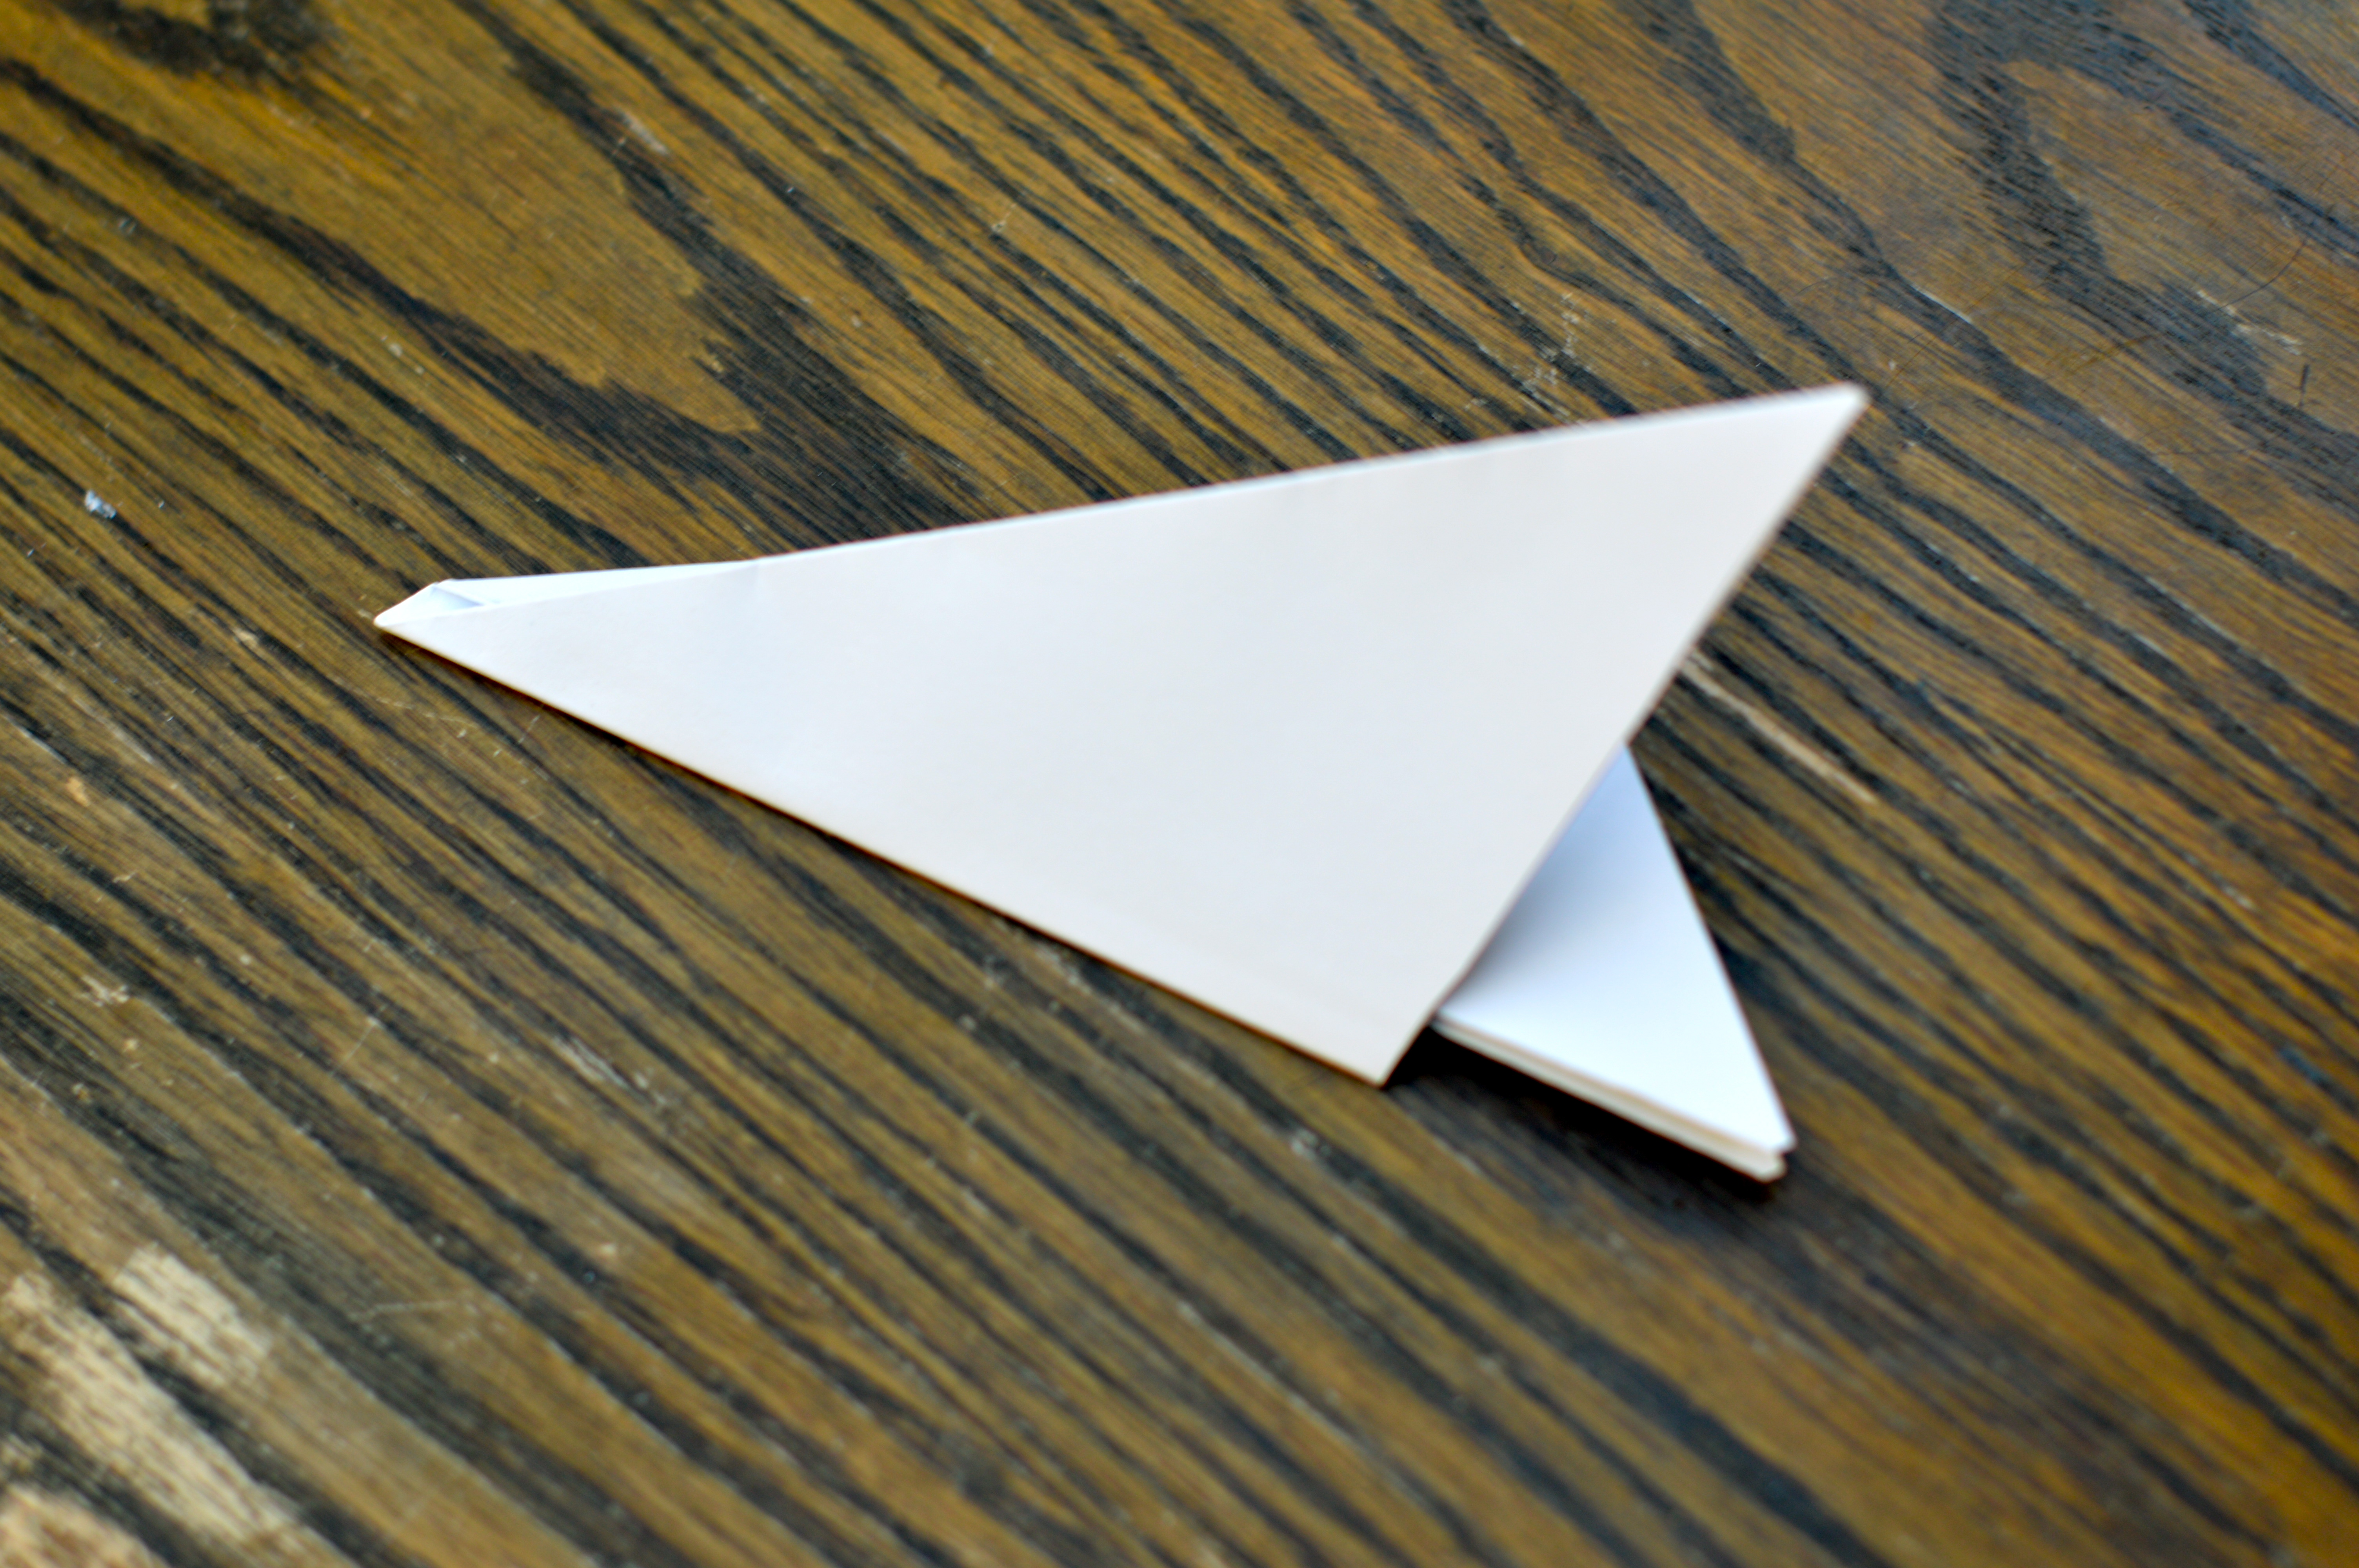
- Fold your triangle into thirds. Cut points off the bottom of your triangle in a straight line. You are now ready to begin!
- Once your triangle is folded, you are ready to choose a design.


- Refold your square into a triangle again and repeat one more time to make a triangle one quarter the size of your square. It is worth noting here, the tighter and more perfect your folds are, the more perfect your snowflake will be. But, even if it is not perfectly folded, it will still work.
- Fold your triangle into thirds. Cut points off the bottom of your triangle in a straight line. You are now ready to begin!

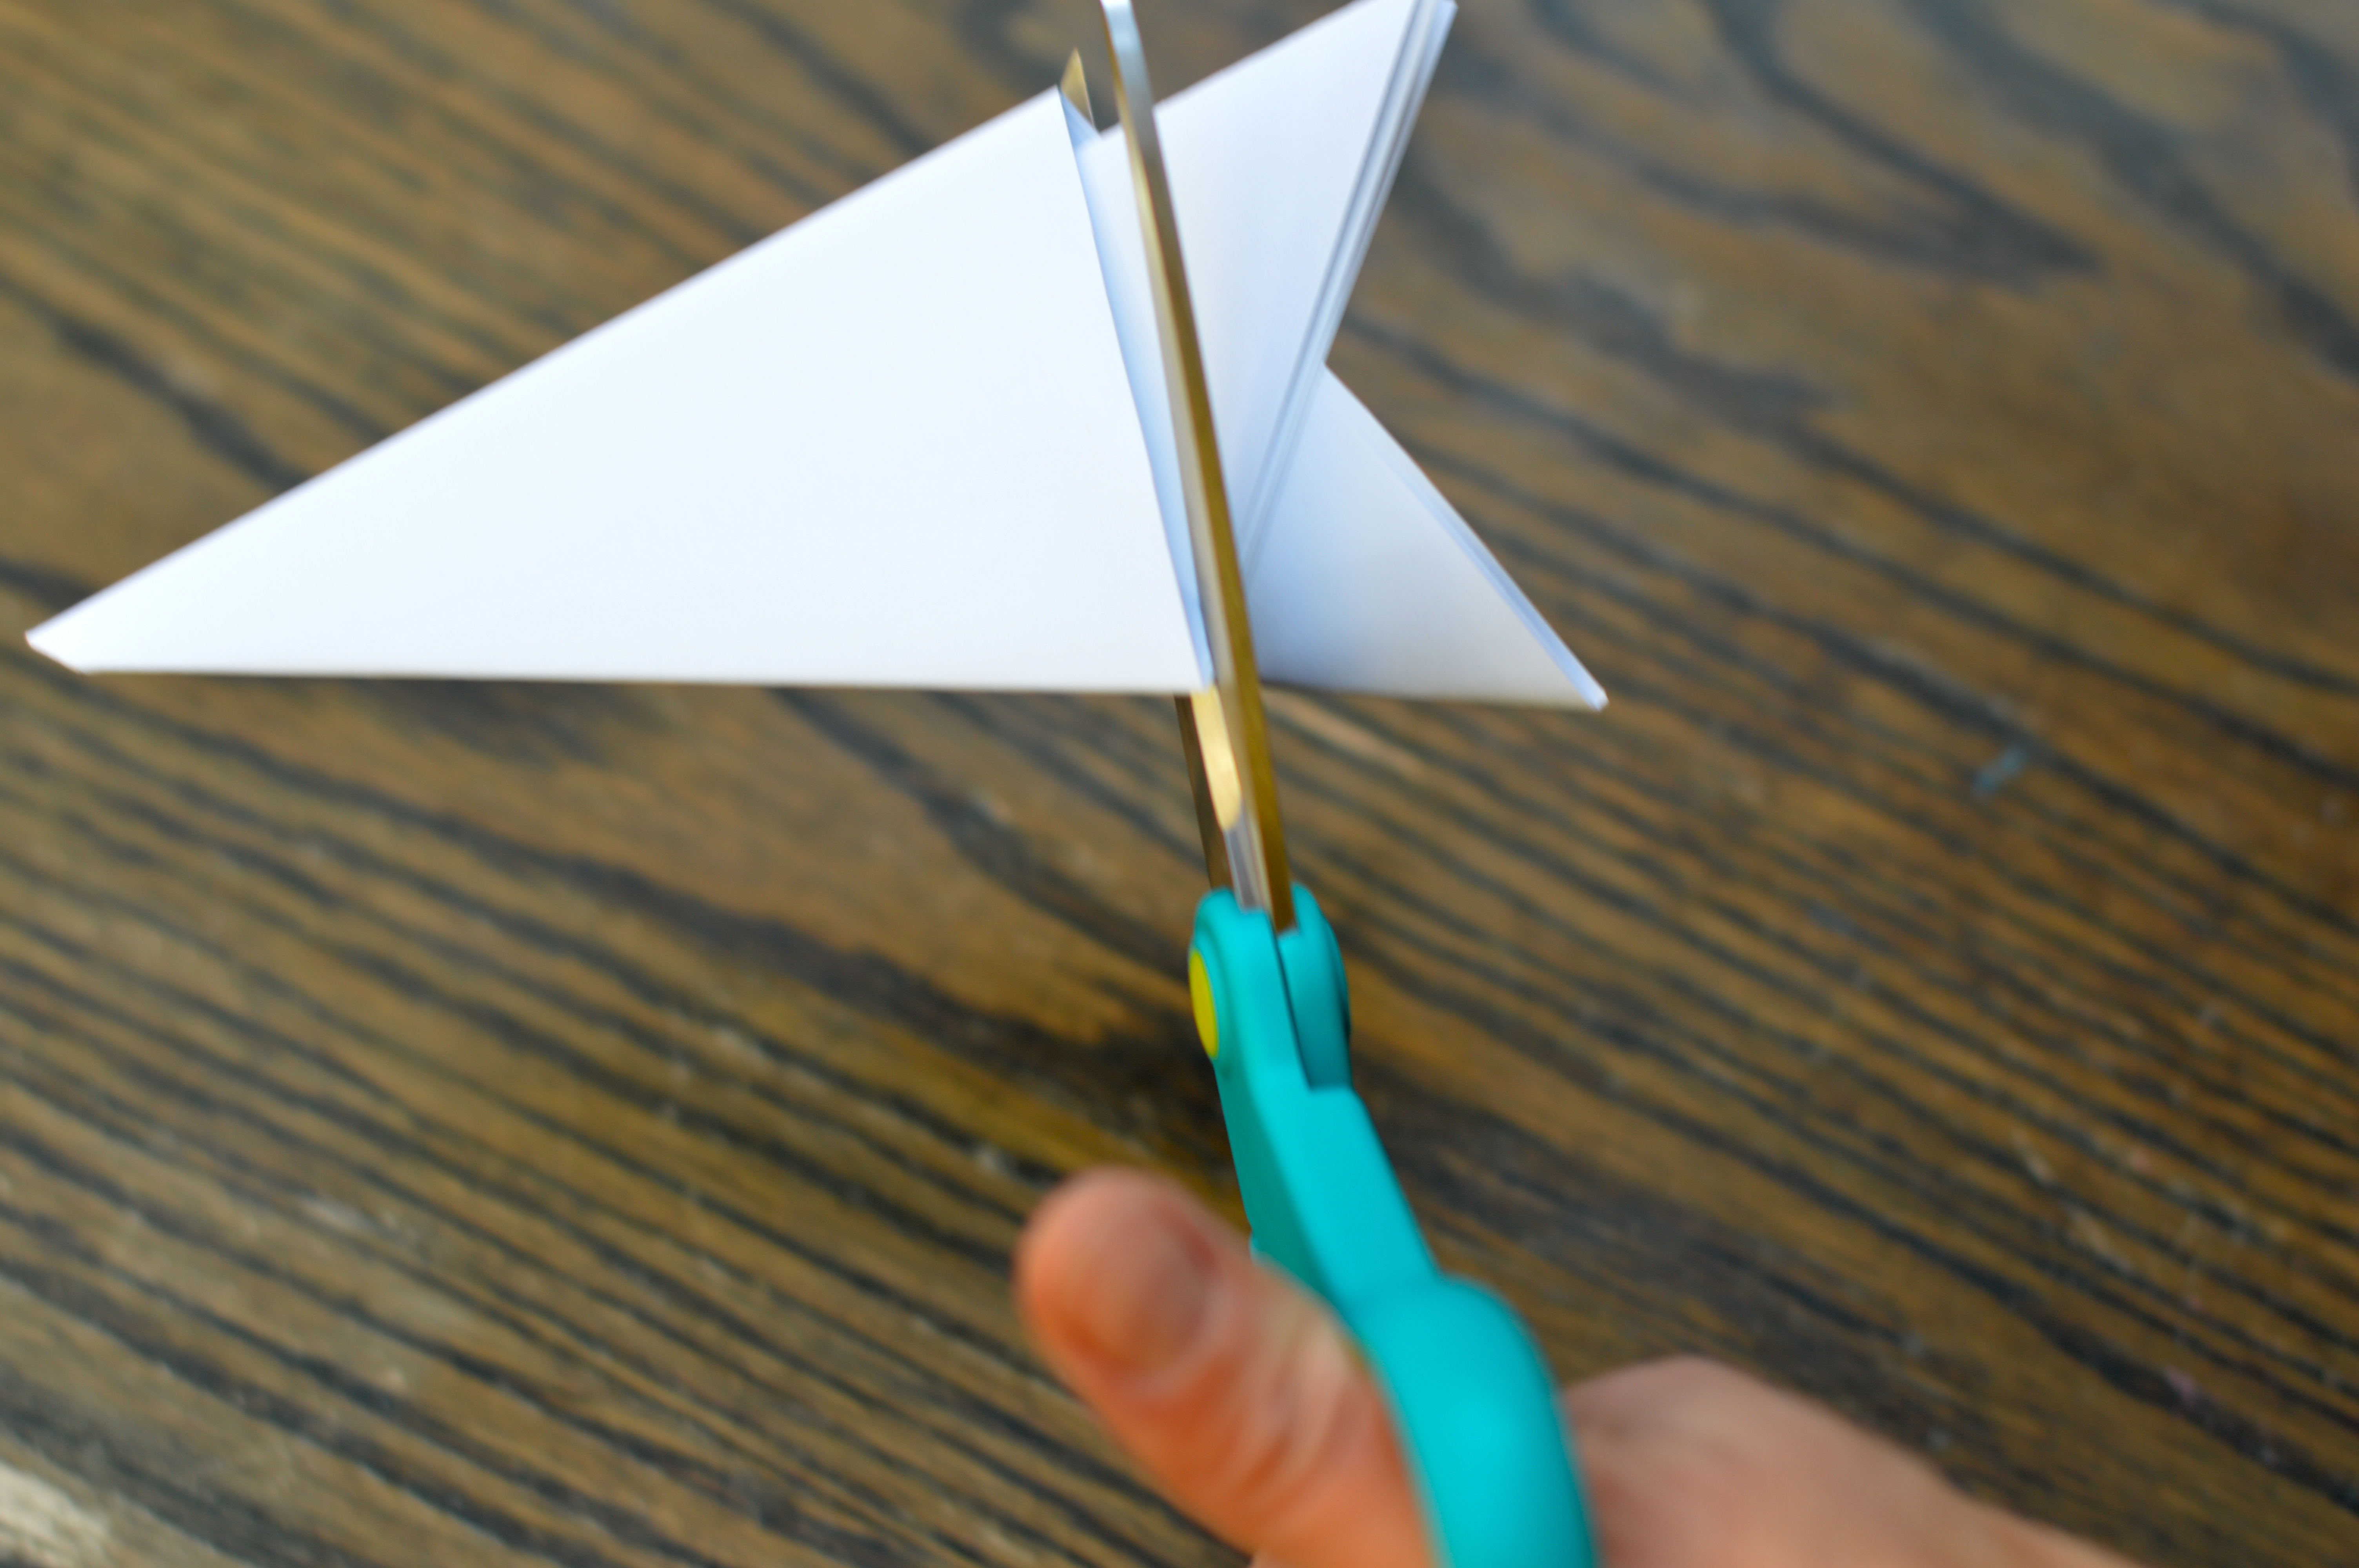
The beauty of this book is how simple it is. All the designs are shown two ways: 1) as the snowflake will look once complete, and 2) as the folded triangle with lines necessary to cut in order to achieve that particular snowflake. If you own this book, you can copy the photos and actually tape them onto your triangle for perfect cuts. I was happy to simply look at the photos for inspiration and cut them in a “close enough” fashion. You choose what makes you feel happy.


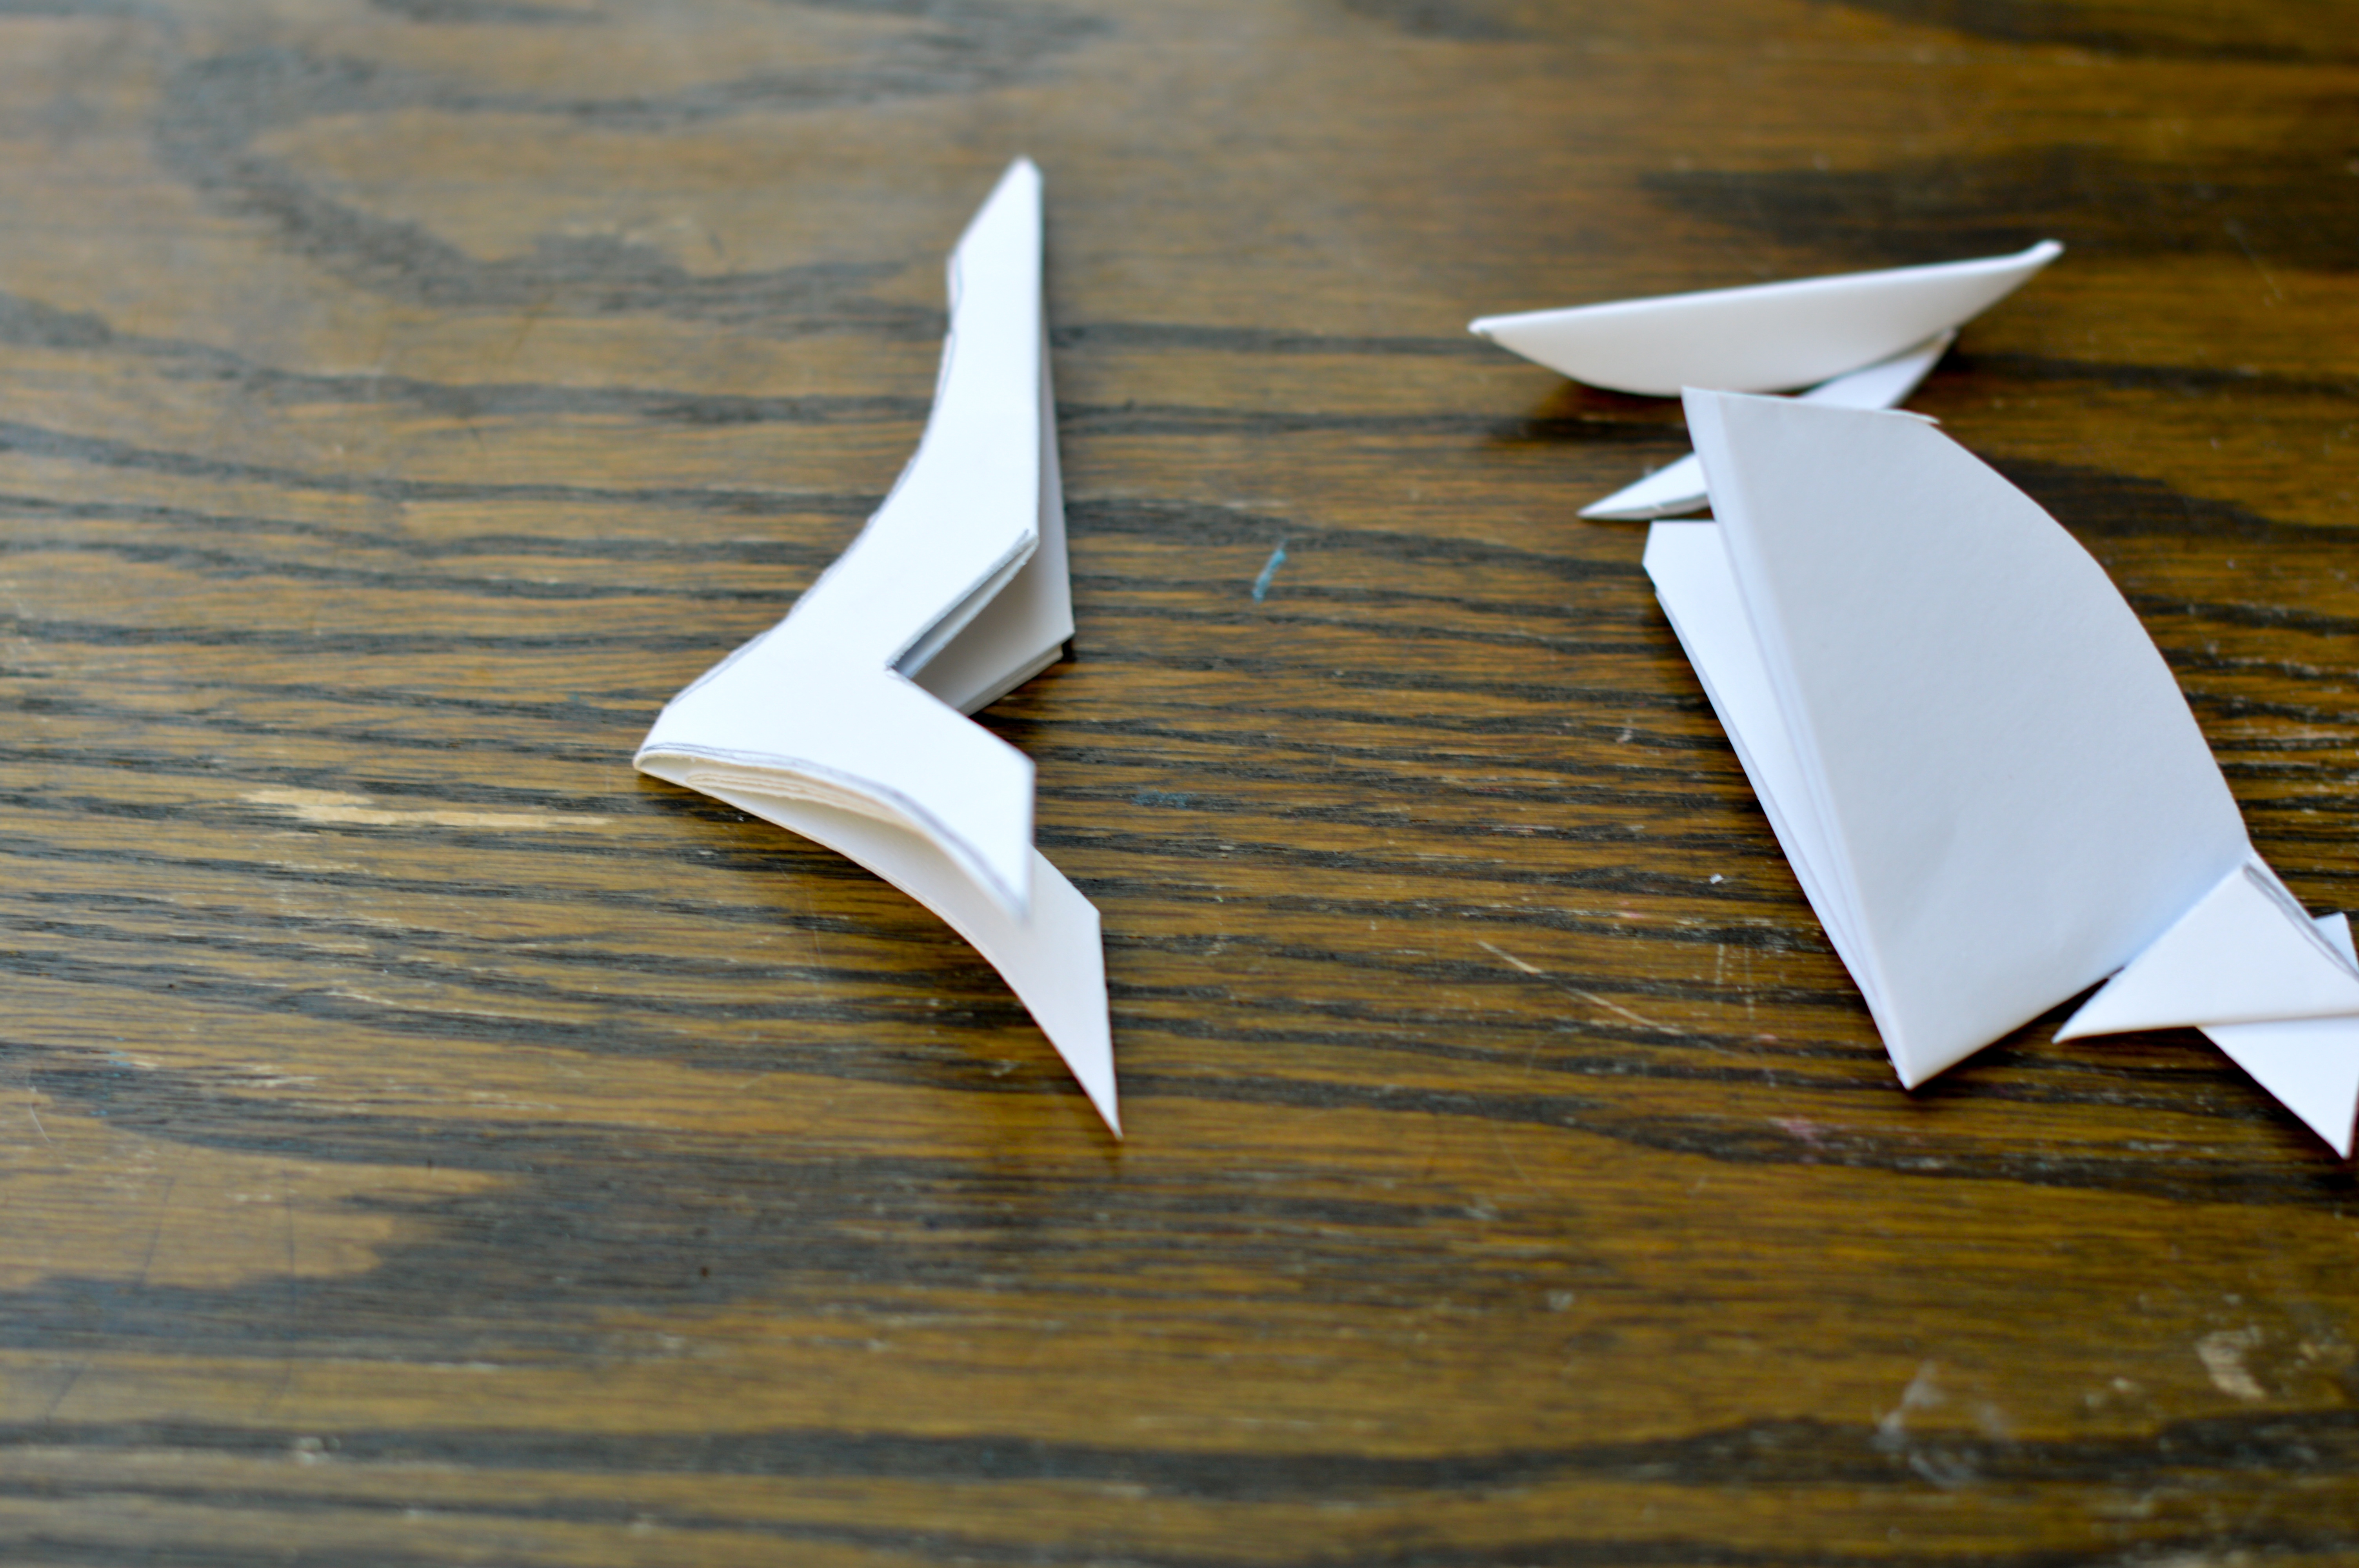

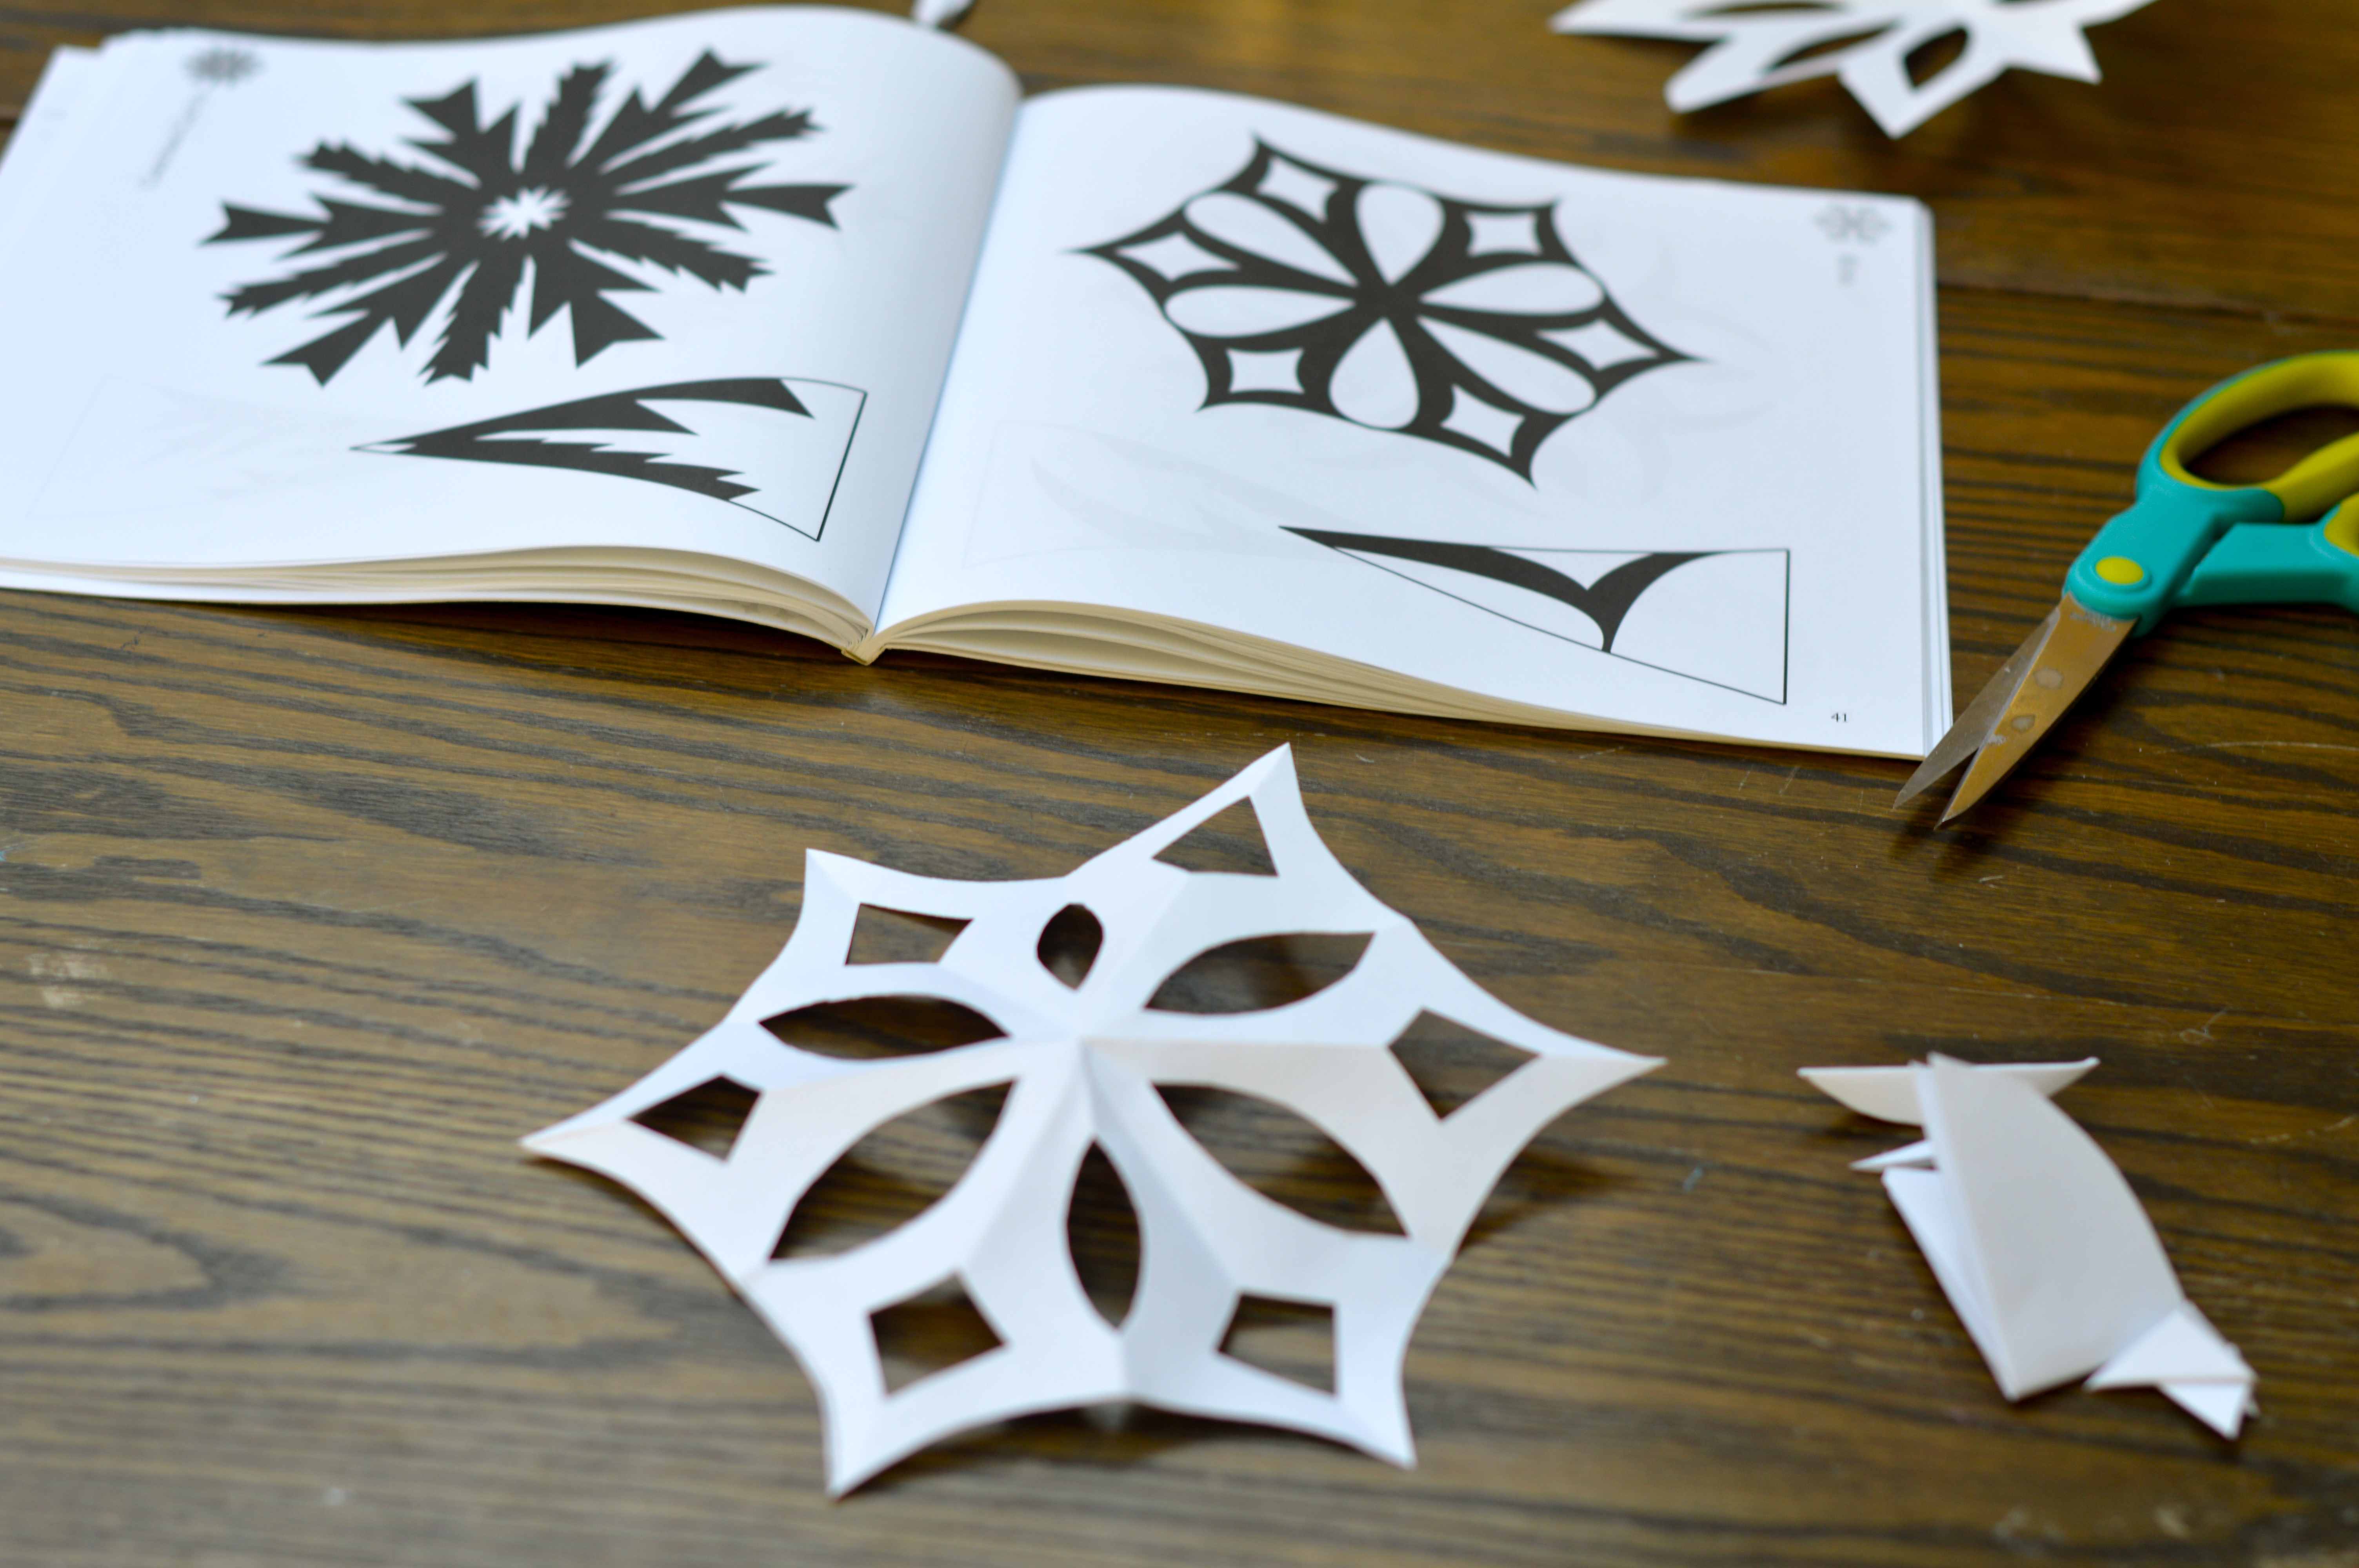
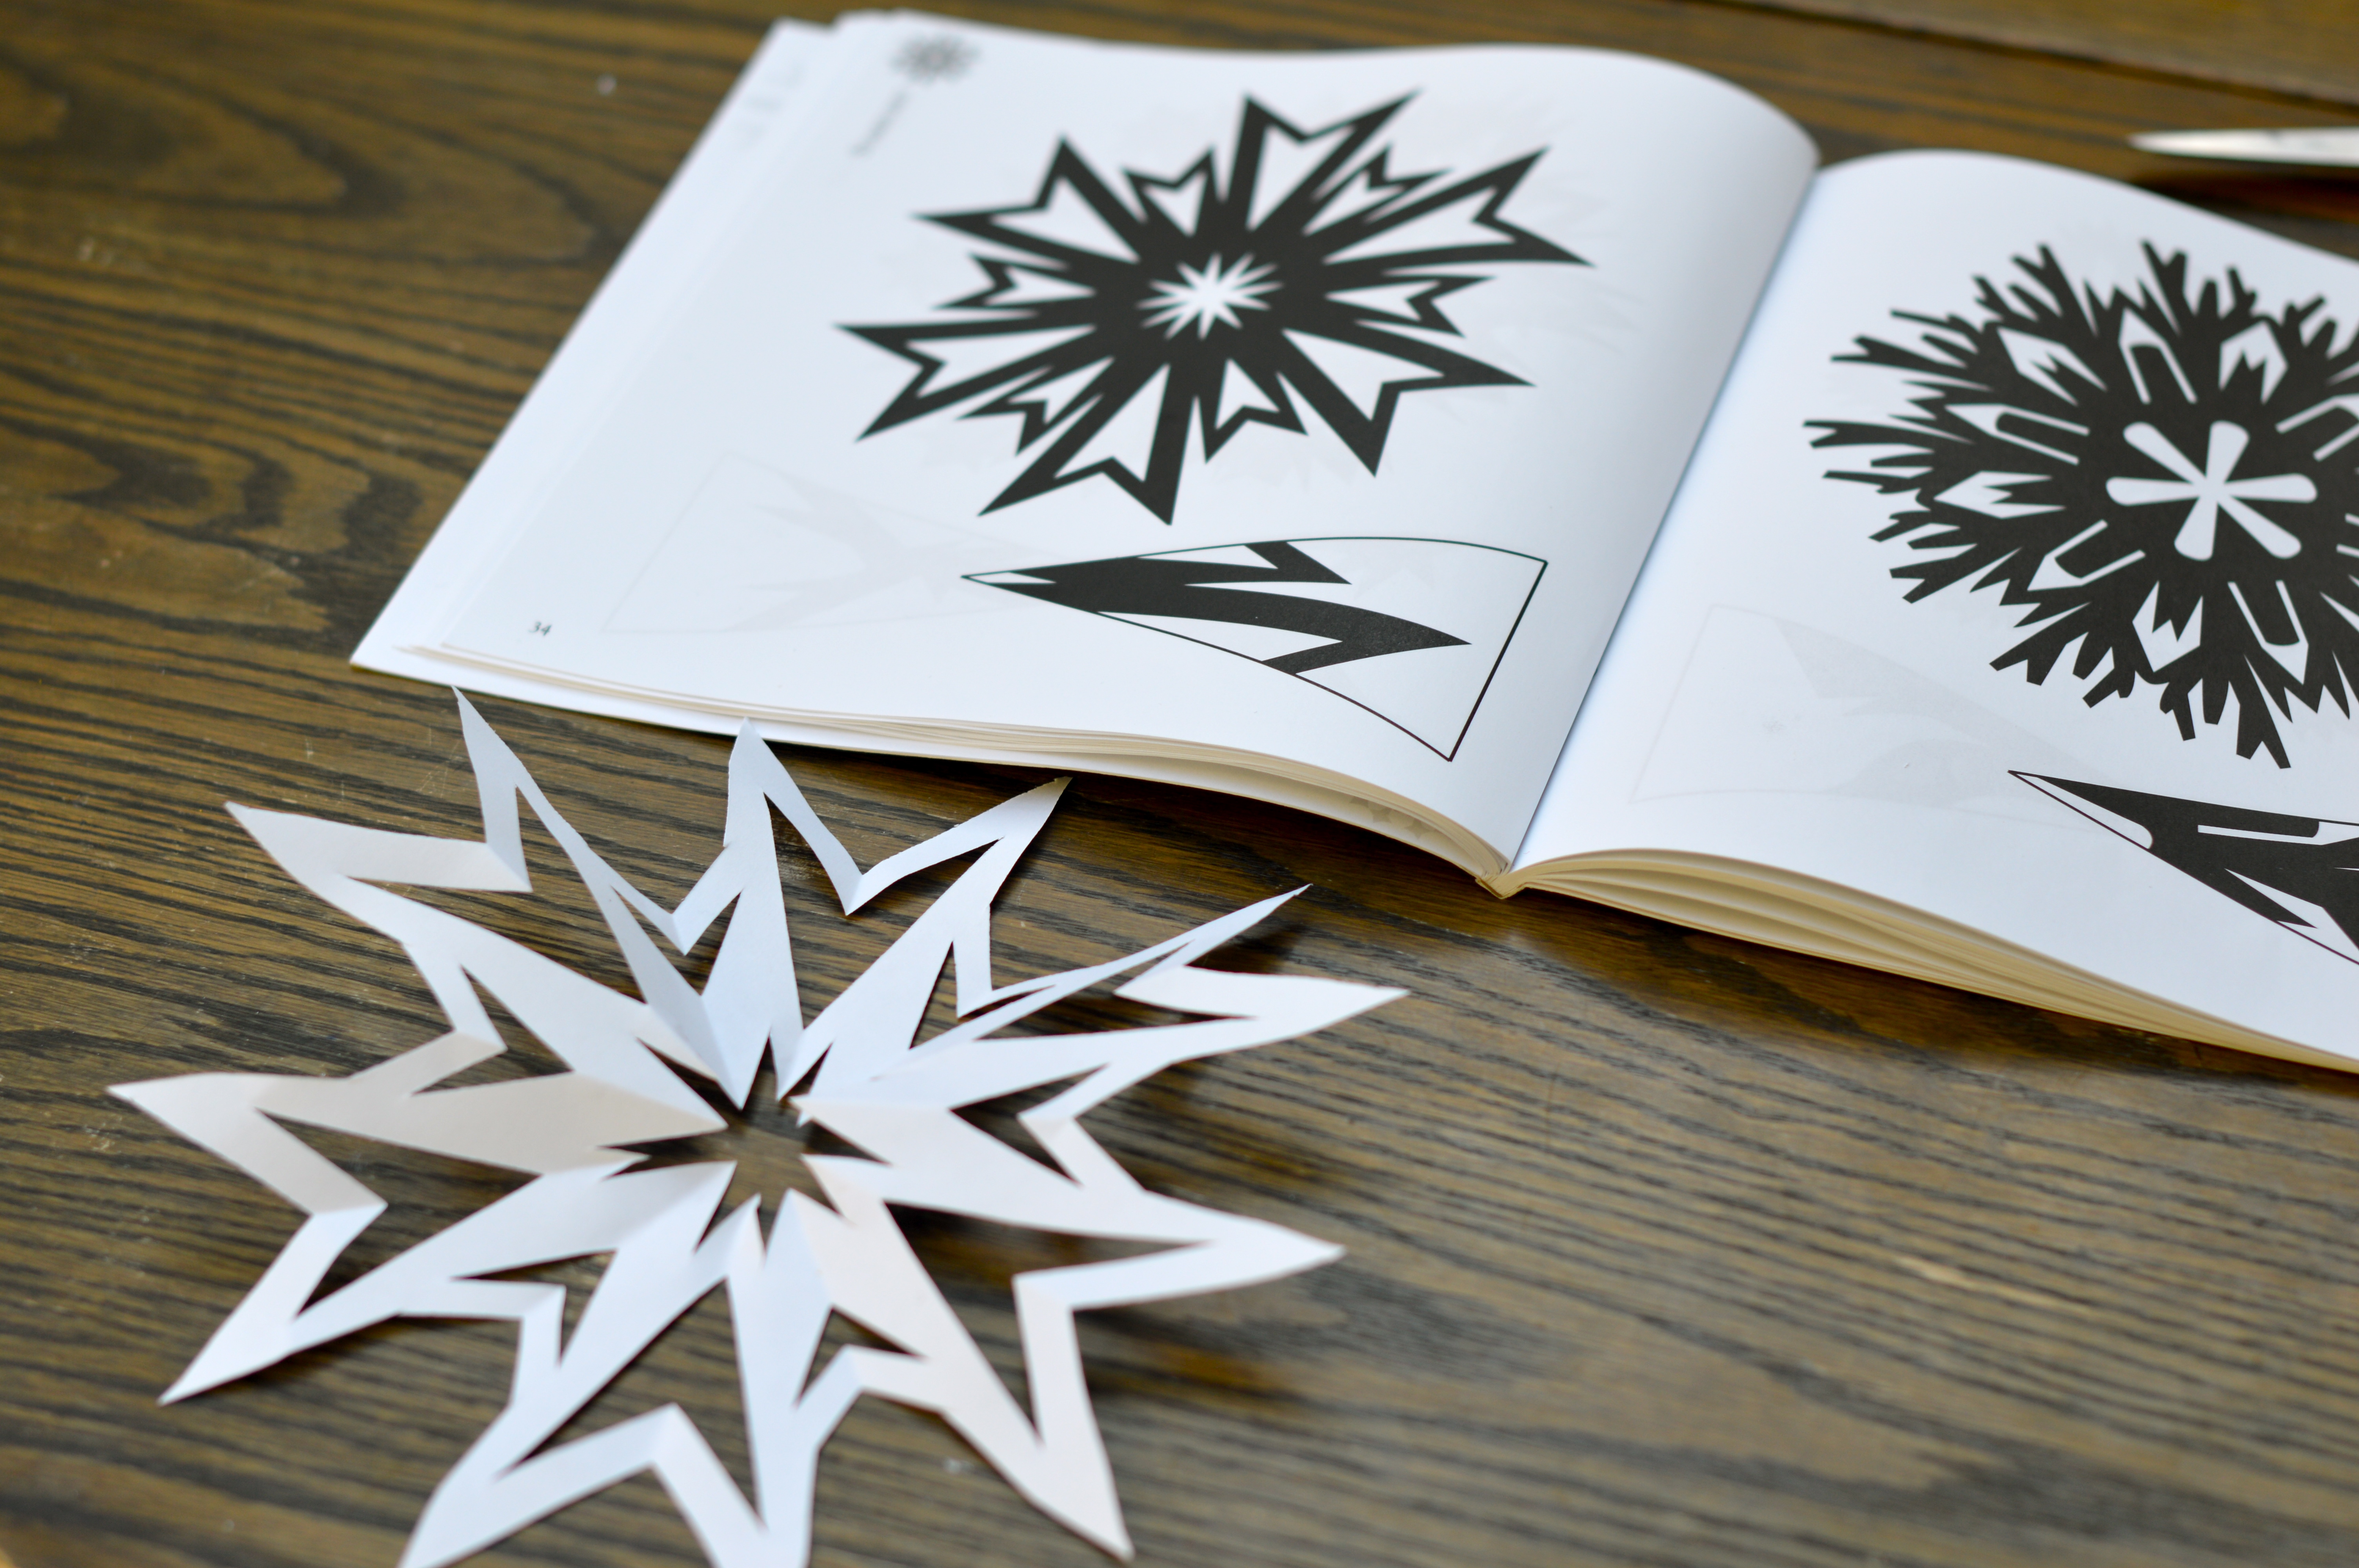
I love looking at how simple the cuts can be on the triangle image, and what kind of amazing snowflake you can create! Our windows are covered and I am happy to say that many of them were created by my kiddo.
Happy Snowflake Making!