Signs of Spring

DSC_0100

So spring doesn’t officially begin for 13 more days (not that I am counting), but signs of winter’s end are all around.  I spotted our first camelia blooming, the daffodils are poking their little yellow heads out, and I now hear the birds chirping when I wake up in the morning.

I remember when Sam first went to preschool, he came home with a simple bird feeder that they made in class.  The teacher reminded the students (and parents) that it can be difficult for birds to find food at this point in winter, so we can help by putting food out.  The garden is still a bit bleak, with the grass just beginning to sprout, but by placing a bird feeder in our tree we can see wildlife happening right outside our kitchen window.

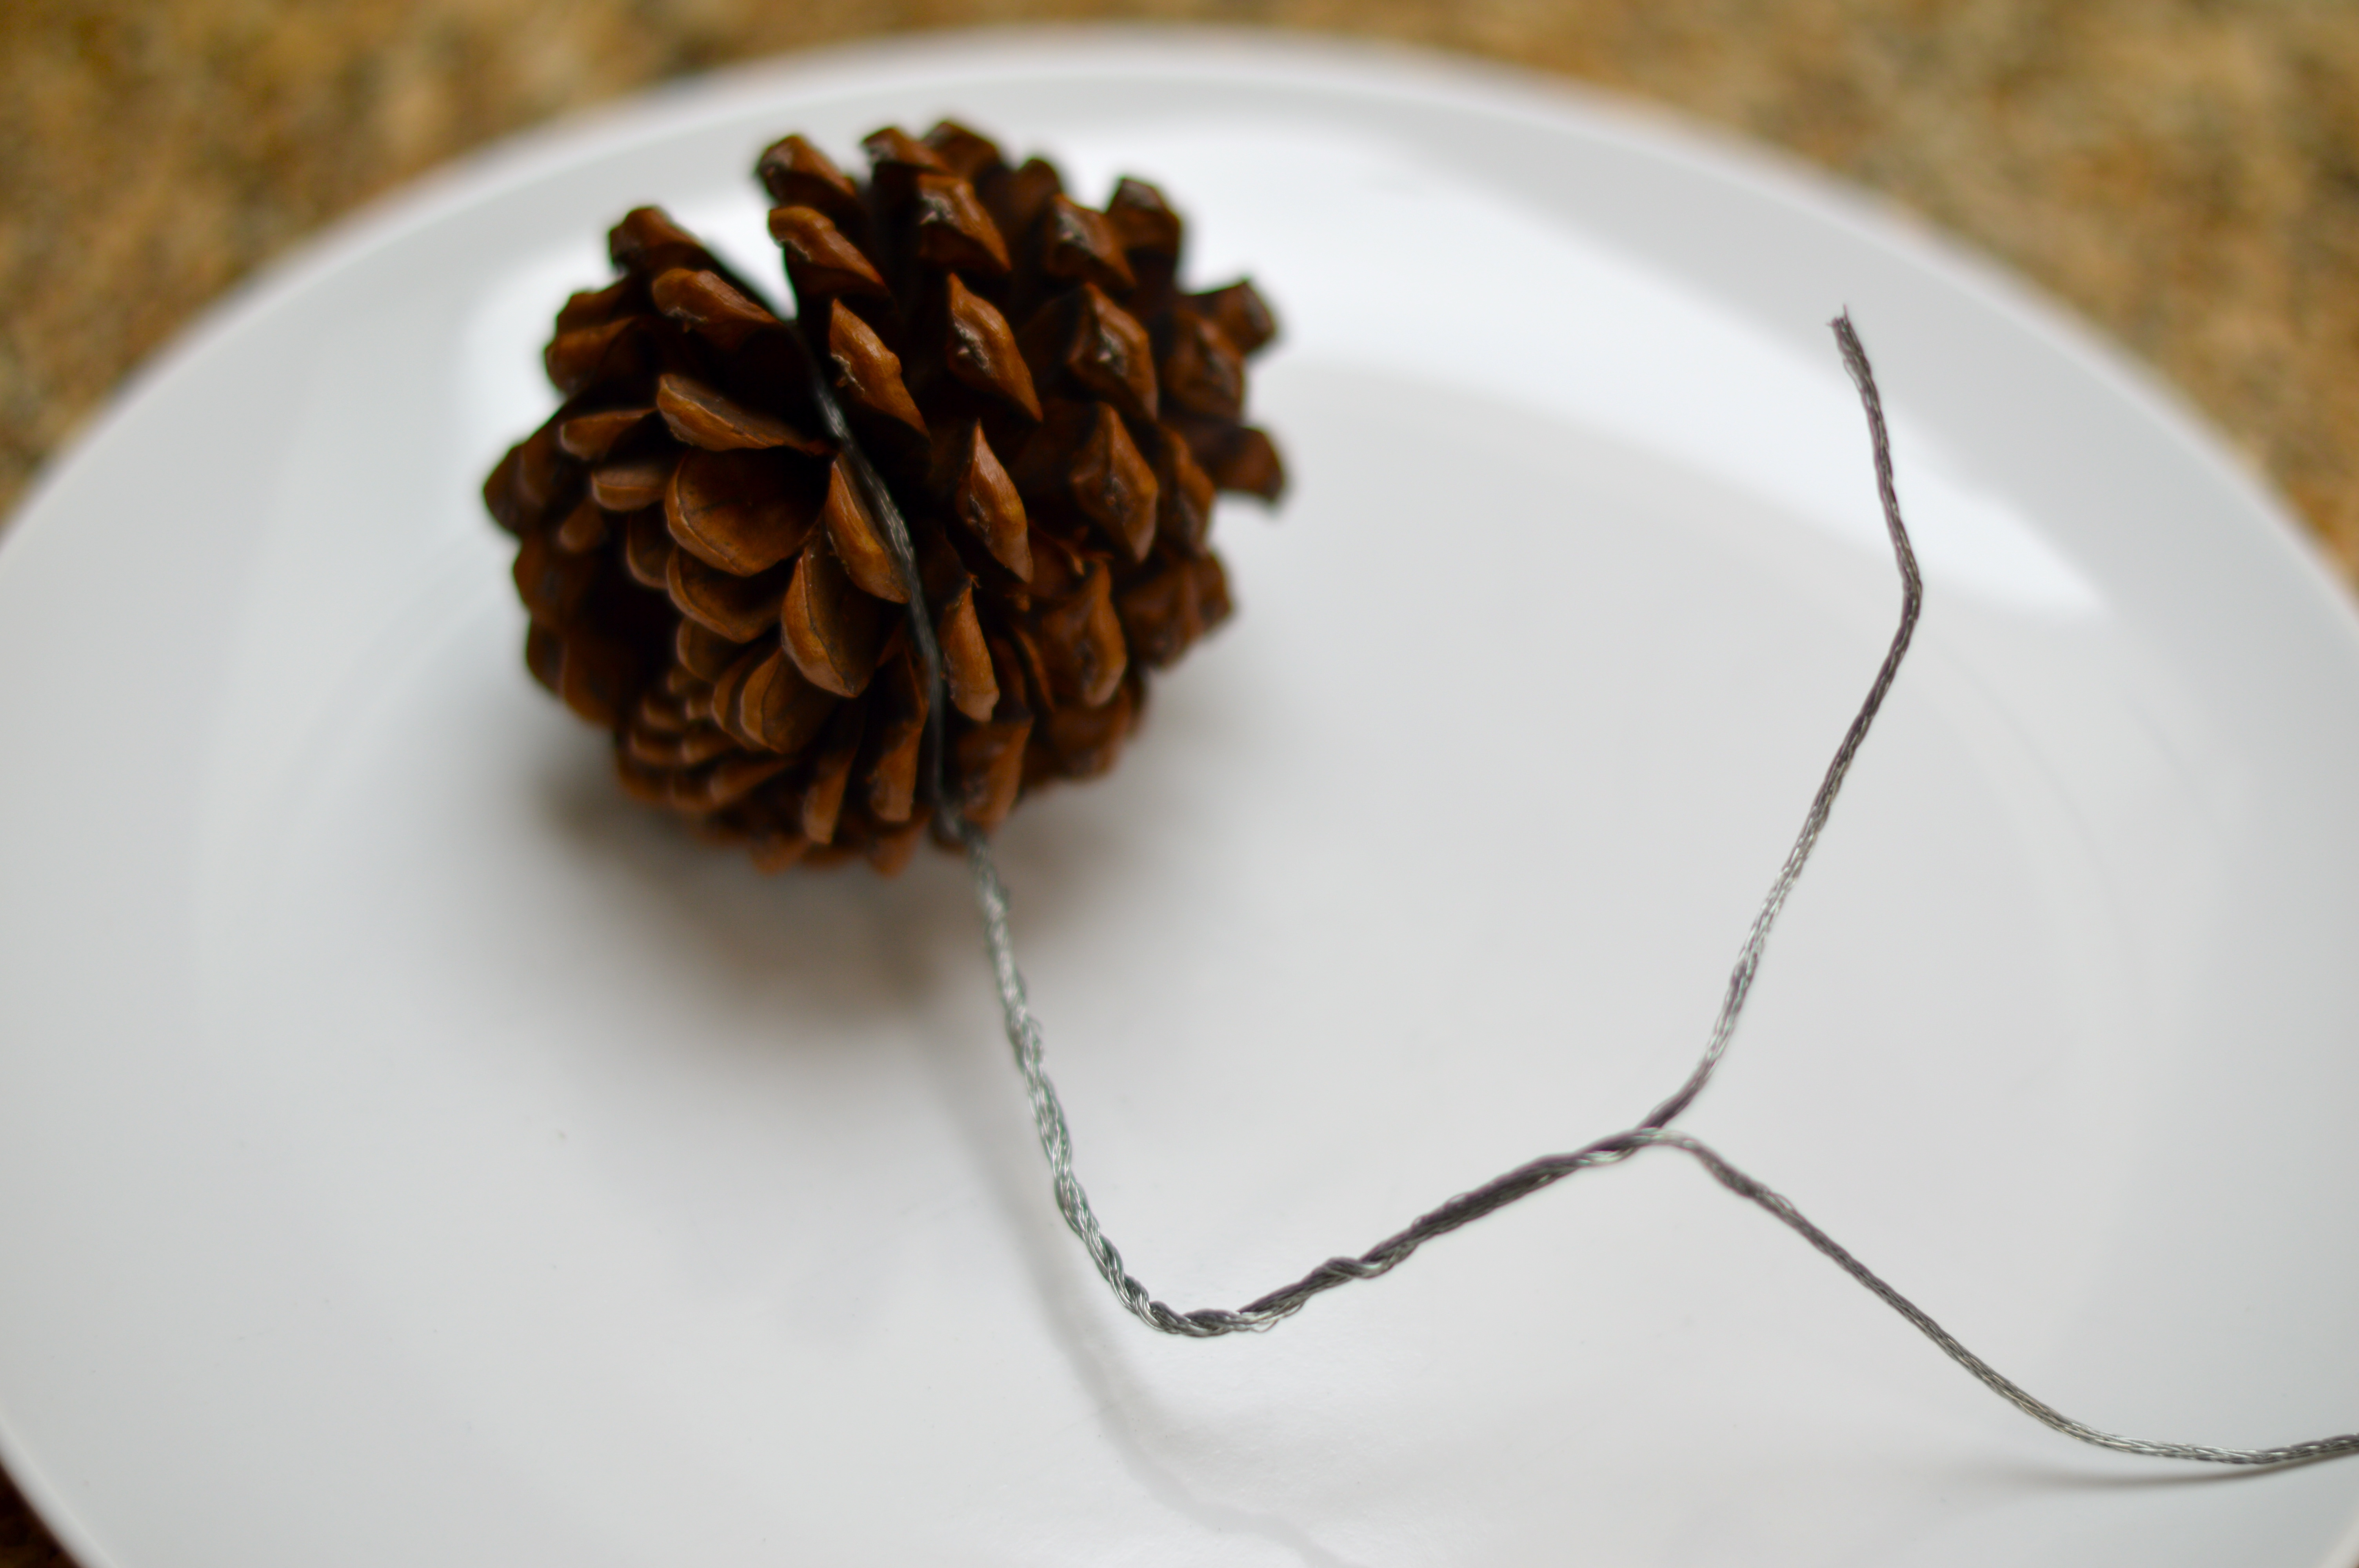
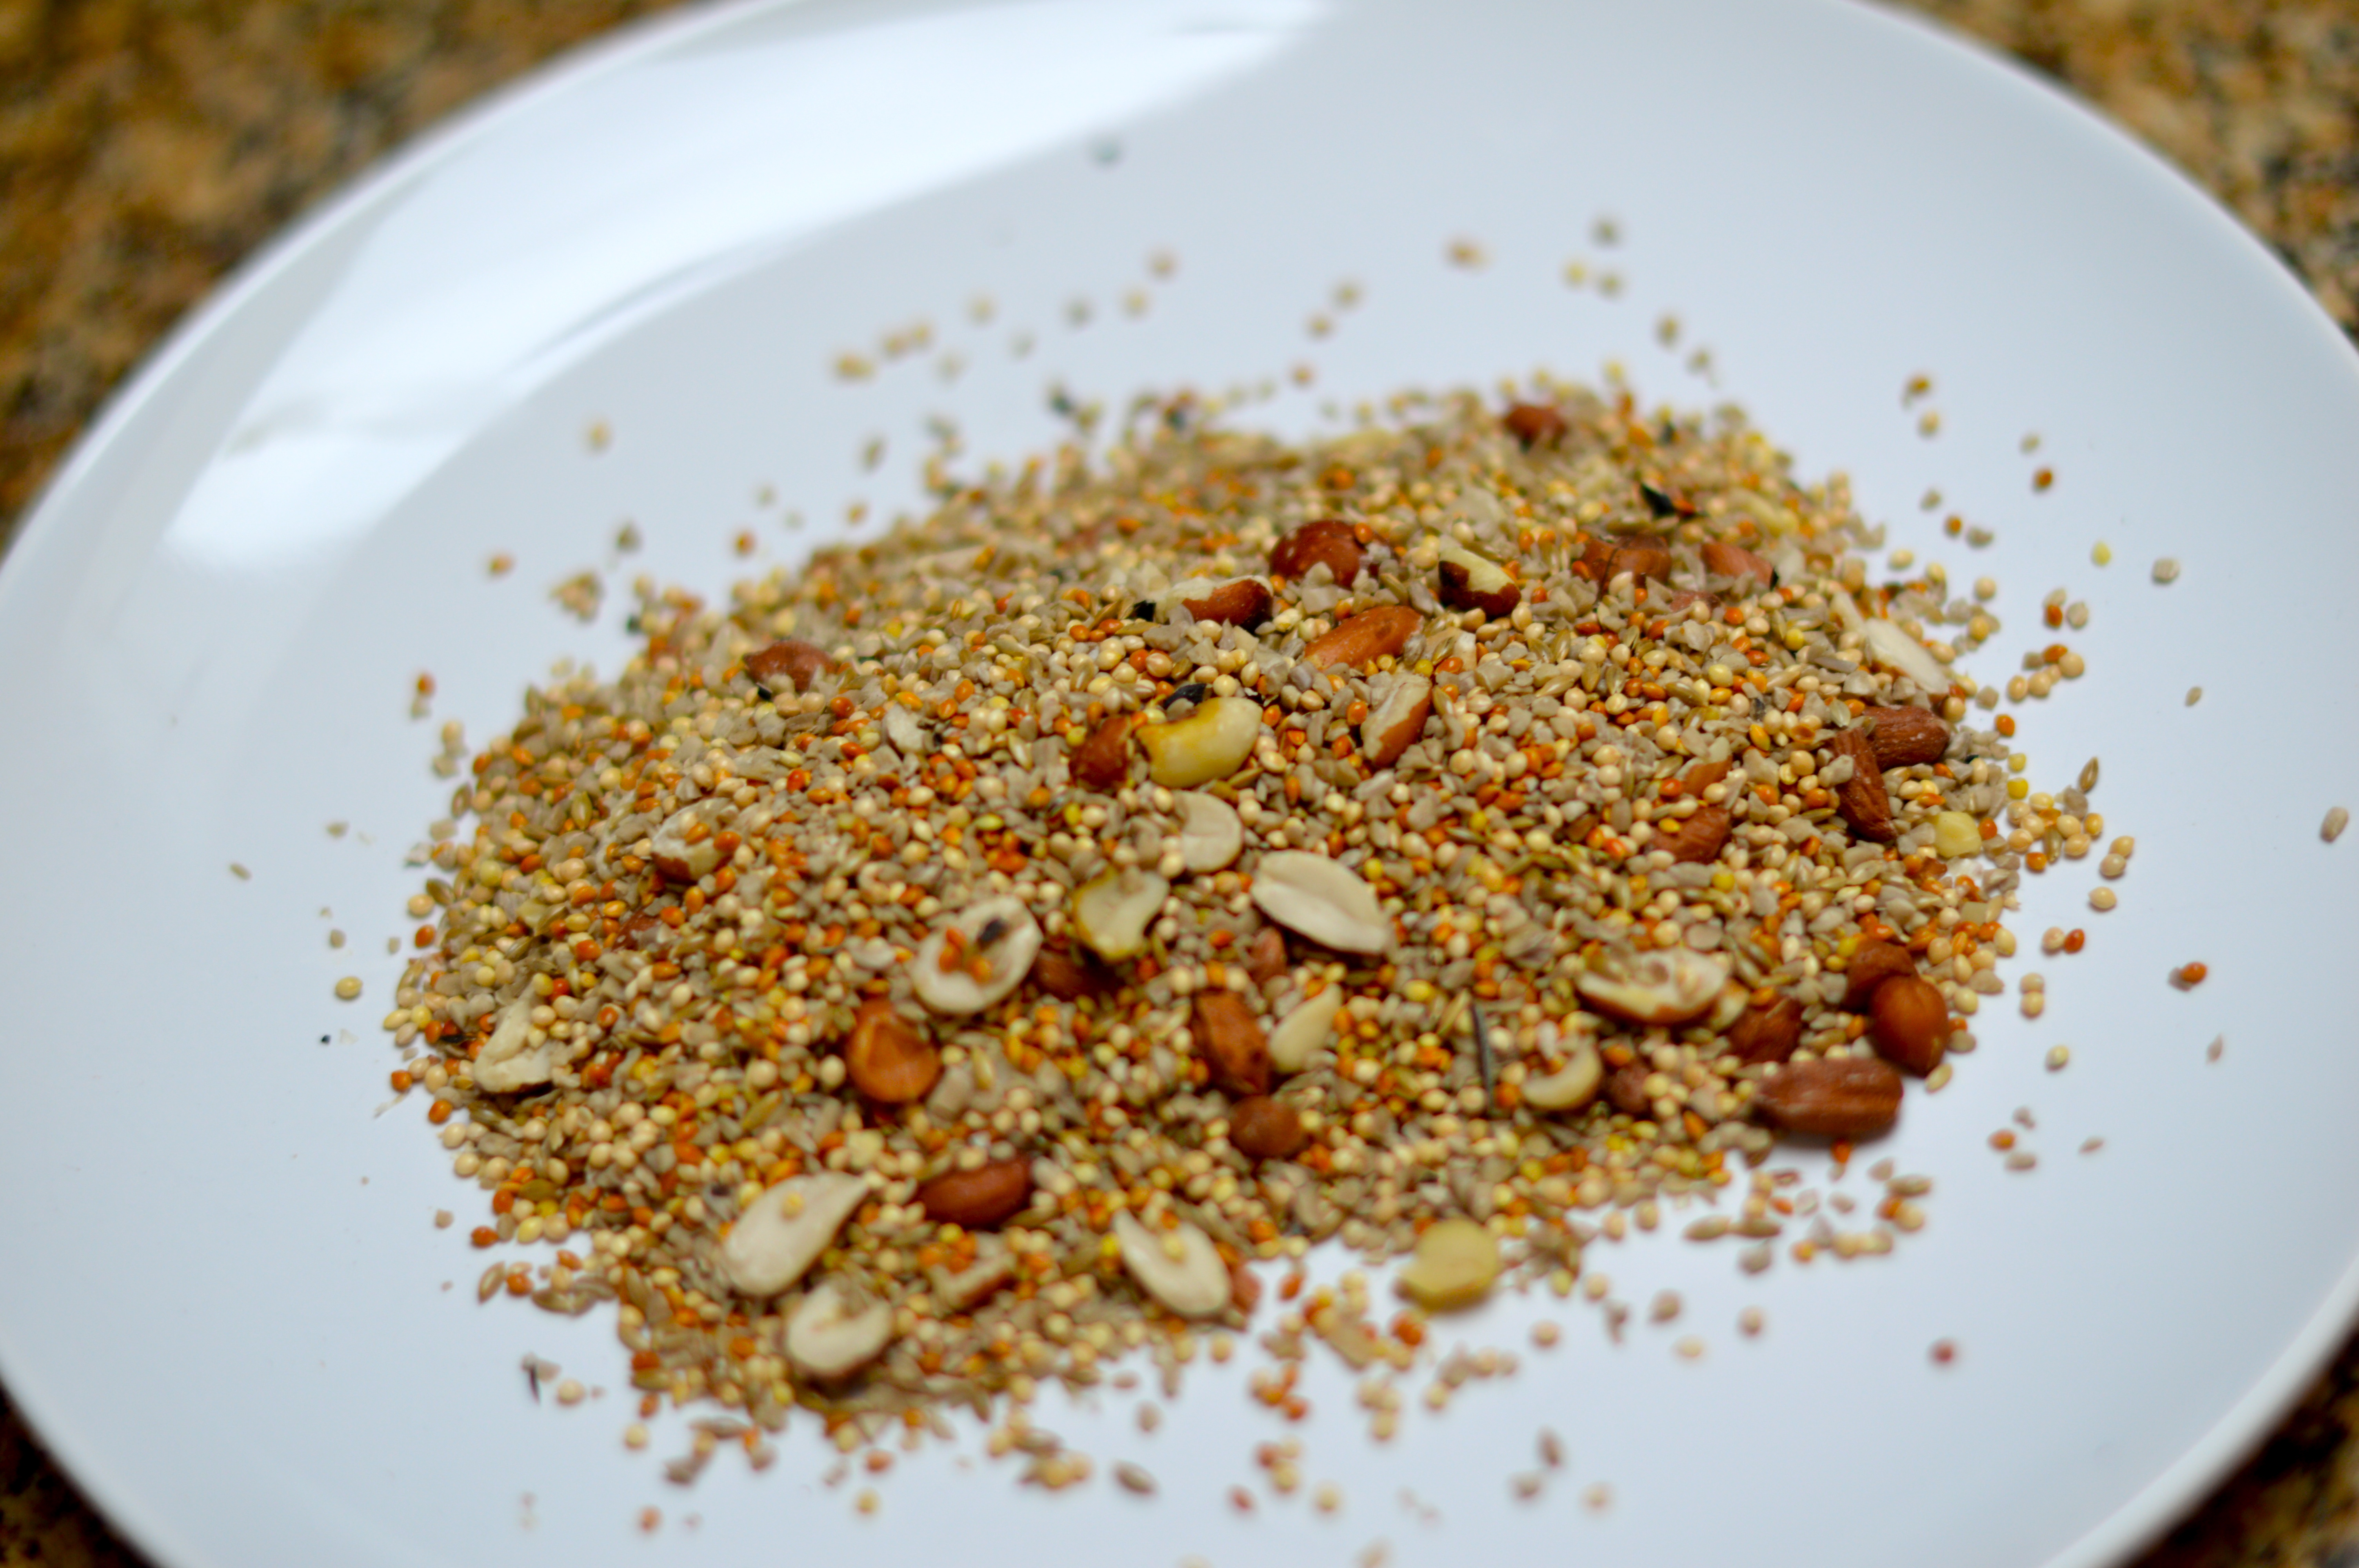
This is a quick and easy activity to do with the kids and it is so satisfying to see the birds (and squirrels) show up so regularly!  We used peanut butter, a pine cone that we found outside, and a birdseed mix from our local hardware store.  You can use any mix of peanut butter, vegetable shortening, or suet (a high-quality animal fat) and there are lots of choices of birdseeds.  One tip we have learned is that wire is necessary to hang the pine cone.  In years past, we have very hopefully hung our pine cones with string or yarn and were quickly thwarted by motivated squirrels that will bite through the string and steal the whole bird feeder!  So far, the wire has worked like a charm.

DSC_0001 DSC_0004 DSC_0007 DSC_0008 DSC_0011 DSC_0013 DSC_0014 DSC_0017 DSC_0018 DSC_0020 DSC_0021 DSC_0022

Pine Cone Bird Feeder

1 large pine cone

12 inch length of flexible wire (we used some picture hanging wire)

1 cup peanut butter

1 cup birdseed mix

Wrap the wire around the pine cone, leaving a length at the end to twist around a tree branch.  Spread peanut butter onto the pine cone, getting it into all the little crevices.  Then roll peanut butter-covered pine cone in seeds on a dish.  Hang from tree and watch the birds show up.  Remember to choose a tree branch that you can see from a window in your house.  It took the birds a day or two to discover our bird feeder, but it has been a week now and all the seeds and peanut butter are gone.  Time to make another one!

Enjoy!

Homemade Play Dough

It is Mid-Winter Break here in Seattle…

Does everyone have this funny break, or is it just us?  

Our family decided not to travel for this break, so instead, we’re digging deep with craft projects and getting a little messy!  Sometimes I see that it takes a week of no school stretching out in front of me before I am willing to commit to messing up the kitchen with crafts.  But I have to remember that the kids love it and (if I can let go of things being orderly) I do too.

Does everyone know how easy it is to make homemade play dough?  I am not saying we do this all the time (see above).  And we definitely have gone through our share of store-bought Play-Doh.  But truly, it is just a matter of making sure you have the ingredients in your pantry, a few minutes of mixing over the stove, and, Voila – you have super soft dough!

We were recently given a book from my sister-in-law called Lotions, Potions, and Slime by Nancy Blakey.  As much as I wish this wasn’t true, sometimes I’m more up for that stuff than others.  But, it reminded me of all sorts of ideas on how to encourage imaginative gooey play.  (Thanks, B!)  We were originally introduced to homemade play dough at Co-op Preschool and clearly there are lots of variations on quantities for this type of recipe, but this is the one we used yesterday.  It worked beautifully.  Be sure to have cleaning supplies at hand though, as getting messy is part of the… um, fun.

DSC_0007 DSC_0008 DSC_0010 DSC_0013 DSC_0032 DSC_0035 DSC_0037 DSC_0054

Classic Homemade Play-dough

Ingredients:

3 cups flour
1 1/2 cups salt
6 teaspoons cream of tartar (acts as a preservative)
3 cups water
3-4 tablespoons oil
2 tablespoons baker’s food coloring (available at Michael’s, Amazon, or other arts and crafts stores from Wilton)

Optional:
kool aid (for yummy smell)
glitter 

Directions:

Mix dry ingredients (flour, salt, cream of tartar) in a large pot.  Add the water and oil and stir over medium heat.  Add food coloring to arrive at desired shade.  Continue to cook and stir until dough thickens and gathers into a big ball.

Remove dough from heat and place onto a generously floured surface.  When dough cools, knead until dough is smooth.  Store in a plastic bag or covered bowl (no need to refrigerate).

Enjoy!

Snowflake Slump

DSC_0001

Oh the cold weather outside is frightful
But the fire is so delightful
And since we’ve no place to go
Let It Snow! Let It Snow! Let It Snow!!

For years, paper snowflake making has been a rite of passage in our home, welcoming in the winter season.  It is something our family does together and like many other families we decorate our windows with these paper creations.  But for years, we have been making snowflakes that are simply adequate.  This year, when the topic of snowflake making came up, my oldest son asked his grandmother if she had a book that would tell us how to make really beautiful snowflakes.  And, being the amazing grandma that she is, my mother went out to our local bookstore to ask about such a book.  Well, one thing led to another and a book was ordered.  (At this point in the story, I must say that I was a bit skeptical.  Keep in mind that the oldest of our three kids is six years old.  I figured that any book we came home with about “snowflake making” would be a complicated manual that would definitely be over his head; ending in a more frustrating versus helpful situation for my little perfectionist.)  But, I will say it here, I was completely wrong.  Our wonderful local bookstore, Island Books, found a fantastic book that has taken our mediocre snowflake making to the next level.  Until looking at this book, I really didn’t even know that I had been in a snowflake slump all these years!

Snowflakes: Creative Paper Cutouts by Cindy Higham touts that it can turn anyone into a snowflake pro, and I believe it.  The book includes 75 snowflake designs that include easy-to-follow directions and very clear pictures.  Buy the book, or just check out the photos below, for an example of how to make your home a winter wonderland.

DSC_0077 DSC_0095

Paper Snowflakes

Supplies necessary: white paper & scissors

  1. Begin by making your folded paper triangle from an 8.5″ x 11″ piece of paper.  Standard copy paper or something similar works best.
  2. If your paper is a rectangle, fold a top corner to opposite edge.  Cut off the paper that extends past the triangle you have folded.  Unfold your triangle and now you have a square.
  3. Refold your square into a triangle again and repeat one more time to make a triangle one quarter the size of your square.  It is worth noting here, the tighter and more perfect your folds are, the more perfect your snowflake will be.  But, even if it is not perfectly folded, it will still work.
  4. Fold your triangle into thirds.  Cut points off the bottom of your triangle in a straight line.  You are now ready to begin!
  5. Once your triangle is folded, you are ready to choose a design.

DSC_0080 DSC_0083

  1. Refold your square into a triangle again and repeat one more time to make a triangle one quarter the size of your square.  It is worth noting here, the tighter and more perfect your folds are, the more perfect your snowflake will be.  But, even if it is not perfectly folded, it will still work.
  2. Fold your triangle into thirds.  Cut points off the bottom of your triangle in a straight line.  You are now ready to begin!

DSC_0084 DSC_0085 DSC_0086 DSC_0087 DSC_0090

The beauty of this book is how simple it is.  All the designs are shown two ways: 1) as the snowflake will look once complete, and 2) as the folded triangle with lines necessary to cut in order to achieve that particular snowflake.  If you own this book, you can copy the photos and actually tape them onto your triangle for perfect cuts.  I was happy to simply look at the photos for inspiration and cut them in a “close enough” fashion.  You choose what makes you feel happy.

 DSC_0096 DSC_0097 DSC_0098 DSC_0099 DSC_0101 DSC_0111

 I love looking at how simple the cuts can be on the triangle image, and what kind of amazing snowflake you can create!  Our windows are covered and I am happy to say that many of them were created by my kiddo.

Happy Snowflake Making!

DSC_0005

Classic Raspberry Freezer Jam

DSC_0004

We made strawberry jam a few weeks ago and now it is time for raspberry.  Raspberry freezer jam is my absolute favorite.  It captures sunshine and summer for me all in one sweet bite.  Raspberries can be quite maddening, as their shelf life is so very short.  They are wonderful to eat that first day and I always find myself saving them, only to be disappointed that they don’t look quite as plump or luscious the next day.  With this in mind, I love to make loads of raspberry freezer jam in the summer and imagine grey February skies brightened by the spreading of this yummy goodness on my English muffin come winter.

DSC_0018

The process is almost exactly the same as with the strawberry jam.  I like to make no-cook freezer jam, as I feel that the freshness of the berries is maintained better than with cooked jam methods.  And, as I mentioned with the strawberry freezer jam, there is quite a lot of sugar in these recipes.  I guess I am one that tries to enjoy small amounts of the good stuff and not worry too much about it.  If you are interested in low sugar options, you will want to research low or no sugar needed recipes, as changing the amount in this recipe will result in your jam not setting properly.

Another fun thing about freezer jam is that it is a great activity to do with the kids!  There is no heat involved, so there is no risk of burning, as with other types of jams.  The skills involved are measuring, pouring, mashing and stirring.  The boys had a great time running the show and I loved that I could take the backseat on this project!  Taste testing is always the final treat!

DSC_0003 DSC_0005 DSC_0008 DSC_0009 DSC_0012 DSC_0014DSC_0023 DSC_0027 DSC_0030 DSC_0034 DSC_0048DSC_0036 DSC_0038 DSC_0046DSC_0040  DSC_0047

Classic Raspberry Freezer Jam

Ingredients

2 cups crushed raspberries

2 tablespoons fresh lemon juice

4 cups sugar

1 pouch liquid pectin (Certo)

zest of one lemon

Wash and rinse plastic containers with tight fitting lids.  Use 1 to 2 cup size containers.

Crush berries.  Sieve 1/2 of the pulp to remove some seeds, if desired. (I omit this step, as I don’t mind the seeds)

Measure exact amount of prepared fruit into a large bowl.

Measure exact amount of sugar into a separate bowl.  Stir sugar into prepared fruit.  Mix well.  Let stand 10 minutes; stir occasionally.  Stir pectin into lemon juice in a small bowl.  Stir pectin mixture into prepared fruit mixture.  Stir constantly until sugar is completely dissolved and no longer grainy, about 3 minutes.  (A few sugar crystals may remain.)

Mix in lemon zest.

Pour into prepared containers, leaving 1/2 inch space at top of container for expansion during freezing; cover.

Let stand at room temperature 24 hours until set.  Refrigerate up to 3 weeks.  Or store in freezer for up to 1 year.  Thaw in refrigerator.

Enjoy!!

Bean Bag Balls

It is Spring Break and that means lots of time for kid crafts and adventures!

We found a great project on Spoonful.com; bean bag balls!  These are cheap and easy to make, and best of all they turned out just like the picture!  I love that.  Once made, these squishy balls can be used for a game of toss or would be ideal for the novice juggler.  The feel also remind me of those “stress balls” from years ago… It is quite possible that this mama will be using them by the end of this fun, busy week!

What you’ll need:

  • 9 (11-inch) balloons (for 3 balls)
  • Funnel
  • 2 1/4 cups of dried lentils
  • Scissors
  • Skewer or chop stick (not included on the original directions, but we found it helpful to push the lentils down the funnel.)

How to make it:

  1. Stretch the first balloon by inflating it halfway, holding it closed for about 30 seconds, and deflating it.
  2. Place a funnel in the balloon’s neck and gradually pour in 3/4 cup of lentils, pushing them in as you go. The balloon should be firm but squeezable.
  3. Snip off the balloon’s thick rubber lip. Cut the neck off a second balloon and gently stretch the opening.
  4. Ease the second balloon over the filled balloon, tucking in the neck as you go.
  5. Cut the neck off the third balloon, stretch the opening, and ease it over the other two. Repeat this process to make a set of three balls, or however many you’d like.

Tips:  We ended up using about 1/2 cup of lentils instead of the 3/4 cup recommended.  It was extremely helpful to inflate the first balloon all the way before holding it for the thirty seconds.  This helps to make sure the balloon is stretched out before beginning the funnel step.  A nicely stretched out balloon made filling much easier!  We also used a skewer to help push the lentils down the funnel.  The kids had a great time picking out their personal color combinations and helping both to measure and fill.

DSC_0134 DSC_0135 DSC_0137 DSC_0138 DSC_0141 DSC_0143 DSC_0144 DSC_0145 DSC_0146

This was a fun project that I would definitely recommend.  And, since making the balls didn’t use all the balloons we purchased, we had the secondary activity of blowing up the rest of the balloons and playing in the backyard for the afternoon!

Happy Spring Break!

This slideshow requires JavaScript.