Busy Life Black Bean Soup

I have been terribly slow posting so far this year and it is not because I am not thinking about the blog (and you).  It feels as though between PN (post-nanny), additional kid activities, and some exciting projects that I can’t share with you (quite yet), there is just very little time left in the day.  But clearly we still eat, so you might still be interested in knowing what we eat when things feel totally hectic and nuts.  It is not super glamorous, but this Black Bean Soup from Rachel Ray is a healthy staple that Gus and I rely on.  We eat it almost every other week in the winter months.

This is such a super simple recipe, it almost seems crazy to share it.  But I have thought about it many times and I feel like I am holding something back from you by not telling you about it, as it literally saves us on nights where we don’t feel like cooking but want to eat something healthy and delicious.  We always cook a double batch and then freeze additional portions in couple-sized quantities.  Then, on busy nights, we pull it out of the freezer, serve it over a bowl of rice, add avocado, sour cream, cheese, chicken, or anything else we happen to have in the fridge.  We up the quantities of vegetables from Rachel’s version, and sometimes we throw in a can of refried beans to add thickness. When we have leftovers, sometimes this will be the filling to burritos the next night.  What I love most about it is that it is one of those recipes that seems to turn out well no matter what I do to it.

DSC_0014 DSC_0017 DSC_0021 DSC_0024 DSC_0028 DSC_0029 DSC_0032 DSC_0035 DSC_0039 DSC_0041 DSC_0043 DSC_0045 DSC_0048 DSC_0051 DSC_0053 DSC_0055 DSC_0056 DSC_0059 DSC_0066 DSC_0067 DSC_0069 DSC_0073 DSC_0076 DSC_0077 DSC_0080 DSC_0086

Black Bean Soup

adapted from Rachel Ray’s Black Bean Stoup

Ingredients:

2 tablespoons extra- virgin olive oil, 2 turns of the pan
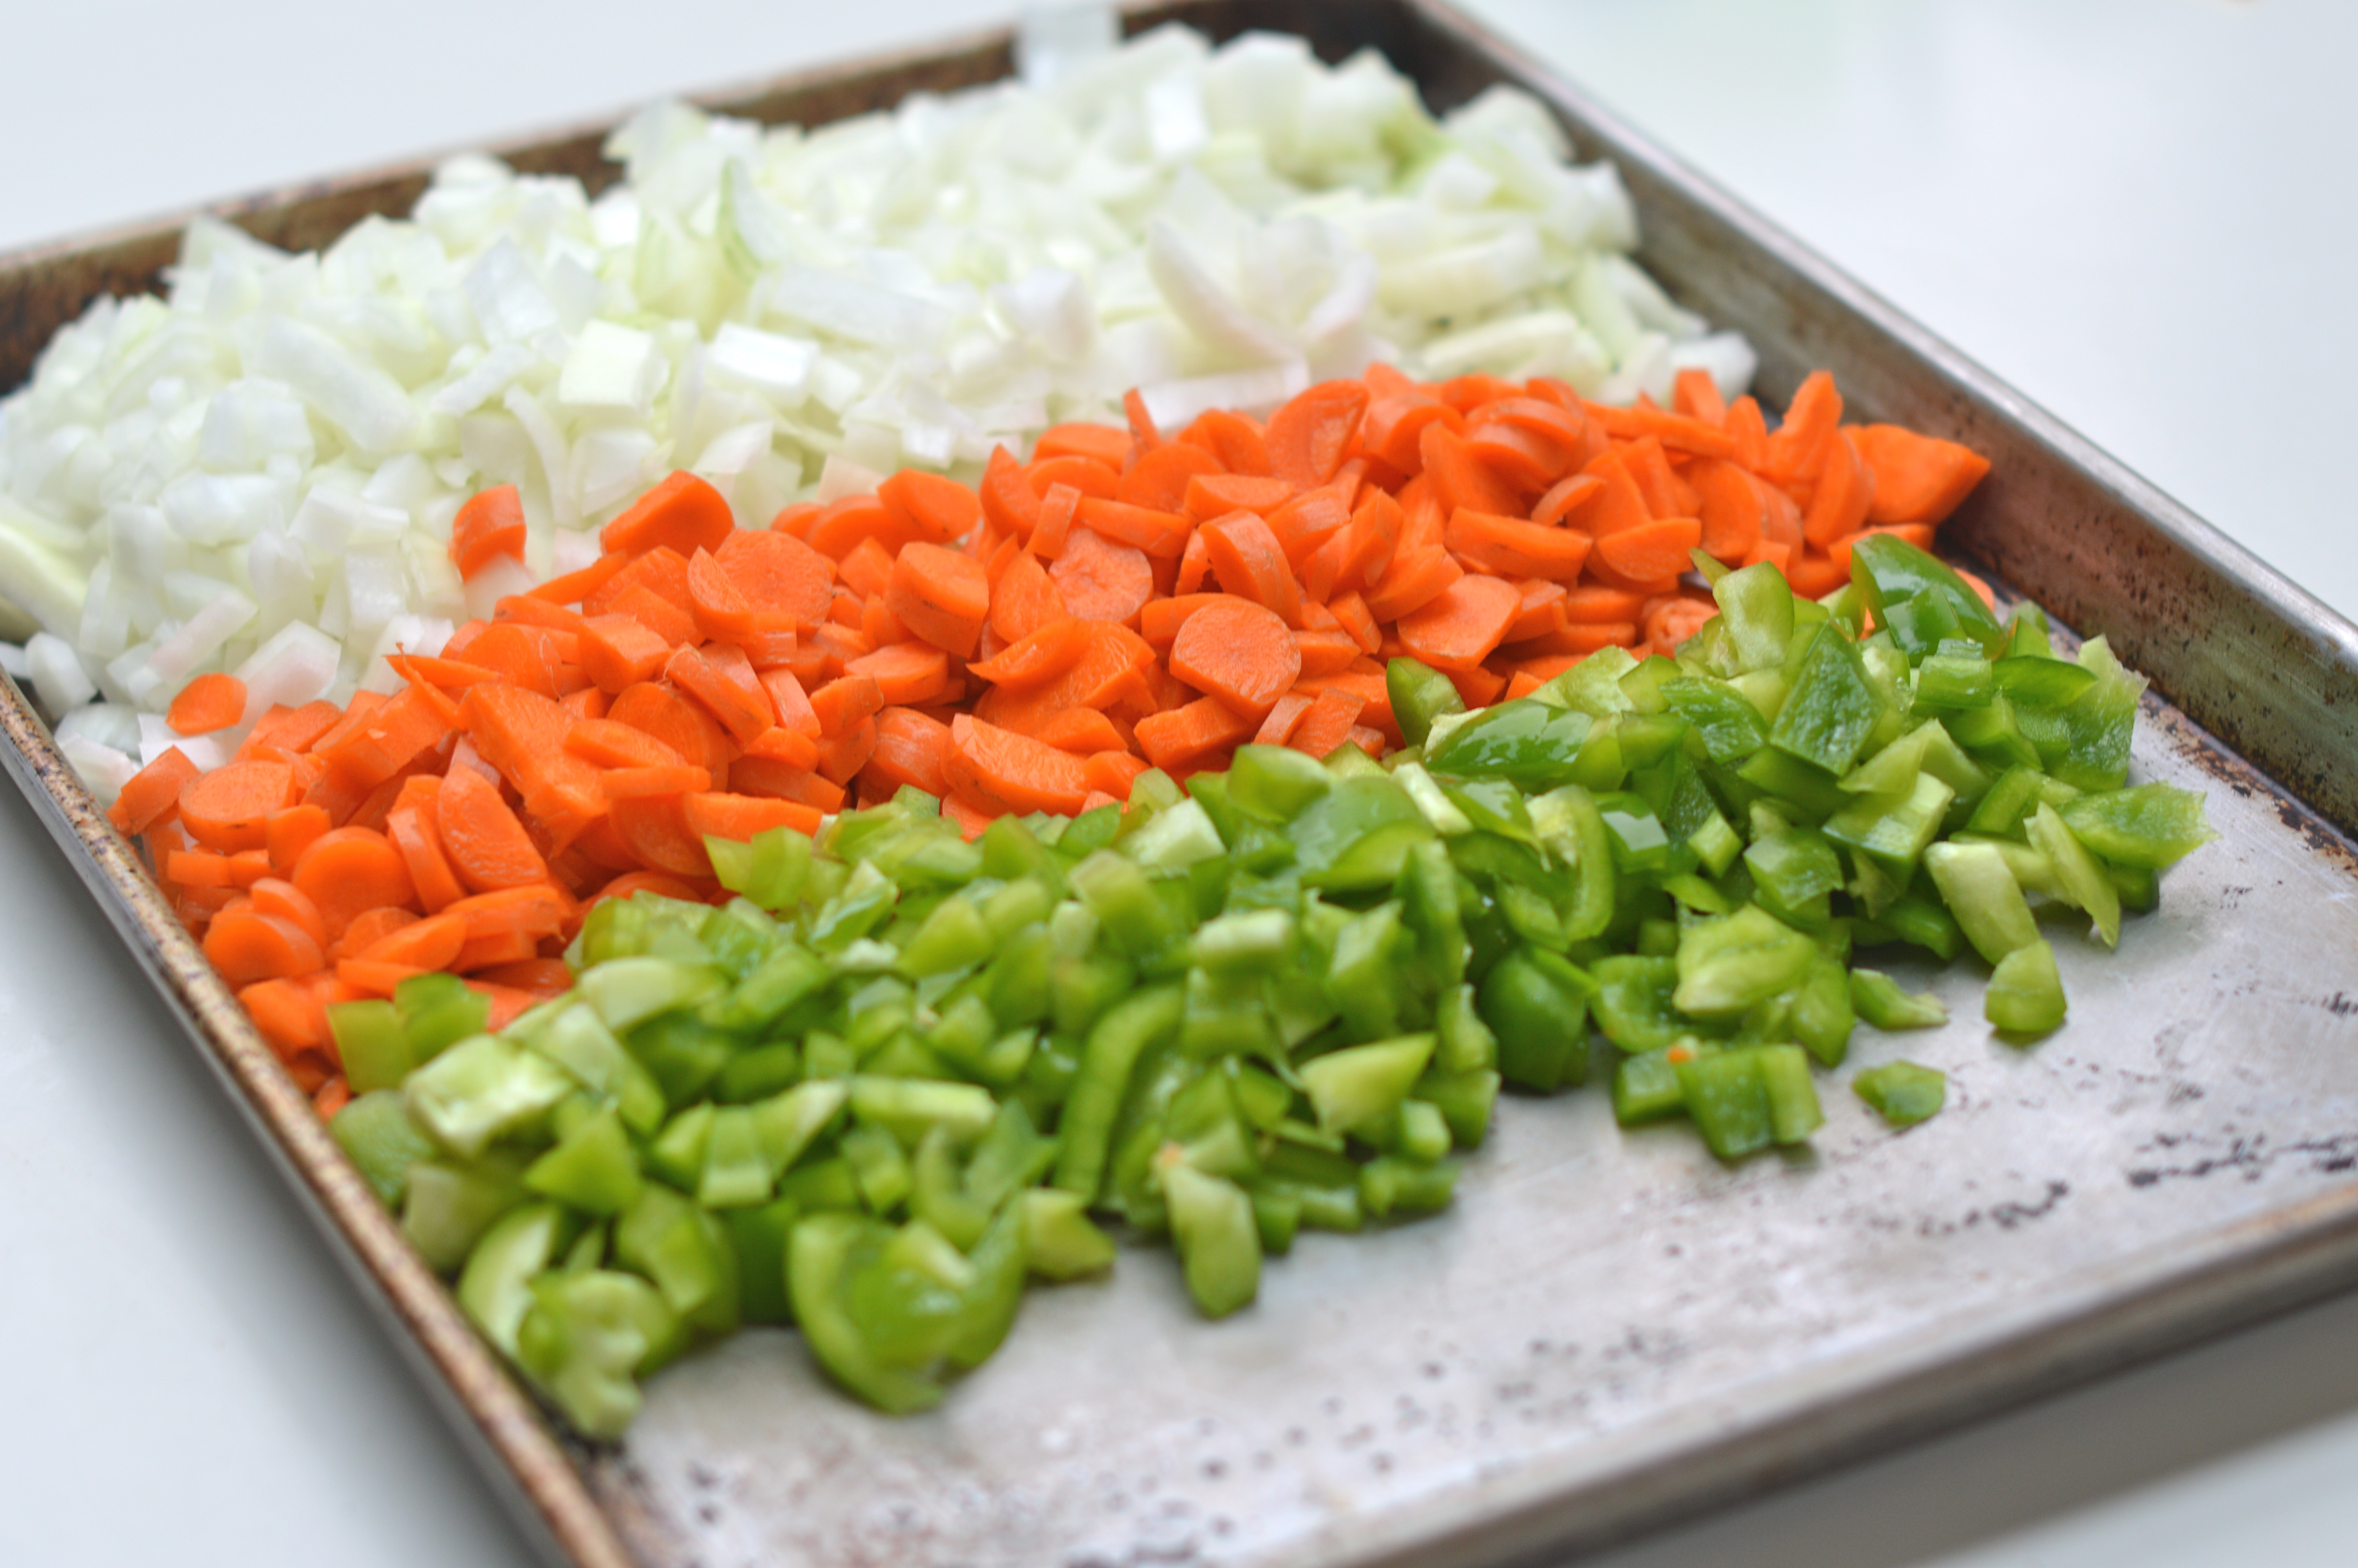
1 large onion, chopped
3 ribs celery with greens, chopped
4 cloves garlic, chopped
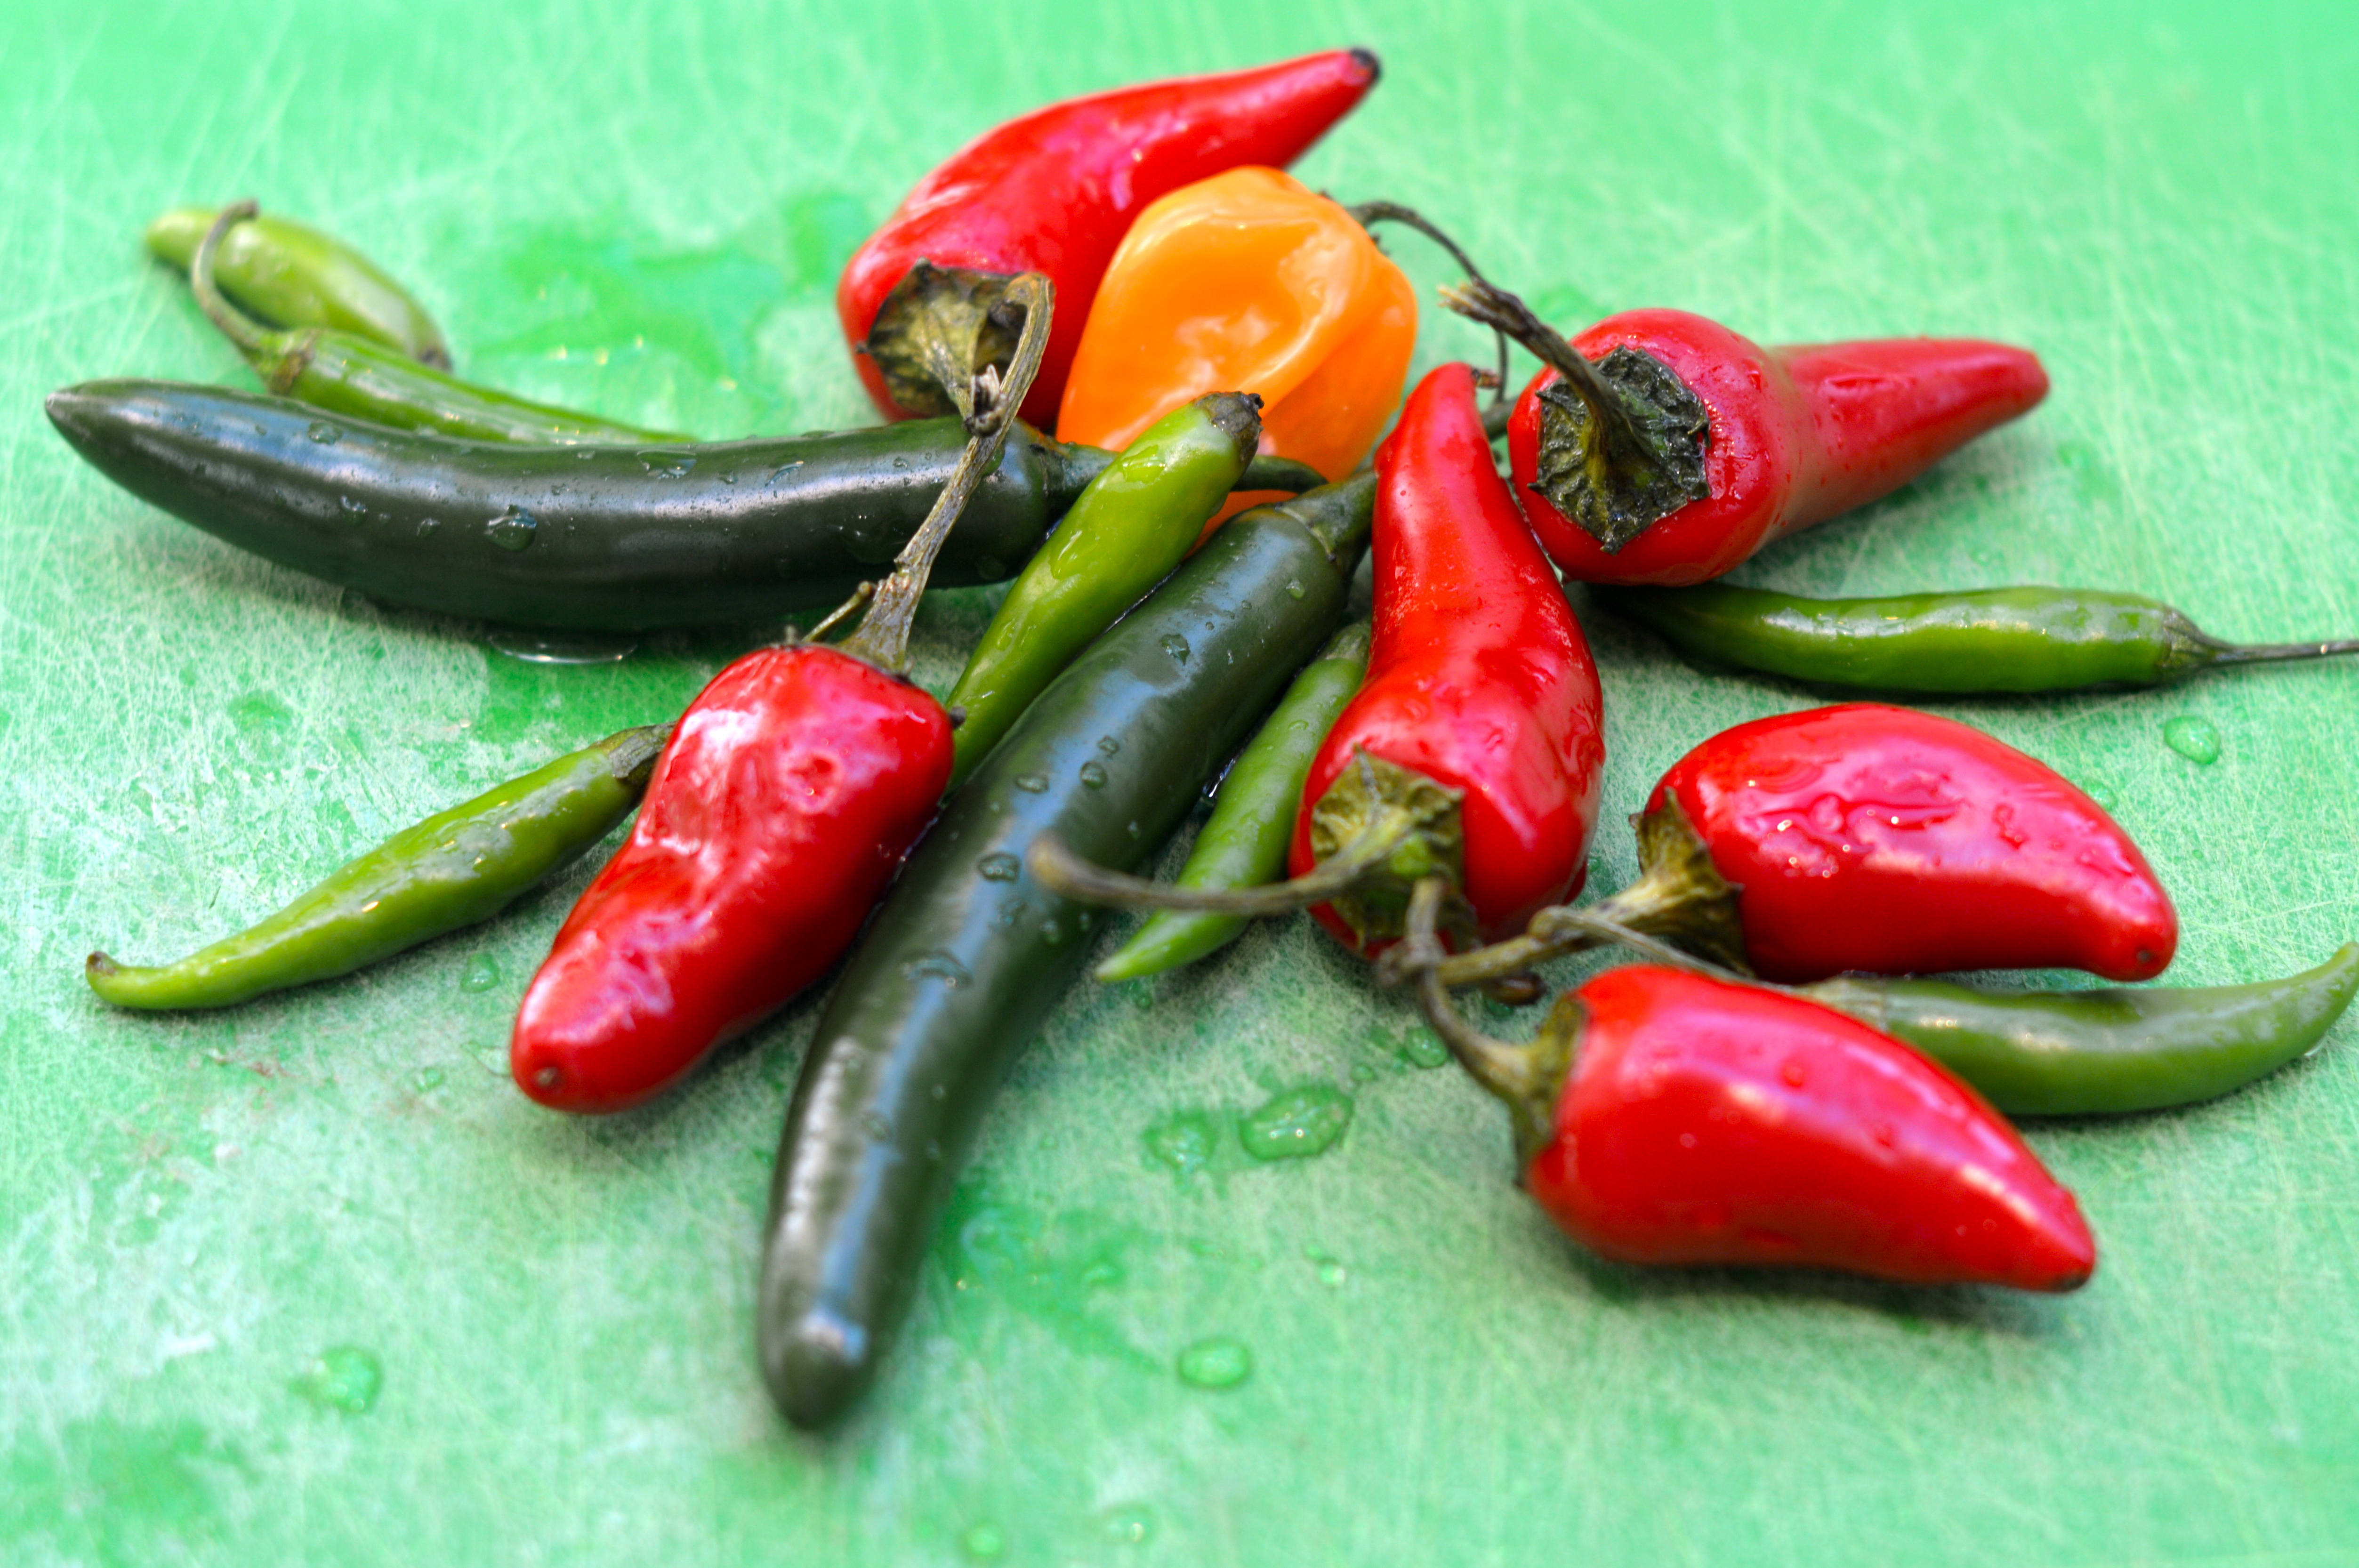
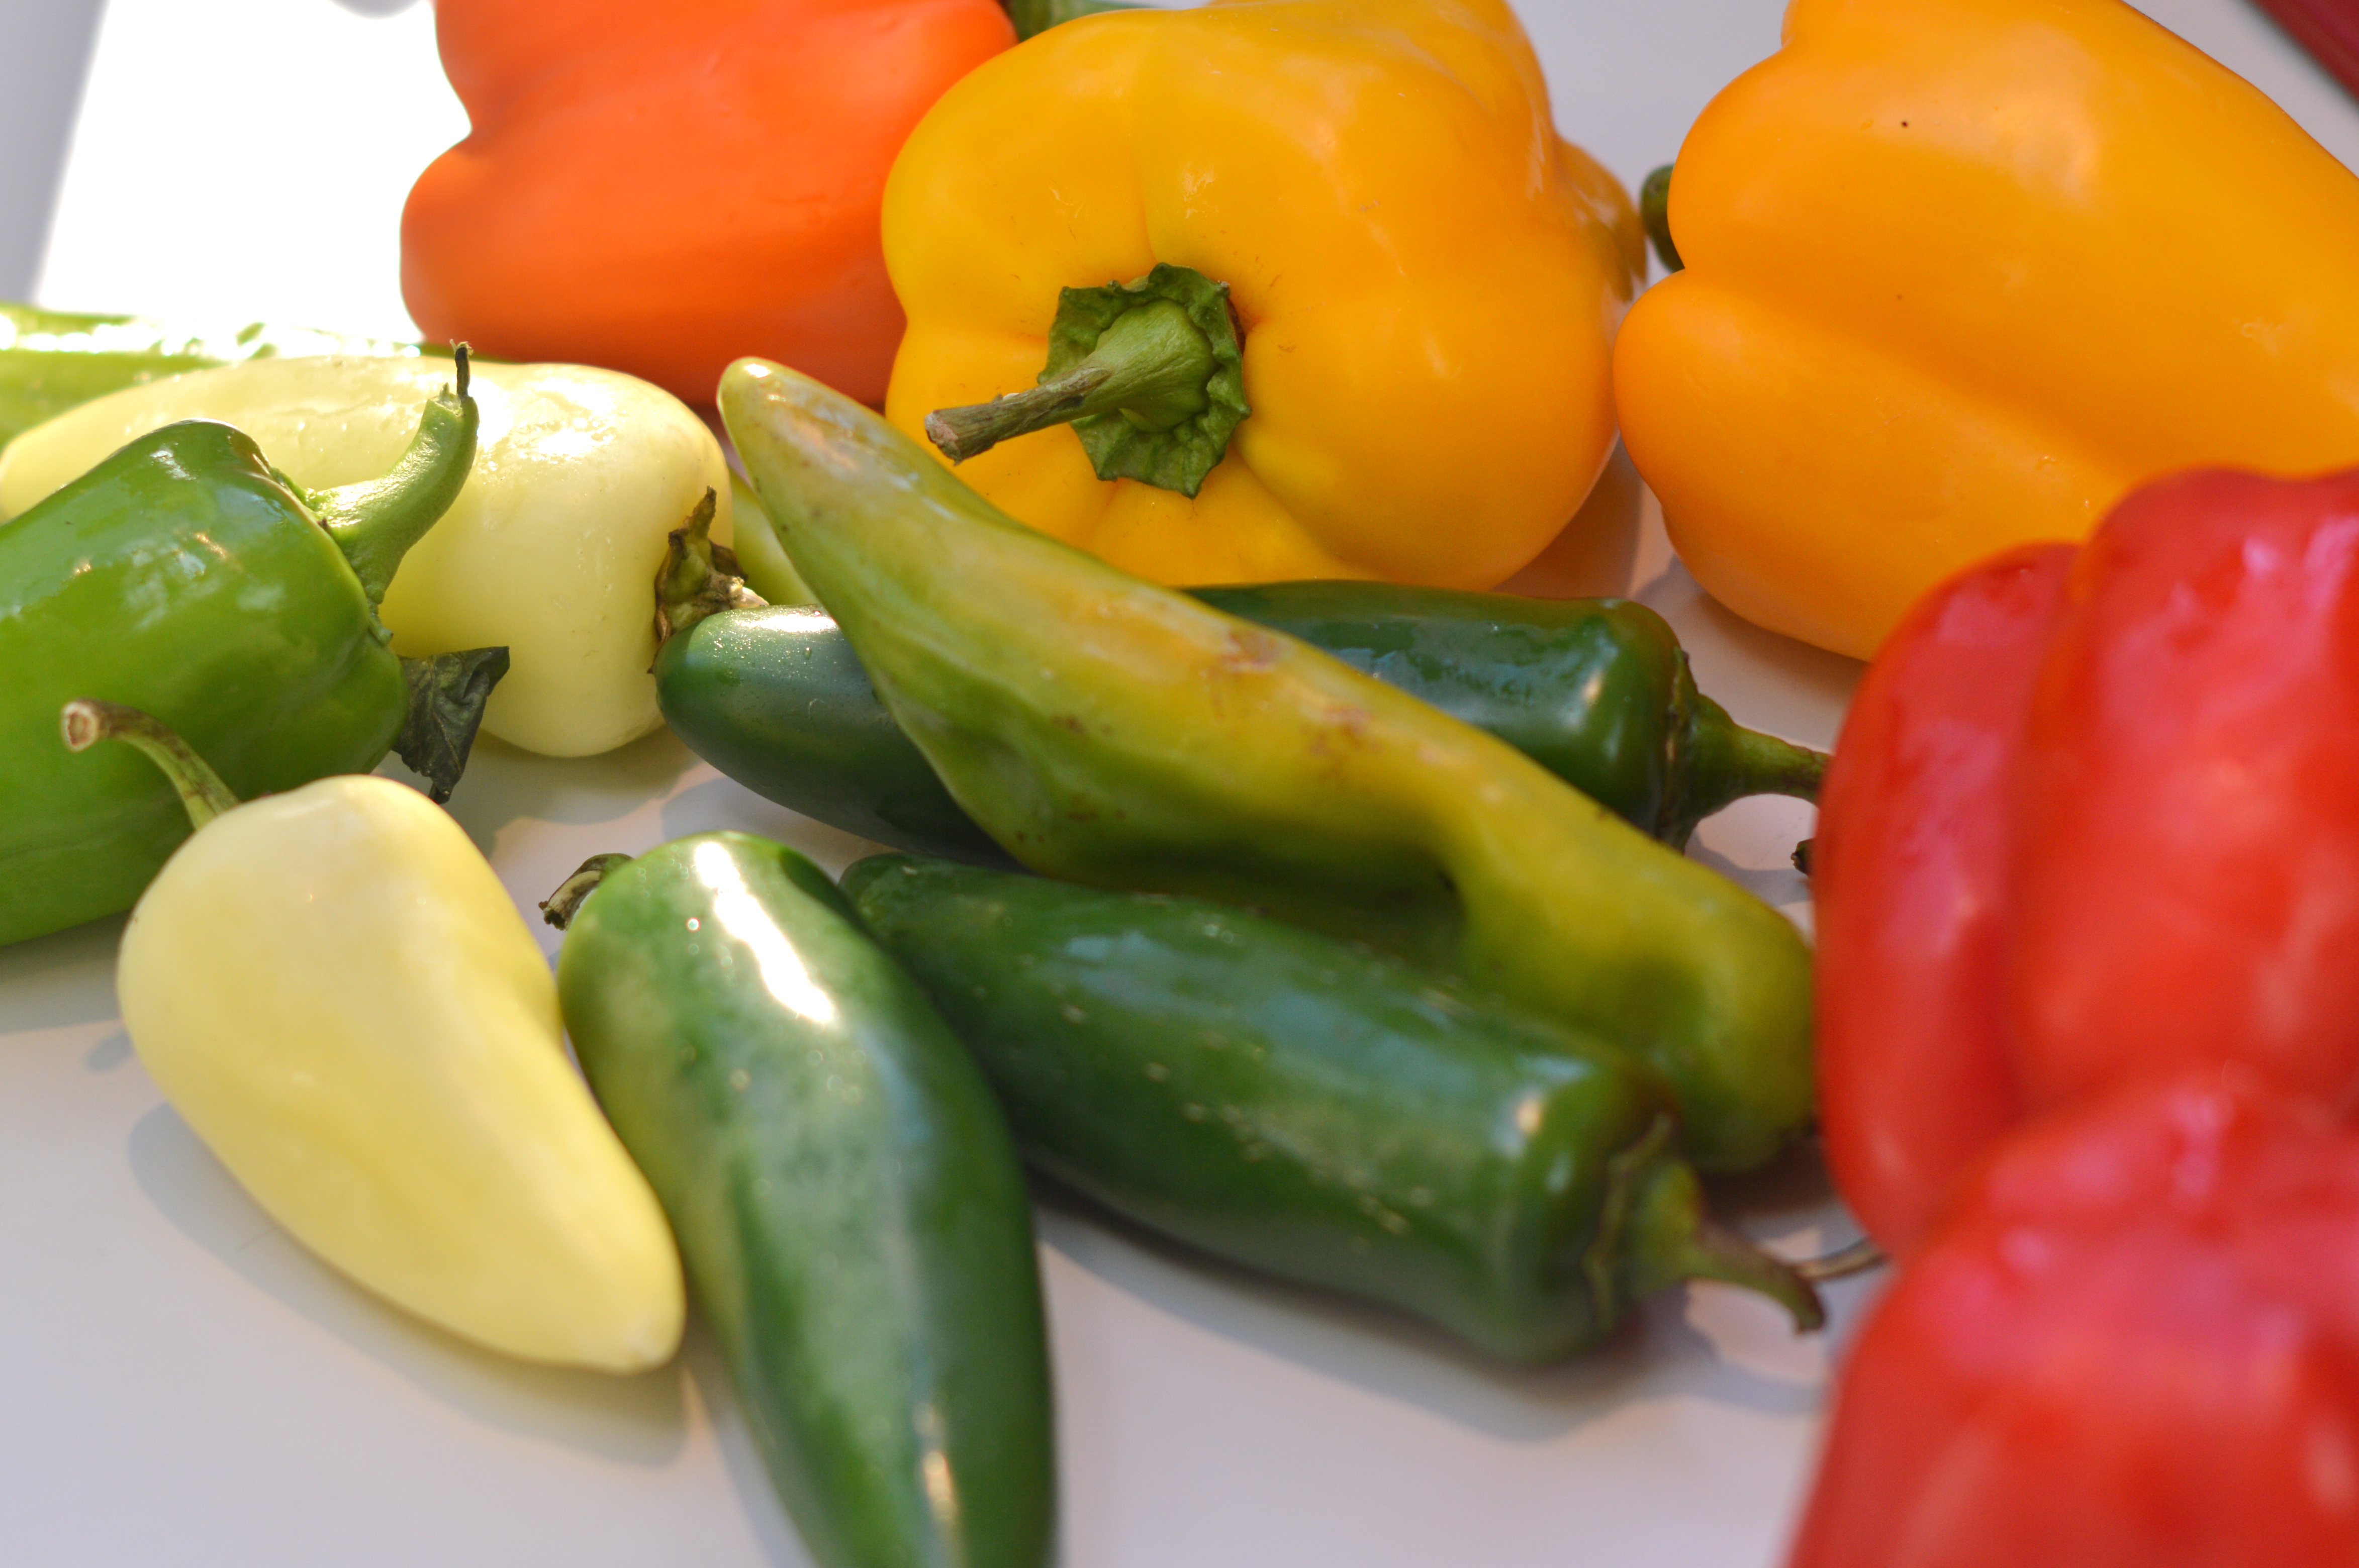
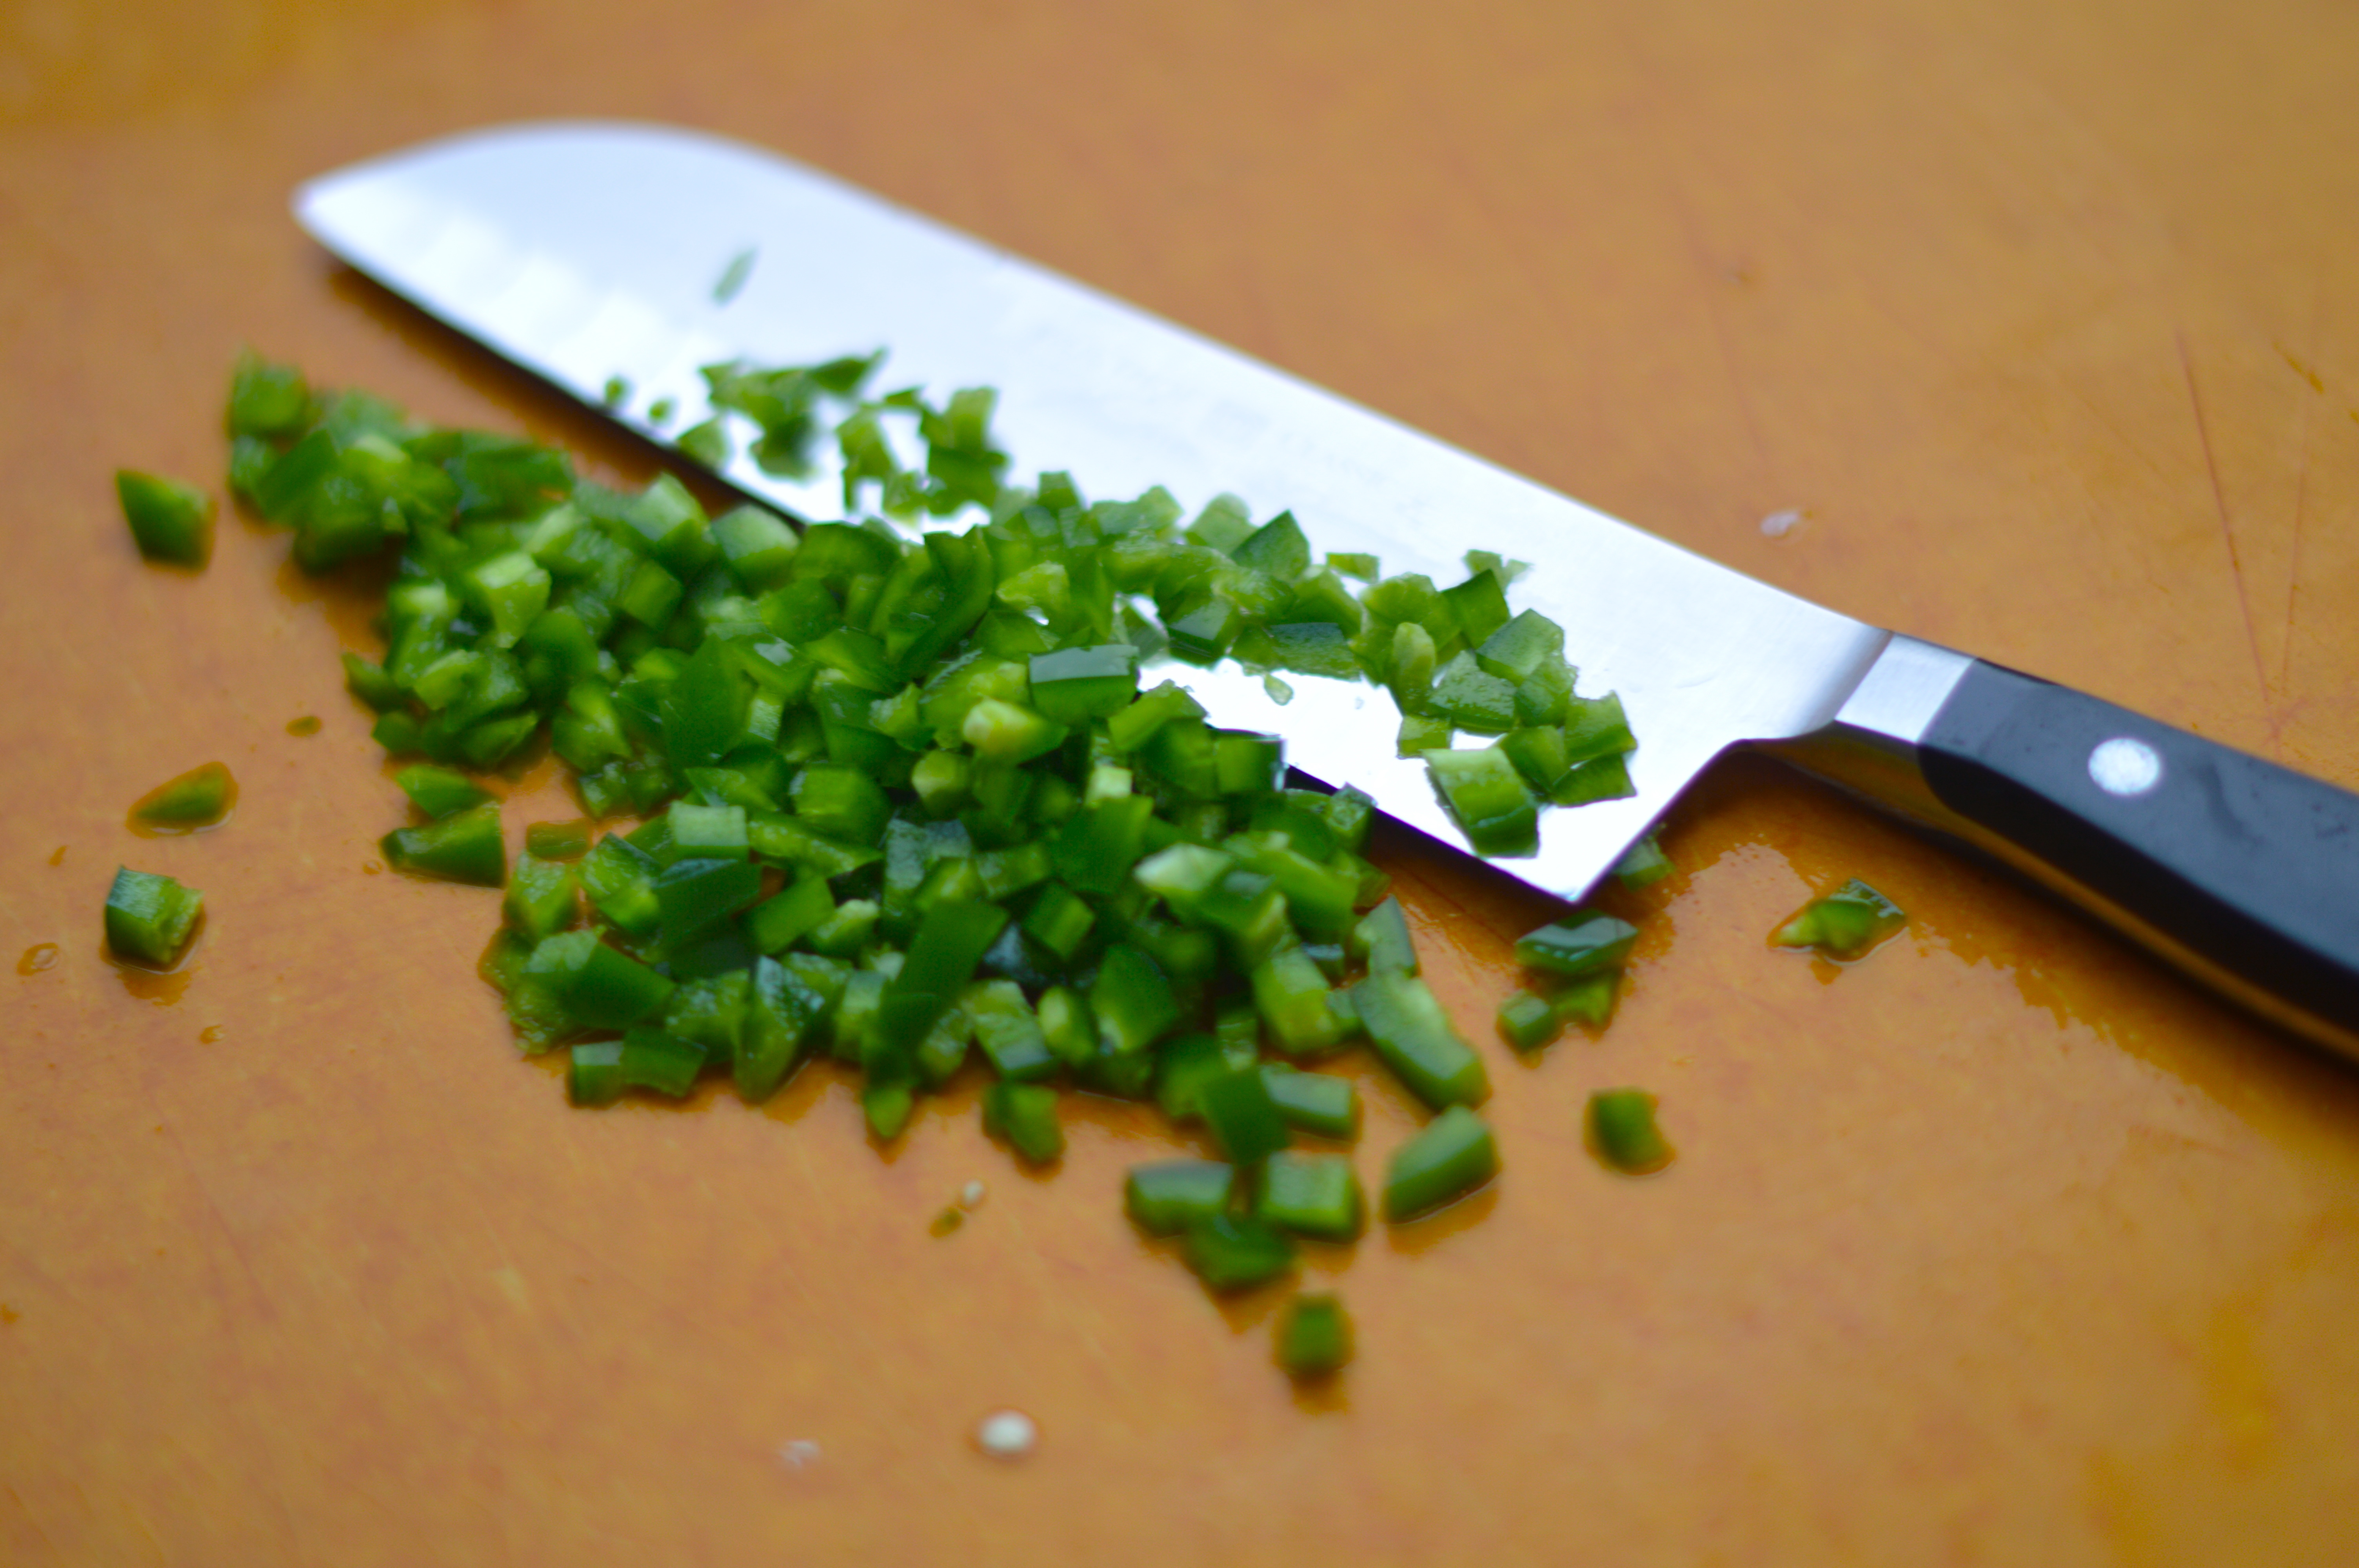
1 jalapeno pepper, seeded and chopped
1 fresh bay leaf or 1 large dried bay leaf
1 green bell pepper, seeded and chopped
1 red or yellow bell pepper, seeded and chopped
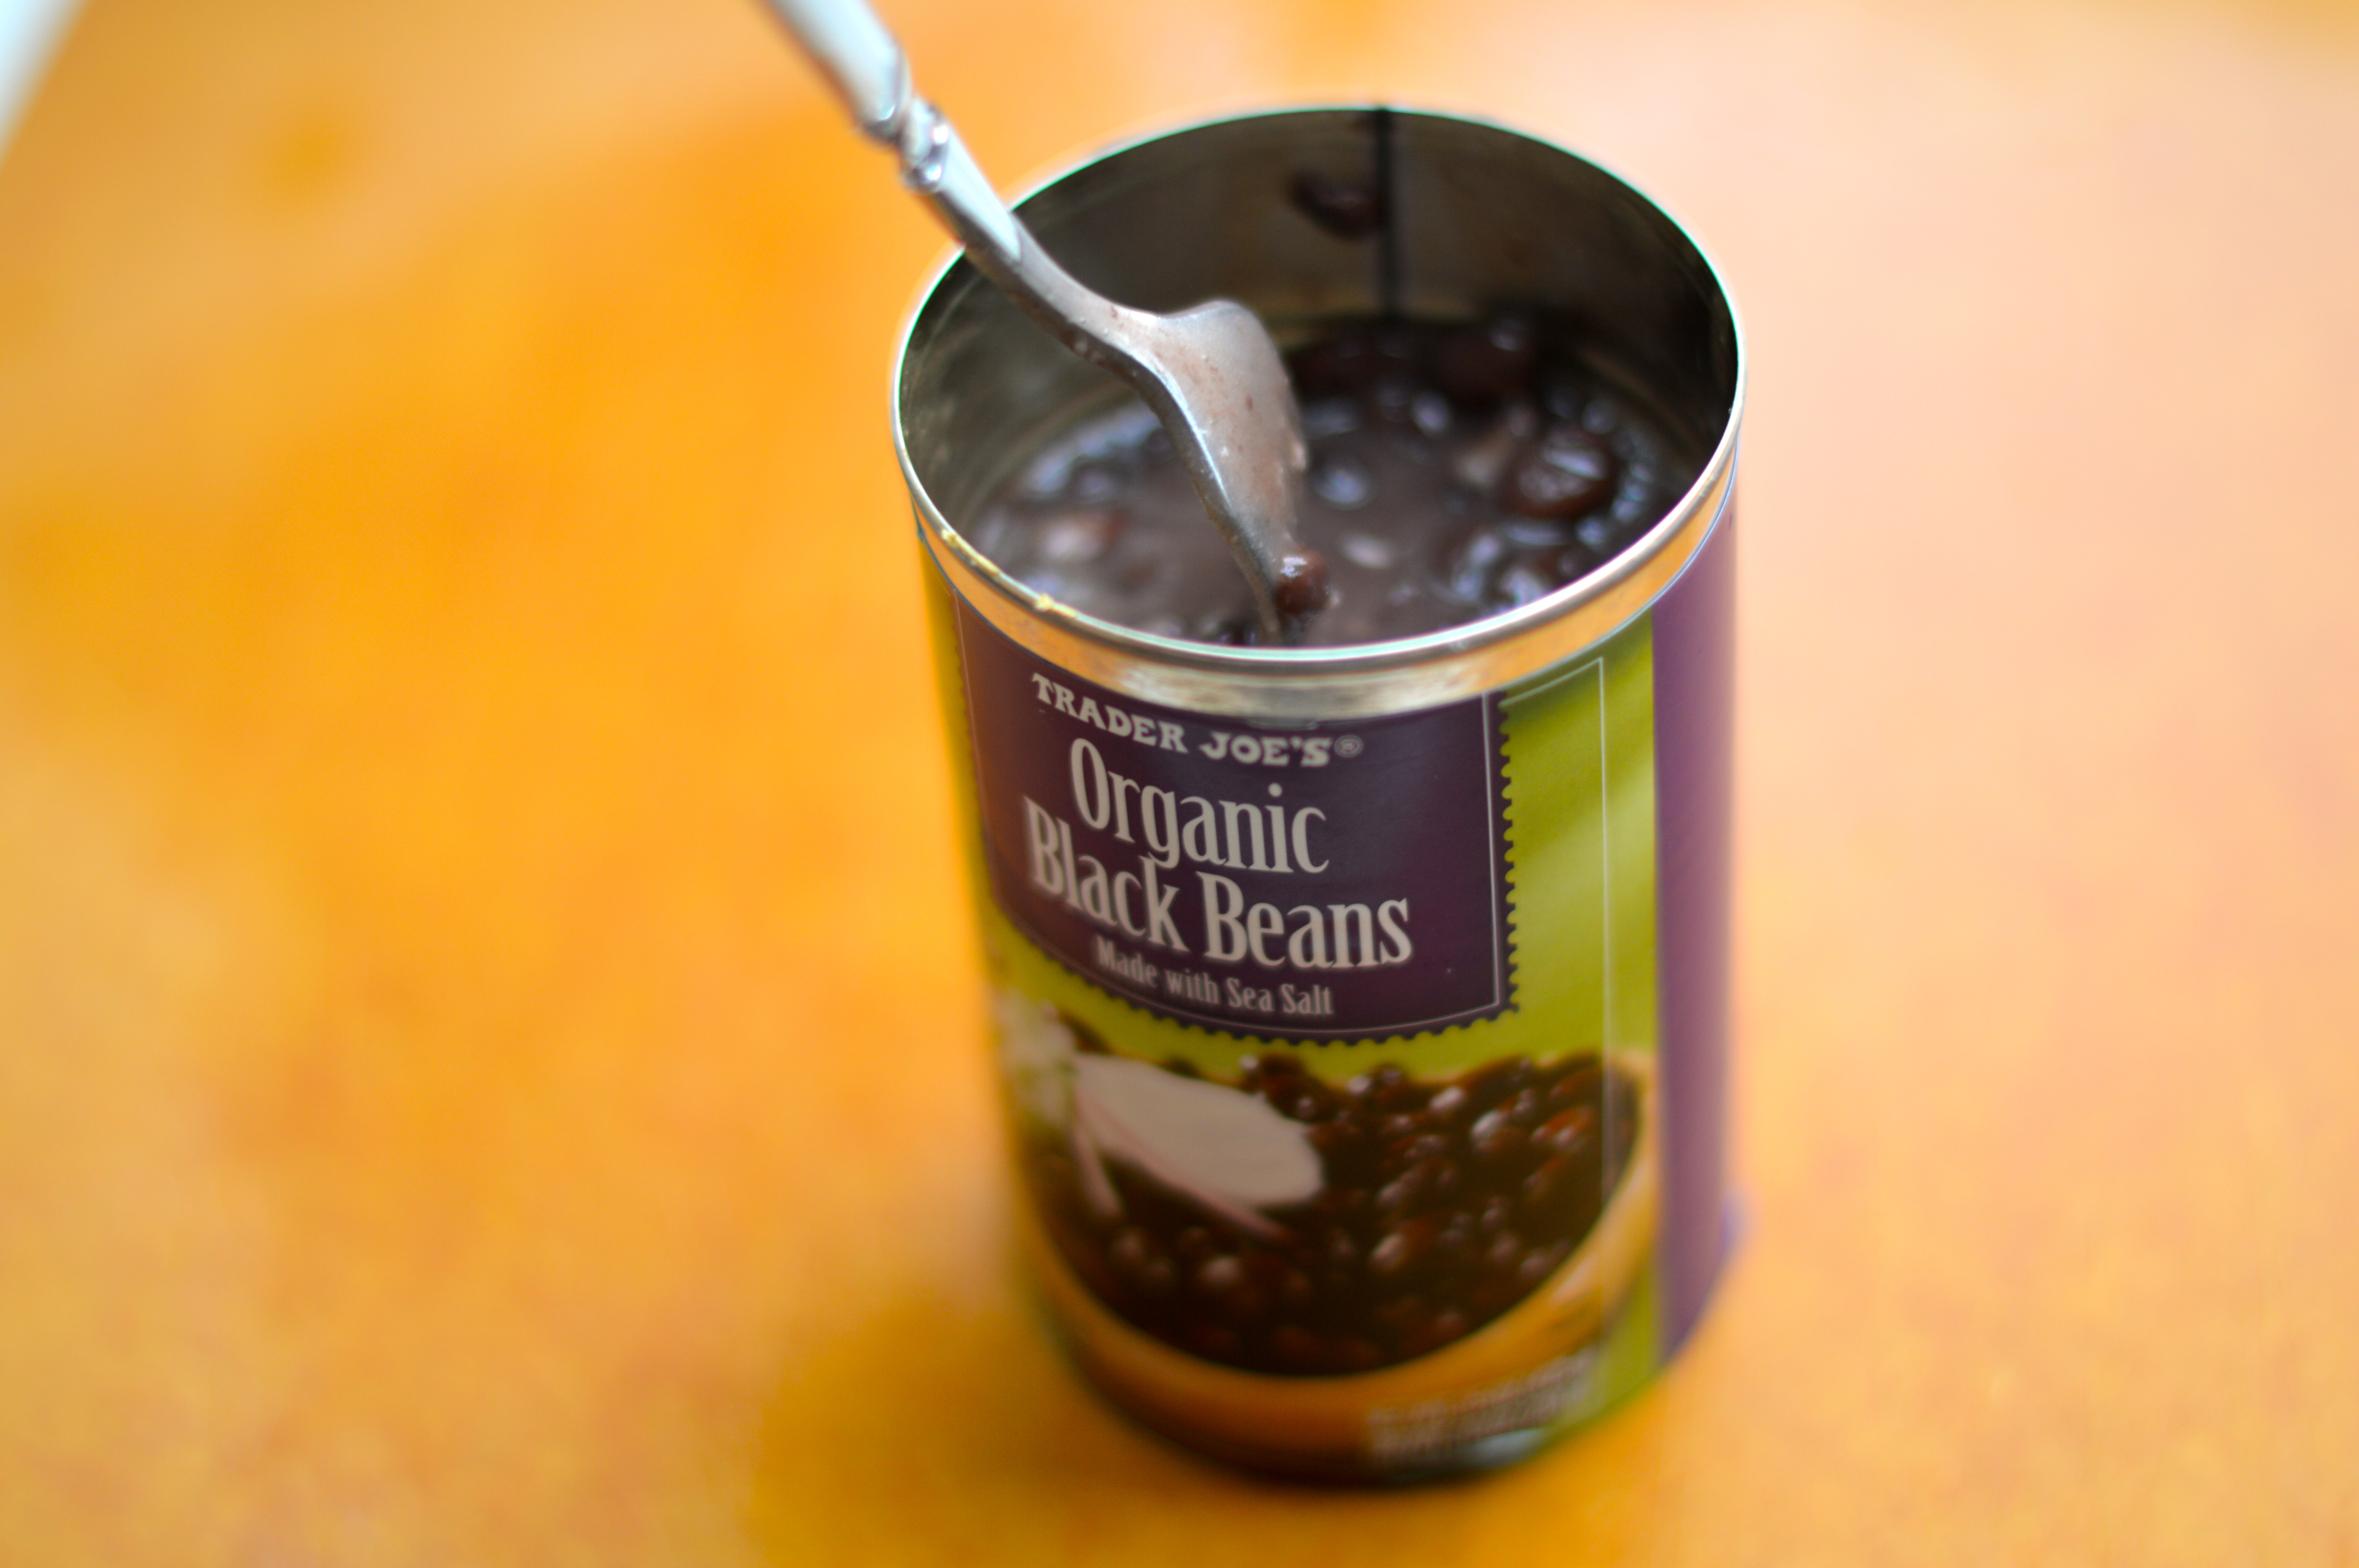
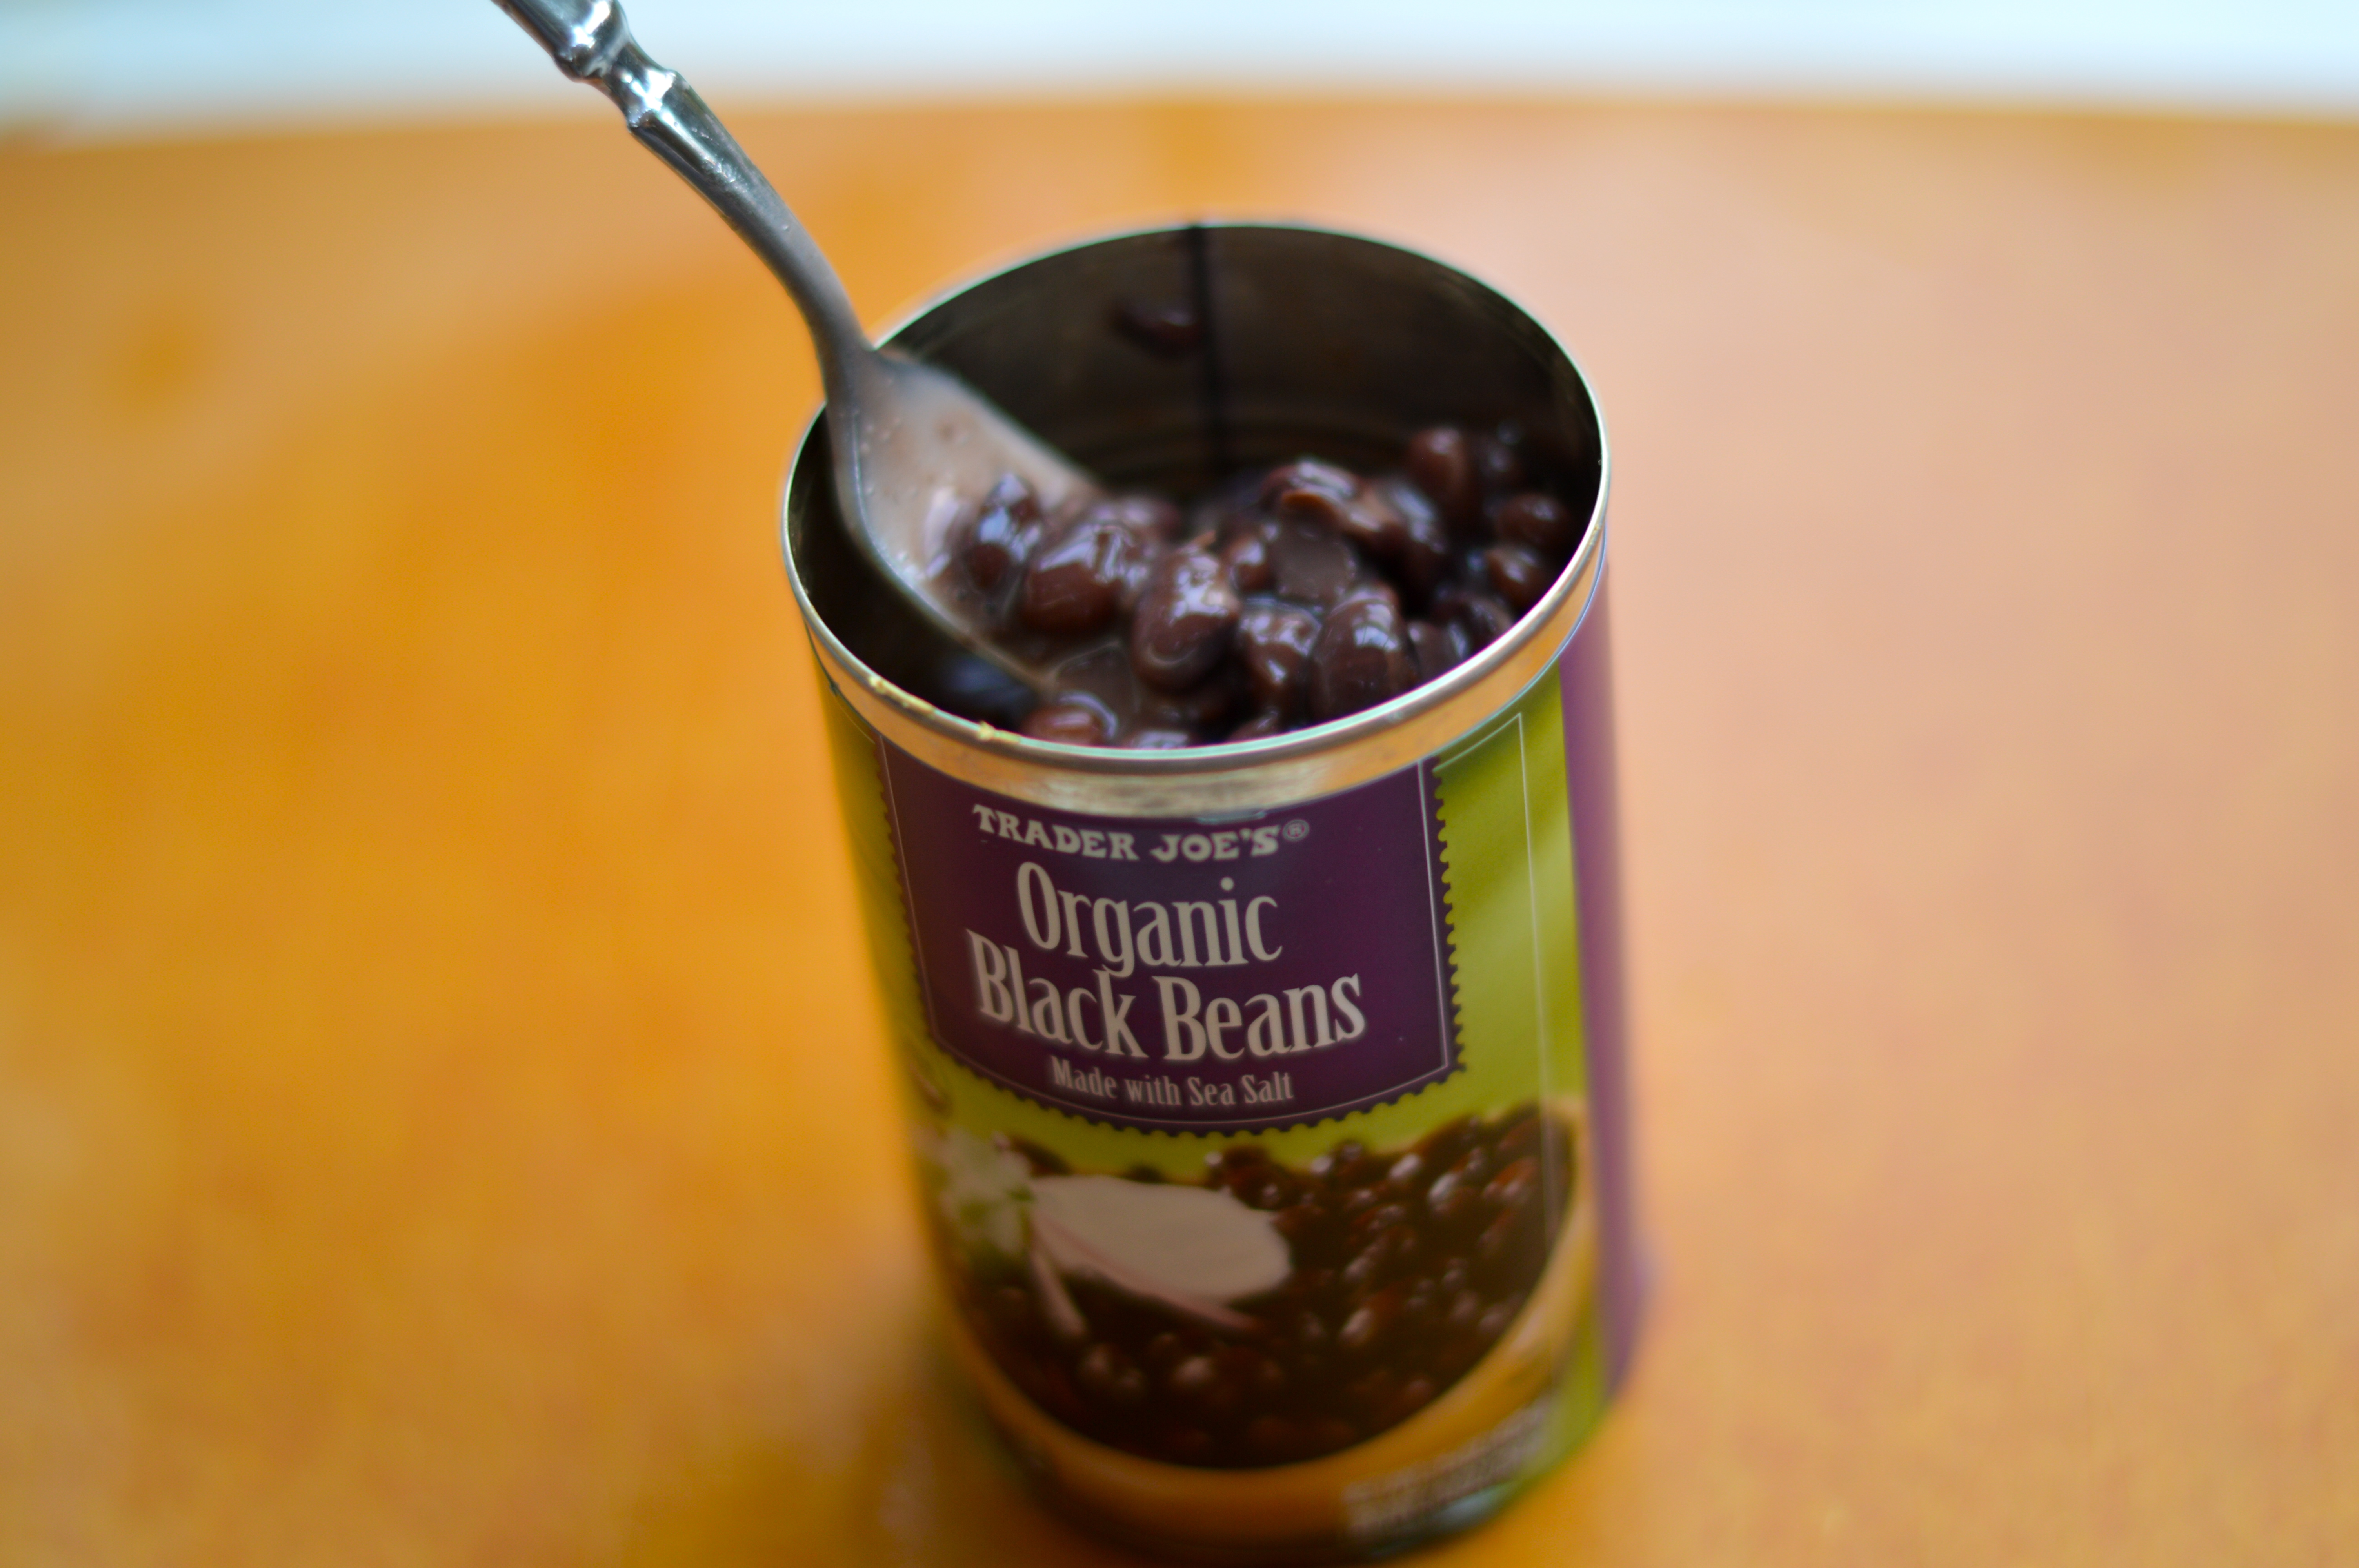
3 (15-ounce) cans black beans
2 tablespoons ground cumin, a couple of palms full
1 1/2 teaspoons ground coriander, 1/3 palm full
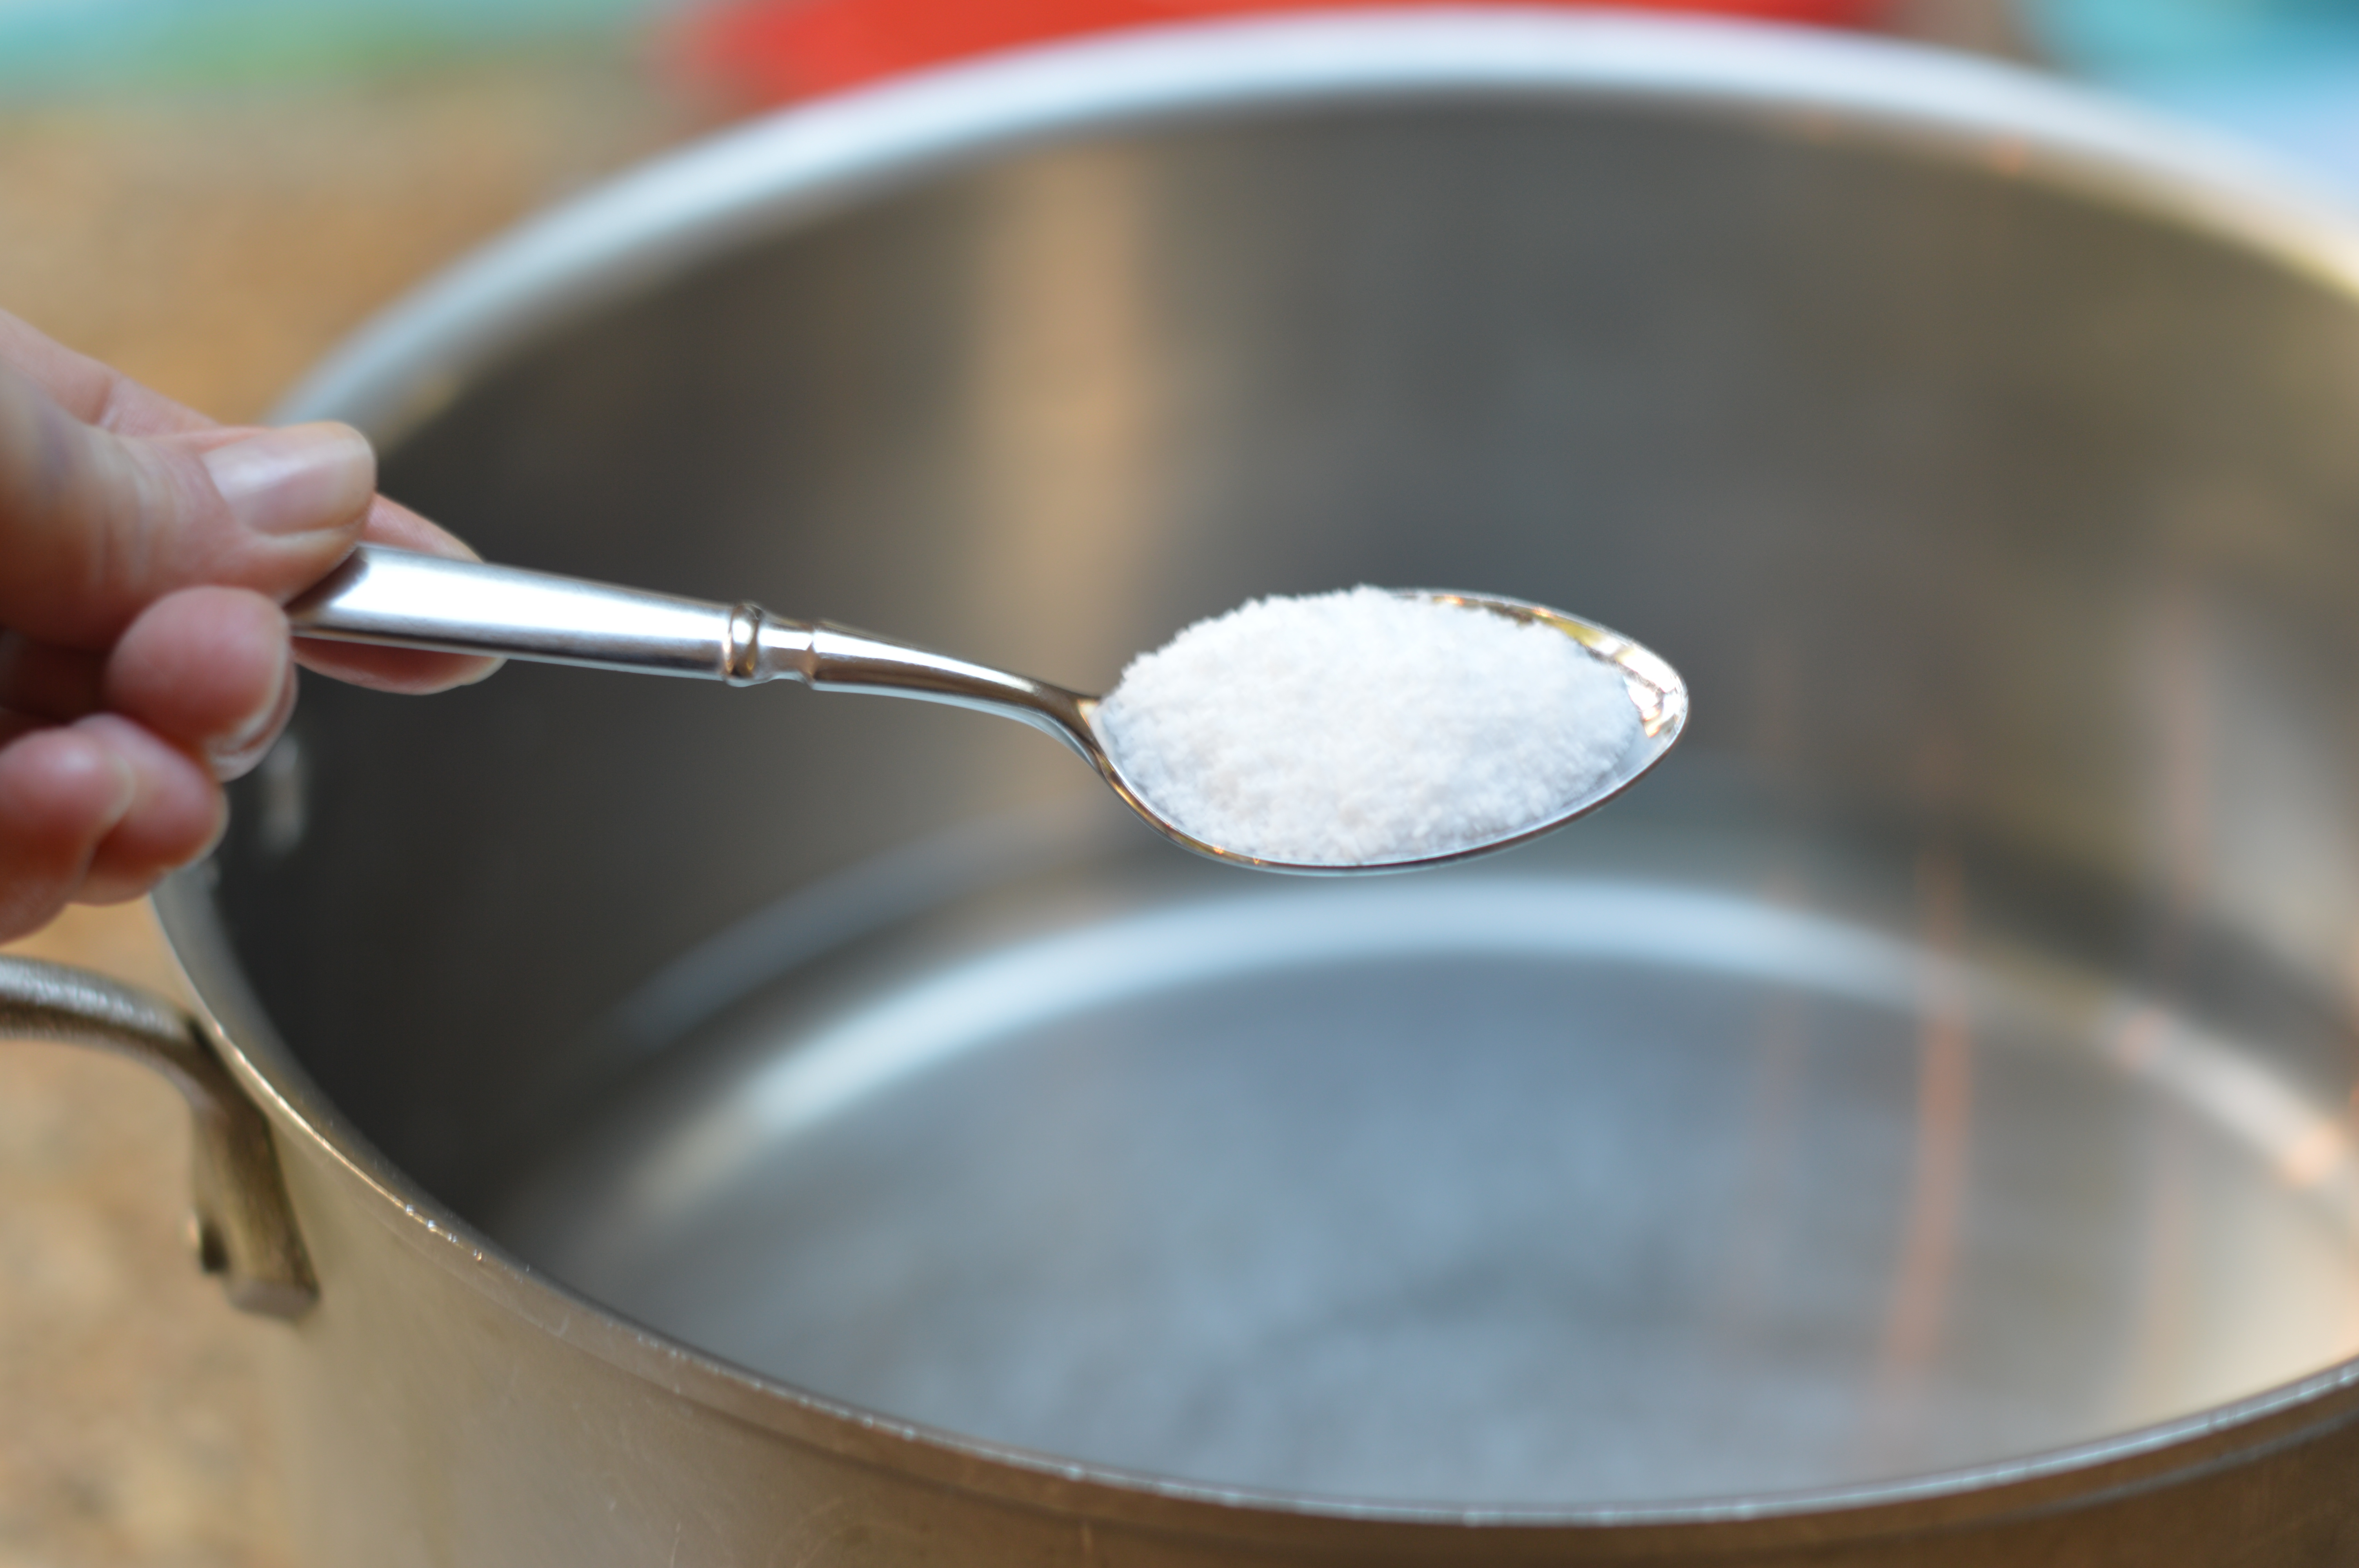
Salt and pepper
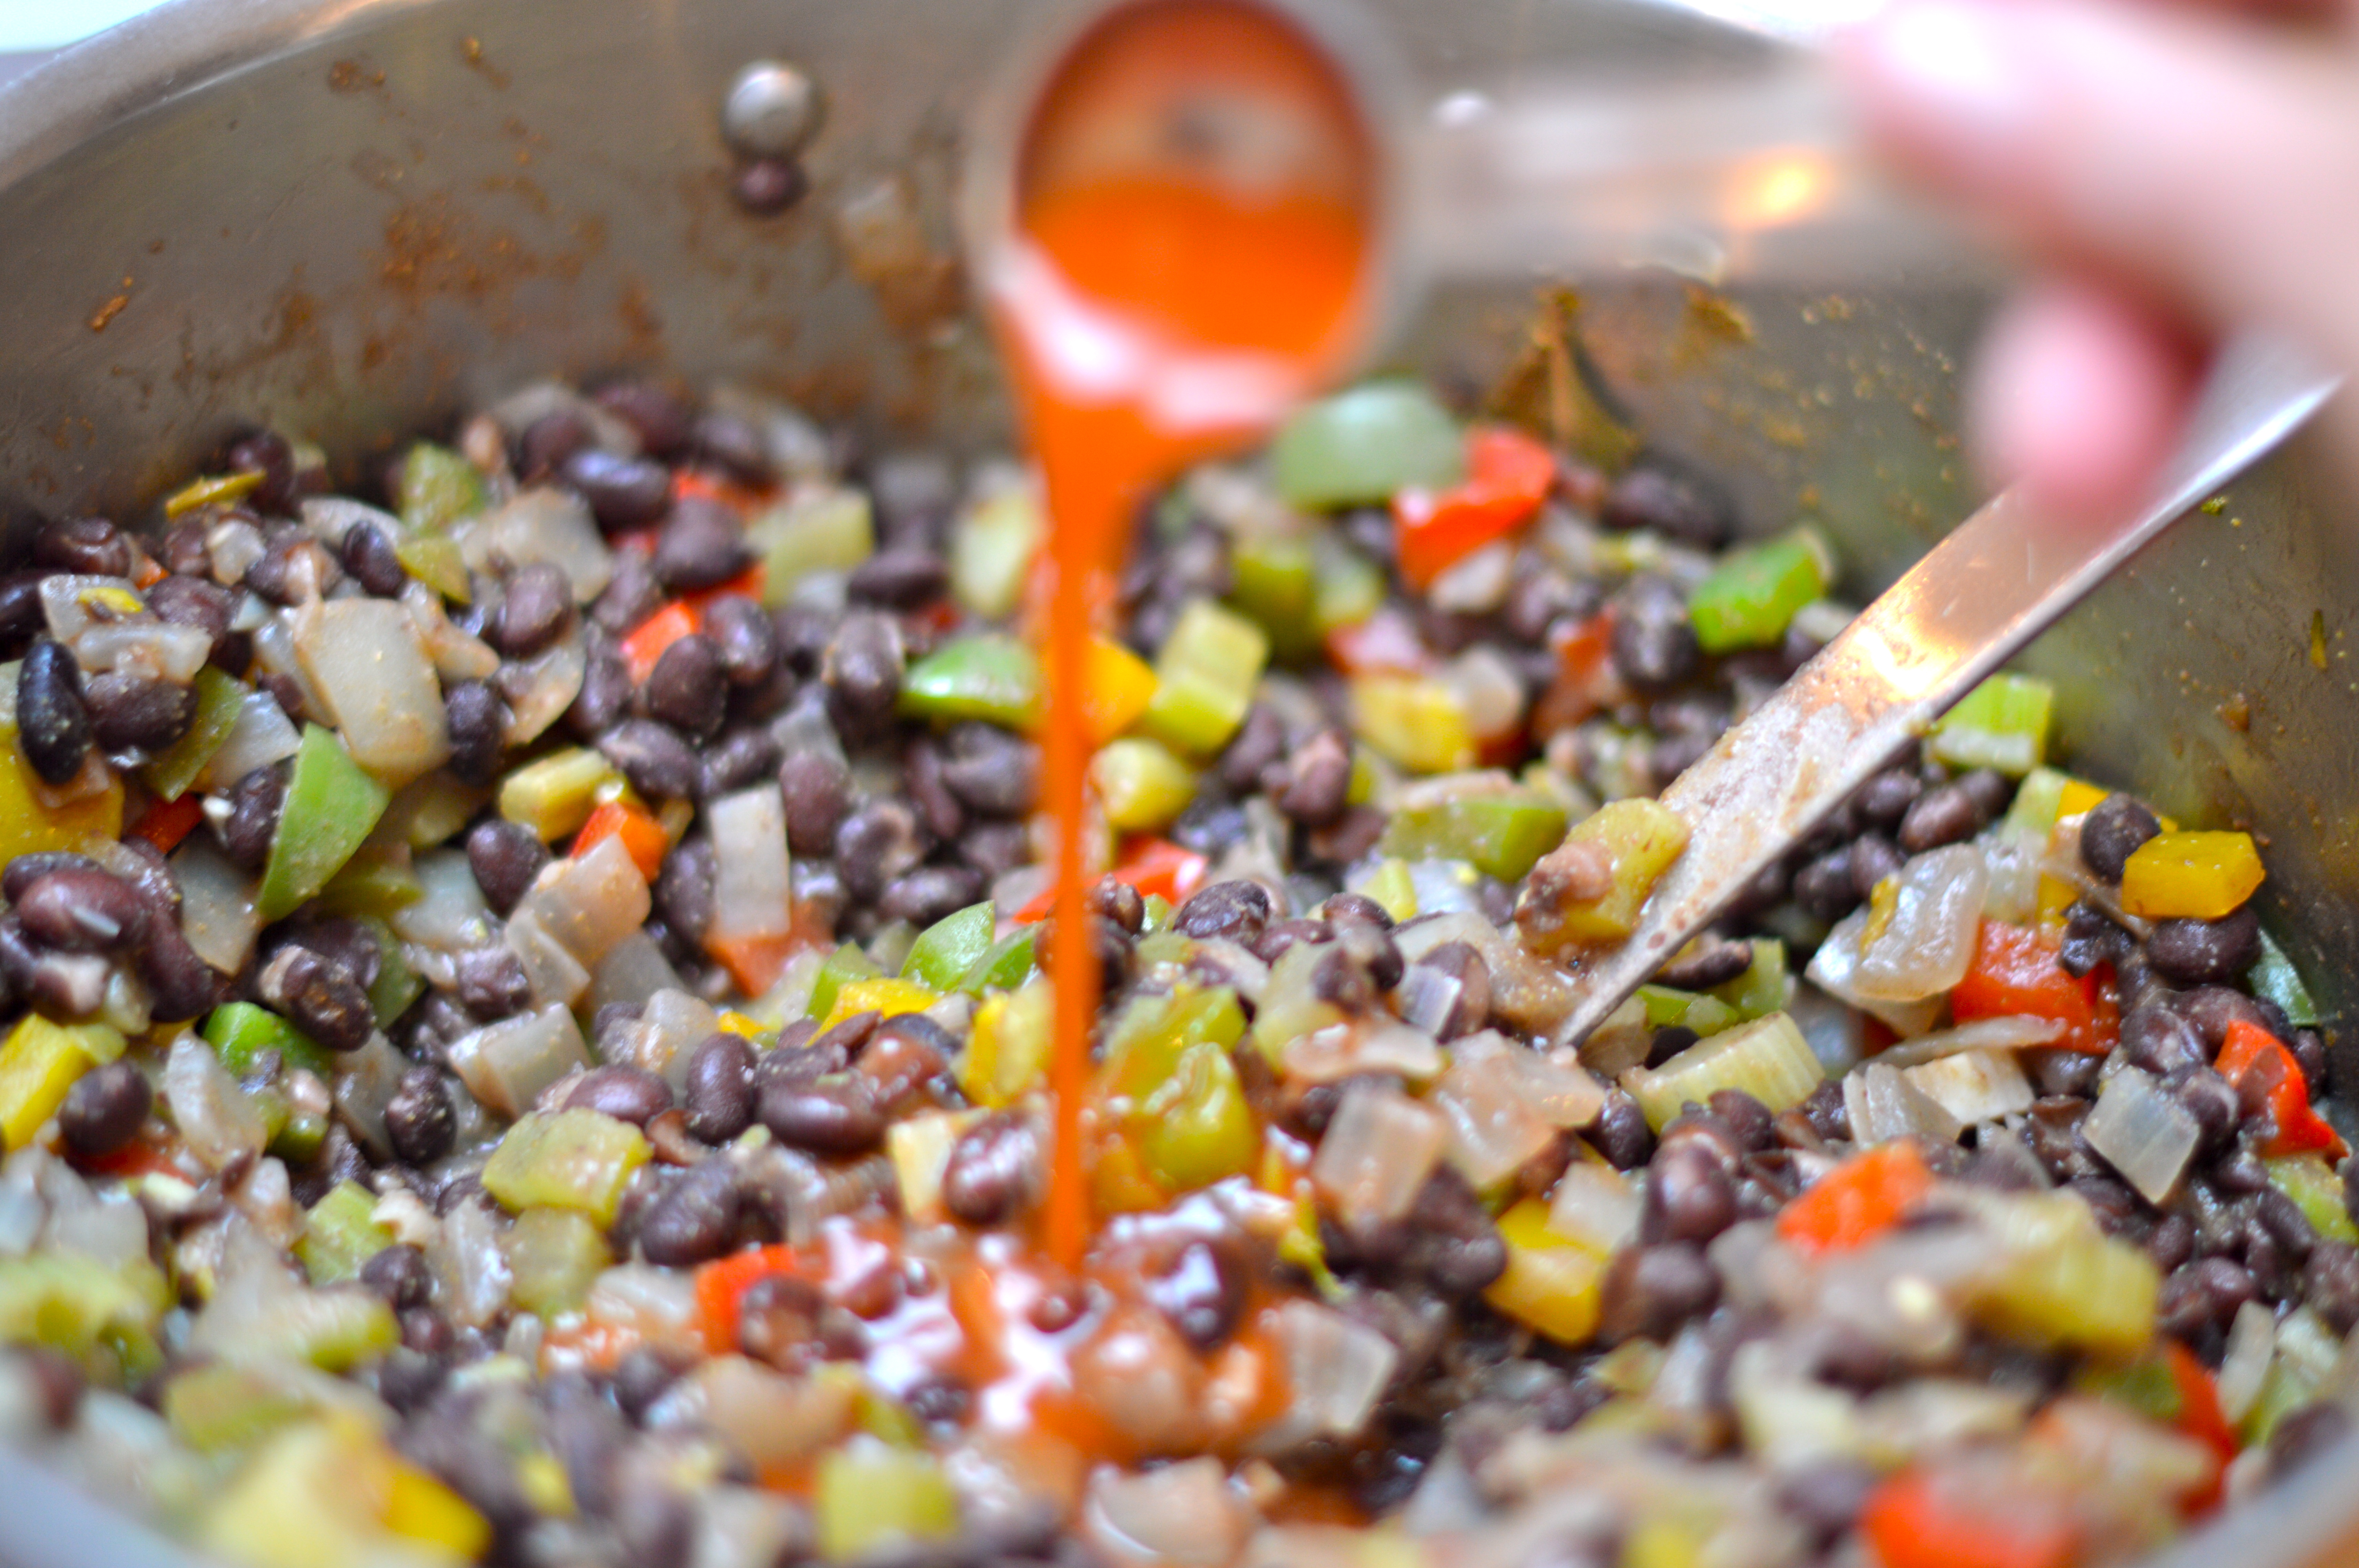
2 to 3 tablespoons plus 2 teaspoons hot sauce, divided
1 quart chicken or vegetable stock
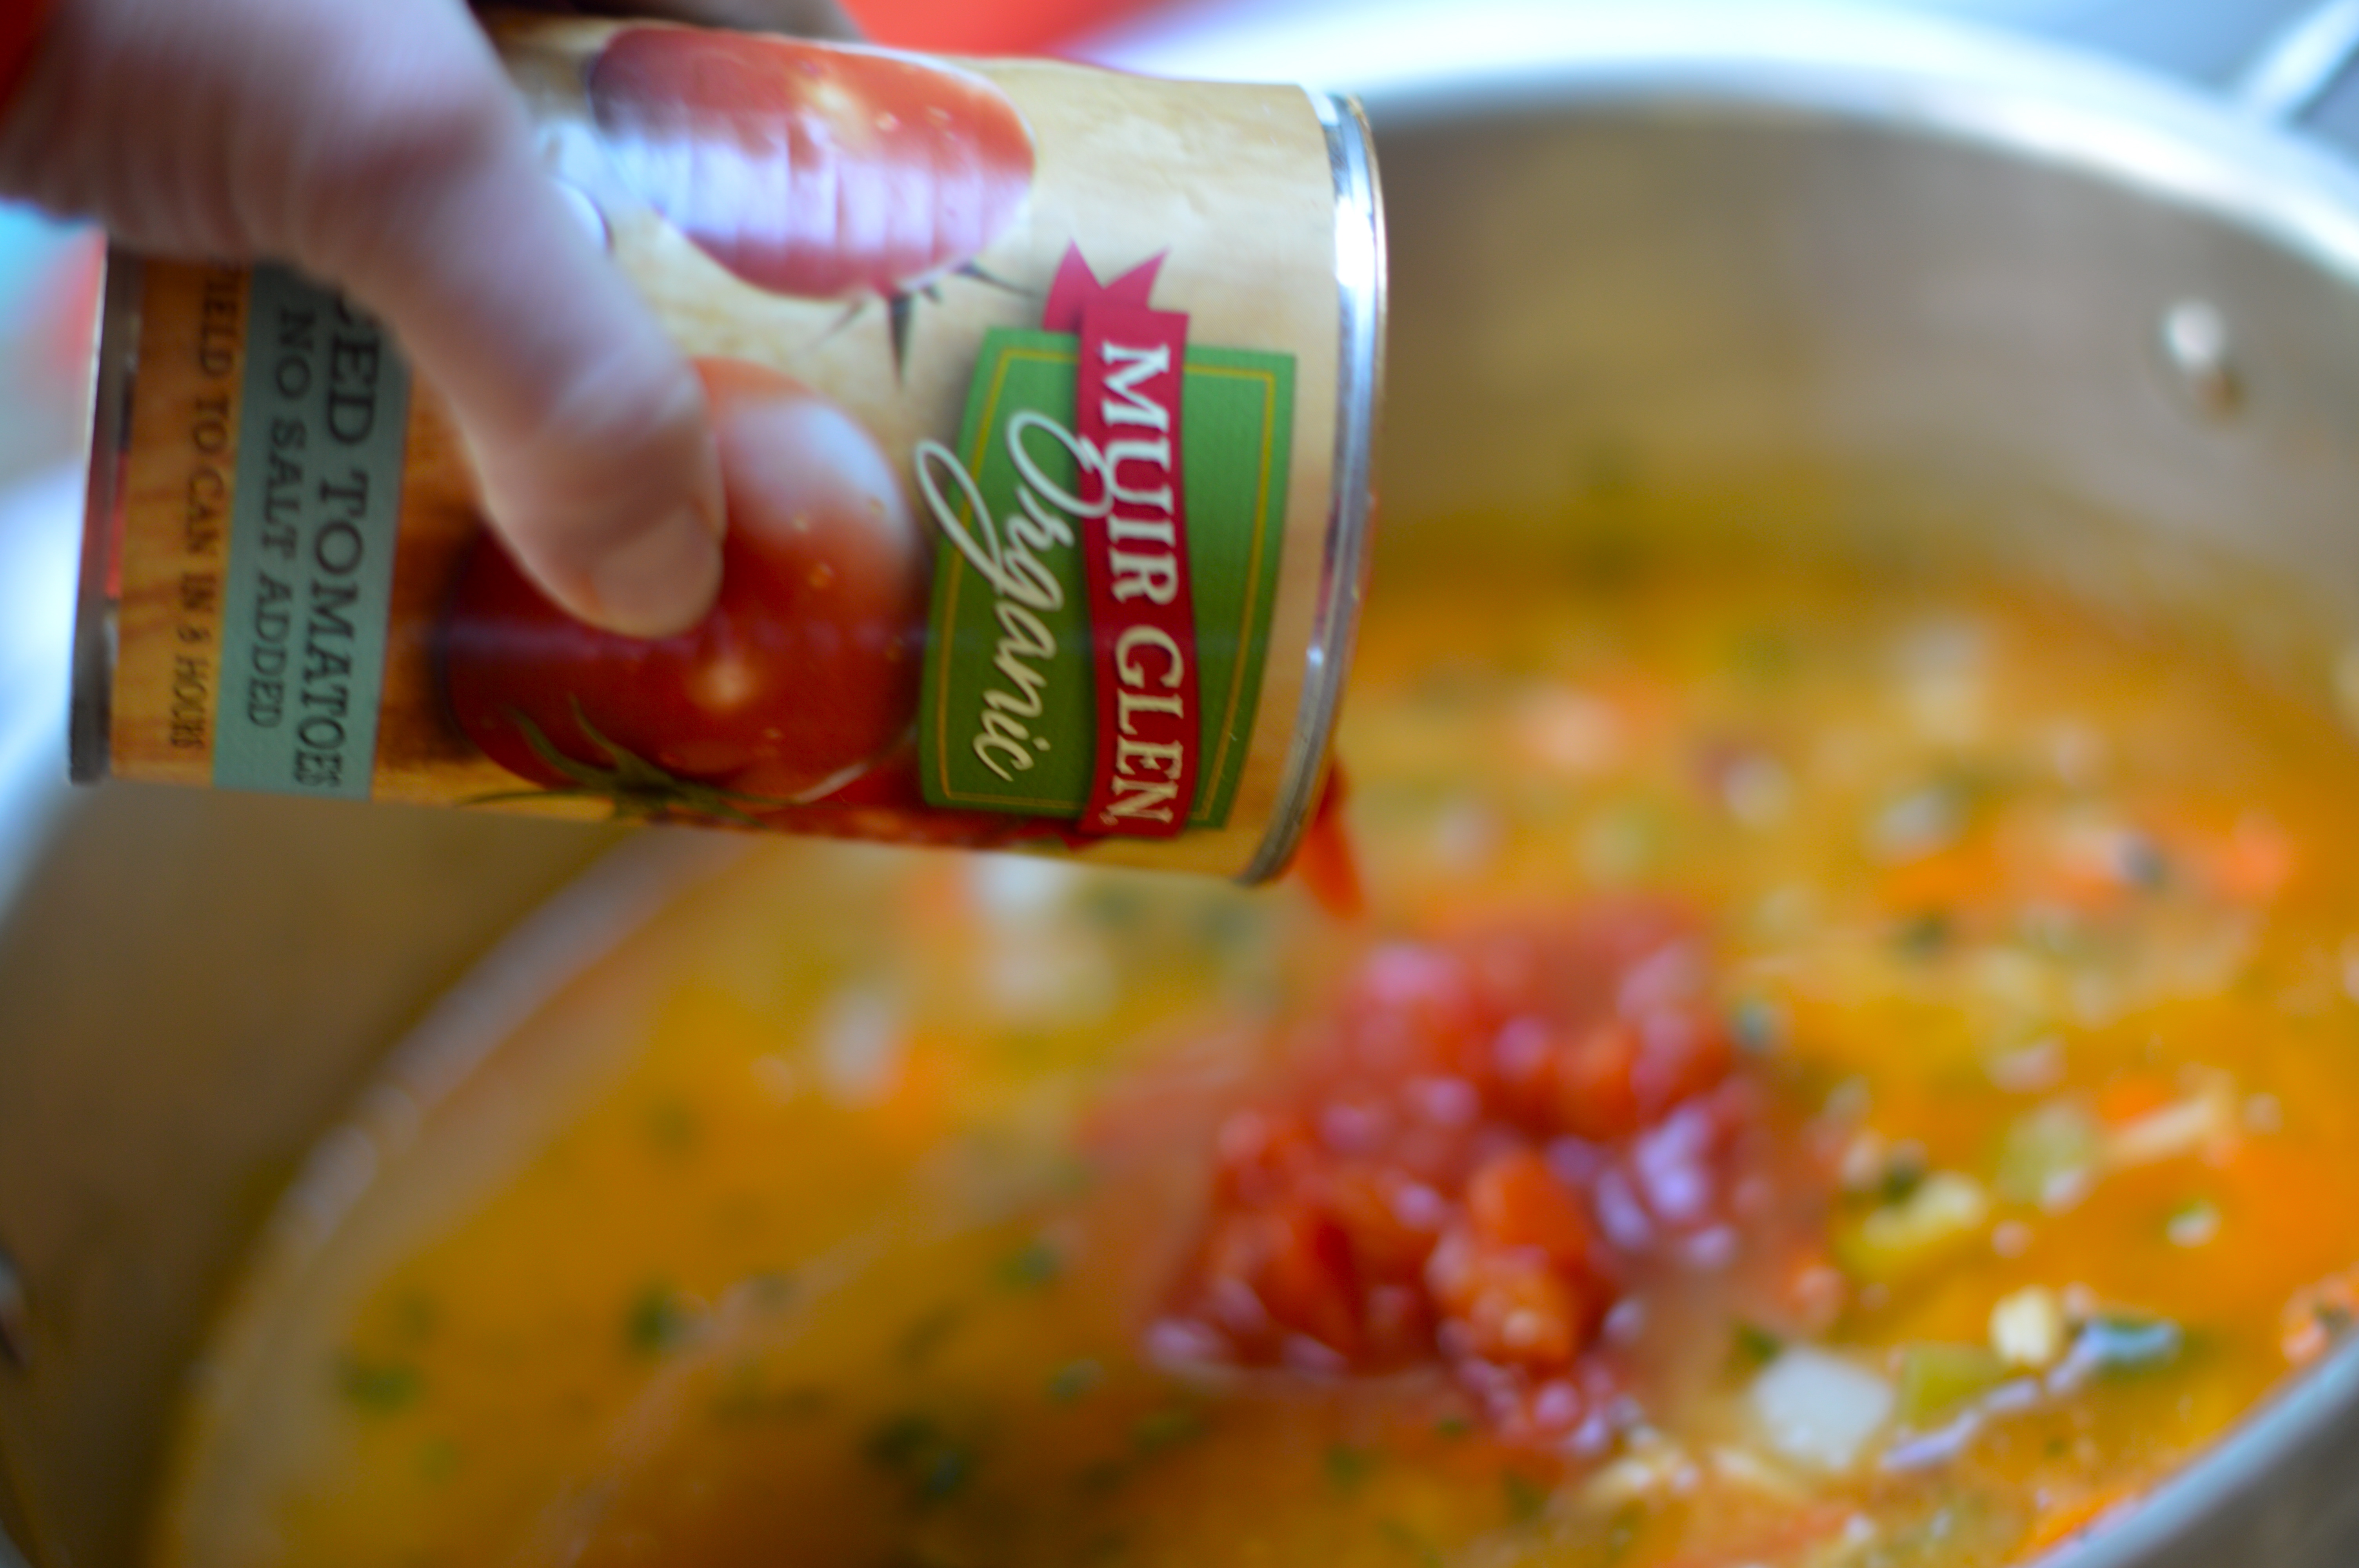
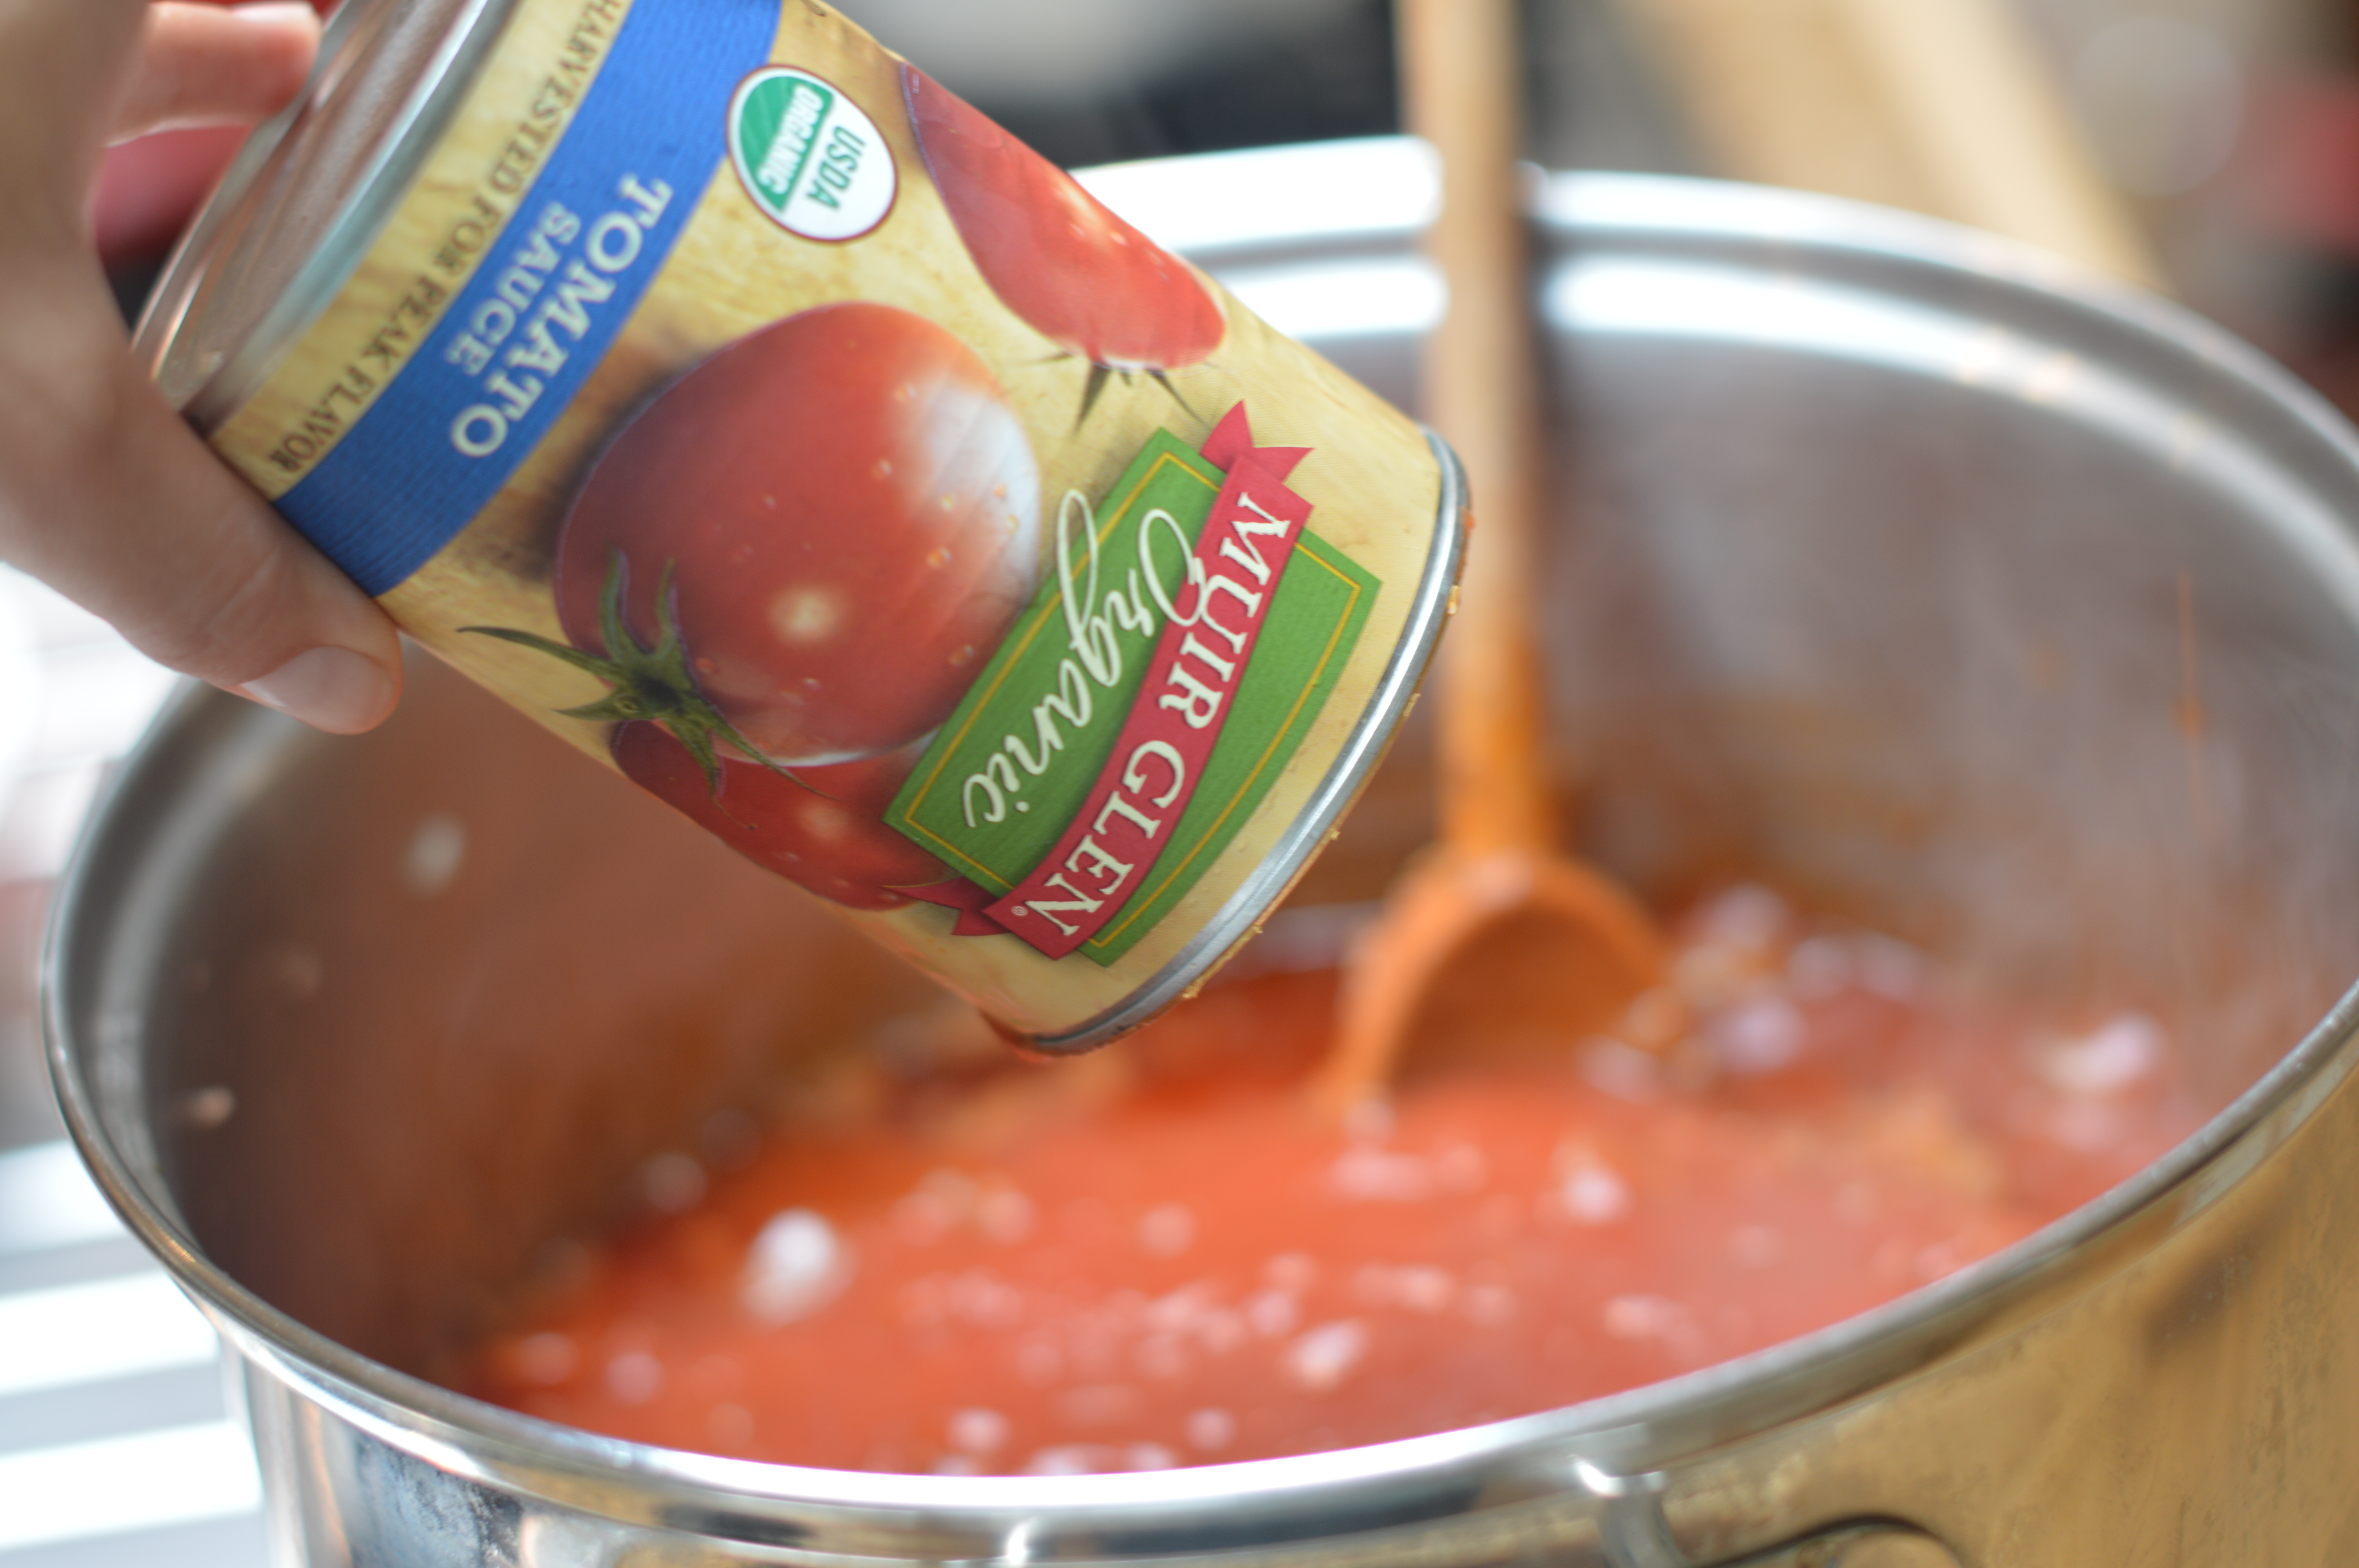
1 (15-ounce) can diced tomatoes, diced tomatoes with peppers and onions, or stewed tomatoes
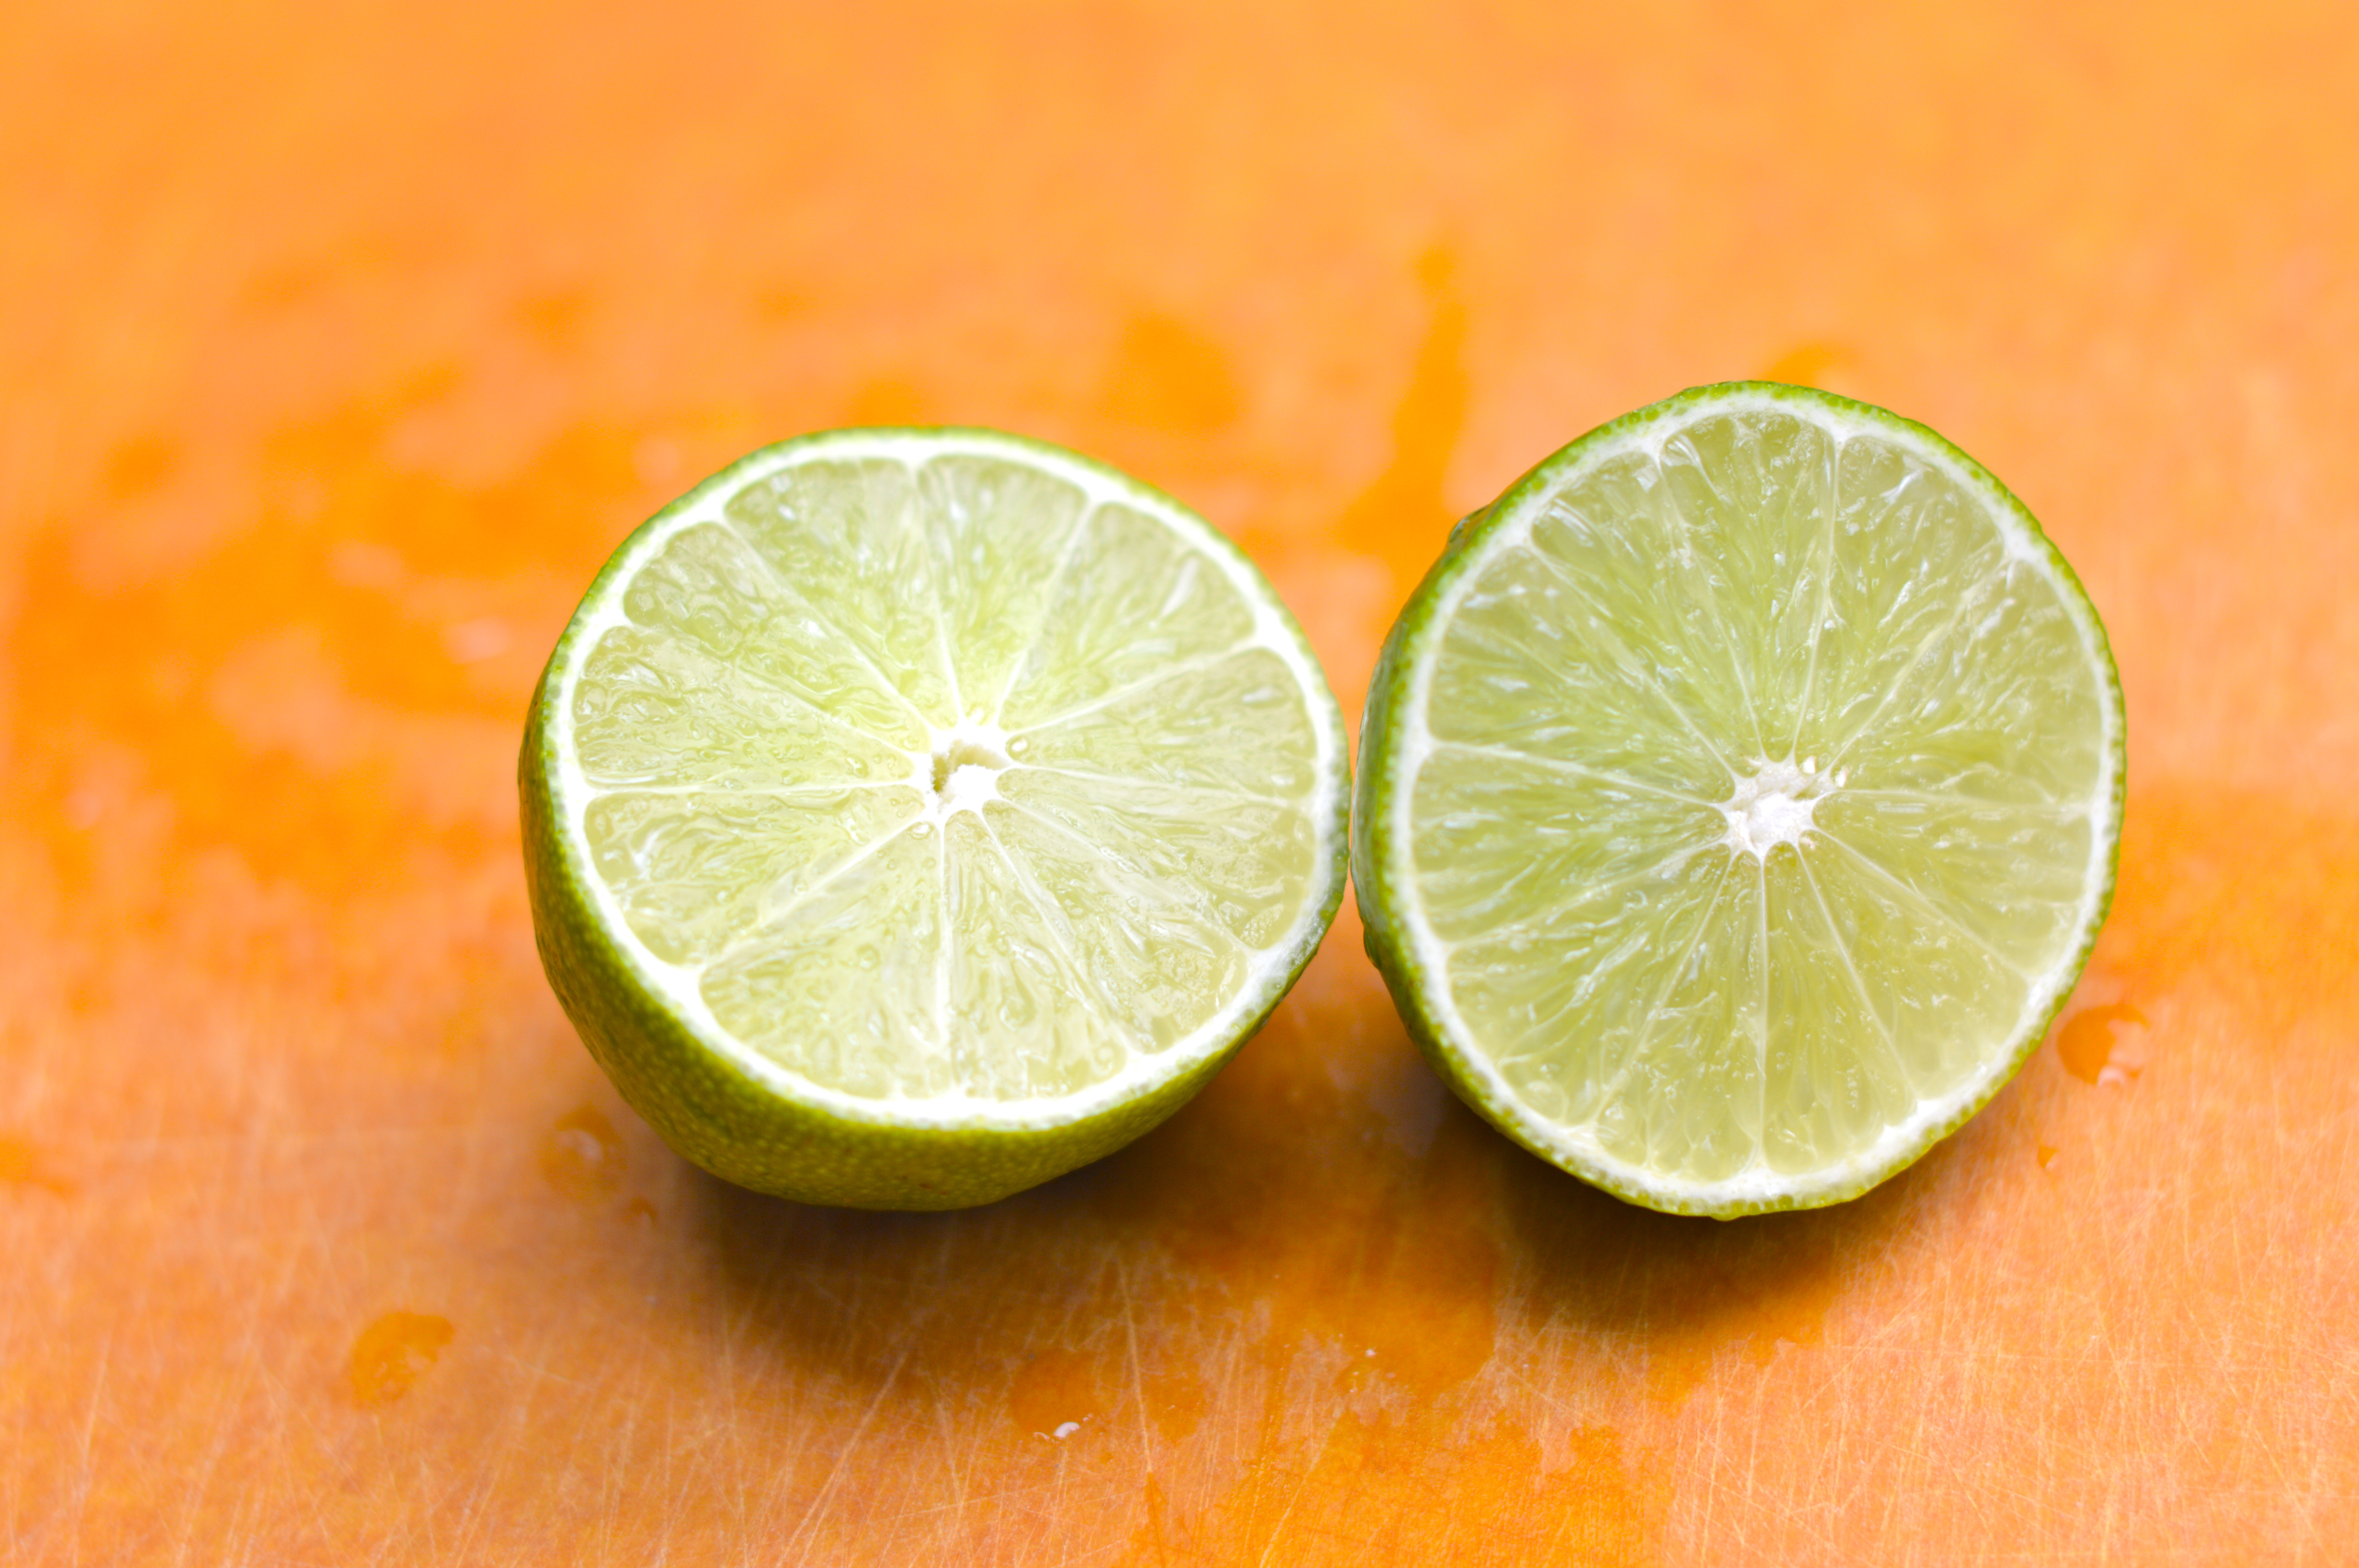
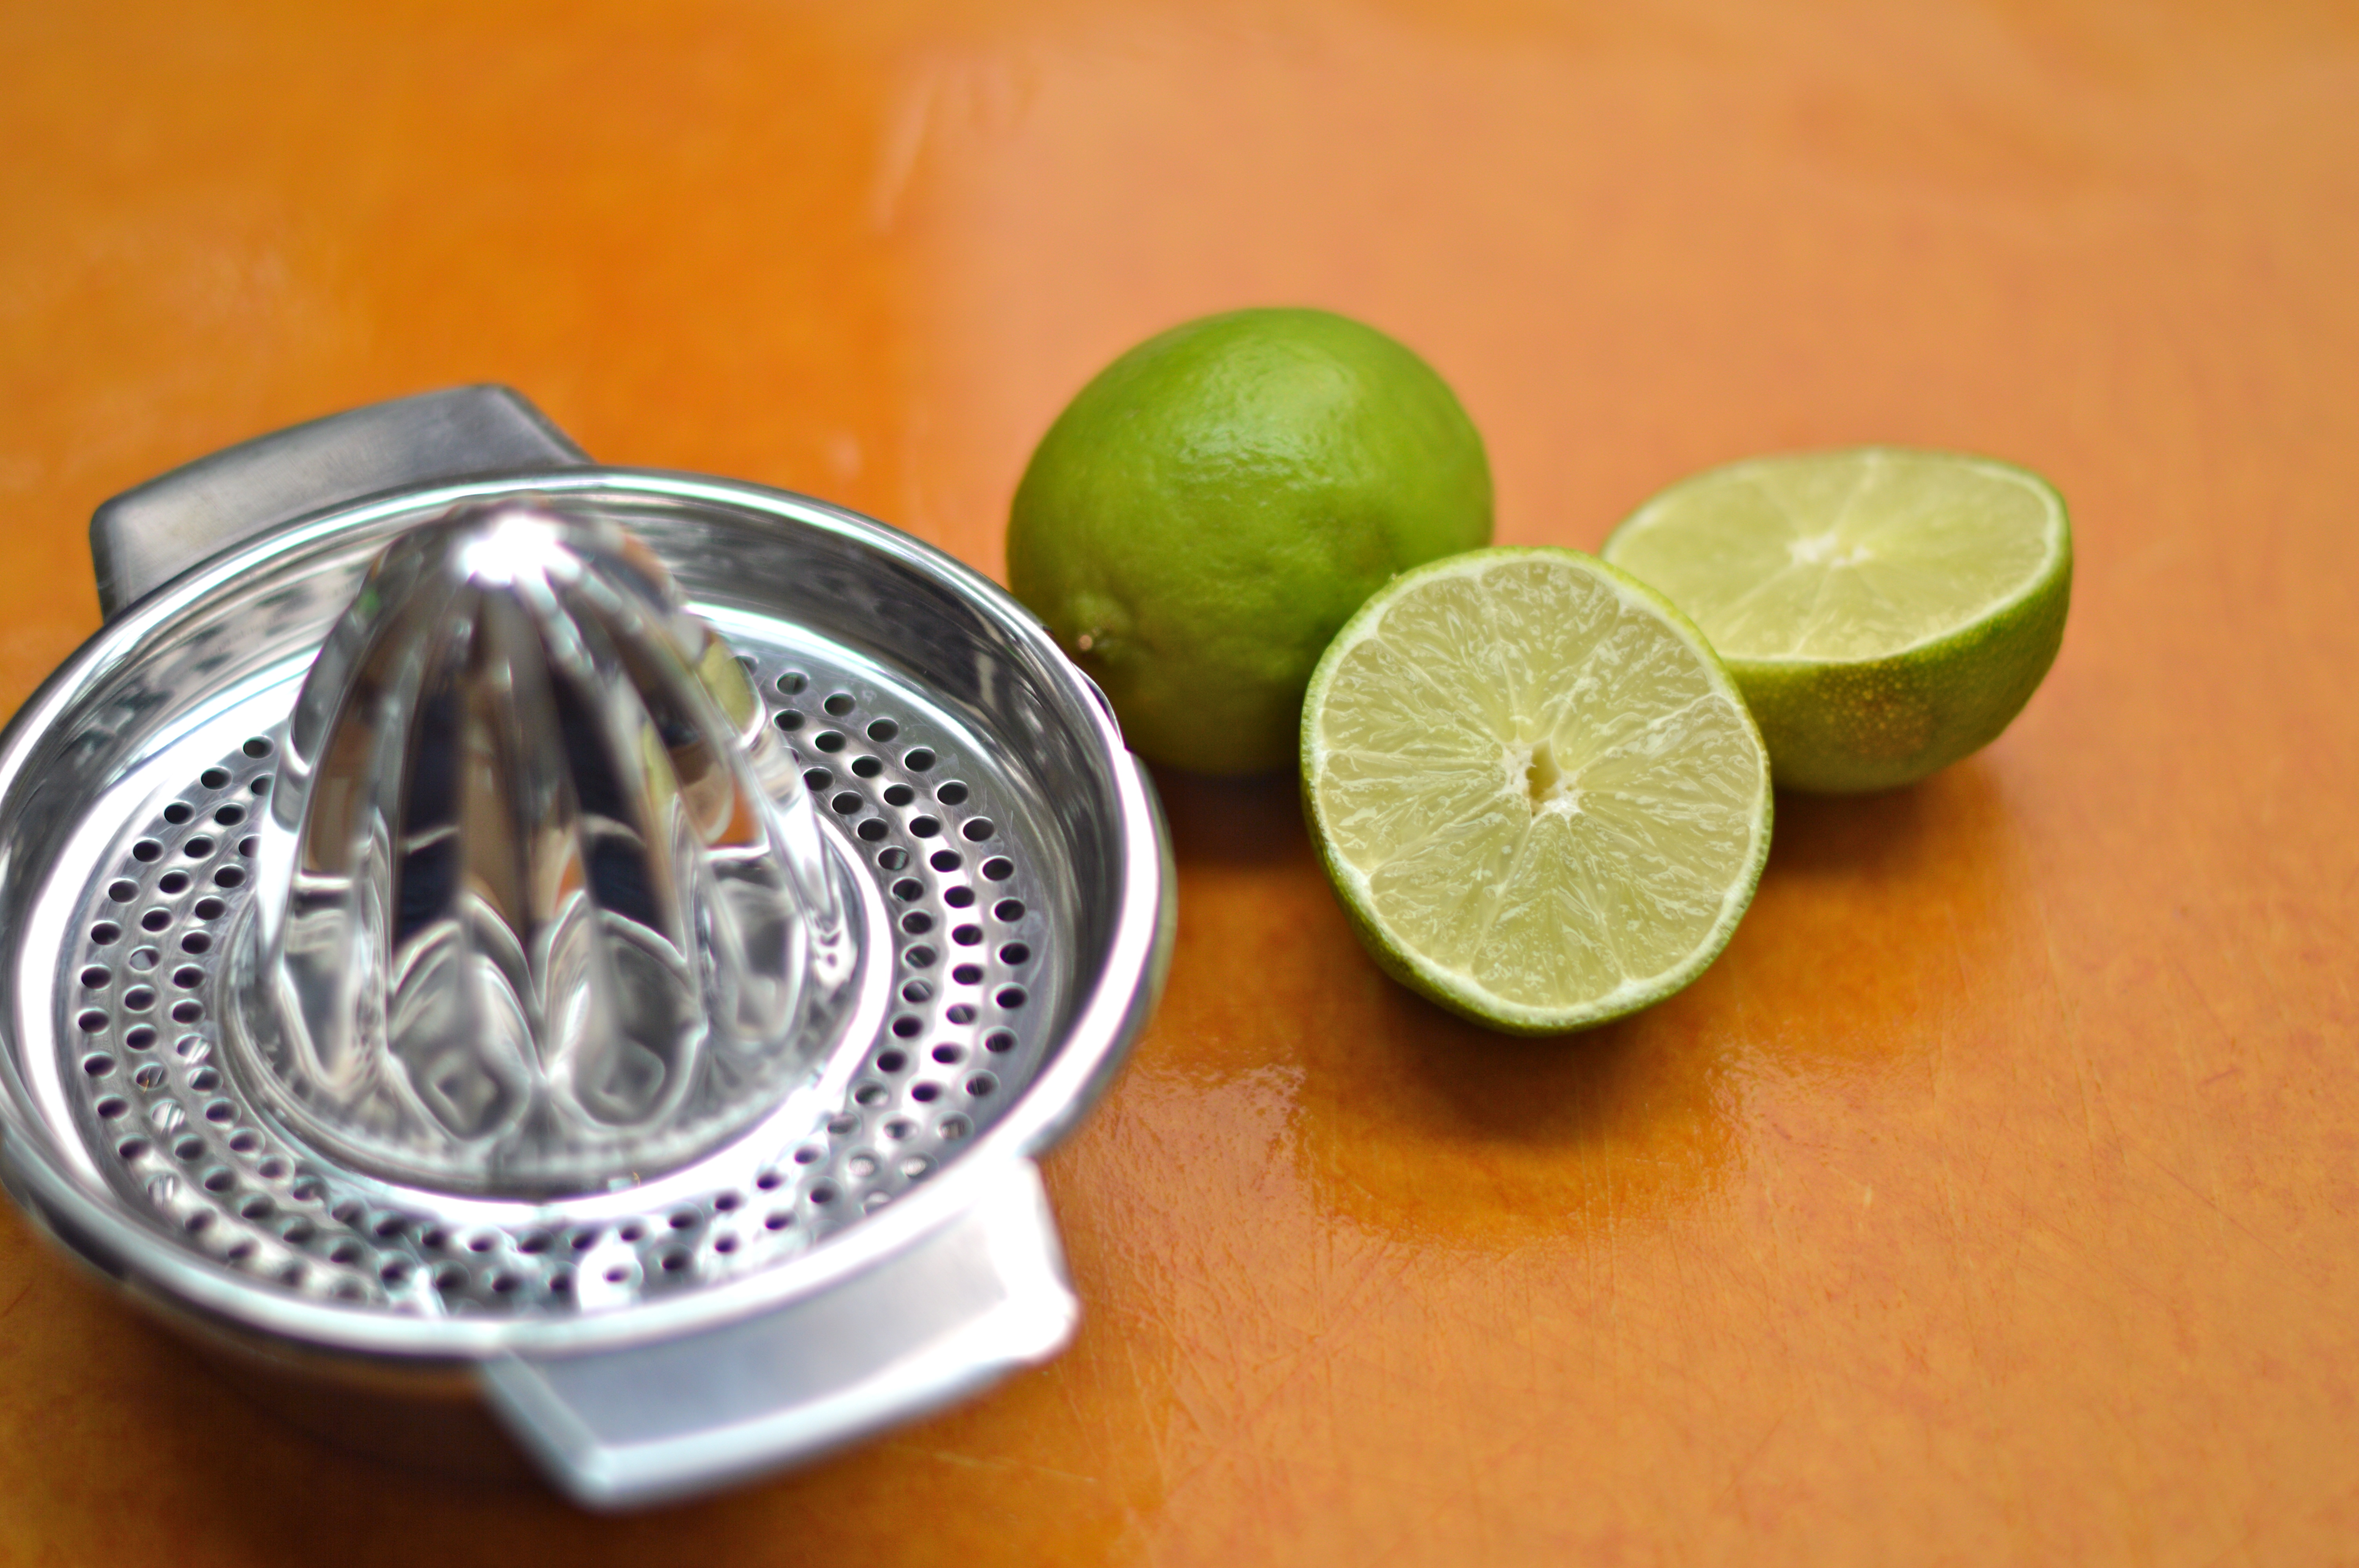
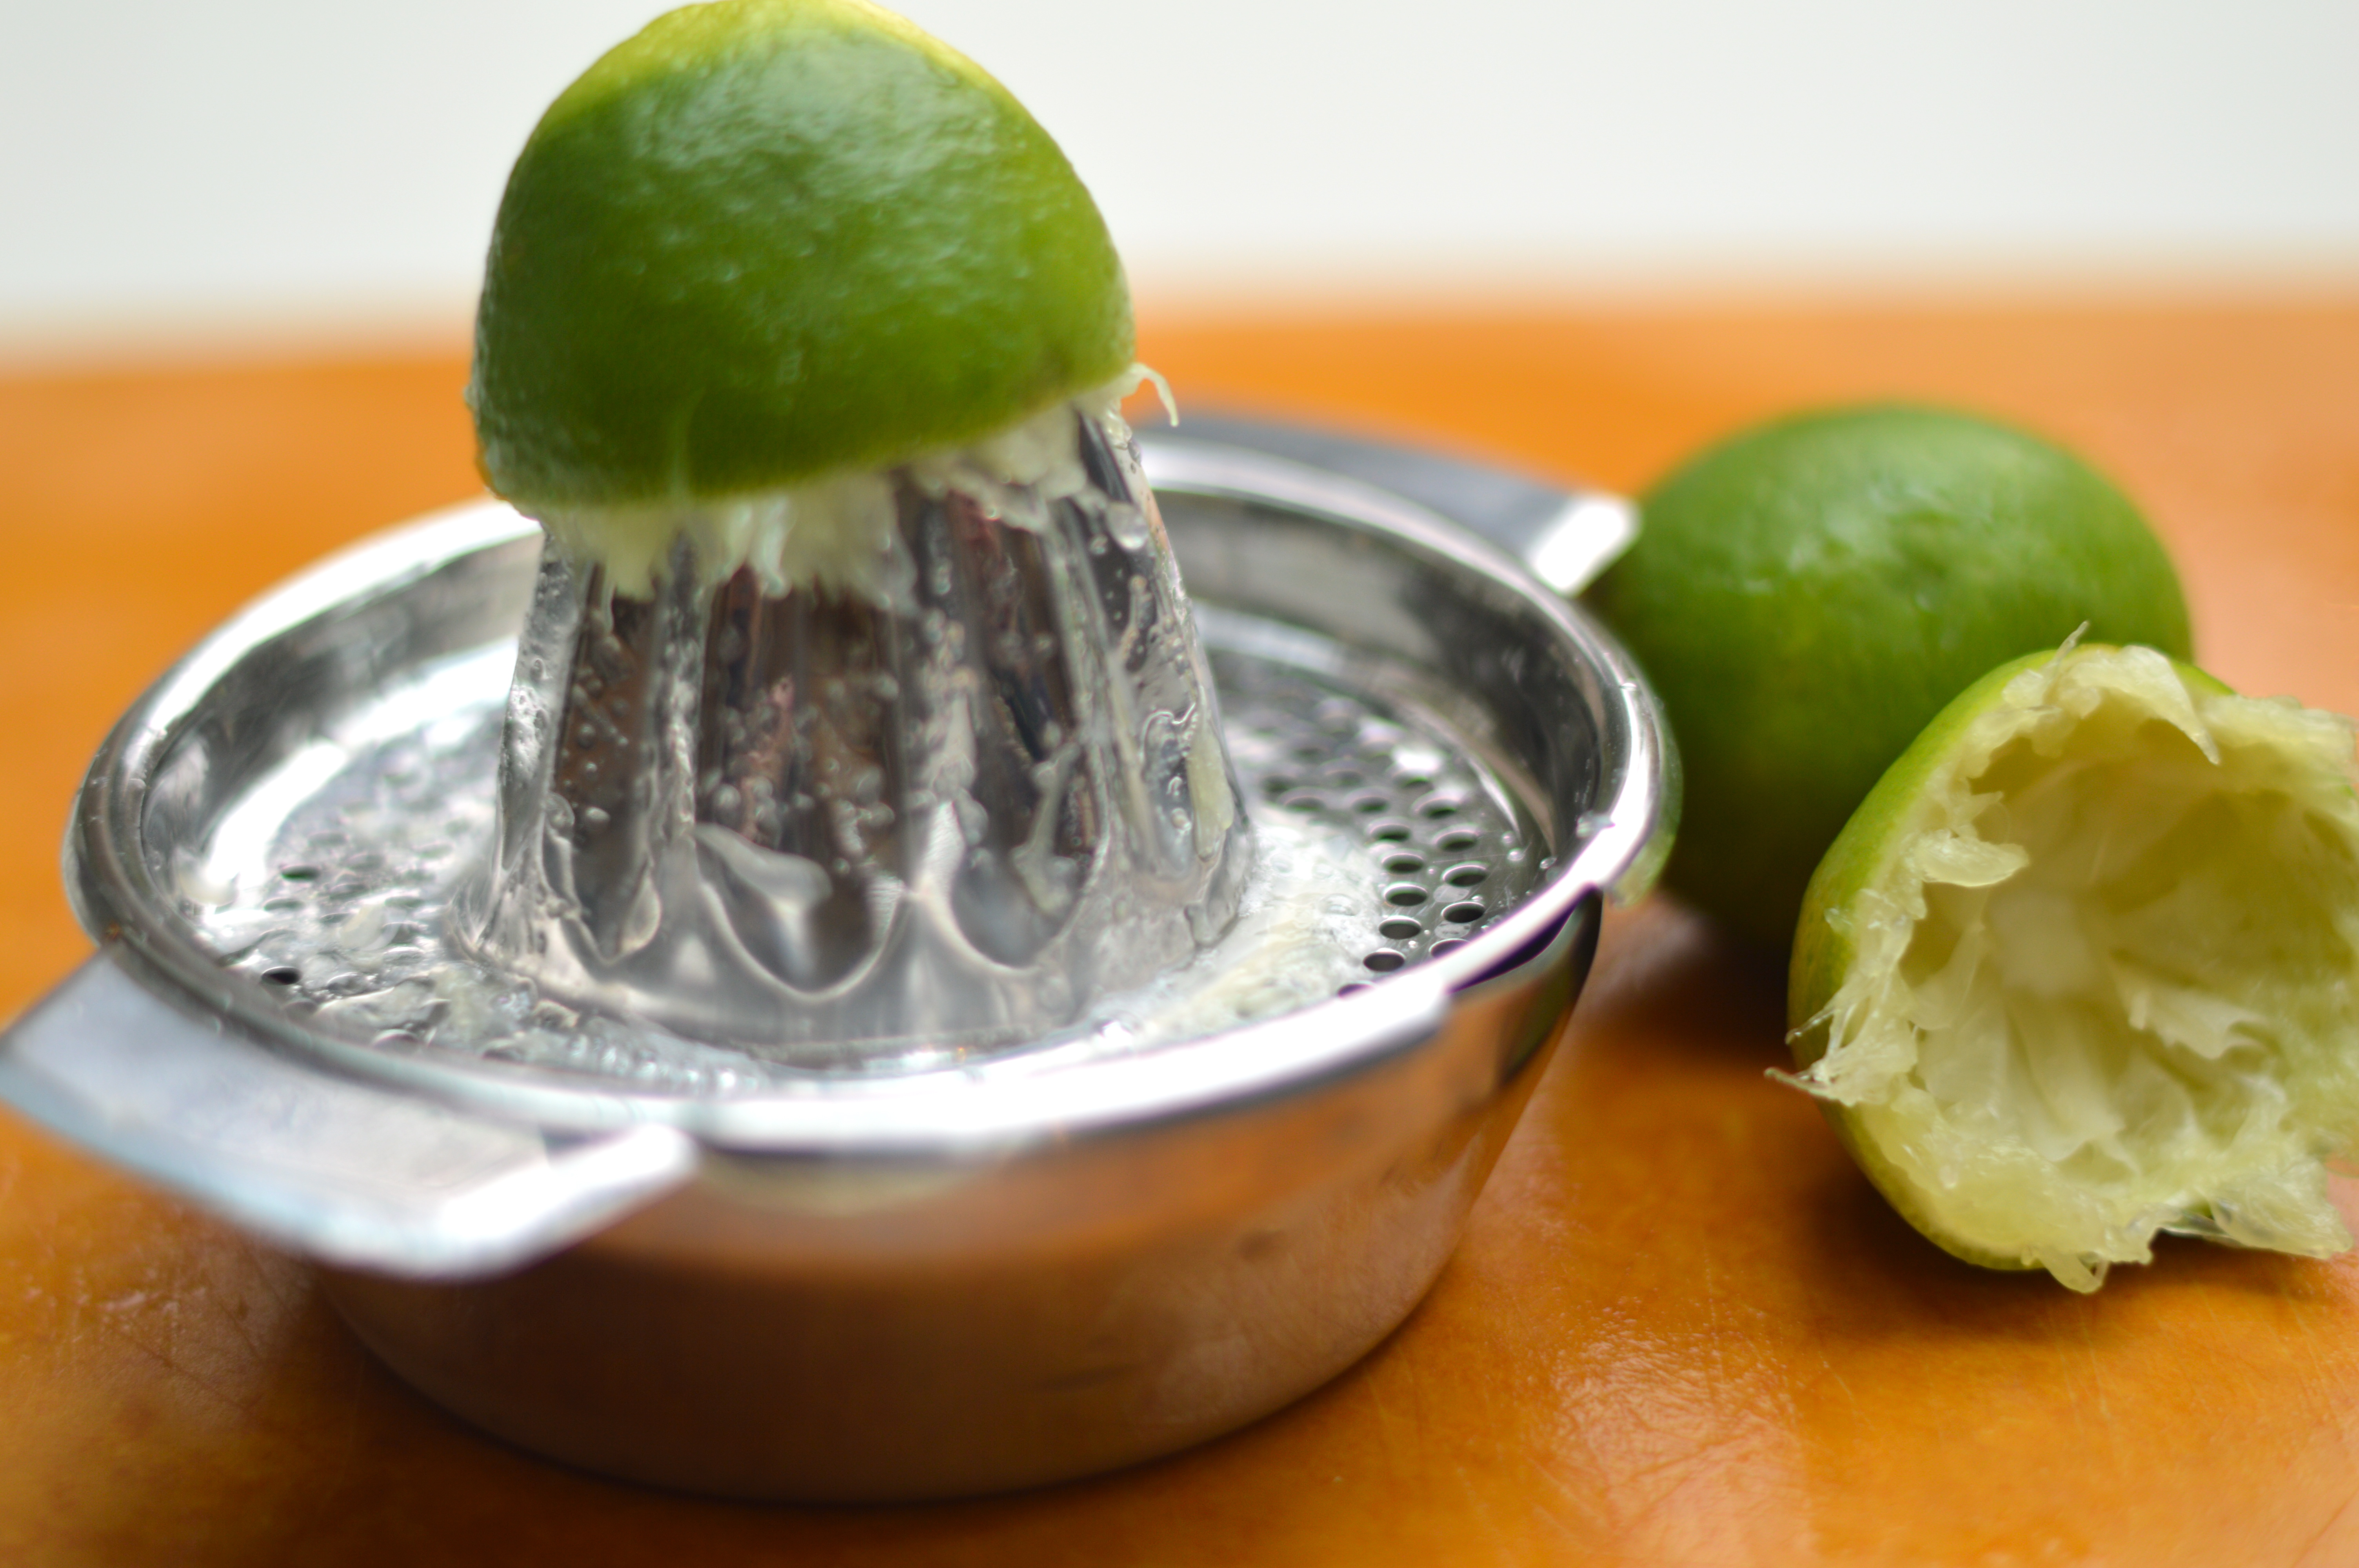
1/2 lime, juiced
3 scallions, chopped
sour cream

Serving ideas:
rice
avocado
cheese, shredded
hot sauce

Directions:

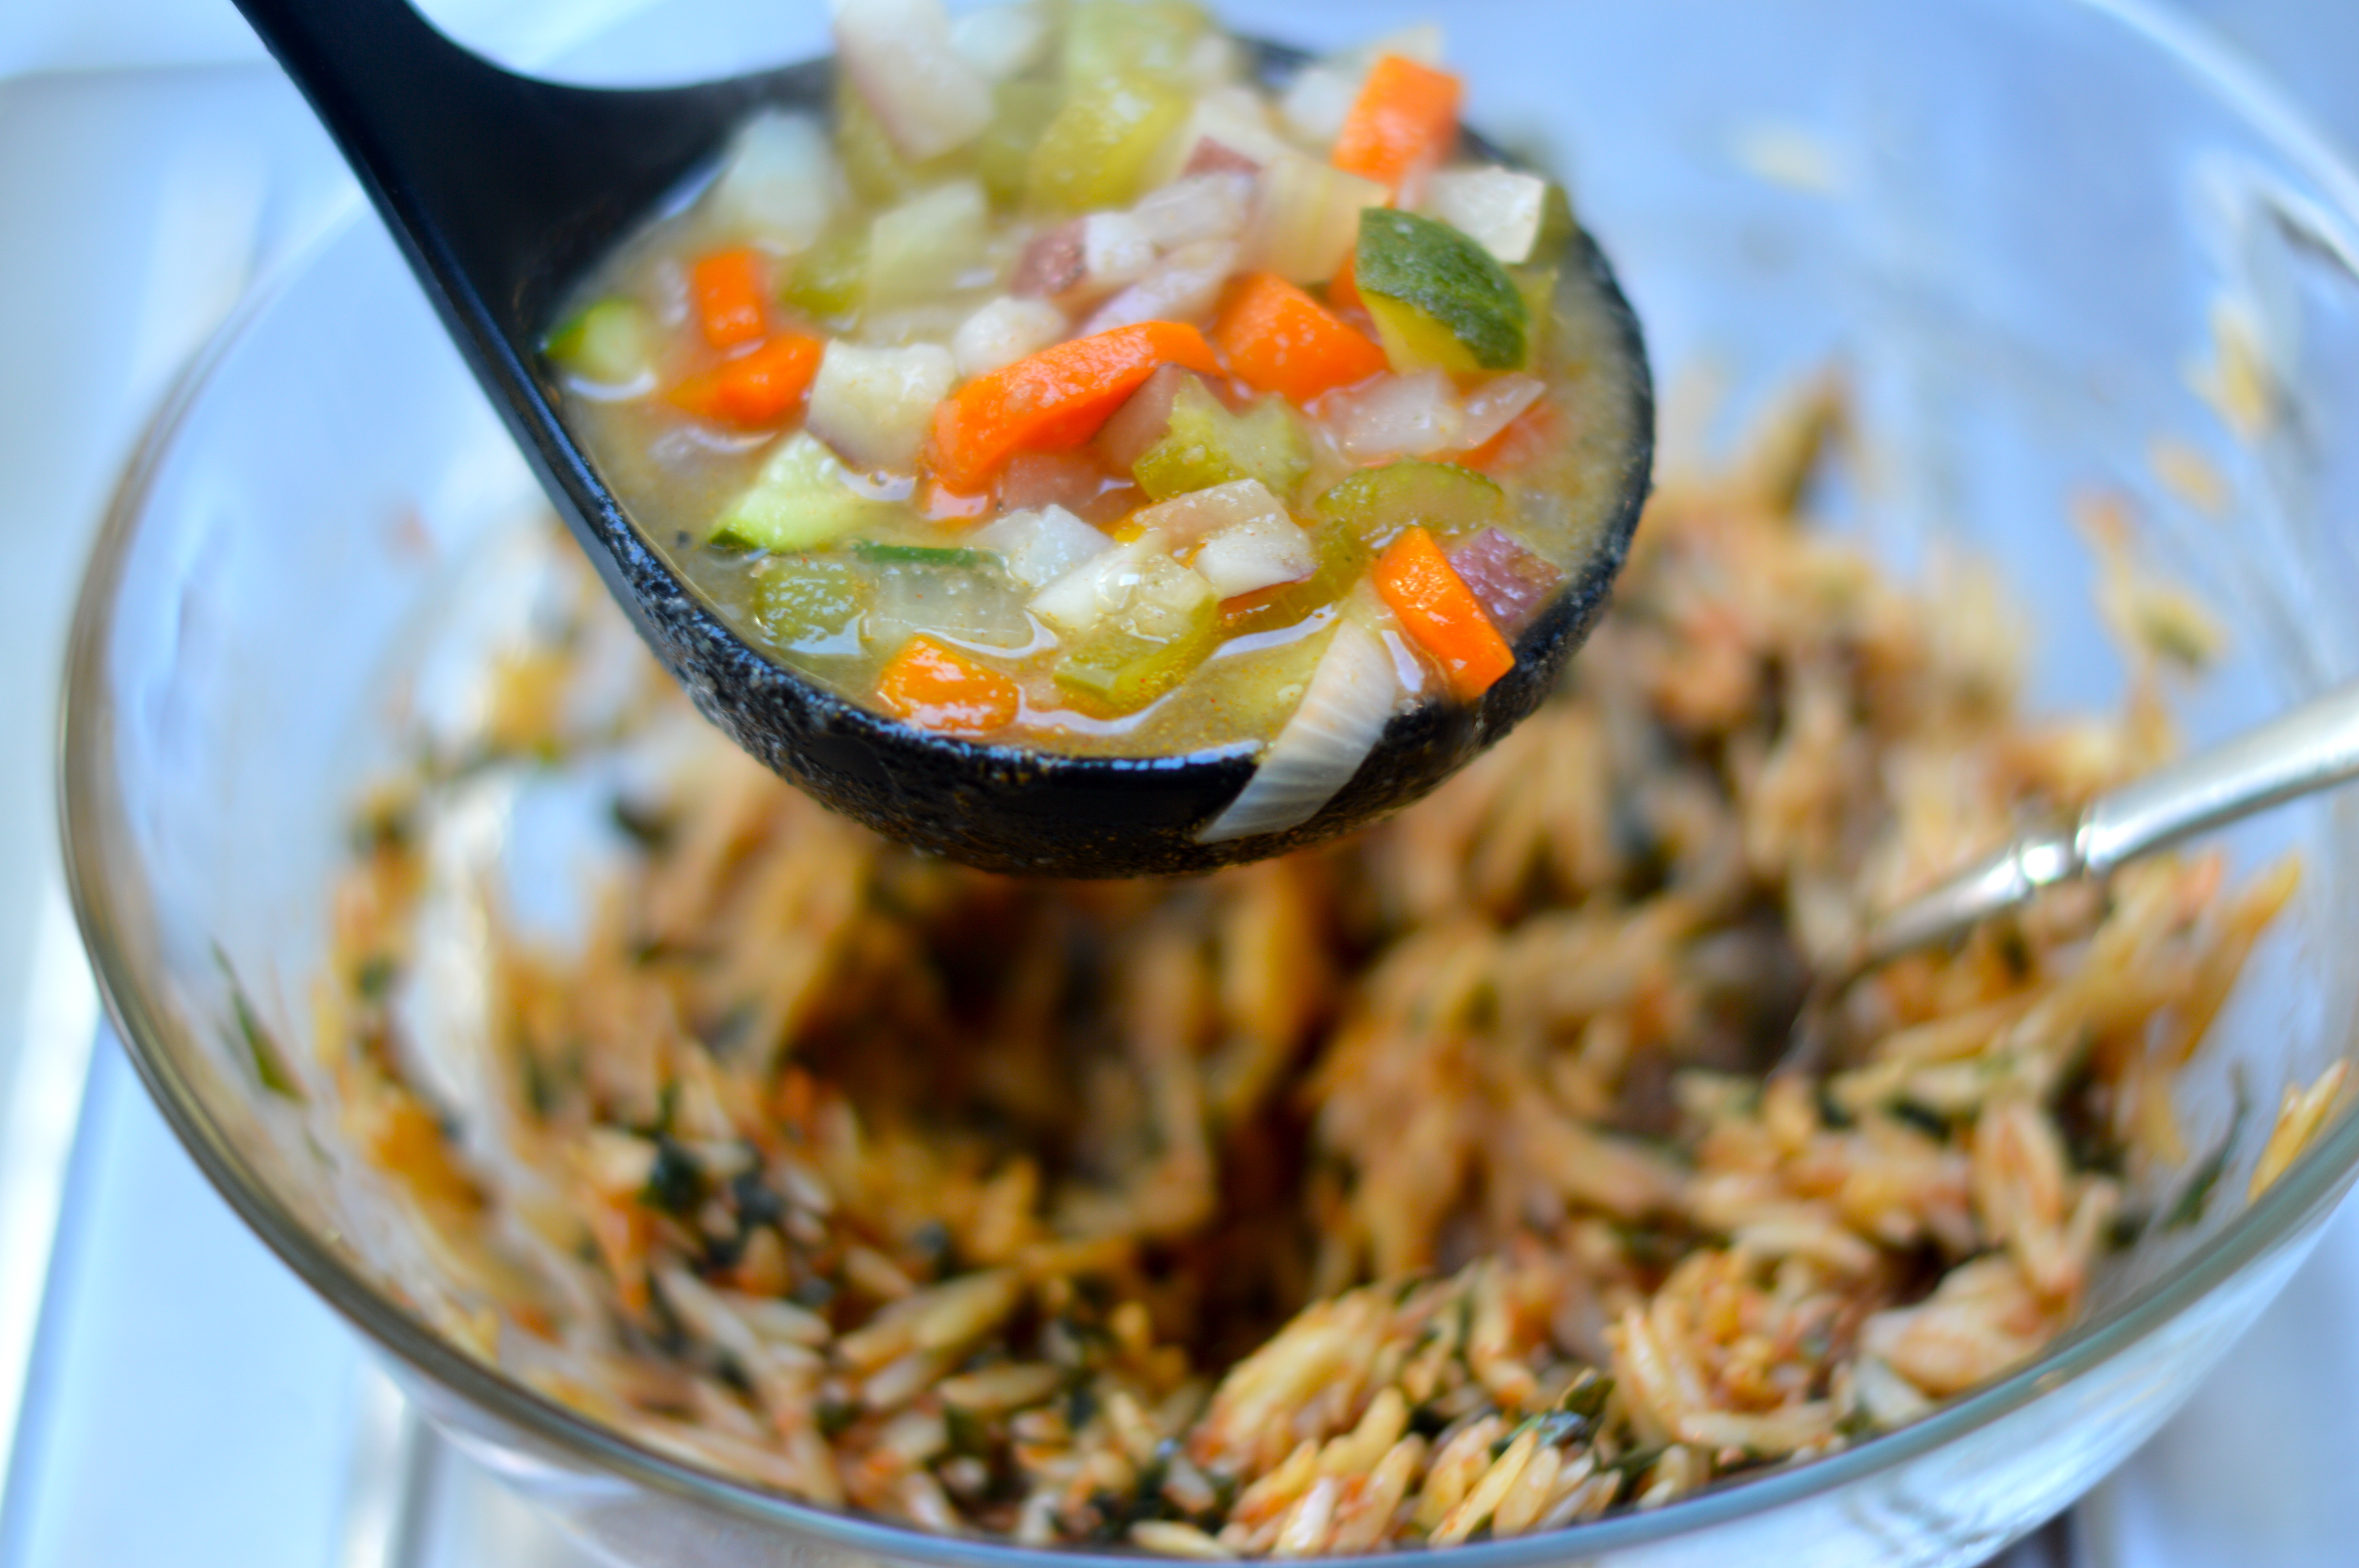
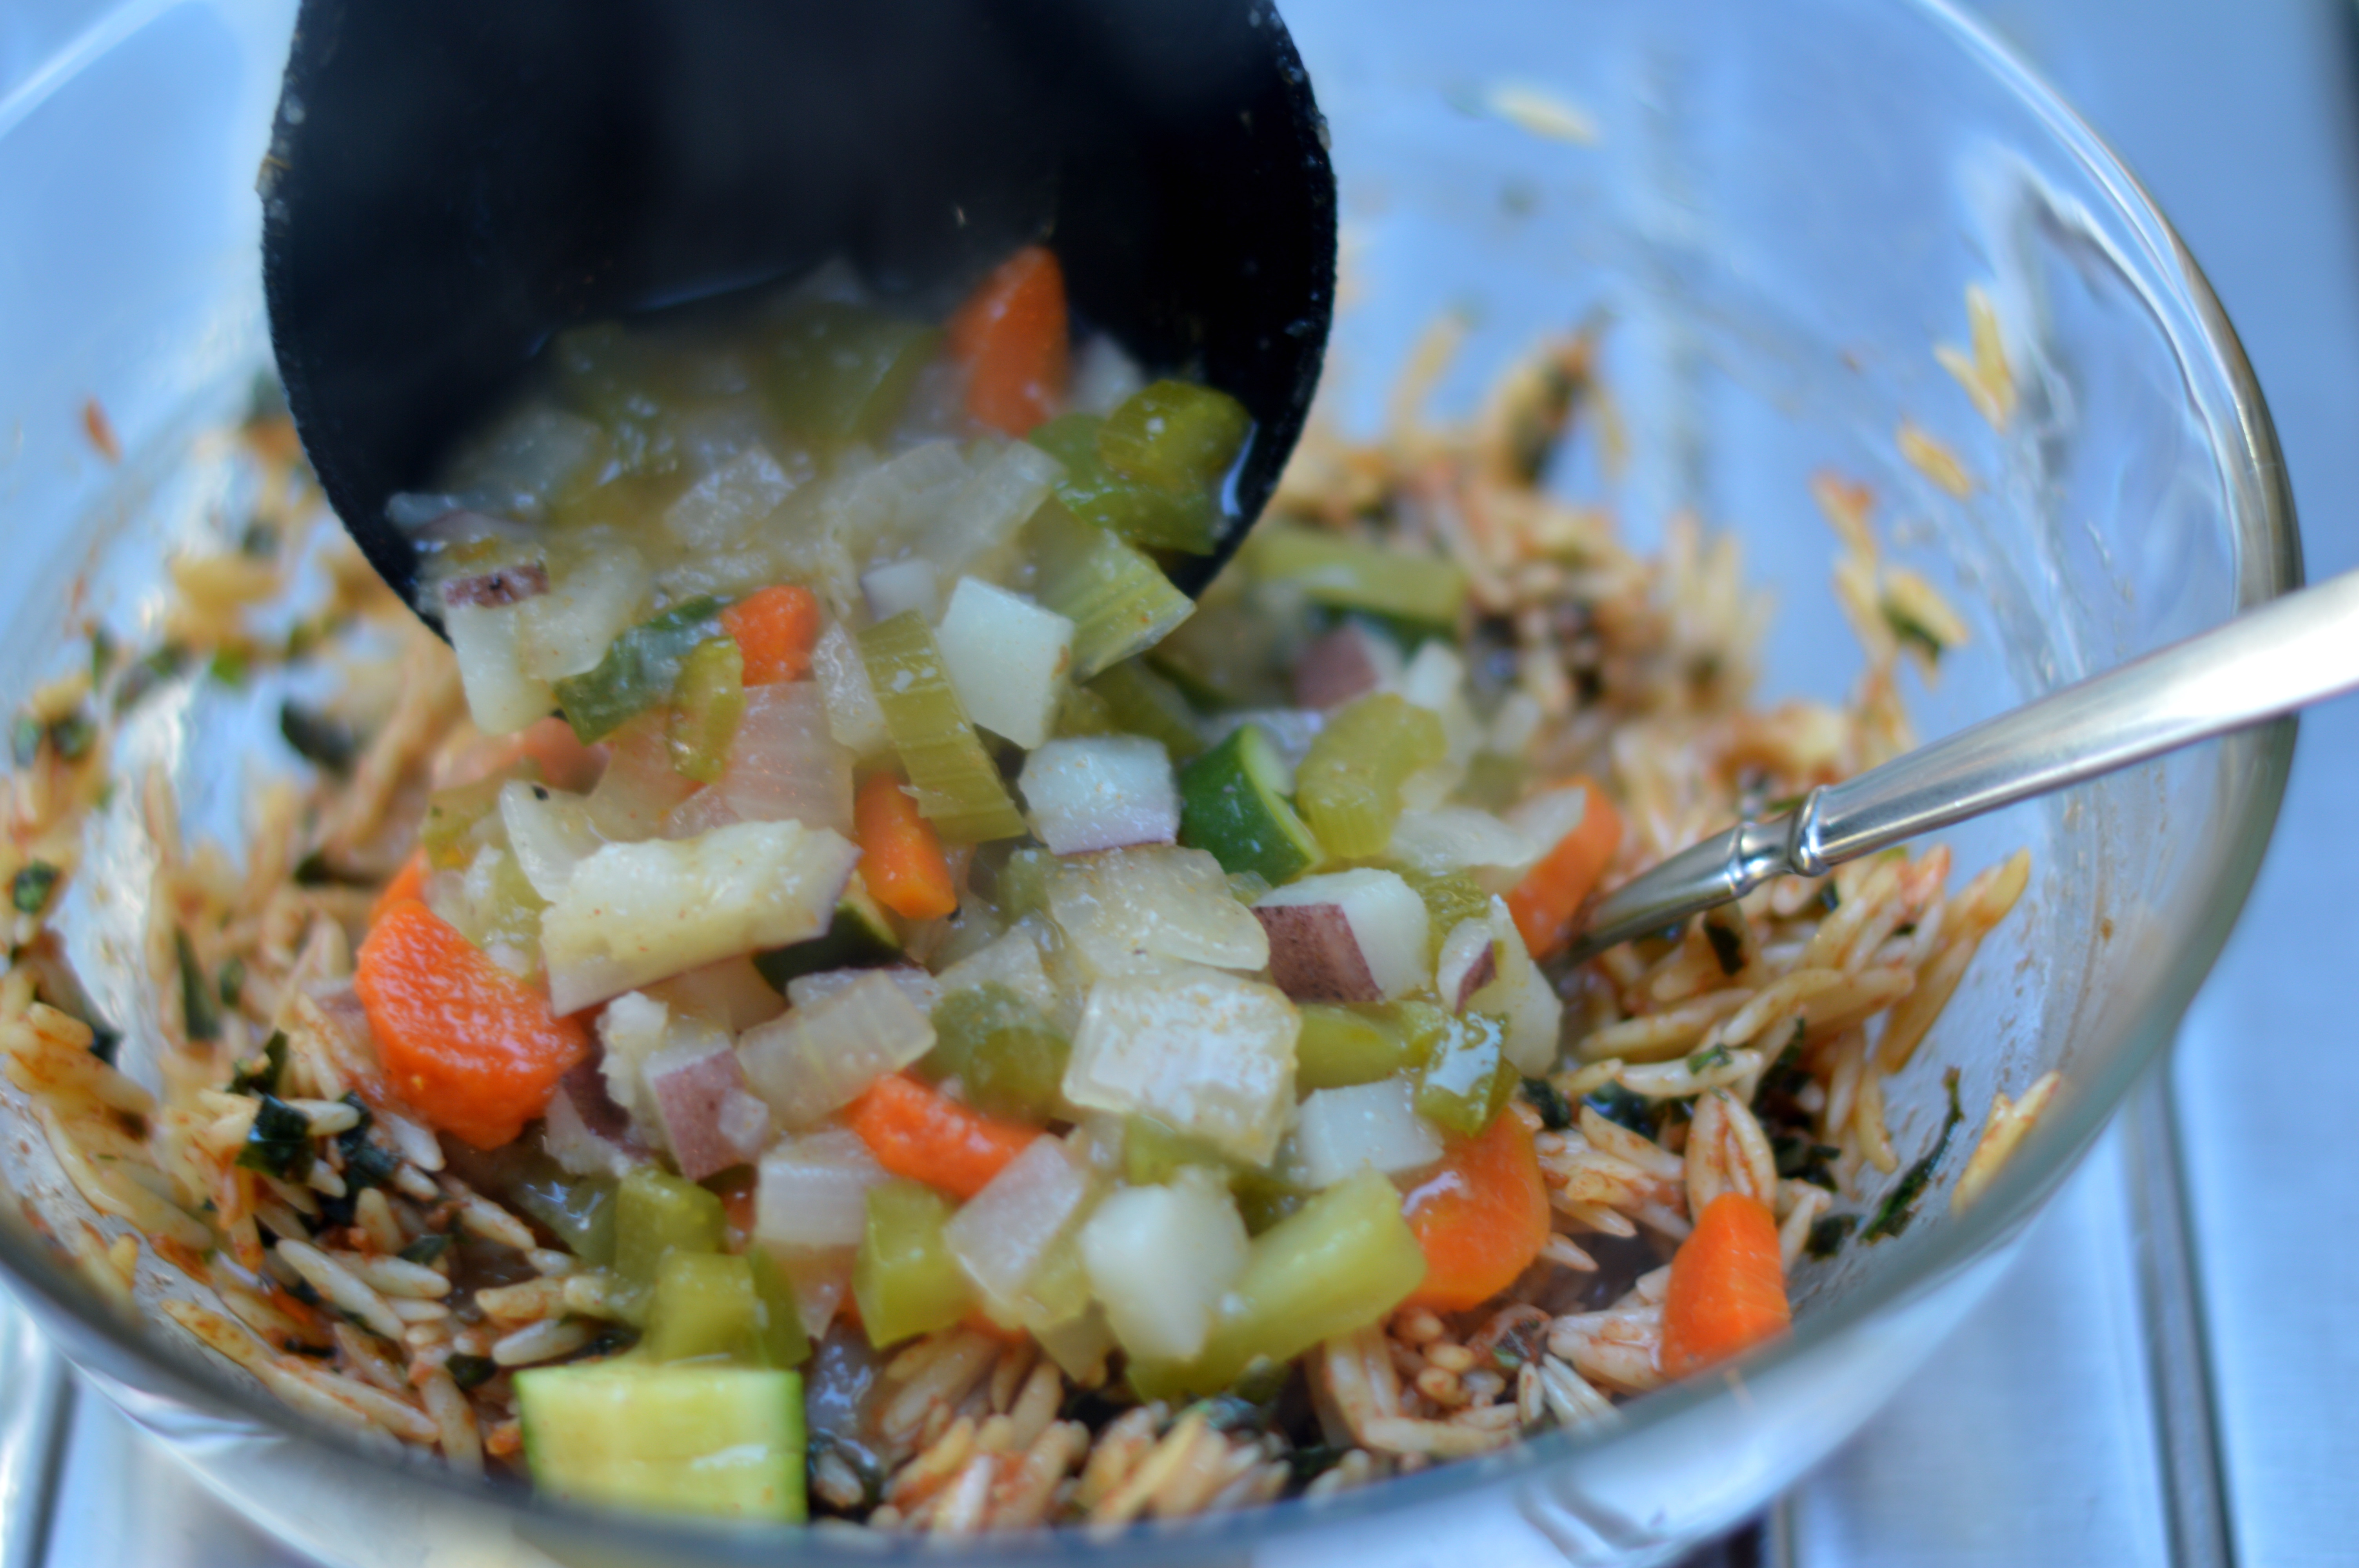
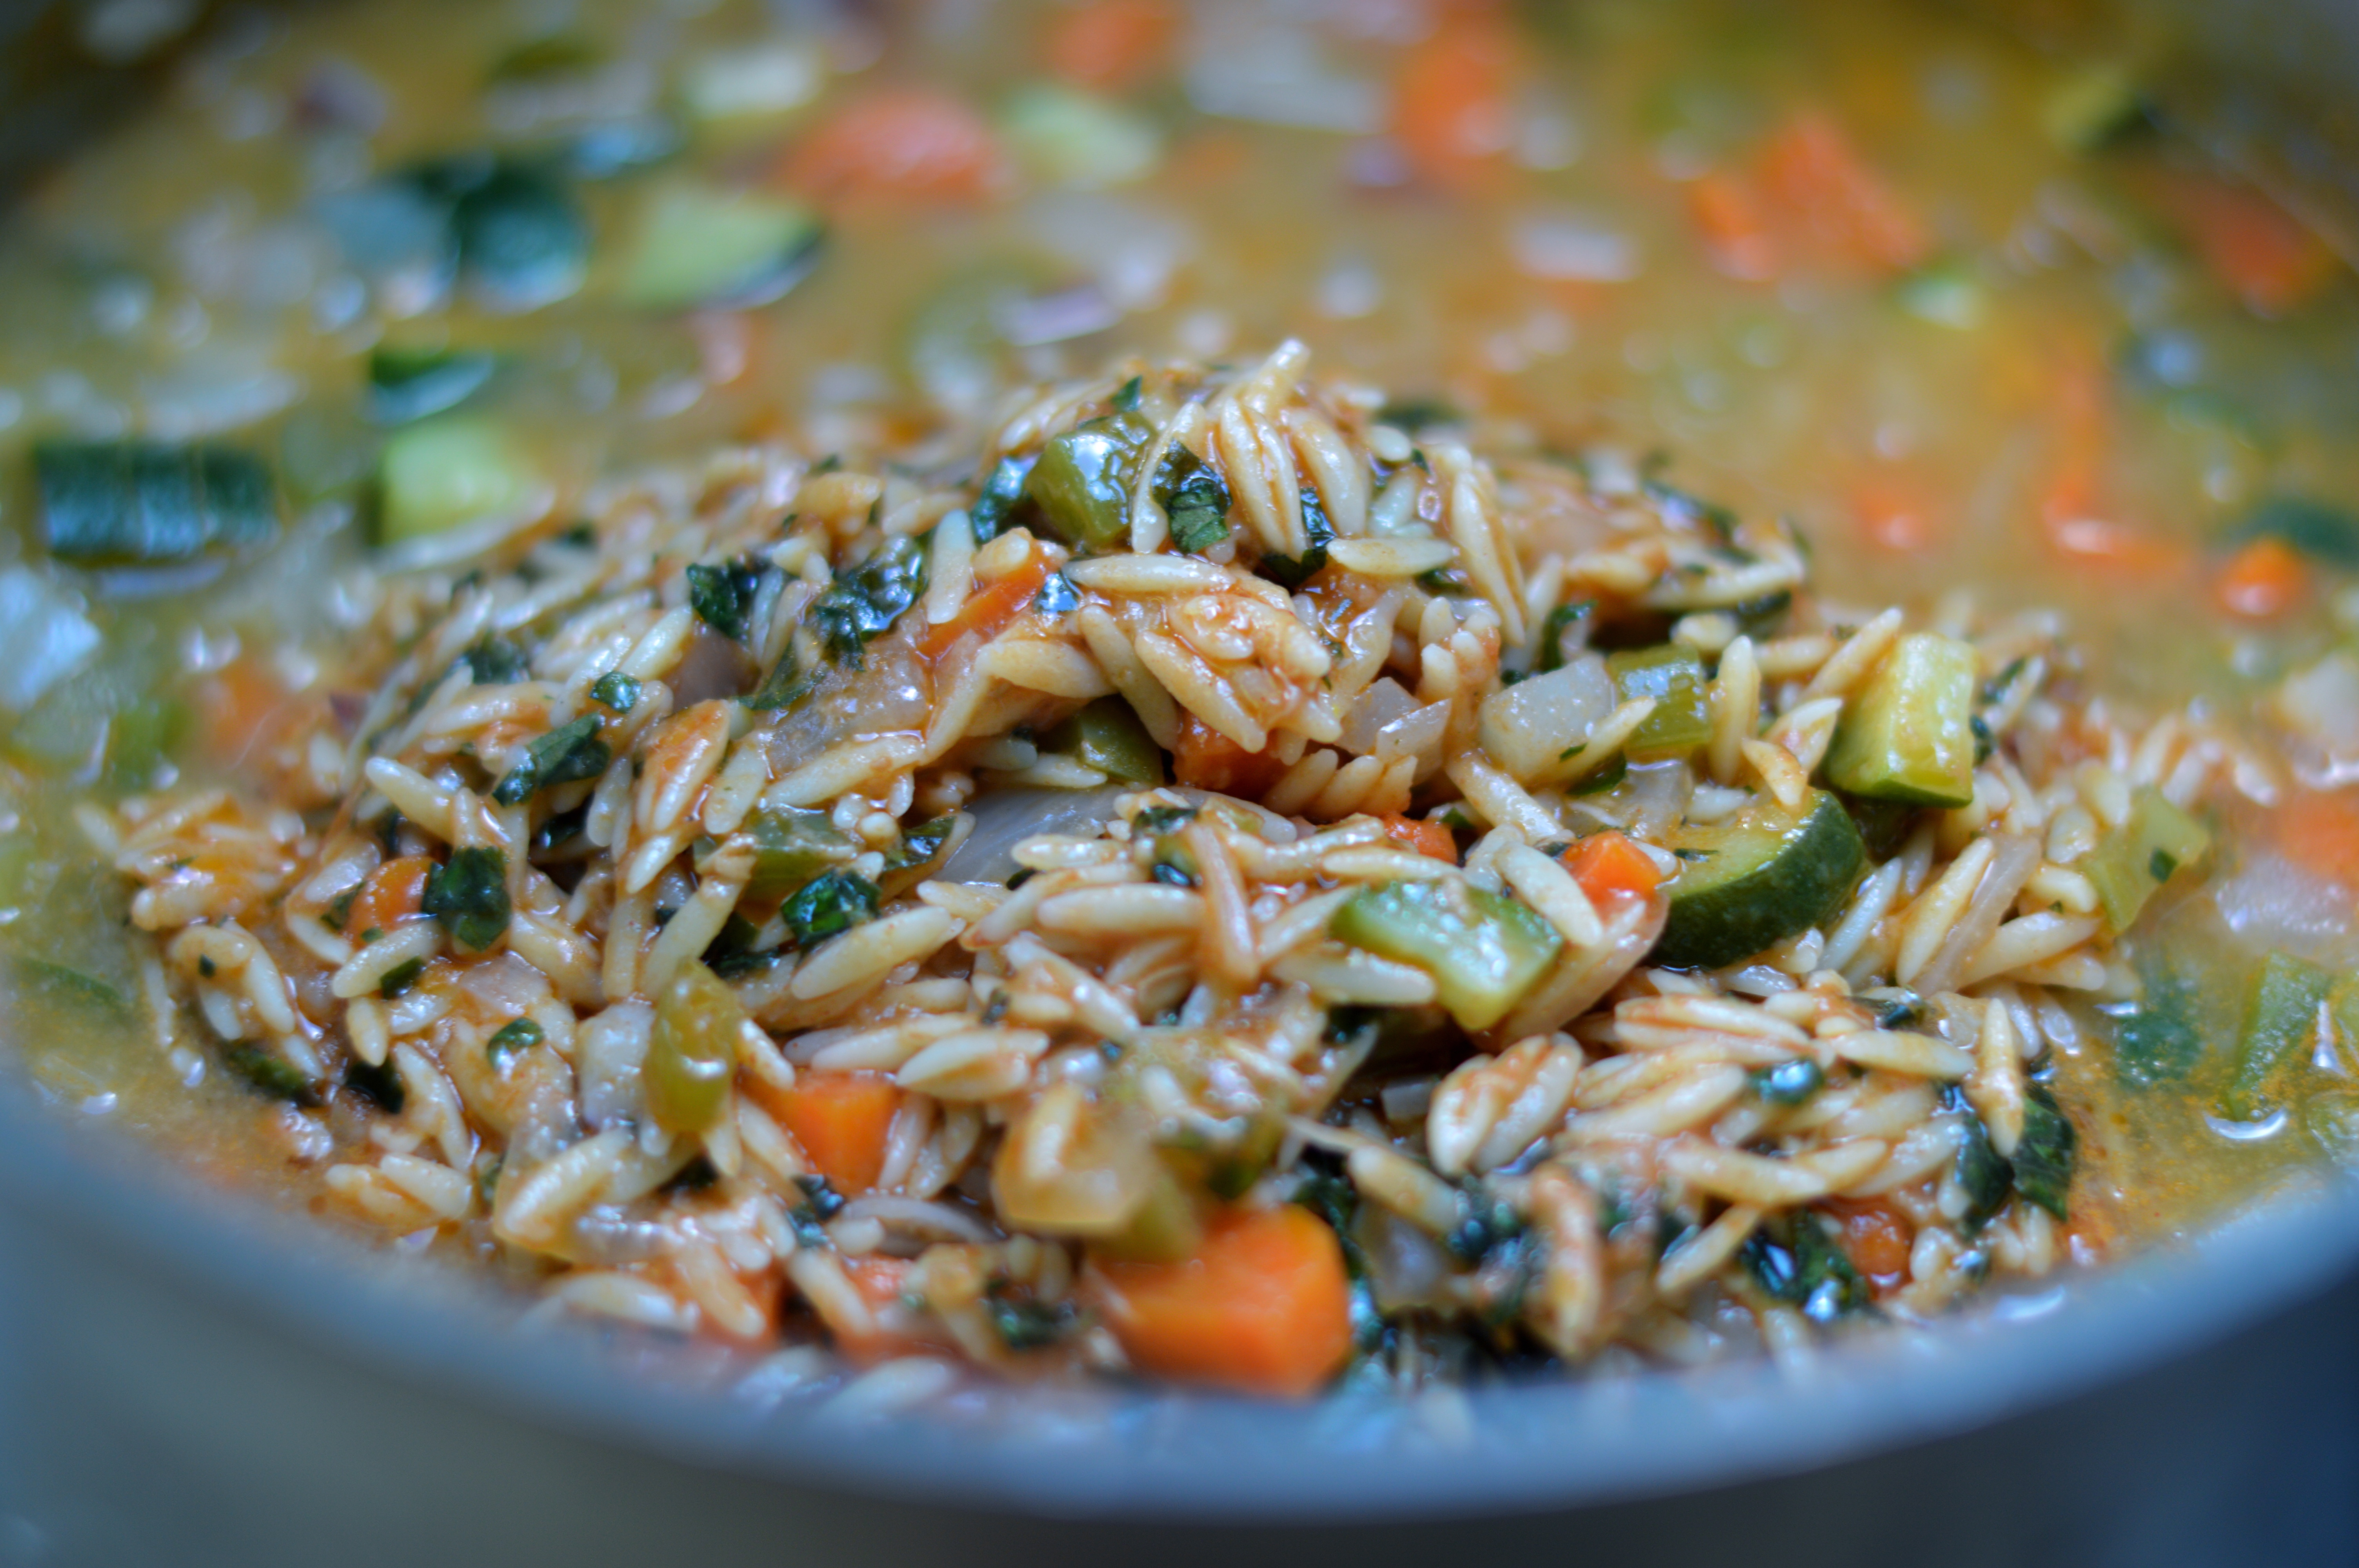
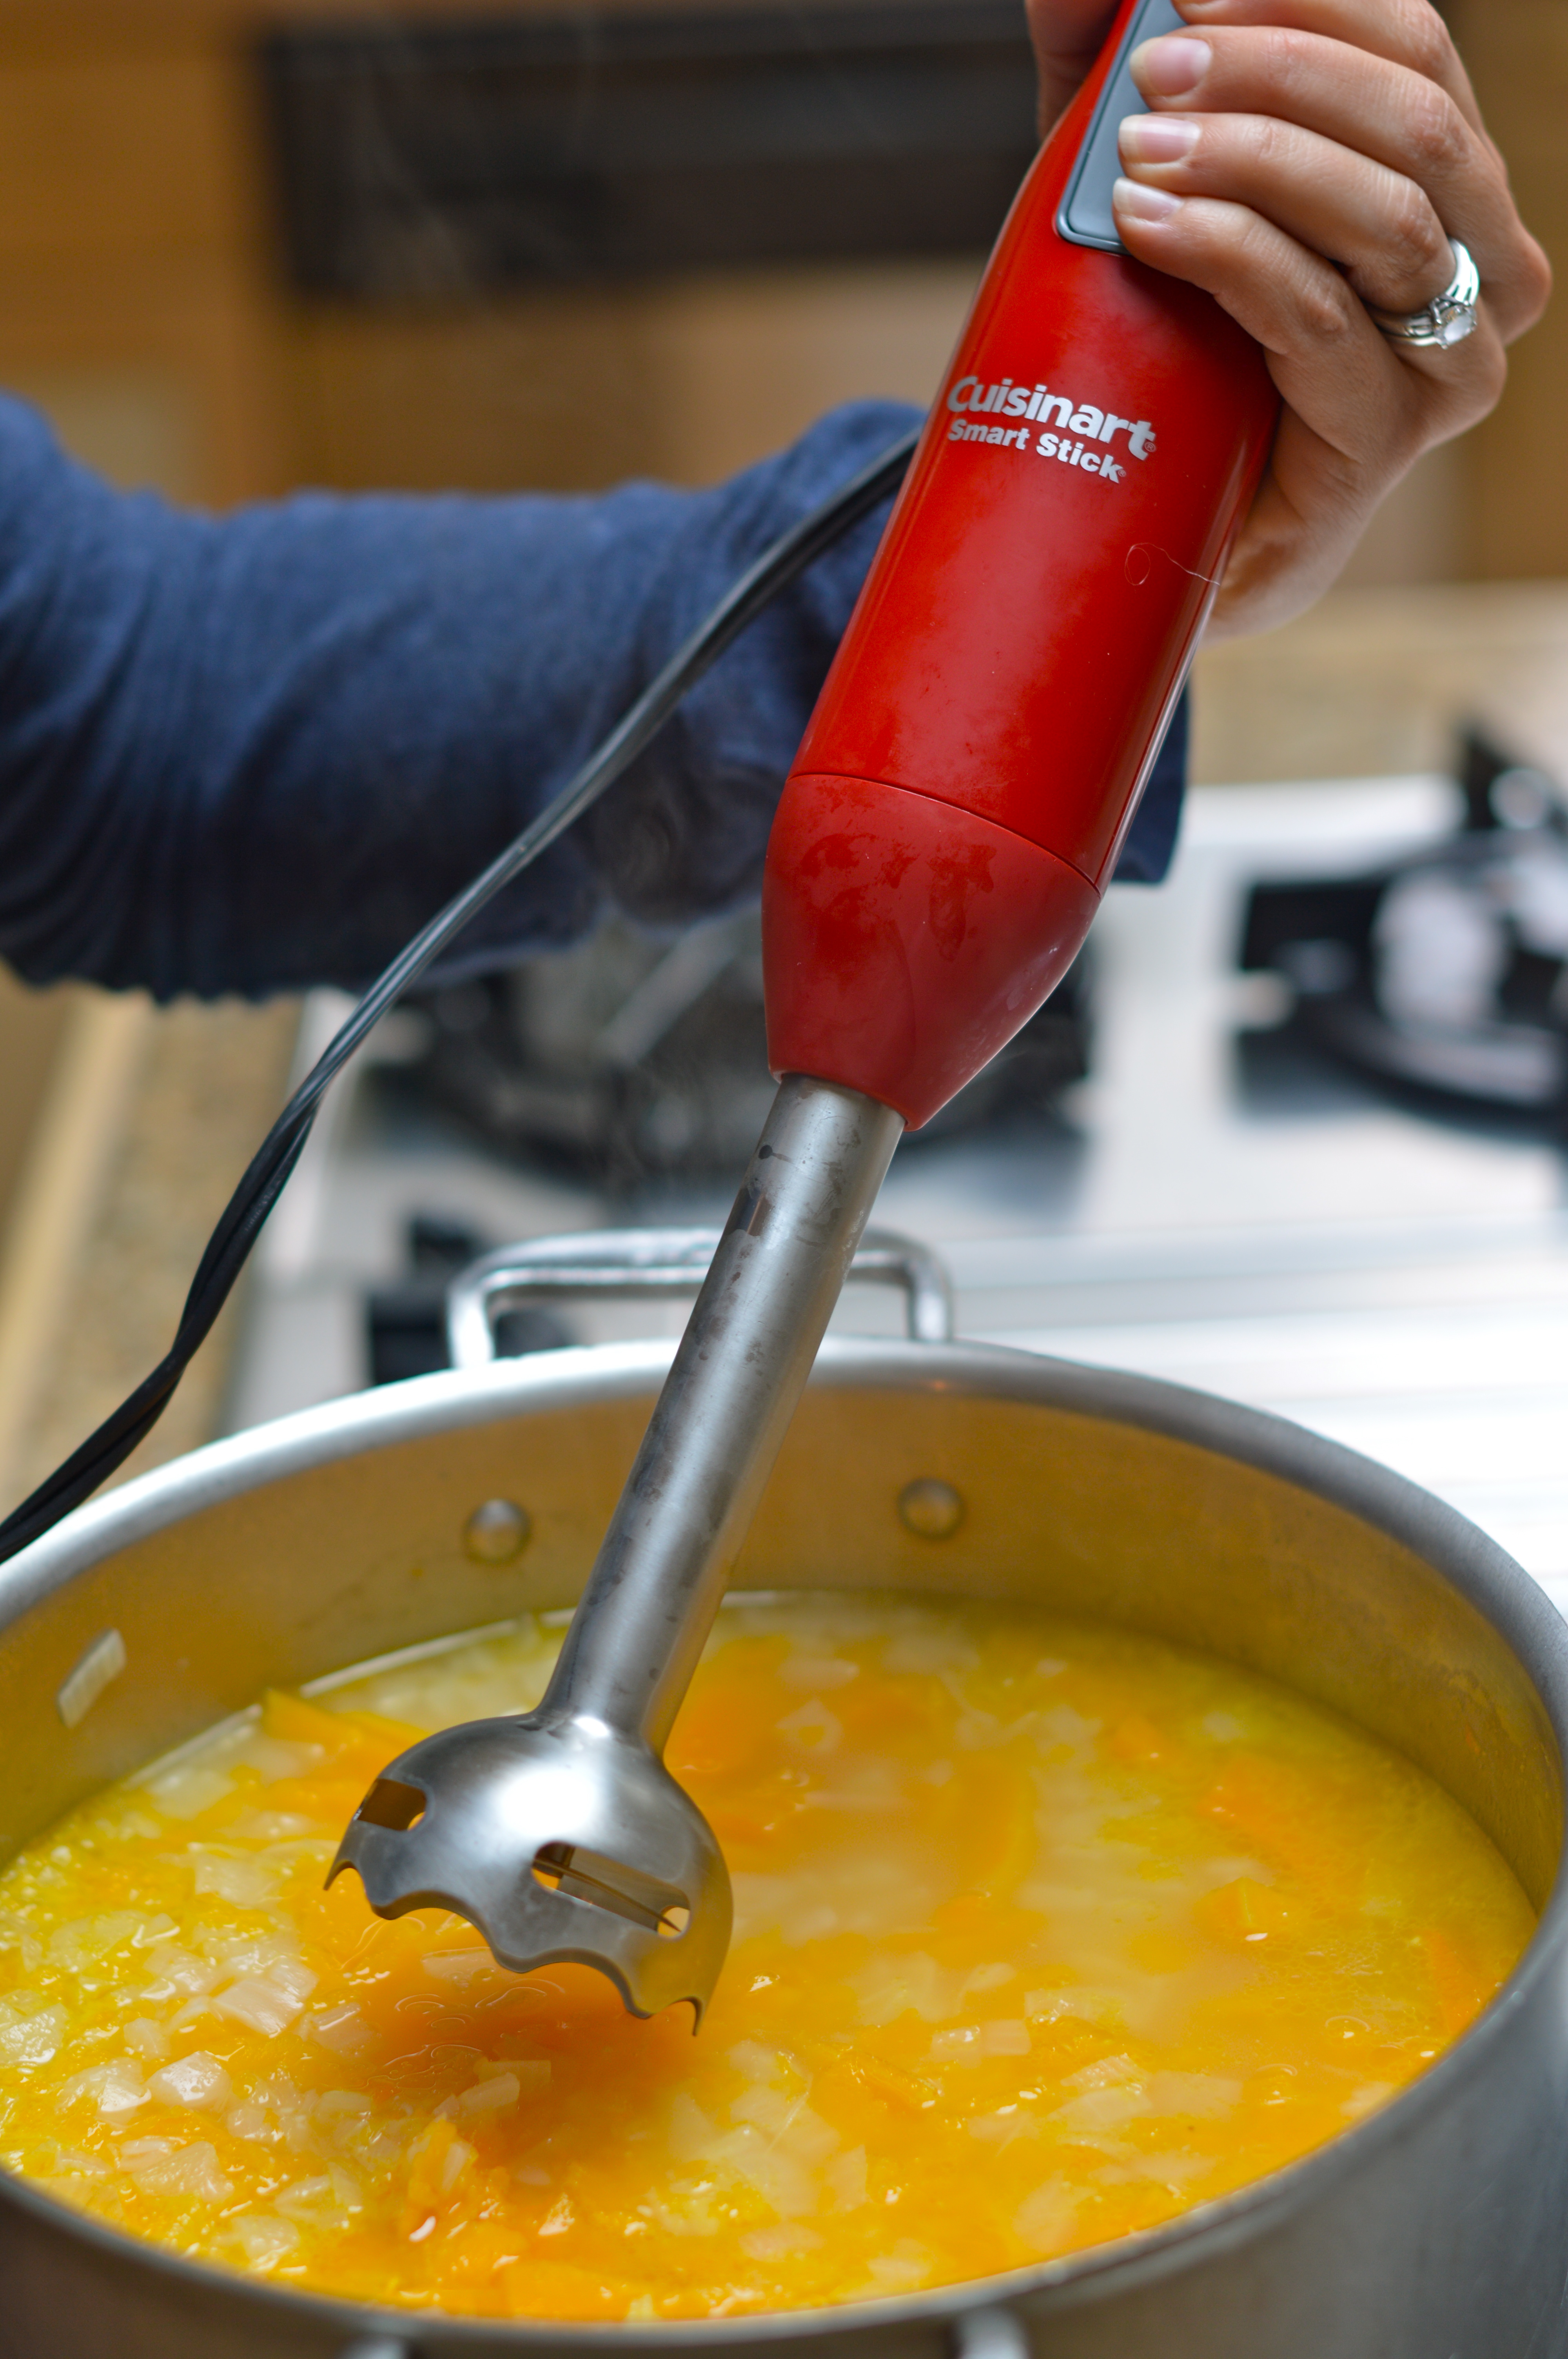
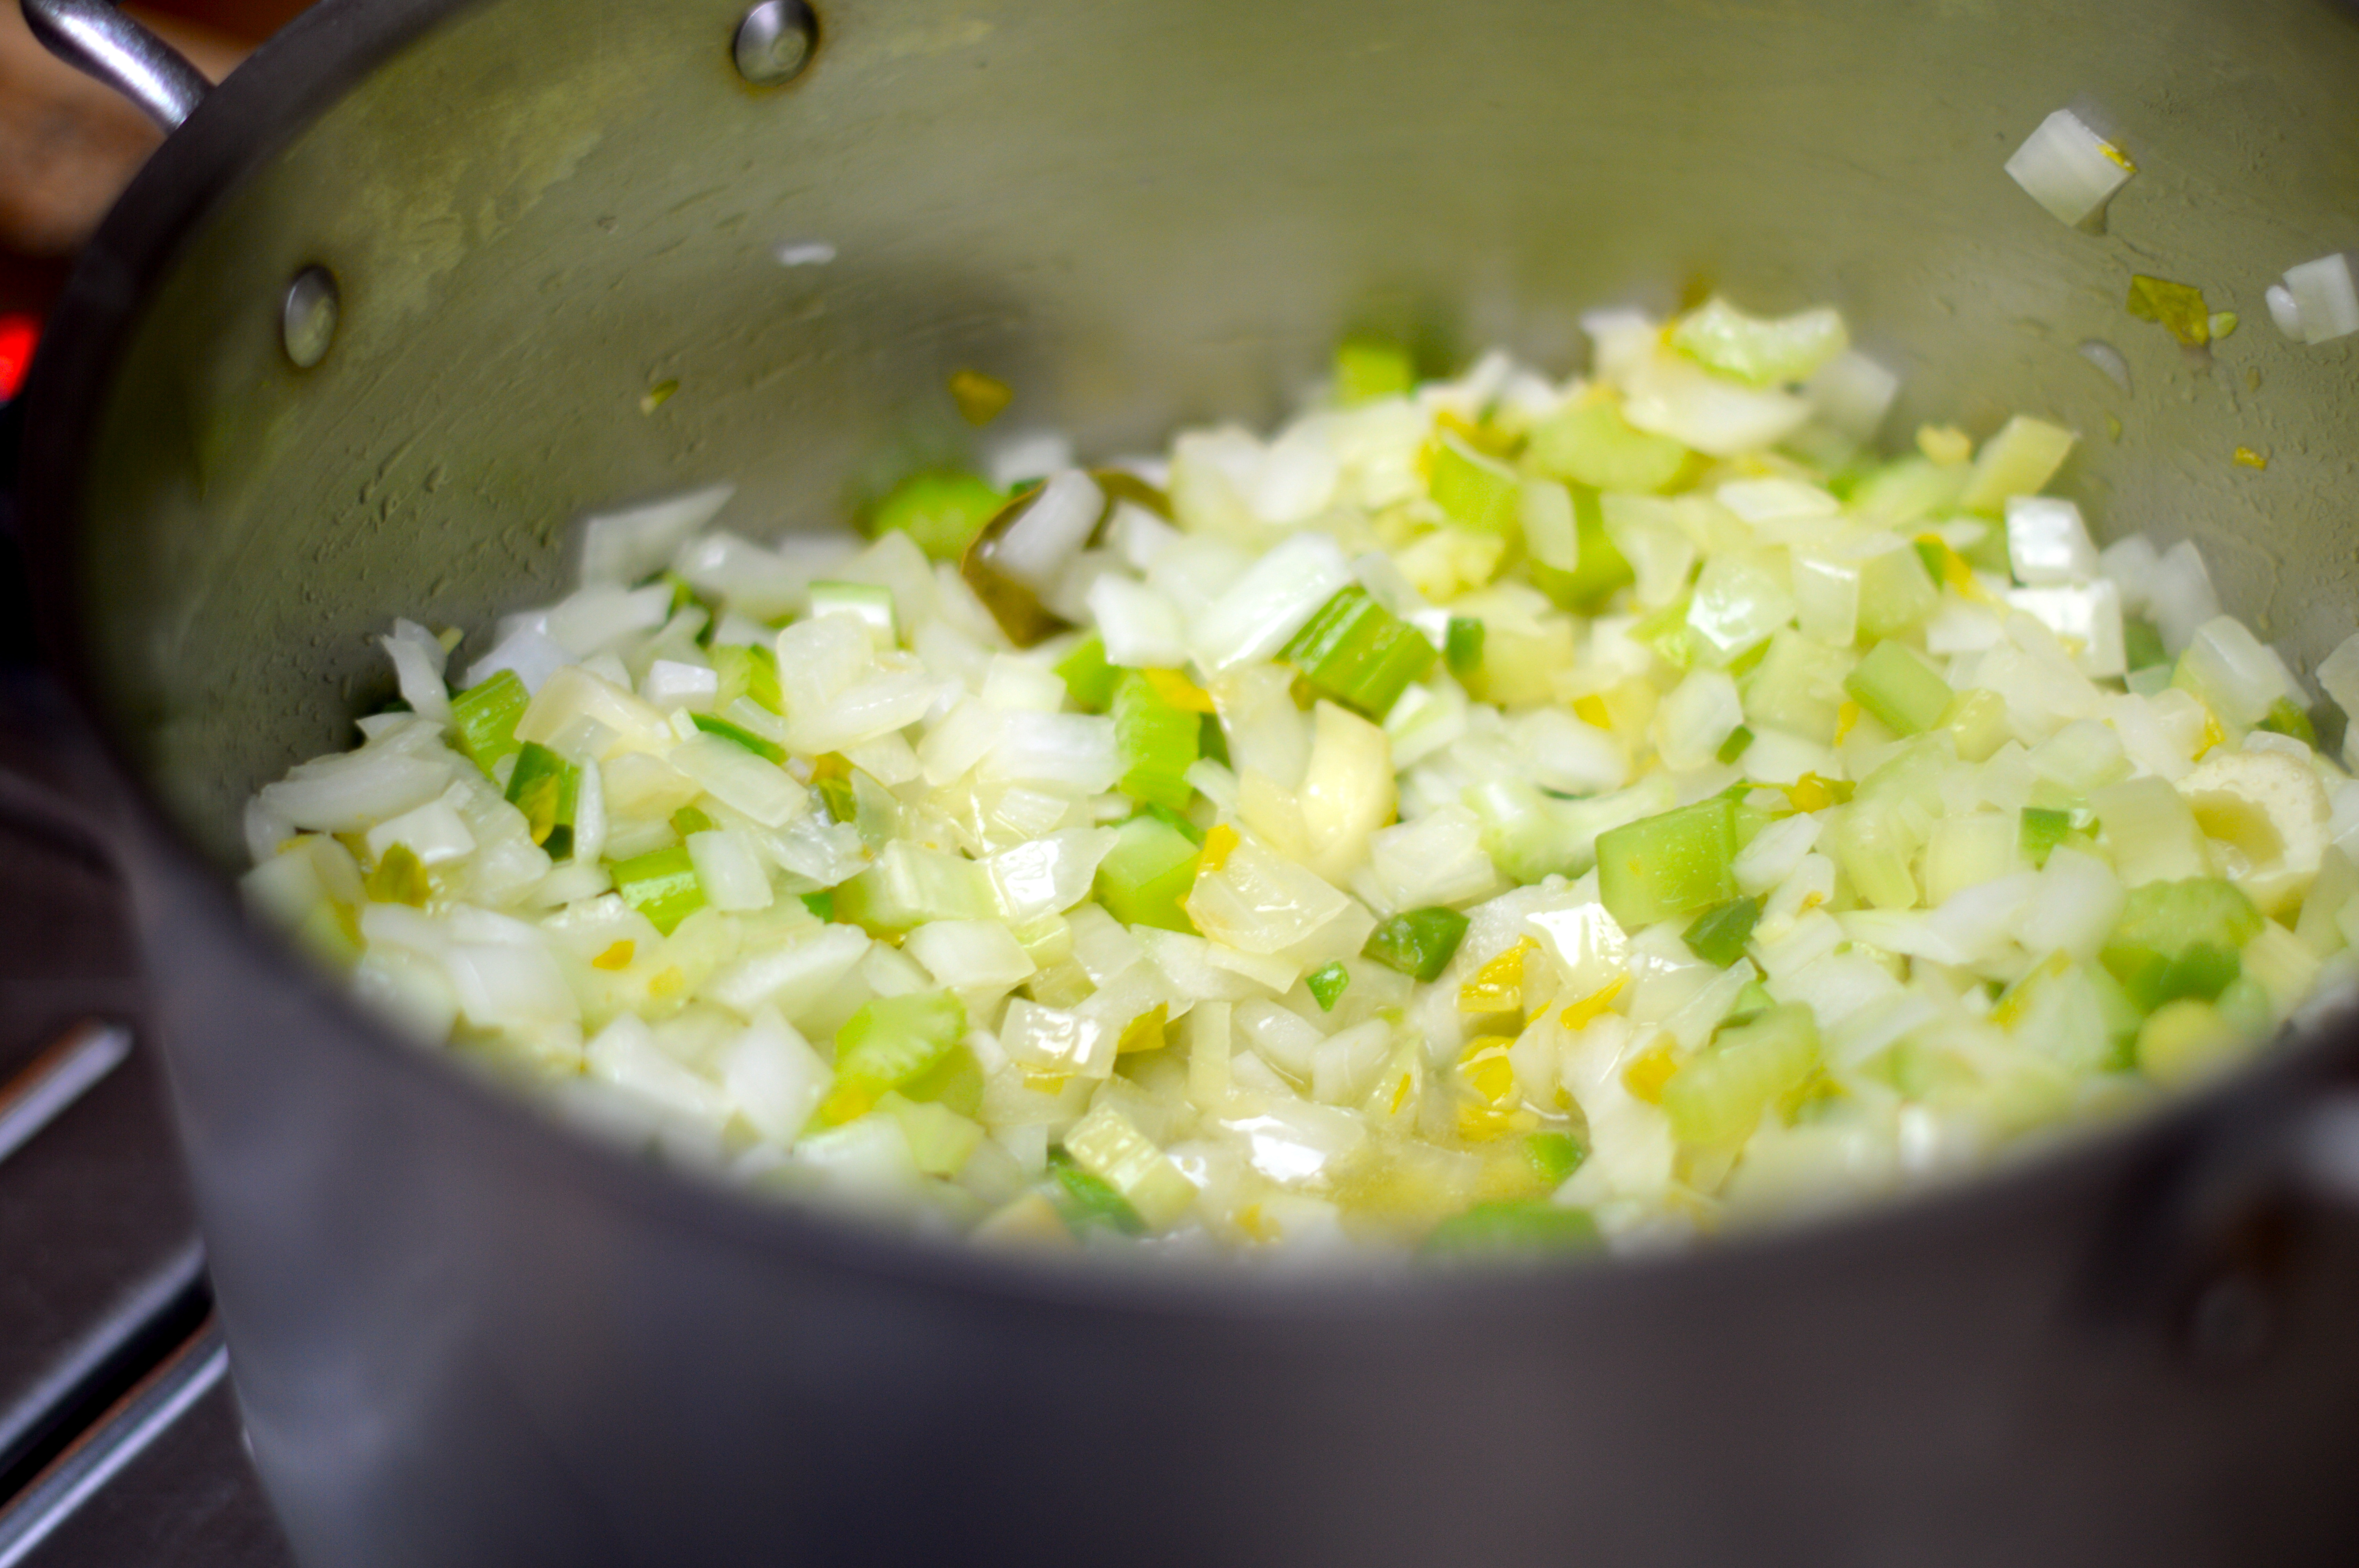
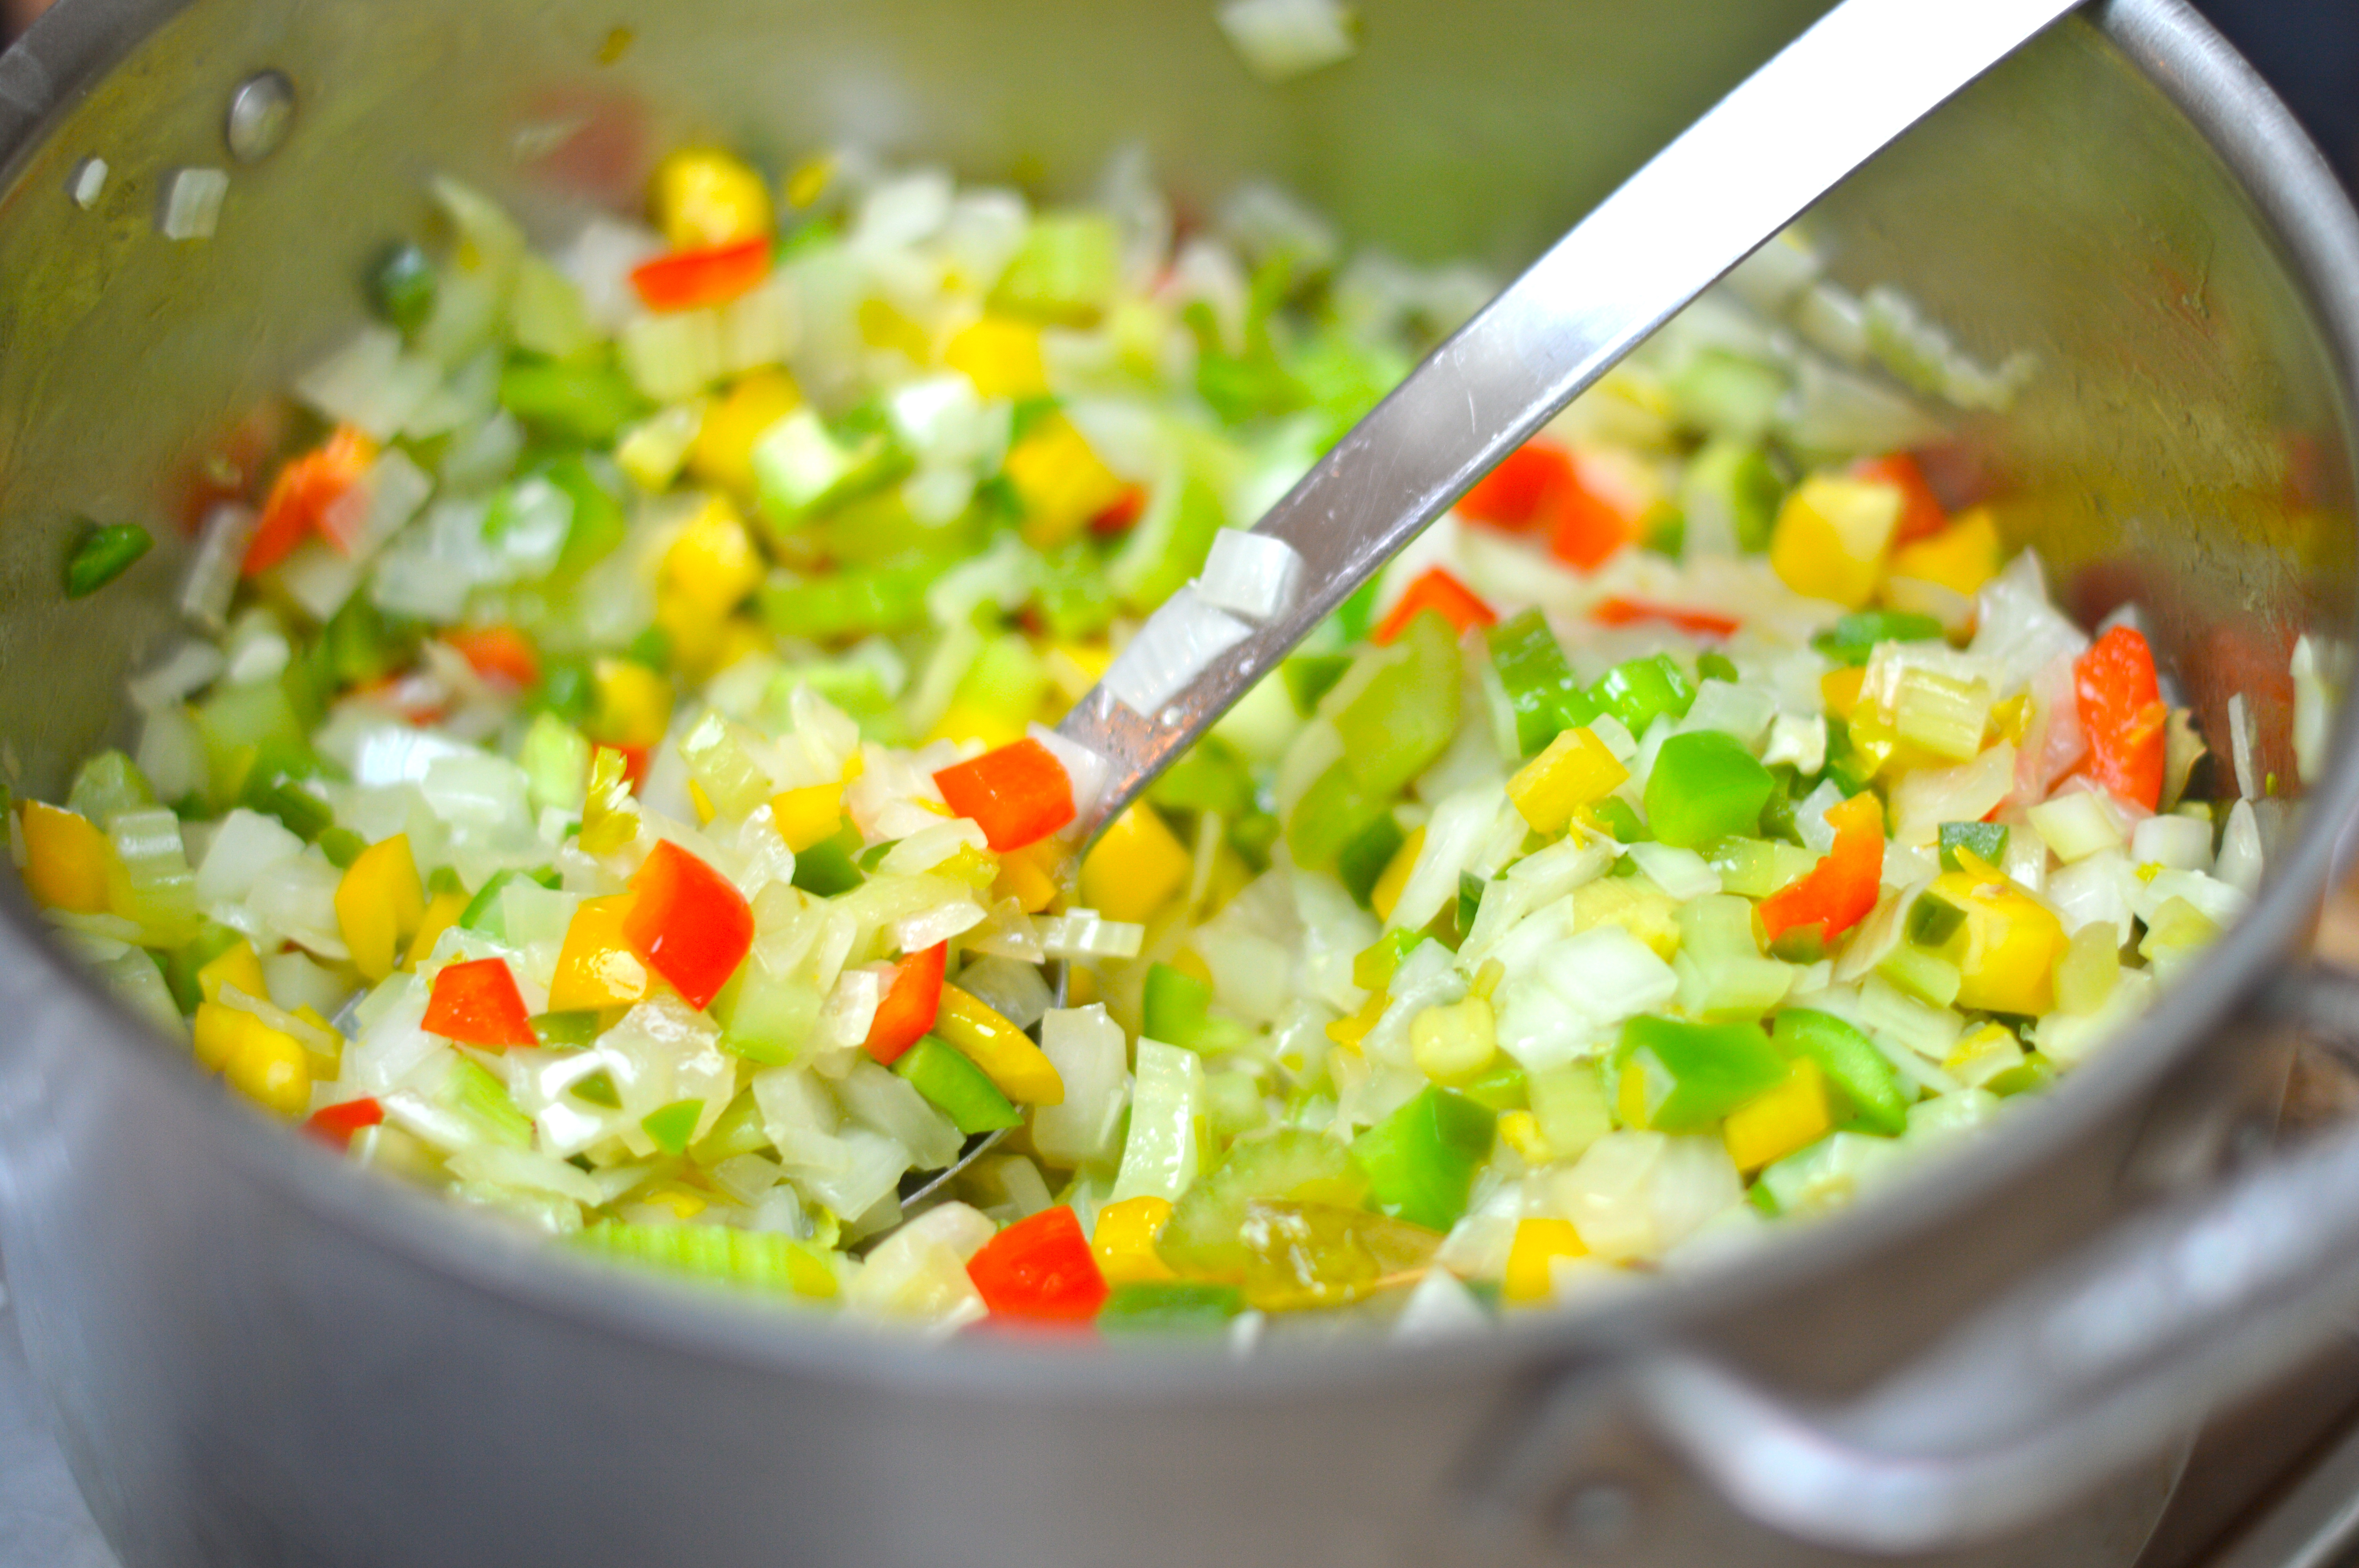
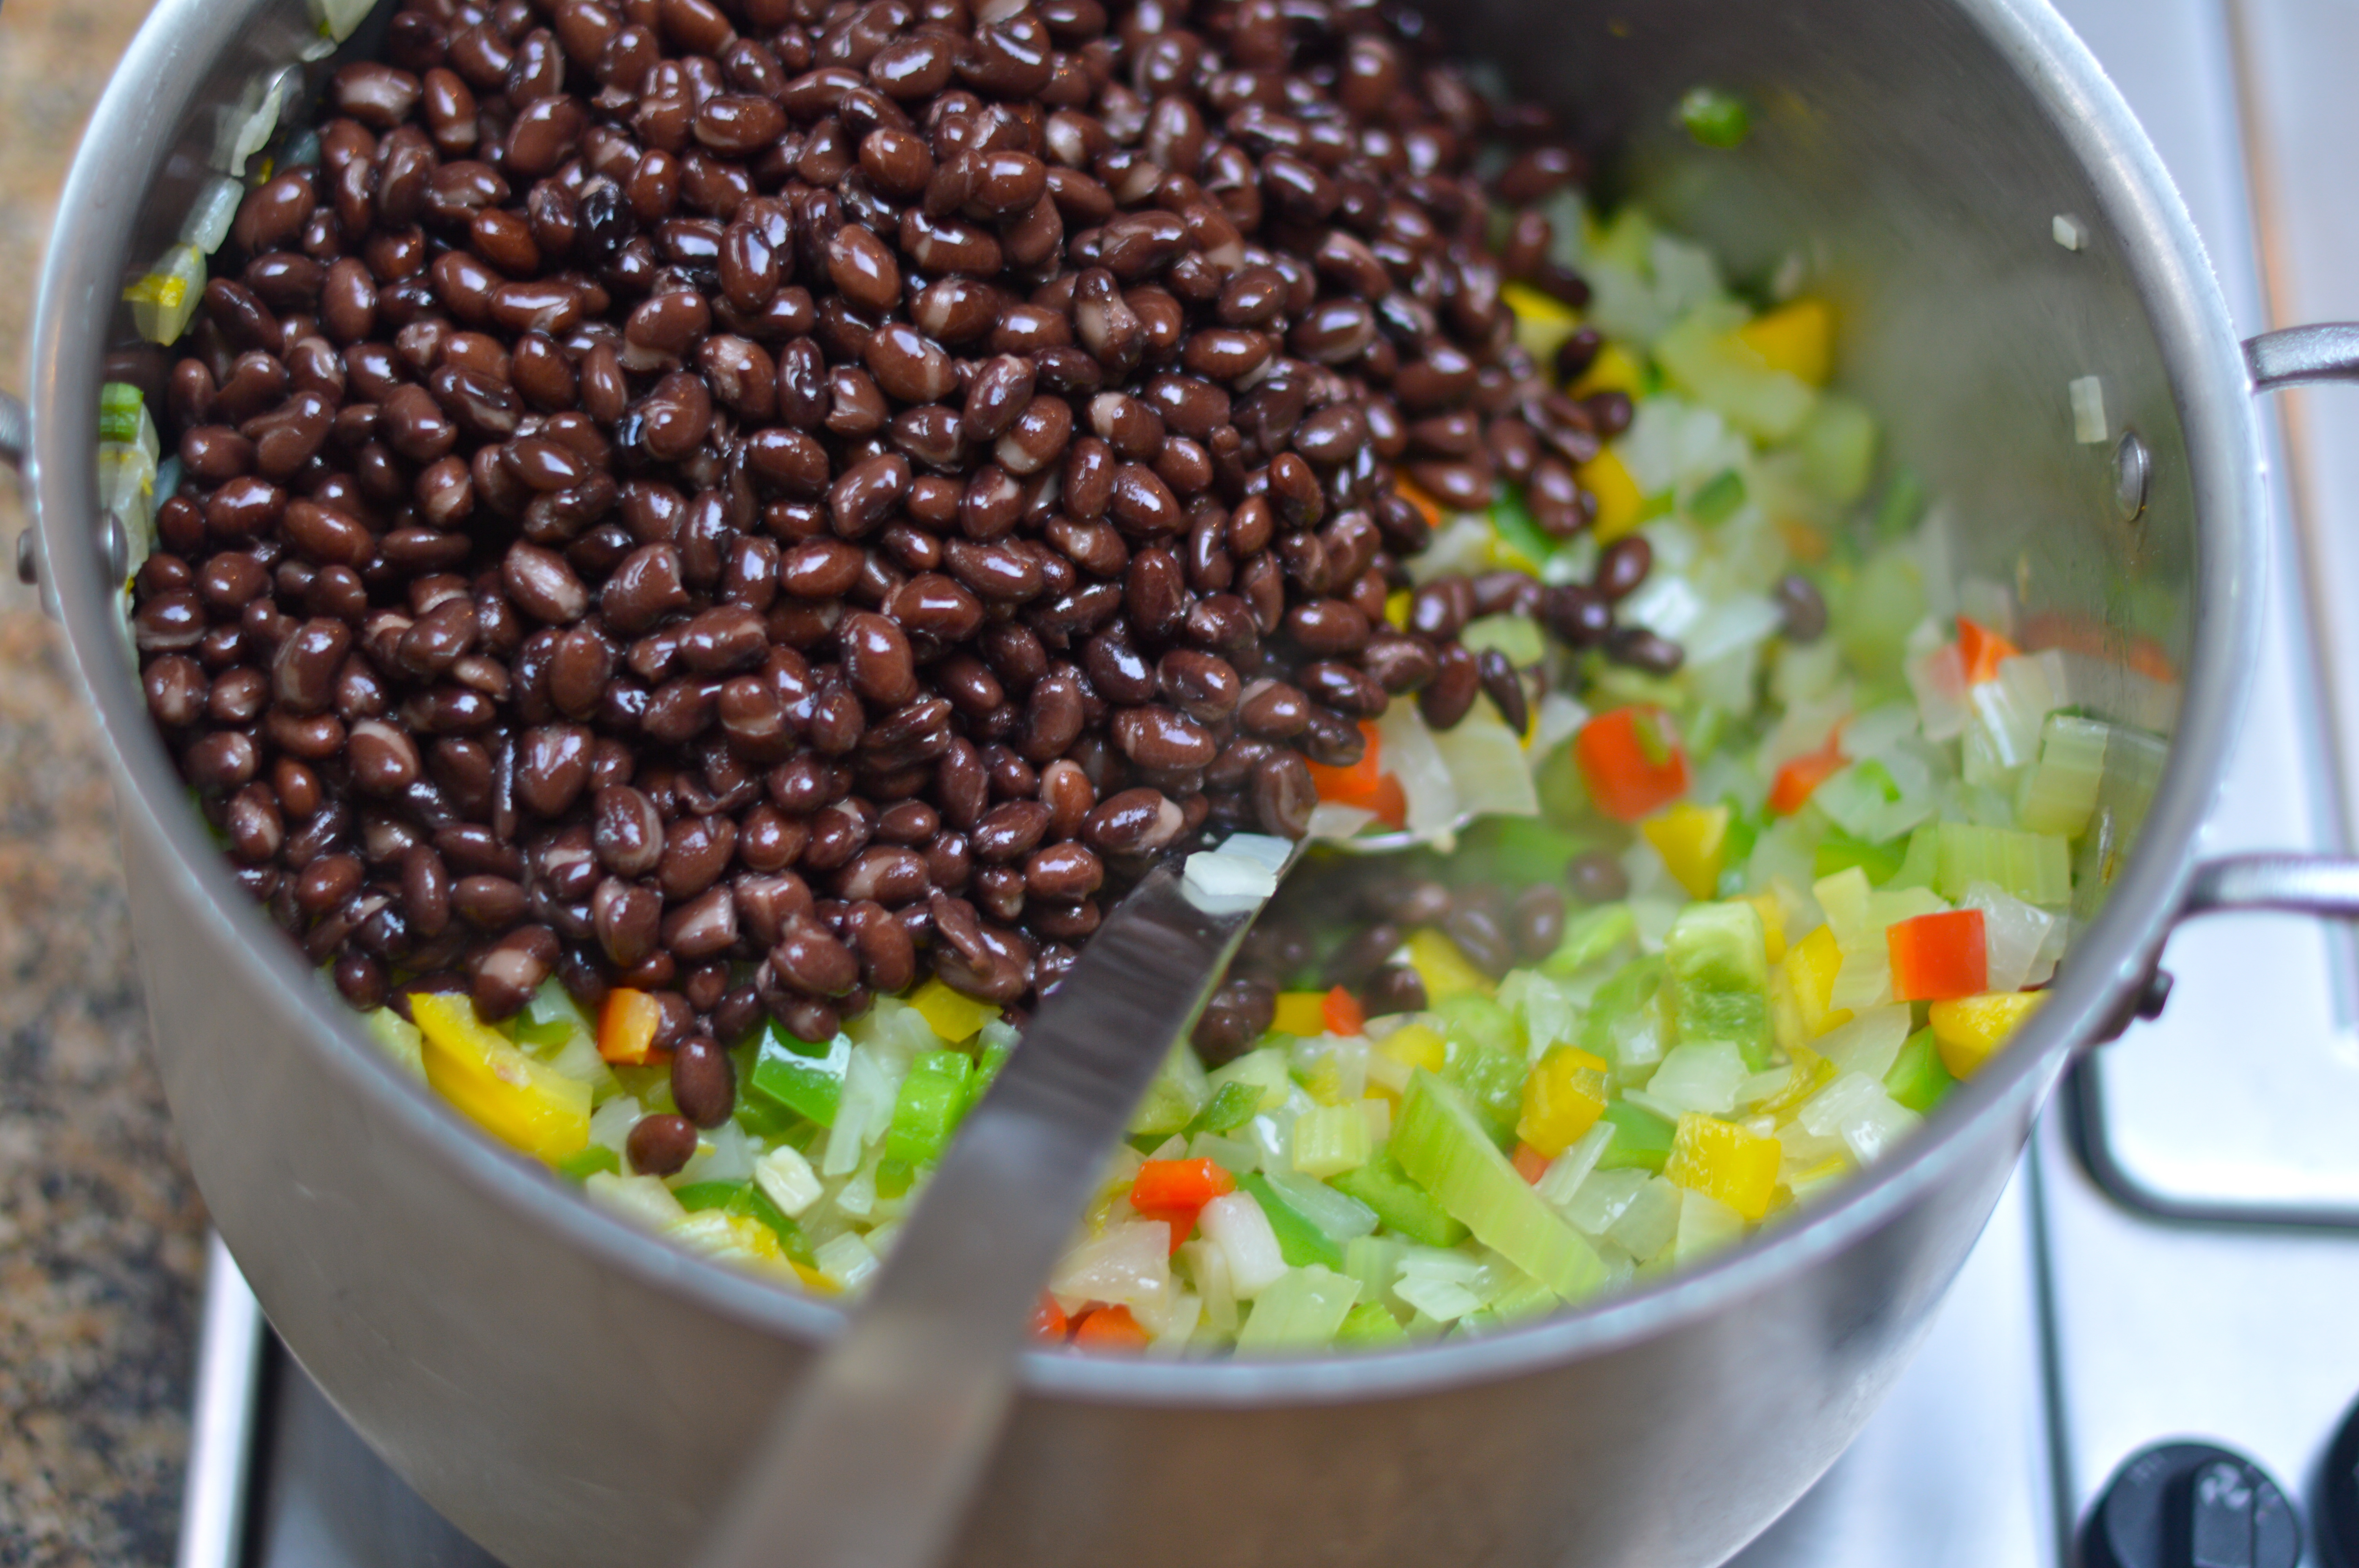
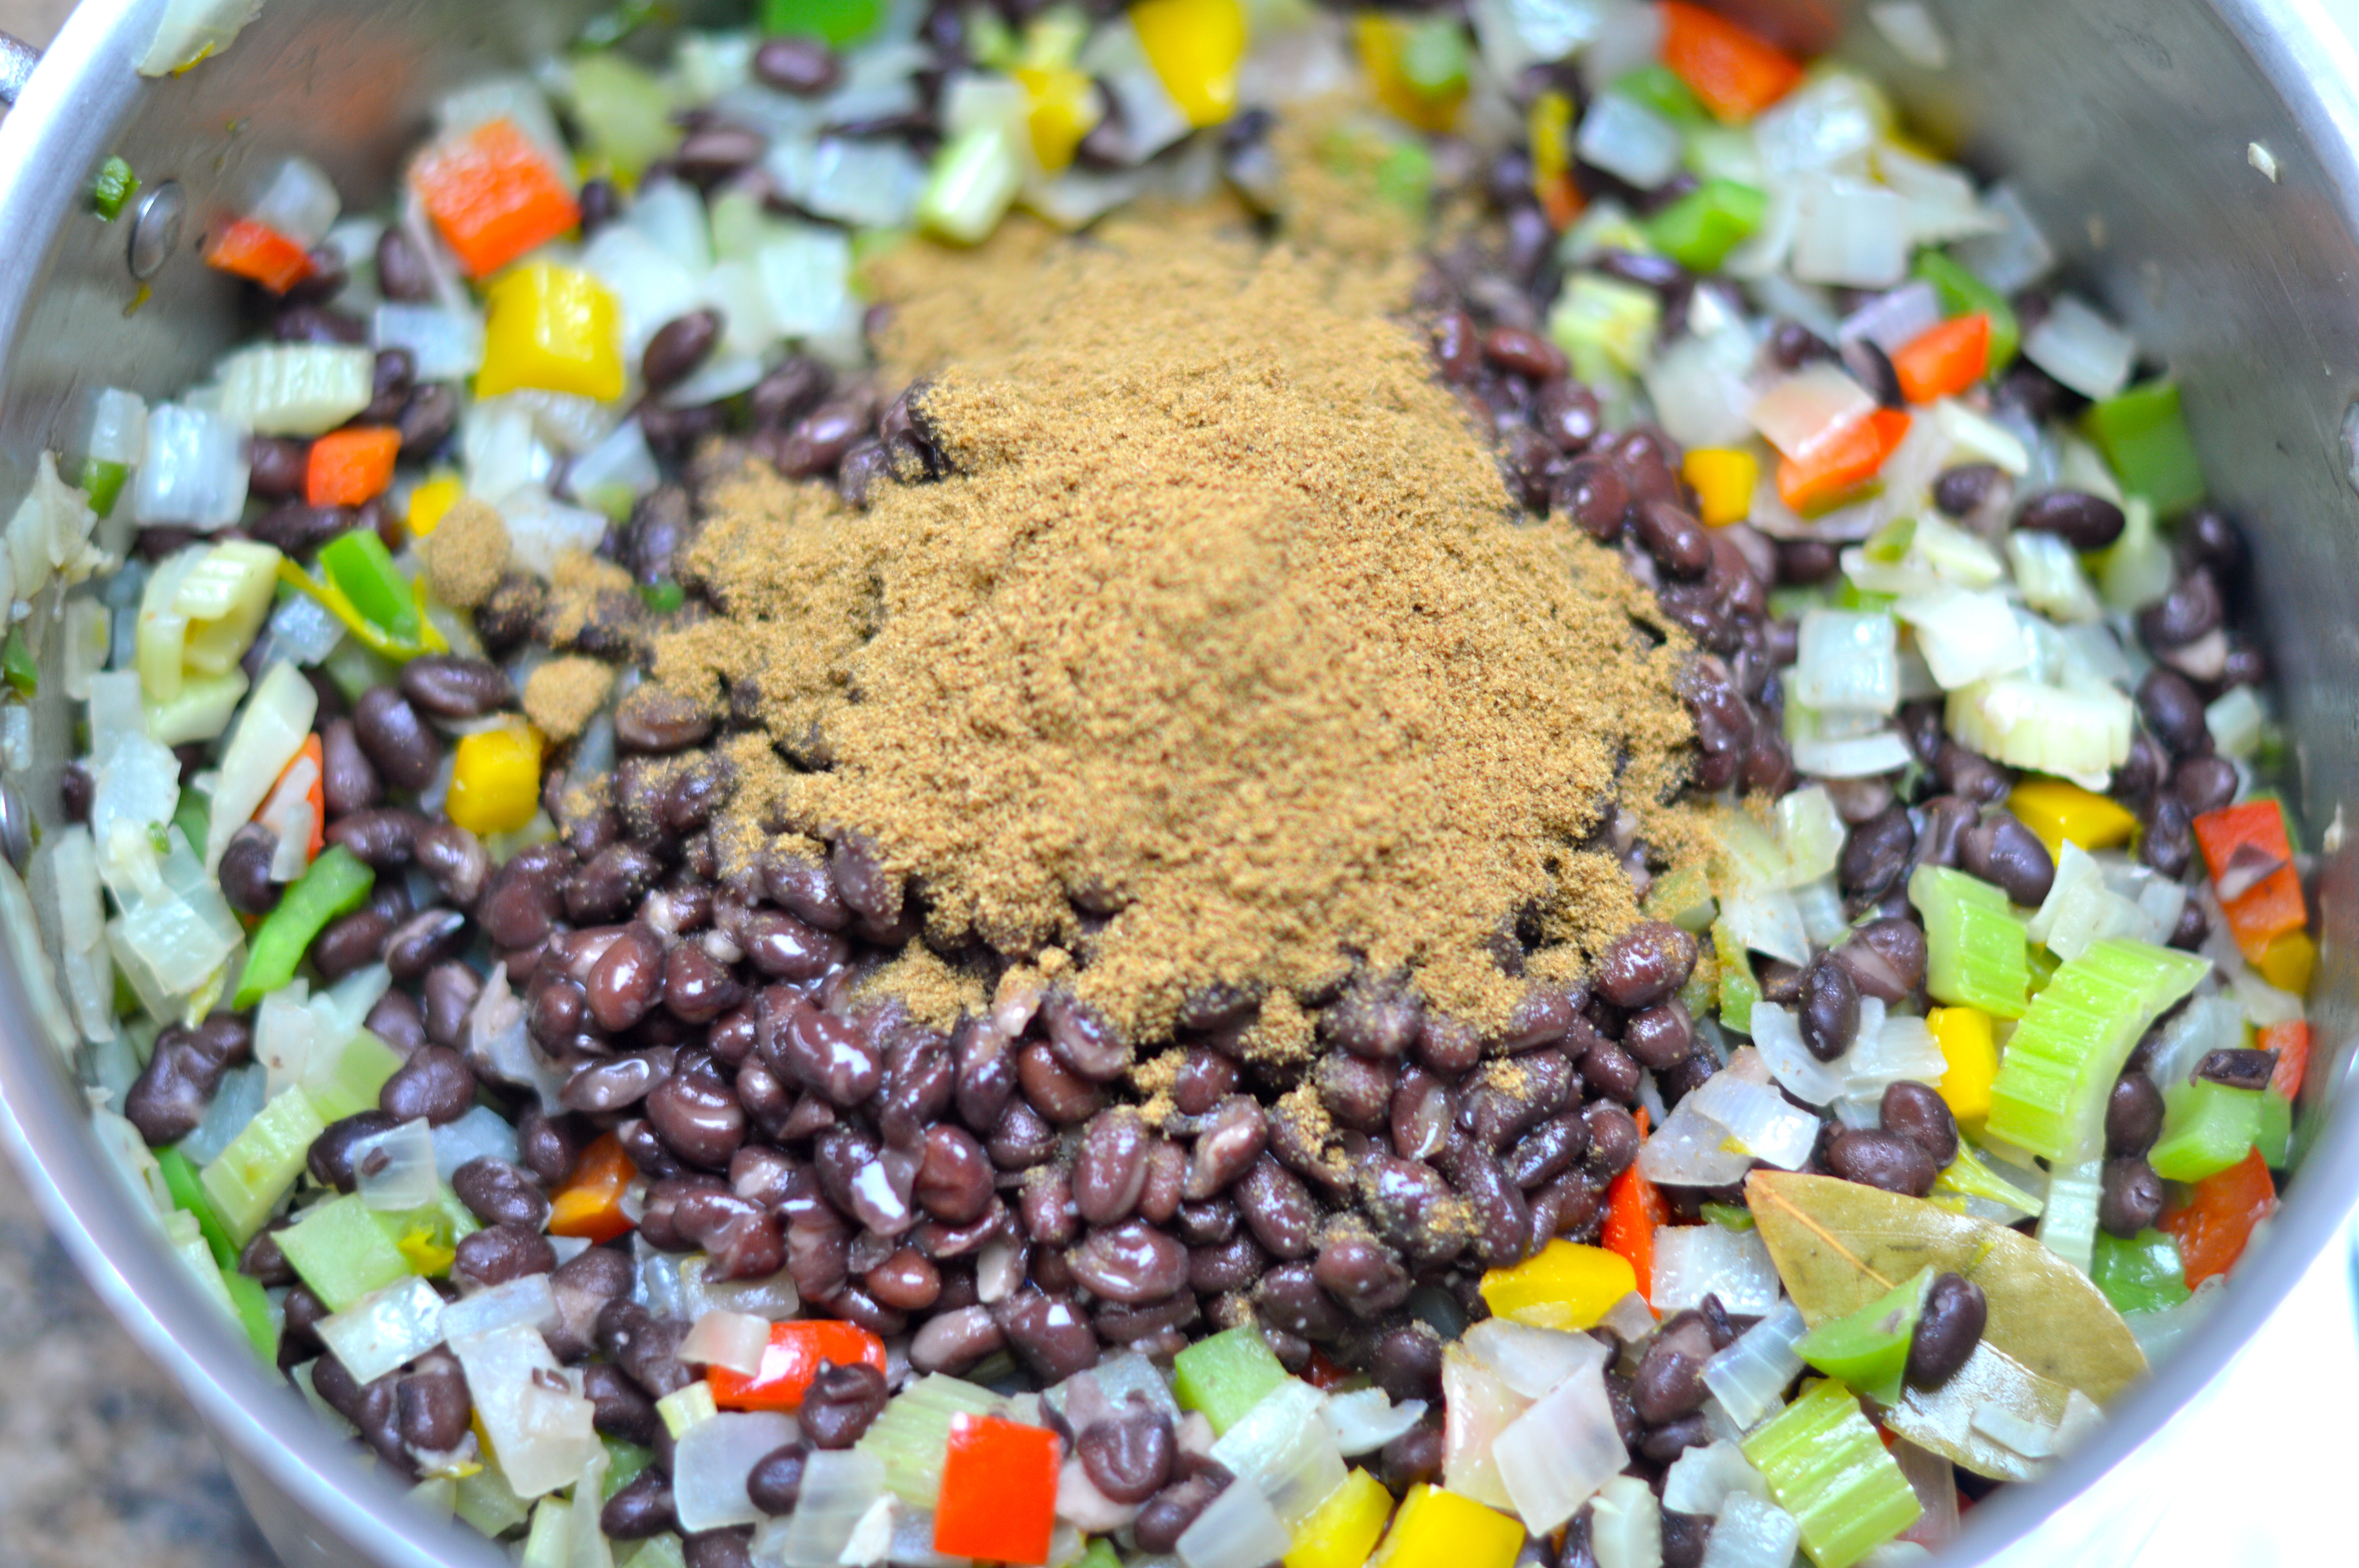
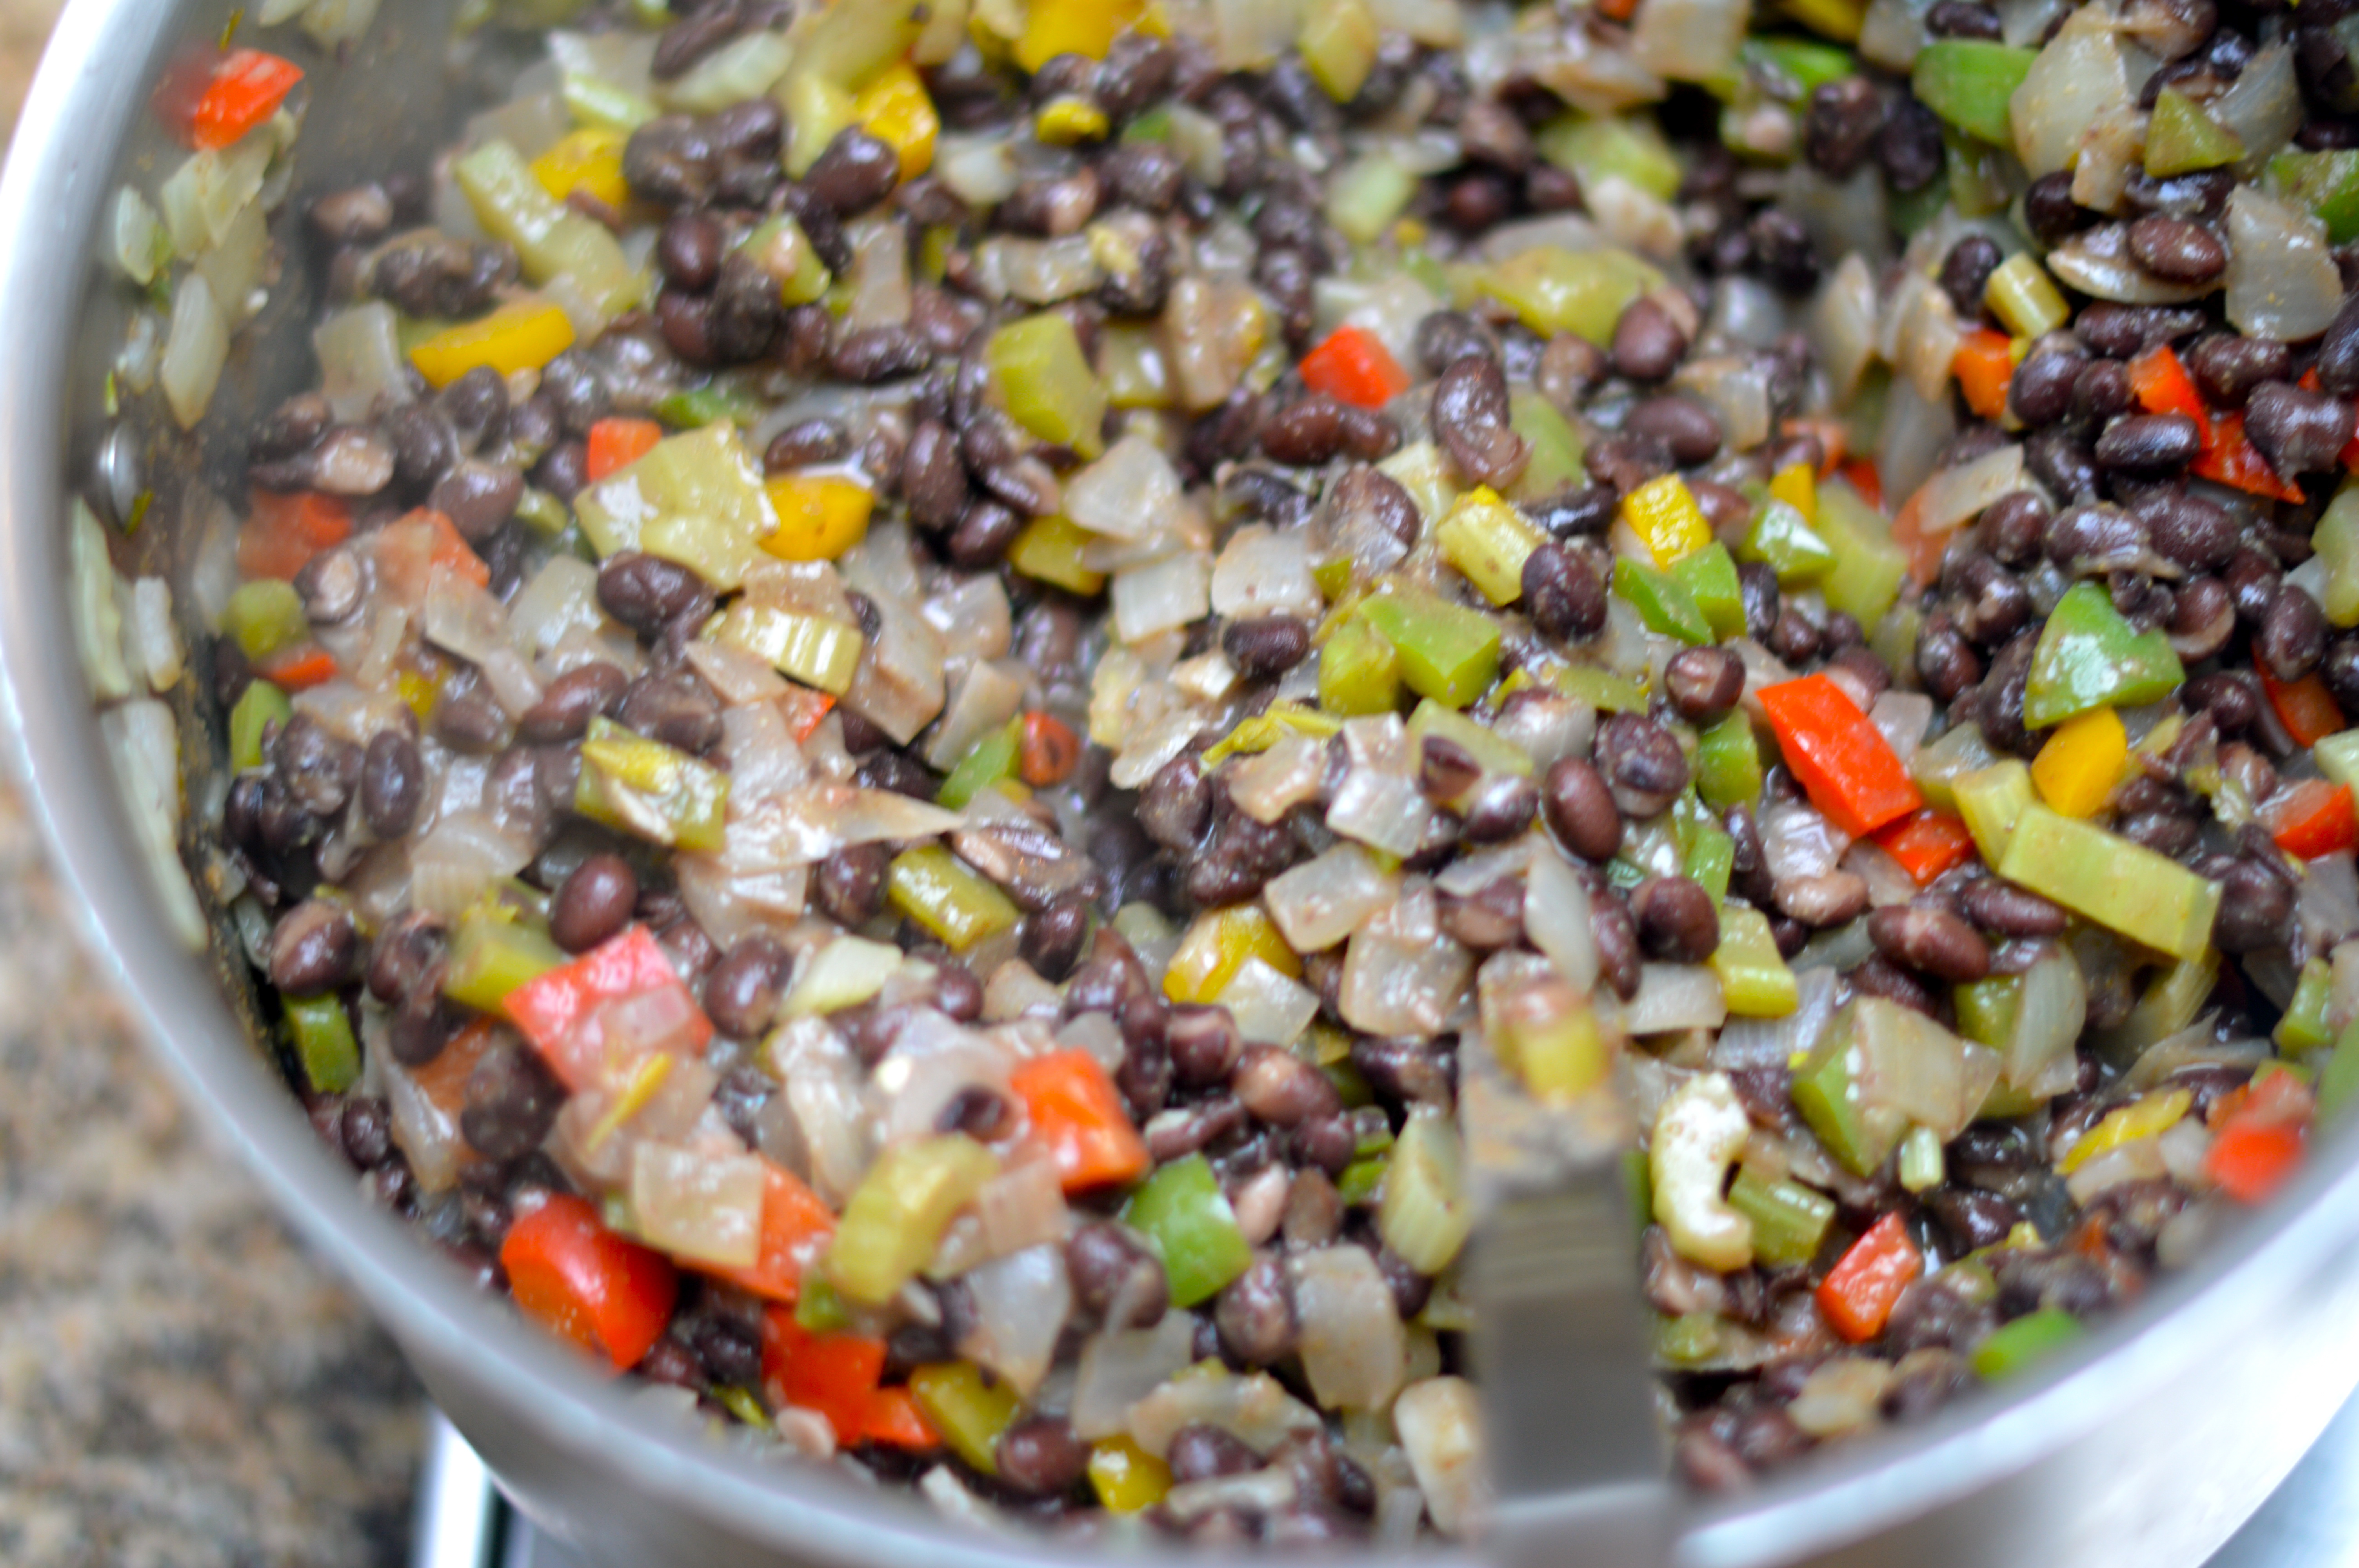
Heat a medium soup pot over medium high heat. Add 2 tablespoons extra-virgin olive oil to the hot pot, then onion, celery, garlic, jalapeno, and bay leaf. Cook 3 to 4 minutes, then add peppers and continue to cook. Drain 2 cans of beans and add them. Use a fork to mash up the beans in the remaining can. Stir the mashed beans into the pot and season with cumin, coriander, salt and pepper and 2 to 3 tablespoons hot sauce. Add stock and tomatoes to the stoup and bring to a bubble. Reduce heat and simmer 15 minutes over low heat. Add the lime juice. Remove and discard the bay leaf.

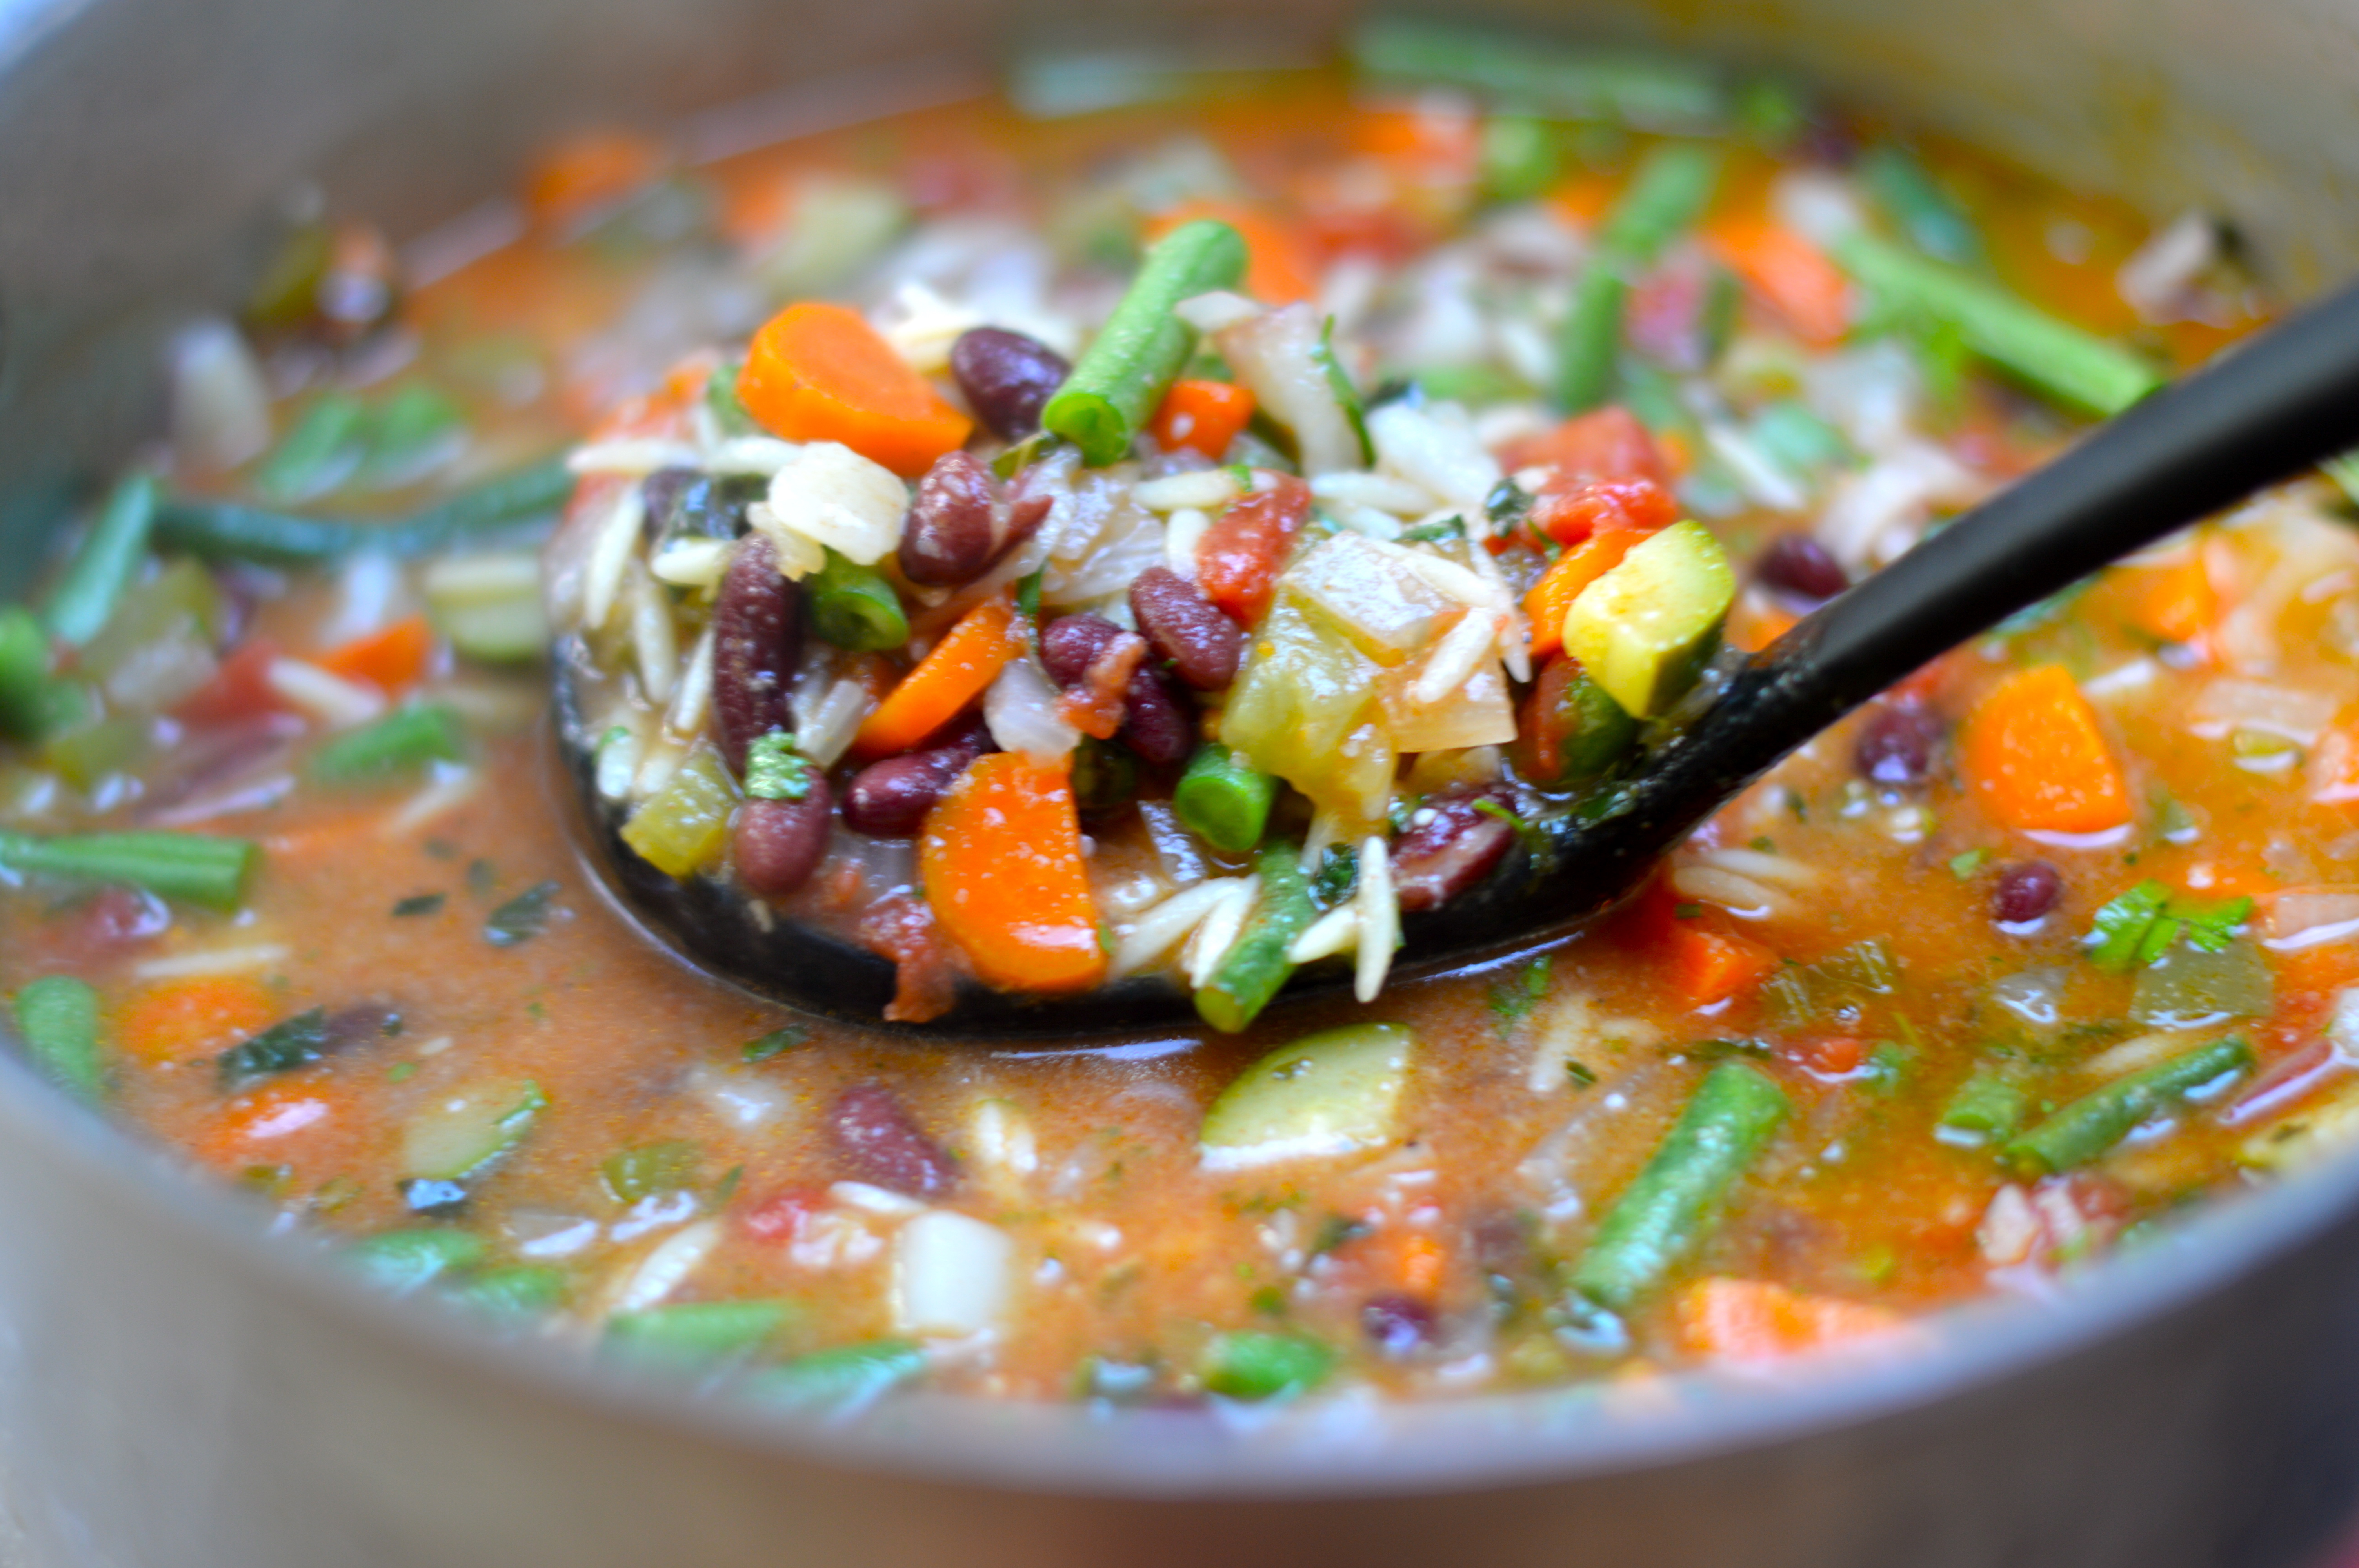
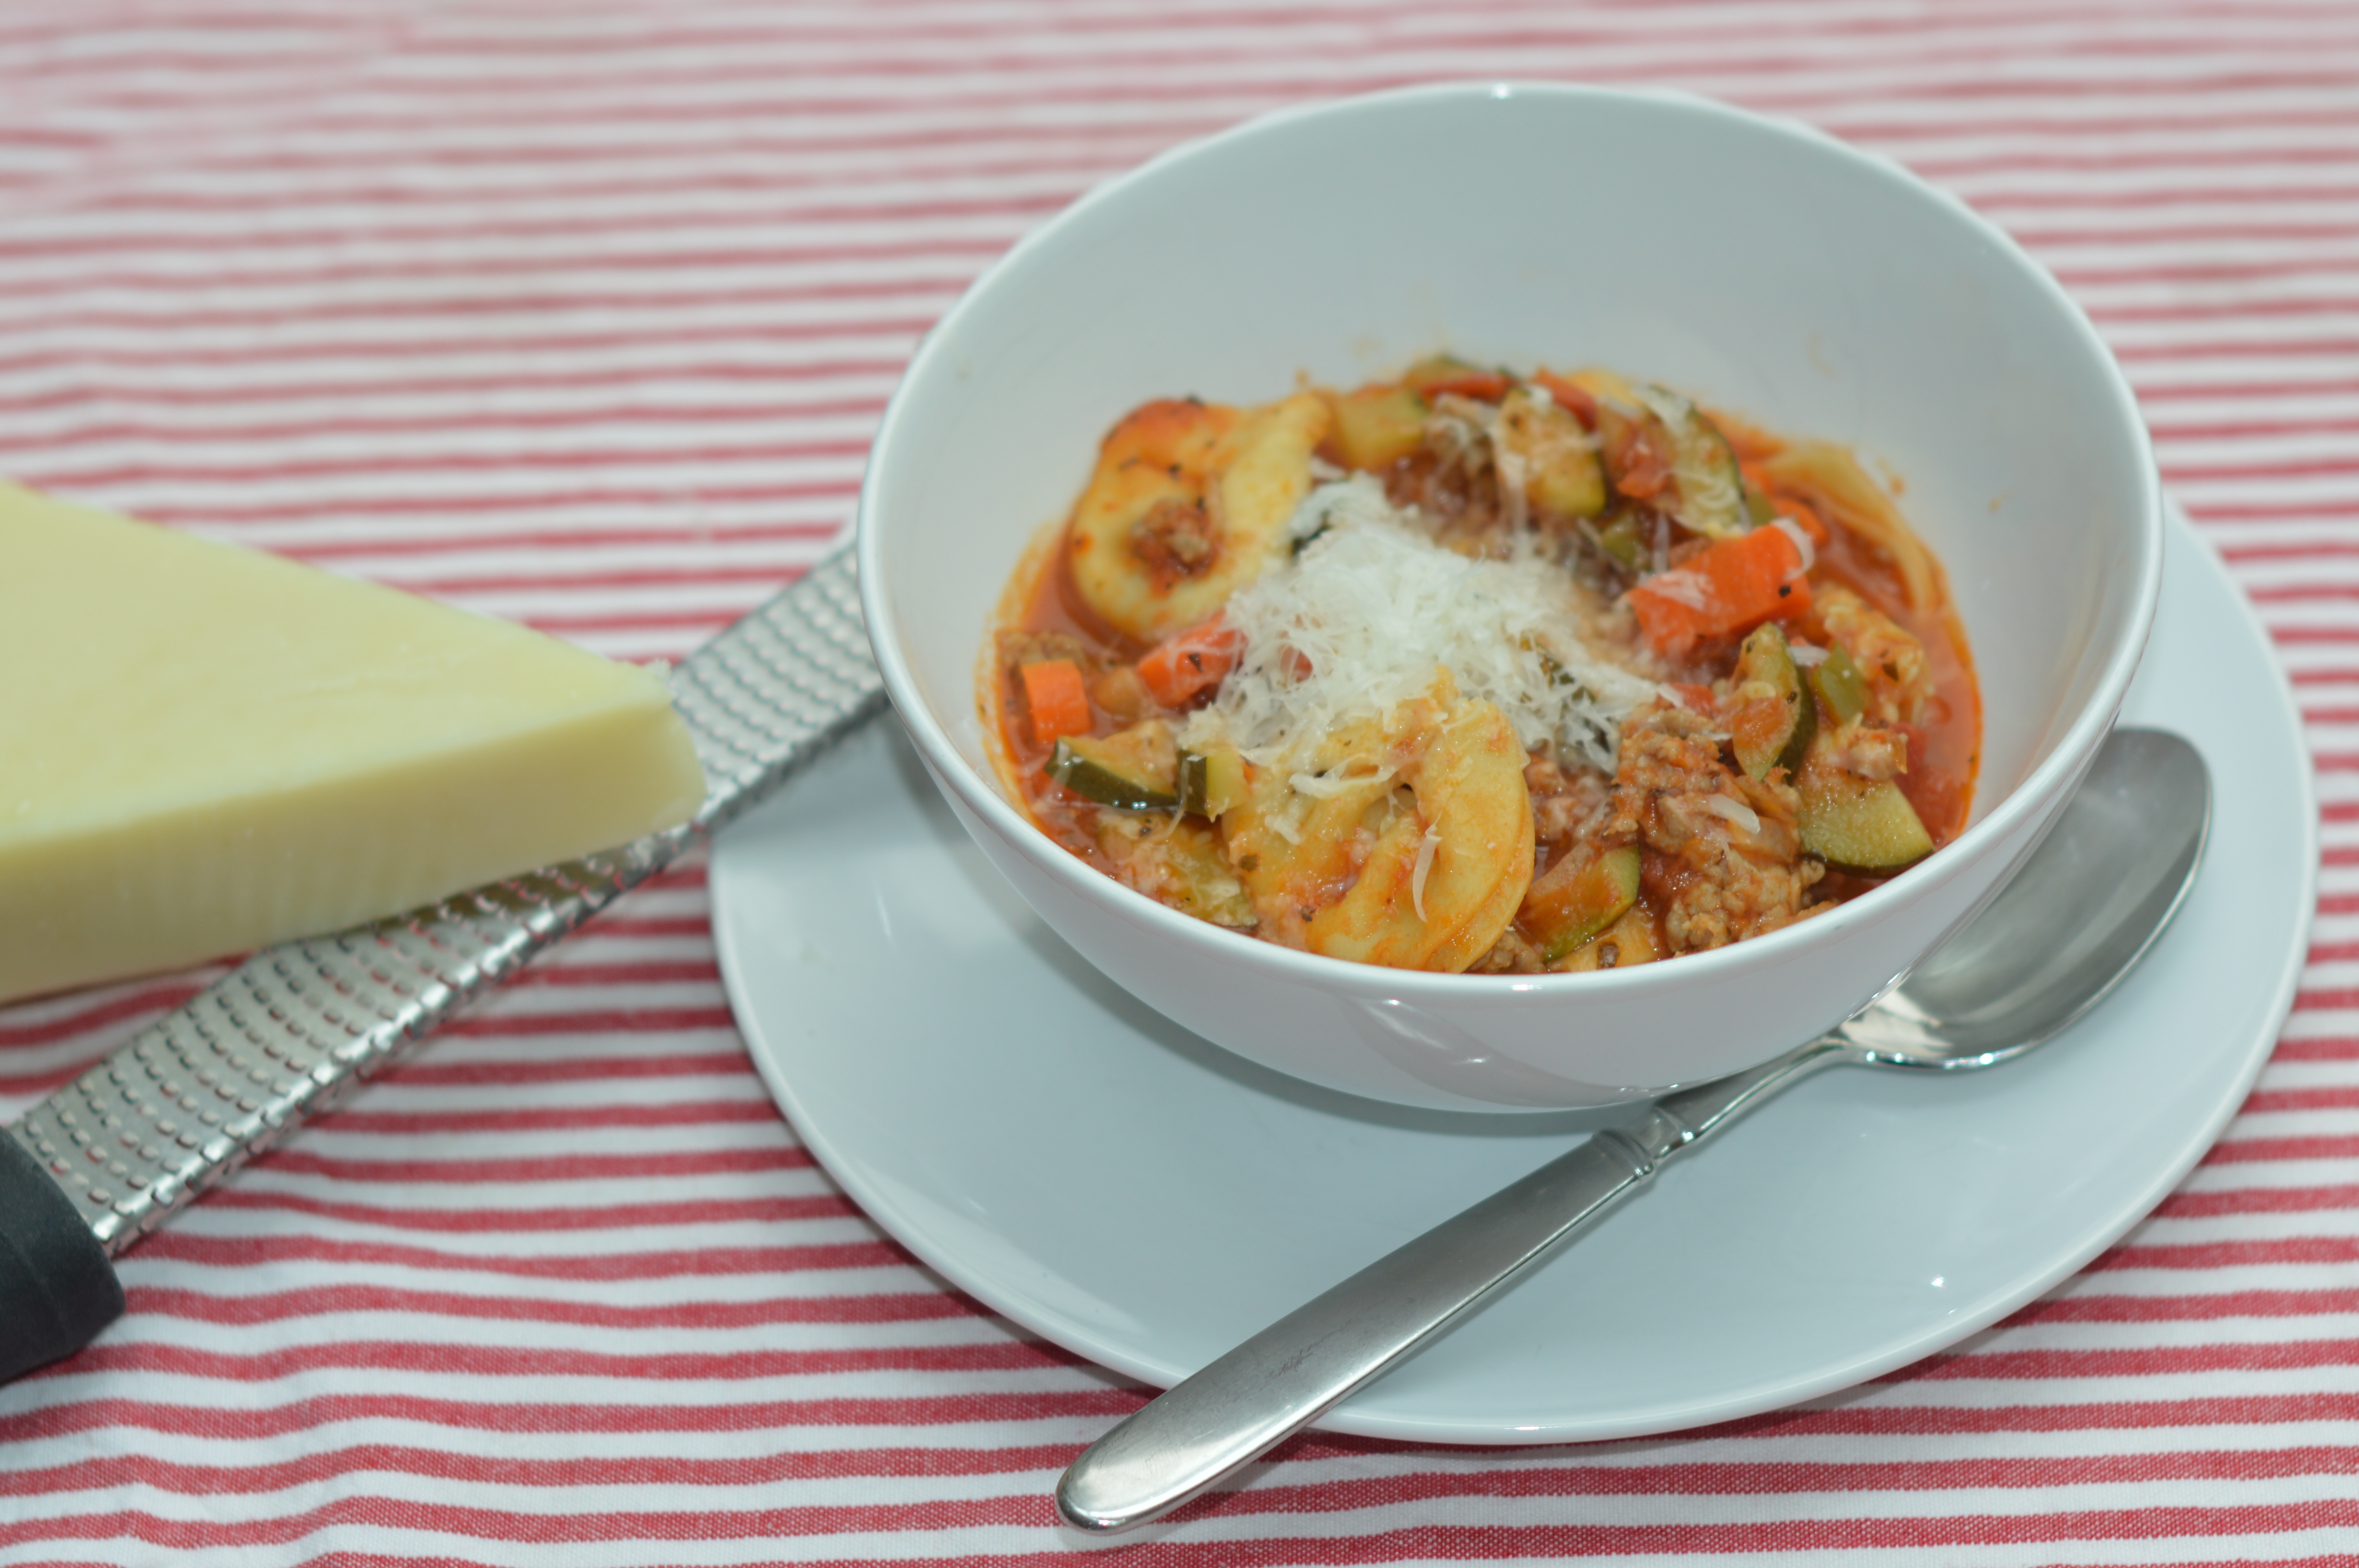
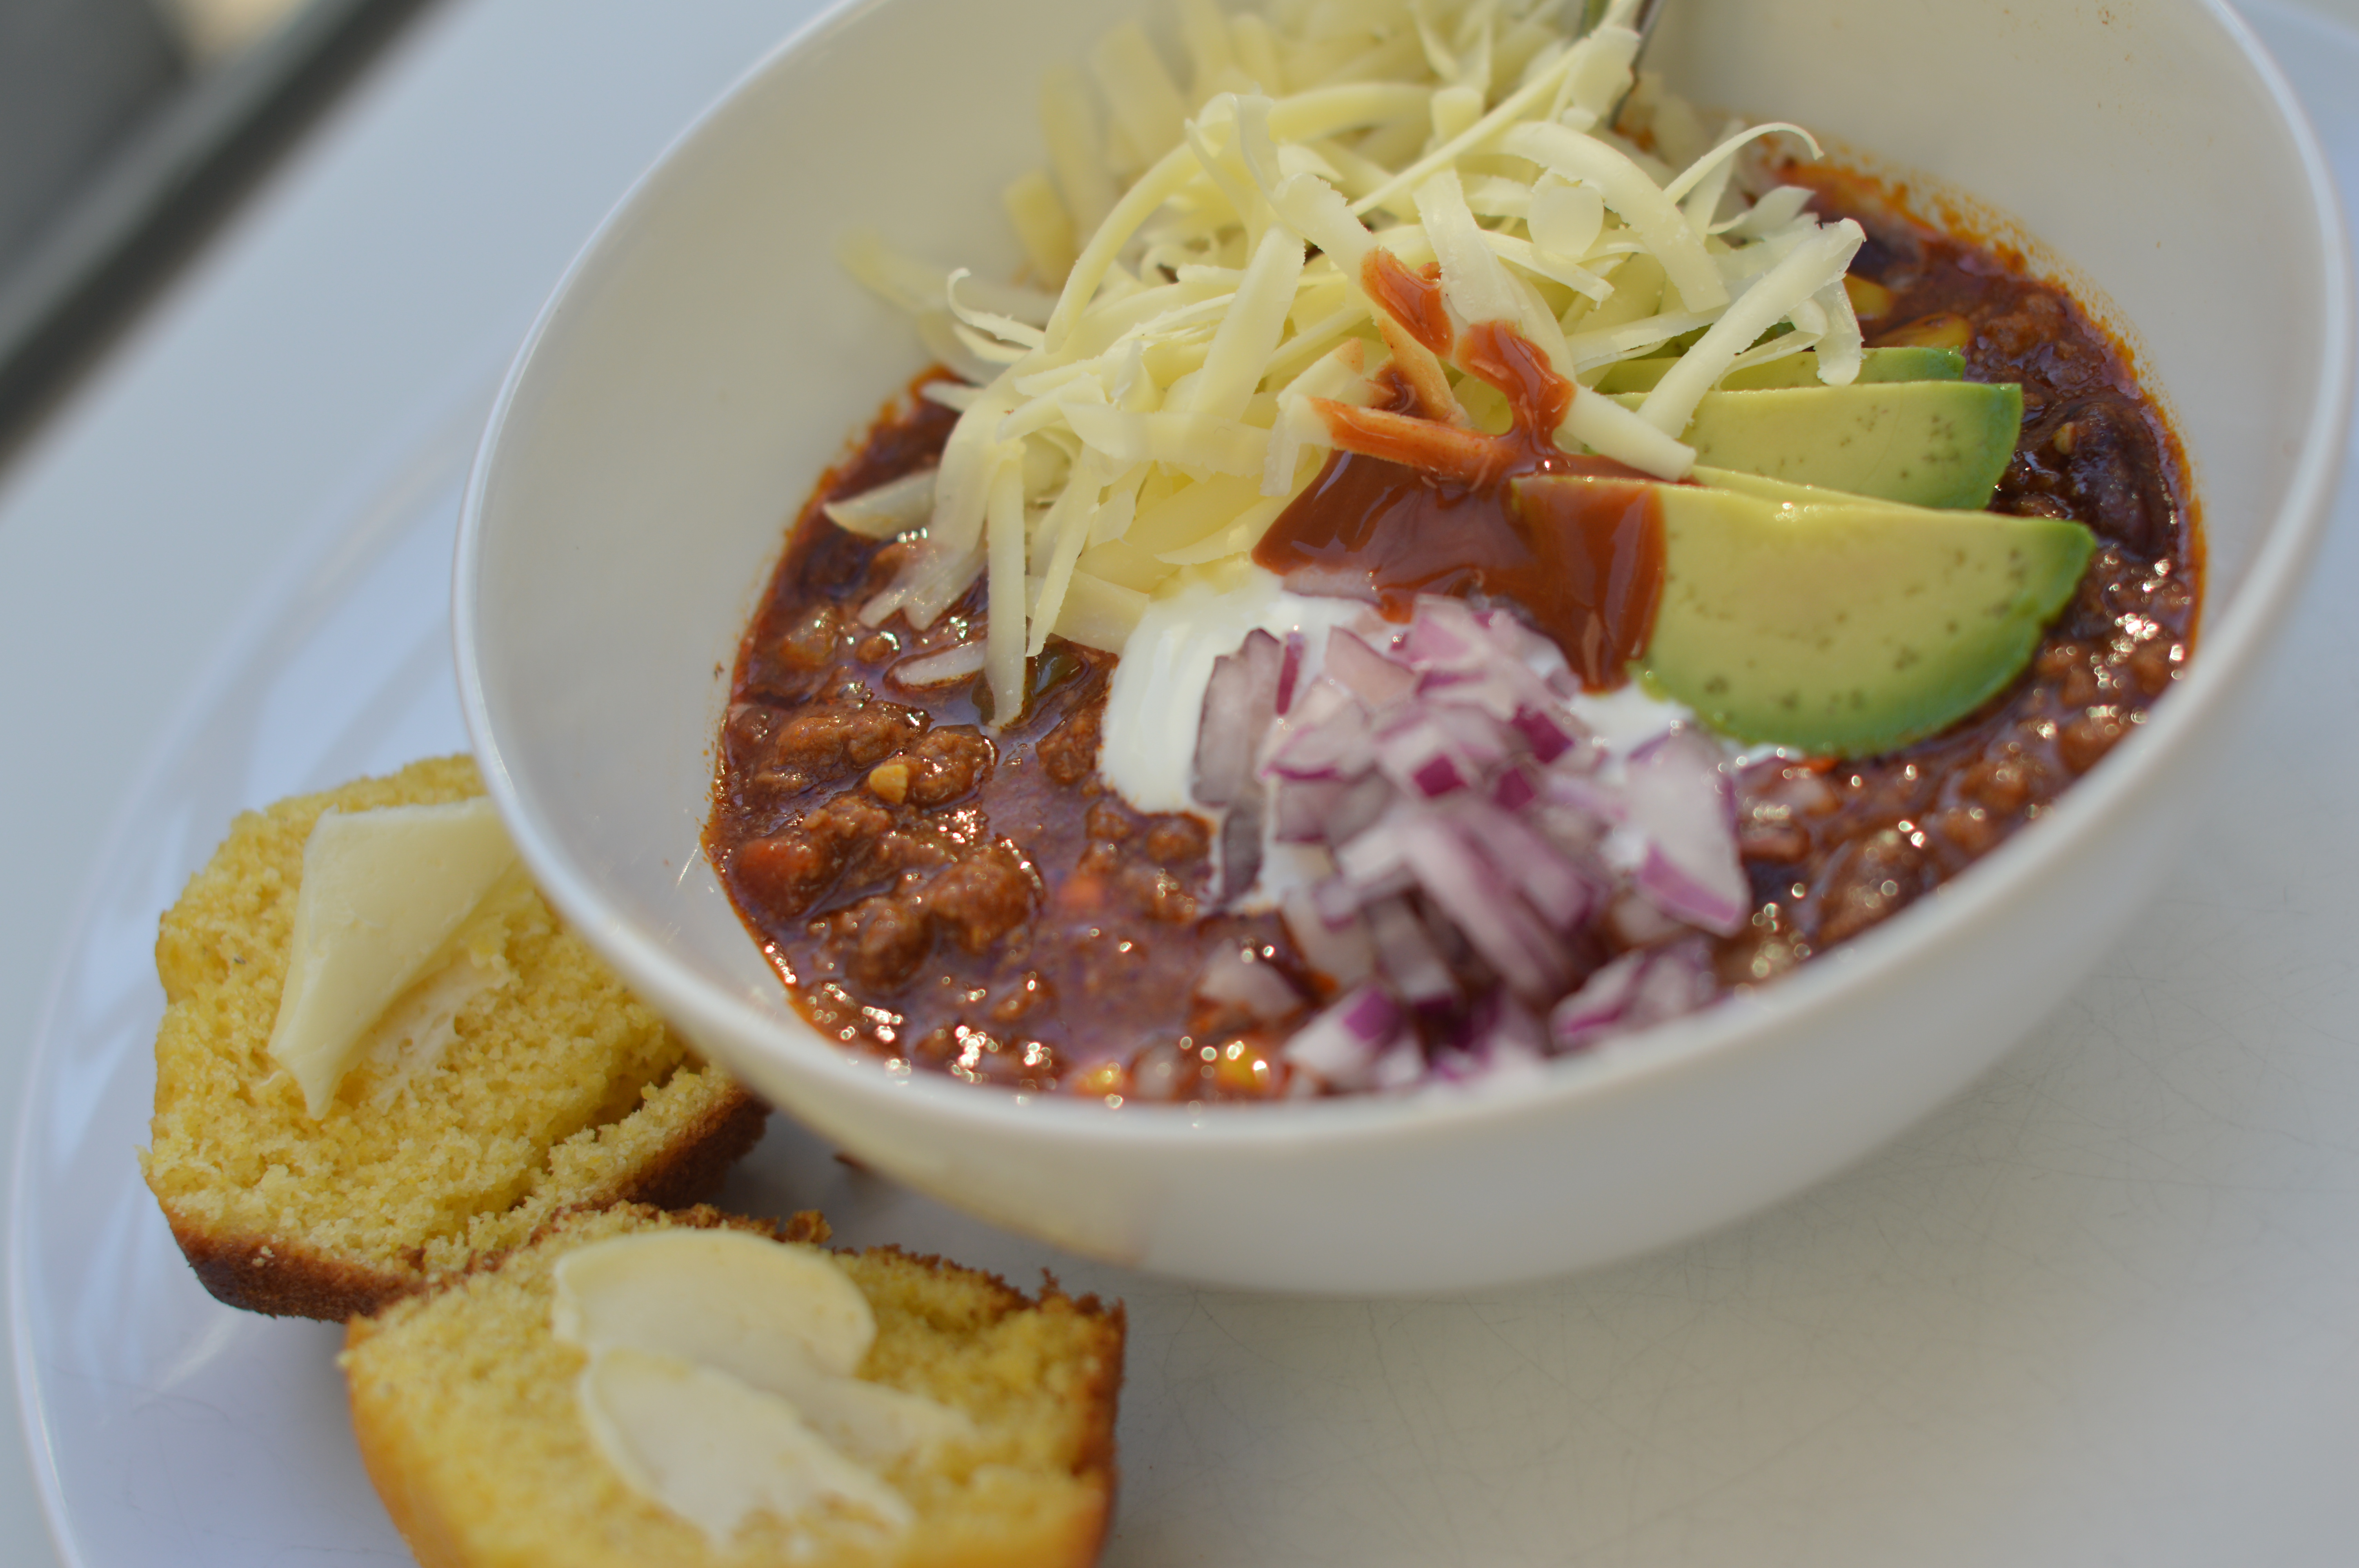
Ladle up black bean soup and top with sour cream and scallions.

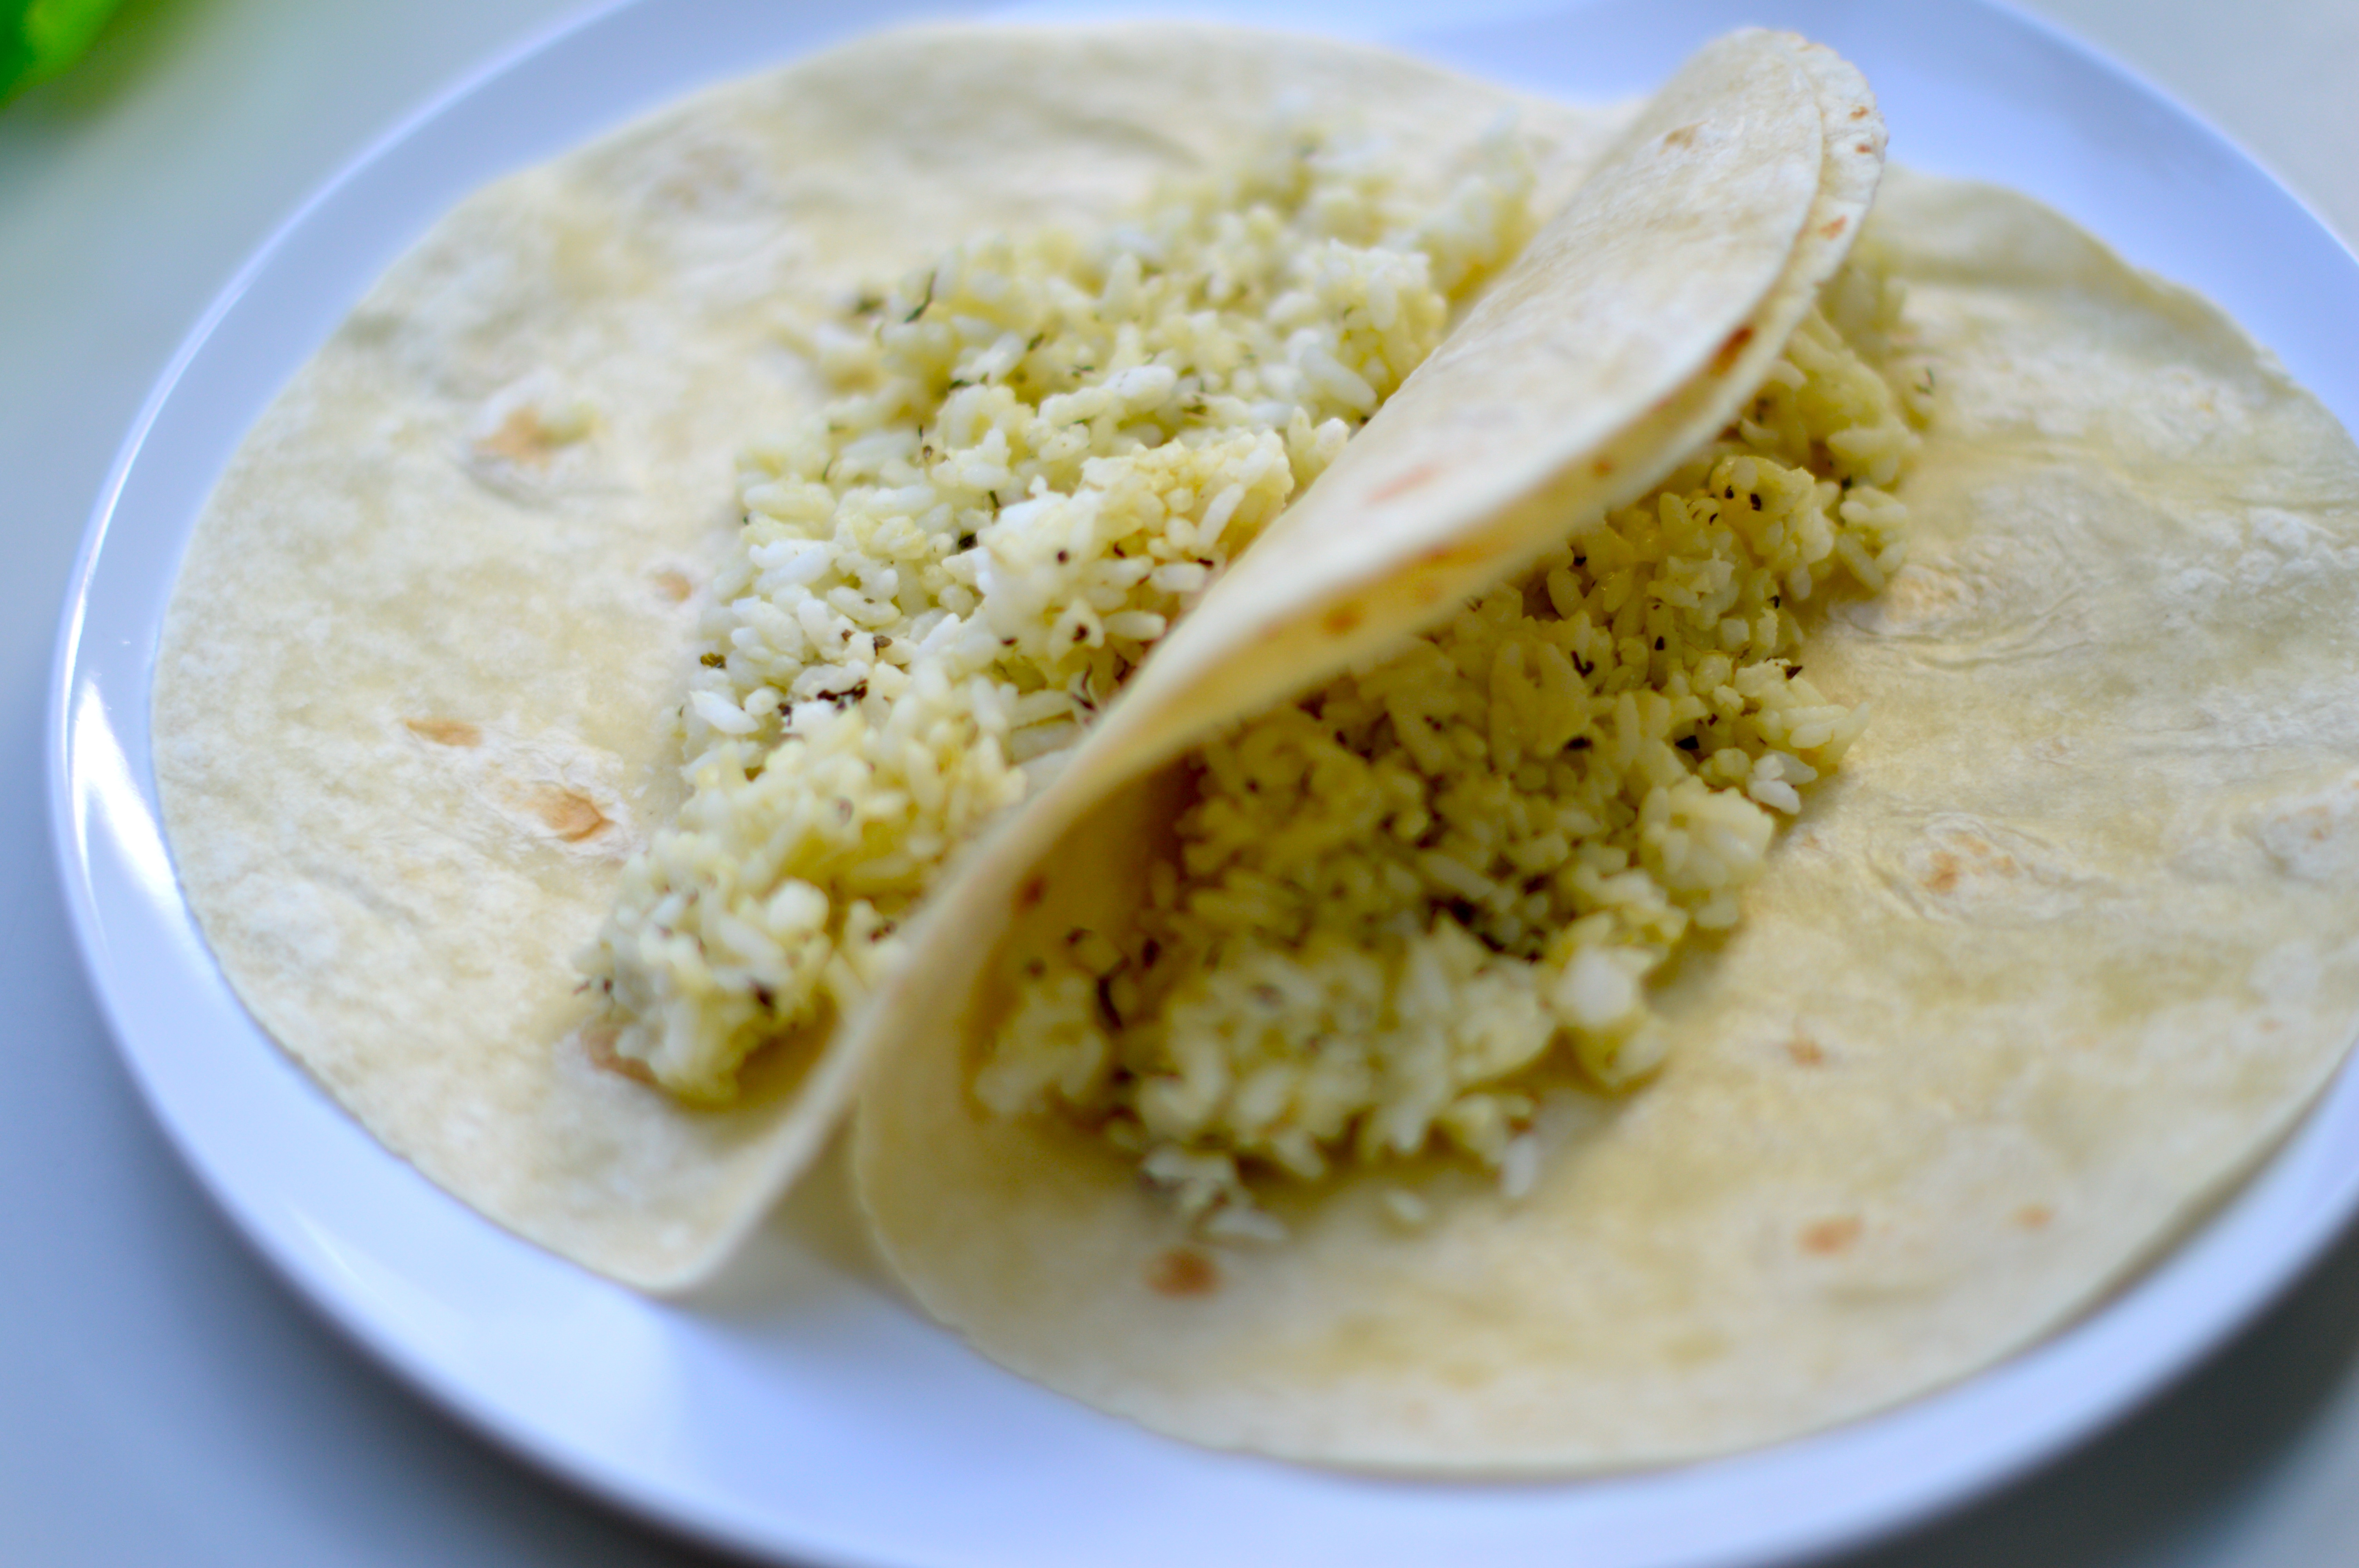
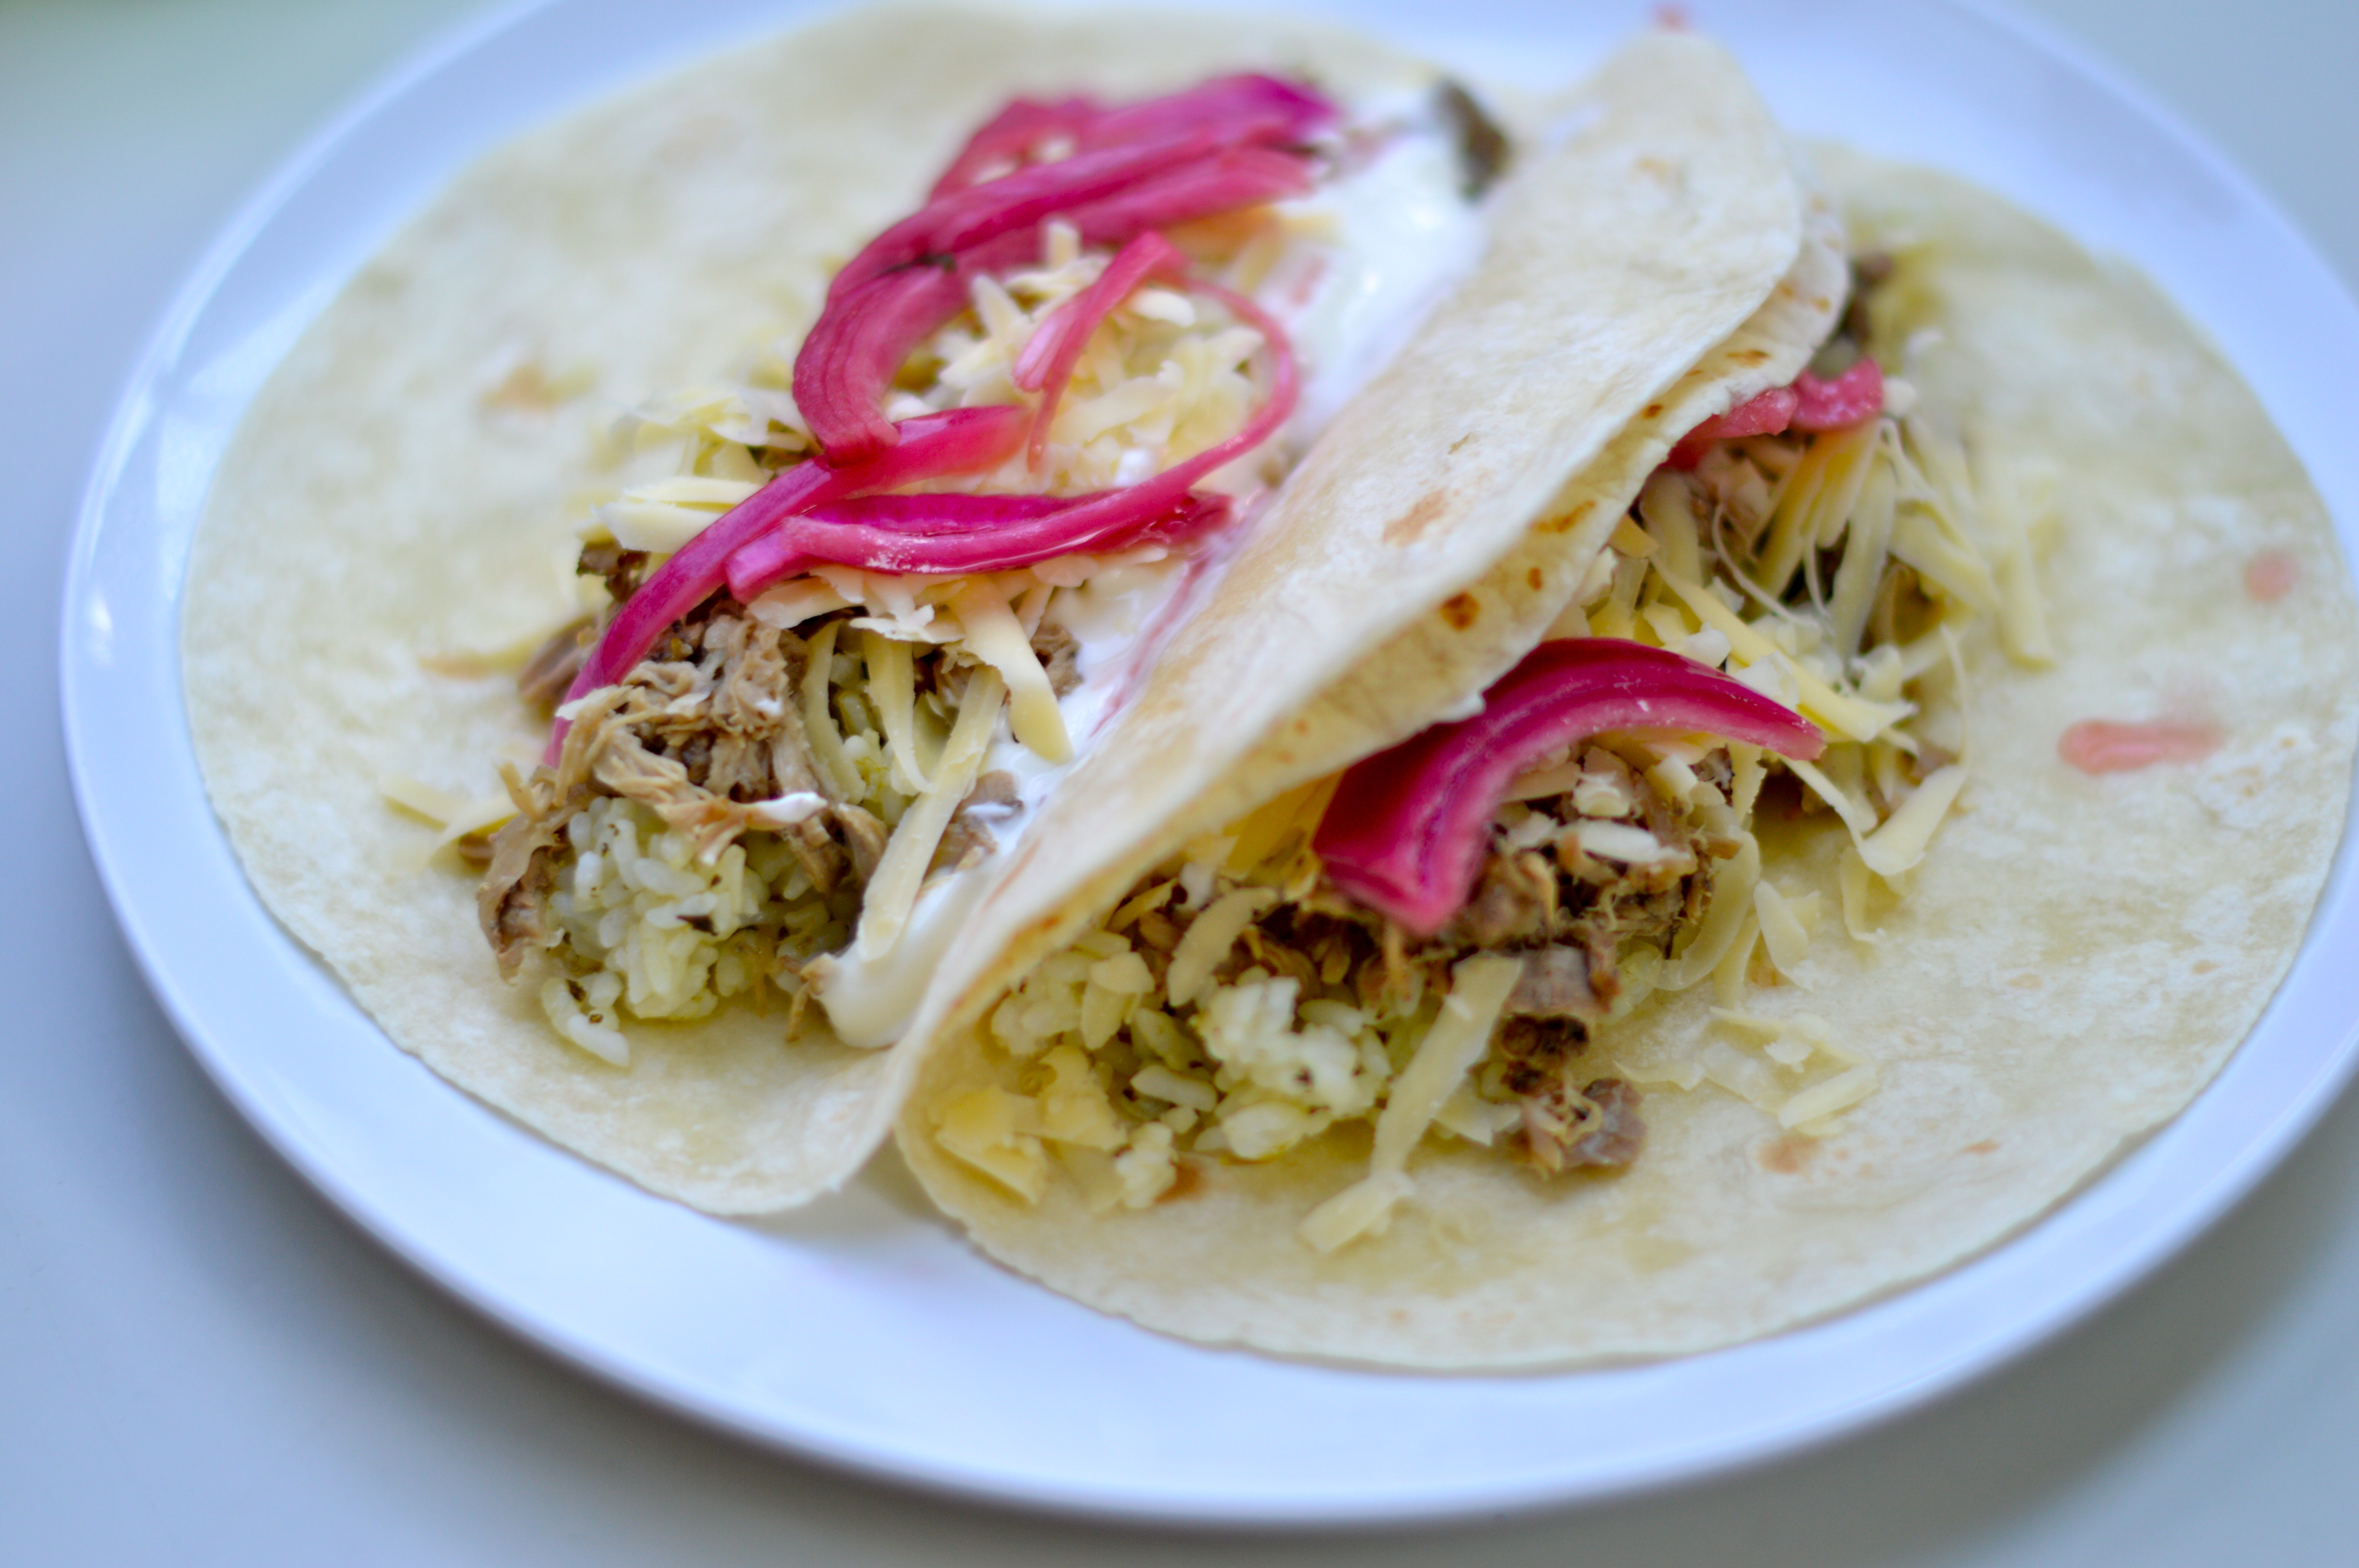
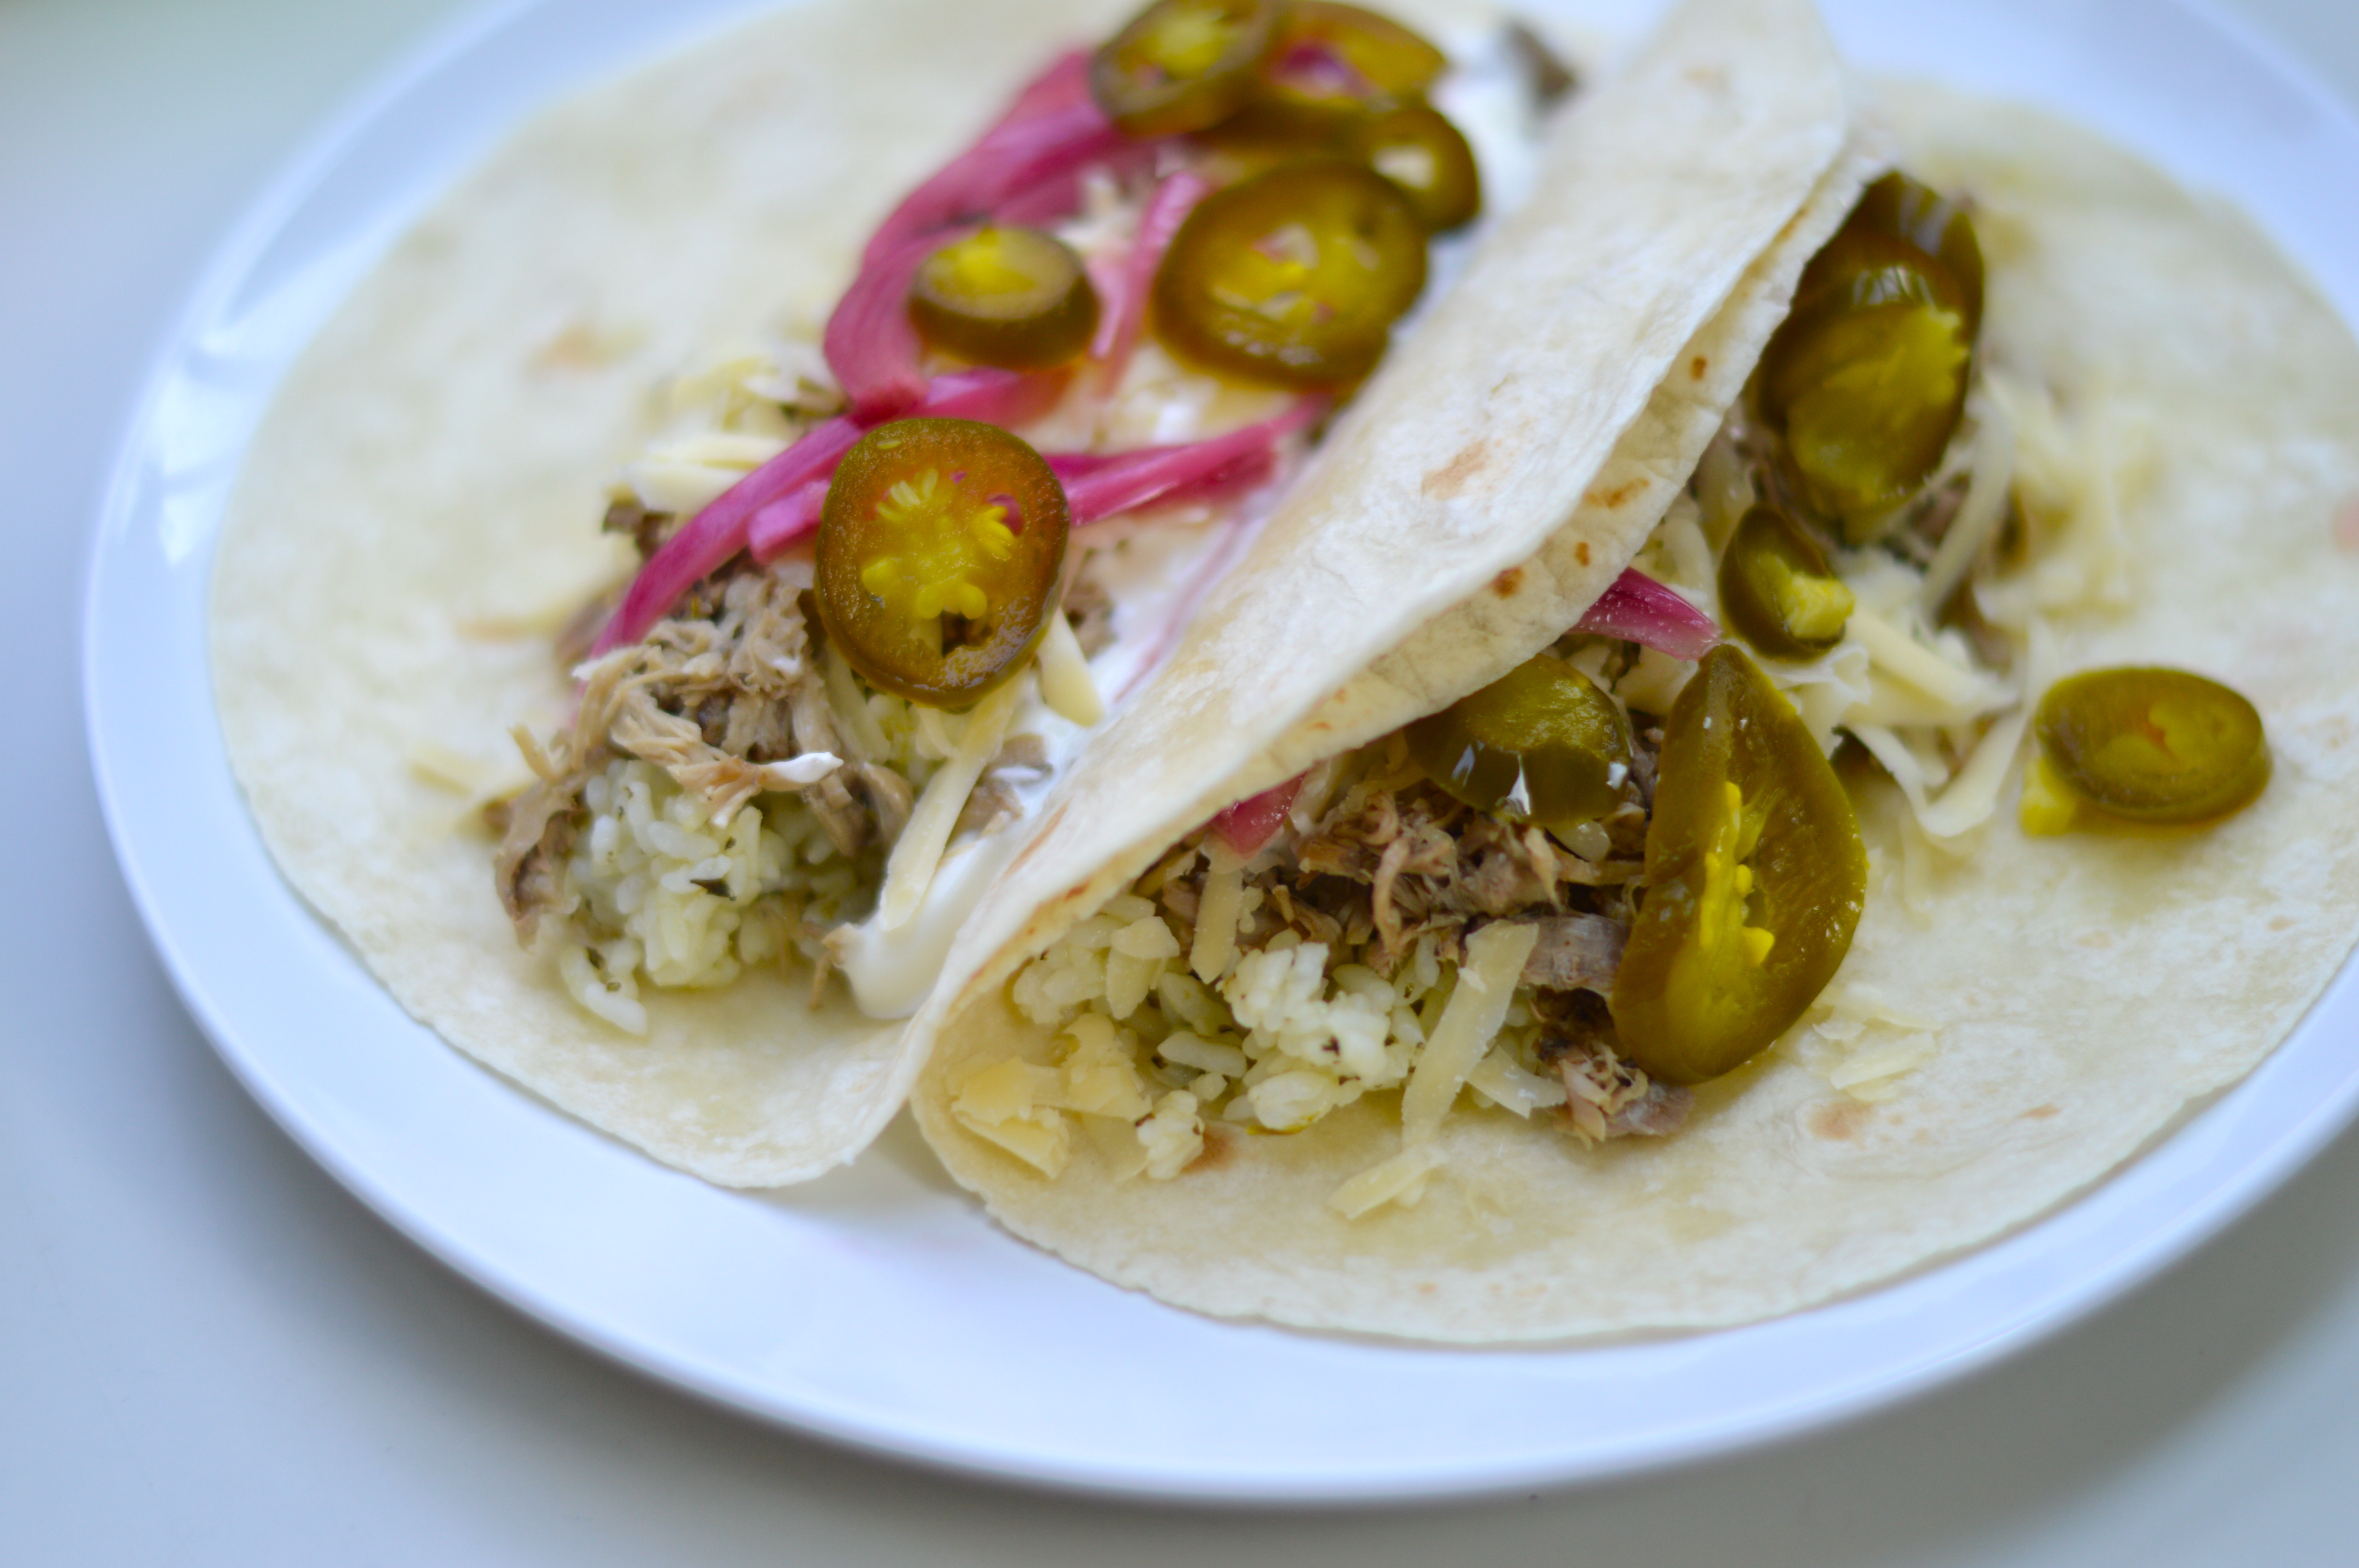
Rachel Ray likes to serve this “stoup” alongside a hearty sandwich, but as I mentioned above, we prefer to make up a batch of rice and serve the soup on top.  Adding accoutrements like sour cream, cheese, and additional hot sauce.  If I happen to have an avocado, that typically makes its way on top as well.

DSC_0088 DSC_0097 DSC_0098 DSC_0099

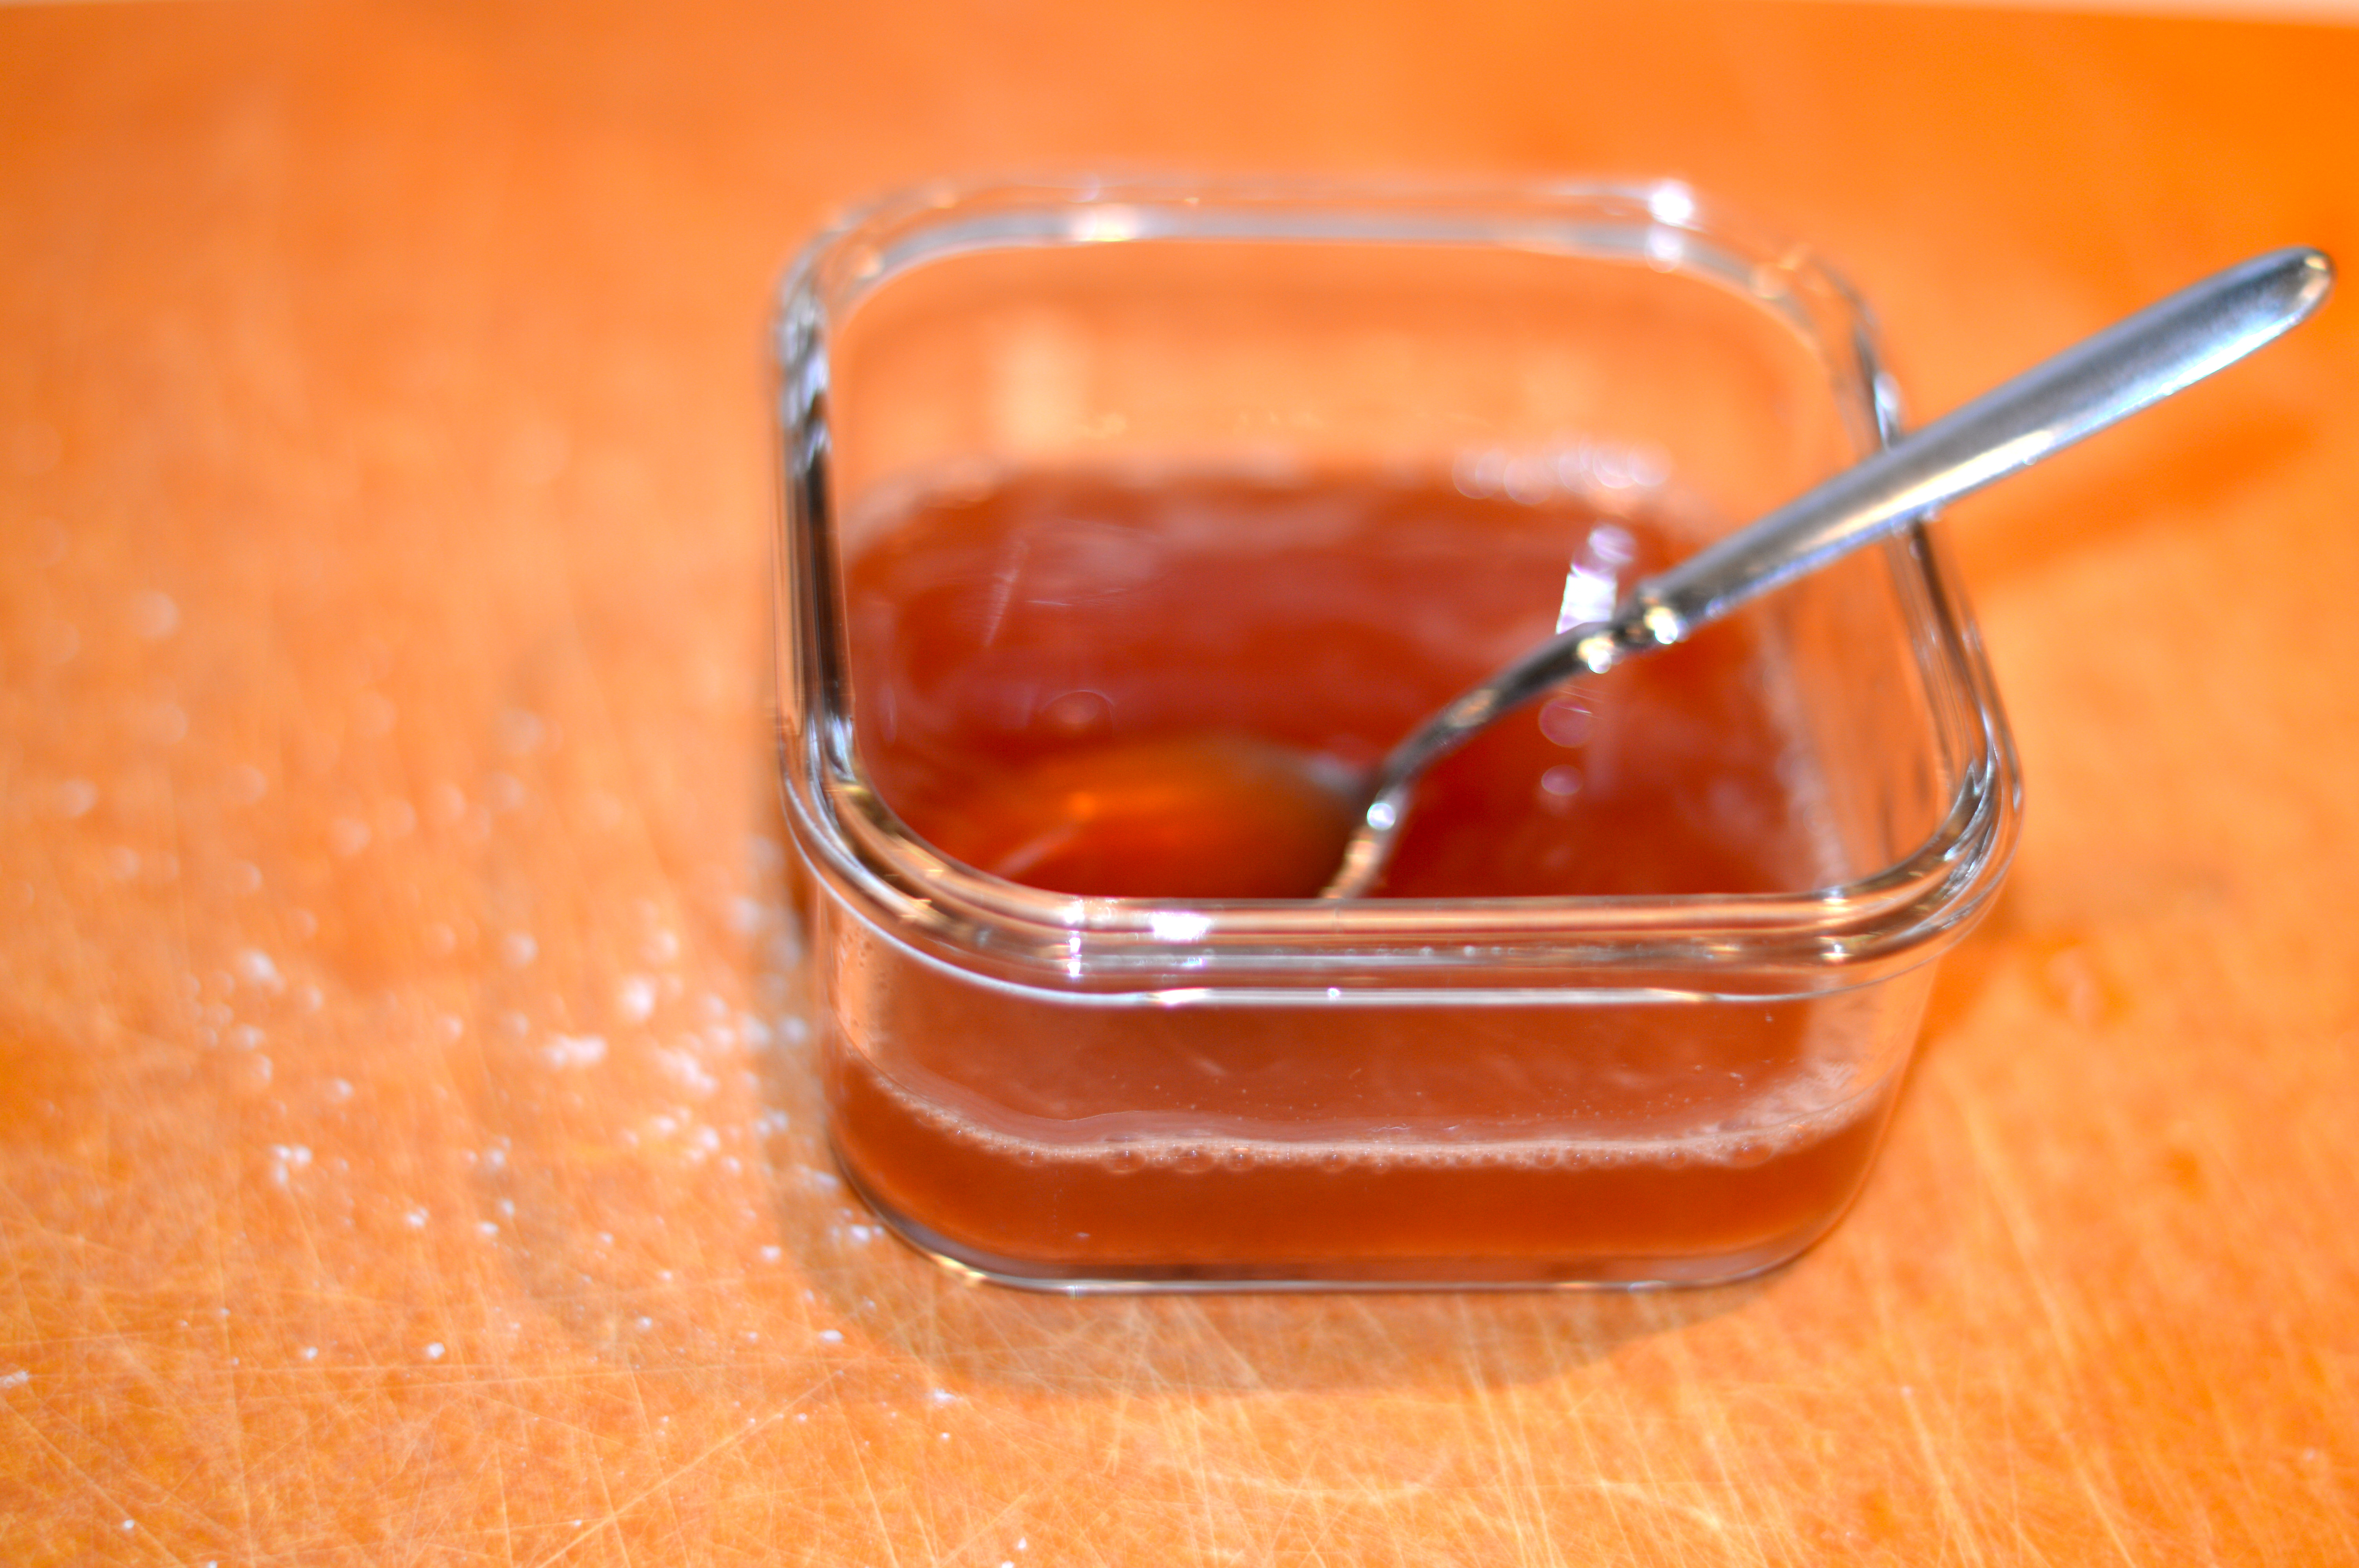
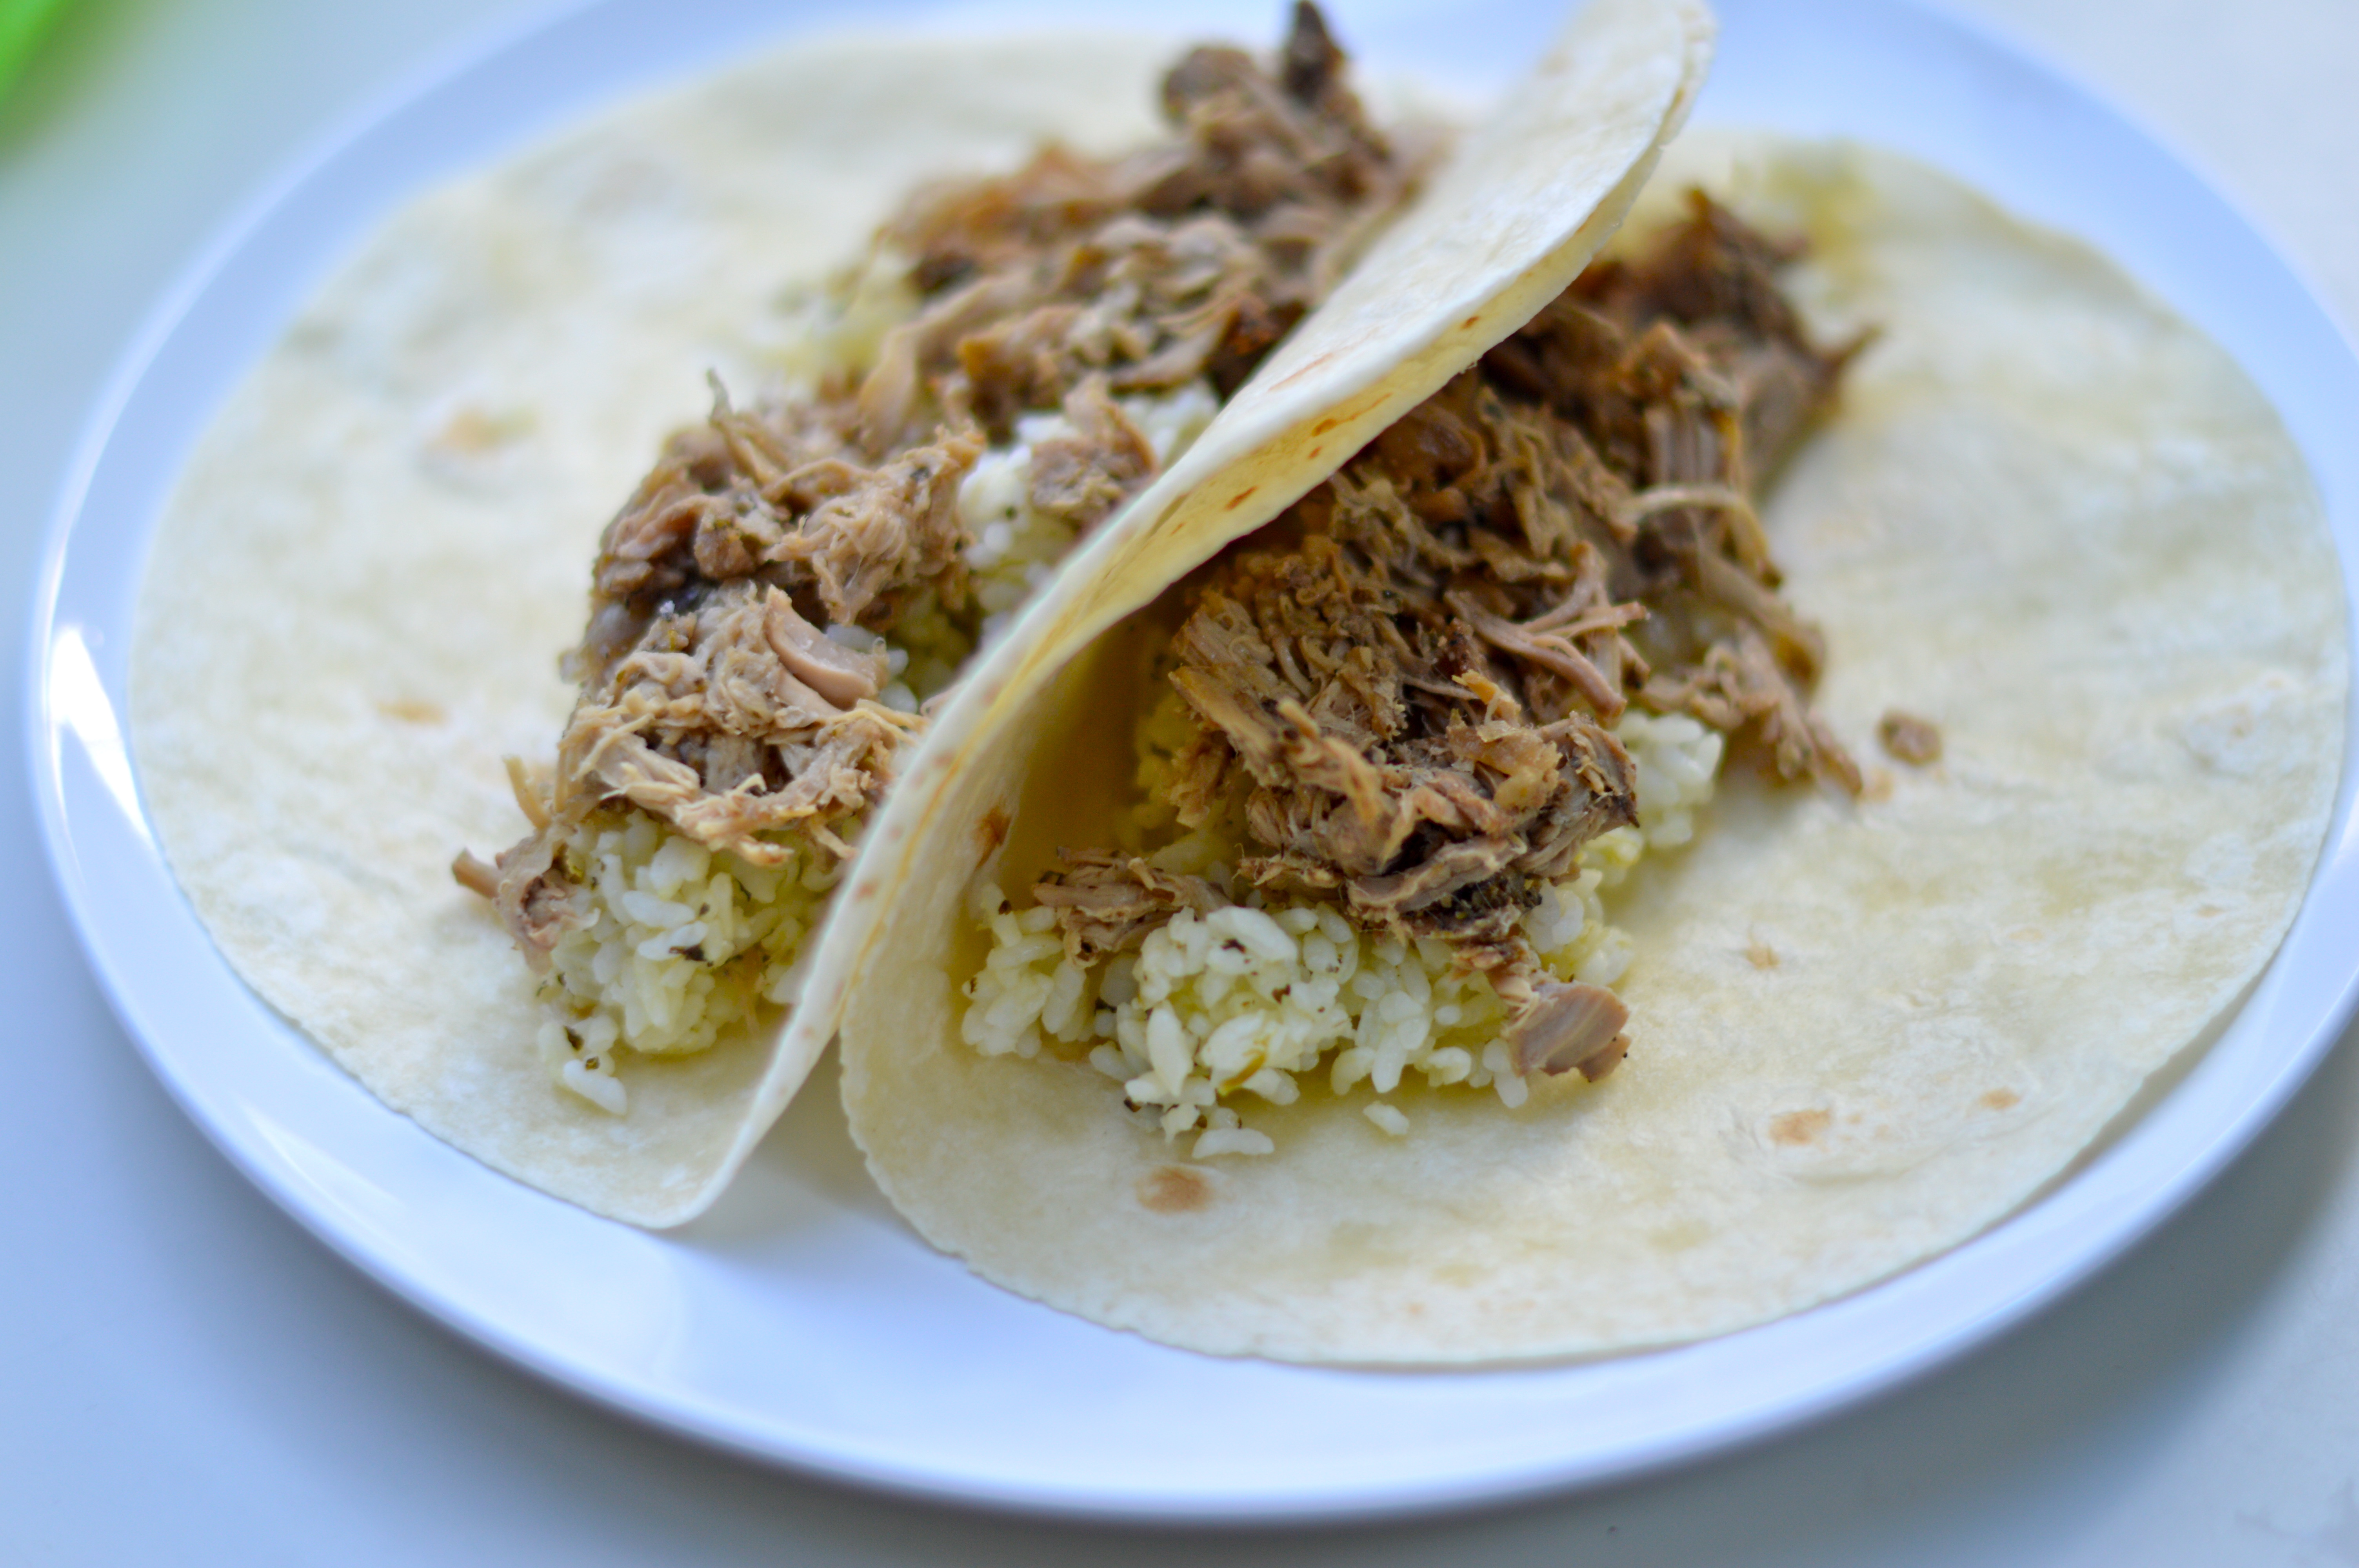
Author’s Note: Yikes! Okay, seriously… this just shows how crazy things have been lately.  I published this recipe without remembering that I had a bunch more photos that show this dish completed, served up, and being consumed (above)!  And the worst part?  While prepping this yummy meal, I forgot that I used up the very last drops of the amazing homemade hot sauce! Well, I’ll definitely be making that again…

Enjoy!

Slow-Cooked Carnitas Tacos with Quick Pickled Onions

DSC_0068

Okay, so here we go on something that is full of meat and does not count as a soup.  I feel it is necessary to say that this meal does not photograph well, but I promise you that it is still worth trying.  As I have mentioned, I am a “recovering vegetarian”, but this is a dish of meat that I have been known to eat just over rice… that’s it, meat and rice.  That should say something.  Does it?

This recipe for Slow-Cooked Carnitas Tacos from Epicurious is so amazing simple, it is just perfect for busy lives.  You get the ingredients in the slow cooker in the morning and do not need to think about it again until dinnertime.  When you start this recipe in the morning, all you need are five ingredients (three of which you already have in the pantry).  As long as you make sure to buy an onion and some pork (plus salt, pepper, and oregano), you are ready…  (you can grab the rest of the ingredients on the way home from work, or preschool pick-up or something).  Be sure to make the pickled onions though.  They add crunch and a big flavor punch.

DSC_0014 DSC_0016 DSC_0021 DSC_0022 DSC_0024 DSC_0025 DSC_0027 DSC_0029 DSC_0032 DSC_0033 DSC_0048

Step 1:

Slow-Cooked Carnitas Tacos

originally published in Bon Appetit 2008, serves 4
  • 2 pounds boneless country-style pork ribs, pork shoulder (Boston butt), or pork tenderloin, cut into 1 1/2-inch pieces
  • 2 teaspoons salt
  • 2 teaspoons ground black pepper
  • 2 teaspoons dried oregano (preferably Mexican)
  • 1/2 large onion, cut into 4 pieces

preparation

Toss pork in bowl of slow cooker with salt, black pepper, and dried oregano to coat. Place onion pieces atop pork. Cover slow cooker and cook pork on low setting until meat is very tender and falling apart, about 6 hours.

Using slotted spoon, transfer pork to cutting board. Discard onion pieces. Using fingers, shred pork; transfer carnitas to platter.

Step 2:

Quick Pickled Onions

  • 1/4 red onion, sliced
  • 1 teaspoons salt
  • 1 teaspoons sugar
  • 1/4 cup red wine vinegar
  • 1/4 cup water

preparation

Mix vinegar, salt and sugar until dissolved.  Add onions, stir.  Add enough water to cover onions.  Ideally the onions will sit in marinade for at least 1/2 hour, but onion’s taste will improve with time in refrigerator, lasting 5 days.

DSC_0036 DSC_0040

As with any taco, add the things you like…  Our favorites are rice, shredded cheddar cheese, sour cream, pickled onions (recipe above), avocado slices, cilantro sprigs, cabbage, pickled jalapenos, sliced red bell peppers, hot sauce and/or lime.  We added cilantro and lime to our rice as well to add a bit of flavor…

Wrap tortillas in damp kitchen towel; microwave until warm, about 1 minute. Serve carnitas with warm tortillas.

Enjoy!

Step 3:

Taco Assembly:

DSC_0059 DSC_0060 DSC_0062 DSC_0063 DSC_0066

Post-Merriment Minestrone

Everyone knows tomorrow there will be resolutions aplenty.  Some may include a more healthful lifestyle, or maybe just a few more vegetables at mealtime.  Either way, this recipe can help.  Do yourself a favor and buy the ingredients today, so that come tomorrow you will be ready to make those resolutions a reality.

The reason to make this soup is the pistou (the Provençal cousin of italian pesto), which is ladled into this traditional vegetable soup, making it aromatic and rich in flavor.  This delicious recipe comes from Pasta & Co. – a legendary Seattle food shop, opened in 1981.  I grew up with Pasta & Co., so the flavors are familiar and comforting to me.  This recipe for Minestrone Genovese was published in 2002 by the original Pasta & Co. owner, Marcella Rosene, in a cookbook called Pasta & Co. By Request.  Rosene has a way of amplifying flavors in pure foods that elevates them to true loveliness.  I think you will find that this recipe, in particular, is just what the doctor ordered in the lull after December holidays.  It may even make you want to keep those pesky New Year resolutions!

DSC_0002 DSC_0004 DSC_0006 DSC_0007 DSC_0011 DSC_0013 DSC_0016 DSC_0018 DSC_0027 DSC_0028 DSC_0030 DSC_0032 DSC_0033 DSC_0034 DSC_0036 DSC_0039 DSC_0040 DSC_0041 DSC_0042

Minestrone Genovese

Makes 13 cups.  Will keep for five days, refrigerated.

 
Pistou Ingredients:
1/3 to 1/2 cup basil leaves, washed dried and finely chopped
1/3 cup freshly grated Parmesan cheese
1/4 cup tomato paste
3 cloves garlic, put through garlic press
1/4 cup extra virgin olive oil
1/2 cup orzo or melonseed pasta
1/2 cup freshly grated Romano cheese
 
Soup Ingredients:
6 cups water
2 teaspoons salt
2 cups carrots, peeled and cut into a 1/4 inch dice
1 cup celery, cut into 1/4 inch dice
2 cups red potatoes, skins on and cut into a 1/2 inch dice
1/2 cup green bell pepper, cut into 1/4 inch dice
1/2 cup zucchini, unpeeled, cut into 1/4 inch dice
1/4 cup best-quality unflavored bread crumbs
1/2 teaspoon hot paprika
10 grinds black pepper
Optional: Very small pinch saffron
2 cups water
1 (8-ounce) can kidney beans, well rinsed and drained OR 3 cups fresh green beans, washed and cut diagonally into 1-inch pieces
1 (14.5-ounce) can diced tomatoes or 2 cups fresh tomatoes, cut into 1/4-inch pieces including all juices
1/2 cup frozen peas or corn (add to soup frozen) – do not use if using fresh green beans (unless you incorporate fresh corn cut from the cob)
1/2 cup finely chopped parsley
Parmesan cheese, grated by hand at the table, to top

Preparation:

In medium bowl, whisk together basil, Parmesan, tomato paste, and garlic into a thick paste.  Slowly drizzle in olive oil until it is incorporated.  Set aside.

Cook orzo in a large amount of boiling water until tender.  Drain well and fold into olive oil mixture.  Fold in Romano and set aside.

In a large soup pot, bring the 6 cups of water and the salt to a boil.  Add carrots, onion, and celery and cook 5 minutes.  Add potatoes and cook 5 minutes more.  Add bell pepper, zucchini, bread crumbs, paprika, black pepper, and saffron (if desired) and cook 5 minutes more.

Turn off heat and ladle a couple of cups of the soup into orzo mixture.  Stir well and pour back into the soup pot.  Add the 2 cups of water, kidney beans, tomatoes, frozen peas or corn, and parsley.

Stir to mix.  Serve topped with additional freshly grated Parmesan cheese.

 Happy New Year!

Italian Sausage & Tortellini Soup

So this is my favorite new soup and I think you will love it too.  I had kind of vowed to stop sharing soup recipes, but what can I say, this one is delicious and since I have made it multiple times in the last weeks, that makes it worth sharing.  I recently made a double batch of this soup for a holiday party and I don’t think it is an overstatement to say it was gobbled up and gone.  This Italian Sausage & Tortellini Soup is adapted from one published in the October 1993 issue of Bon Appetit.  And although it is not a new recipe, it is one worth keeping close at hand.

There is something truly lovely about the richness of this soup.  It uses many tablespoons-worth of dried herbs and then simmers for 40 minutes, creating a rich, stewy flavor that is perfect for winter eating.  It also is very easy to pull together and makes the house smell incredible.  This soup works well for a group and can definitely be put in the category of “main dish”, as the pasta and sausage create a heartiness that is nicely filling.  I have made this soup with both pork and chicken sausage and did not notice any appreciable difference, so use whichever you prefer.  I have made it with both chicken & beef broth, and felt both worked well.  I also added some of the slow-roasted tomatoes that I made this summer and froze for later use.  This added to the developed flavor, but is certainly not necessary.  This is a very flexible recipe that adapts well with whatever you have on-hand.  Substituting swiss chard or kale for the zucchini might be nice as well.  Have fun experimenting with this delicious winter dish!

DSC_0054 DSC_0056 DSC_0057 DSC_0060 DSC_0062 DSC_0065 DSC_0068 DSC_0071 DSC_0103 DSC_0006

Italian Sausage & Tortellini Soup

  • 1 pound mild Italian sausage (pork, turkey, or chicken), casings removed
  • 1 medium onion, chopped
  • 2 large garlic cloves
  • 4 cups beef stock or canned broth
  • 2 cups water
  • 2 cups chopped tomatoes (I use a 14.5-ounce can of muir glen chopped tomatoes)
  • 1 8-ounce can tomato sauce
  • 1 large zucchini, sliced
  • 1 large carrot, thinly sliced
  • 1 medium-sized green bell pepper, diced
  • 1/2 cup dry red wine
  • 2 tablespoons dried basil
  • 2 tablespoons dried oregano
  • 8 to 10 ounces purchased fresh cheese tortellini
  • Freshly grated Parmesan cheese

Sauté Italian sausage in heavy Dutch oven over medium-high heat until cooked through, crumbling with back of spoon, about 10 minutes. using slotted spoon, transfer sausage to large bowl. Pour off all but 1 tablespoon drippings from Dutch oven. Add onion and garlic to Dutch oven and sauté until translucent, about 5 minutes. Return sausage to Dutch oven. Add stock, 1 cup water, tomatoes, tomato sauce, zucchini, carrot, bell pepper, wine, basil and oregano. Simmer until vegetables are tender, about 40 minutes. (Can be prepared 2 days ahead. Cover and refrigerate. Bring to simmer before continuing.)

Add tortellini to soup and cook until tender, about 8 minutes. If soup has thickened, add the additional cup of water at this point.  Season soup to taste with salt and pepper. Ladle soup into bowls. Sprinkle with Parmesan and serve.

Even my little taste-tester approved… Enjoy!

DSC_0030 DSC_0027

Bitters

IF THE BITTER CUP CANNOT BE PASSED, DRINK IT AND BE STRONG

Jeffrey R. Holland

DSC_0041

November has arrived and we need a little restart here on the blog.  September and October were surprisingly busy and I am trying like heck to keep up with my life.  I am also noticing that a different sort of drink is calling my name these days.  As the leaves turn and fall off the trees, one of the warm-ups I relish is a lovely, mixed cocktail.  This is a bit of a departure for me, as in the past I would have called myself a wine or beer drinker, but last winter I discovered rye whiskey and a fabulous cocktail from Zig Zag Cafe, called a Blessed Event.  And it is just that… I was inspired to look at this drink a bit more closely and try to recreate it at home.

DSC_0012

Over the last twenty years, both wineries and breweries experienced a surge in popularity and now it appears to be the distillery’s turn for a time in the spotlight.  Distilleries are popping up all over the Pacific Northwest, as well as a revival of prohibition-style speakeasy bars, specializing in the “craft cocktail”.  As we enter the season for entertaining, I recommend adding classic cocktails to your party menus.  A well-stocked bar is easy to pull together, as long as you have a few ideas of what cocktails you are ready to make for your thirsty guests!

DSC_0015

Bitters are an ingredient in many of these classic cocktails that I had never spent much time thinking about, but they are an intriguing element to be sure.  With only a dash or two, bitters can transform your craft cocktail, adding warmth, complexity, and dimension.  For a full description of bitters, head over to The Kitchn for their conversation on All About Bitters.  Last winter it came to my attention that it is possible to make bitters.  My curiosity was immediately piqued and I tried it.  Over the course of a couple of weeks, I made my own bitters using wonderfully aromatic ingredients like orange peel, ginger, star anise, cinnamon, and cloves.  Although I made this during the summer months, I kept thinking how perfect it would be come autumn.  (Scroll down to see the recipe for orange bitters and the accompanying photos).  But, if a cocktail is what you seek, we’ll start there…

As I mentioned above, this fall has been a crazy one.  We have been getting used to the schedule of kindergarten, and this has been admittedly tougher than I thought it would be.  I’d like to raise a glass to the fact that we are two months into this new elementary school gig and all members of the Poole household are here to tell about it.  Sometimes it is just important to celebrate the fact that you are surviving.  So, without further ado… three “bitter” cocktails that you can raise your respective glass to:   

Part 1: Cocktail Recipes

1)  The Classic Manhatten

DSC_0044

This classic cocktail was my grandmother’s favorite.  Listing it here is a nod to her and how eminently hip she was.

1 3/4 ounces rye whiskey or bourbon

2/3 ounce sweet vermouth (Carpano Antica formula is my favorite)

dash of bitters (homemade orange bitters, recipe below, was used)

maraschino cherry or twist of lemon (my grandmother always drank hers, “Up with a twist.”)

2)  Blessed Event

DSC_0048

As I mentioned above, this is my current fave.  The renowned bartender, Erik Hakinen, at Zig Zag Cafe is credited with its creation, as a twist on the classic Boulevardier.

1 ounce rye whiskey

3/4 ounce sweet vermouth (Carpano Antica formula)

3/4 ounce Campari

1/2 ounce lemon juice

3)  Soda with Bitters

DSC_0051

I loved the article written about the refreshing nature of this simple beverage found here on The Kitchn.  Bitters are known to have a medicinal quality and they add a light and refreshing, yet complex addition to a glass of soda.

Dash or two of bitters (Peychaud’s brand preferred)

Soda water

Wedge of lemon or orange

Cheers!

Part 2:  Making Orange Bitters

DSC_0004 DSC_0007 DSC_0016 DSC_0043 DSC_0047 DSC_0049 DSC_0051 DSC_0055 DSC_0065 DSC_0068 DSC_0073 DSC_0075 DSC_0084 DSC_0085 DSC_0094 DSC_0096 DSC_0101

Orange Bitters

  • 2 oranges 
  • 1 bottle (750 ml.) Everclear* (grain alcohol)
  • 10 cardamom pods
  • 2 whole star anise pods
  • 3 cinnamon sticks (each 2 1/2 in.)
  • 1 teaspoon whole cloves
  • 1 tablespoon plus 1 tsp. chopped fresh ginger
  • 1 cup sugar 

Preparation

  1. Preheat oven to 250°. Remove zest from oranges with a vegetable peeler and put zest on a baking sheet (save fruit for another use). Bake until zest dries, starts to curl up, and begins to brown, 20 to 25 minutes. Let cool.
  2. Put all ingredients except sugar in a 1-qt. glass jar and seal tightly. Let sit in a cool, dark place for 2 weeks.
  3. Strain liquid through cheesecloth into a 1 1/2- to 2-qt. glass jar (save spice flavorings) and set aside. Put flavorings in a small saucepan with 2 cups water. Cover and bring to a boil, then reduce heat and simmer 10 minutes. Set aside.
  4. Cook sugar in a small saucepan over medium-high heat, lifting and shaking pan occasionally, until sugar caramelizes and turns deep amber, 8 to 10 minutes. Pour caramel into liquid in pan (it will bubble furiously and may firm up). If needed, return pan to medium heat and cook, stirring, for a few minutes until caramel melts again.
  5. Set pan in a bowl of ice water until liquid is cold, about 10 minutes. Pour into jar with first infusion. Seal and let stand in a dark place 5 days.
  6. Strain final mixture through cheesecloth into a glass measuring cup and discard flavorings. Divide bitters into small jars and seal tightly.
  7. Make ahead: Up to 1 year, chilled.
  8. Bottle it: 7.5-in. clear glass bottles
I am so excited to have tried this DIY recipe.  It turned out beautifully and some of you will be receiving it this winter for Christmas.  Now, you will, potentially, know what to do with it!!

Enjoy!

Butternut Squash Salad with Farro and Pepitas

Here we go again…

Butternut squash soup last week… butternut squash salad this week.  As we enter new seasons, I see that I might possibly get a bit obsessed with seasonal ingredients from time to time.  Corn, figs, and now butternut squash.  Oh well, there are worse things, I suppose.  This was the recipe that I was dreaming about as summer ended and the beginnings of fall were in the air, but have only, just now, gotten a chance to share with you.

I fell in love with this recipe from Smitten Kitchen last October and it’s memory stayed with me all year long.  It is hearty and fresh and perfectly fall.  It also makes me laugh every time I make it because we have a joke among a few of our friends about farro.  Each and every time it is spotted on a menu, all anyone ever has to say about it is, “oh, farro, that’s an ancient grain.”  What does that even mean anyways?  As it turns out, farro is a whole grain that hails from Italy, has a nutty flavor and a nice amount of tooth to it.  It is quite delicious.  If you are curious to know more about farro, click here, or simply try the recipe below.

DSC_0007 DSC_0011 DSC_0021 DSC_0022 DSC_0031 DSC_0034 DSC_0041 DSC_0045 DSC_0047

Butternut Squash Salad with Farro and Pepitas

Source: Smitten Kitchen

1 medium butternut squash (about 2 pounds)
5 to 6 tablespoons olive oil, divided
Salt and freshly ground black pepper, to taste
1 cup semi-pearled farro 
1/3 cup toasted pepitas 
3 ounces ricotta salata or another salty cheese, crumbled or coarsely grated (I use french feta)
1 tablespoon sherry vinegar
1 tablespoon water
1/2 teaspoon table salt
1/2 teaspoon granulated sugar
1/2 small red onion, finely chopped

Preheat oven to 375 degrees F.

Peel squash, then halve lengthwise and scoop out seeds. Cut squash into approximately 3/4-inch chunks. Coat one large or two small baking sheets with 2 tablespoons oil total. Spread squash out in single layer on sheet. Sprinkle with salt and freshly ground black pepper. Roast until pieces are tender, about 30 to 40 minutes, turning them over halfway through the cooking time. Set aside to cool slightly.

While squash is roasting, cook farro in a large pot of simmering salted water until the grains are tender but chewy, about 30 minutes. (Since there are so many varieties of farro, however, if your package suggests otherwise, it’s best to defer to its cooking suggestion.) Drain and cool slightly.

While squash is roasting and farro is simmering, in a small bowl, whisk together sherry vinegar, water, 1/2 teaspoon table salt and granulated sugar until sugar and salt dissolve. Stir in onion; it will barely be covered by vinegar mixture but don’t worry. Cover and set in fridge until needed; 30 minutes is ideal but less time will still make a lovely, lightly pickled onion.

In a large bowl, mix together butternut squash, farro, red onion and its vinegar brine, the crumbled cheese and pepitas. Toss with 3 tablespoons of the remaining olive oil, use the 4th one only if needed. Taste and adjust seasonings. Eat now or later. Salad keeps in the fridge for up to a week.

I enjoy serving this salad over a bed of baby spinach.  I always know when I have found a fantastic new recipe – my particular “tell” is that I find myself sampling multiple spoonfuls out of the serving bowl, just to make sure I’ve gotten it just right… you may find yourself doing the same on this one!  In fact, it was eaten so quickly, I never got a great photo of it plated and beautiful… sorry about that, you’ll just have to take my word for it – Delicious!

Butternut Squash Soup

Yesterday I figured out that I have been making this particular soup for 14 years.  This is by far my longest standing, go-to recipe.  The first time I made it was after graduating from college, right before I moved to San Francisco to start work and become an adult.  I love knowing that little fact – so much was about to happen in my life… There is a small tradition in my family of writing notes on actual recipes (when the dish was made, if any changes were made, how successful it was, and lastly, if there was an occasion).  These small bits of information are completely informal, with no rhyme or reason, but provide so much history!  This recipe, made by Marilyn Weissman, was originally published in our local newspaper in November 1993 as the winner of a community cooking competition.  My recipe (with notes) is a photocopy from that newspaper piece, but I see that Marilyn still lists this recipe on her website My Global Kitchens, another great place to poke around for recipes, I’m sure!

This comforting fall soup differentiates itself by bringing together some unique flavors.  Creamy butternut squash combined with the spicy and bright tastes of ginger and lime create a lovely fall soup you won’t soon forget.  I made this for our dinner last night, and I also ate it for lunch today and realize now that it really is better the next day.  The flavors have a chance to mellow and meld and is just oh, so comforting.

DSC_0002 DSC_0008 DSC_0010 DSC_0012 DSC_0014 DSC_0018 DSC_0021 DSC_0022 DSC_0027 DSC_0031 DSC_0034 DSC_0040 DSC_0046 DSC_0056

Butternut Squash Soup

1 yellow onion, chopped

1 1/2 tablespoons fresh ginger root, peeled and minced

3 tablespoons butter

3 cloves garlic, minced

4 cups peeled, seeded, and thinly sliced butternut squash (about 1 1/2 pounds)

2 cups chicken or vegetable broth

2 cups water

1 lime, juiced (or to taste)

salt and white pepper (to taste)

Saute onion and ginger in butter, add garlic and cook until onion becomes translucent.  Add squash, broth, and water and bring to a boil.  Cover and simmer 25 minutes or until soft.  Put in food processor in batches (or use immersion blender to save time and dish washing), return to heat and stir in lime juice and salt and pepper to taste.  Can make two days ahead.  Garnish with thinly sliced lime and ginger strip.

I usually serve this recipe with homemade croutons and a simple green salad.  It can also be frozen for later use.  The pictures above show the recipe doubled.  You will also notice a few other time savers that I usually stock in my freezer, pre-minced garlic and ginger by the company, Dorot.  I know you can find an assortment of these frozen herbs at Trader Joe’s and Whole Foods, among other stores.  If you enjoy making soup, I highly recommend investing in an immersion blender (also pictured above), this tool simplifies the process of blending hot liquids and is relatively inexpensive.  I use mine all the time.

This soup is one of my personal markers that fall has arrived – I hope you love it too!

Enjoy!

Homemade Hot Sauce

DSC_0012

Let me start by saying that I love hot sauce.  I will put it on almost anything and it is definitely my favorite condiment in the refrigerator.  When a friend brought over dinner for us the other day, she included some hot sauce that she had made herself last year.  I kid you not, when I say that I almost licked the bowl clean.  The hot sauce recipe was from The Pantry at Delancey, a fabulous new hands-on cooking school in the Ballard area of Seattle.  My friend, M, went to one of The Pantry classes last year and learned how to make this delicious sauce (along with yummy fried chicken and succotash).  I have yet to attend a class at The Pantry, as their classes sell out very quickly, but it is high on my list of things to do.  (Anyone want to join me?)  So when M suggested we make this hot sauce together a few weeks ago, I jumped at the chance!

This southern-style hot sauce is so fun because you control the heat.  The recipe was easy to follow.  The most time consuming thing about it is pushing the roasted chile puree through the strainer.  Next time I will look for a strainer with just a little bigger holes to make it go a bit faster.  We added a few habaneros, as well as all the peppers you see below, and the result was delicious.  It is spicy, but not burn-your-tongue-off-spicy and the white vinegar adds a nice balancing effect.  We doubled the recipe below and it made approximately 6 half-pint jars.  You store this sauce in the fridge, but I doubt it will be there for long.  I am already into our second jar and it is going quick!  I will definitely be making this again sometime soon.

DSC_0001 DSC_0002 DSC_0003 DSC_0004 DSC_0005 DSC_0006 DSC_0007 DSC_0008 DSC_0009 DSC_0010

the Pantry at Delancey’s Southern-Style Hot Sauce

yield: 2 cups

8 ounces sweet chiles (we used bell peppers)

6 1/2 ounces medium chiles

1 1/2 ounces hot chiles

1 cup distilled vinegar

1-2 tablespoons water

1 3/4 teaspoons kosher salt (to taste)

Trim the stems off of the chiles, leaving the base that the stem attaches to.  Toss the chiles in enough olive oil to coat them.  Roast them in the oven or on the grill until you get a nice char on them.  Set aside to cool.  If desired, peel the skins from the chiles (we did not peel the skins off).  Puree the roasted chiles in a food processor or blender with enough vinegar to keep them moving.  Push the pureed chiles through a strainer, extracting as much of the pulp as possible.  Add the water, salt and the rest of the vinegar and chill in the fridge for a few days.  You can eat it immediately, but it gets better with time.  Store in the fridge.

Enjoy on just about anything.  This hot sauce dresses up a basic quesadilla or eggs and would be a perfect accompaniment to a bowl of chili con carne!

Enjoy!

DSC_0011

Chili Con Carne

How many of us were making chili last weekend to celebrate the changing weather and the start of football season?  There is something so natural about making a big pot of soup or chili as the weather begins to turn and we need something to warm us from the inside.  I have mentioned that soup is one of my favorite things to make and I think I will make an effort this season to post more soup recipes, because even if they are not terribly gourmet, they make for great weeknight meals in winter.  They are easy to freeze or make ahead and I find them to be nicely soul satisfying.

DSC_0005

Over the years we have tried many different types of chili recipes.  Chili is the kind of food where people have very strong opinions about what makes chili, chili – high heat, no heat, with beans, no beans, etc…   This is a good time to mention that I was a vegetarian for about 20 years, so the idea that I am making chili con carne at all is something that my younger self might have scoffed at.  But, now that I do eat meat, my husband loves to kid me about being a “recovering vegetarian”.  So even when we make meat dishes, whatever we make is usually loaded with vegetables too.  This is relevant because as we start talking about chili, you will see that I am in the camp that believes in incorporating lots of beans, tomatoes and vegetables to round out this hearty dish.  But do what pleases you.

The chili we love most comes from epicurious.com.  We have been making this recipe for a couple of years now and it is always gobbled up.  The original recipe is called Chili Con Carne with Chili Cheddar Shortcakes and is from Gourmet magazine.  What I like about this version is that it is very classic and a nice base for whatever you like to add.  You make the whole recipe in one pot, which certainly cuts down on clean up.  The cider vinegar adds a nice tang, that you wouldn’t know you want, but you do.  The carrots mellow things out.  I also recommend using a lean or extra lean type of ground beef since you don’t drain the meat in this recipe, but rather just add to the vegetables that are already cooking.   Lastly, the thing I love most about chili, in general, is all the interesting toppings one can add!  We usually make up a batch of cornbread and then add chopped onion, avocado, grated cheese, sour cream and hot sauce (of course)!  I made a double batch of the below this Sunday and we had plenty left over to freeze.

DSC_0059 DSC_0065 DSC_0071 DSC_0072 DSC_0075 DSC_0077 DSC_0085 DSC_0089 DSC_0090 DSC_0094


DSC_0001


Chili Con Carne

serves 6 generously

  • 2 large onions, chopped
  • 1/4 cup vegetable oil
  • 1 tablespoon minced garlic
  • 4 carrots, sliced thin
  • 2 pounds boneless beef chuck, ground coarse in batches in a food processor or by the butcher 
  • 1/4 cup chili powder
  • 1 tablespoon ground cumin
  • 2 tablespoons paprika
  • 1 tablespoon crumbled dried oregano
  • 1 tablespoon dried hot red pepper flakes (to taste)
  • two 8-ounce cans tomato sauce
  • 2 cups beef broth
  • 3 tablespoons cider vinegar
  • 2 19-ounce can kidney beans, rinsed and drained
  • 2 green bell peppers, chopped
In a large pot cook the onions in the oil over moderately low heat, stirring occasionally, until they are softened.  Add the garlic and the carrots, and cook the mixture, stirring, for 1 minute.  Add the chuck and cook it over moderate heat, stirring and breaking up any lumps, for 10 minutes, or until it is no longer pink.  Add the chili powder, the cumin, the paprika, the oregano, and the red pepper flakes and cook the mixture, stirring, for 1 minute.  Add the tomato sauce, the broth, and the vinegar, bring the mixture to a boil, and simmer it, covered, stirring occasionally, for 50 minutes to 1 hour, or until the meat is tender. Add the kidney beans, the bell peppers, and salt and black pepper to taste and simmer the mixture, uncovered, for 15 minutes, or until the bell peppers are tender.
This recipe is easy to make for a crowd.  It can be made a day or two in advance, as the flavors will only get better as they have time to mingle.
Enjoy!

Artichoke Spinach Lasagna

So our family is going through this kindergarten transition very well, but there are some signs of stress.  My baby is becoming a young man and I feel so, so proud of him.  The day feels long without him and even though I was ready to sell him to a band of gypsies by the end of this summer, I miss him.

So, when I feel a little out of control, I either make lists or I make food to freeze.  I guess the idea is that even if I don’t know what is coming around the bend, at least there will be food to eat in the freezer.  I am someone who does not love to cook.  But, I do like projects.  So I enjoy cooking recipes in large batches and then breaking them down and freezing them in sizes that make sense for different sized gatherings.  Then, on any given day (when things get even crazier than they are today), I have a bunch of homemade meals ready to thaw in my freezer.  We have our standbys, our favorites and these meals are fabulous because they make the house smell wonderful and like someone has been cooking all day.  But, it wasn’t me… at least not that day.

So for the last three days, since Sam started Kindergarten, we have been cooking nonstop.  I have FILLED, and I mean FILLED our freezer.  Mission accomplished.  This mama is feeling the intensity of big changes in our family…

This recipe is adapted from an Artichoke Spinach Lasagna I found on allrecipes.com.  Double the below quantities to make enough to freeze.  Not only is this a great method of cooking for busy families, but it is great to have some meals available to share with friends or for impromptu entertaining.

DSC_0003 DSC_0005 DSC_0007 DSC_0009 DSC_0010 DSC_0012 DSC_0015 DSC_0018 DSC_0022 DSC_0023 DSC_0024 DSC_0025 DSC_0028 DSC_0029 DSC_0030

DSC_0034 DSC_0035 DSC_0036

Artichoke Spinach Lasagna

yield: 8 servings

olive oil cooking spray

9 uncooked lasagna noodles (I prefer no-cook Barilla)

1 onion, chopped

4 cloves garlic, chopped

1 (14.5 ounce) can vegetable or chicken broth

1 tablespoon chopped fresh rosemary

1 (14 ounce) can marinated artichoke hearts, drained and chopped

1 (10 ounce) package frozen chopped spinach, thawed, drained and squeezed dry

1 (28 ounce) jar tomato sauce

salt & pepper to taste

3 cups shredded mozzarella cheese, divided

1 (4 ounce) package herb and garlic feta, crumbled

(double or triple for freezing of multiple future meals)

Preheat oven to 350 degrees.

Bring a lage pot of lightly salted water to boil.  Add noodles and cook for 8-10 minutes or until al dente; drain.  (Or skip this step if using no-boil lasagna noodles).

Spray a large skillet with cooking spray and heat on medium high.  Saute onion and garlic for 3 minutes, or until onion is tender-crisp.  Stir in broth and rosemary; bring to a boil.  Stir in artichoke hearts and spinach; reduce heat, cover and simmer 5 minutes.  Stir in tomato sauce.  Add salt and pepper to taste.

Spread 1/4 of the artichoke mixture in the bottom of the prepared baking dish; top with 3 noodles.  Sprinkle 3/4 cup mozzarella cheese over noodles.  Repeat layers two more times, ending with the artichoke mixture and mozzarella cheese.  Sprinkle crumbled feta on top.

Bake, covered, for 40 minutes.  Uncover, and bake 15 minutes more, or until hot and bubbly.  Let stand 10 minutes before cutting.

Enjoy tonight or 3 months from now!

————————————————————————-

Side note:  Another important thing I want to mention is how happy it makes me that Muir Glen brand of tomatoes has decided to get rid of the BPA in their cans.  Tomatoes are notoriously difficult to deal with for corporations because of their high acidity.  They lead the industry in their choice to take the chemical of BPA out of their canned goods.  More and more companies are trying to get with the program, but for now, I trust and applaud Muir Glen for making the choice to help us keep our families safe from chemicals in our food.  Just FYI, the way you can tell if your cans are free of BPA (when talking about tomatoes only) is the copper lining color that you see below.  Thanks, Muir Glen!

DSC_0033