Chili Con Carne

How many of us were making chili last weekend to celebrate the changing weather and the start of football season?  There is something so natural about making a big pot of soup or chili as the weather begins to turn and we need something to warm us from the inside.  I have mentioned that soup is one of my favorite things to make and I think I will make an effort this season to post more soup recipes, because even if they are not terribly gourmet, they make for great weeknight meals in winter.  They are easy to freeze or make ahead and I find them to be nicely soul satisfying.

DSC_0005

Over the years we have tried many different types of chili recipes.  Chili is the kind of food where people have very strong opinions about what makes chili, chili – high heat, no heat, with beans, no beans, etc…   This is a good time to mention that I was a vegetarian for about 20 years, so the idea that I am making chili con carne at all is something that my younger self might have scoffed at.  But, now that I do eat meat, my husband loves to kid me about being a “recovering vegetarian”.  So even when we make meat dishes, whatever we make is usually loaded with vegetables too.  This is relevant because as we start talking about chili, you will see that I am in the camp that believes in incorporating lots of beans, tomatoes and vegetables to round out this hearty dish.  But do what pleases you.

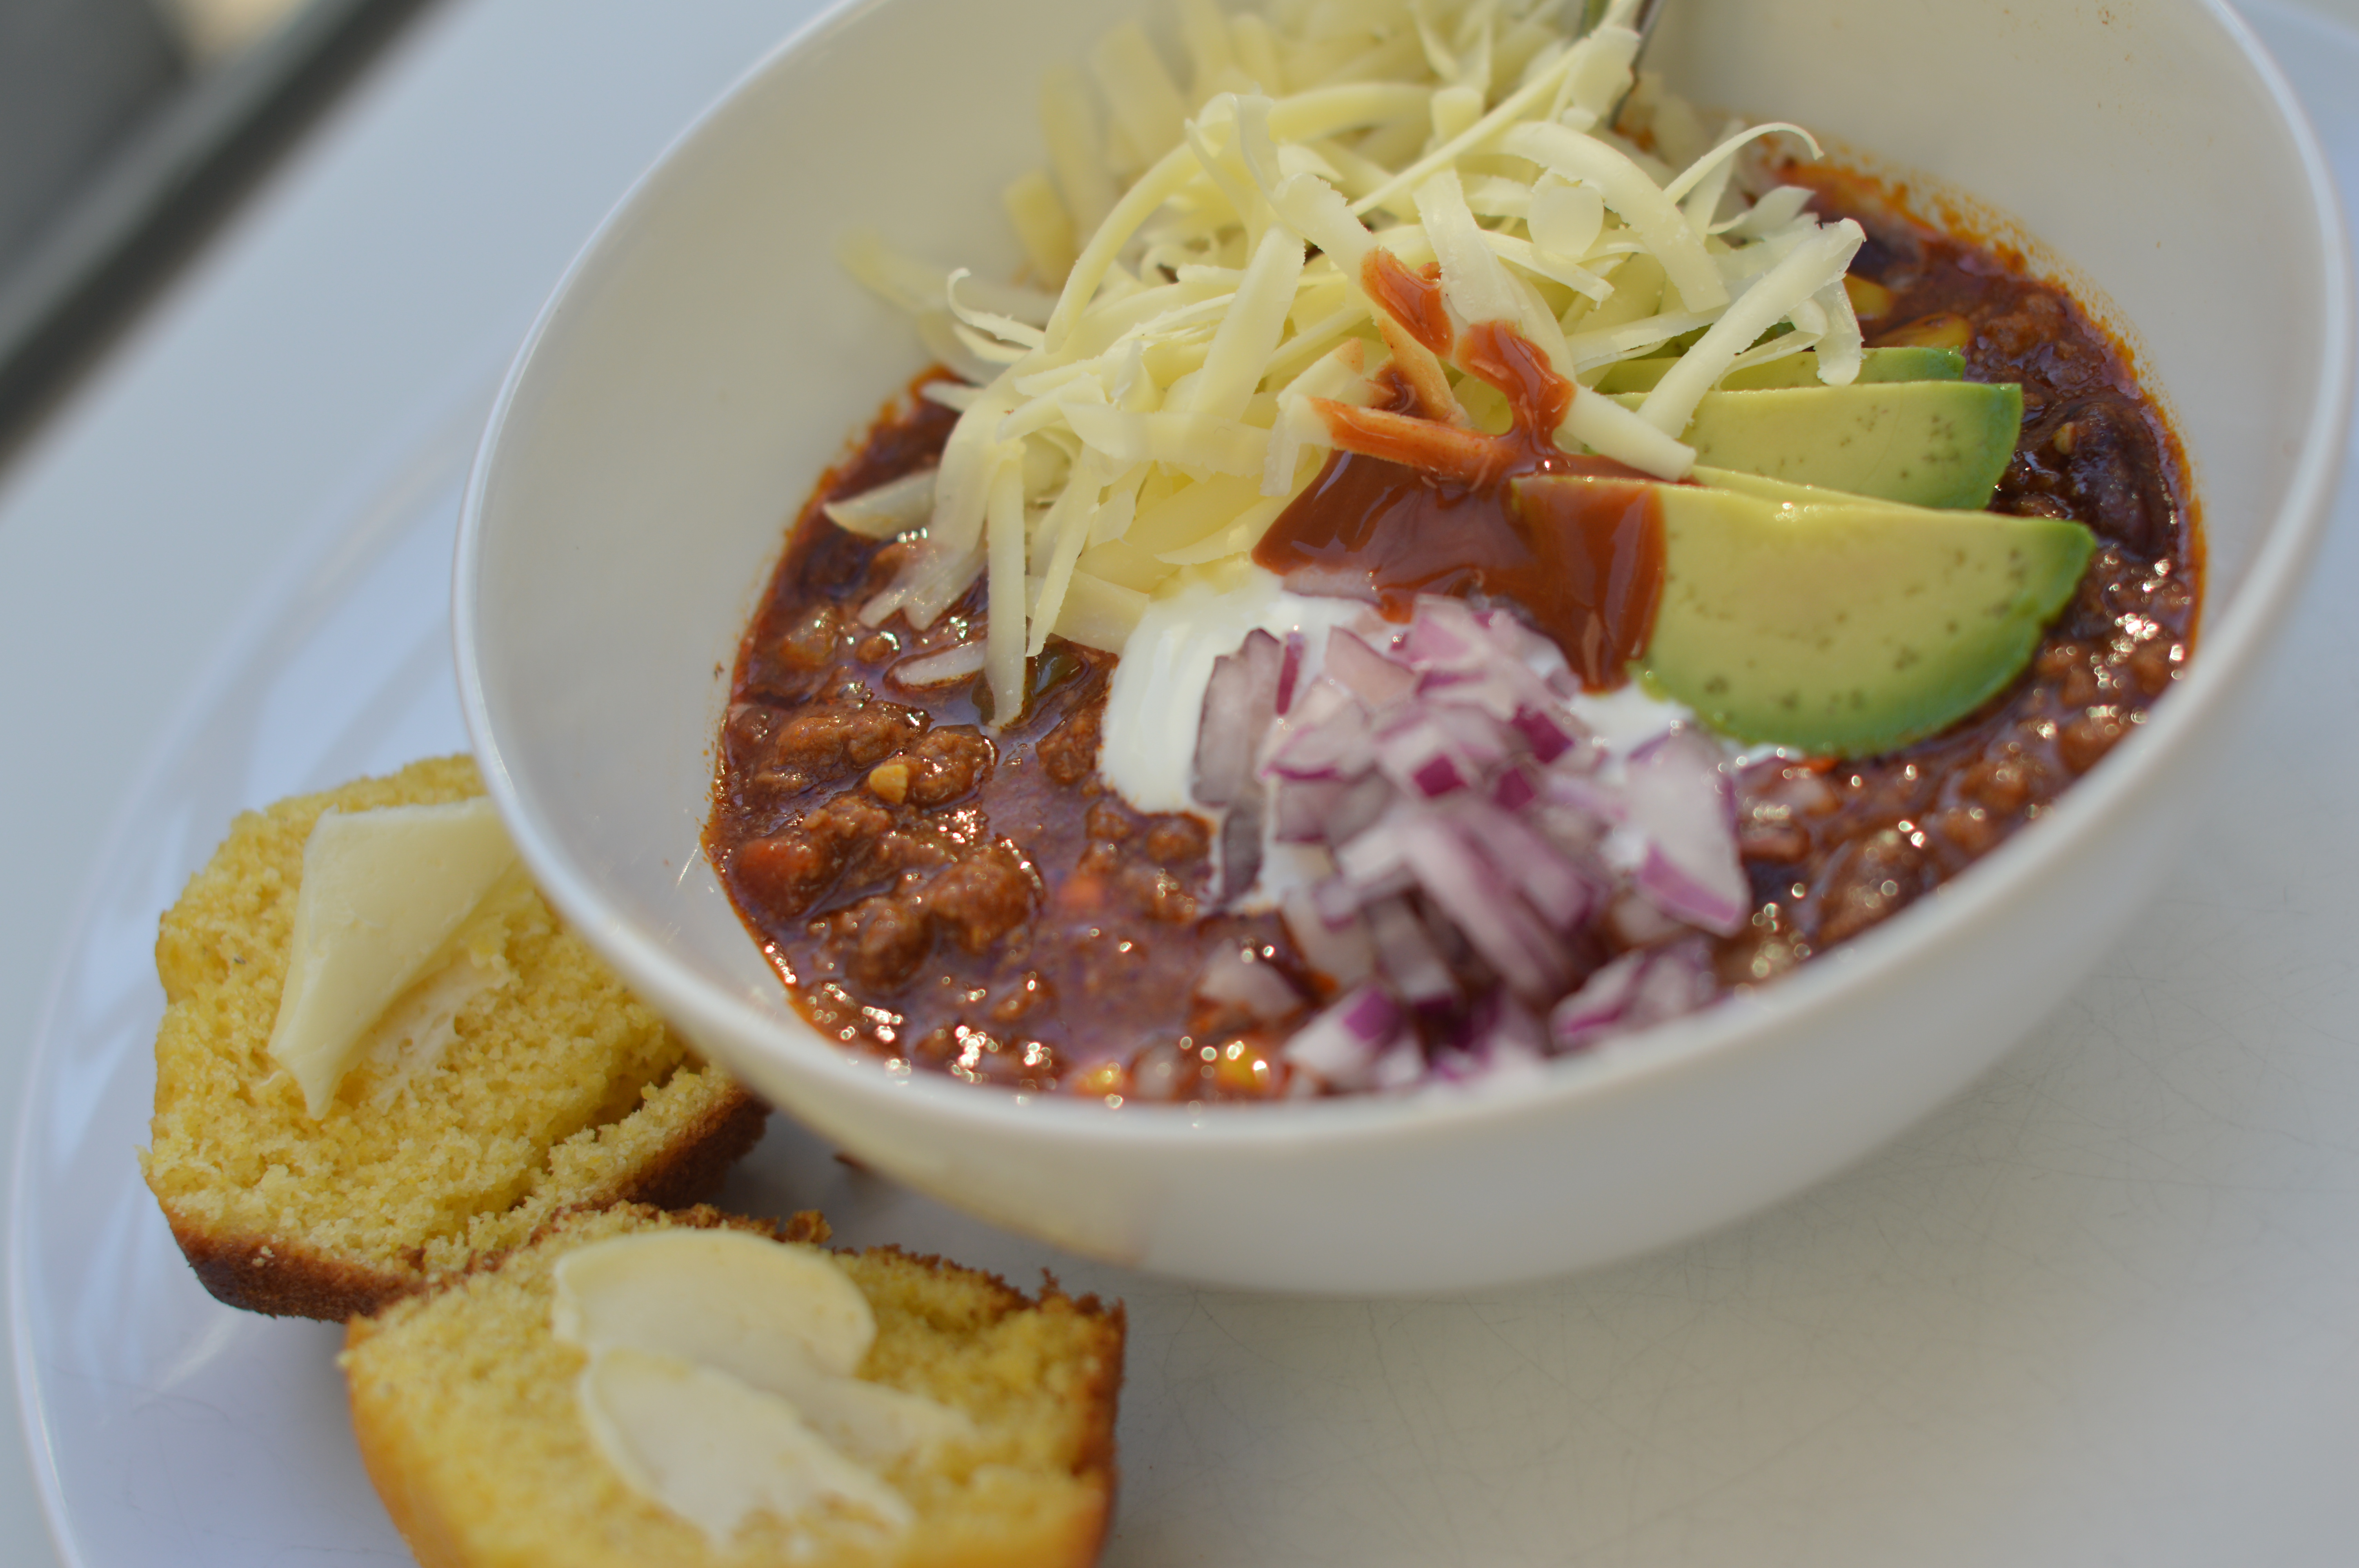
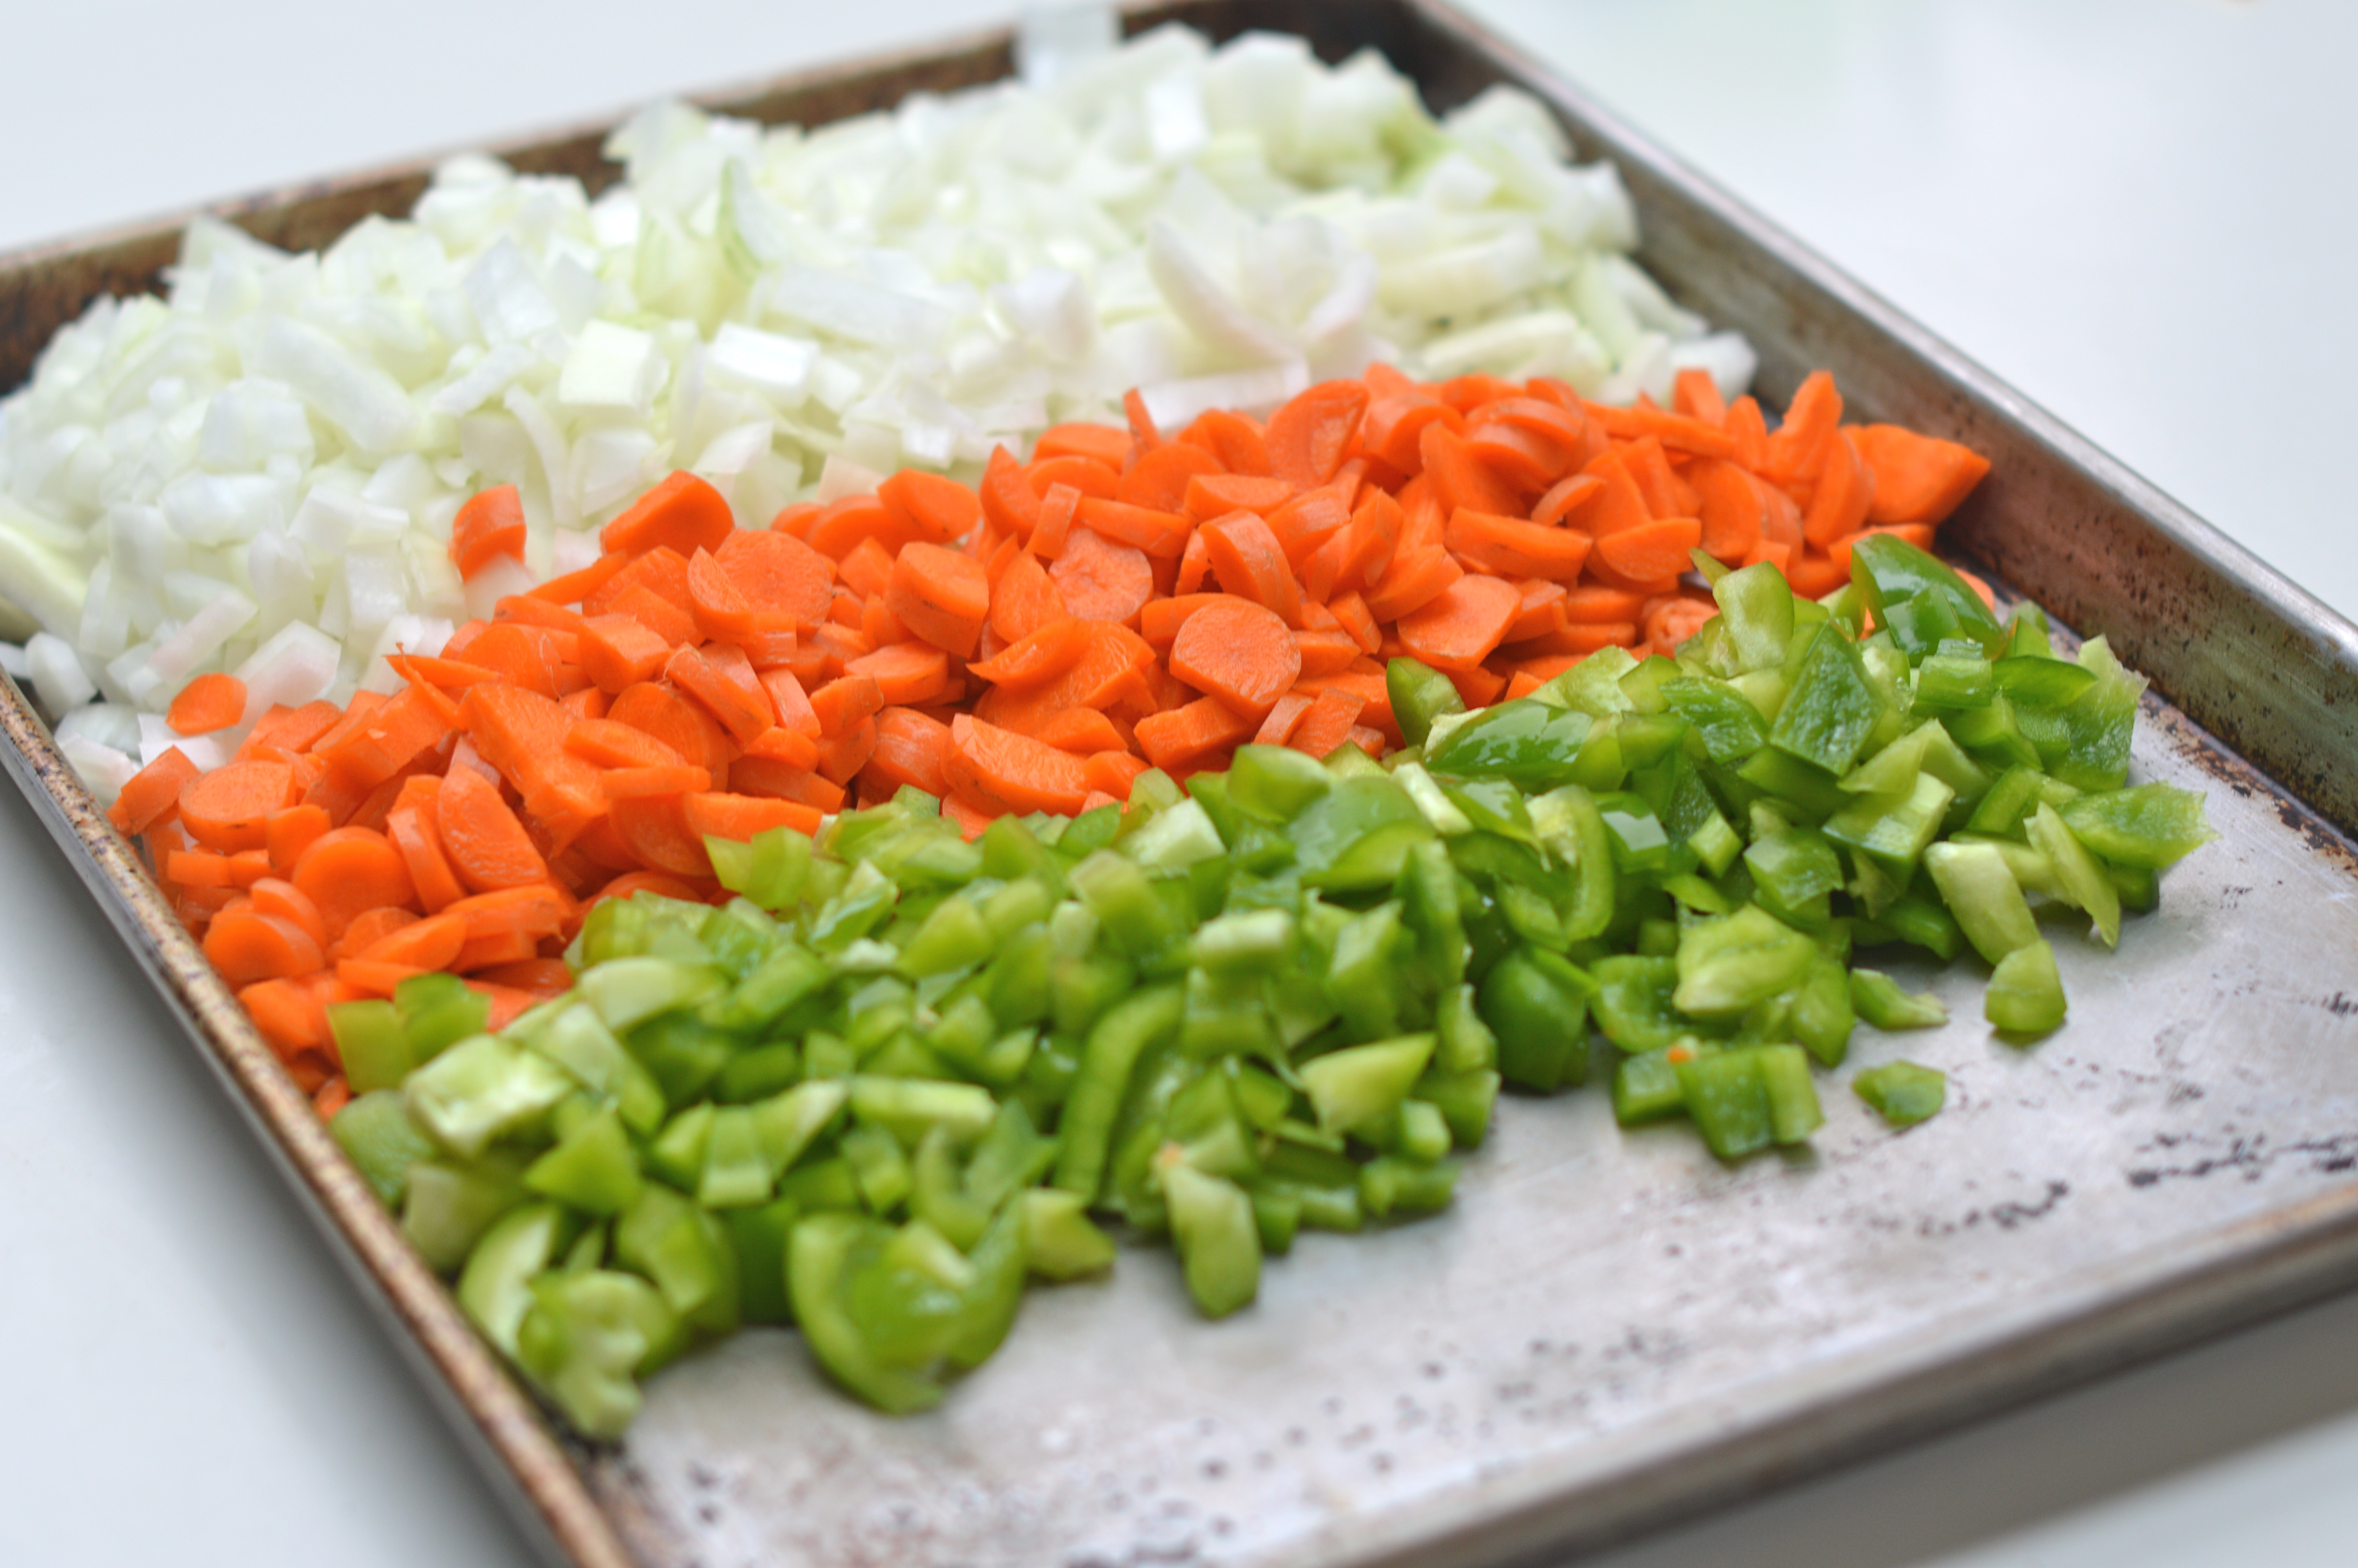
The chili we love most comes from epicurious.com.  We have been making this recipe for a couple of years now and it is always gobbled up.  The original recipe is called Chili Con Carne with Chili Cheddar Shortcakes and is from Gourmet magazine.  What I like about this version is that it is very classic and a nice base for whatever you like to add.  You make the whole recipe in one pot, which certainly cuts down on clean up.  The cider vinegar adds a nice tang, that you wouldn’t know you want, but you do.  The carrots mellow things out.  I also recommend using a lean or extra lean type of ground beef since you don’t drain the meat in this recipe, but rather just add to the vegetables that are already cooking.   Lastly, the thing I love most about chili, in general, is all the interesting toppings one can add!  We usually make up a batch of cornbread and then add chopped onion, avocado, grated cheese, sour cream and hot sauce (of course)!  I made a double batch of the below this Sunday and we had plenty left over to freeze.

DSC_0059 DSC_0065 DSC_0071 DSC_0072 DSC_0075 DSC_0077 DSC_0085 DSC_0089 DSC_0090 DSC_0094


DSC_0001


Chili Con Carne

serves 6 generously

  • 2 large onions, chopped
  • 1/4 cup vegetable oil
  • 1 tablespoon minced garlic
  • 4 carrots, sliced thin
  • 2 pounds boneless beef chuck, ground coarse in batches in a food processor or by the butcher 
  • 1/4 cup chili powder
  • 1 tablespoon ground cumin
  • 2 tablespoons paprika
  • 1 tablespoon crumbled dried oregano
  • 1 tablespoon dried hot red pepper flakes (to taste)
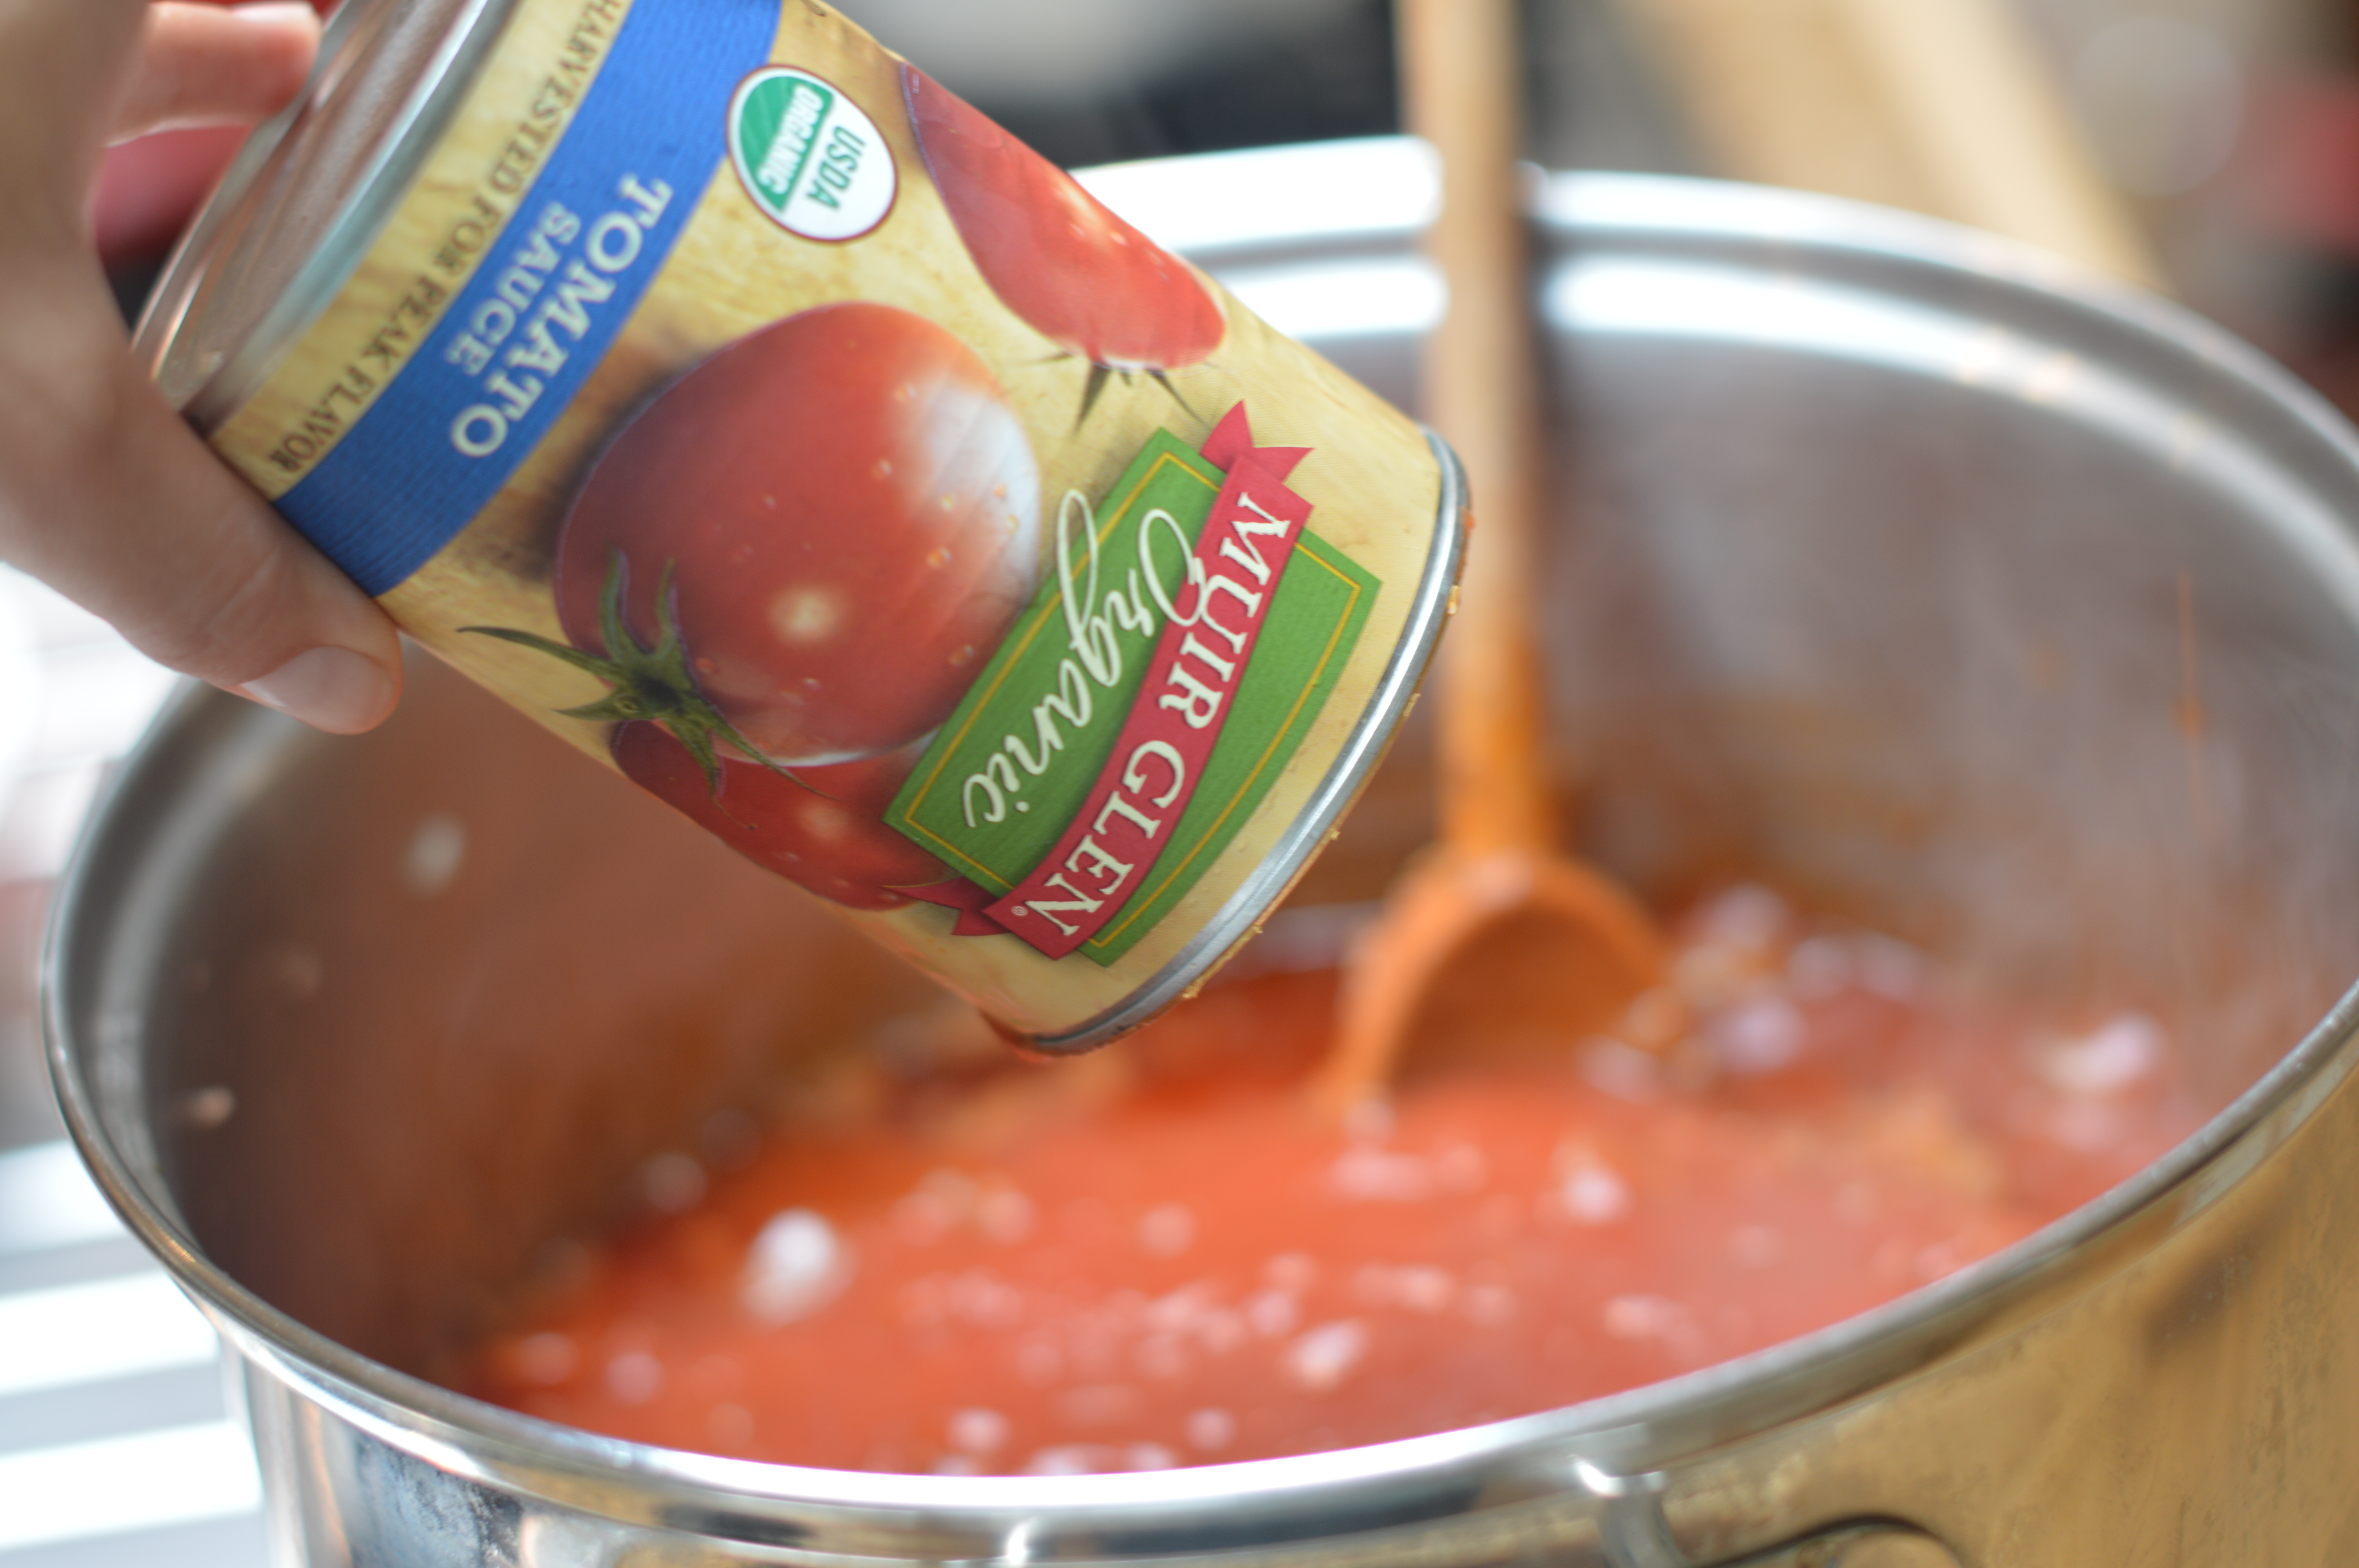
  • two 8-ounce cans tomato sauce
  • 2 cups beef broth
  • 3 tablespoons cider vinegar
  • 2 19-ounce can kidney beans, rinsed and drained
  • 2 green bell peppers, chopped
In a large pot cook the onions in the oil over moderately low heat, stirring occasionally, until they are softened.  Add the garlic and the carrots, and cook the mixture, stirring, for 1 minute.  Add the chuck and cook it over moderate heat, stirring and breaking up any lumps, for 10 minutes, or until it is no longer pink.  Add the chili powder, the cumin, the paprika, the oregano, and the red pepper flakes and cook the mixture, stirring, for 1 minute.  Add the tomato sauce, the broth, and the vinegar, bring the mixture to a boil, and simmer it, covered, stirring occasionally, for 50 minutes to 1 hour, or until the meat is tender. Add the kidney beans, the bell peppers, and salt and black pepper to taste and simmer the mixture, uncovered, for 15 minutes, or until the bell peppers are tender.
This recipe is easy to make for a crowd.  It can be made a day or two in advance, as the flavors will only get better as they have time to mingle.
Enjoy!

Fruit Flies, Lemons, and A New Book

It is late September and we still have fruit flies!  I thought these guys were supposed to go away as the temperature dropped!  This year they appear to be sticking around, possibly it is all the yummy things I am trying to preserve.  Happily, I have a tried and true solution that keeps them at bay.  What is it, you ask?  I put a small amount of cider vinegar in a bowl with a few pumps of dish soap.  The sweetness of the cider vinegar draws them in and the soap coats their wings, so they don’t fly out.  Voila!  This sounds awfully vicious, I know, but I really hate fruit flies.  One more tip, I tried both regular cider vinegar and an organic vinegar that I happened to have and for some reason, the bugs prefer the non-organic.  There you have it, go forth and rid your kitchen of these pests!

Next, I was just given a book that I cannot wait to tell you about.  America’s Test Kitchen just published a book this month called: d.i.y. cookbook can it, cure it, churn it, brew it.  It is “100+  foolproof kitchen projects for the adventurous home cook.”  It is so cool.  I am a little bit giddy about it.  It covers lots of the canning and preserving we have talked about before, but it also goes new and exciting places such as cheese making, charcuterie, and home brewing… how to make corn chips and marshmallows too!  If you were to buy one book to test some fun new things out in your kitchen, this would be the book I recommend!  The directions seem clear and the pictures are lovely and informative.  I am excited to try making lots of things from this book.


One of the recipes is for Preserved Lemons.  This is something I have been intrigued with for a little while now and I am happy to report it is very simple.  Essentially by adding kosher salt to lemons and allowing them to cure for a few weeks, you end up with rinds that have become soft in texture and mellow in flavor, with a truly interesting brininess from the salt.  You can then keep them on hand in your fridge for about 6 months.  One can add them to salads or serve them with roasted vegetables to add a bright citrus flavor that seems like it would enhance just about anything!  I am currently in the curing stage with mine, but I have great hopes that this will become a staple in our house.  It seems like we always have a few lemons around, don’t you?

The recipe that I used for this was actually from another cookbook, Canning for a New Generation, by Liana Krissoff.  I just used the two lemons that I had in my fridge already and a smaller pint size jar, as I think that is a more usable amount, but do whatever feels good to you.

Preserved Lemons

This is a classic North African staple; the funky salted lemons are featured in tagines, salads, rice dishes, and so on.  To use the lemons, scrape off and discard the lemon flesh, leaving just the preserved peel.

5 lemons, (about 1-1/4 pounds), washed
1/3 cup pure kosher salt
1/3 to 1/2 cup fresh lemon juice, as necessary

Pat the lemons dry and cut them lengthwise into eighths.  Layer the wedges with salt in a clean 1-quart jar, pressing them down with a wooden spoon handle to fit the jar.  Cover and set aside in a cool spot for 3-4 days.  The juice will be drawn out and should cover or almost cover the lemons.  Push the lemon wedges down so they are all submerged in the brine; if necessary, add more lemon juice to cover.  Put the lid back on the jar and set in a cool spot for about 3 weeks, until the peel is soft.

The preserved lemons will keep, covered, in a cool spot, for at least 6 months; use a clean, dry utensil to remove wedges and make sure all the peel remains covered in brine.  Discard any parts that exhibit mold.

Makes 1 quart