Classic Strawberry Freezer Jam

After two years of making jam, I am poised to make some changes this year.  I love the process of canning, but I realize like beet salads, not all jams are equal.

DSC_0052

Over the past few years I have been canning classic strawberry and raspberry jam, among other things.  Since strawberries are usually the first berries to ripen each spring those are the ones I start with.  As I see that strawberries are starting to show up in the market, I need to be honest with myself that I have not been totally pleased with my past results.

Part of my personal ethos is that if I go to the time and effort to make something, and I am still thinking about the store-bought inspiration, something is wrong…  I am in favor of preserving the best of the season, but not if the end result is something just sort of okay.  It seems like a crime to take beautiful, ripe berries and cook them into something that does not resemble those fresh beautiful gems.  So, last year I changed things up and made both classic canned raspberry jam, as well as two different recipes of freezer raspberry jam (one with Pomona’s Universal Pectin and one with Certo Sure-Jell).  The whole family had a clear favorite of these three and agreed that it rivaled the delicious store-bought version that our family enjoys (Our favorite local store-bought jam: Sunfresh Freezerves).  My kids loved the most classic homemade freezer jam recipe, made with liquid pectin, and our homemade jam was happily consumed all year long… lasting our family through April of this year (we make lots of cream cheese and jam sandwiches)!

This year my plan is to cut out making the jams that lose the beauty of the original fruit and instead only make the berries into freezer jam that will be gobbled up by the family… Because, after all, that’s the point, right?  And just for the heck of it we’ll start the freezer jam extravaganza with strawberry jam this year.  Hopefully I can make enough freezer jam this season to get us through next May!  We’ll see, we will have one more sandwich eater this time around!  (Note:  I still plan to do traditional canning this season, but only with fruits that work well with this process.)

Freezer jams are extremely easy to make.  They take about half the time of the cooked method, and result in a softer set, fresh fruit taste.  They do require a lot of sugar, so look for Sure-Jell for Less or No Sugar Needed Recipes, if you are looking to limit the amount of sugar used.  I am using the Sure-Jell Certo recipe for Quick & Easy Freezer Jam.  Although I try not to use any added pectin in my cooked jam, I have had my best results using liquid pectin in my freezer jam.  When making freezer jam, as with any jam (and especially with strawberries), it is important to measure exactly, otherwise your jam may not set correctly.

DSC_0042DSC_0060DSC_0061DSC_0062DSC_0066DSC_0070 DSC_0072       DSC_0074  DSC_0002DSC_0011

Classic Strawberry Freezer Jam

Ingredients

2 cups crushed strawberries

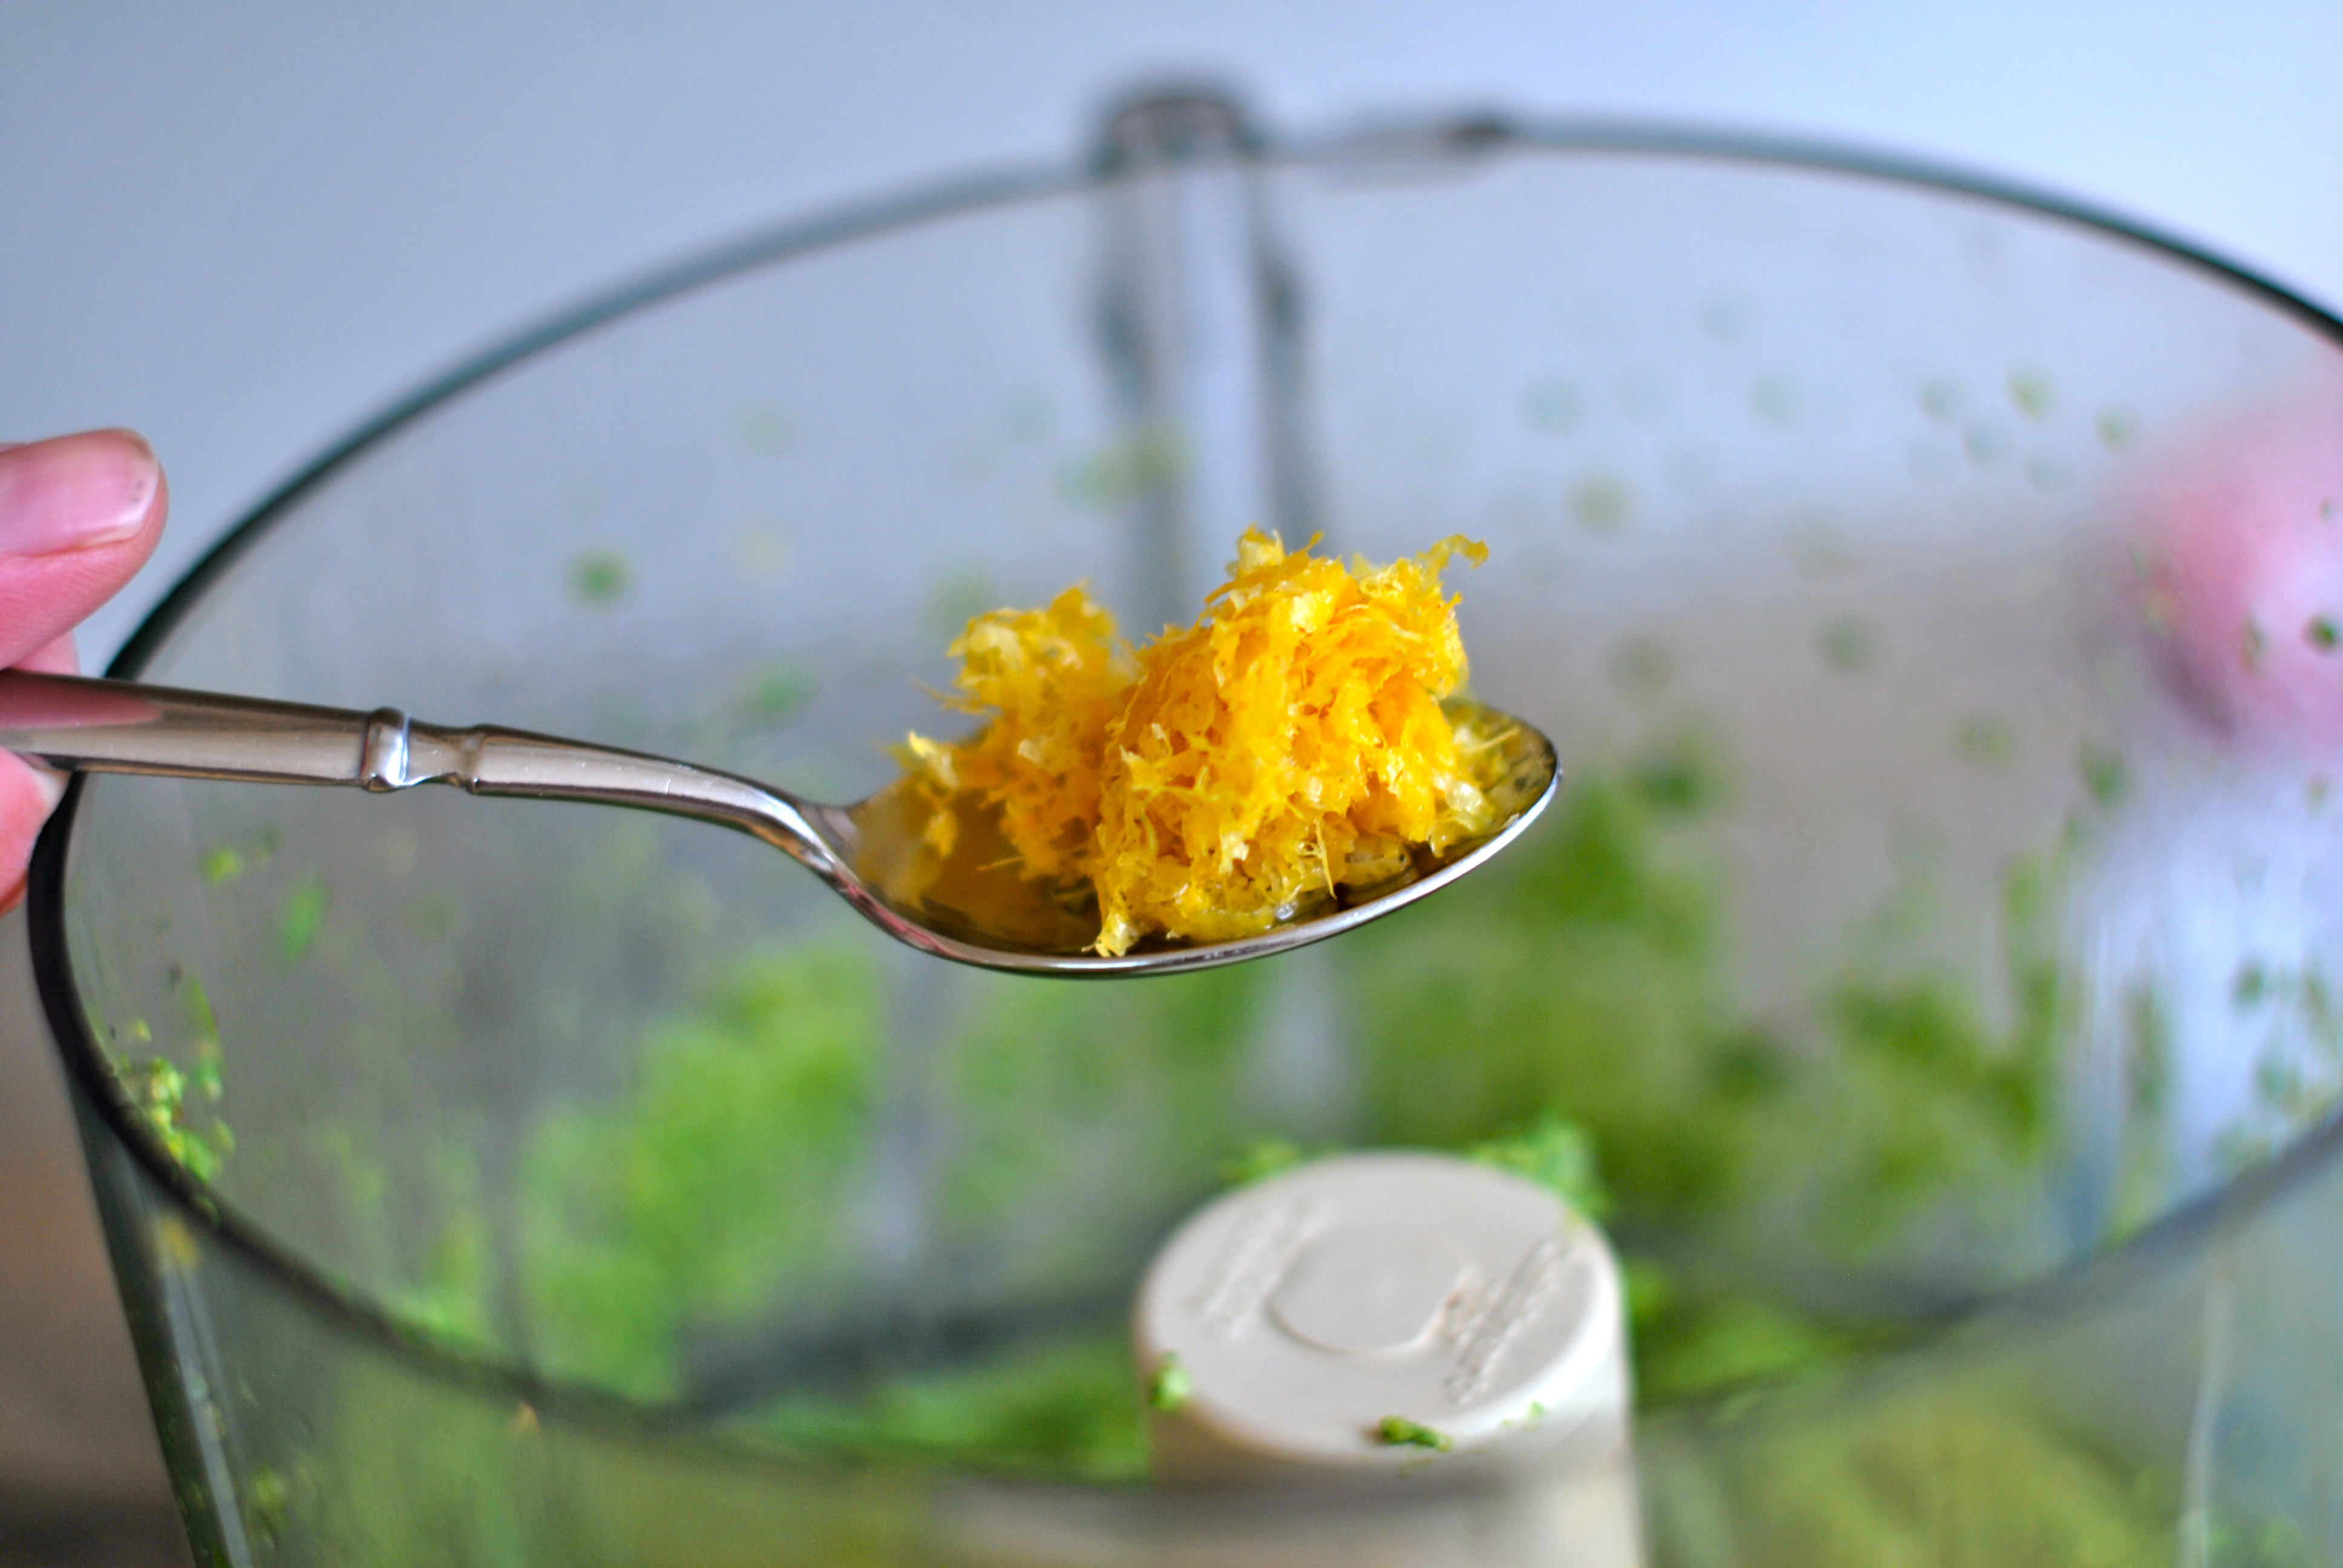
2 tablespoons fresh lemon juice

4 cups sugar

1 pouch liquid pectin (Certo)

Wash and rinse plastic containers with tight fitting lids.  Use 1 to 2 cup size containers.

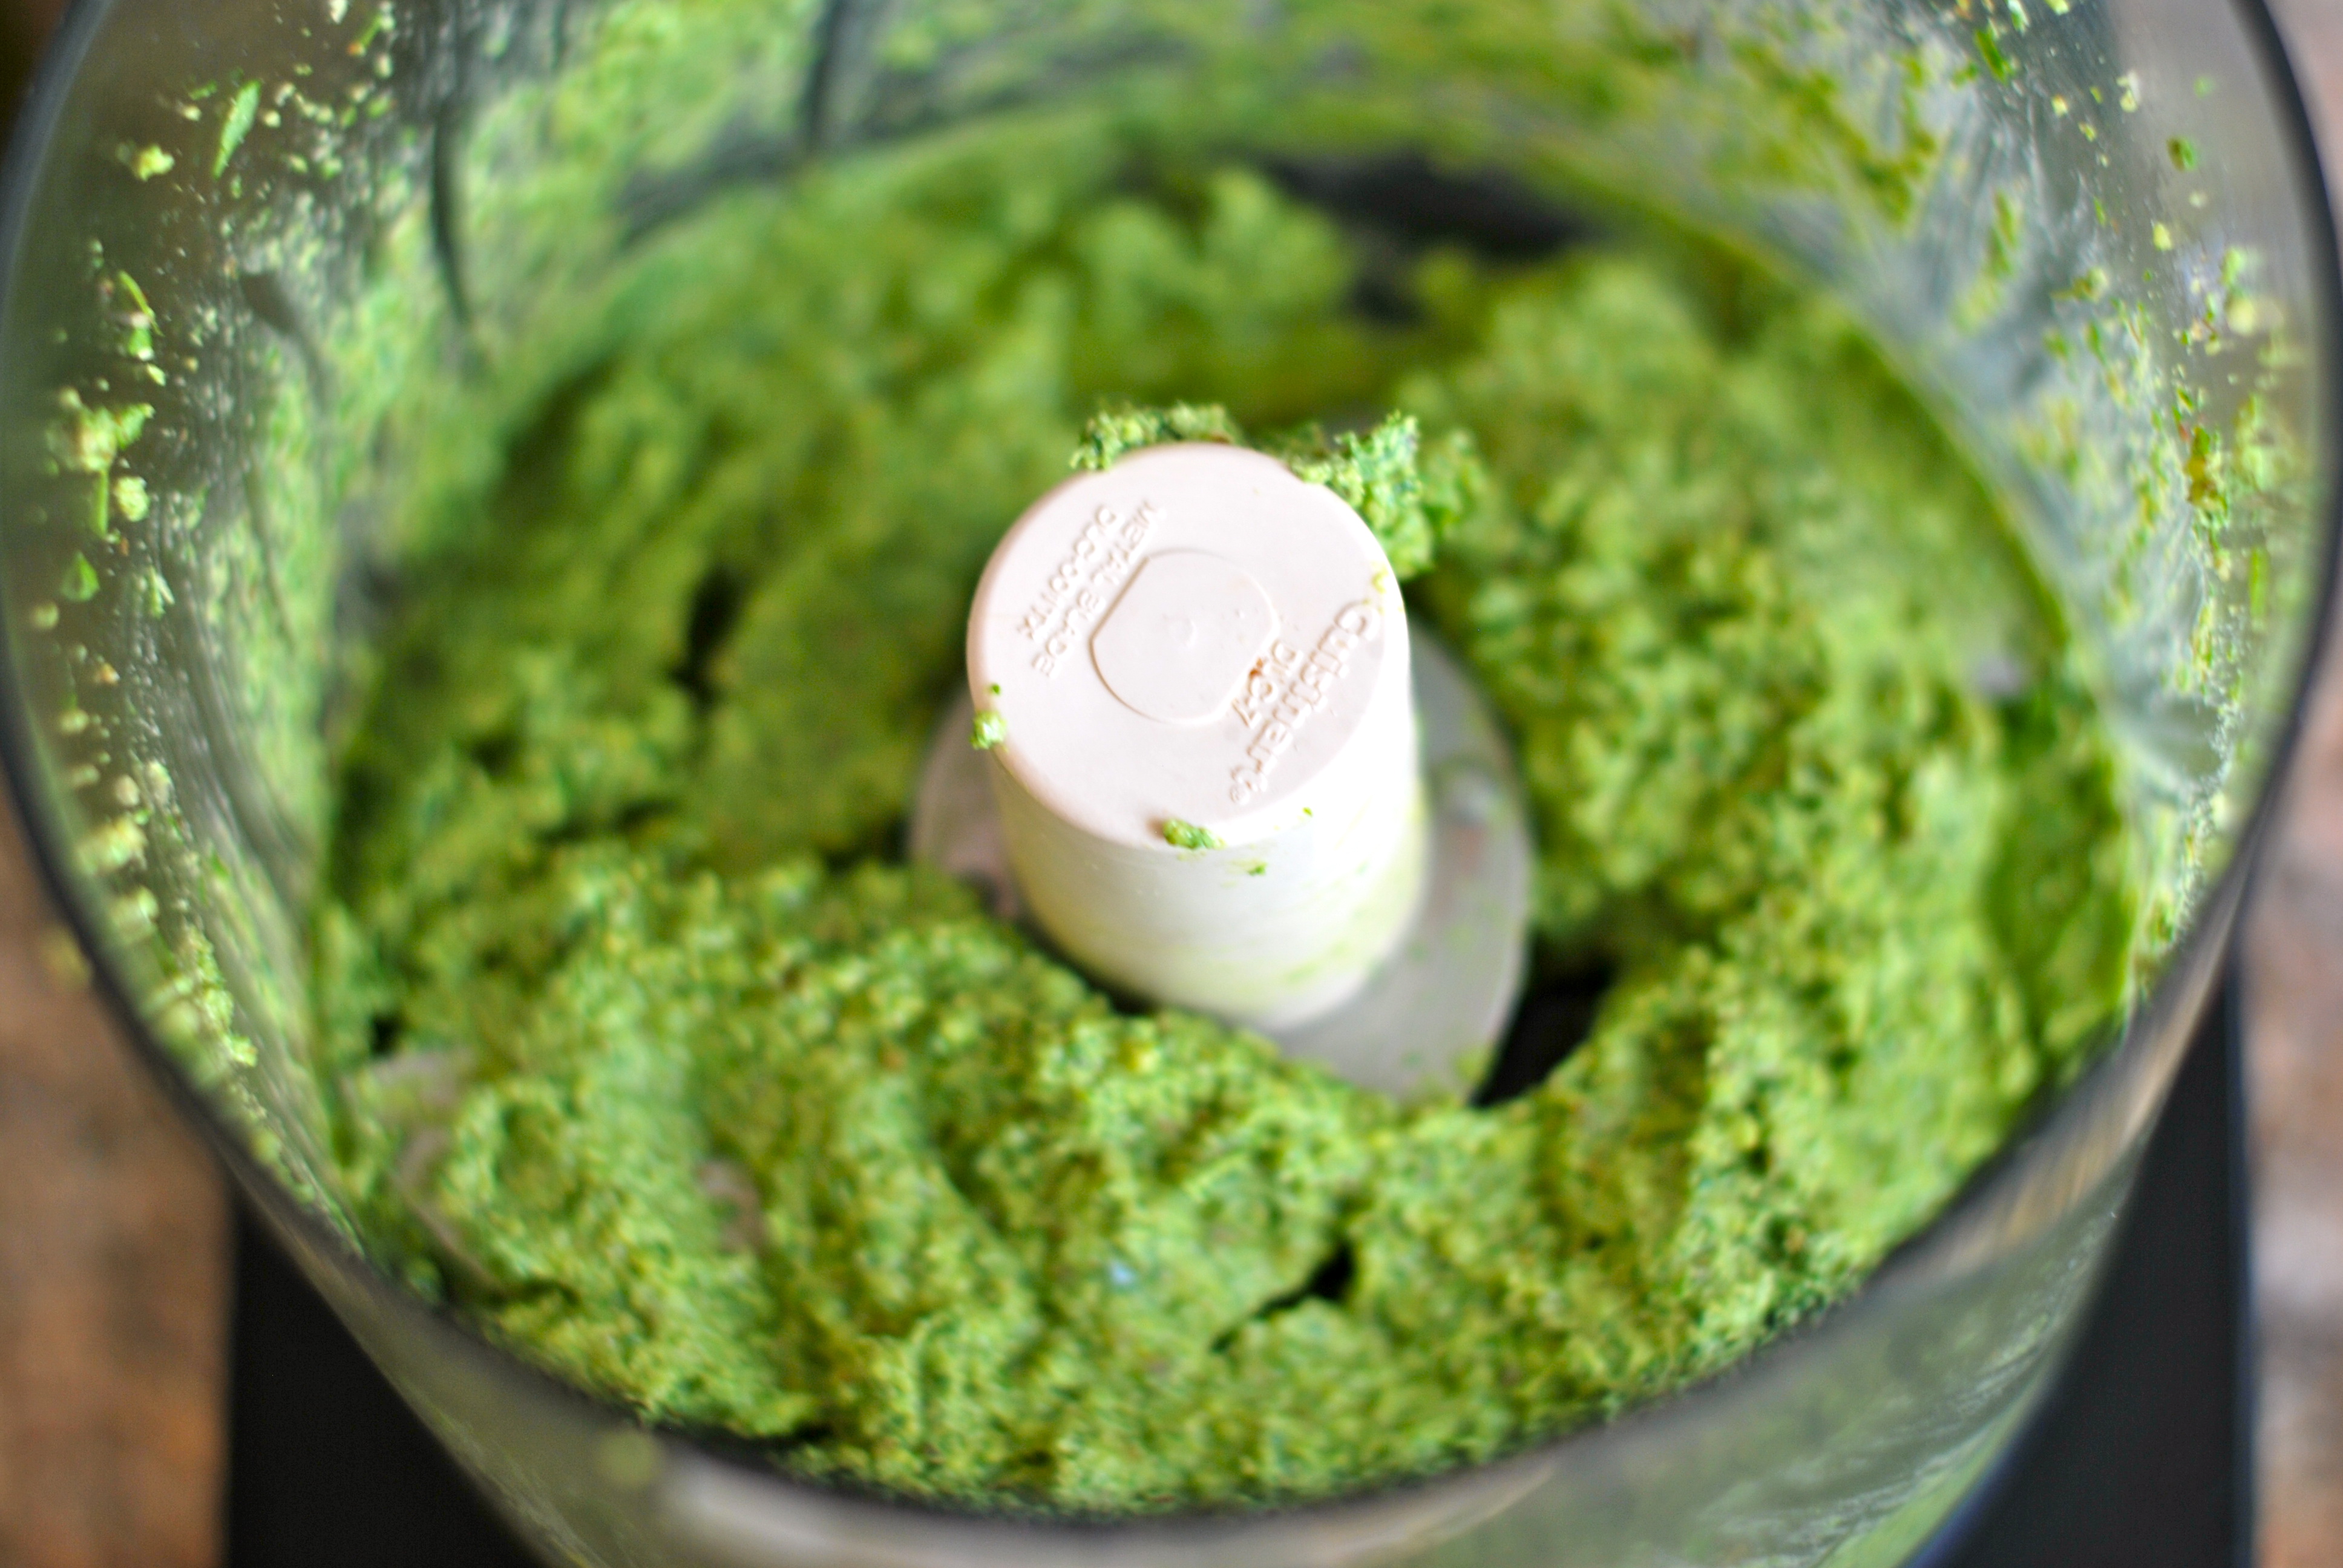
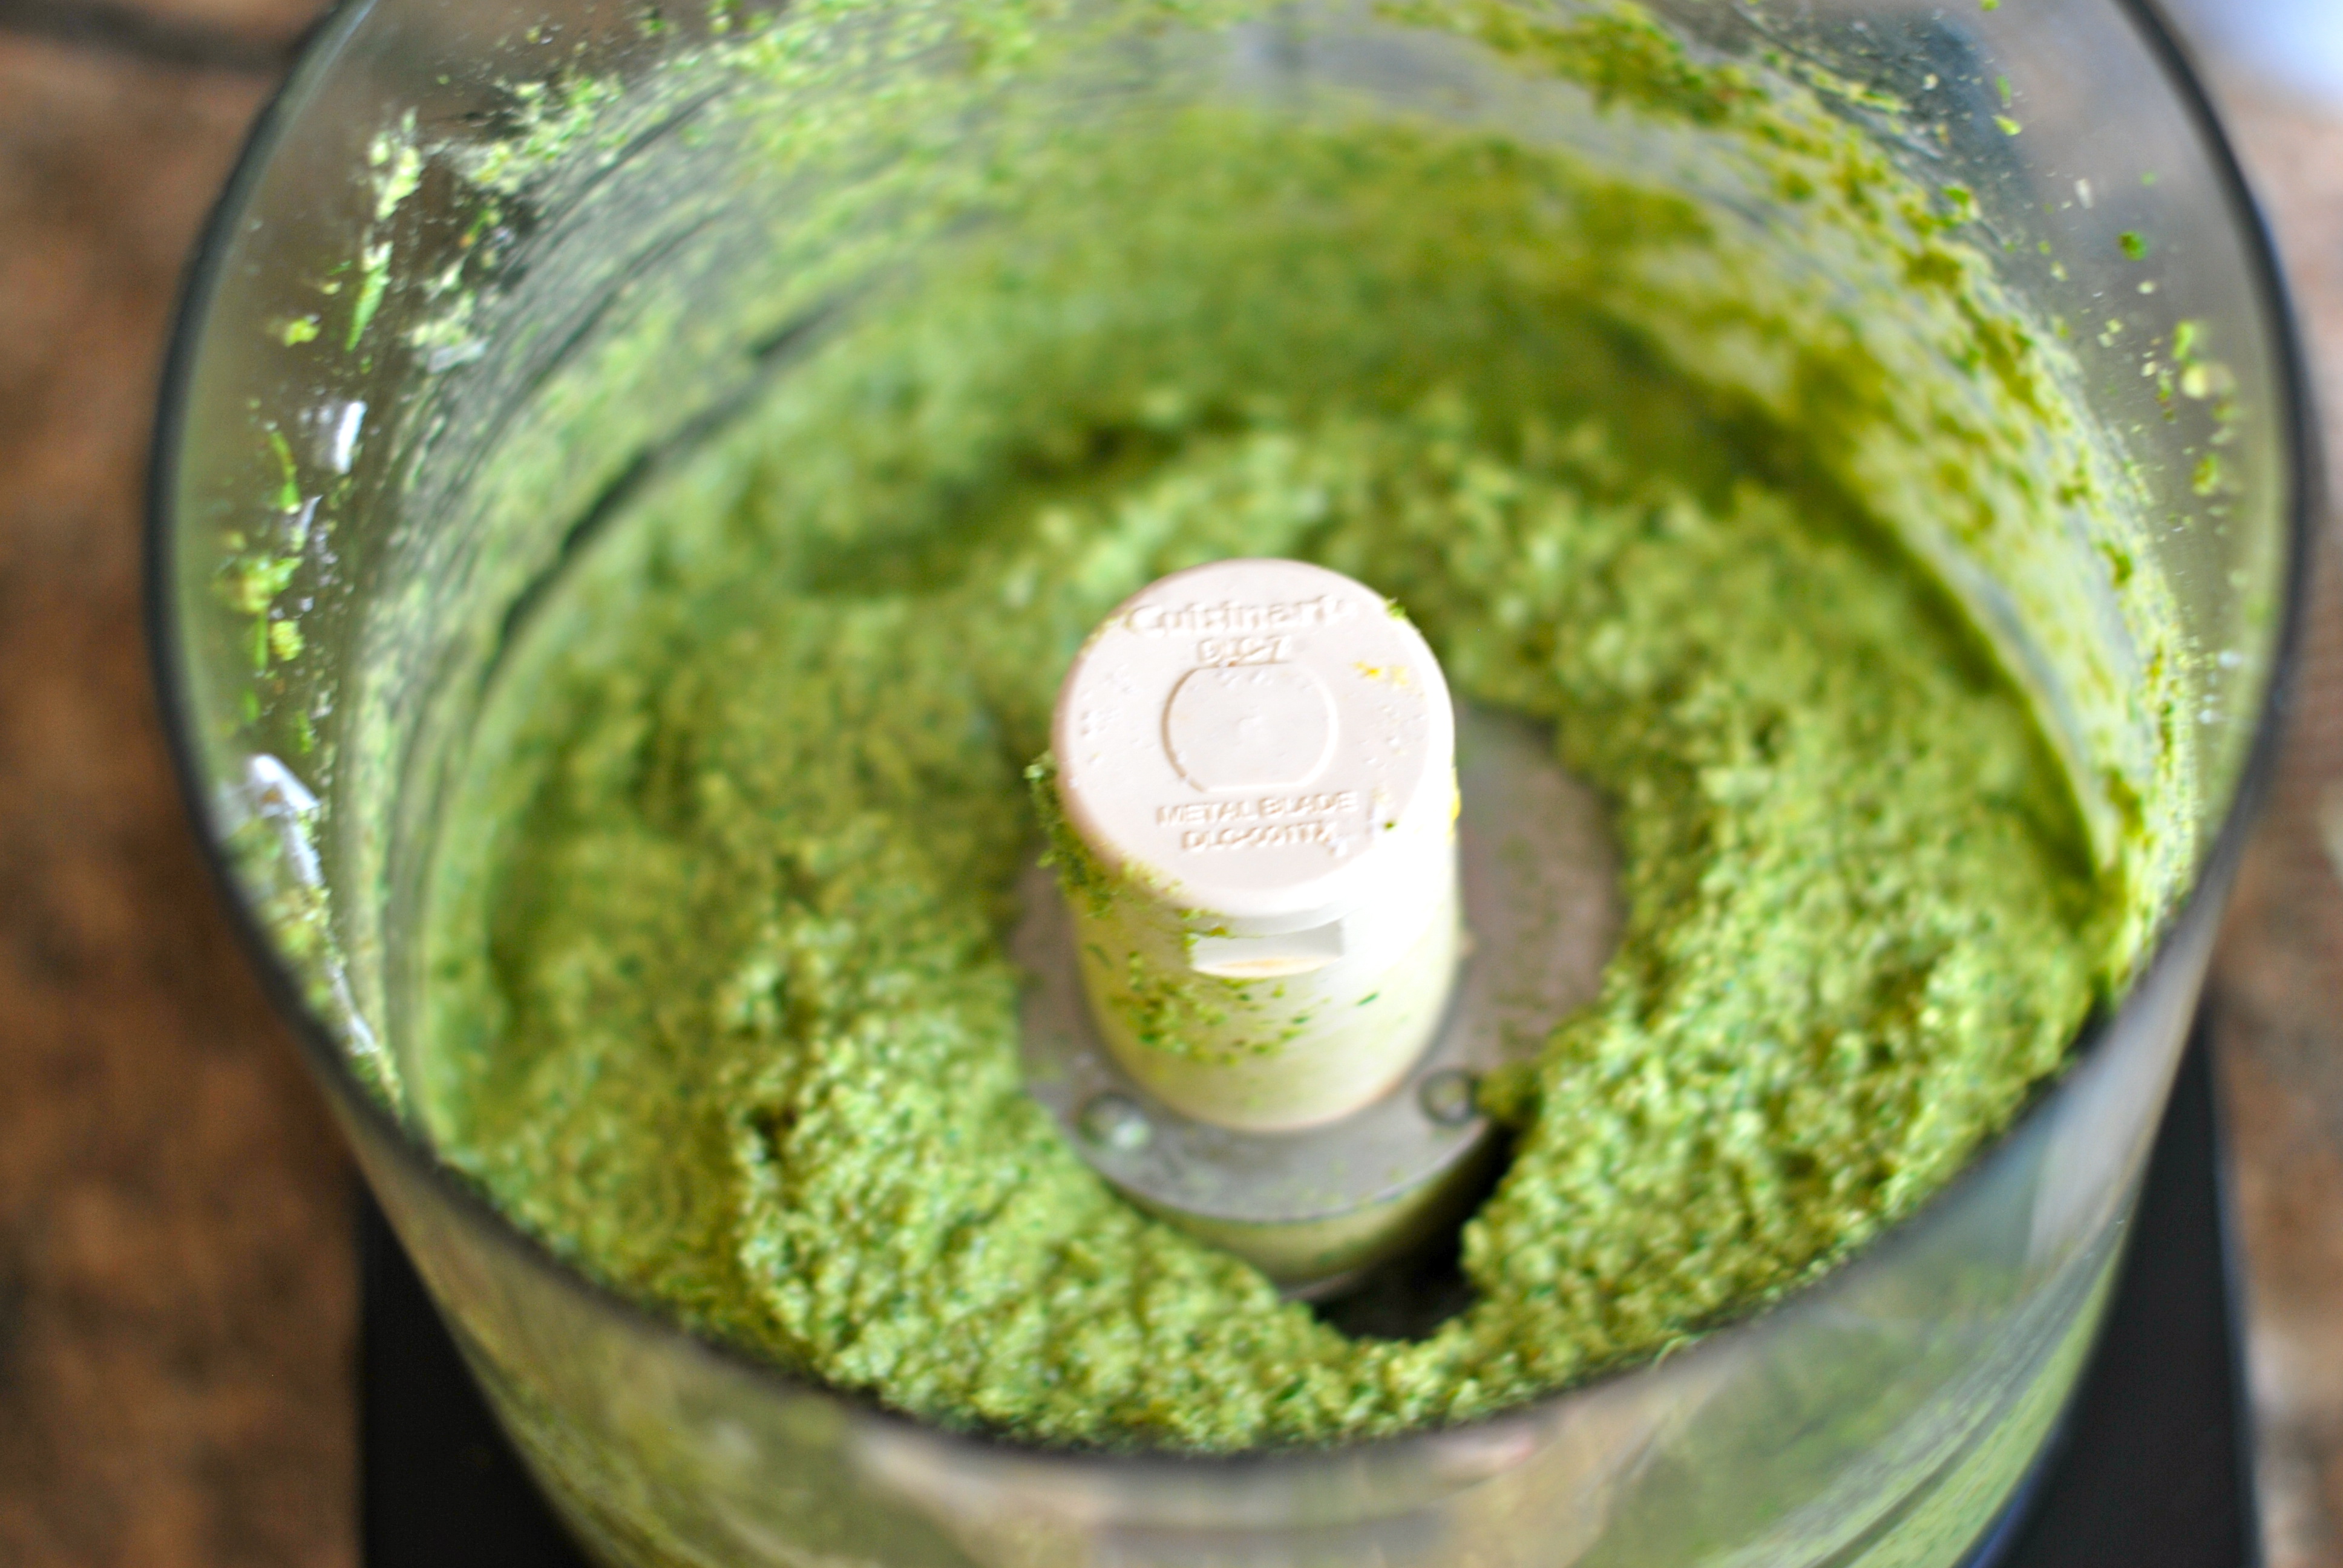
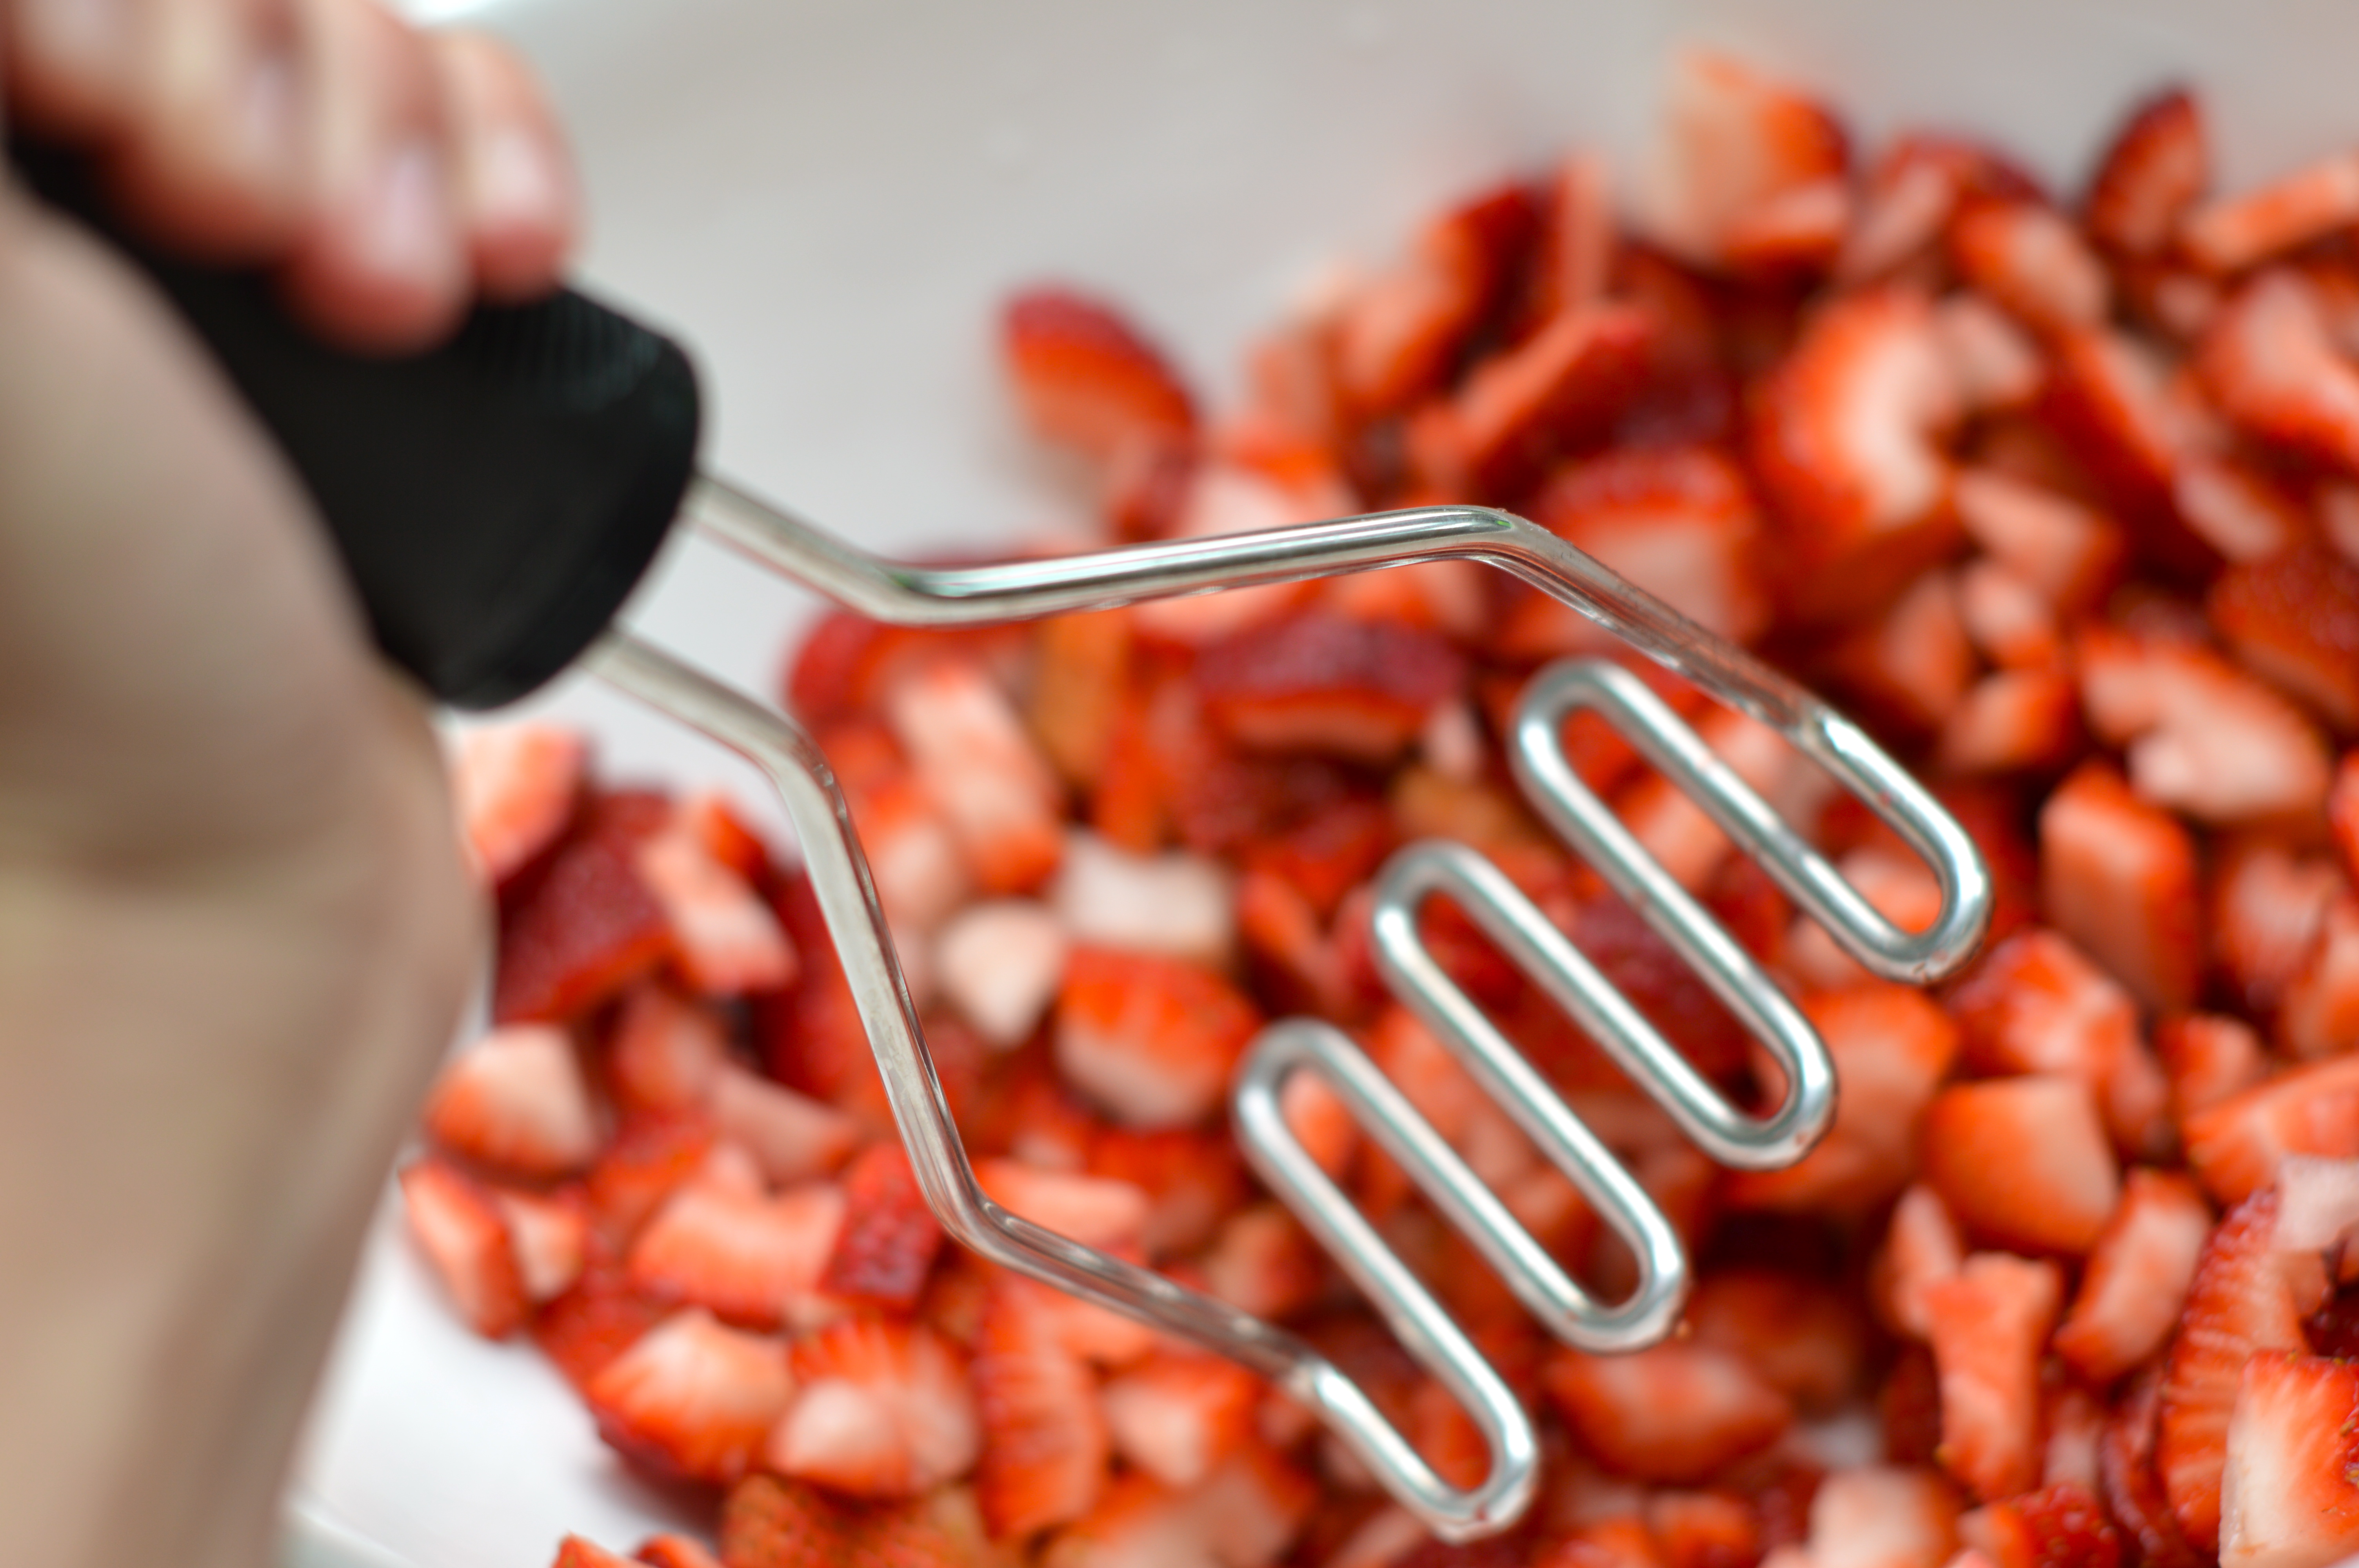
Wash and cut up berries, discarding stems.  Crush berries 1 cup at a time, using a potato masher for best results.  If using a food processor, pulse to a very fine chop.  Do not puree.  Jam should have bits of fruit.

Measure exact amount of prepared fruit into a large bowl.

Measure exact amount of sugar into a separate bowl.  Stir sugar into prepared fruit.  Mix well.  Let stand 10 minutes; stir occasionally.  Stir pectin into lemon juice in a small bowl.  Stir pectin mixture into prepared fruit mixture.  Stir constantly until sugar is completely dissolved and no longer grainy, about 3 minutes.  (A few sugar crystals may remain.)

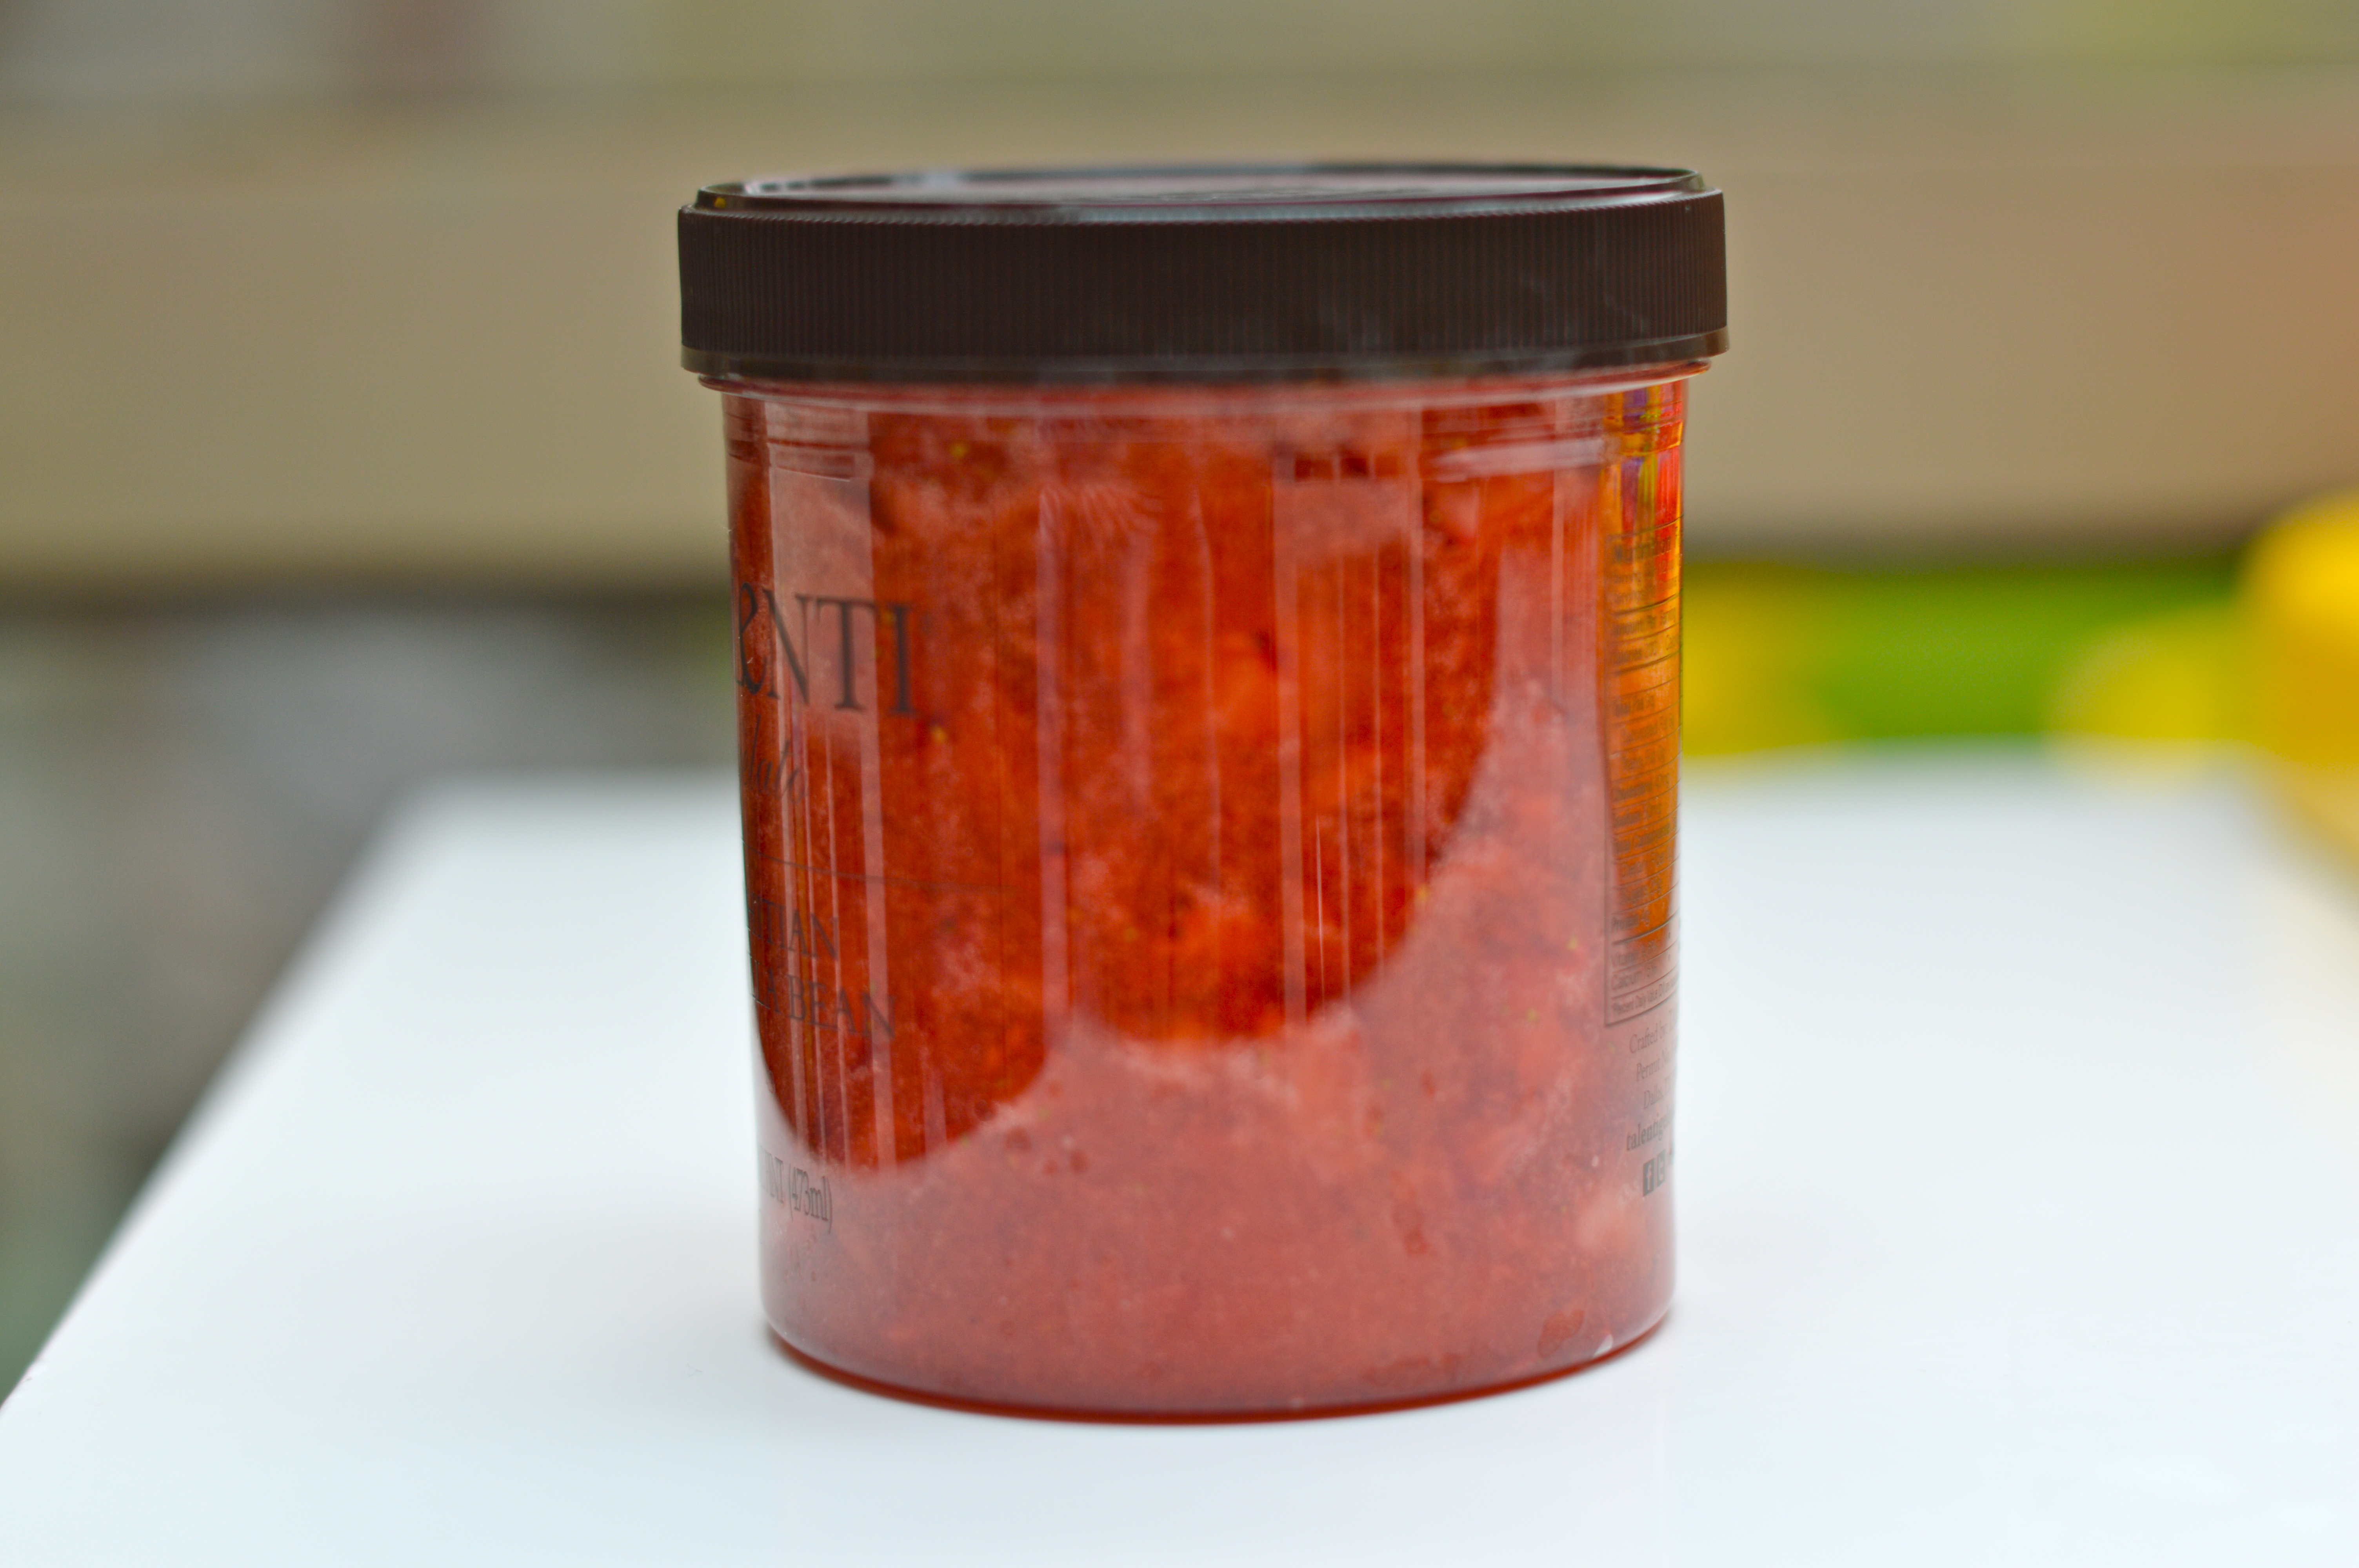
Pour into prepared containers, leaving 1/2 inch space at top of container for expansion during freezing; cover.

Let stand at room temperature 24 hours until set.  Refrigerate up to 3 weeks.  Or store in freezer for up to 1 year.  Thaw in refrigerator.

Enjoy!!

Dill Carrots

DSC_0026

It is getting to be that time of year again!  Canning season is approaching and Dill Carrots seem like the perfect recipe to begin the season.  This great recipe is perfect for beginners as it is super easy and very straightforward.  If you have never tried it, pickling something is extremely satisfying!  You get to hear the joyous “pop, pop, pop” sounds in you kitchen as your jars seal… And it requires less time and stirring than small-batch jams.  Plus, the vibrant jewel-toned colors are enough to brighten anyone’s day!

Dill Carrots were introduced to me by a friend who also claims the title of “most accomplished canning lady I know.”  She brought them to a canning party I threw and everyone raved about them.  When she mentioned that her kids gobble them up too, we all immediately requested the recipe!  Dill Carrots is inspired by a the recipe in Ball Complete Book of Home Preserving.  This canning cook book is a great guide for just about anything you might wish to preserve.  The Dill Carrots recipe is quite versatile in that you can add spice (or not), make with fresh dill (or use dried if not available), cut up carrots from the garden (or use bagged baby carrots from the grocery store).  All variations produce a nice perky flavor that will add interest to your antipasti trays or make a great garnish for sandwiches.  This time around I decided to double the batch and make half out of bagged carrots and half cut from full size.  I will report back in a few weeks if I can tell any real difference in the flavor or texture of this variation.  I also omitted the red pepper flakes, as I wanted to make this batch family-friendly!

DSC_0003 DSC_0005 DSC_0006 DSC_0016 DSC_0021


Dill Carrots

Makes about seven pint (500 mL) jars

6 cups white vinegar

2 cups water

1/2 cup pickling or canning salt

7 cloves of garlic, halved

14 sprigs of fresh dill (if using dried dill, use 1/2 teaspoon per jar)

3 1/2 teaspoons hot pepper flakes (optional)

5 lbs carrots (20-30 medium, ends removed, peeled and cut diagonally)

Prepare canning water, jars, and lids.

In a large steel saucepan, combine vinegar, water and salt.  Bring to a boil over medium-high heat, stirring to dissolve salt.

Place 1 clove (2 halves) of garlic, 1 sprig of dill, and 1/2 tsp of hot pepper flakes (if using), in each hot jar.  Pack carrots into hot jars to within a generous 1/2 inch of top of jar.  Top with second sprig of dill.  Ladle hot pickling liquid into jar to cover carrots, leaving 1/2 inch headspace.  Insert chop stick or skewer into jar and move around to release air bubbles.  Wipe rim with wet paper towel.  Center lid on jar.  Screw band down until resistance is met, then increase to fingertip-tight.

Place jars in boiling water bath, ensuring they are completely covered with water.  Process for 10 minutes.  Remove jars, let cool completely, and store.  Your Dill Carrots will reach full flavor after a few weeks of “marinating”.

You will be surprised by how popular these guys are.  We easily go through a jar whenever one is opened whether we have company, or it is just our family snacking on them.  You can see that my kids are reaching for them even as I make them!

A few more tips:  Remember that canning is about preserving great produce, so can with the best ingredients you can find.  When packing jars for pickling, pack the jars as tightly as possible, without bruising produce, as the liquid will make everything float and ingredients will shift around.  I find that I never cease to be surprised by this.  Canning, especially if you are just beginning, is always more fun with a friend or two.  Use this project as the excuse to get together with a like-minded friend!  The act of having a project to do together always takes away the guilt I feel when just getting together with someone for coffee and a much-needed catch up.  That may not be your hang up, but it is one of mine.

Happy Pickling!

DSC_0093

DSC_0094


This slideshow requires JavaScript.

The Perfect Granola

DSC_0050

So this is an oldie and a goodie.  I have made this granola for Christmas presents over the years and it has been so well received that people often ask for the recipe.  It is the one granola I make because it is so delicious and unexpected.  Unexpected, you say?  Well, yes!  The key ingredient is olive oil.  It is just the right amount of savory and lightly sweet.  I usually add a little more salt and a little less cardamom.  The fruit / nut combinations can be changed to what you have around or prefer.  The amounts can be played with all day long and it still works.

DSC_0051

Some great friends from our time in the Bay Area are coming to visit Seattle for the weekend, so it seemed like the ideal time to make some of this yummy granola.  The best part?  When the kids woke up super early this morning, I poured myself a cup of coffee, looked in my pantry, and was able to make it with ingredients I had on hand.  Once you try this, you, too, will keep all the necessary items in your pantry, just in case.

We have been looking forward to this reunion weekend for weeks.  Plotting out the best plans to show off our dear city in both rain and shine weather.  As much as I am looking forward to all our fun adventures, the thing I am anticipating most is the down time,  everyone waking up in the morning, chatting over cups of coffee (and bowls of granola), picking up these special relationships just where we left off… Enjoy!  I know we will.

Olive Oil Granola with Dried Apricots and Pistachios

(from The New York Times, 2009)

3 cups old-fashioned rolled oats

1 1/2 cups raw pistachios, hulled

1 cup raw pumpkin seeds, hulled

1 cup coconut chips

3/4 cup pure maple syrup

1/2 cup extra virgin olive oil

1/2 cup packed light brown sugar

1 teaspoon kosher salt

1/2 teaspoon ground cinnamon

1/2 teaspoon ground cardamom

3/4 cup chopped dried apricots

Fresh ricotta, for serving (optional)

Fresh berries, for serving (optional).

DSC_0006 DSC_0007 DSC_0008 DSC_0011 DSC_0012 DSC_0015 DSC_0018 DSC_0019 DSC_0021 DSC_0023 DSC_0025

1. Preheat oven to 300 degrees. In a large bowl, combine oats, pistachios, pumpkin seeds, coconut chips, maple syrup, olive oil, brown sugar, salt, cinnamon and cardamom. Spread mixture on a rimmed baking sheet in an even layer and bake for 45 minutes, stirring every 10 minutes, until golden brown and well toasted.

DSC_0027 DSC_0029 DSC_0033 DSC_0035

2. Transfer granola to a large bowl and add apricots (or do this step right on the cookie sheet), tossing to combine. Serve with ricotta and fruit, if desired.

Yield: About 9 cups

DSC_0037 DSC_0039 DSC_0043 DSC_0046 DSC_0053

Winter Greens Pesto

Another cabin fever recipe…

DSC_0031

Last week we were stuck at home, recuperating from some bug or another that just didn’t want to leave our house.  We’ve finally rid ourselves of all symptoms, so I have the time (and hands) to write this.  As I was experiencing that “we’ve-been-at-home-for-5-days-straight” feeling, I attempted to add in a little spice to our program with some inspiration from theKitchn.  I was intrigued when I saw that they had done a piece on winter greens pesto!  What a cool idea!  One typically thinks of pesto as a summer treat, while basil is growing like crazy in the garden.  One doesn’t necessarily think of making it in winter.  I am learning how to incorporate the likes of kale and friends into our diet, but am always looking for new ways to cook with them.  Their main point was that pesto can be made out of just about anything – it is incredibly flexible, so get creative!  TheKitchn had a link of “How to Make Perfect Pesto Every Time” and I really liked their description below:

“Traditional Italian pesto is, of course, made strictly with basil, pine nuts, parmesan, garlic, and really good olive oil. It’s a classic sauce, no contest.

But you can switch out the basil for another handy herb or leafy green, replace the (crazy expensive, if delicious) pine nuts with a different favorite nut, or swap the parm for pecorino or asiago. Use more or less of anything to suit your tastes. Heck, you can even make a lower-fat pesto by replacing some of the olive oil with ricotta cheese!

Bottom line: green + nuts + cheese + olive oil = awesome sauce, literally. Whiz it up in a blender and you can’t go wrong.”

I tried two different varieties last week just to test out the versatility of this recipe.  First up was arugula, and next was kale; both turned out beautifully.  The two best things about this recipe were that I already had most of the ingredients in my pantry and it only dirtied one appliance.  Since the recipe is made in the Cuisinart, it was super simple to throw together and also a quick clean up!  Like traditional pesto, these versions are great tossed with pasta, spread on a sandwich or bruschetta, or added by the spoonful to your favorite soup!  The recipe I liked the looks of best was from My Homespun Home.  It is delicious!

DSC_0008 DSC_0010 DSC_0012 DSC_0014 DSC_0016 DSC_0017 DSC_0021 DSC_0024 DSC_0027 DSC_0029

Arugula Walnut Pesto
Makes about 1 1/2 cups

2 cups loosely packed arugula
4-5 basil leaves
1 1/2 cups walnut halves
1-2 garlic cloves
1/3-1/2 cup high quality olive oil
3/4 cup freshly grated pecorino romano cheese
1/2 teaspoon lemon zest
1 teaspoon lemon juice
Finely ground sea salt, to taste

In a food processor, combine the arugula, basil, walnuts, and garlic. Blend until the mixture is a coarse paste, then slowly add in about half the olive oil as the machine is running. Stop, scrape down the sides of the bowl, add the cheese, lemon juice, and zest, and continue blending, adding the remaining oil until the pesto reaches your preferred consistency–I like it nicely spreadable and creamy. Depending on how salty your cheese is (and, honestly, how finely or coarsely it’s grated), you may need to add a pinch or two of salt at the end. Or more cheese. Everything is better with more cheese.

Enjoy!

Fruit Flies, Lemons, and A New Book

It is late September and we still have fruit flies!  I thought these guys were supposed to go away as the temperature dropped!  This year they appear to be sticking around, possibly it is all the yummy things I am trying to preserve.  Happily, I have a tried and true solution that keeps them at bay.  What is it, you ask?  I put a small amount of cider vinegar in a bowl with a few pumps of dish soap.  The sweetness of the cider vinegar draws them in and the soap coats their wings, so they don’t fly out.  Voila!  This sounds awfully vicious, I know, but I really hate fruit flies.  One more tip, I tried both regular cider vinegar and an organic vinegar that I happened to have and for some reason, the bugs prefer the non-organic.  There you have it, go forth and rid your kitchen of these pests!

Next, I was just given a book that I cannot wait to tell you about.  America’s Test Kitchen just published a book this month called: d.i.y. cookbook can it, cure it, churn it, brew it.  It is “100+  foolproof kitchen projects for the adventurous home cook.”  It is so cool.  I am a little bit giddy about it.  It covers lots of the canning and preserving we have talked about before, but it also goes new and exciting places such as cheese making, charcuterie, and home brewing… how to make corn chips and marshmallows too!  If you were to buy one book to test some fun new things out in your kitchen, this would be the book I recommend!  The directions seem clear and the pictures are lovely and informative.  I am excited to try making lots of things from this book.


One of the recipes is for Preserved Lemons.  This is something I have been intrigued with for a little while now and I am happy to report it is very simple.  Essentially by adding kosher salt to lemons and allowing them to cure for a few weeks, you end up with rinds that have become soft in texture and mellow in flavor, with a truly interesting brininess from the salt.  You can then keep them on hand in your fridge for about 6 months.  One can add them to salads or serve them with roasted vegetables to add a bright citrus flavor that seems like it would enhance just about anything!  I am currently in the curing stage with mine, but I have great hopes that this will become a staple in our house.  It seems like we always have a few lemons around, don’t you?

The recipe that I used for this was actually from another cookbook, Canning for a New Generation, by Liana Krissoff.  I just used the two lemons that I had in my fridge already and a smaller pint size jar, as I think that is a more usable amount, but do whatever feels good to you.

Preserved Lemons

This is a classic North African staple; the funky salted lemons are featured in tagines, salads, rice dishes, and so on.  To use the lemons, scrape off and discard the lemon flesh, leaving just the preserved peel.

5 lemons, (about 1-1/4 pounds), washed
1/3 cup pure kosher salt
1/3 to 1/2 cup fresh lemon juice, as necessary

Pat the lemons dry and cut them lengthwise into eighths.  Layer the wedges with salt in a clean 1-quart jar, pressing them down with a wooden spoon handle to fit the jar.  Cover and set aside in a cool spot for 3-4 days.  The juice will be drawn out and should cover or almost cover the lemons.  Push the lemon wedges down so they are all submerged in the brine; if necessary, add more lemon juice to cover.  Put the lid back on the jar and set in a cool spot for about 3 weeks, until the peel is soft.

The preserved lemons will keep, covered, in a cool spot, for at least 6 months; use a clean, dry utensil to remove wedges and make sure all the peel remains covered in brine.  Discard any parts that exhibit mold.

Makes 1 quart

And the Winner is…

When one of my best friends got married seven years ago, her 92 year-old grandfather spoke during the wedding and he stole the show.  He gave some wonderful marital advice that Gus and I refer to to this day.  He spoke with fifty years of marriage under his belt and he said something to the effect of, “For a marriage to last, there are three things you need to say to your partner.  Hopefully the first one is easy and you say it often, ‘I love you.’  The second one can be a little bit more tricky, but is still very important, ‘I’m sorry.’  And the third can be downright maddening, but is probably the most important of all… ‘You might be right.'”

So honey, “You might be right.”

When I decided to try making pickles this summer, you might remember that my husband’s one request was that we please try a few different recipes in small batches, versus going whole hog down the road of one untested recipe and then not liking it, but having a massive amount of jars sitting waiting to be consumed or not (I assume this was his thought process).  Although I followed his advice, I did think it was rather silly, because of course all the pickles would be delectable.  Well, it turns out I was wrong… and this was a good idea.  I tried three recipes and there is a very clear winner!  Yippee!  The one that I thought would be the best, was not, in fact it was not good at all.  But I still call the event a success, because one of the recipes turned out very well.  It is a classic dill style and has just the right amount of tart, dilliness to enjoy many different ways.

So, as promised, here is the recipe for the very clear winner, Spicy Dill Pickles.  The recipe I used was from Tart & Sweet, by Kelly Geary and Jesse Knadler – a wonderful cookbook that takes urban canning to the next level with innovative recipes and great instruction.  This particular recipe is very straightforward and easy.  With pickling, since you add your spices to the jar itself, you can play with how spicy to make your pickles or omit a spice completely if it is not to your taste.  So satisfying!

Spicy Dill Pickles

4 cups white vinegar

2 cups water

1/4 cup kosher salt

4 1/2 pounds Kirby cucumbers, ends trimmed, quartered into spears

Per Jar

3 cloves garlic

3 dill heads or 4-5 large dill sprigs

2 hot peppers, such as habanero or serrano

1 tablespoon yellow mustard seed

1 tablespoon brown mustard seed

1 teaspoon dill seed

1 teaspoon black peppercorns


Bring the vinegar, water, and salt to a boil in a medium nonreactive pot.  Stir to dissolve the salt.

Place garlic, dill, peppers, and spices in each hot jar.  Pack cucumbers in as tightly as possible without crushing.  Pour in boiling brine, leaving 1/2 inch headspace.  Make sure the cucumbers are submerged in the brine.

Check for air bubbles, wipe the rims, and seal.  Process for 15 minutes, adjusting for elevation.  Yield 4 quarts.

Note: I brined the pickles overnight and kept my pickles whole as they were on the small side.  I also used pint jars versus quart, so my yield was 8 pints.  I will try these again next year, but I might also try fermenting a batch to see how they compare!

Happy Pickling!