Signs of Spring

DSC_0100

So spring doesn’t officially begin for 13 more days (not that I am counting), but signs of winter’s end are all around.  I spotted our first camelia blooming, the daffodils are poking their little yellow heads out, and I now hear the birds chirping when I wake up in the morning.

I remember when Sam first went to preschool, he came home with a simple bird feeder that they made in class.  The teacher reminded the students (and parents) that it can be difficult for birds to find food at this point in winter, so we can help by putting food out.  The garden is still a bit bleak, with the grass just beginning to sprout, but by placing a bird feeder in our tree we can see wildlife happening right outside our kitchen window.

This is a quick and easy activity to do with the kids and it is so satisfying to see the birds (and squirrels) show up so regularly!  We used peanut butter, a pine cone that we found outside, and a birdseed mix from our local hardware store.  You can use any mix of peanut butter, vegetable shortening, or suet (a high-quality animal fat) and there are lots of choices of birdseeds.  One tip we have learned is that wire is necessary to hang the pine cone.  In years past, we have very hopefully hung our pine cones with string or yarn and were quickly thwarted by motivated squirrels that will bite through the string and steal the whole bird feeder!  So far, the wire has worked like a charm.

DSC_0001 DSC_0004 DSC_0007 DSC_0008 DSC_0011 DSC_0013 DSC_0014 DSC_0017 DSC_0018 DSC_0020 DSC_0021 DSC_0022

Pine Cone Bird Feeder

1 large pine cone

12 inch length of flexible wire (we used some picture hanging wire)

1 cup peanut butter

1 cup birdseed mix

Wrap the wire around the pine cone, leaving a length at the end to twist around a tree branch.  Spread peanut butter onto the pine cone, getting it into all the little crevices.  Then roll peanut butter-covered pine cone in seeds on a dish.  Hang from tree and watch the birds show up.  Remember to choose a tree branch that you can see from a window in your house.  It took the birds a day or two to discover our bird feeder, but it has been a week now and all the seeds and peanut butter are gone.  Time to make another one!

Enjoy!

Artichoke Spinach Lasagna

So our family is going through this kindergarten transition very well, but there are some signs of stress.  My baby is becoming a young man and I feel so, so proud of him.  The day feels long without him and even though I was ready to sell him to a band of gypsies by the end of this summer, I miss him.

So, when I feel a little out of control, I either make lists or I make food to freeze.  I guess the idea is that even if I don’t know what is coming around the bend, at least there will be food to eat in the freezer.  I am someone who does not love to cook.  But, I do like projects.  So I enjoy cooking recipes in large batches and then breaking them down and freezing them in sizes that make sense for different sized gatherings.  Then, on any given day (when things get even crazier than they are today), I have a bunch of homemade meals ready to thaw in my freezer.  We have our standbys, our favorites and these meals are fabulous because they make the house smell wonderful and like someone has been cooking all day.  But, it wasn’t me… at least not that day.

So for the last three days, since Sam started Kindergarten, we have been cooking nonstop.  I have FILLED, and I mean FILLED our freezer.  Mission accomplished.  This mama is feeling the intensity of big changes in our family…

This recipe is adapted from an Artichoke Spinach Lasagna I found on allrecipes.com.  Double the below quantities to make enough to freeze.  Not only is this a great method of cooking for busy families, but it is great to have some meals available to share with friends or for impromptu entertaining.

DSC_0003 DSC_0005 DSC_0007 DSC_0009 DSC_0010 DSC_0012 DSC_0015 DSC_0018 DSC_0022 DSC_0023 DSC_0024 DSC_0025 DSC_0028 DSC_0029 DSC_0030

DSC_0034 DSC_0035 DSC_0036

Artichoke Spinach Lasagna

yield: 8 servings

olive oil cooking spray

9 uncooked lasagna noodles (I prefer no-cook Barilla)

1 onion, chopped

4 cloves garlic, chopped

1 (14.5 ounce) can vegetable or chicken broth

1 tablespoon chopped fresh rosemary

1 (14 ounce) can marinated artichoke hearts, drained and chopped

1 (10 ounce) package frozen chopped spinach, thawed, drained and squeezed dry

1 (28 ounce) jar tomato sauce

salt & pepper to taste

3 cups shredded mozzarella cheese, divided

1 (4 ounce) package herb and garlic feta, crumbled

(double or triple for freezing of multiple future meals)

Preheat oven to 350 degrees.

Bring a lage pot of lightly salted water to boil.  Add noodles and cook for 8-10 minutes or until al dente; drain.  (Or skip this step if using no-boil lasagna noodles).

Spray a large skillet with cooking spray and heat on medium high.  Saute onion and garlic for 3 minutes, or until onion is tender-crisp.  Stir in broth and rosemary; bring to a boil.  Stir in artichoke hearts and spinach; reduce heat, cover and simmer 5 minutes.  Stir in tomato sauce.  Add salt and pepper to taste.

Spread 1/4 of the artichoke mixture in the bottom of the prepared baking dish; top with 3 noodles.  Sprinkle 3/4 cup mozzarella cheese over noodles.  Repeat layers two more times, ending with the artichoke mixture and mozzarella cheese.  Sprinkle crumbled feta on top.

Bake, covered, for 40 minutes.  Uncover, and bake 15 minutes more, or until hot and bubbly.  Let stand 10 minutes before cutting.

Enjoy tonight or 3 months from now!

————————————————————————-

Side note:  Another important thing I want to mention is how happy it makes me that Muir Glen brand of tomatoes has decided to get rid of the BPA in their cans.  Tomatoes are notoriously difficult to deal with for corporations because of their high acidity.  They lead the industry in their choice to take the chemical of BPA out of their canned goods.  More and more companies are trying to get with the program, but for now, I trust and applaud Muir Glen for making the choice to help us keep our families safe from chemicals in our food.  Just FYI, the way you can tell if your cans are free of BPA (when talking about tomatoes only) is the copper lining color that you see below.  Thanks, Muir Glen!

DSC_0033

Alt SF – Down the Rabbit Hole

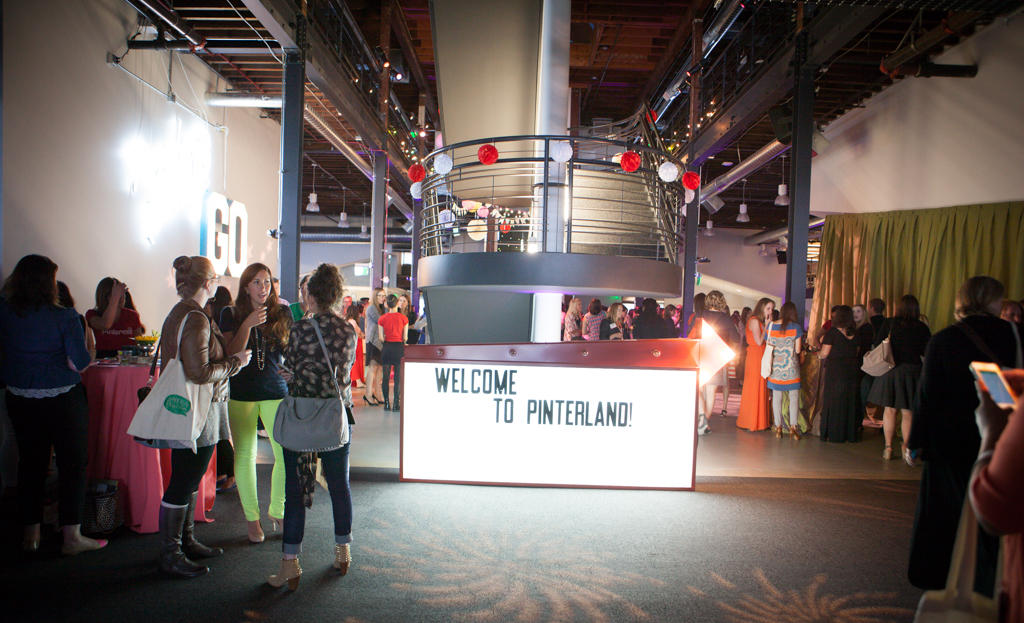
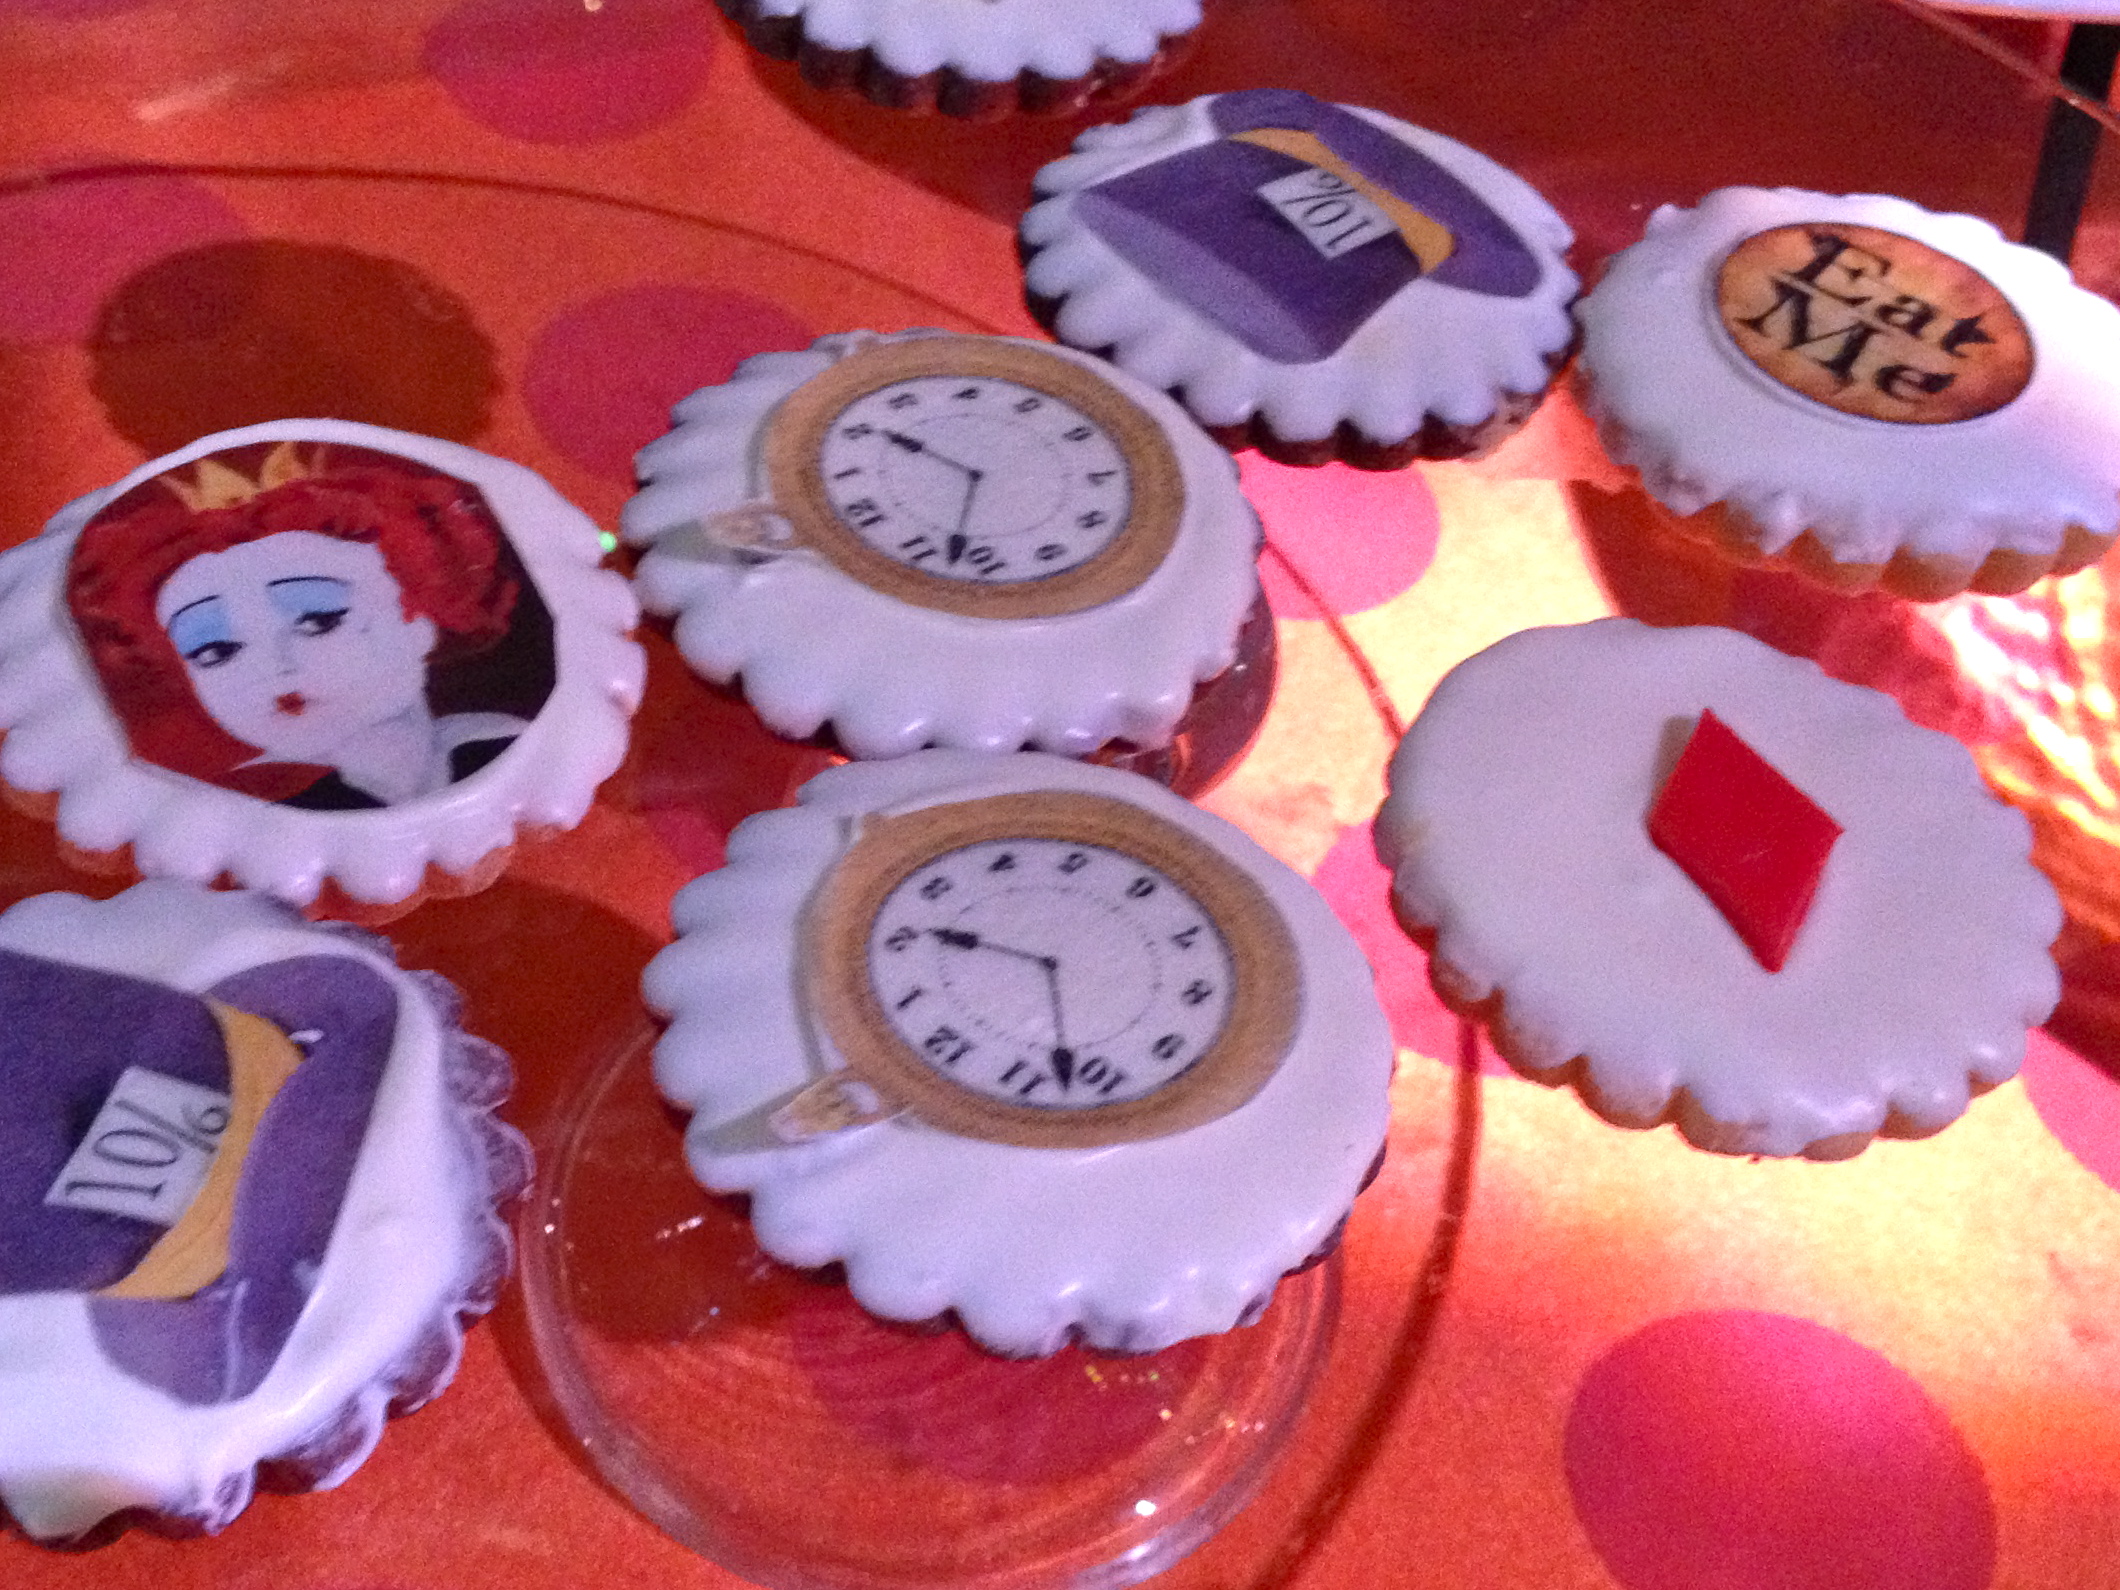
This past week I was lucky enough to attend the Alt Summit in San Francisco.  The minute I read about Alt SF, I knew I would do almost anything to go.  It seemed like a mecca of inspiration created just for me; an event to support community within the design and blogging environment.  My husband was wonderfully supportive and helped to me imagine that all could be covered at home during my trip.  Arrangements were made and I found myself on my way!  Add to this that San Francisco is one of my favorite cities and I was primed to have a fabulous trip.   When we were notified that the after-party would be held at the new Pinterest headquarters, I knew this was going to be big!  Alice in Pinterland was the theme of that party and it turns out this was the perfect description of my entire trip. There is something incredibly exhilarating about jumping into a new experience with both feet.

9323415245_db6897c3b2_o

As you might know, I have been a stay-at-home mom for the past 6 years and there is a certain hibernation attitude that is possible to adopt in this particular lifestyle.  As frenetic as raising children is, it can be a bit isolated and insulated.  As I launch this new chapter of self-discovery through the blog and Poole Party Designs, I realize that it is time for me to emerge from this cocoon and broaden my world once again.

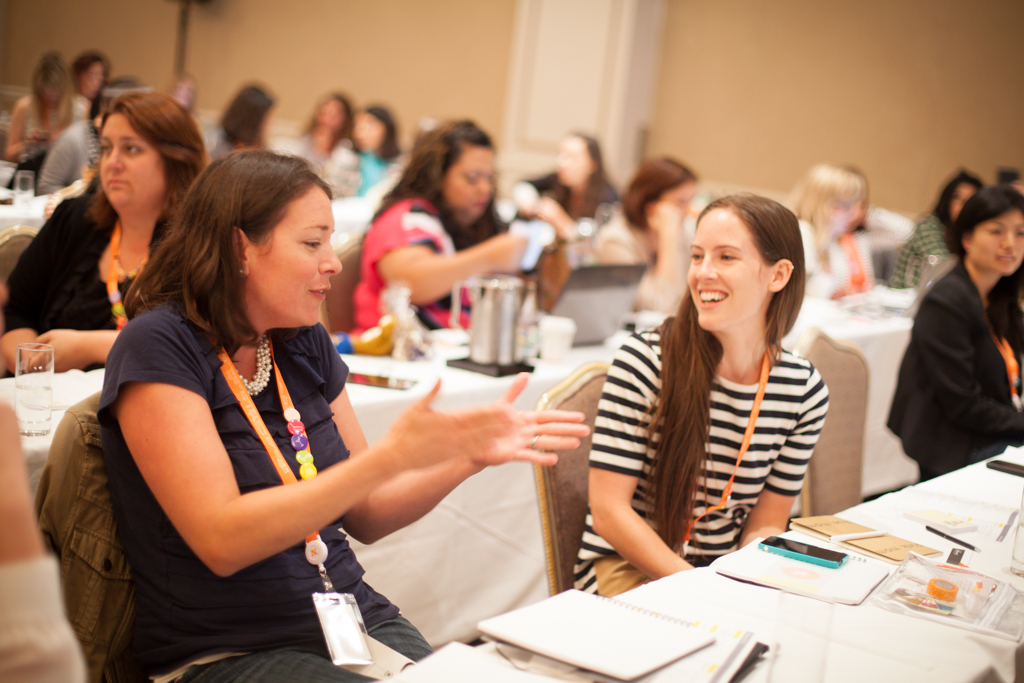
Altitude Summit was the perfect launchpad for this.  Although the attendees experience levels ranged from novice to professional within the design world, there was a warm sense of community that made this a very welcoming atmosphere.  A shared attitude of innovation was present and a strong feeling of comradery that I don’t think was just imagined on my part.

9323416601_7e8a9f219e_o

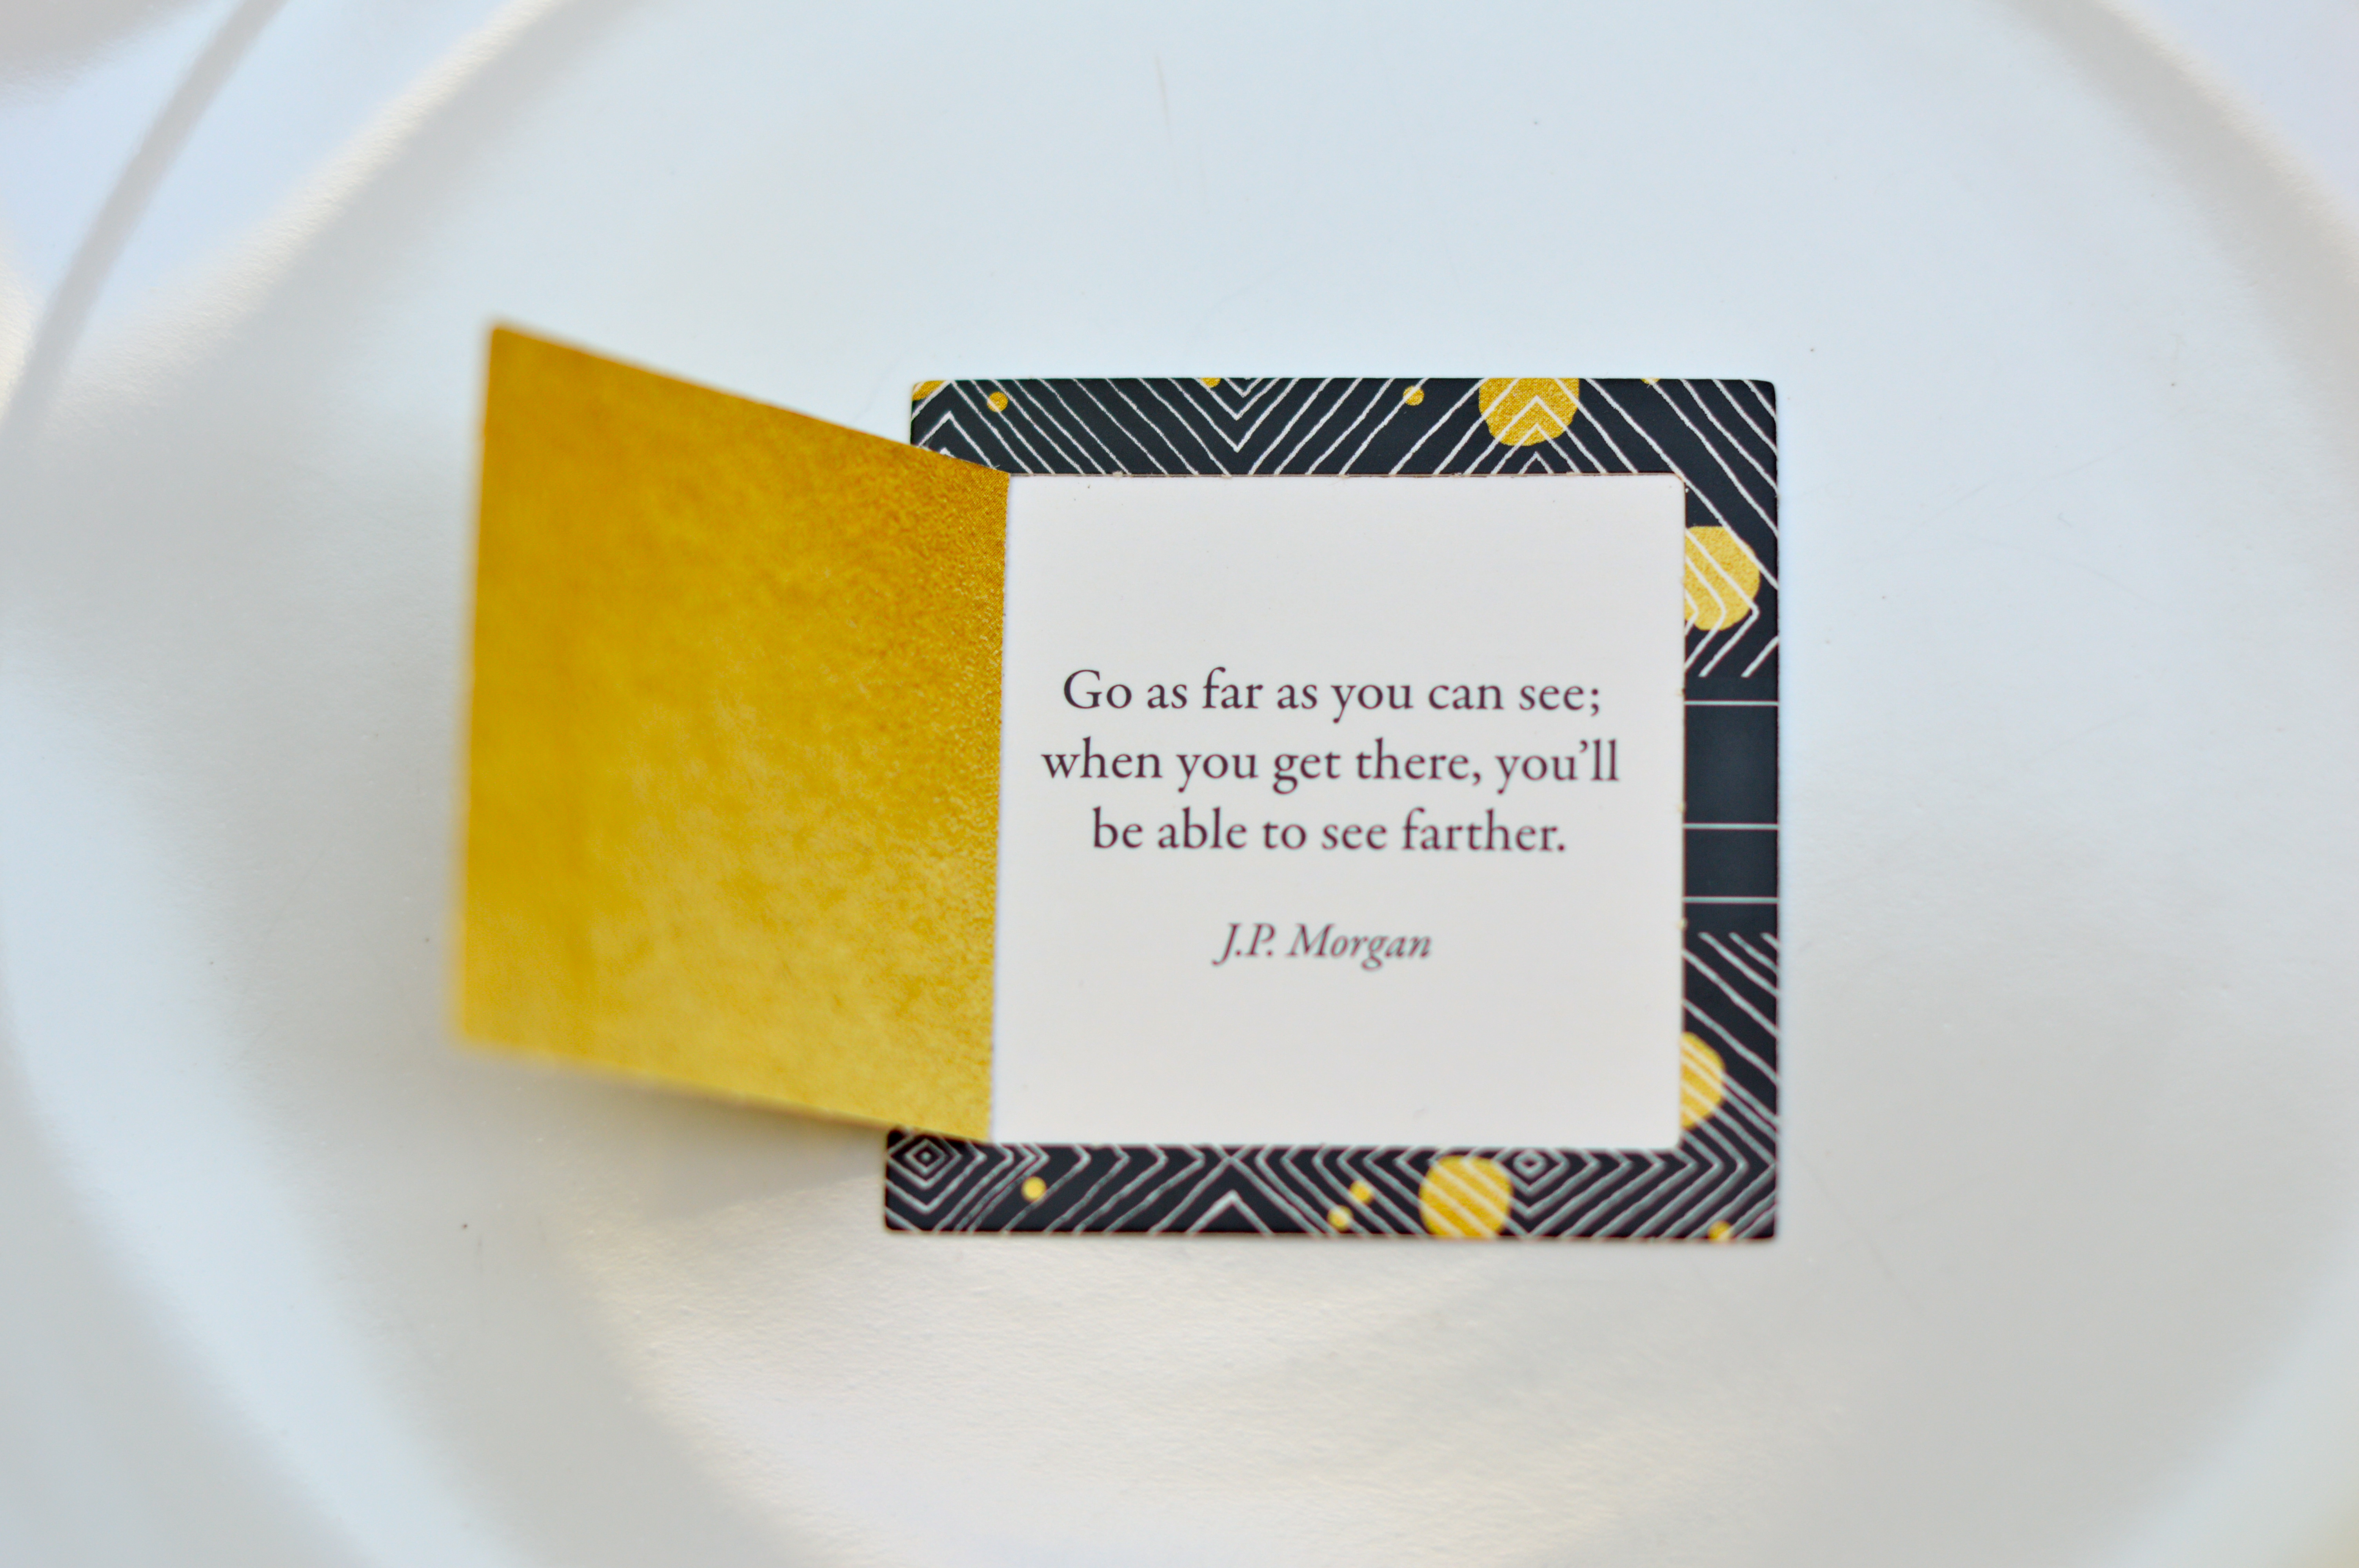
Early in the day, an attendee handed me a quote along with her business card.  Maybe I was just in the right mindset to soak up everything coming at me, but, it read:

“Go as far as you can see;

when you get there you’ll be able to see farther.”

I feel like the message was meant just for me on my little journey.  I made my way to Alt, by myself, not knowing what I was getting myself into.  Once there, I began to dream about what could be next for me around the bend.  Had I not made the choice to go to San Francisco, I wouldn’t have been able to see that far.

DSC_0012

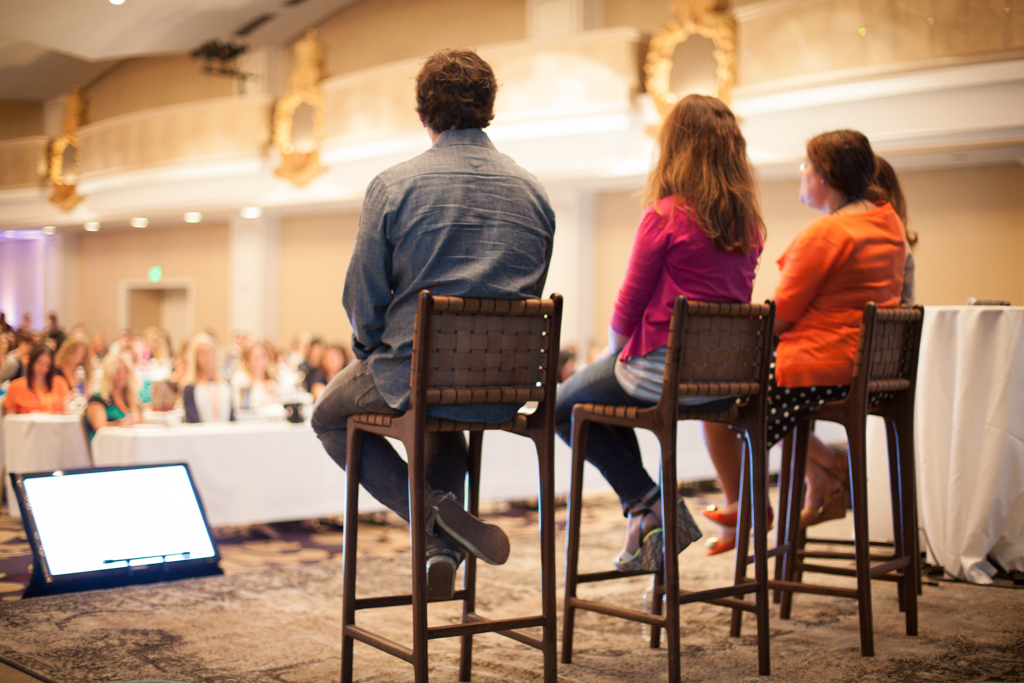
Altitude Summit picked phenomenal speakers that no matter one’s background, you couldn’t help but be impressed.  The speakers’ perspectives were varied, and all very inspiring.  Mariam Naficy, founder and CEO of the lovely online stationary site Minted, reminded us that set-backs are part of the story that you don’t always see from the outside.  Throughout her career she was told by others that her ideas wouldn’t work.  Through this process she learned that entrepreneurs don’t care what other people think.  Mike McCue, founder and CEO of Flipboard, an amazing social magazine site, closed out the day with heartfelt and inspiring messages from his experience with start-ups.  Despite the difference in scale, these entrepreneurs made their business experiences feel accessible (and one element of their life that they balance with other important things such as family).

9323289451_e869554688_o

9326084558_8ac5368842_o

9323279535_7e0a23d4db_o

1.  “Don’t compare your beginning to someone else’s middle.”  (Jon Acuff, author)

Emily Olson LaFave of The Startup Couple reminded the group of this important message about comparing oneself with others.  We are all in different places with our creative process.  When starting something new, it is possible to get overwhelmed, looking around at others and not taking into account that these people might be much farther along their path.  Good things take time.  It is important not to get frustrated with ourselves when things go more slowly than we might like.

2. “Understand what you are good at.”

Take the time to figure out where your strengths are and what makes you unique.  Spend most of your time where your personal strengths are.  Keep happy and passionate.  As you begin to employ others, try to retain the part of the process that you are best at and enjoy the most.

3. “Spread the love.”

Caring about what other people are up to is a good way to get people to care about you too.  Community is important.  I have been working in a bit of a bubble and it was such a good reminder that finding one’s community can be a great source of new ideas and collaboration.

4. “Be a sponge.”

These were Rena Tom’s words from Makeshift Society.  She reminded the group that inspiration comes in all forms.  Get out of your comfort zone and actively be in the world, one can find inspiration in all things.  Soak up inspiration in all its forms and don’t be afraid of trying something new.  If it fails, you will probably still be moving forward, just in a little different direction than you had imagined from the start.

9323022243_584e940038_o

It is easy to feel overwhelmed after going to something like Alt.  There are so many amazing people, innovative ideas and creative stimulation.  I came home with a feeling of wanting to start over completely in all my projects and begin again… right nowthis minute!  Strangely, this created a paralysis.  It took me a full week to slow down my thoughts and remember that, for me, this is just the beginning.  Alt allowed me to get out of my comfort zone and slip down the rabbit hole for a day to dream like Alice in a Wonderland of inspiration.  And, now that I have been to Wonderland, my dreams will be different from before.  I navigated the city, met new friends and felt myself intoxicated with all the creative energy around me.

I will try to utilize all the lessons I learned at Alt, but know that I have time.  Time to keep discovering what I am great at.  Time to invest in my community.  Time to absorb the world around me.  I am not an expert in anything (yet!), but rather a jack of many trades, that loves to dabble.  My life is still mostly about being a mom.  I grab moments here and there in an effort to infuse creativity into our lives.  This is the curse and beauty of my life in this moment.  I have the freedom to explore and try to figure out what is next and, most important, enjoy the journey!

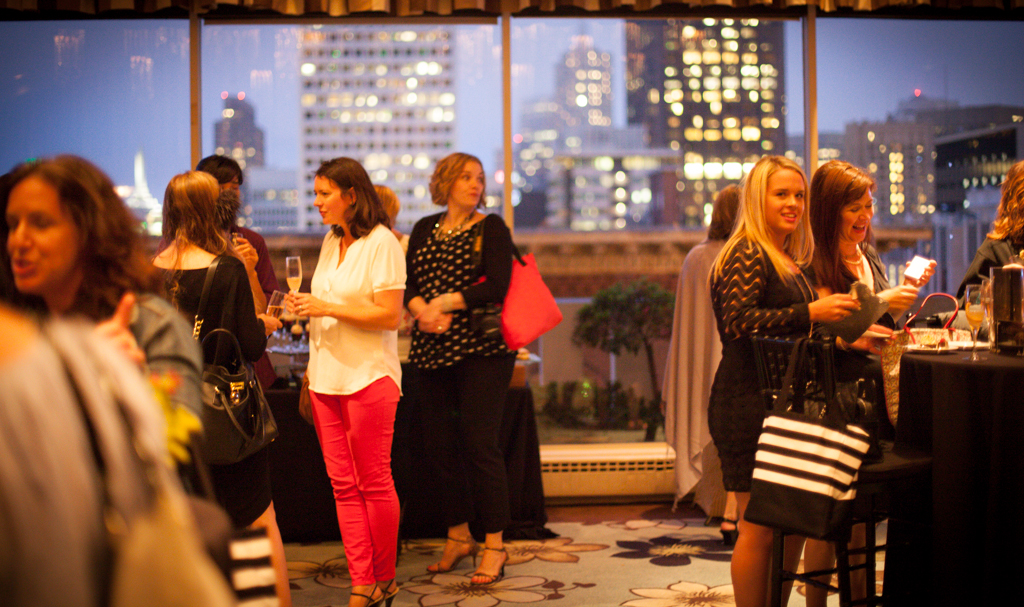
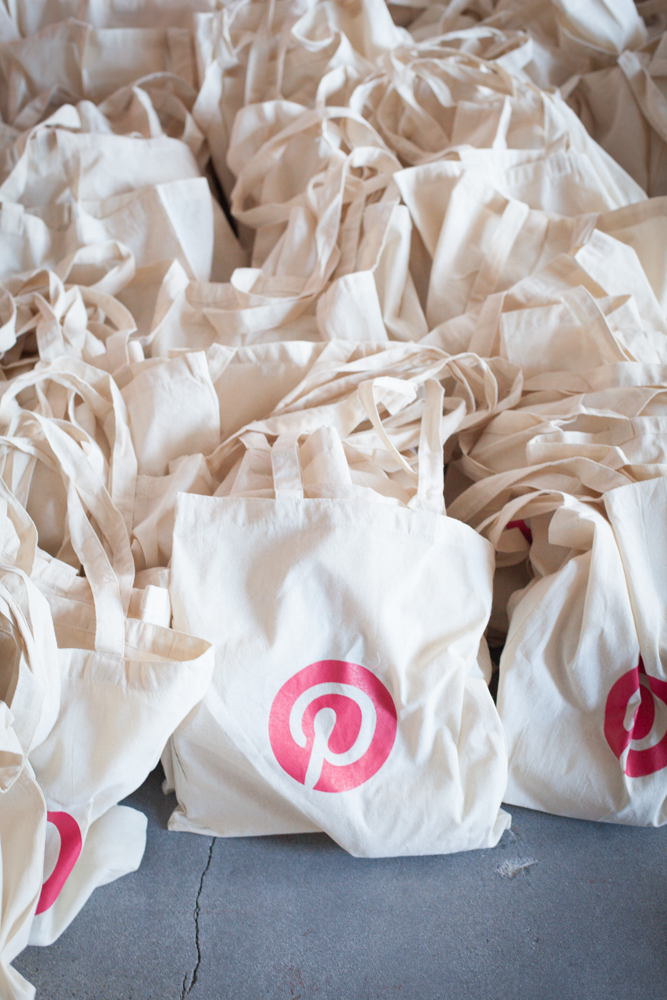
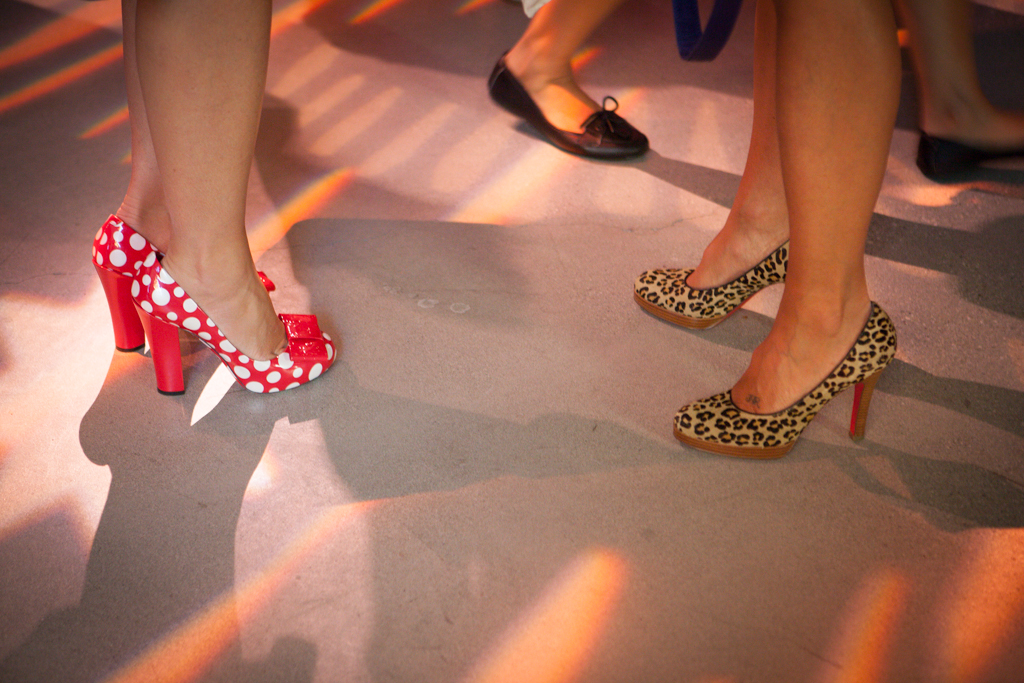
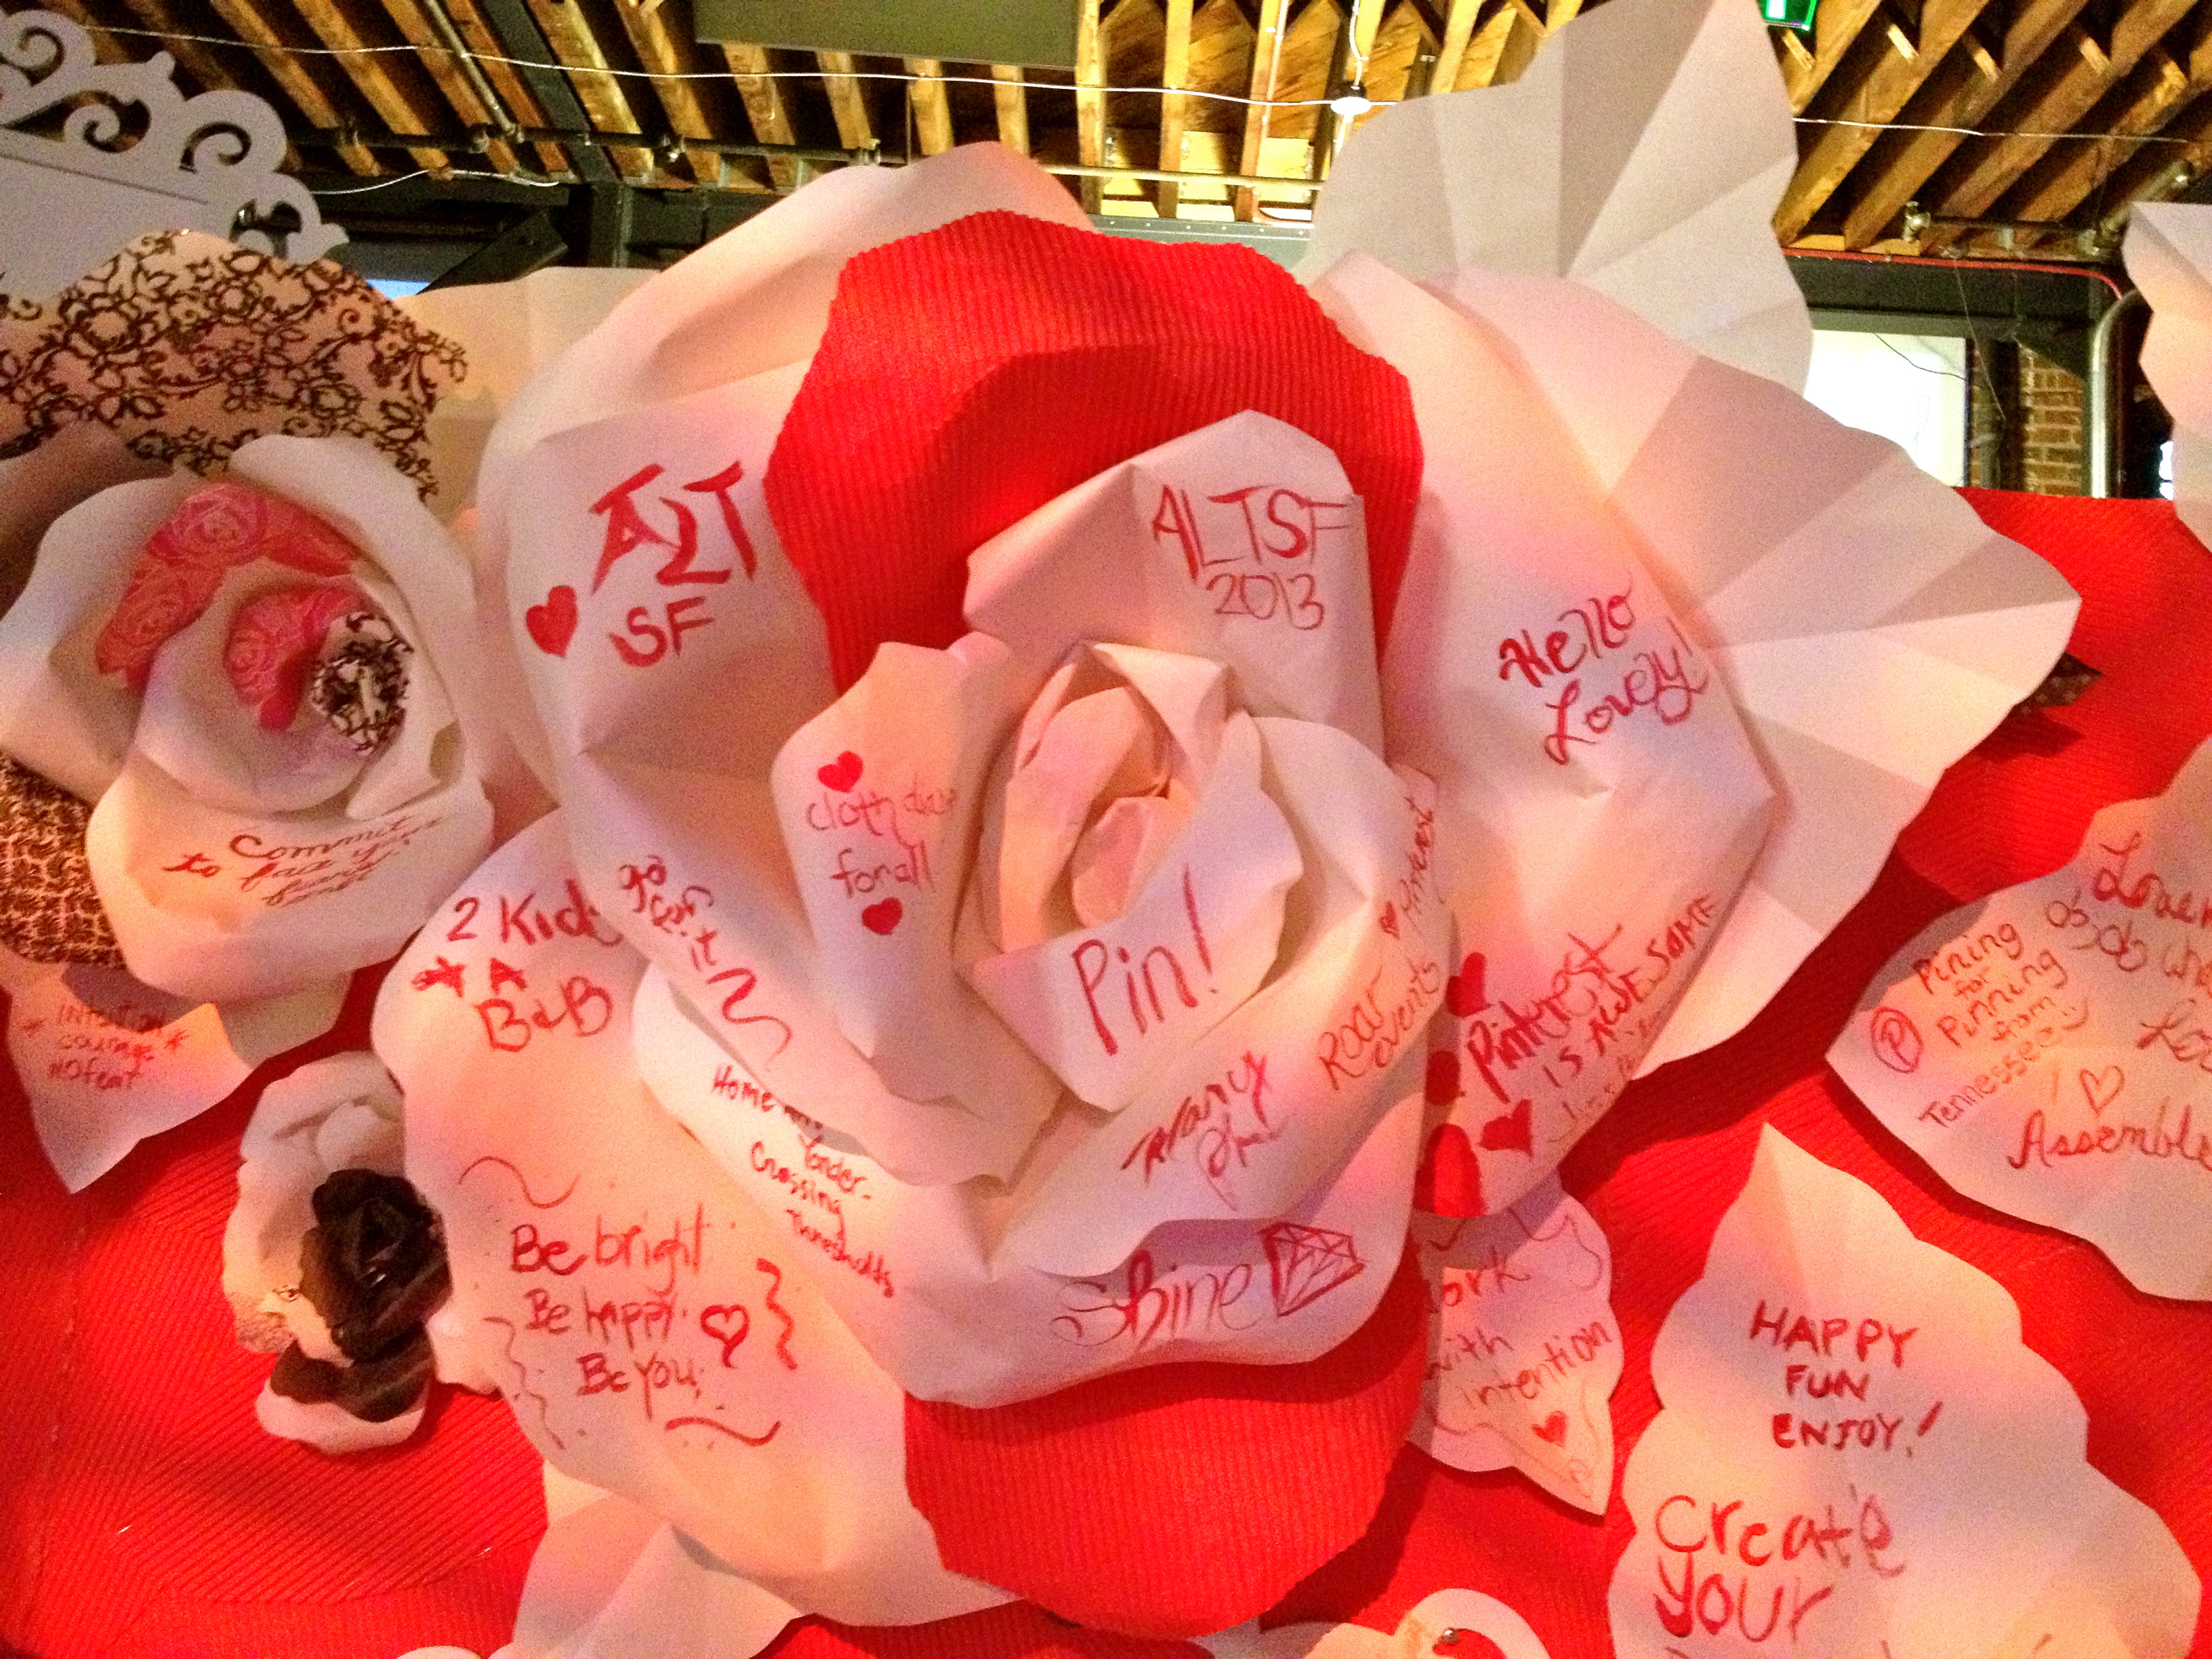
And now, here are some photos of the fabulous party that Pinterest threw in honor of Alt SF!  Certainly a fun element of the journey and a rabbit hole I would recommend to anyone!

9326197016_83c4dc0531_o

9323403301_bd7fc2e902_o

9323403117_785016561d_o

9323410951_467a661fc8_o

IMG_1719  IMG_1725

IMG_1711

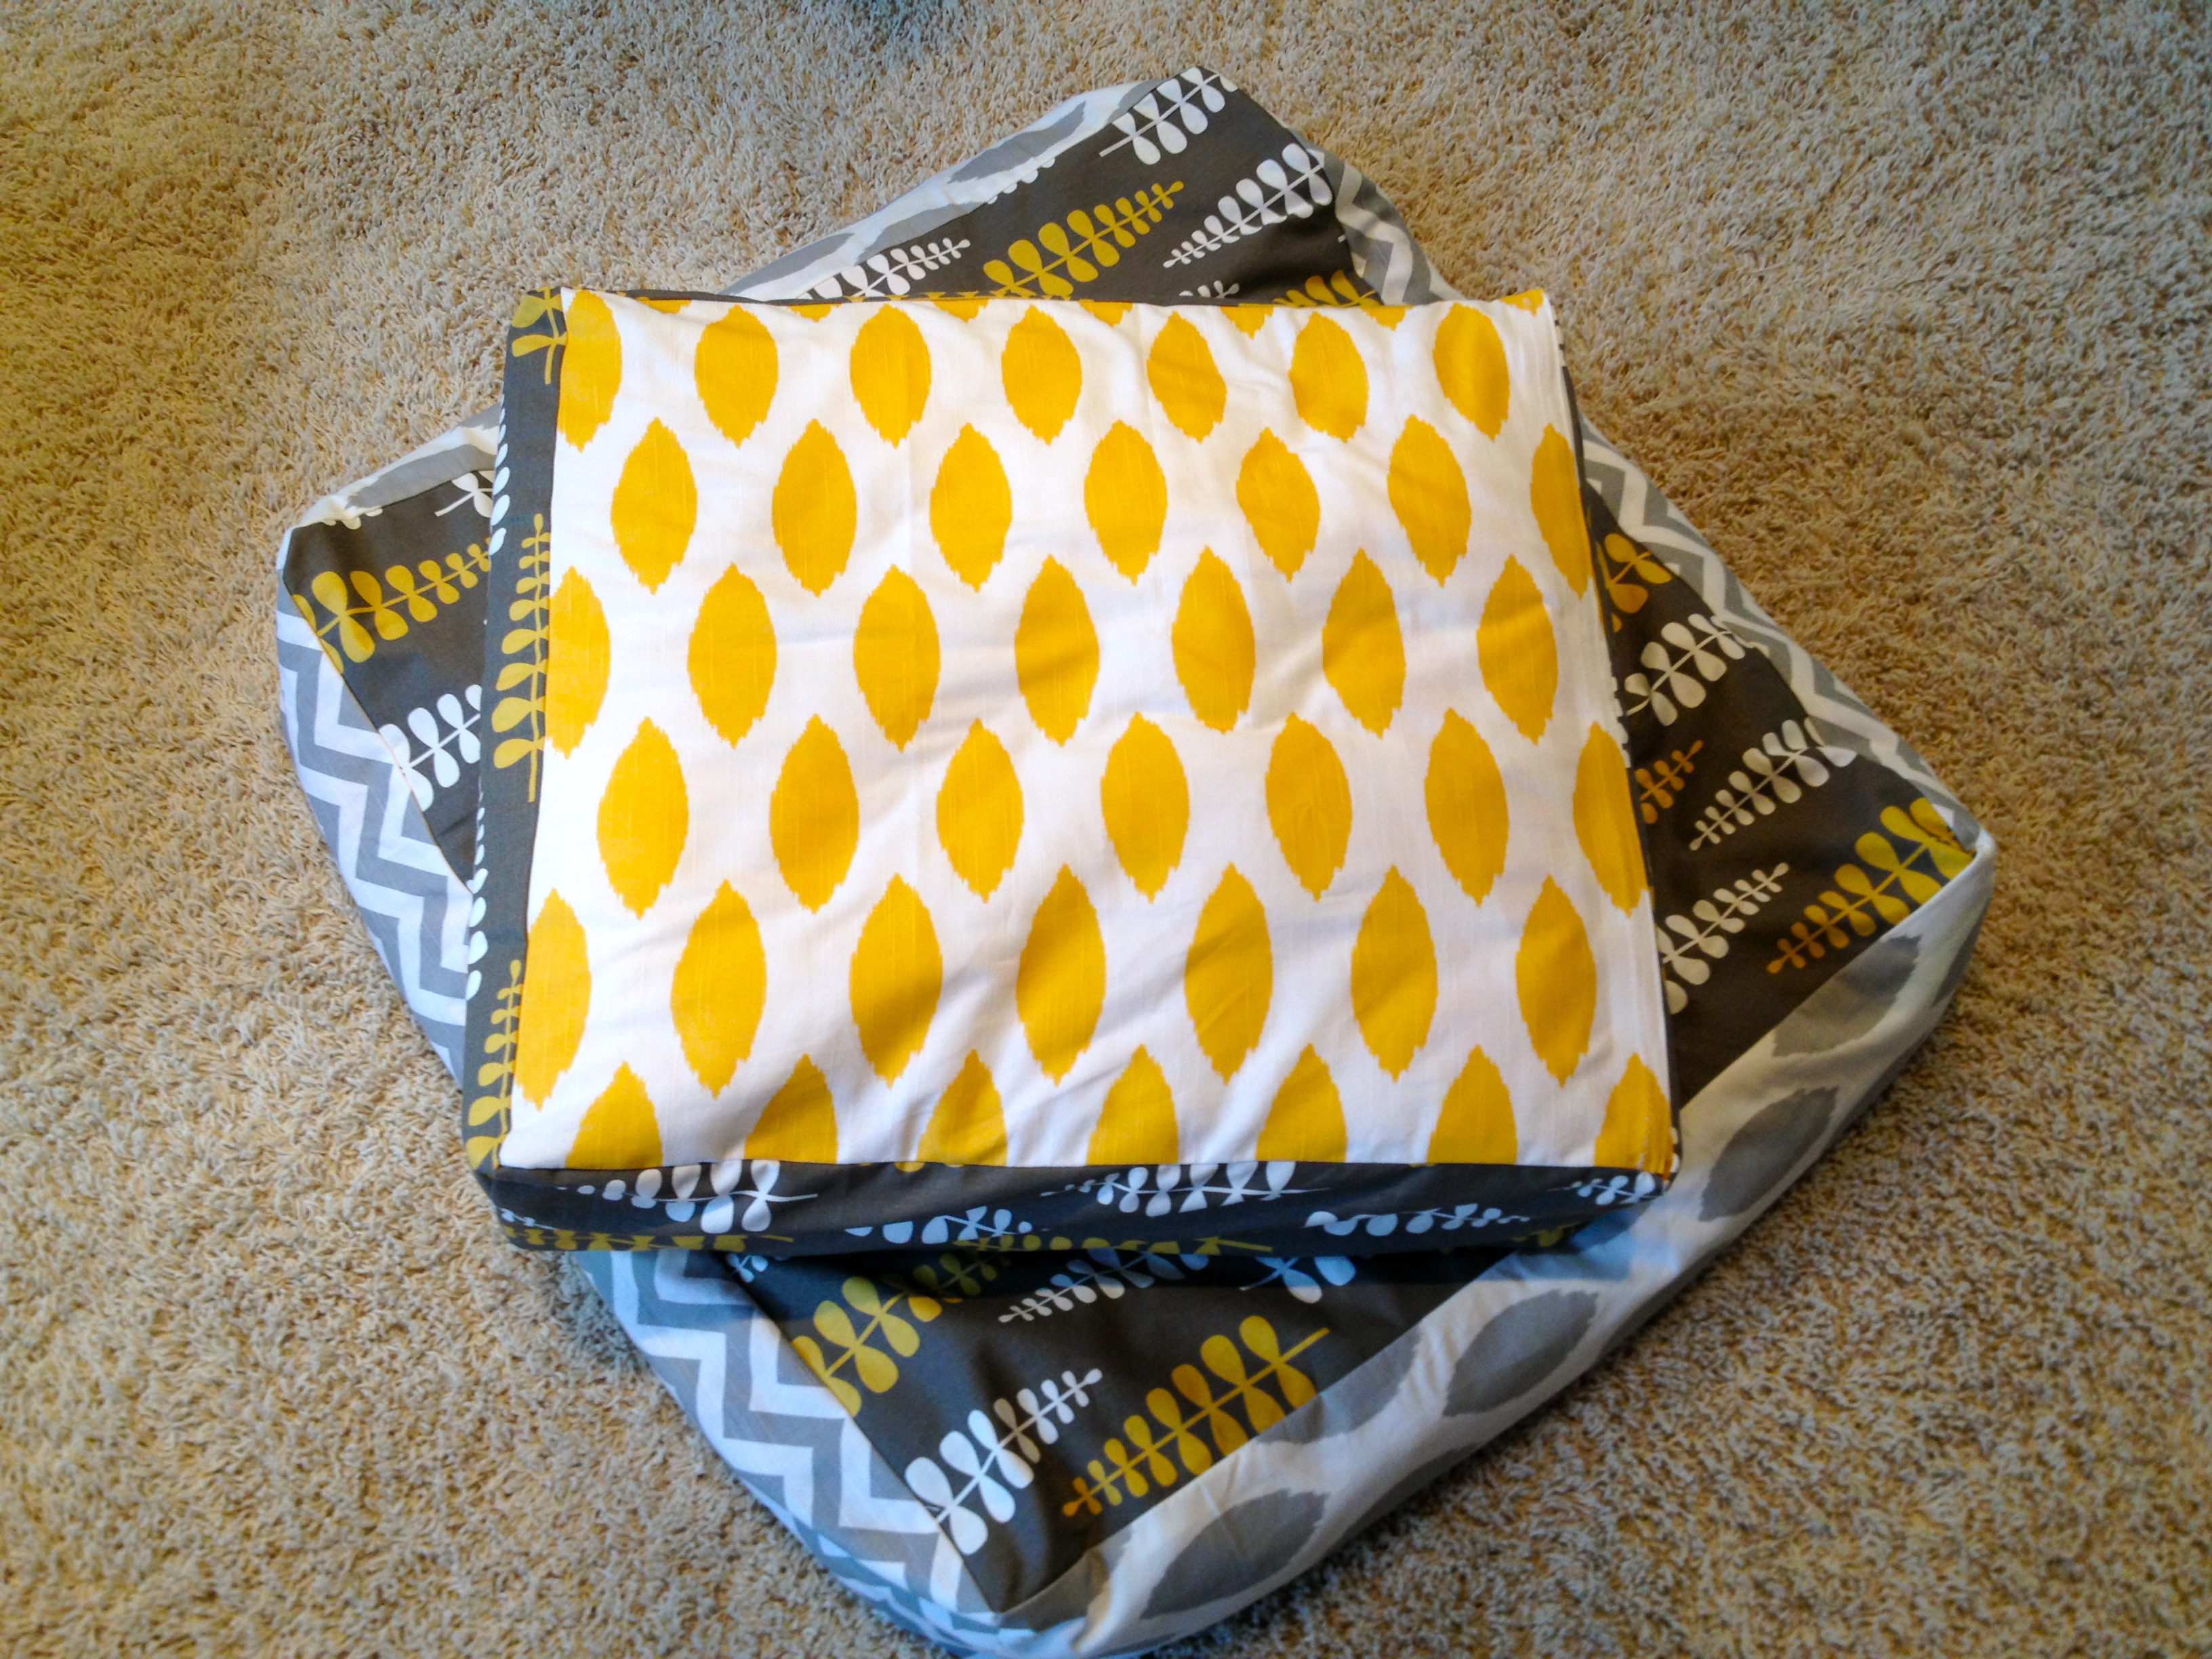
Thanks so much to Altitude Summit, Pinterest, Michael Miller Fabrics and all the other sponsors that made this event possible!

Photos courtesy of Alt Summit and atly.

Giant Floor Pillows

So I was wandering the intoxicating halls of Pinterest the other day and came upon the neat project of sewing giant floor pillows.  Since my children adore all things associated with forts and pillows, this seemed right up our alley!  I am envisioning using these goodies for cozy movie nights, pig piles and all things requiring a bit of cushioning… The awesomely graphic fabrics make them even better!  The directions and inspiration are found on Mandy Made’s creative blog and I’m sure you will find all sorts of other things you want to make once you take a stroll through her pages!

IMG_1036

I loved the idea of how simple this project looked and couldn’t wait to begin.  I happened to have some home decor weight canvas hanging about, just waiting for the right project!  As I began this project, I felt like Mandy’s directions were very good and nicely simple.  I had a little trouble getting the corners just right, but I still think the pillows turned out well.  I made two giant cushions; one following Mandy’s plan of using scraps to fill the pillow (#1, grey with white sides) and one with a little more structure using a foam rectangle covered in batting (#2, yellow with grey sides).  If I make more (which I will, since I have three children and currently two coveted pillows), I will follow the second strategy.  I like that pillow #2 ended up a lighter in weight and more reliably full.  We’ll see if I end up remaking pillow #1, or leave it as is.

IMG_1054

I also worked on a different closing method on pillow #2, as I realized that it would be nice to to wash the exterior case.  In a house with three kids and a dog who has a penchant for all things soft (and a tendency to shed), these will need to be washed periodically!  I ended up using an iron-on velcro closure, which worked like a charm!

IMG_1053

The best part about these pillows is I had barely finished closing pillow #2 before the cushions were being put to use in a serious play session!  The kids could not keep off of them, as evidenced by these photos (below).  I could barely take a picture before the pig piles began!  A true sign of success!

Happy Pillow Making!!

Defining Success

“Making the decision to have a child – it is momentous. It is to decide forever to have your heart go walking around outside your body. ”
― Elizabeth Stone

IMG_0981

Along the way I’m sure you have heard a version of this quote by Elizabeth Stone.  Sure, it can be thrown in the category of cliche, but it is also very, very true.  As parents, our hearts break when our baby emits his or her first cry or when our toddler falls down while taking first steps.  It is the seemingly impossible idea of separating from these little ones that causes us pain.  The underlying realization is that we are, actually, separate people.  Parents cannot protect their children from every form of hurt.  We know that growth is the goal, yet growing pains, by definition, hurt.  As my children experience new things and grasp growth opportunities, I feel their vulnerability at a visceral level.

IMG_0987

We’ve made a push to get our oldest son swooshing down the slopes by participating in weekly ski lessons at our local hill.  I won’t lie – it has not been pretty.  The experience has been fraught with extreme push back and small successes.  Lots and lots of effort, put forth, with a smile, by my lovely husband.  I think it is also safe to say husband considers himself part sherpa at this point in the game, with all the toting of gear involved.  Throw in a healthy dose of anxiety and tears, and that pretty much sums up the season!  As we recount this experience to friends, we remind them (in obnoxious voices full of authority) that the key to teaching kids to ski is to keep expectations low.  We are laying the foundation… (said over and over like a mantra).  This is a necessary element of sharing this sport with our family.  We realize that it will probably be many years until we are actually all skiing together, but this weekend we experienced our first glimpse of success!

IMG_0988

We decided to commemorate the end of the season by heading to Canada.  In a carefully orchestrated dance, with little one hanging out with a fabulous Australian babysitter, we attempted to ski for the first time as a family!  We put the boys in lessons for two days with the experts at Whistler.  We skied together in what felt like an actual “date” on the mountain.  We saw the boys coming away from their lessons feeling successful.  And on the last morning of our trip, Gus and I took both boys (ages 3 & 5) skiing down actual mountains.  I don’t even mean the bunny hill!  We took them up quad ski lifts, on purpose.  We rode the lift together.  We executed getting off the lift successfully.  We watched the boys make turns.  We actually skied together!

It was exciting.

It was exhilarating.

And... It was absolutely terrifying!!

There was the immediate fear:  If something happens, can I get to them fast enough?

Then there was the bigger underlying realization:  My heart is currently skiing down this mountain!!

IMG_1006

This was not the topic I was expecting to write about upon our return.  I expected to expound on our feeling of success.  Something like… “We did it!  We remembered all the gear!  We rock!!”  Also true.  But, in the moment of witnessing my oldest “fearlessly attacking the steep” (as his instructor eloquently put it)… I experienced fear.  Why, you say?  He was having fun.  He was truly skiing.  He was going faster than me.  And at some point I realized I was totally out of control.  I don’t wish to parent my children in a bubble (as much as the idea conceptually appeals to me), not really.  I am truly excited to see how they grow, where their passions lie, and what makes them laugh… Danger exists every single day.  I know that.  And, as you know, I like to think that is is possible to find joy in the everyday.

IMG_1010

There was just something so remarkable about experiencing such combating emotions in the same, exact moment.  To feel the pride associated with success, right alongside the fear of what might happen in the next instant.  Awesome and scary.  My mind jumped to what it will be like when our children learn to drive… when they make decisions about drugs and alcohol… and, when they become adults.  I had one of those crystal clear moments realizing, “My mom and dad must have felt this exact same feeling… Wow.”  I guess this is all part of growing up!

Epiphany

DSC_0117

I realized something this week.  In the moment it felt monumental.  On this Friday morning, it still feels relevant enough to share.  As parents of young people I think it is safe to say, we try to retain a little bit of cool.  True, we are not frequenting bars as we might have at one time.  True, to stay up past eleven feels like a holiday (that we will eventually pay for).  And true, we prefer clothes that are washable.  But, we strive to have fun and don’t feel THAT different than we did BC (before children).  We know that someday this might not be true.  Someday we will probably feel old.  Let me be clear that I am speaking of a state of mind, not an actual number.  We won’t understand our kids’ choice in music and might use words like whippersnapper.  I just haven’t been clear, up until now, what will happen that will make this transition occur.

It is possible this awareness of “departing cool” is what inspired the purchase of five pairs (yes, five!) of awesome boots the very same day we decided we would purchase a minivan.  Like so many others before me, I vowed never to own a minivan.  And now here we are, defending the purchase to anyone who asks, totally happy with the purchase, and realizing that things do change.  (We will also get rid of the thing the minute its useful life in our family is over.)  But, still.

Okay, so back to my point.  With three children, sleep is a commodity that we want.  We want it desperately.  We want it for ourselves and we want it for our children.  Heck, we’re not selfish, we want it for you!  What we would do for it!!!  At our house the first step in achieving IT is getting our three children down for the night.  Goodnight rituals can feel like they go on forever.  There is a lovely feeling that goes along with being so needed, but at a certain point, you just want the little monsters to go to sleep!  Then add to that anything out of the ordinary… for us, right now, the youngest is teething and is quite distraught at bedtime.  So a few nights ago we reached Near Nirvana with three kids asleep.  Yay!  (High fives all around.)  Minutes later, we hear the loudest motorcycle ever go by our house.  Possibly “Hog” would be a more suitable name for this particular machine.  Little one wakes up… “Okay, okay, no problem.  She’ll go back to sleep,” I tell myself.  And she does.  Then the Hog goes by again… and again.  I find myself letting loose a stream of expletives that has my husband looking at me wide-eyed.  And there it was.  I am old.

ImageImageImageImage

Custom Gifts

DSC_0008

One of the most fun things I get to do with this mini-business / hobby is hear when people have something exciting going on in their lives.  My girlfriend called the other day because a new baby had been born in her family!  She wanted to celebrate the birth by giving a gift to her nieces when she goes to visit next week.  She asked if I could help and we came up with a plan.  The new sisters share a letter, both of their first names start with “H”.  We decided to make them a coordinating t-shirt and onesie combination with a big “H” for big sister and little “h” for baby.

DSC_0029

I love how they turned out and I hope that the girls enjoy sporting their special letter around town.  Sisters get to share so much – how fun that they also share a letter!  This gift will look fantastic in pictures with the new baby.  I love that it celebrates both the family’s new addition and also big sister’s new role!

DSC_0032

Remember that Poole Party Designs is happy to work with you on special projects and gifts.  If we can help you come up with the perfect gift for a special someone in your life, that makes our day!  Hopefully it makes your life easier too…

DSC_0020

On another note, the blog has a new look!  Spring is around the corner and the blog needed some freshening up!  I am still working out some kinks, so please excuse me while we transition!  I love hearing your comments, so feel free to let me know your thoughts on the new format!

Arrgh!

Poole Pirate Picnic success this weekend!  We celebrated Sam’s 5th birthday this weekend by treasure seeking with a bunch of little scallywags!  Despite being  under the weather over the past few weeks, we pulled off a pirate picnic like we were a bunch of true buccaneers!  From hand drawn treasure maps to hand sewn burlap treasure bags to crafty Solo cup and aluminum foil hooks, we outfitted ourselves for mutiny!  Our kiddos became pirates over the course of a scavenger hunt that led them all over Luther Burbank Park, using their treasure-map reading skills to discover jewels (ring pops), booty (pirate booty snacks), weaponry (glow-in-the-dark swords), and pirate costume (hats, eye patches, and hooks). All ages got into this pirate extravaganza – the eye patches were especially popular (thanks, Target!).   The last treasure of the evening was a beautiful firework show, sponsored by the city of Mercer Island as part of their yearly Summer Celebration.  What a fantastic evening!  Yo ho ho, me hearties… Until next time!

This slideshow requires JavaScript.

Placemats, please!

In an earlier post, after the baby shower and onesie extravaganza, I was saying something about a new sewing project.  As happens quite a bit in my life, I got distracted.  But, I’m back at it and ready to show you my first stab at a really great (and simple) placemat design.  This design definitely showcases the fabric.  As I have kept things pretty straightforward and without much detail, it is important to choose a fabric you love!  I went with Gotcha in Summerland in grey and natural.  It gave me just the modern and sophisticated, but unfussy look I was going for!  All in all, I feel successful!  I think these placemats will look gorgeous on a summer evening with lots of bright white and maybe some yellow flowers (or orange, or pink, any color really…) to punch it up a bit.

The quick and dirty on how these were made is below if you are interested in trying to sew some fun, mod pacemats of your own!  I would not call this a full tutorial, as it is not quite perfect yet.  I learned a few things in the process, so those thoughts can also be found below.  As you will see in the photos, they turned out well – even if baby doesn’t know the difference between a sophisticated placemat and her usual burp cloth!  At least they are reversible!

Now, that I have scratched this itch, I think I need to start getting out my canning equipment!  Summer has finally arrived in Seattle!  To pickle or preserve, now that is the question!  Any requests?

This slideshow requires JavaScript.

My Notes:

This project used 1 yard of fabric, almost exactly for four placemats.  Next time I would give myself a little more fabric to play with, as I would like my mats to end up larger and I could be a bit choosier with the print layout.  The mats I made measure approximately 17.5″x13.5.”

First, I measured out my fabric.  I just looked at a placemat that I had bought along the way and used that as a rough guide, adding a few inches for seams.  I cut my fabric to be about 20″x30″ (this is a guesstimate – I promise to take better notes next time!).  The main idea is to sew this like a pillowcase on three sides, while the fabric is inside out.  Then, I turned the fabric right side out, pushed out the corners with a chopstick, and finished the last seam with the top stitch that goes all the way around.  I went with a ¾” seam, but choose what looks right to you.  I pressed the fabric with an iron at every stage and that worked well.  I didn’t remember to wash the fabric beforehand, which I will do next time  (to take care of shrinkage) and I had a hard time keeping things completely square.  Again, something I will be more diligent about next time!