Visting with Michael Miller Fabrics ~ Part 1

I am thrilled to share that I have a guest post (my first!) over on making it fun, the blog for Michael Miller Fabrics.

Click here to go visit my post, or you can also scroll down…
 making it fun

Friday, February 28, 2014

Lesley Poole and the Littles!

Hello there, I’m Lesley Poole from Poole Party of 5 .  This summer I attended Alt SF and was extremely excited when I found out that Michael Miller Fabrics would be one of the sponsors for the event.  I originally found out about Michael Miller Fabrics from my favorite fabric boutique in Seattle, Drygoods Design, where the owner, Keli, turned me onto the Mini Mikes collection.  The Etsy line that I sew incorporates modern fabrics that I then appliqué onto classic silhouettes for custom gift giving.  I have found that it can be difficult to find fabrics with patterns that have small enough repeats for my appliquéwork.  And, as it turns out, many of the fabrics I go back to again and again are from Michael Miller.  While I was at Alt, I made it a priority to meet the Michael Miller team and share with them how much I love to use their smaller patterns for the appliqué and embellishment sewing I do for Poole Party Designs.

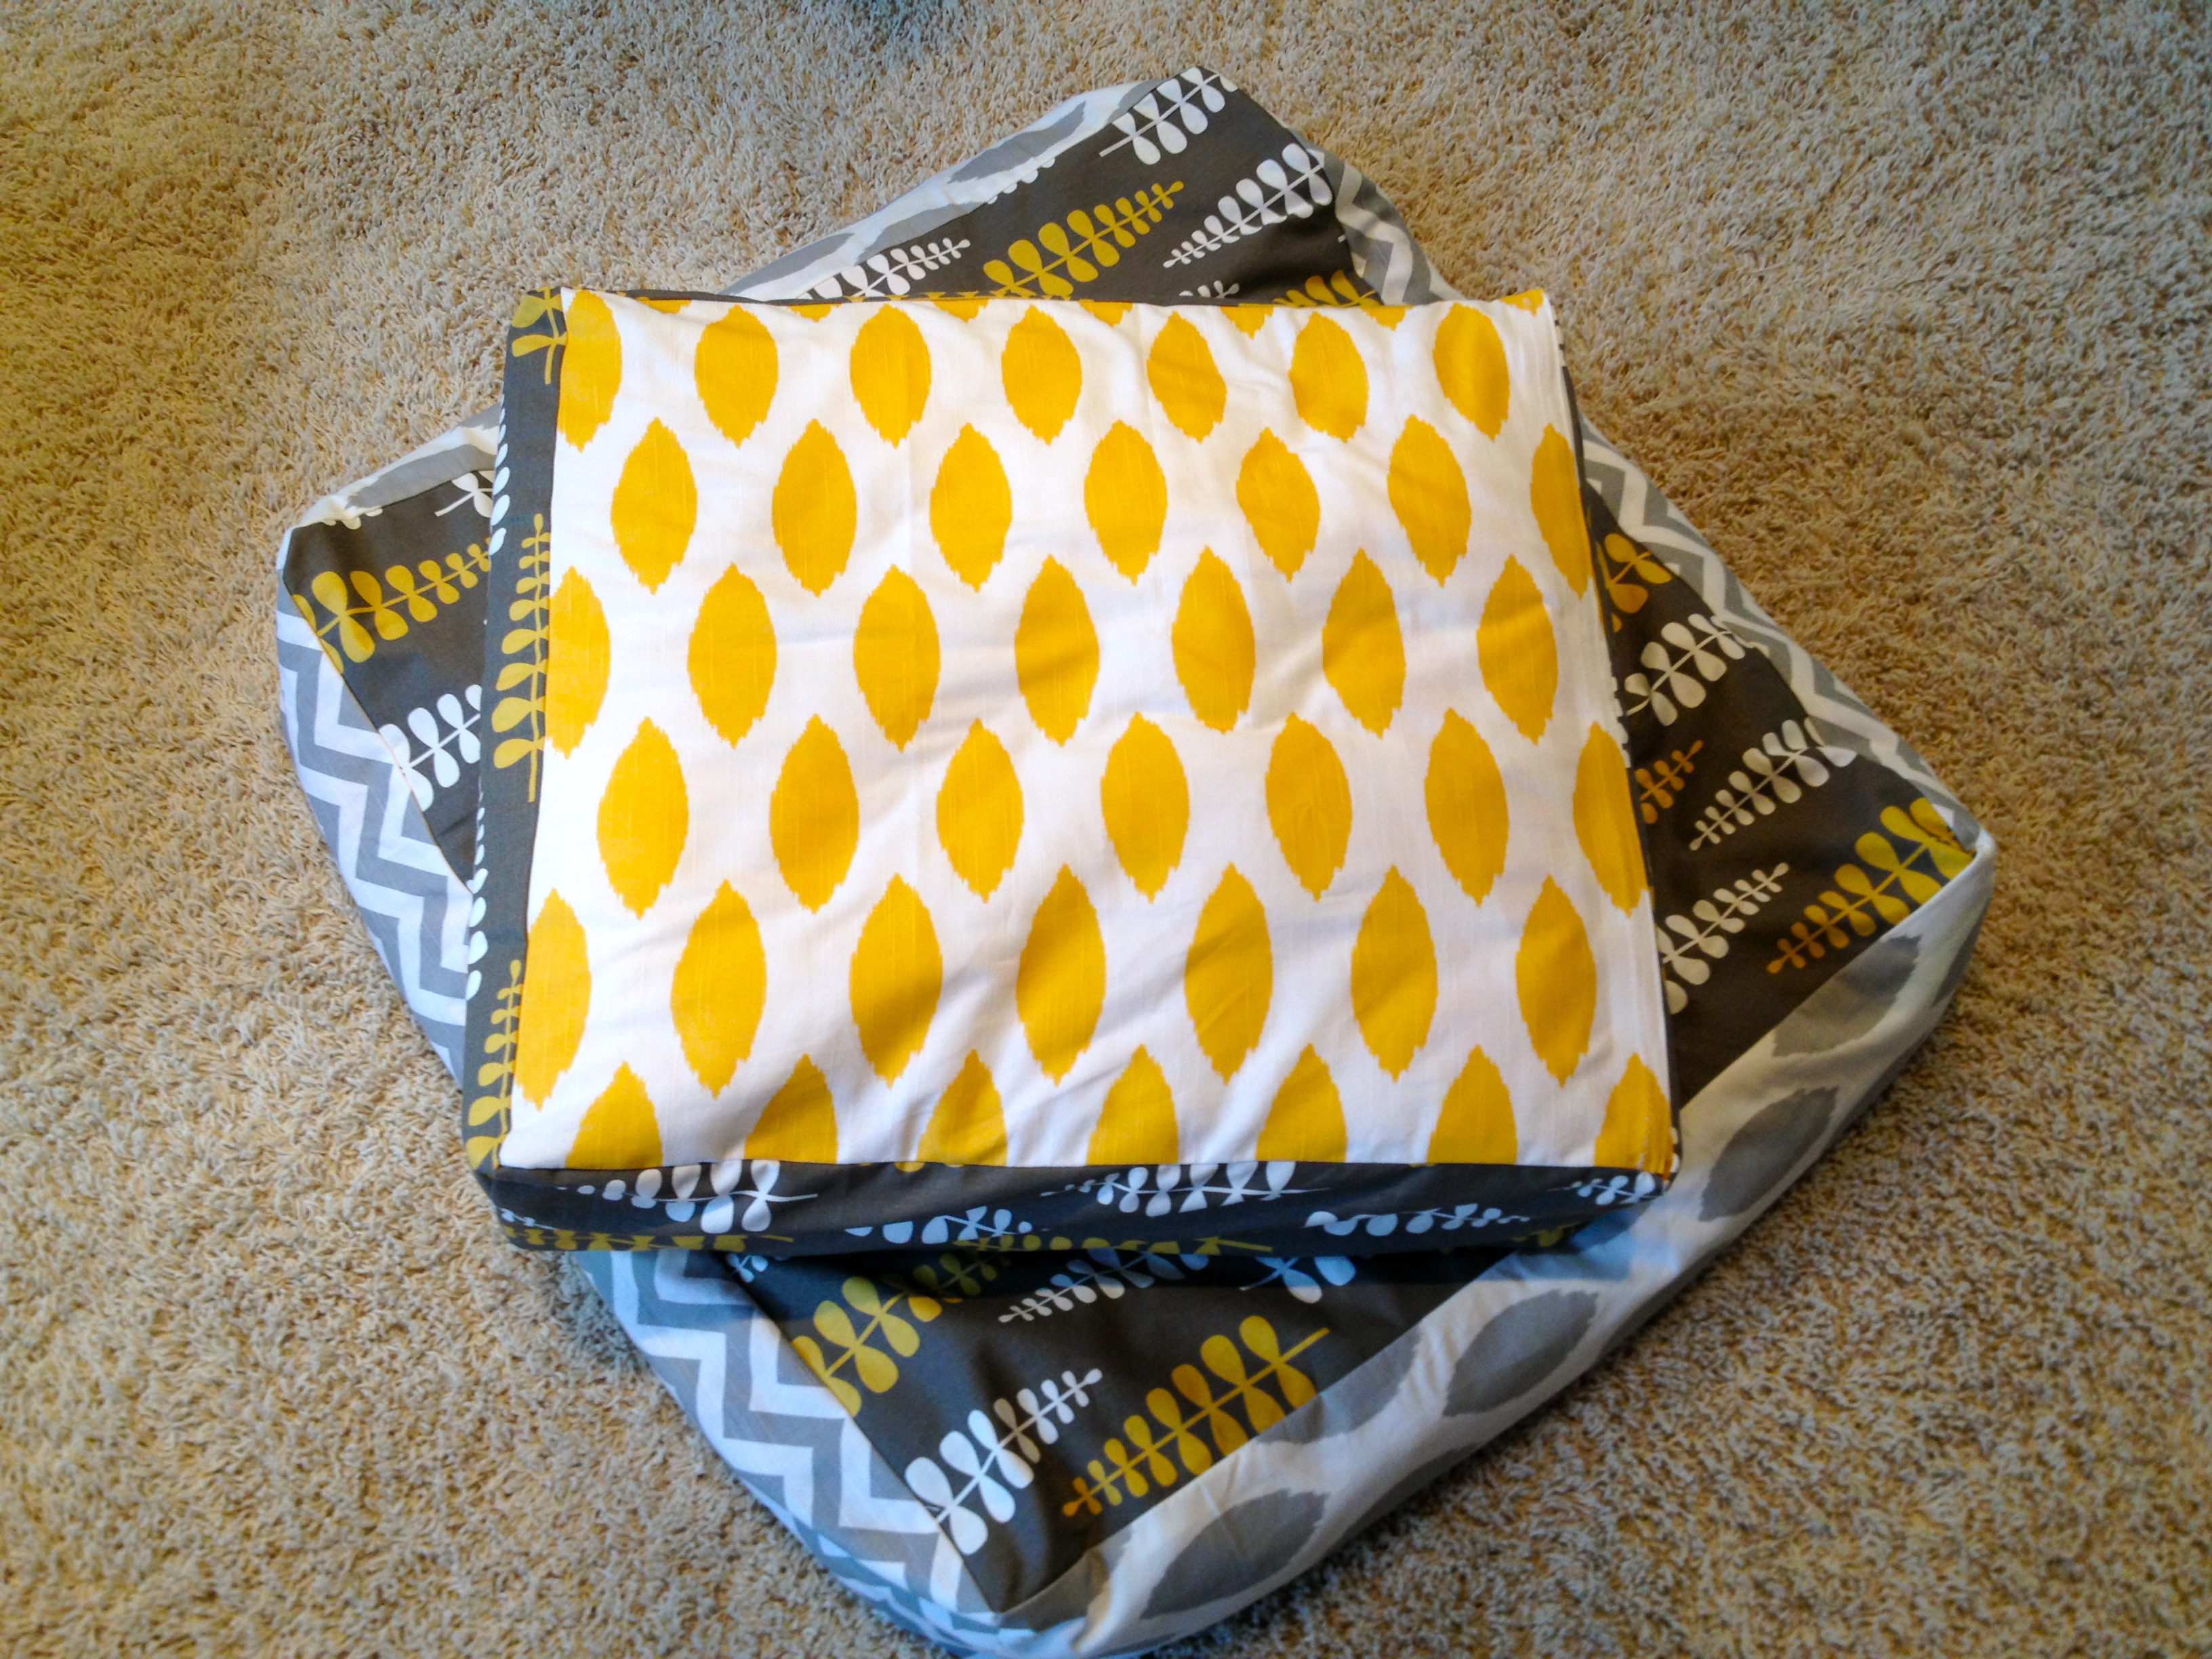
The MM team recently contacted me to tell me about a brand new collection about to be launched that was designed with my type of work in mind.  It incorporates the small repeats I am always looking for, as well as multi-directional patterns, which can help to maximize fabric usage.  When I received a package of this new collection, The Littles (designed by Shawn Wallace of MMF), I just about swooned!  There were so many fun and whimsical prints to choose from.  I immediately set to work on some fresh new appliqués to test out the versatility of this line.
 DSC_0013
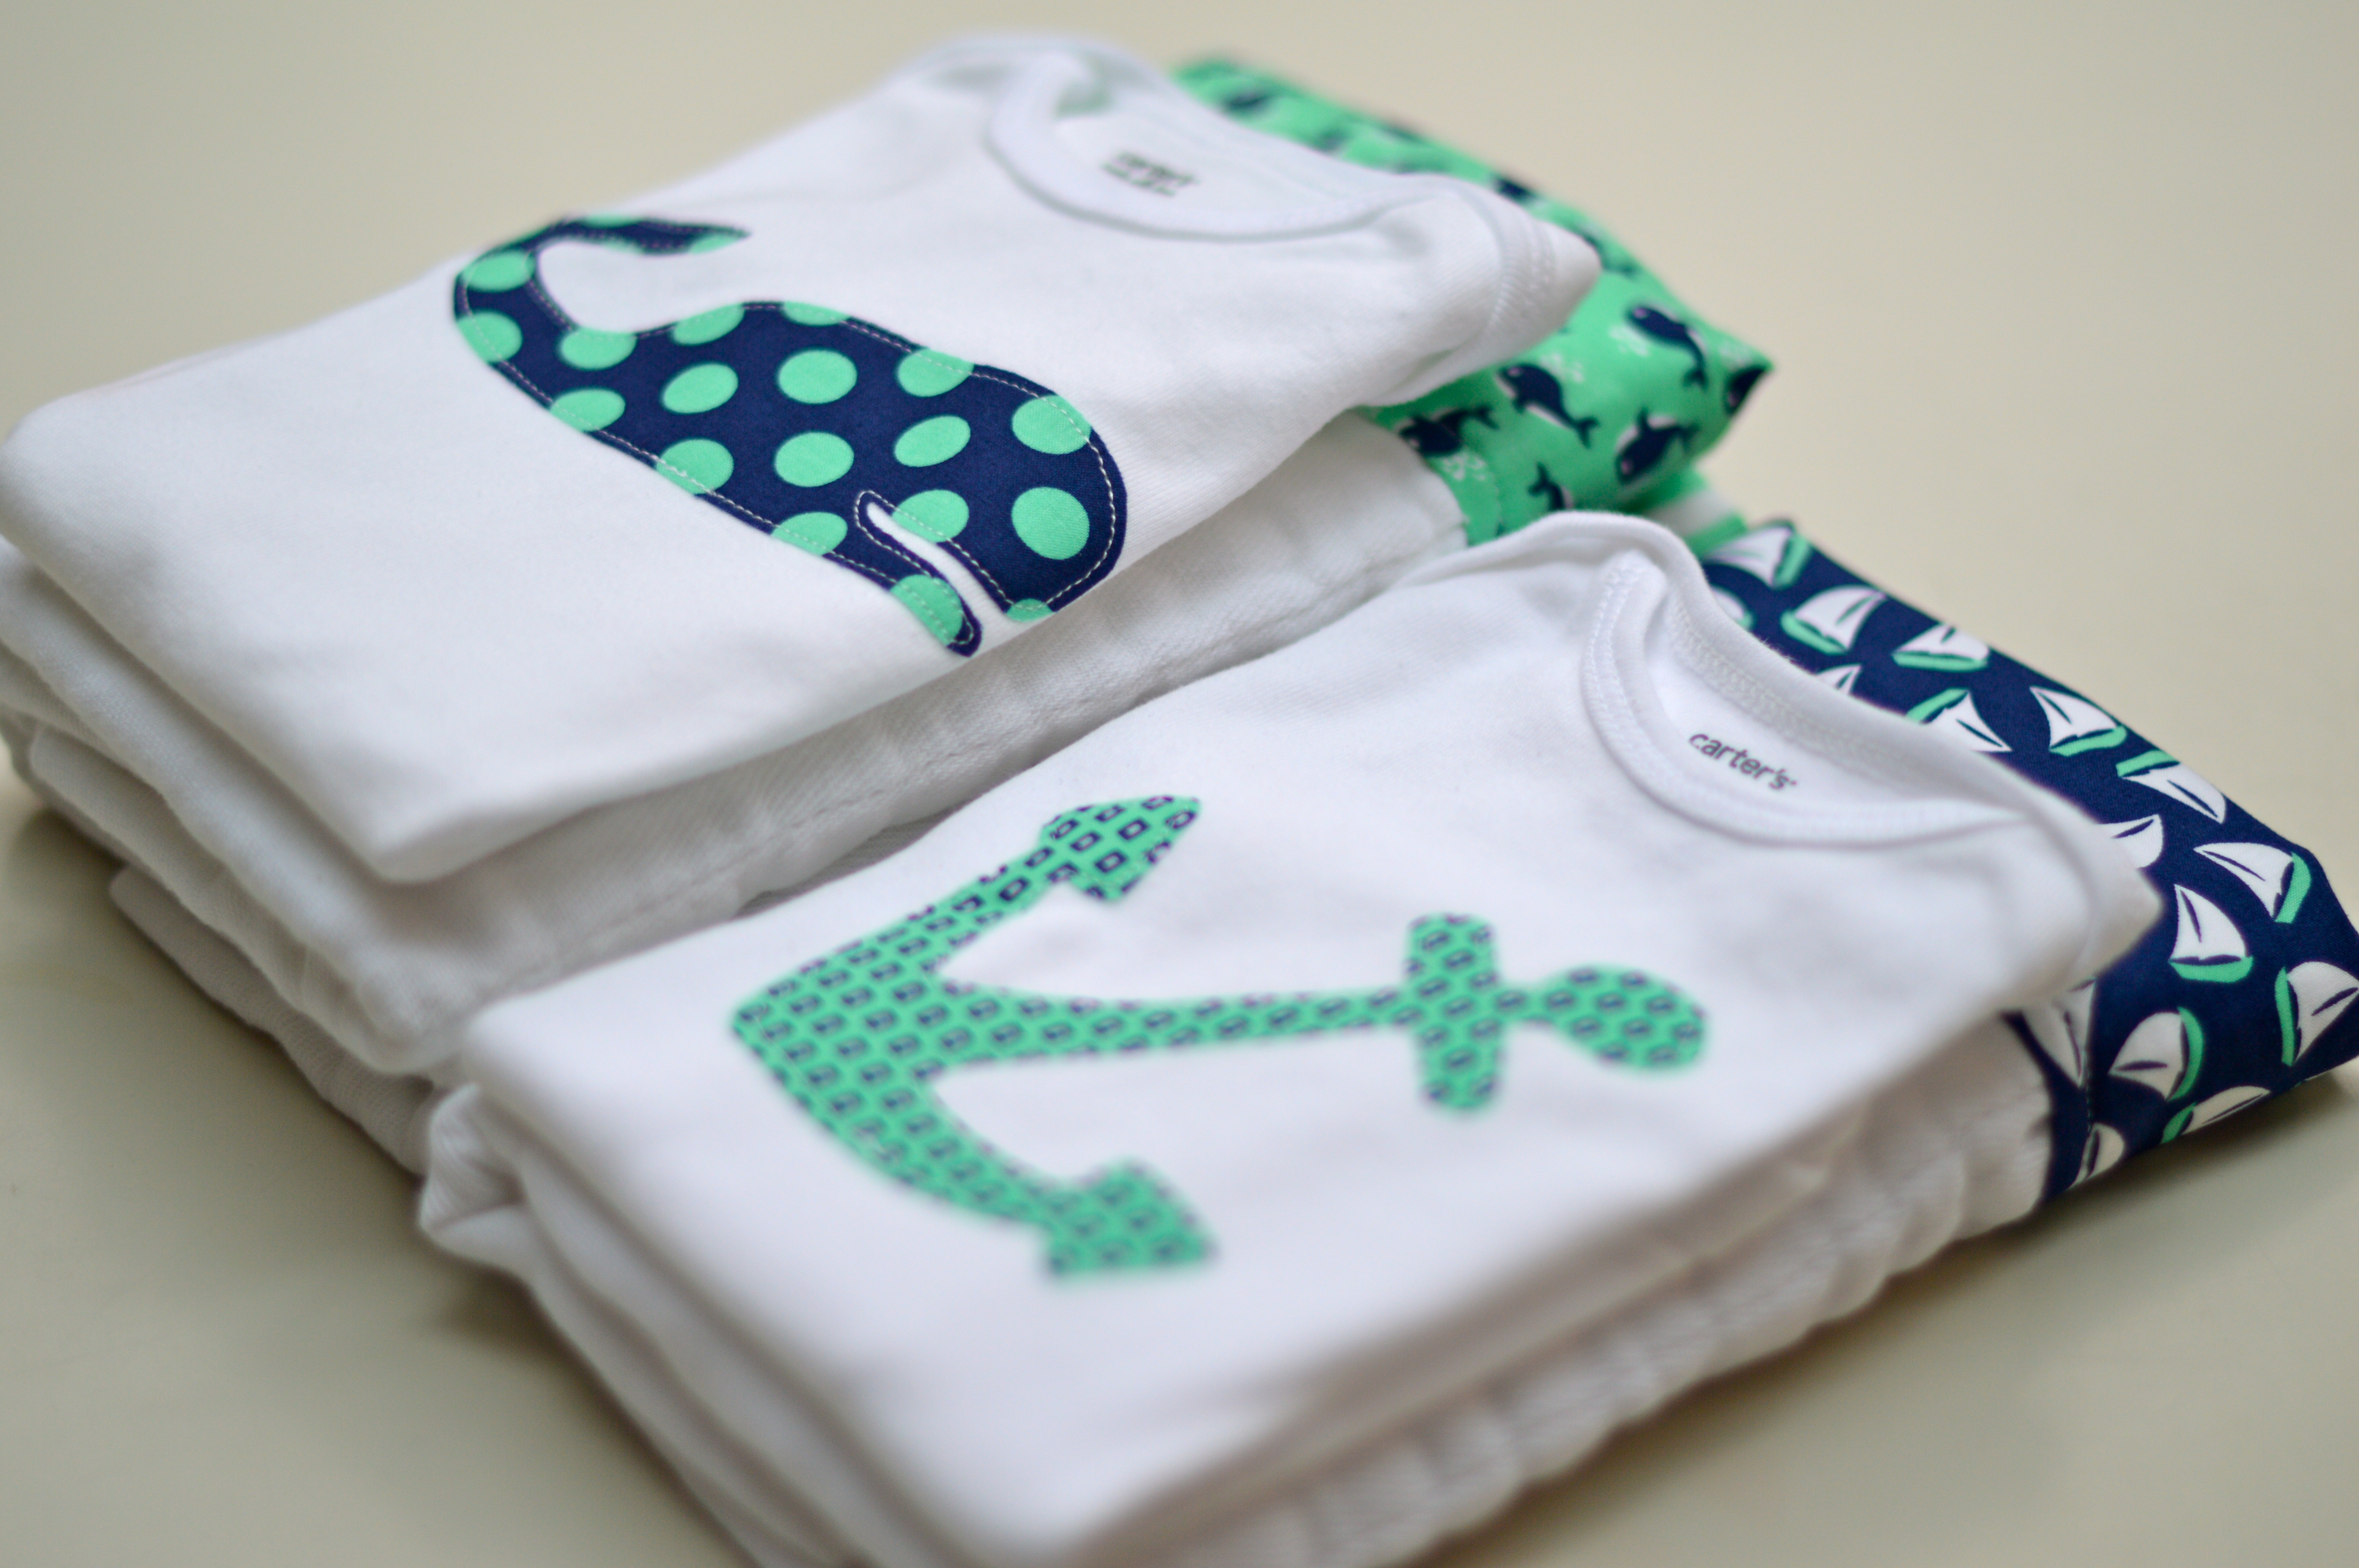
*pictured above ~ Little Whales, Clown Stripe, Little Sailboats
 DSC_0028
*pictured above ~ Hospital Gown, Clown Stripe, Little Sailboats
 DSC_0049
*pictured above ~ Ta Dot, Hospital Gown
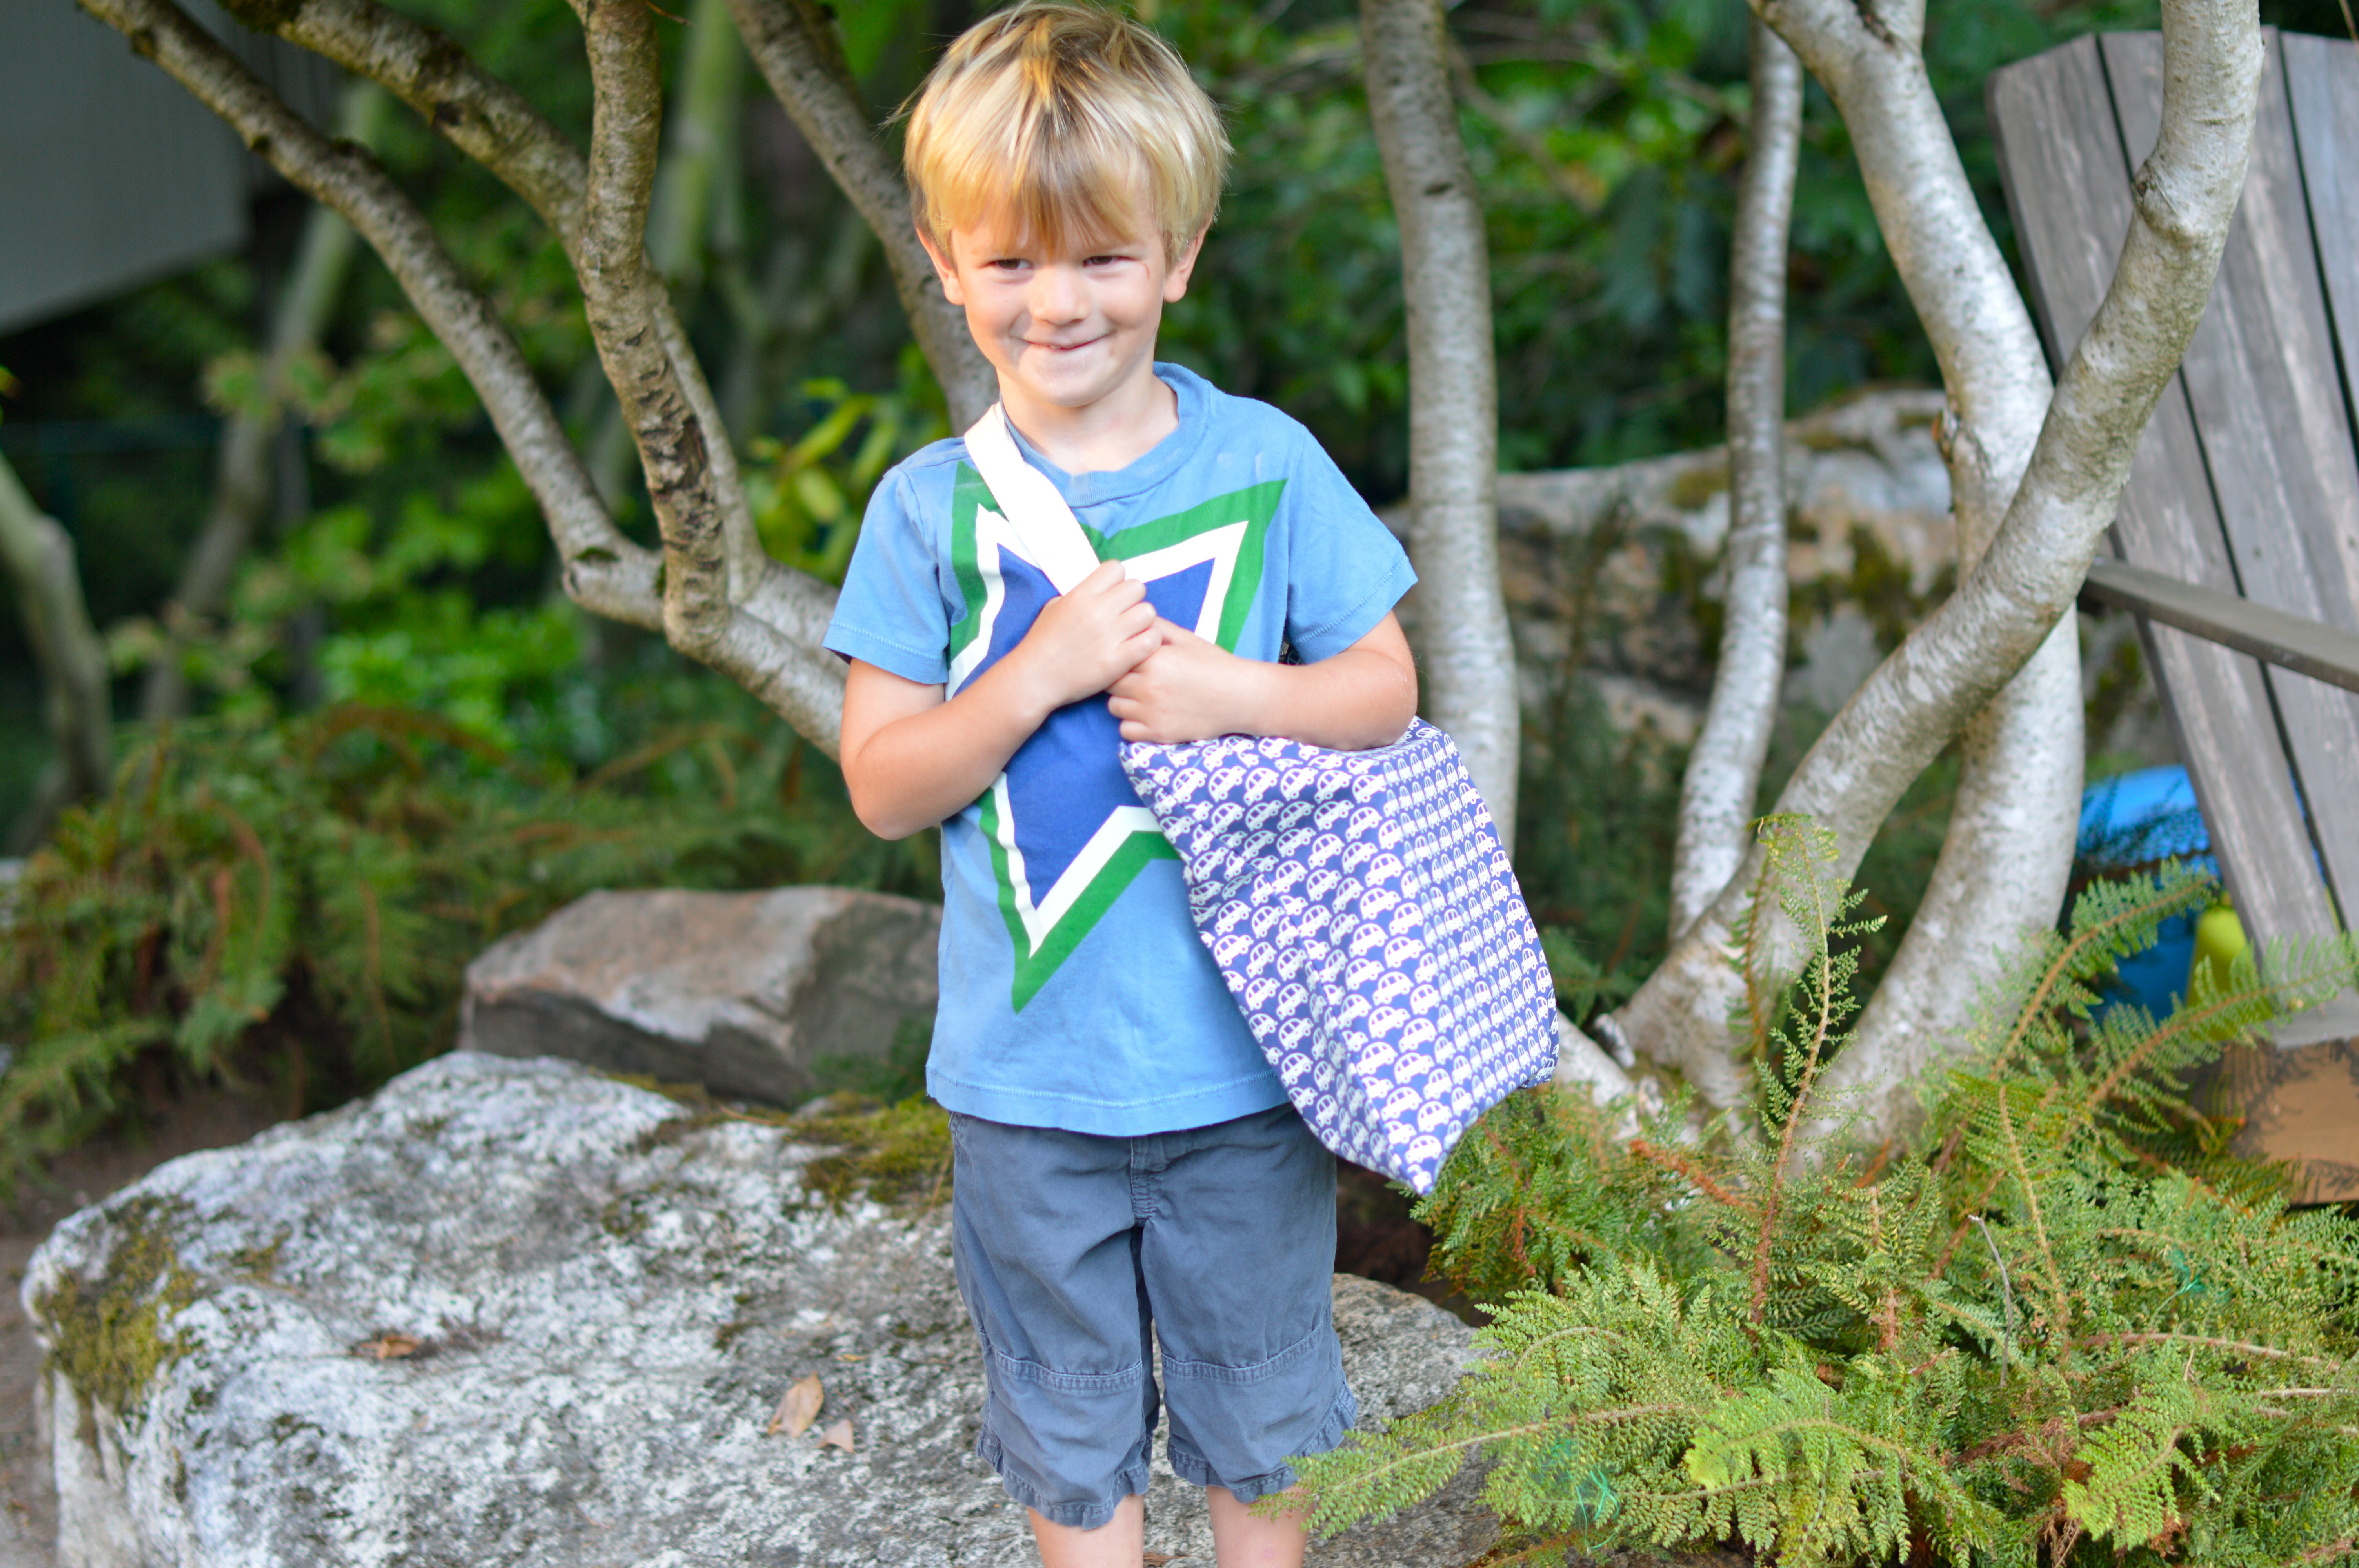
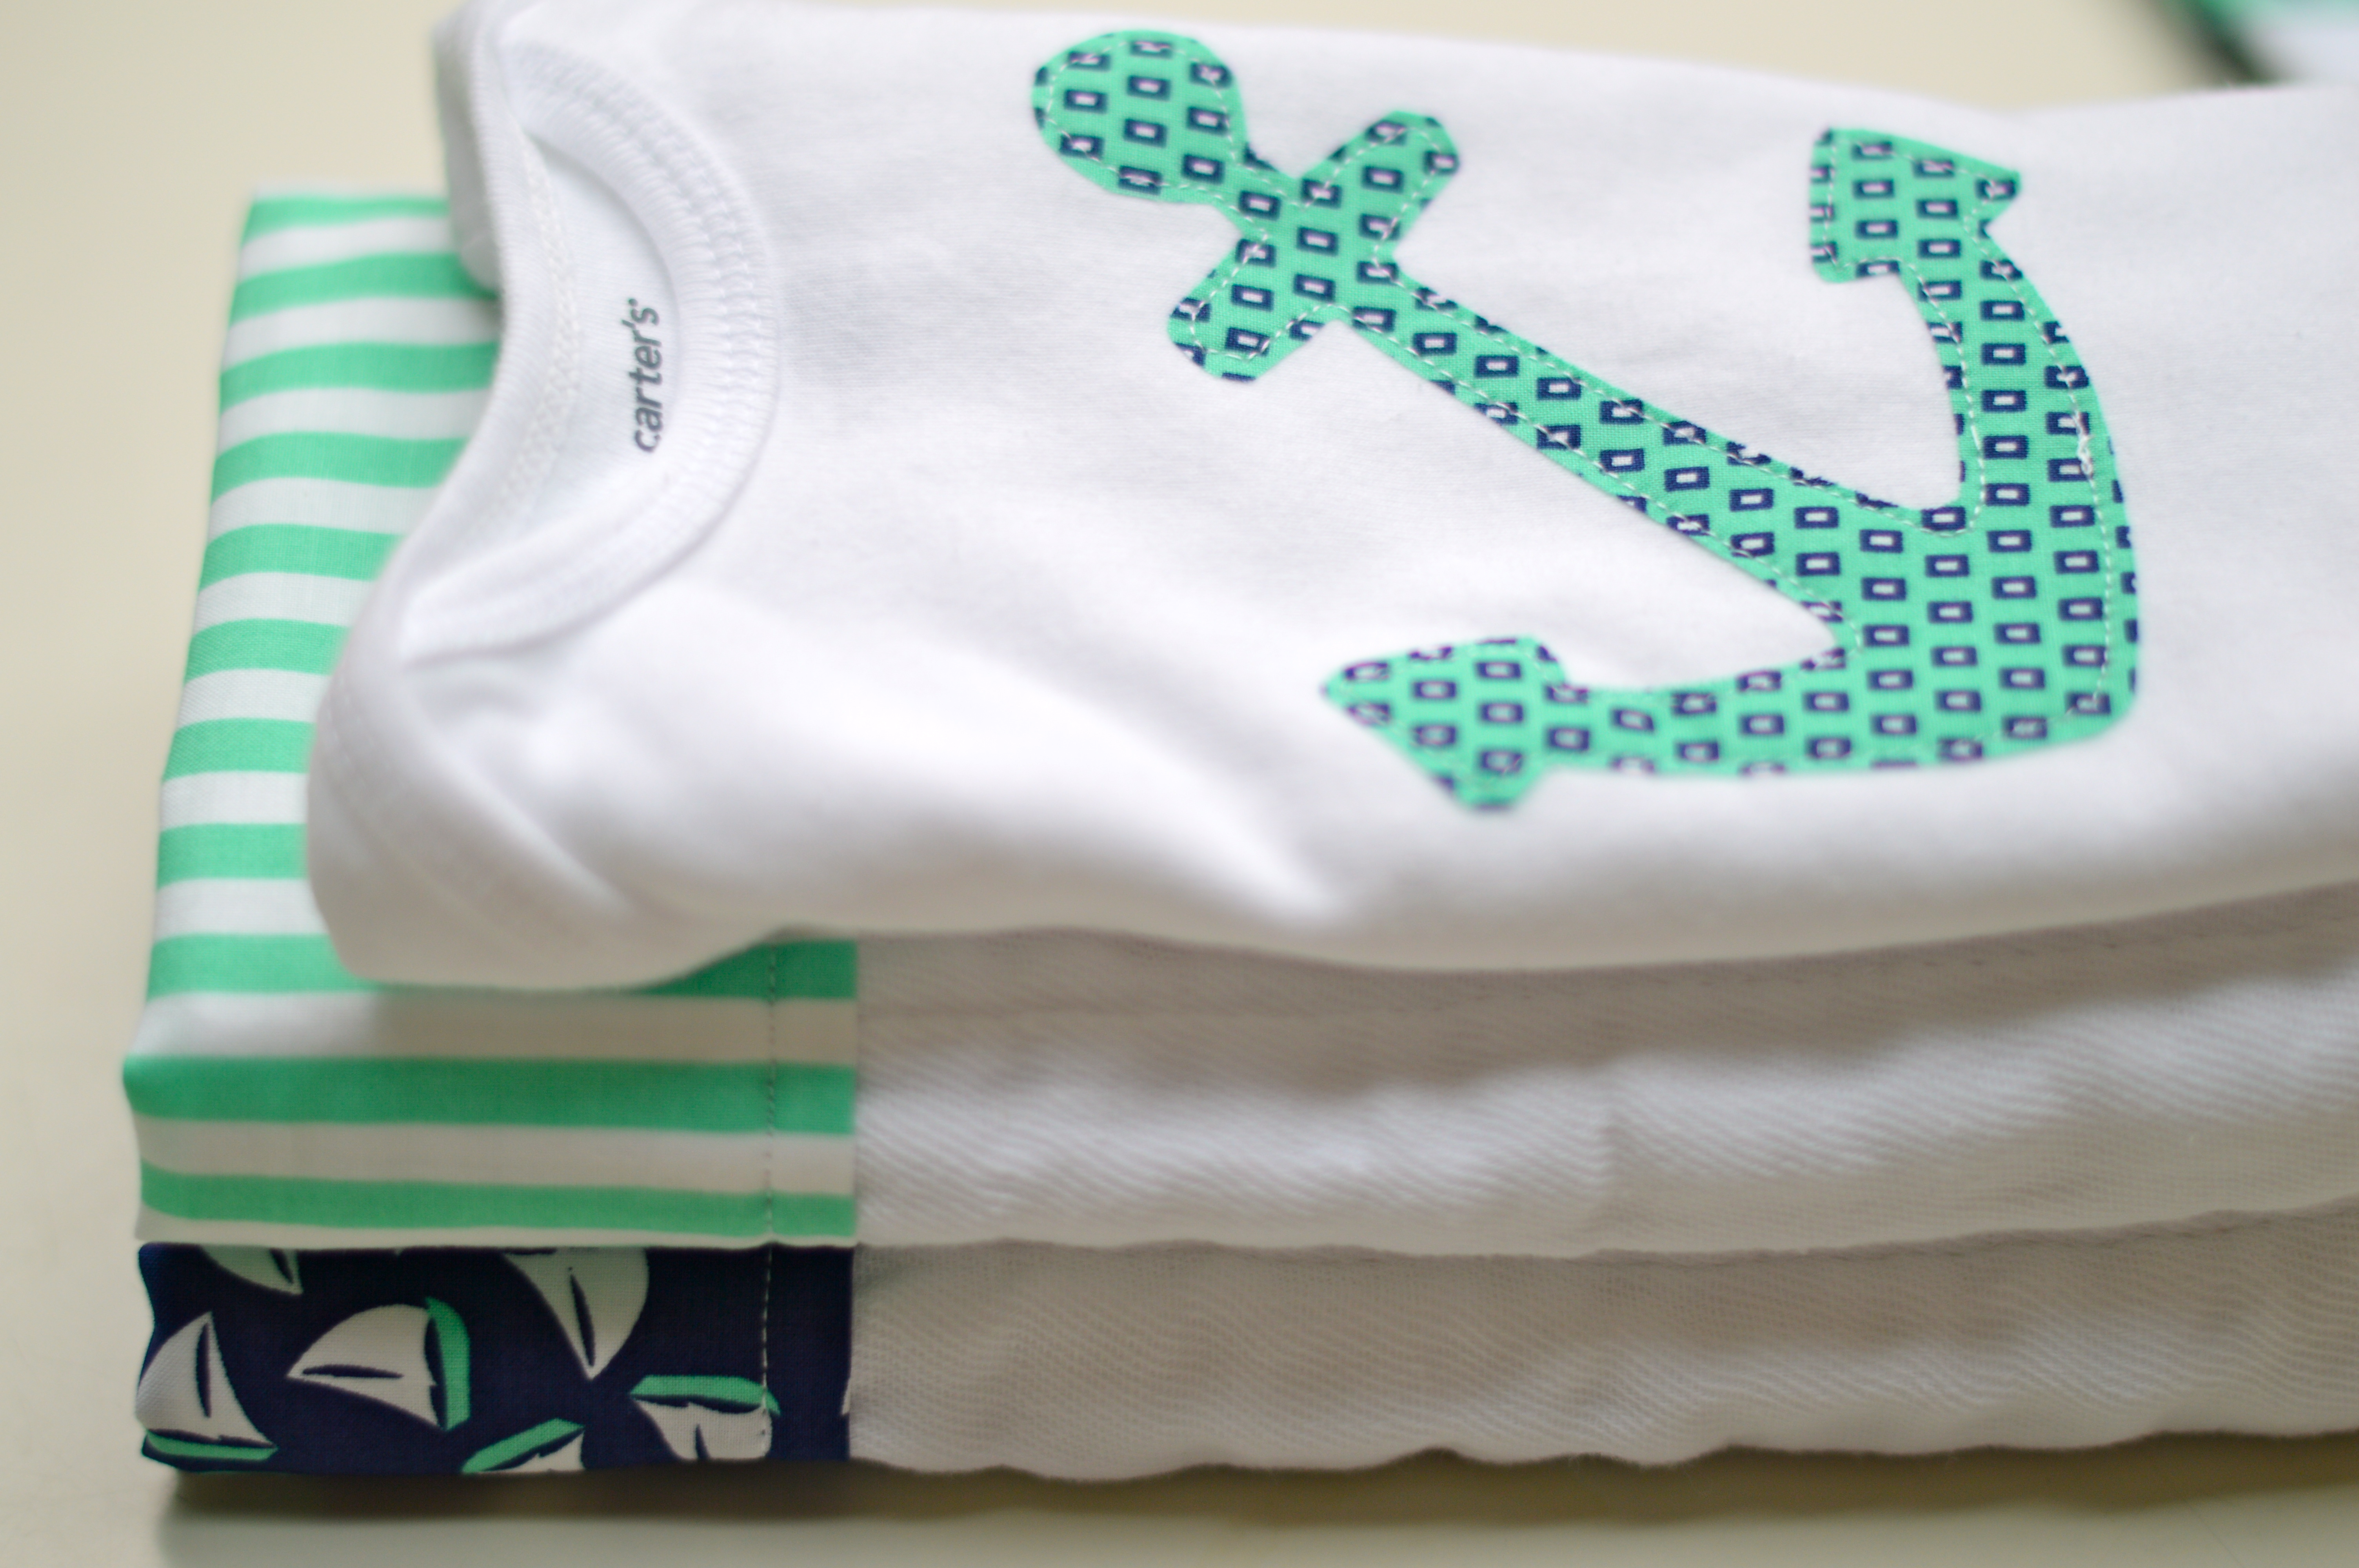
The “little sailboats”, “little whales” and “clown stripe” worked so well for the baby onesies and burp cloths.
 DSC_0069
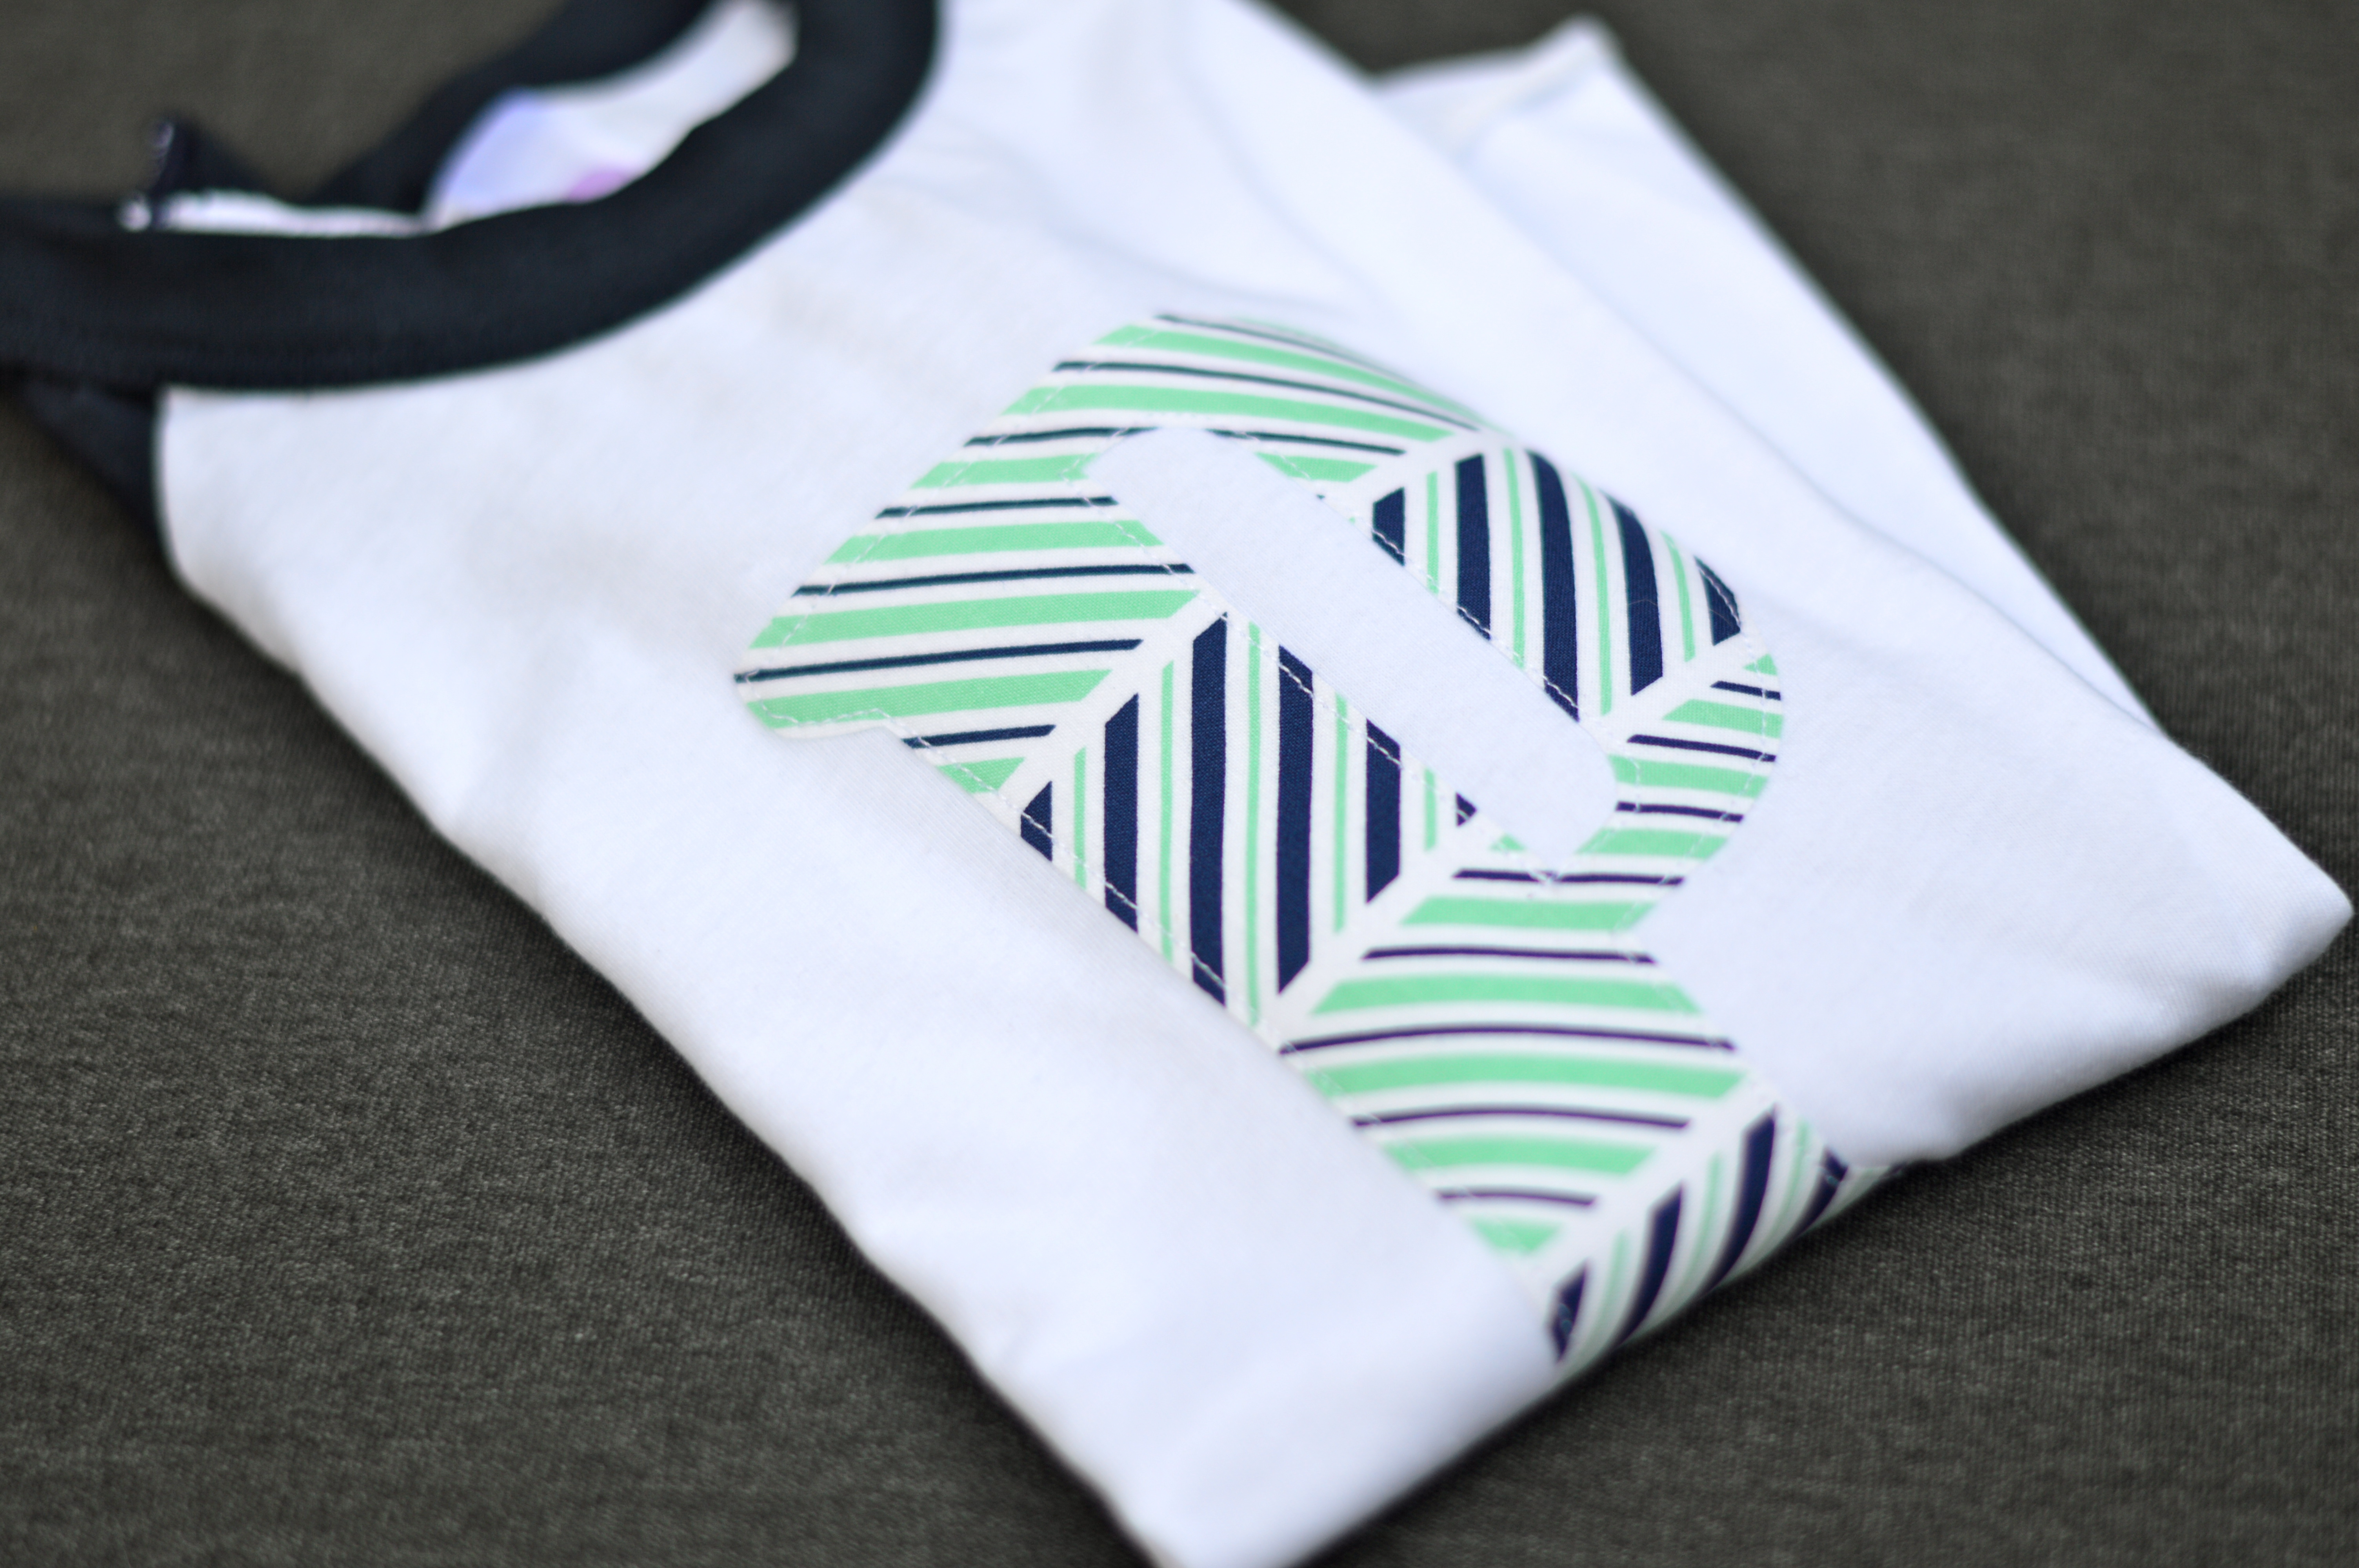
*pictured above ~ Which Way Stripe
And I love the “which way stripe” and “hospital gown” geometrics in the kid shirts. You’ll definitely be seeing these items show up on Poole Party Designs soon!
Stay tuned- I’ll be back with Part Two of the Littles very soon!
~Lesley

Book Bags and Goldilocks

Can you smell the pencils being sharpened?  Yep, it’s that season again.  The start of school is around the corner.  This always brings feelings of excitement and nostalgia for me.  Have you done your back-to-school preparations yet?  We’re part-way there, but I got distracted when a custom request for a preschool book bag came my way.  Then I realized that Duncan could use a little newness to start his year off right!

DSC_0085

My quest for the perfect “preschool book bag” has been a bit like Goldilocks searching for the perfect chair:

too big… too small… just right…

Last year’s bags (Book Bag Fever) got the boys through the year, but improvements were needed.  As time wore on and washings were necessary, the bags required some maintenance and a few of the fabrics didn’t hold up as nicely as I would have liked.

Lessons learned…

  1. I’ve brushed up on my tote-making skills this year with a few amazing classes at make*do*mend, a wonderful sewing studio in Ballard, run by the lovely and talented Keli Faw.  First, Keli is wonderful – she is just someone you want to know.  I guarantee you will want to move in to the comfortable and hip crafting space Keli has created!  If you are in the Seattle area and curious about sewing – take an intro class!  Or, if you already sew, but want a little community – go to their open sewing times!
  2. My favorite bag from last year’s selection was the Kokka Elephants, so I learned that using a little heavier weight fabric works a bit better than quilting cottons for an unlined tote.  It happens that the fabric I am using this year is also a Kokka fabric that I purchased last year without a clear plan in mind, but look for any home decor weight fabric, or canvas.
  3. Handles were another source of frustration.  I didn’t love how my fabric handles became wrinkly over the course of the year.  A much better solution is cotton webbing for a durable and attractive handle.
  4. And lastly, thank goodness for Pinterest, where my friend, Adriane, happened to pin a fantastic simple tote tutorial by Purl Bee.  Purl Bee has a tutorial for The 20-minute Tote that just might be “preschool book bag” perfection (as well as many other uses)!  I love this tutorial.  Although it took me a little longer than 20-minutes, the instructions are clear and all worked according to plan!

I’m really excited to think we’ve got a winner to start Duncan’s preschool year off just right.  Duncan is excited because his new school bag is blue and has “race cars”.  Thankfully my preschool age audience isn’t too picky (about some things at least)!

DSC_0071   DSC_0075 DSC_0078 DSC_0080 DSC_0081 DSC_0082

Giant Floor Pillows

So I was wandering the intoxicating halls of Pinterest the other day and came upon the neat project of sewing giant floor pillows.  Since my children adore all things associated with forts and pillows, this seemed right up our alley!  I am envisioning using these goodies for cozy movie nights, pig piles and all things requiring a bit of cushioning… The awesomely graphic fabrics make them even better!  The directions and inspiration are found on Mandy Made’s creative blog and I’m sure you will find all sorts of other things you want to make once you take a stroll through her pages!

IMG_1036

I loved the idea of how simple this project looked and couldn’t wait to begin.  I happened to have some home decor weight canvas hanging about, just waiting for the right project!  As I began this project, I felt like Mandy’s directions were very good and nicely simple.  I had a little trouble getting the corners just right, but I still think the pillows turned out well.  I made two giant cushions; one following Mandy’s plan of using scraps to fill the pillow (#1, grey with white sides) and one with a little more structure using a foam rectangle covered in batting (#2, yellow with grey sides).  If I make more (which I will, since I have three children and currently two coveted pillows), I will follow the second strategy.  I like that pillow #2 ended up a lighter in weight and more reliably full.  We’ll see if I end up remaking pillow #1, or leave it as is.

IMG_1054

I also worked on a different closing method on pillow #2, as I realized that it would be nice to to wash the exterior case.  In a house with three kids and a dog who has a penchant for all things soft (and a tendency to shed), these will need to be washed periodically!  I ended up using an iron-on velcro closure, which worked like a charm!

IMG_1053

The best part about these pillows is I had barely finished closing pillow #2 before the cushions were being put to use in a serious play session!  The kids could not keep off of them, as evidenced by these photos (below).  I could barely take a picture before the pig piles began!  A true sign of success!

Happy Pillow Making!!