Homemade Hot Sauce

DSC_0012

Let me start by saying that I love hot sauce.  I will put it on almost anything and it is definitely my favorite condiment in the refrigerator.  When a friend brought over dinner for us the other day, she included some hot sauce that she had made herself last year.  I kid you not, when I say that I almost licked the bowl clean.  The hot sauce recipe was from The Pantry at Delancey, a fabulous new hands-on cooking school in the Ballard area of Seattle.  My friend, M, went to one of The Pantry classes last year and learned how to make this delicious sauce (along with yummy fried chicken and succotash).  I have yet to attend a class at The Pantry, as their classes sell out very quickly, but it is high on my list of things to do.  (Anyone want to join me?)  So when M suggested we make this hot sauce together a few weeks ago, I jumped at the chance!

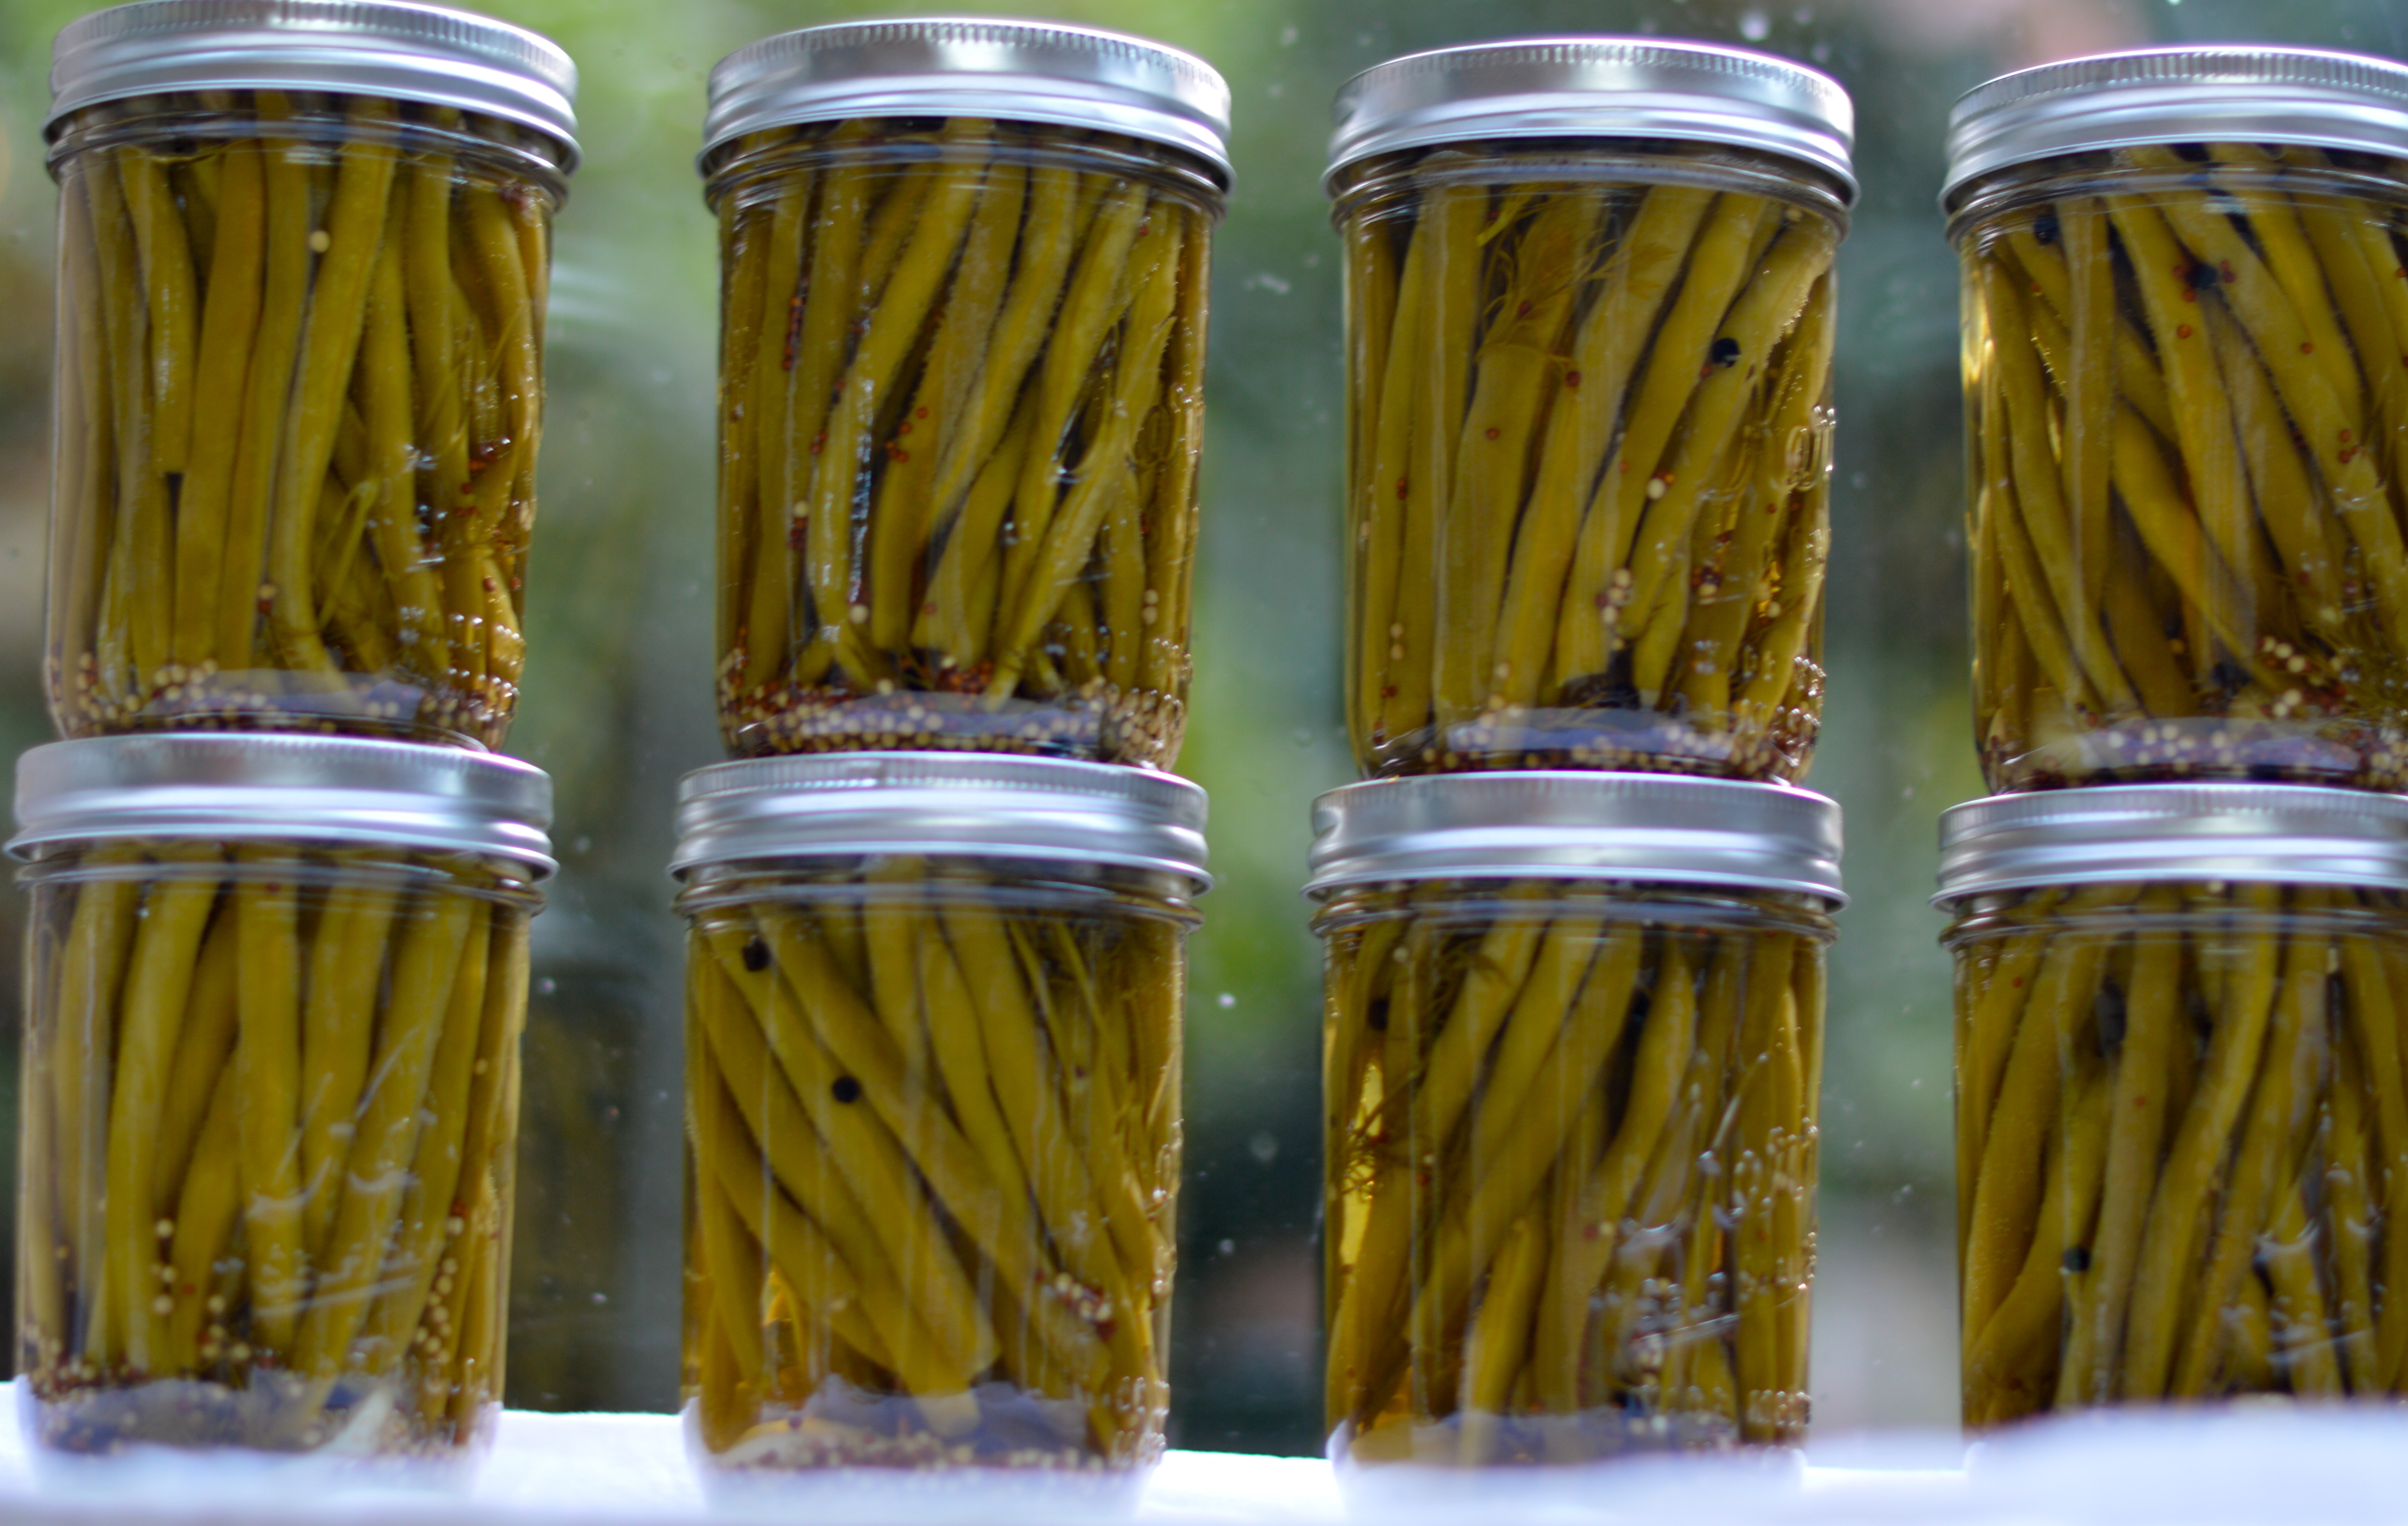
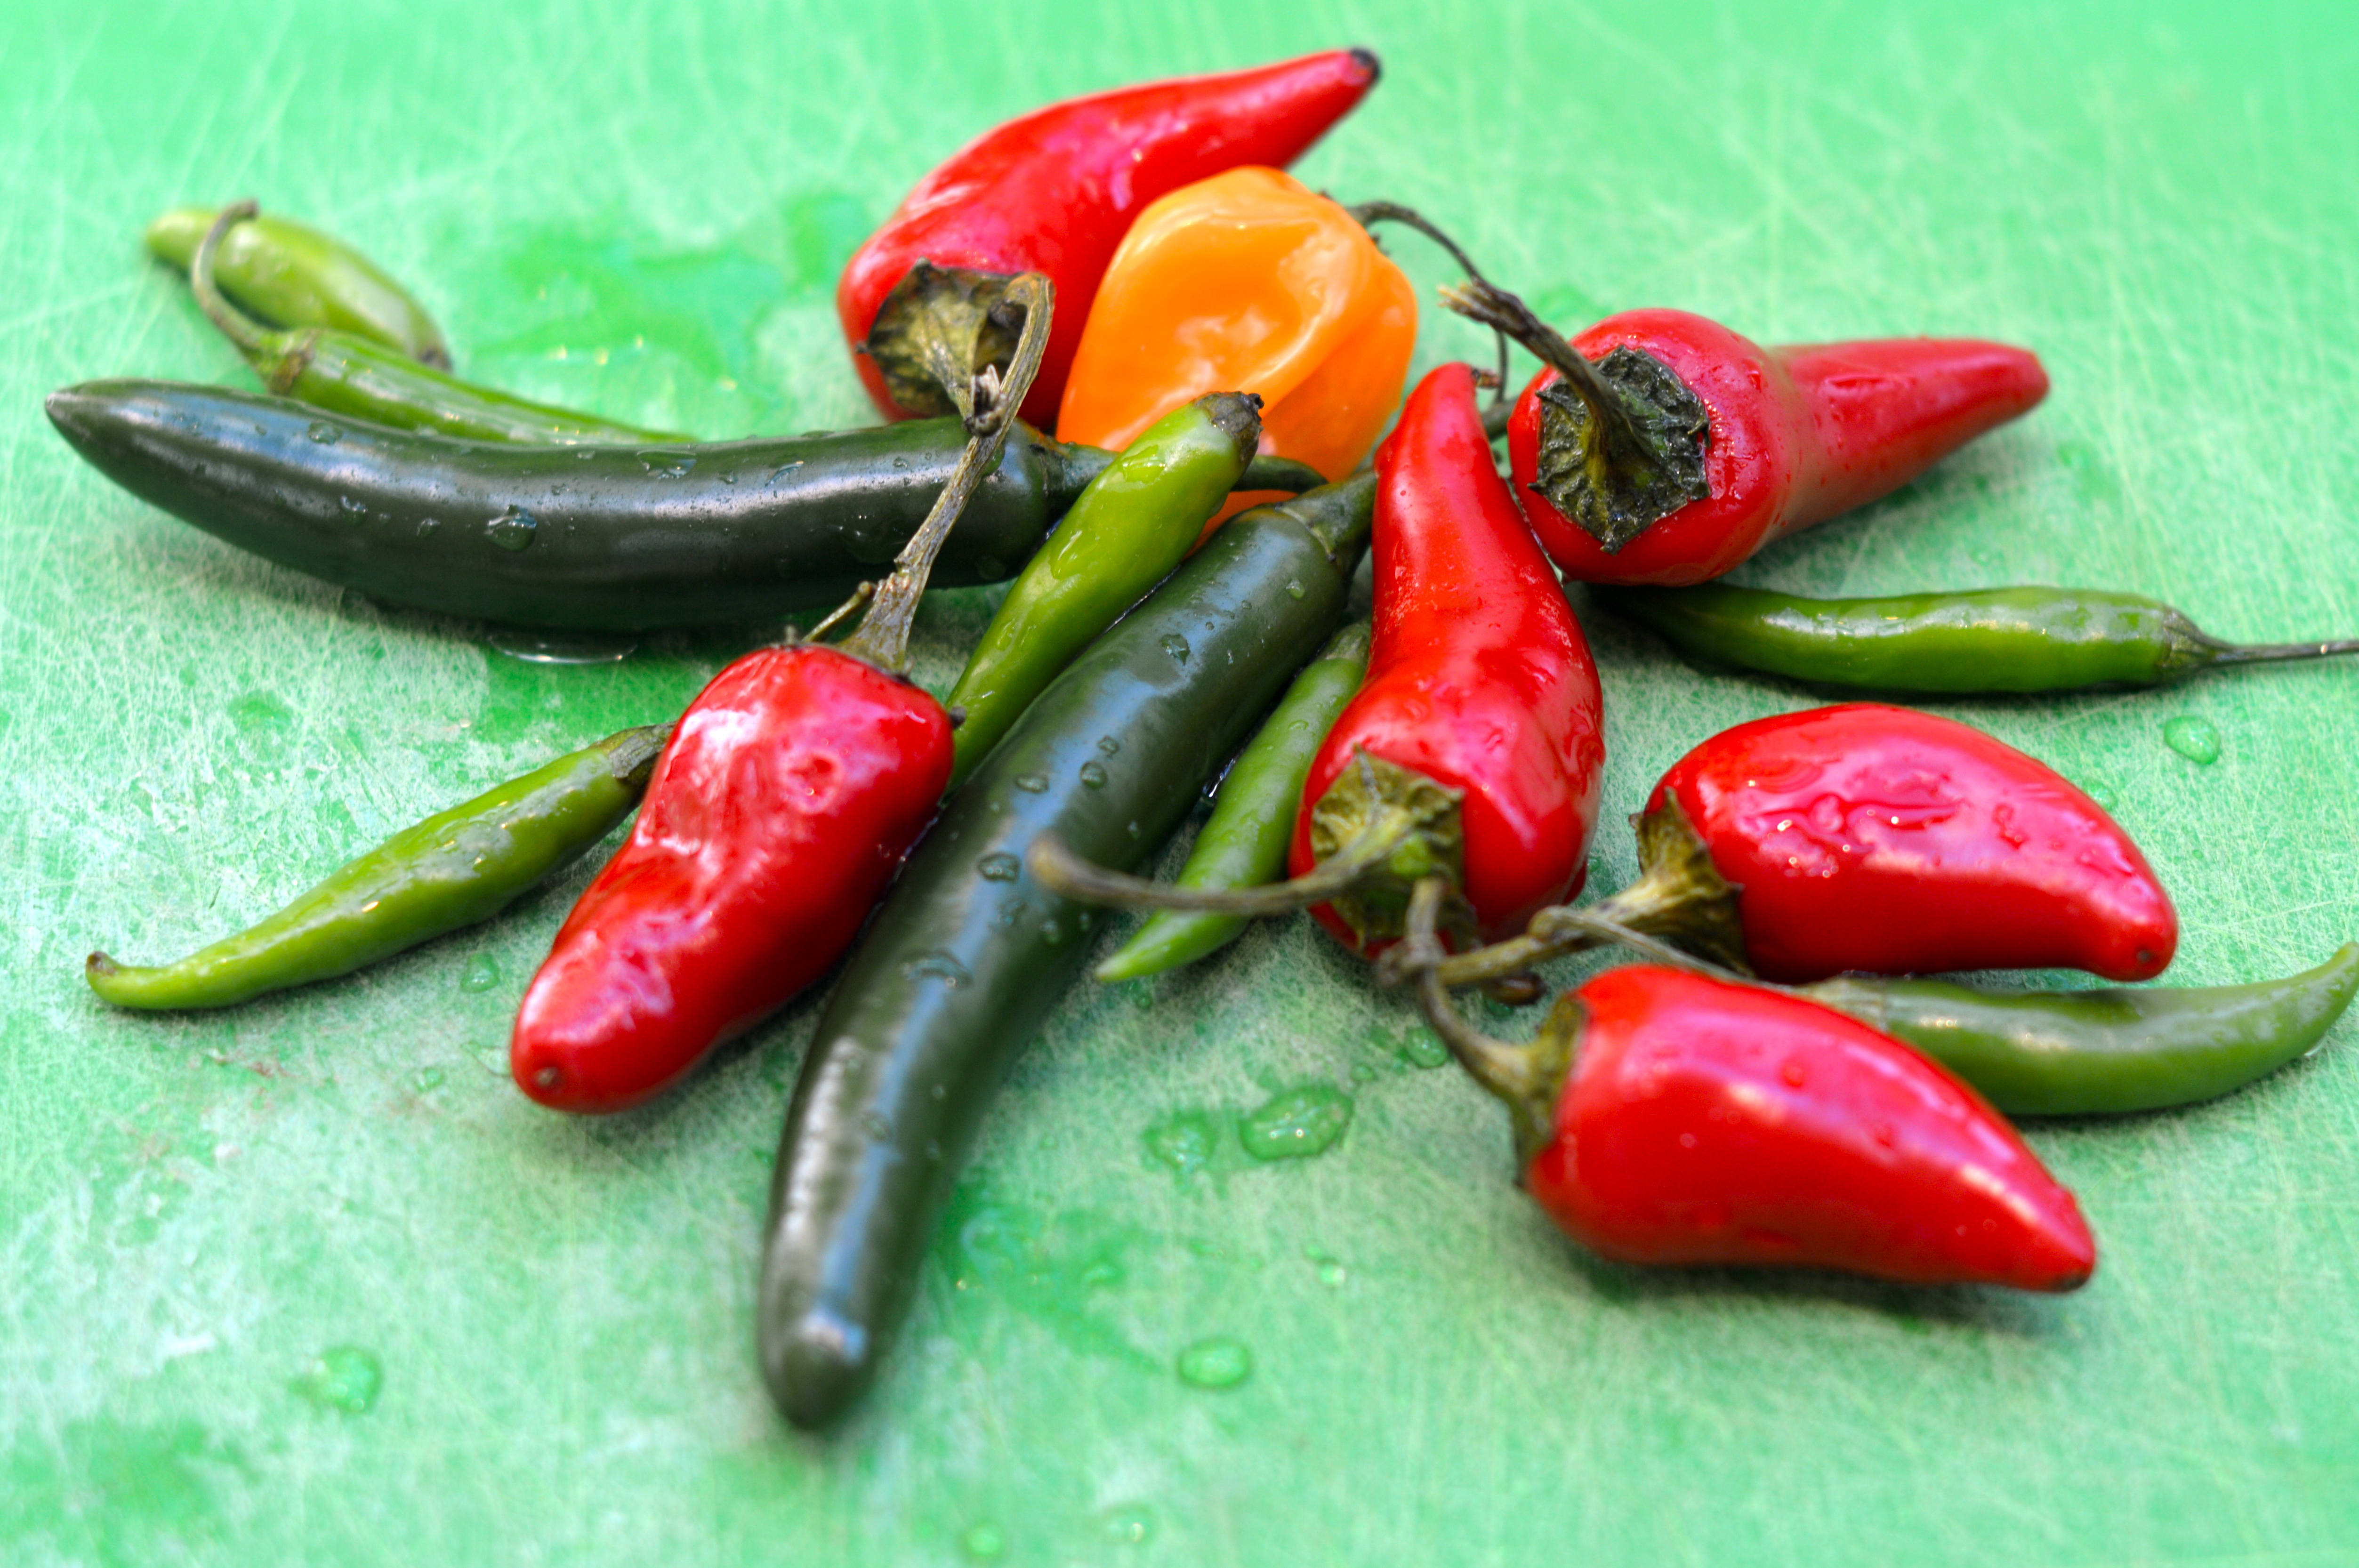
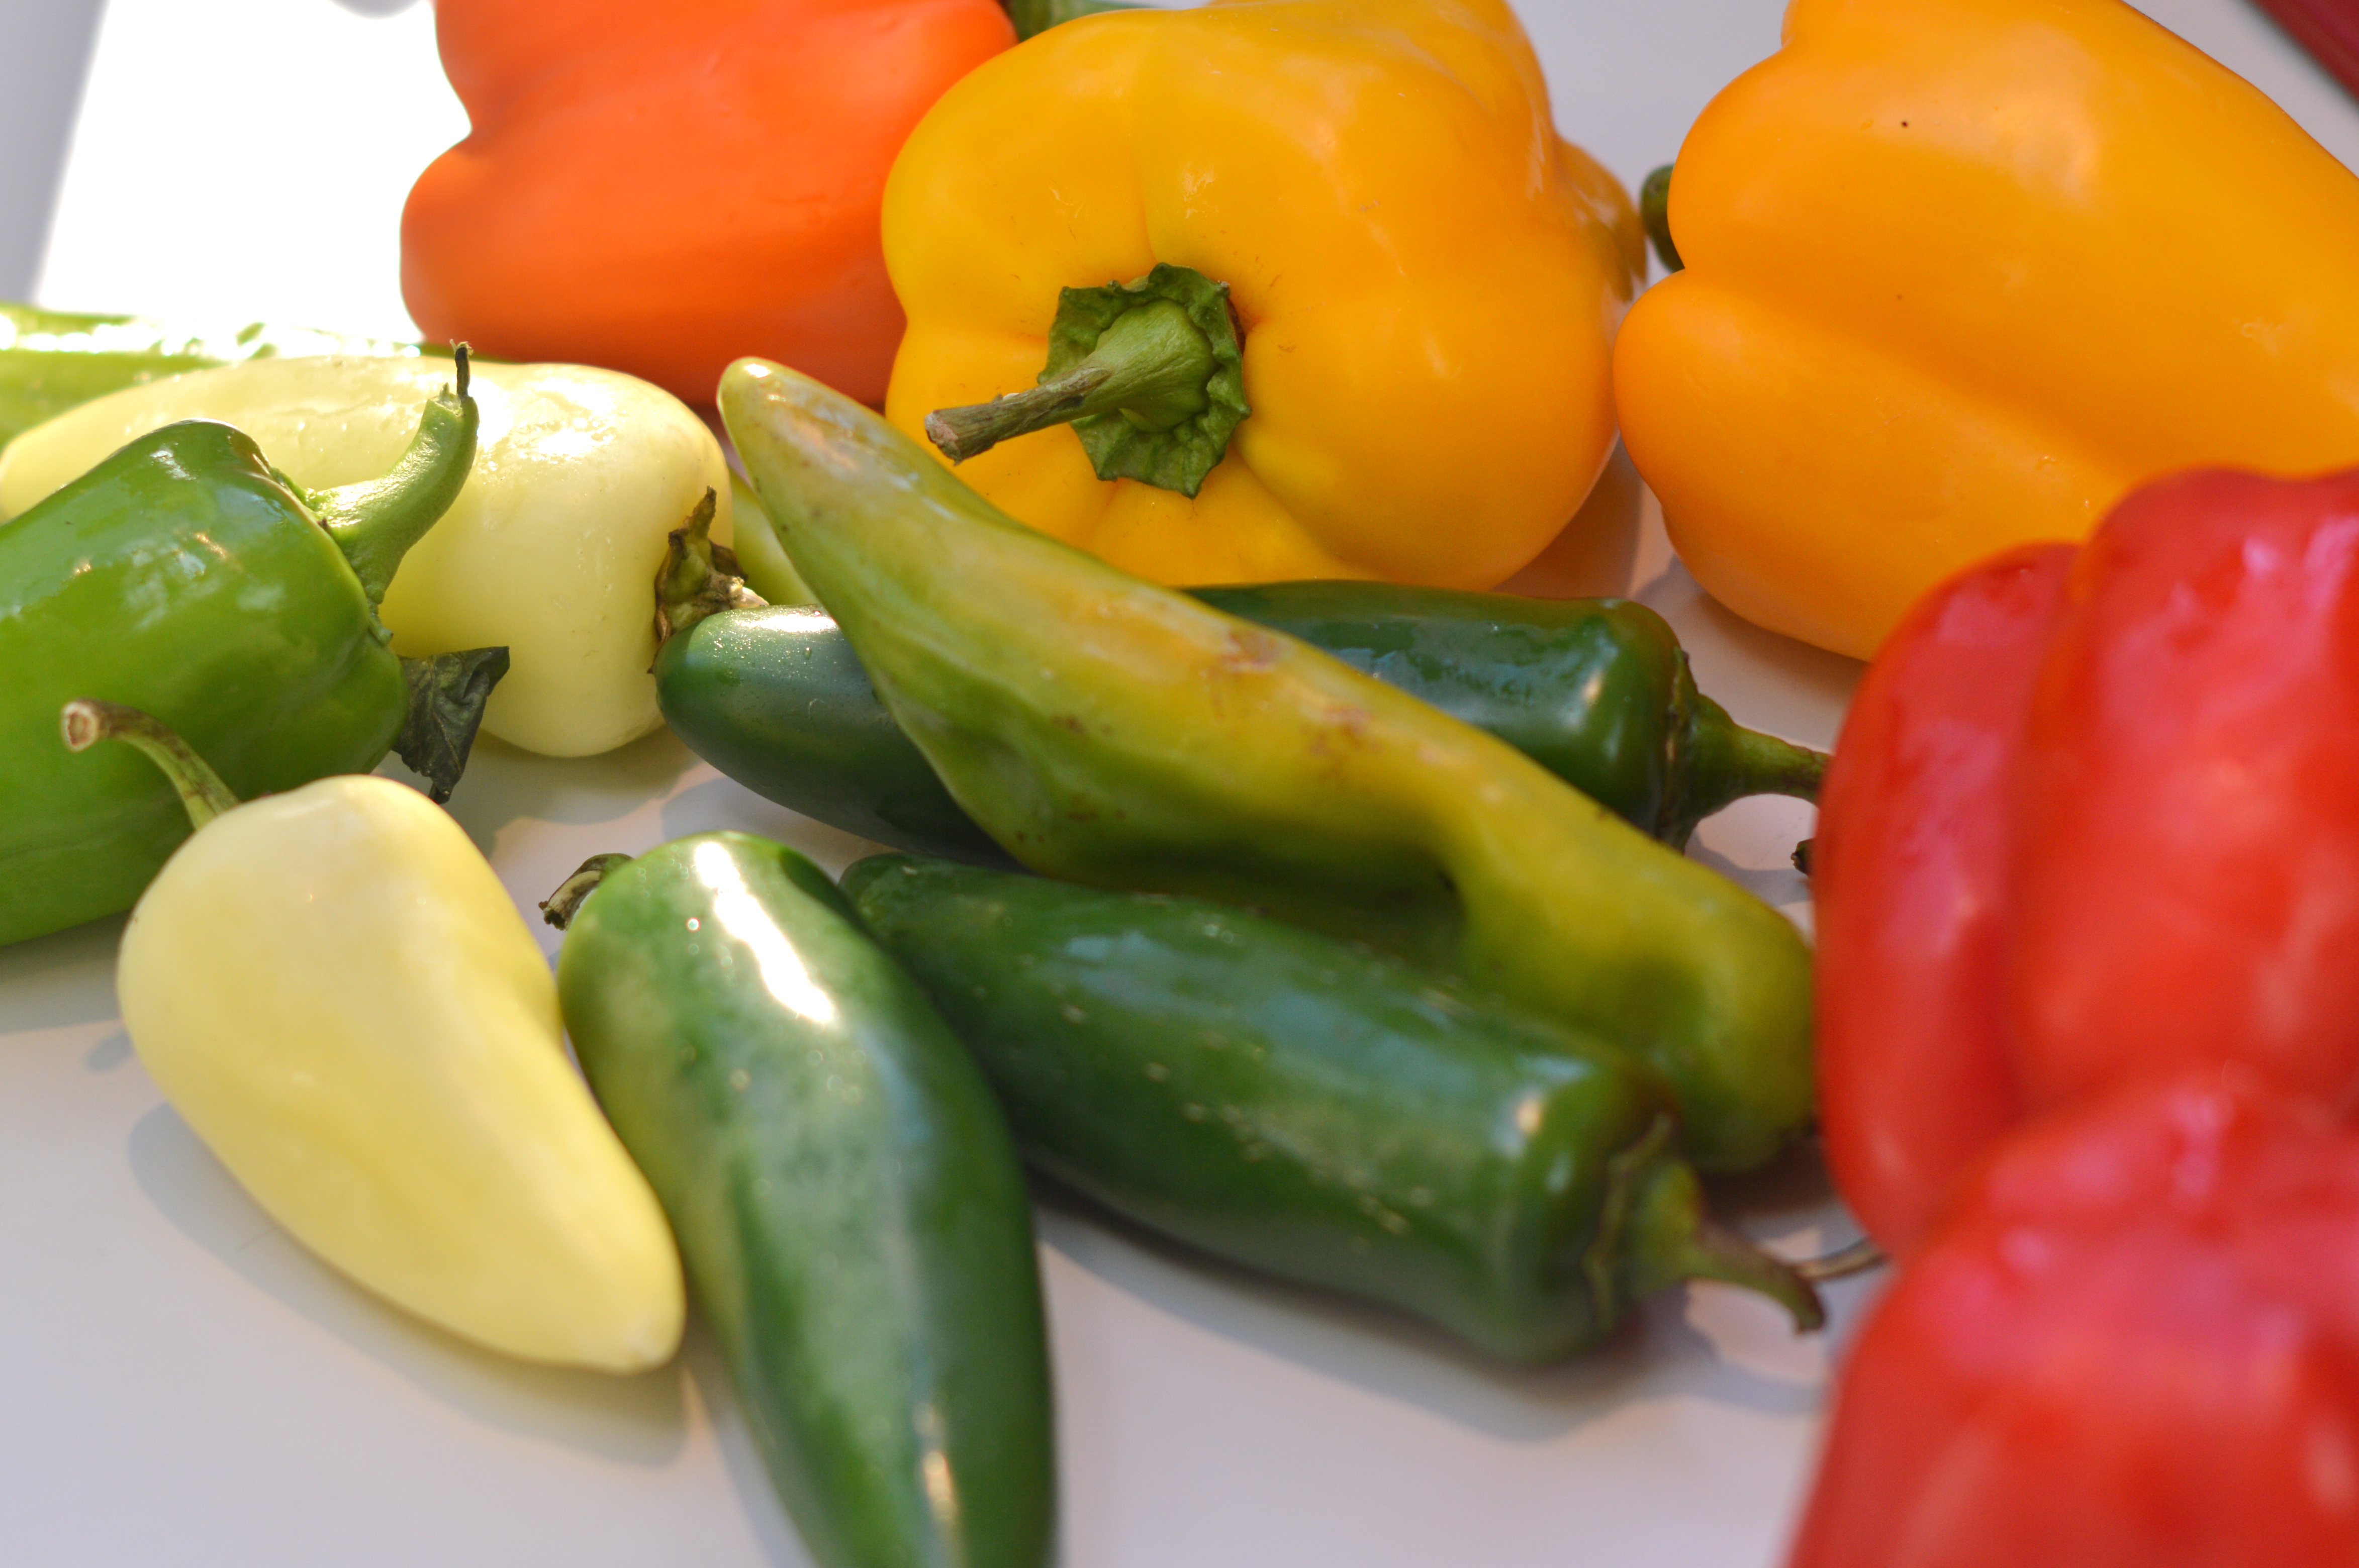
This southern-style hot sauce is so fun because you control the heat.  The recipe was easy to follow.  The most time consuming thing about it is pushing the roasted chile puree through the strainer.  Next time I will look for a strainer with just a little bigger holes to make it go a bit faster.  We added a few habaneros, as well as all the peppers you see below, and the result was delicious.  It is spicy, but not burn-your-tongue-off-spicy and the white vinegar adds a nice balancing effect.  We doubled the recipe below and it made approximately 6 half-pint jars.  You store this sauce in the fridge, but I doubt it will be there for long.  I am already into our second jar and it is going quick!  I will definitely be making this again sometime soon.

DSC_0001 DSC_0002 DSC_0003 DSC_0004 DSC_0005 DSC_0006 DSC_0007 DSC_0008 DSC_0009 DSC_0010

the Pantry at Delancey’s Southern-Style Hot Sauce

yield: 2 cups

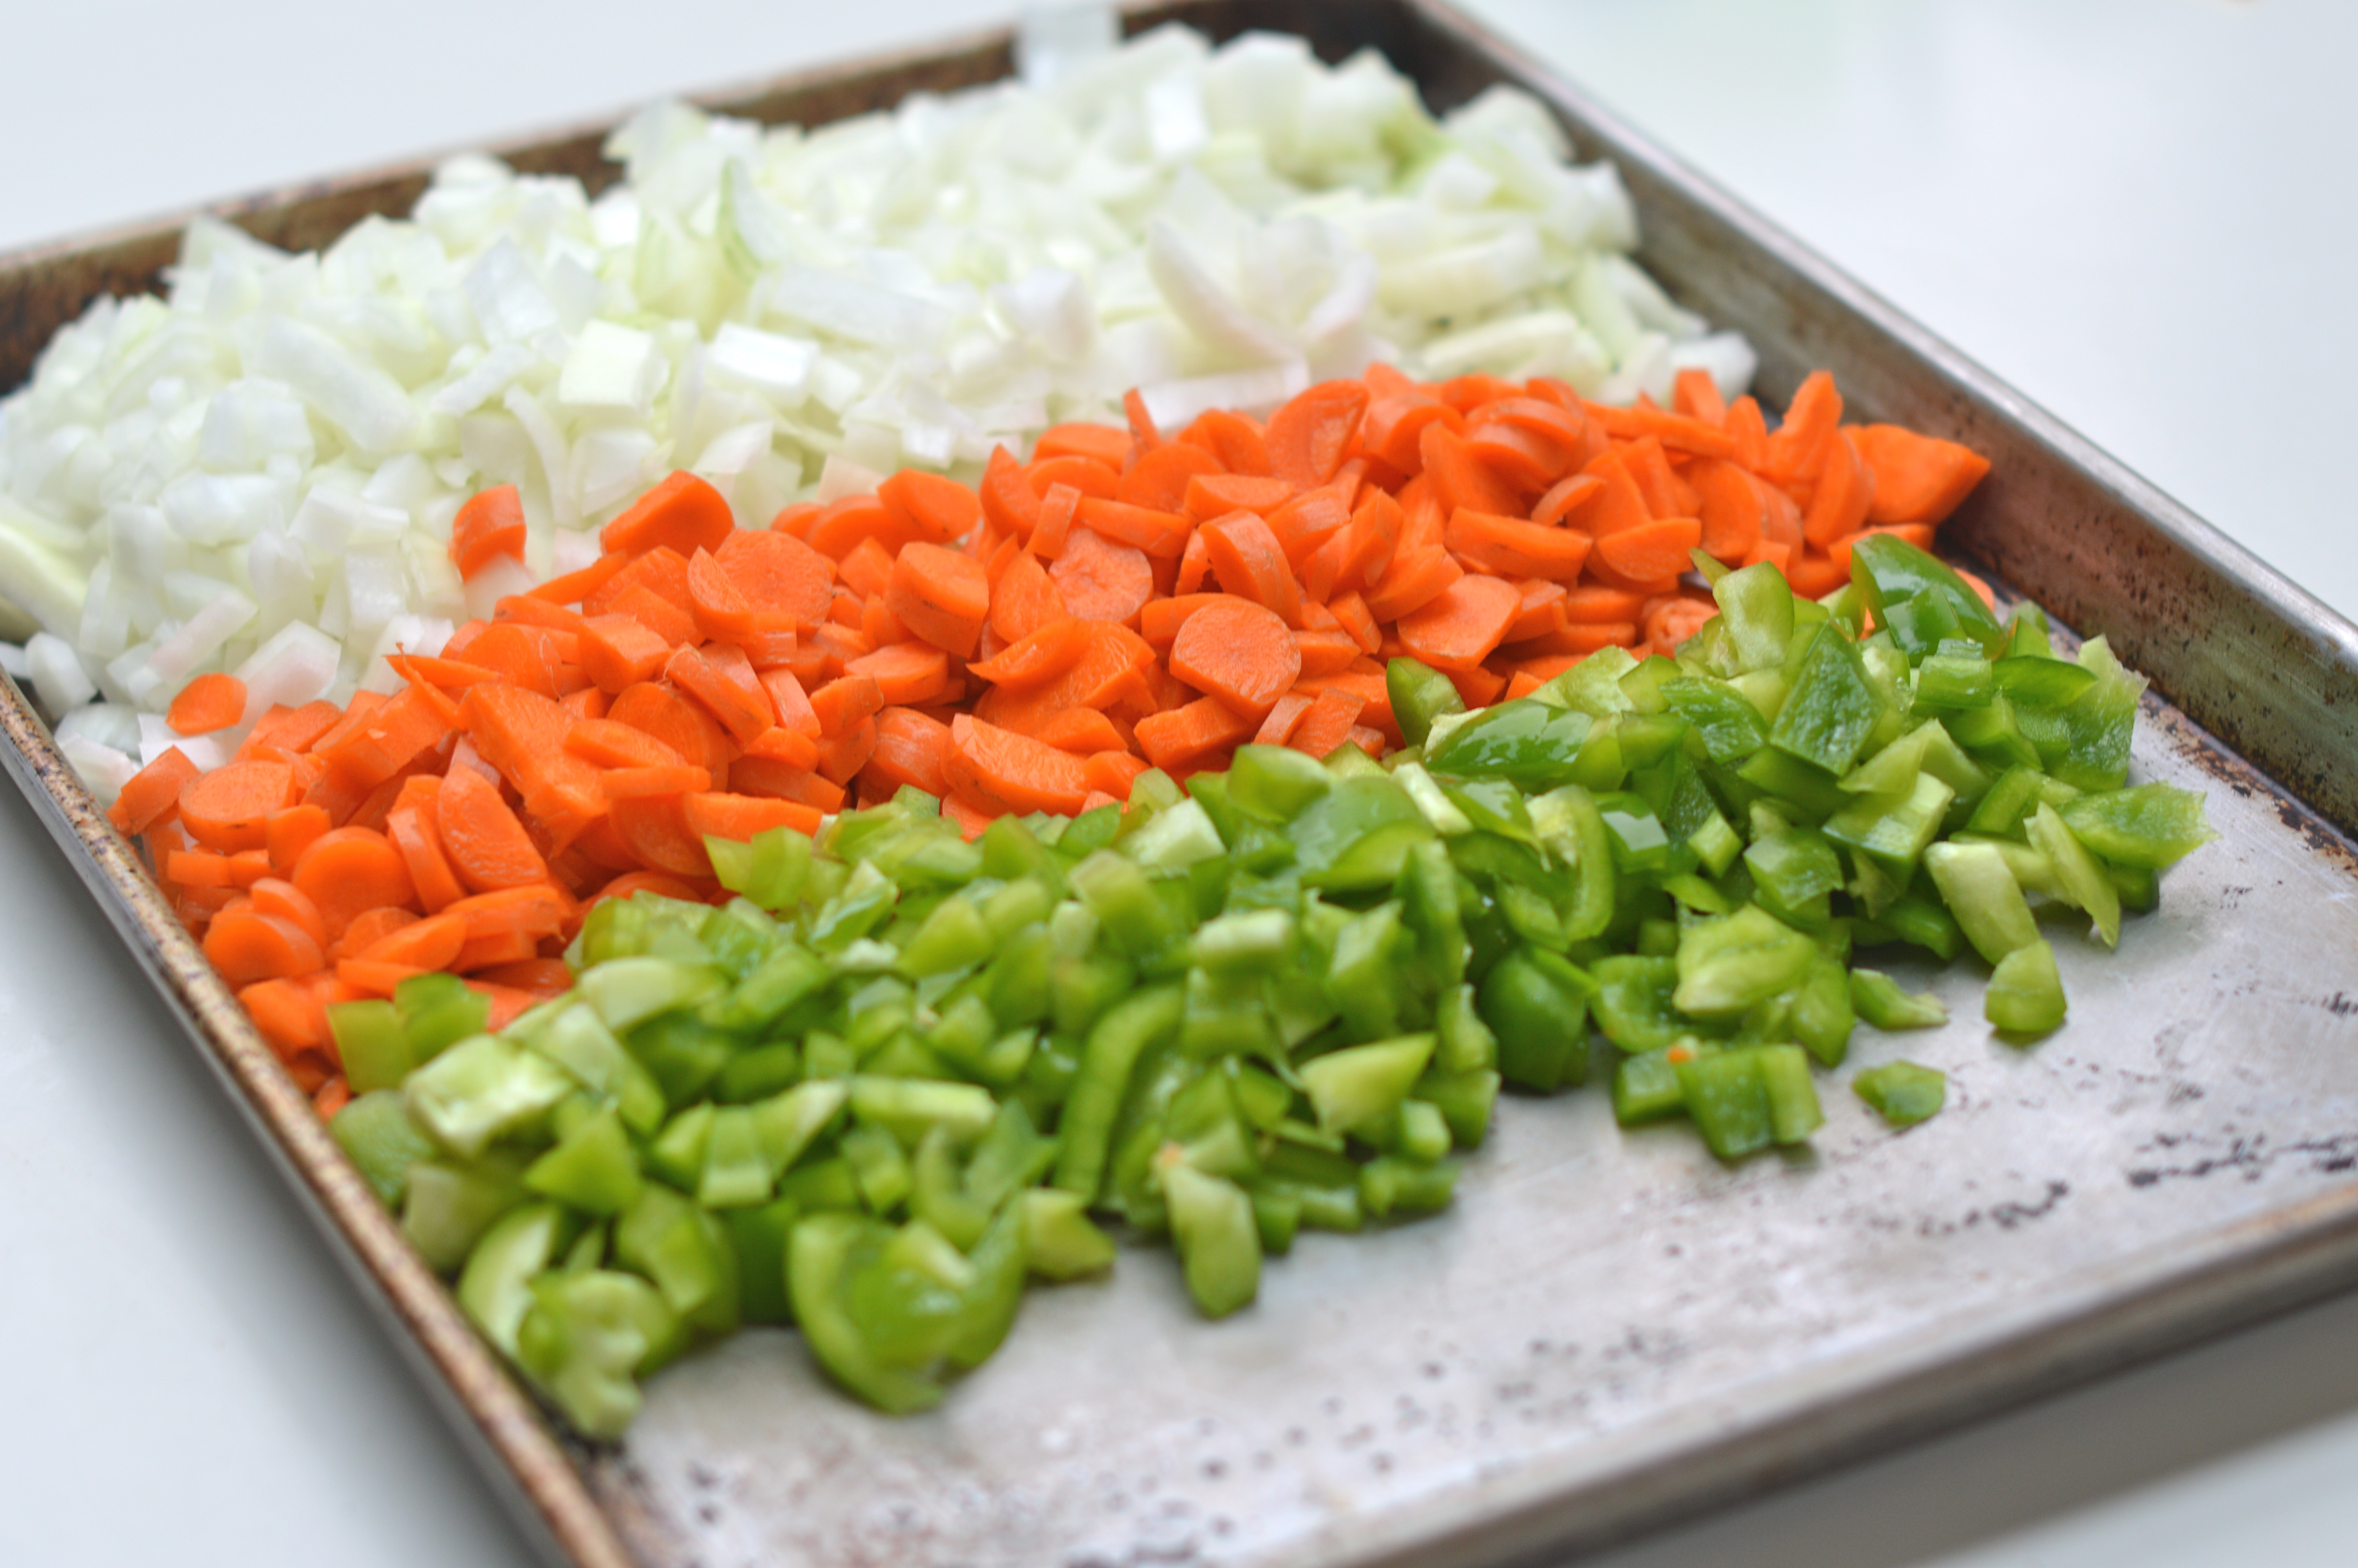
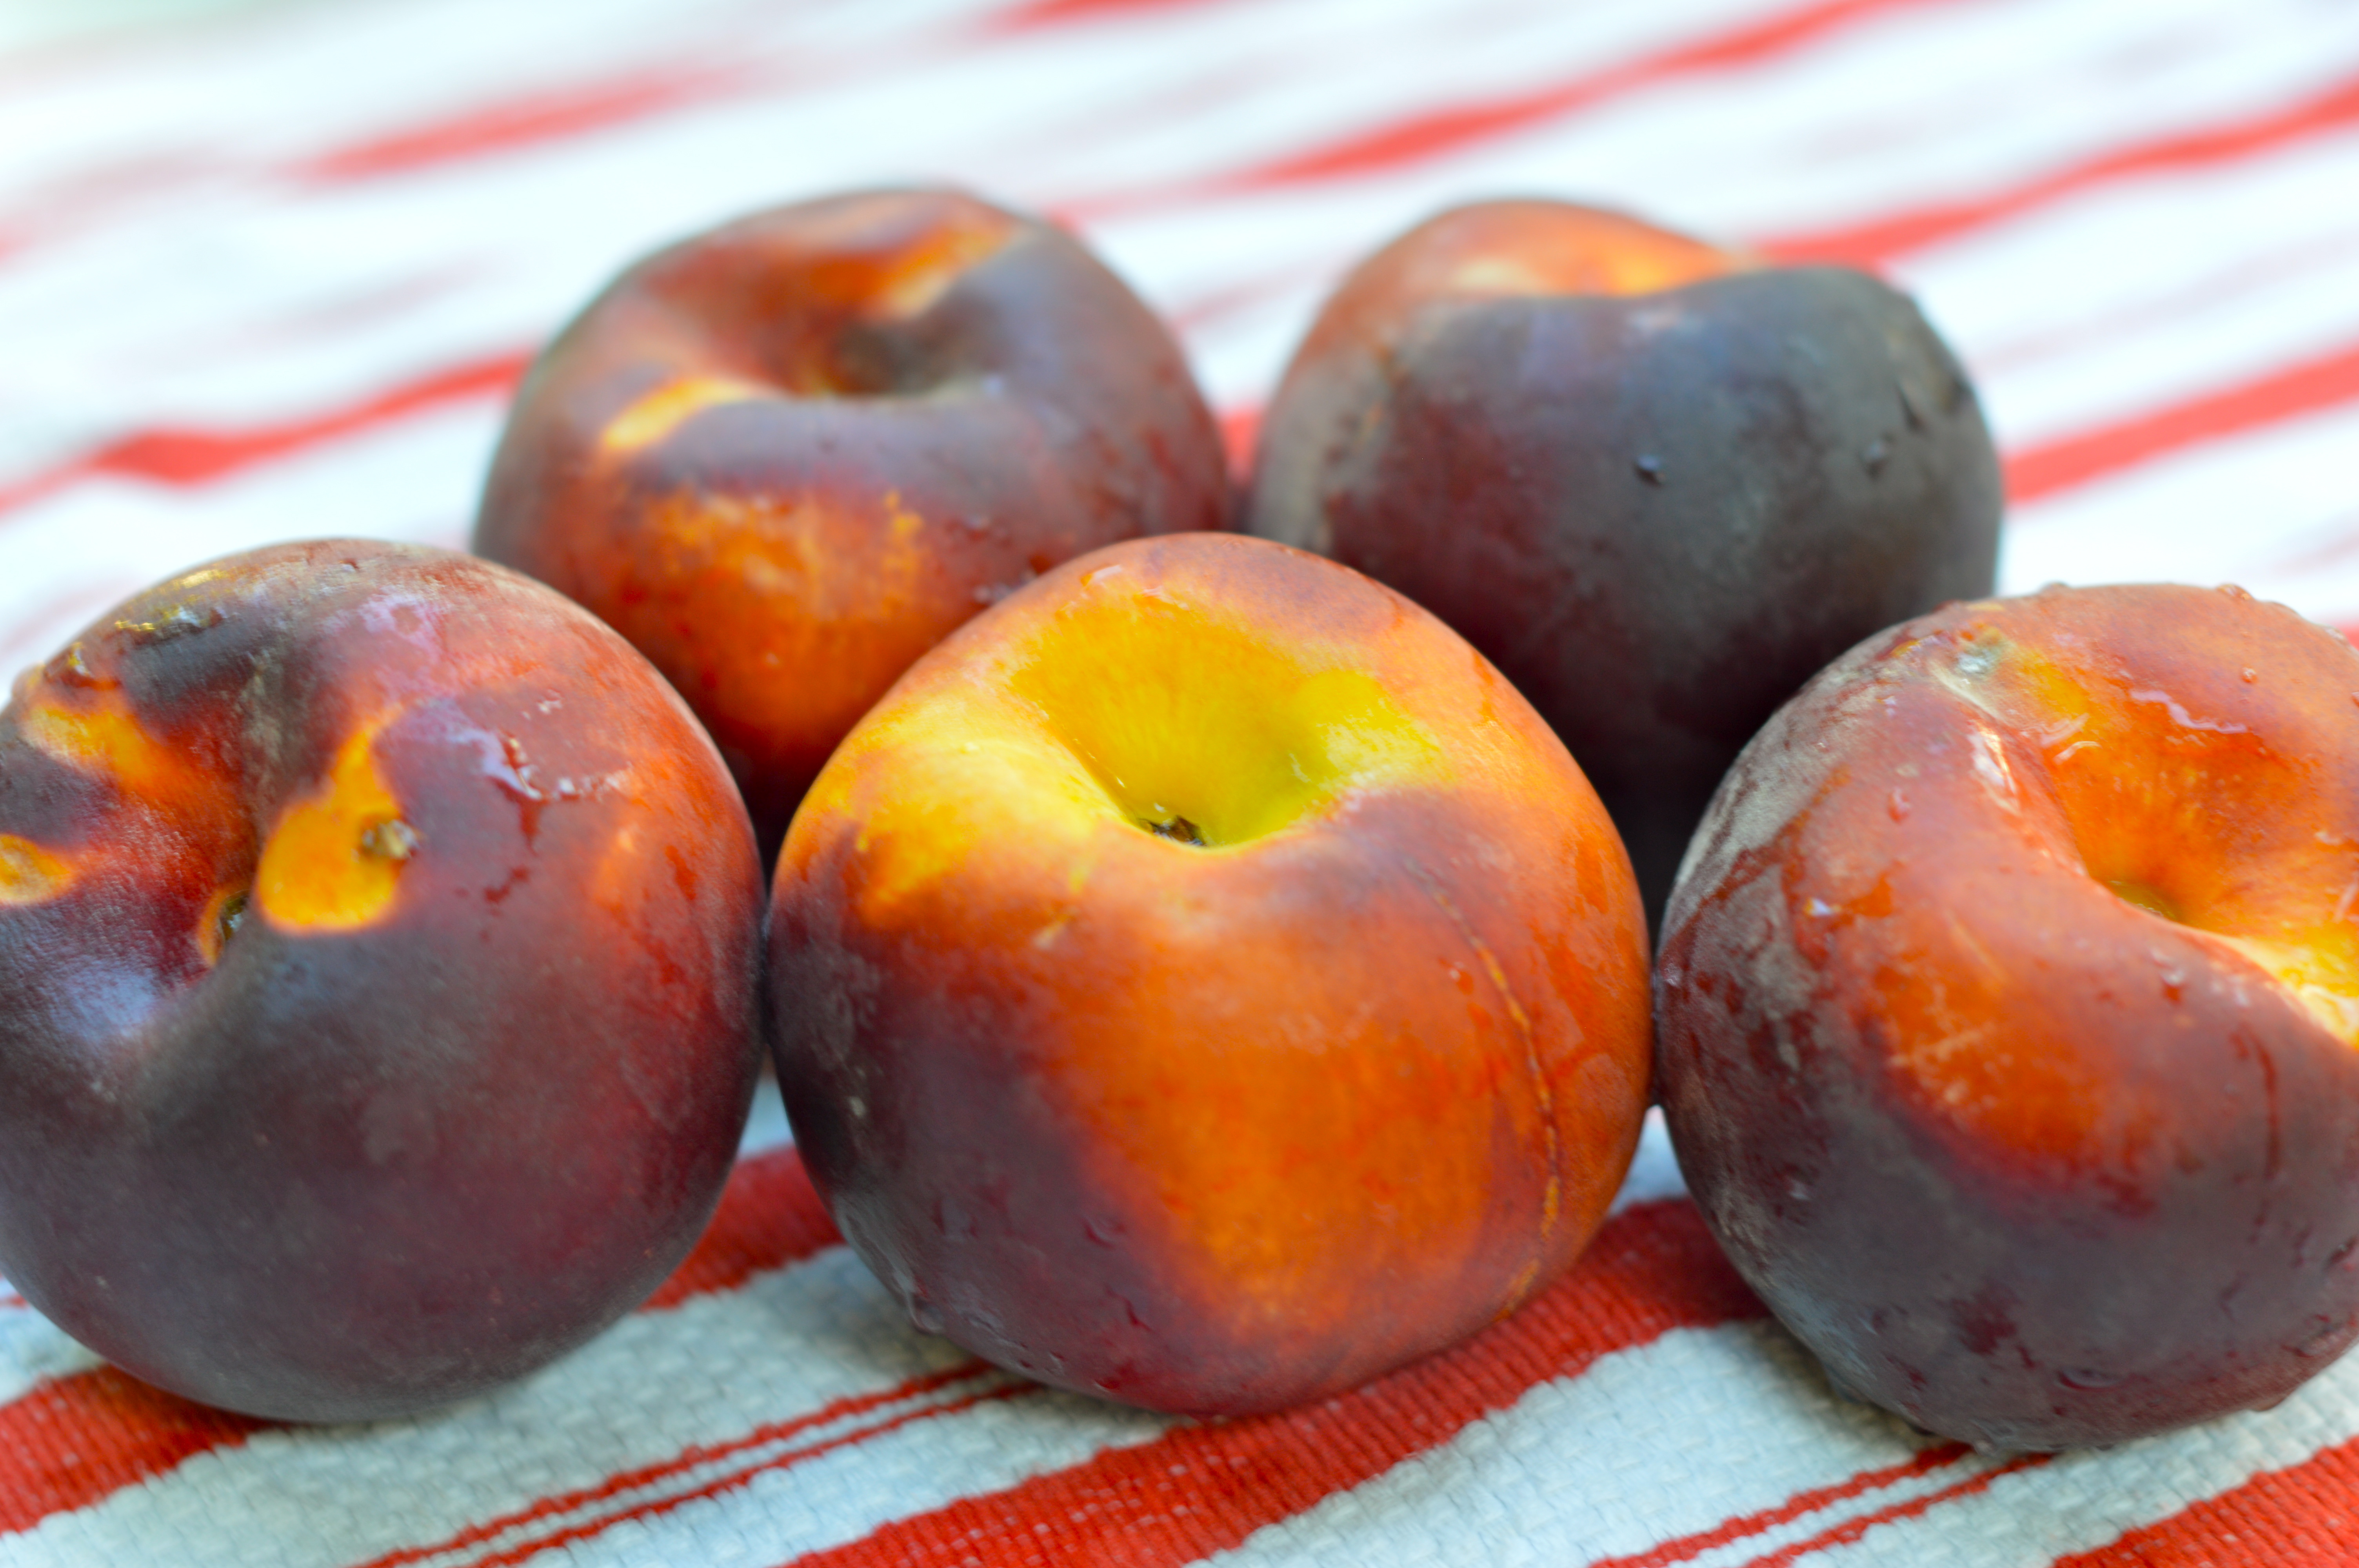
8 ounces sweet chiles (we used bell peppers)

6 1/2 ounces medium chiles

1 1/2 ounces hot chiles

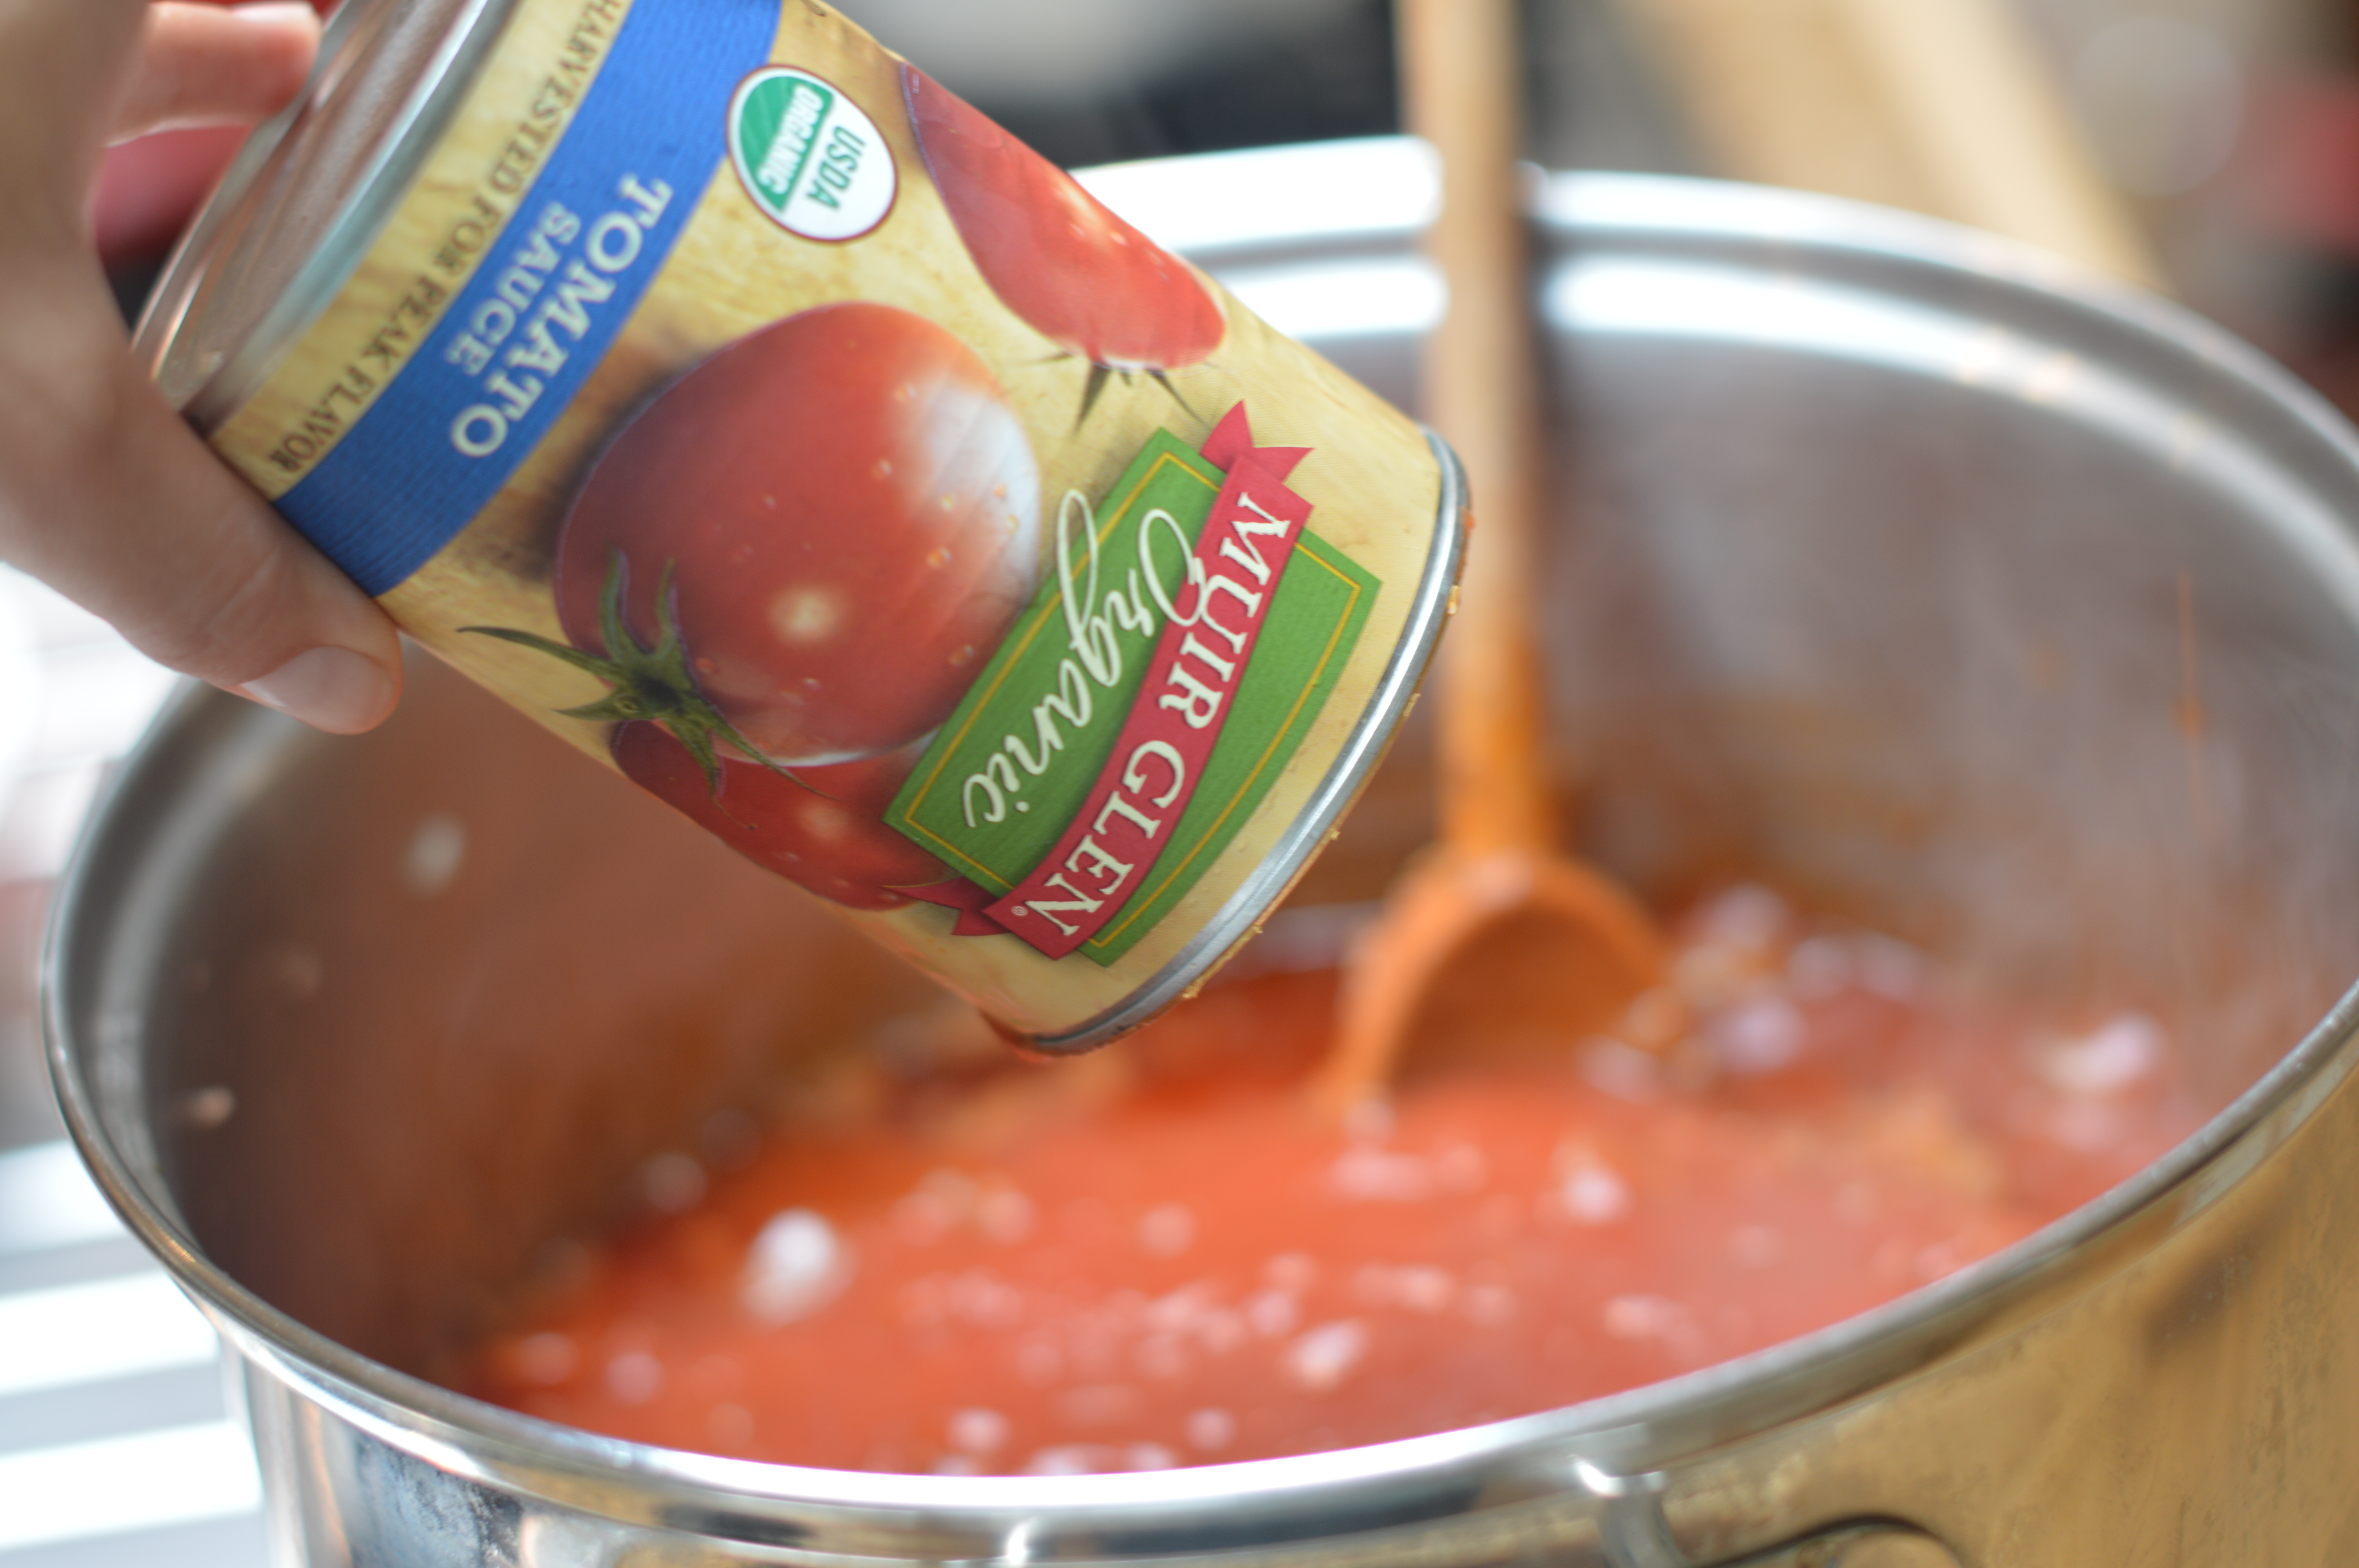
1 cup distilled vinegar

1-2 tablespoons water

1 3/4 teaspoons kosher salt (to taste)

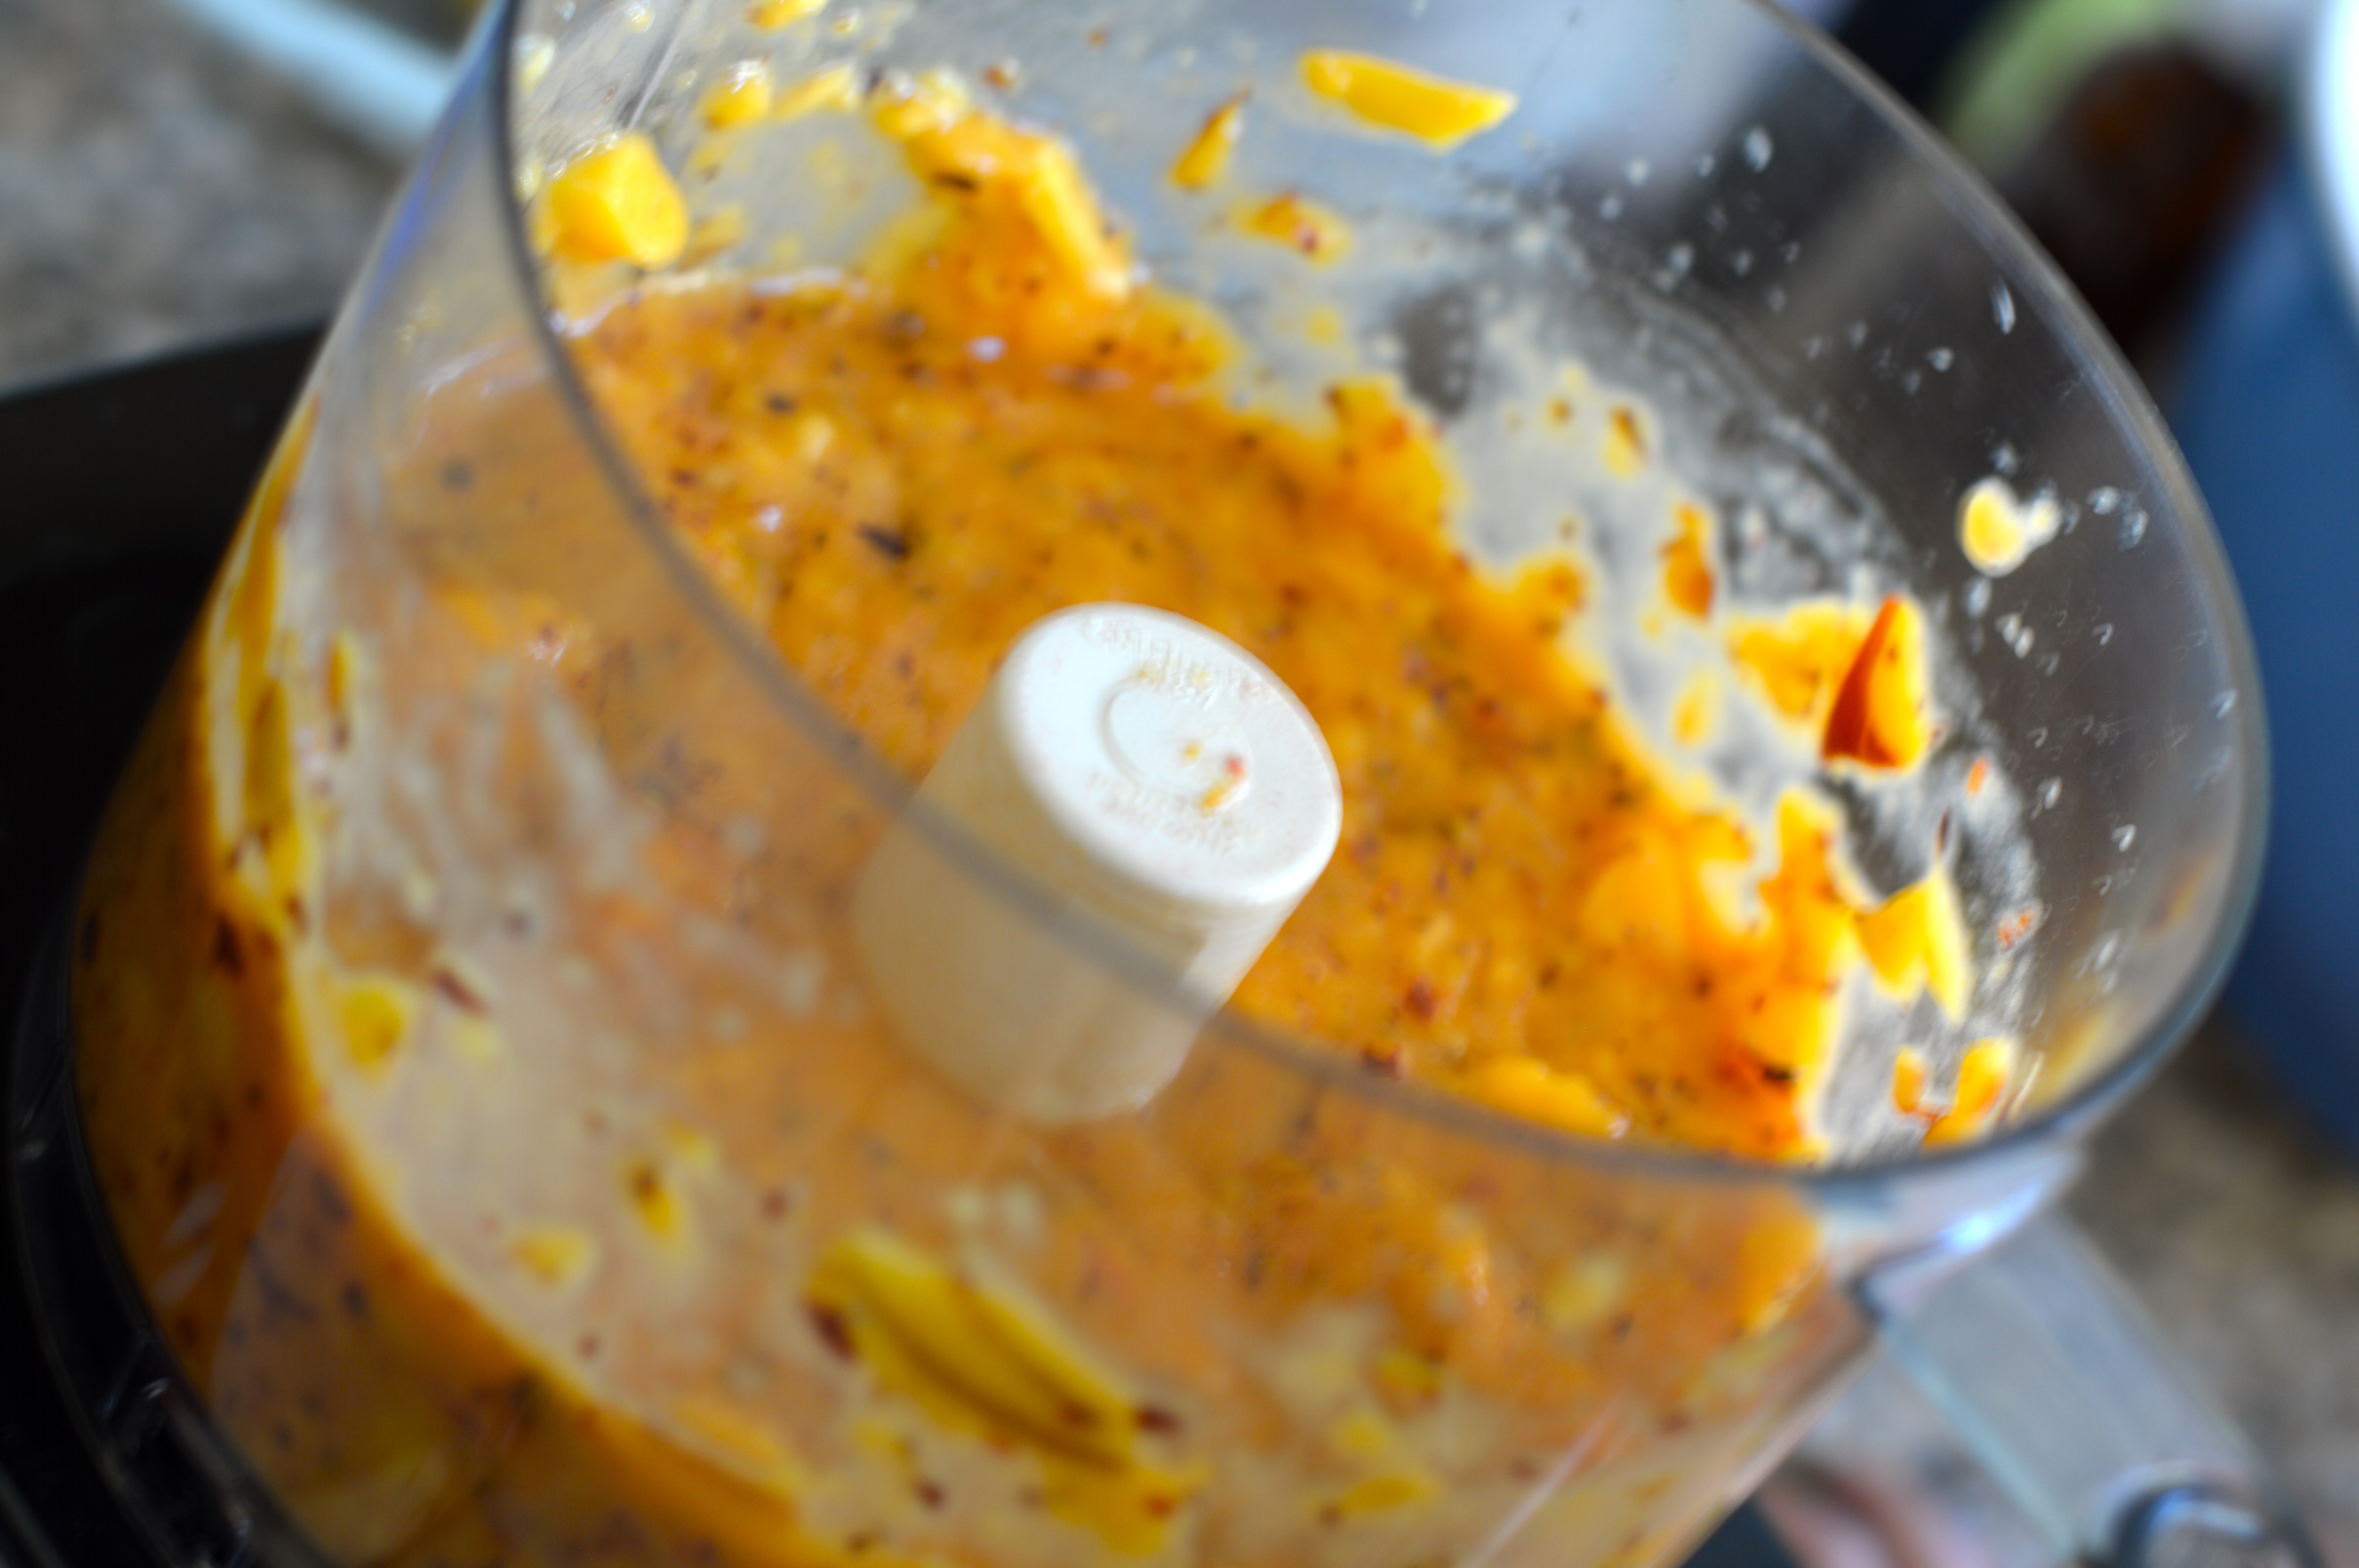
Trim the stems off of the chiles, leaving the base that the stem attaches to.  Toss the chiles in enough olive oil to coat them.  Roast them in the oven or on the grill until you get a nice char on them.  Set aside to cool.  If desired, peel the skins from the chiles (we did not peel the skins off).  Puree the roasted chiles in a food processor or blender with enough vinegar to keep them moving.  Push the pureed chiles through a strainer, extracting as much of the pulp as possible.  Add the water, salt and the rest of the vinegar and chill in the fridge for a few days.  You can eat it immediately, but it gets better with time.  Store in the fridge.

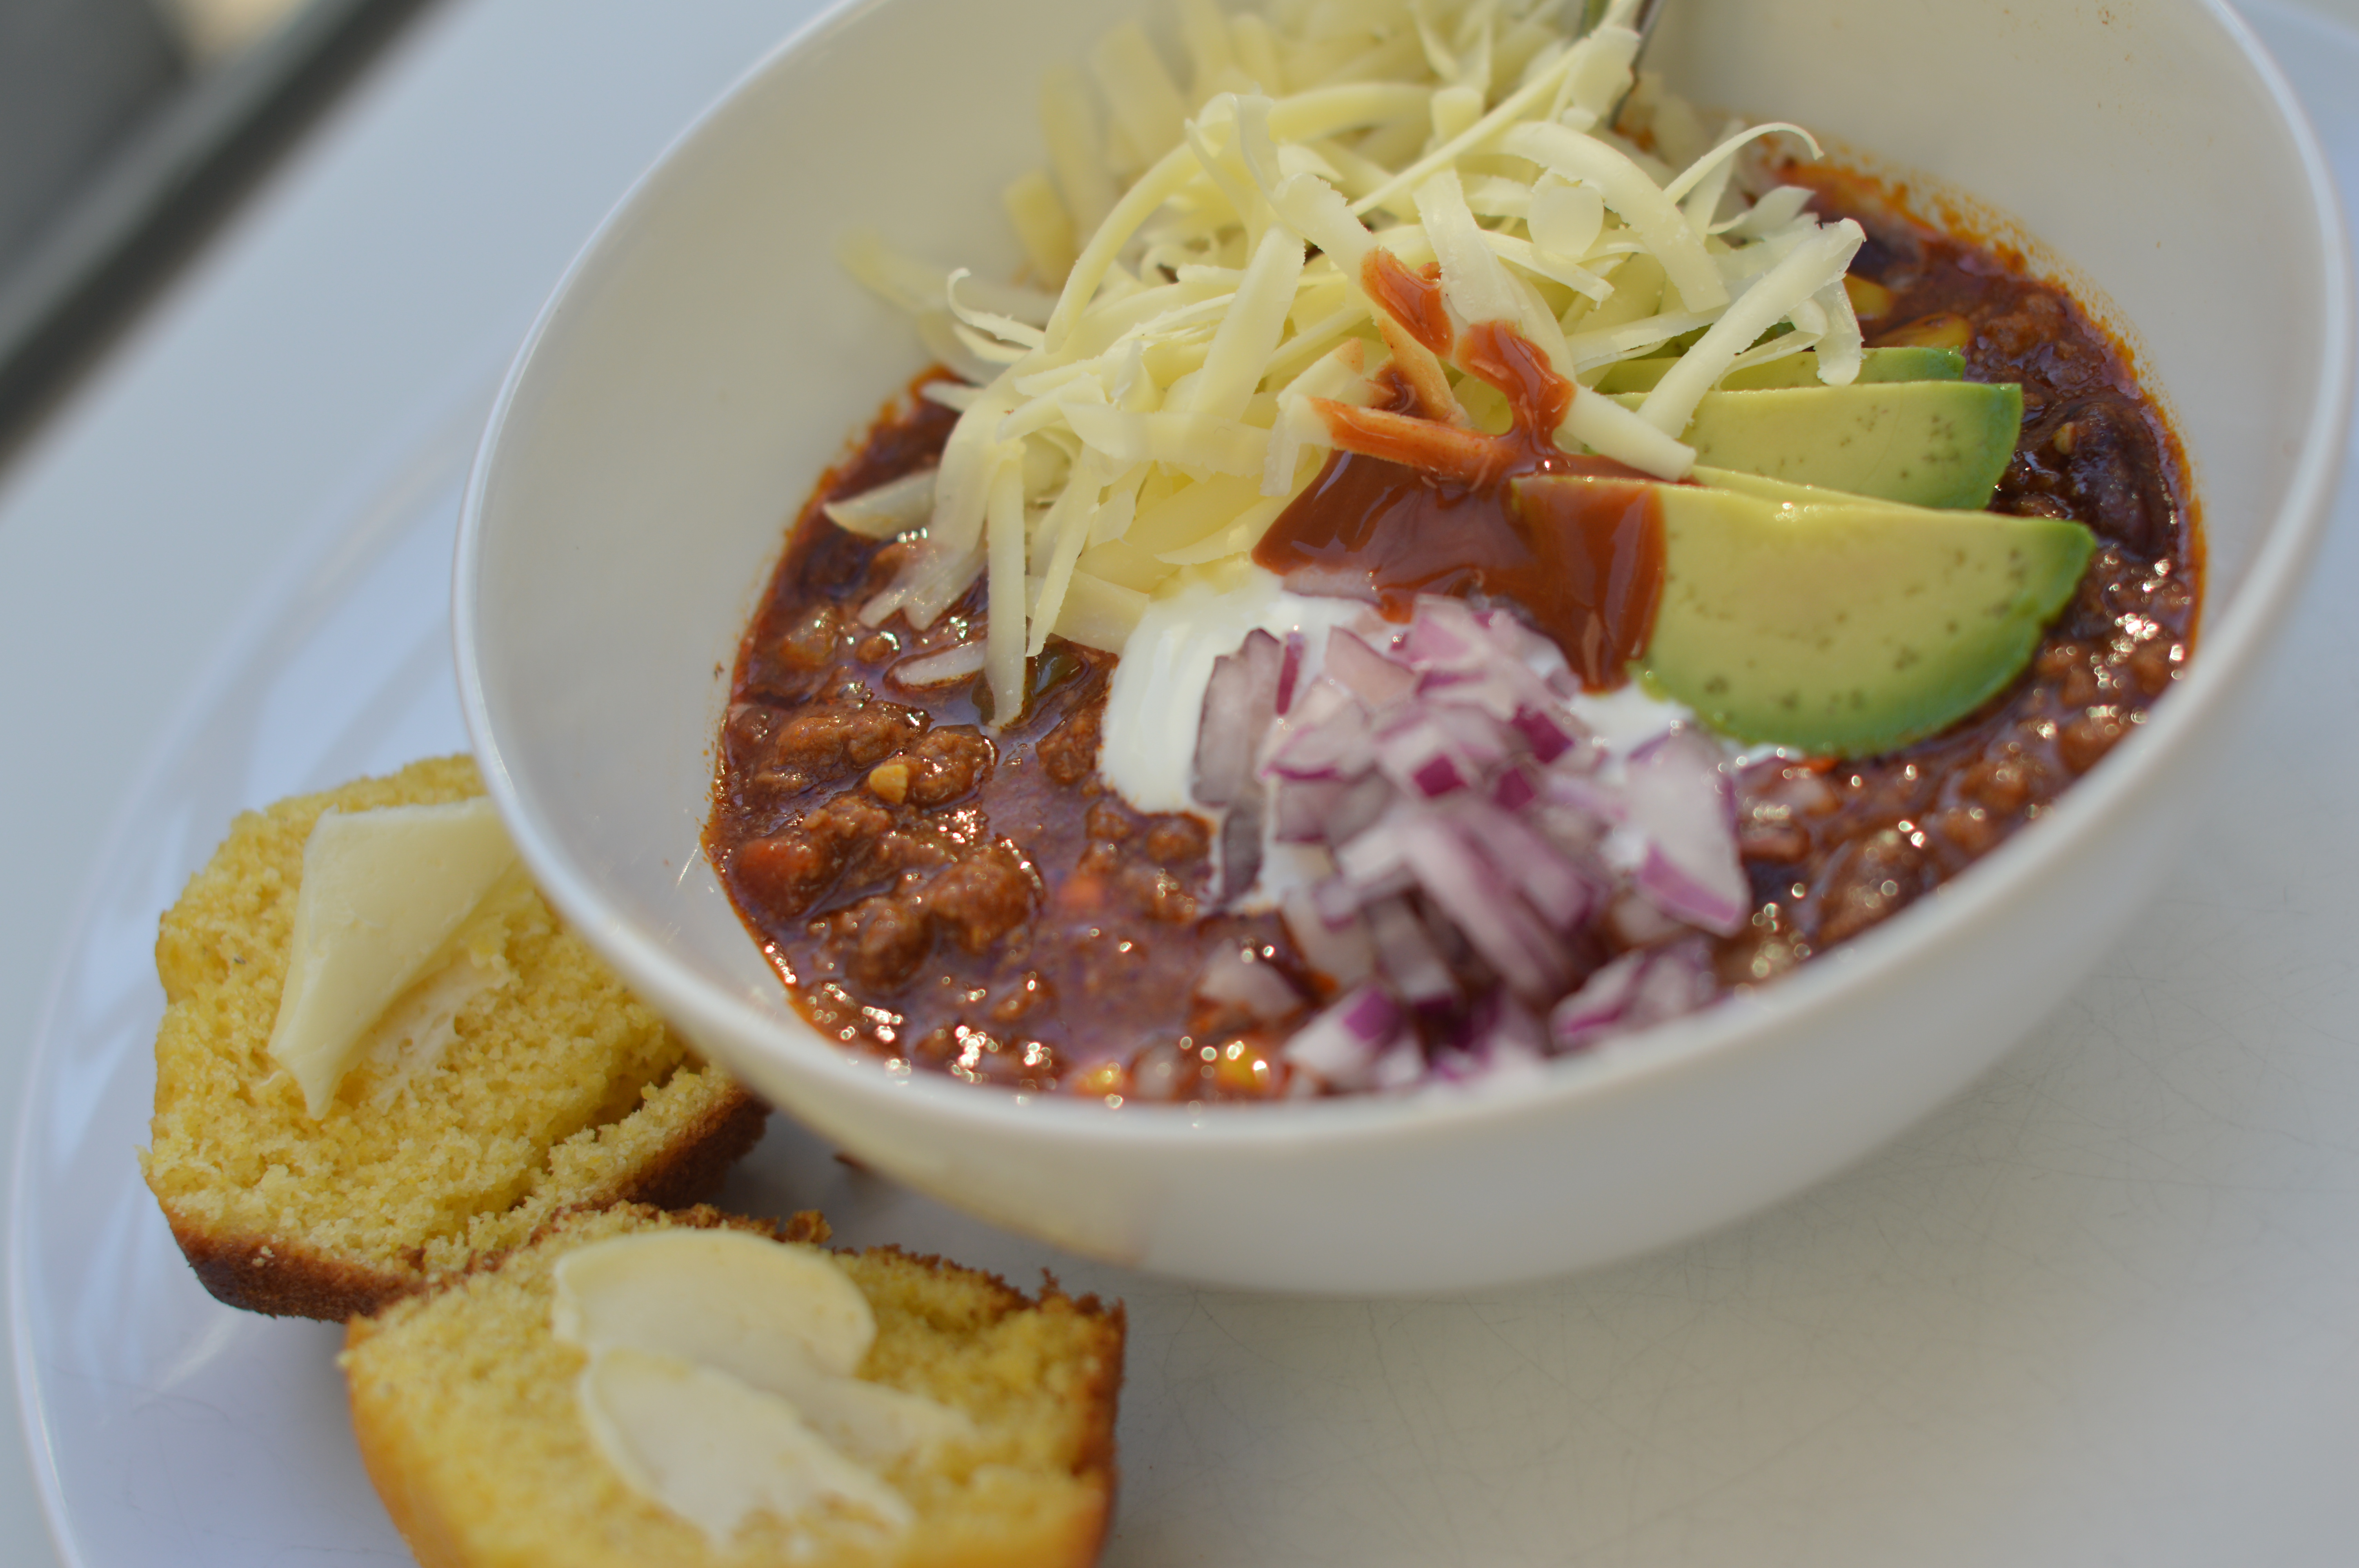
Enjoy on just about anything.  This hot sauce dresses up a basic quesadilla or eggs and would be a perfect accompaniment to a bowl of chili con carne!

Enjoy!

DSC_0011

Chili Con Carne

How many of us were making chili last weekend to celebrate the changing weather and the start of football season?  There is something so natural about making a big pot of soup or chili as the weather begins to turn and we need something to warm us from the inside.  I have mentioned that soup is one of my favorite things to make and I think I will make an effort this season to post more soup recipes, because even if they are not terribly gourmet, they make for great weeknight meals in winter.  They are easy to freeze or make ahead and I find them to be nicely soul satisfying.

DSC_0005

Over the years we have tried many different types of chili recipes.  Chili is the kind of food where people have very strong opinions about what makes chili, chili – high heat, no heat, with beans, no beans, etc…   This is a good time to mention that I was a vegetarian for about 20 years, so the idea that I am making chili con carne at all is something that my younger self might have scoffed at.  But, now that I do eat meat, my husband loves to kid me about being a “recovering vegetarian”.  So even when we make meat dishes, whatever we make is usually loaded with vegetables too.  This is relevant because as we start talking about chili, you will see that I am in the camp that believes in incorporating lots of beans, tomatoes and vegetables to round out this hearty dish.  But do what pleases you.

The chili we love most comes from epicurious.com.  We have been making this recipe for a couple of years now and it is always gobbled up.  The original recipe is called Chili Con Carne with Chili Cheddar Shortcakes and is from Gourmet magazine.  What I like about this version is that it is very classic and a nice base for whatever you like to add.  You make the whole recipe in one pot, which certainly cuts down on clean up.  The cider vinegar adds a nice tang, that you wouldn’t know you want, but you do.  The carrots mellow things out.  I also recommend using a lean or extra lean type of ground beef since you don’t drain the meat in this recipe, but rather just add to the vegetables that are already cooking.   Lastly, the thing I love most about chili, in general, is all the interesting toppings one can add!  We usually make up a batch of cornbread and then add chopped onion, avocado, grated cheese, sour cream and hot sauce (of course)!  I made a double batch of the below this Sunday and we had plenty left over to freeze.

DSC_0059 DSC_0065 DSC_0071 DSC_0072 DSC_0075 DSC_0077 DSC_0085 DSC_0089 DSC_0090 DSC_0094


DSC_0001


Chili Con Carne

serves 6 generously

  • 2 large onions, chopped
  • 1/4 cup vegetable oil
  • 1 tablespoon minced garlic
  • 4 carrots, sliced thin
  • 2 pounds boneless beef chuck, ground coarse in batches in a food processor or by the butcher 
  • 1/4 cup chili powder
  • 1 tablespoon ground cumin
  • 2 tablespoons paprika
  • 1 tablespoon crumbled dried oregano
  • 1 tablespoon dried hot red pepper flakes (to taste)
  • two 8-ounce cans tomato sauce
  • 2 cups beef broth
  • 3 tablespoons cider vinegar
  • 2 19-ounce can kidney beans, rinsed and drained
  • 2 green bell peppers, chopped
In a large pot cook the onions in the oil over moderately low heat, stirring occasionally, until they are softened.  Add the garlic and the carrots, and cook the mixture, stirring, for 1 minute.  Add the chuck and cook it over moderate heat, stirring and breaking up any lumps, for 10 minutes, or until it is no longer pink.  Add the chili powder, the cumin, the paprika, the oregano, and the red pepper flakes and cook the mixture, stirring, for 1 minute.  Add the tomato sauce, the broth, and the vinegar, bring the mixture to a boil, and simmer it, covered, stirring occasionally, for 50 minutes to 1 hour, or until the meat is tender. Add the kidney beans, the bell peppers, and salt and black pepper to taste and simmer the mixture, uncovered, for 15 minutes, or until the bell peppers are tender.
This recipe is easy to make for a crowd.  It can be made a day or two in advance, as the flavors will only get better as they have time to mingle.
Enjoy!

Figs in the PNW

DSC_0017

So it was brought to my attention this summer that figs can grow (and even ripen) in Seattle!  I had no idea.  Ciscoe Morris is a gardening expert in the Seattle area and he tells us that one can grow figs in the PNW! (click here for the seattletimes.com article)  If this bit of news excites you as much as it excites me then check out Raintree Nursery to learn more about the different types of figs that will do well in your climate.  I loved a quote from their site that reads, “If you are among the many people who associate a fig tree with only a hot dry climate, you are in for a delicious surprise.  Fig trees thrive in the Pacific Northwest and much of the nation.”  A delicious surprise, indeed…

If you have been paying attention, you might know that I have a thing for figs.  I might even be developing a reputation… (fig jam, panini sandwiches, and I haven’t even told you about the fig painting that hangs in my dining room!  Yeesh.)  So, after learning about the above, I thought, “What a perfect thing to ask for for my birthday this year!”  Well, wouldn’t you know it, two fig trees were already riding around in my husbands backseat.  I believe his immediate thought upon receiving my fabulous brainstorm, via text, was something along the lines of, “Seriously, woman!?!?”  ESP or just on the same page… we’ll never know.

So… my birthday present this year was a couple of fig trees that someday, just might grow into big trees and maybe, just maybe… will produce figs!!  The giving and planting of a few trees is just about the best birthday present a girl could get in my book.

IMG_1976

This slideshow requires JavaScript.

Artichoke Spinach Lasagna

So our family is going through this kindergarten transition very well, but there are some signs of stress.  My baby is becoming a young man and I feel so, so proud of him.  The day feels long without him and even though I was ready to sell him to a band of gypsies by the end of this summer, I miss him.

So, when I feel a little out of control, I either make lists or I make food to freeze.  I guess the idea is that even if I don’t know what is coming around the bend, at least there will be food to eat in the freezer.  I am someone who does not love to cook.  But, I do like projects.  So I enjoy cooking recipes in large batches and then breaking them down and freezing them in sizes that make sense for different sized gatherings.  Then, on any given day (when things get even crazier than they are today), I have a bunch of homemade meals ready to thaw in my freezer.  We have our standbys, our favorites and these meals are fabulous because they make the house smell wonderful and like someone has been cooking all day.  But, it wasn’t me… at least not that day.

So for the last three days, since Sam started Kindergarten, we have been cooking nonstop.  I have FILLED, and I mean FILLED our freezer.  Mission accomplished.  This mama is feeling the intensity of big changes in our family…

This recipe is adapted from an Artichoke Spinach Lasagna I found on allrecipes.com.  Double the below quantities to make enough to freeze.  Not only is this a great method of cooking for busy families, but it is great to have some meals available to share with friends or for impromptu entertaining.

DSC_0003 DSC_0005 DSC_0007 DSC_0009 DSC_0010 DSC_0012 DSC_0015 DSC_0018 DSC_0022 DSC_0023 DSC_0024 DSC_0025 DSC_0028 DSC_0029 DSC_0030

DSC_0034 DSC_0035 DSC_0036

Artichoke Spinach Lasagna

yield: 8 servings

olive oil cooking spray

9 uncooked lasagna noodles (I prefer no-cook Barilla)

1 onion, chopped

4 cloves garlic, chopped

1 (14.5 ounce) can vegetable or chicken broth

1 tablespoon chopped fresh rosemary

1 (14 ounce) can marinated artichoke hearts, drained and chopped

1 (10 ounce) package frozen chopped spinach, thawed, drained and squeezed dry

1 (28 ounce) jar tomato sauce

salt & pepper to taste

3 cups shredded mozzarella cheese, divided

1 (4 ounce) package herb and garlic feta, crumbled

(double or triple for freezing of multiple future meals)

Preheat oven to 350 degrees.

Bring a lage pot of lightly salted water to boil.  Add noodles and cook for 8-10 minutes or until al dente; drain.  (Or skip this step if using no-boil lasagna noodles).

Spray a large skillet with cooking spray and heat on medium high.  Saute onion and garlic for 3 minutes, or until onion is tender-crisp.  Stir in broth and rosemary; bring to a boil.  Stir in artichoke hearts and spinach; reduce heat, cover and simmer 5 minutes.  Stir in tomato sauce.  Add salt and pepper to taste.

Spread 1/4 of the artichoke mixture in the bottom of the prepared baking dish; top with 3 noodles.  Sprinkle 3/4 cup mozzarella cheese over noodles.  Repeat layers two more times, ending with the artichoke mixture and mozzarella cheese.  Sprinkle crumbled feta on top.

Bake, covered, for 40 minutes.  Uncover, and bake 15 minutes more, or until hot and bubbly.  Let stand 10 minutes before cutting.

Enjoy tonight or 3 months from now!

————————————————————————-

Side note:  Another important thing I want to mention is how happy it makes me that Muir Glen brand of tomatoes has decided to get rid of the BPA in their cans.  Tomatoes are notoriously difficult to deal with for corporations because of their high acidity.  They lead the industry in their choice to take the chemical of BPA out of their canned goods.  More and more companies are trying to get with the program, but for now, I trust and applaud Muir Glen for making the choice to help us keep our families safe from chemicals in our food.  Just FYI, the way you can tell if your cans are free of BPA (when talking about tomatoes only) is the copper lining color that you see below.  Thanks, Muir Glen!

DSC_0033

1st Day of School Oatmeal Cookies

Well, it happened.  The first day of kindergarten has arrived and the world appears to still be turning.  All seems okay!  The boy will come home in a few hours and we will have some homemade cookies to greet him.  It may be real, or imagined, but I believe I was greeted with these same cookies when I was in school.   This is not a complicated or secret recipe, by any means, but it is worth remembering!  It is the Vanishing Oatmeal Cookies on the inside of the Quaker Oats container.  We’re not raisin fans in this house, so we sub in some Ghiradelli Milk Chocolate Chips instead.  Hopefully, it will be just the taste of home that our kindergartener needs after his first day!

DSC_0001 DSC_0002

Vanishing Oatmeal Cookies

yield: about 4 dozen

1/2 cup (1 stick) plus 6 tablespoons butter, softened

3/4 cup firmly packed brown sugar

1/2 cup granulated sugar

2 eggs

1 teaspoon vanilla

1 1/2 cups all-purpose flour

1 teaspoon baking soda

1 teaspoon cinnamon

1/2 teaspoon salt

3 cups Quaker Oats (quick or old fashioned uncooked)

1 cup raisins (or chocolate chips)

Heat oven to 350 degrees.

In large bowl, beat butter and sugars on medium speed of electric mixer until creamy.

Add eggs and vanilla; beat well.

Add combined flour, baking soda, cinnamon and salt; mix well.

Drop dough by rounded tablespoons onto ungreased cookie sheets.

Bake 8-10 minutes or until light golden brown.  Cool 1 minute on cookie sheets; remove to wire rack.  Cool completely.  Store tightly covered.

Slow Roasted Tomatoes

DSC_0015 DSC_0020DSC_0054 DSC_0057 DSC_0058 DSC_0060 DSC_0061 DSC_0063

Some days there just aren’t enough hours in the day.  And some weeks there just aren’t enough hours to make tomato sauce… So what does one do when the tomatoes are ripe and abundant in the garden, but you don’t have enough time to can or eat them all before they go bad?  The answer?  You make slow roasted tomatoes.  “Notes on Dinner” has done a lovely job outlining how to slow roast tomatoes.  Her recipe is based on a menu item at a fantastic local restaurant’s menu.  Vios Cafe is a wonderful restaurant in Seattle and is extremely family-friendly with an entire area devoted to kid play.  One can enjoy a glass of wine, while eating delicious food, and everyone is happy.  But, until you are able to make it to Vios, cook yourself up some of their slow roasted tomatoes.

I must admit that I am never patient enough to truly slow roast, although I know they are delicious.  I typically cook the tomatoes on 350 degrees for an hour or two depending on the size of the tomatoes.  Add a drizzle of olive oil, salt and pepper and whatever other herbs or flavors you wish, you let the tomatoes caramelize on the pan.  You will end up with a flavor that you won’t believe.  The already deliciously fresh tomatoes become even more full flavored and amazing.  After tasting these, you really won’t need much inspiration for what to do with them.  Spooning them off the pan and straight into your mouth is one very good idea, but here are a few others if you need some encouragement.

  1. Roasted Tomato Tartine
  2. Shaved Fennel, Roasted Tomato & Pistachio Salad
  3. Roasted Tomato & Goat Cheese Tart

Roasted tomatoes are wonderful to have around.  We will use them in soups, pasta sauces, on pizzas, in salads, and on antipasti platters.  Roasted tomatoes have a rich, sweet, concentrated flavor.  They are fantastic…  Enjoy!!

Brie and Fig Jam Panini

DSC_0038

So often I look at a project I have completed in the past and think to myself, “Okay, I’ve done that.  Now how could I do it better next time?”  I think this is part of the creative process.  We are always looking at things and wondering how they could be improved.  (You’ll see more on that in a few weeks when I look at my pickle making process.)

But this week, I’d like to stop and say that last year I made loads of delicious fig jam.  Admittedly, fig is my favorite fruit preserve.  It just really makes me happy.  I made lots of it because the year before I ran out.   This year, I am not making one change to that recipe.  Shoot, I lied.  One teeny change… (I cut the figs into eight pieces instead of four pieces this year) But it really is perfect just the way it is.  No (read: very little) improvement necessary!  So, you are welcome to look at last year’s recipe for fig preserves in my post called Ambrosia (here).  I really do think you should try it… it could change your life.

DSC_0029

But, since I still want to offer you something new today, here is my favorite thing to do with fig jam, as mentioned in Ambrosia.

Brie, Salami and Fig Jam Panini

yield: makes one sandwich

ingredients

bread (sourdough, ciabatta roll, whatever you like)

4-5 slices of salami

3-4 slices of brie

Good amount of fig jam slathered on one side of the sandwich

Throw it all together.  Place in a panini maker or grill on the stove, like your favorite grilled cheese.

Voila!

DSC_0002 DSC_0004 DSC_0005 DSC_0006 DSC_0007 DSC_0010 DSC_0011 DSC_0013

A sophisticated, savory sweet sandwich that borders on heavenly.  I find that this is a wonderful lunch to make at home with the kids, as it is easy to pull together and make right alongside their traditional grilled cheese.  Add a simple salad and it also makes for a nice light dinner!

Enjoy!

Fresh Peach Ice Cream

The kids picked out peaches this week and we decided to make ice cream.  When the weather is warm, who doesn’t like a little ice cream to cool things down?  We have an ice cream maker that we have owned for years, but only recently discovered how easy ice cream can be!  In only a few steps we were ready for a little weeknight ice cream social!

DSC_0002 DSC_0004 DSC_0005 DSC_0008 DSC_0009 DSC_0010 DSC_0011 DSC_0014 DSC_0015

We adapted a recipe from our Cuisinart Ice Cream Maker Recipe Booklet for fresh strawberry ice cream and used peaches instead.  This ice cream is best made when peaches are at their peak of freshness – this ice cream is light, sweet and fruity!

Fresh Peach Ice Cream

Makes about 5 cups  (ten 1/2-cup servings)

Ingredients:

1 1/2  cups fresh peaches, pits removed and cut in half

3/4 cup whole milk

2/3 cup granulated sugar

pinch salt

1 1/2 cup heavy cream

1 1/2 teaspoon pure vanilla extract

1.  Put peach halves into the bowl of a food processor fitted with the chopping blade.  Pulse peaches until rough/finely chopped (depending on preference).  Reserve in bowl.

2.  In a medium bowl, use a hand mixer on low speed or whisk to combine the milk, sugar and salt until the sugar is dissolved.  Stir in the heavy cream and vanilla.  Stir in reserved peaches with all the juices.  Cover and refrigerate 1 to 2 hours, or overnight.

3.  Turn on your ice cream maker and follow instructions for your maker.  For our Cuisinart ice cream maker that means, pouring the mixture into the frozen freezer bowl and let mix until thickened, about 15-20 minutes.  The ice cream will have a soft, creamy texture.  If a firmer consistency is desired, transfer the ice cream to an airtight container and place in freezer for about 2 hours.  Remove from freezer about 15 minutes before serving.

Enjoy!

This slideshow requires JavaScript.

Dill Green Beans

DSC_0003

Pickled beans have always been a favorite of mine.  I remember once when I was about 12, we went to a silent auction and the only thing I wanted to bid on, besides a flourescent pink ski parka, were the pickled green beans.  I remember savoring that jar of beans.  Weird how those memories can stay with you.  Anyway, since then I have been pickling my own green beans and am excited to share my favorite recipe with you!  This recipe comes from one of my favorite canning books, Tart and Sweet: 101 Canning and Pickling Recipes for the Modern Kitchen by Kelly Geary and Jessie Knadler.  I have mentioned this book before, because it is one of my favorites for a quick and dirty lesson on canning and the recipes included both capture the traditional as well as the innovative.

DSC_0092

Since time is short and summer is busy, we’re going to get right down to it today.  We grew green beans in our garden again this year.  They are doing well, but I did need to supplement with more beans from the store.  If you have never pickled, this is an excellent recipe to begin your canning adventure with.  It is incredibly easy and the only part that takes any time at all is trimming the beans.  It is so easy and you will be very happy once you have tried this project… Your bloody mary recipe will thank you as well.

DSC_0023DSC_0043 DSC_0044 DSC_0045 DSC_0050 DSC_0058 DSC_0064 DSC_0065 DSC_0069 DSC_0073 DSC_0079 DSC_0084 DSC_0086 DSC_0087

Dilly Beans

yield: approximately 4 pint (500 mL) jars

4 cups white vinegar

3 tablespoons sherry vinegar

2 cups water

3 tablespoons kosher salt

4 pounds green beans, trimmed to fit in jars

Per Jar:

3 dill sprigs or 1 dill head

2 cloves garlic

1 teaspoon yellow mustard seed

1/2 teaspoon brown mustard seed

1/4 teaspoon black peppercorns

Prepare canning water, jars, and lids.

In a large steel saucepan, combine vinegar, water and salt.  Bring to a boil over medium-high heat, stirring to dissolve salt.

Place dill, garlic, mustard seeds, and peppercorns in each hot jar.  Pack the beans in tightly.

Pour boiling brine over the beans, leaving 1/2 inch headspace and making sure the beans are covered in liquid.  Check for air bubbles, wipe the rims, and seal.

Process for 10 minutes in water bath, adjusting for elevation.

DSC_0095

DSC_0097

DSC_0096

A few more tips:  Remember that canning is about preserving great produce, so can with the best ingredients you can find.  When packing jars for pickling, pack the jars as tightly as possible, without bruising produce, as the liquid will make everything float and ingredients will shift around.  Canning, especially if you are just beginning, is always more fun with a friend or two.  Use this project as the excuse to get together with a like-minded friend!  The act of having a project to do together always takes away the guilt I feel when just getting together with someone for coffee and a much-needed catch up.  That may not be your hang up, but it is one of mine.

Happy Pickling!

Author Note:  You might notice that one of these jars has carrots in it.  That is another quick tip.  If you have extra jars all ready to go, give your fridge a quick look to see if anything else in there could stand to be pickled!  Fun way to experiment with new combinations.  Also, this project happened in a post-bedtime burst of productivity, so the photos are not perfect.  These projects happen when they can happen in my life, so that’s the way it goes!  Hope it still inspires you to create!

Apricot Jam (3 intriguing ways!)

DSC_0005

So, (surprise, surprise) things don’t seem to be slowing down around here!  Despite the fact it is summer, we just seem to have more things we want to see, do, and eat!  We were at the farmer’s market last Sunday and I noticed that apricots are in season.  For some reason I thought it would be later!  Well, the guy said it was time, so we bought 25 pounds of apricots.  As I look back at the blog though, this is the exact same time as last year.  I posted Apricot Rosemary Jam on July 25th, so I guess we are right on schedule!  Between the time we bought them and when we made the jam, we ate a whole lot of apricots and also took out the pits… and were left with approximately 12 pounds of apricots.  So, we made four small batches of jam!

DSC_0002

As pleased as I was with the interesting herbal quality of the Apricot Rosemary Jam, I wanted to try something new this year.  One of my other favorites from last year was the Heirloom Tomato Basil Jam, but I didn’t love how long that recipe took to make.  So, this year, I decided to try Apricot-Basil Jam to try to get the best of both worlds.  As I mentioned in last year’s post, apricot jam is one of my favorites because it retains so much brightness in the flavor.  It is also very, very easy.  The prep is simple and quick and those are all important elements for those of us who enjoy preserving, but don’t have loads of time.  This is a fruit worth preserving!

DSC_0007

I also happened upon a great magazine this summer that I want to share with you.  Better Homes and Gardens produces some Special Interest Publications that seem to be seasonal in nature.  I saw that this year they have a Canning: preserving, freezing, drying edition of their magazine this summer (supposed to be displayed until September 9th and is $9.99).  It is a great guide to the basics of preserving.  The magazine is affordable and contains so much great information as well as both traditional and innovative recipes.  If you are curious about preserving food and want to learn more, but don’t feel like buying a bunch of books, this would be a great first step in learning more!  As I was flipping through the magazine I saw that they created some fantastic variations to try.  They were making peach jam and some of their variations were quite nice: cardamom-peach, sweet basil-peach, bourbon-peach, and chipotle-peach – intriguing, no?  Based on their great ideas, I decided to follow their example and try some of these variations for our apricot jams.

Without further ado, Apricot Jam 2013!

DSC_0045 DSC_0042 DSC_0041 DSC_0039

Apricot Jam

yield: makes 7 half pints

6 cups (3 lbs) apricots (halved and pitted)

6 cups sugar

1/2 cup water

2 tablespoons lemon juice

Mash apricots, not necessary for them to all be the same size.  Place apricots, water, and sugar in a non-reactive pot and bring to a boil.  Stir fruit mixture regularly.  Cook for about 15-20 minutes, until fruit thickens and runs slowly and thickly off back of spoon.  Remove pot from heat.

Ladle jam into half-pint jars.  Wipe rims of jars with wet paper towel, apply lids and rings and process in your boiling water canner for 5 minutes.

Remove jars from pot.  Let cool.  After about 20 minutes, turn jars upside-down to disperse fruit.  When jars are cool enough to handle, test seals.  If seals are good, store jars in a cool, dark place.  If any of the jars did not seal, place those jars in the fridge and use within a month or two.

DSC_0003
apricot jam with cream cheese on crackers (clockwise: apricot-rye whiskey, chipotle-apricot, sweet basil-apricot)

Variations:

Sweet Basil-Apricot Jam:  Prepare as directed, except stir in 1 cup chopped fresh basil after skimming off foam.

Apricot-Rye Whiskey Jam:  Prepare as directed, except stir in 1/2 cup whiskey with the sugar, apricots, lemon juice and water.

Chipotle-Apricot Jam:  Prepare as directed, except stir in 2 tablespoons of finely chopped chipotle chile peppers in adobo sauce with the sugar, apricots, lemon juice and water.

DSC_0056DSC_0008DSC_0055