Dill Carrots

DSC_0026

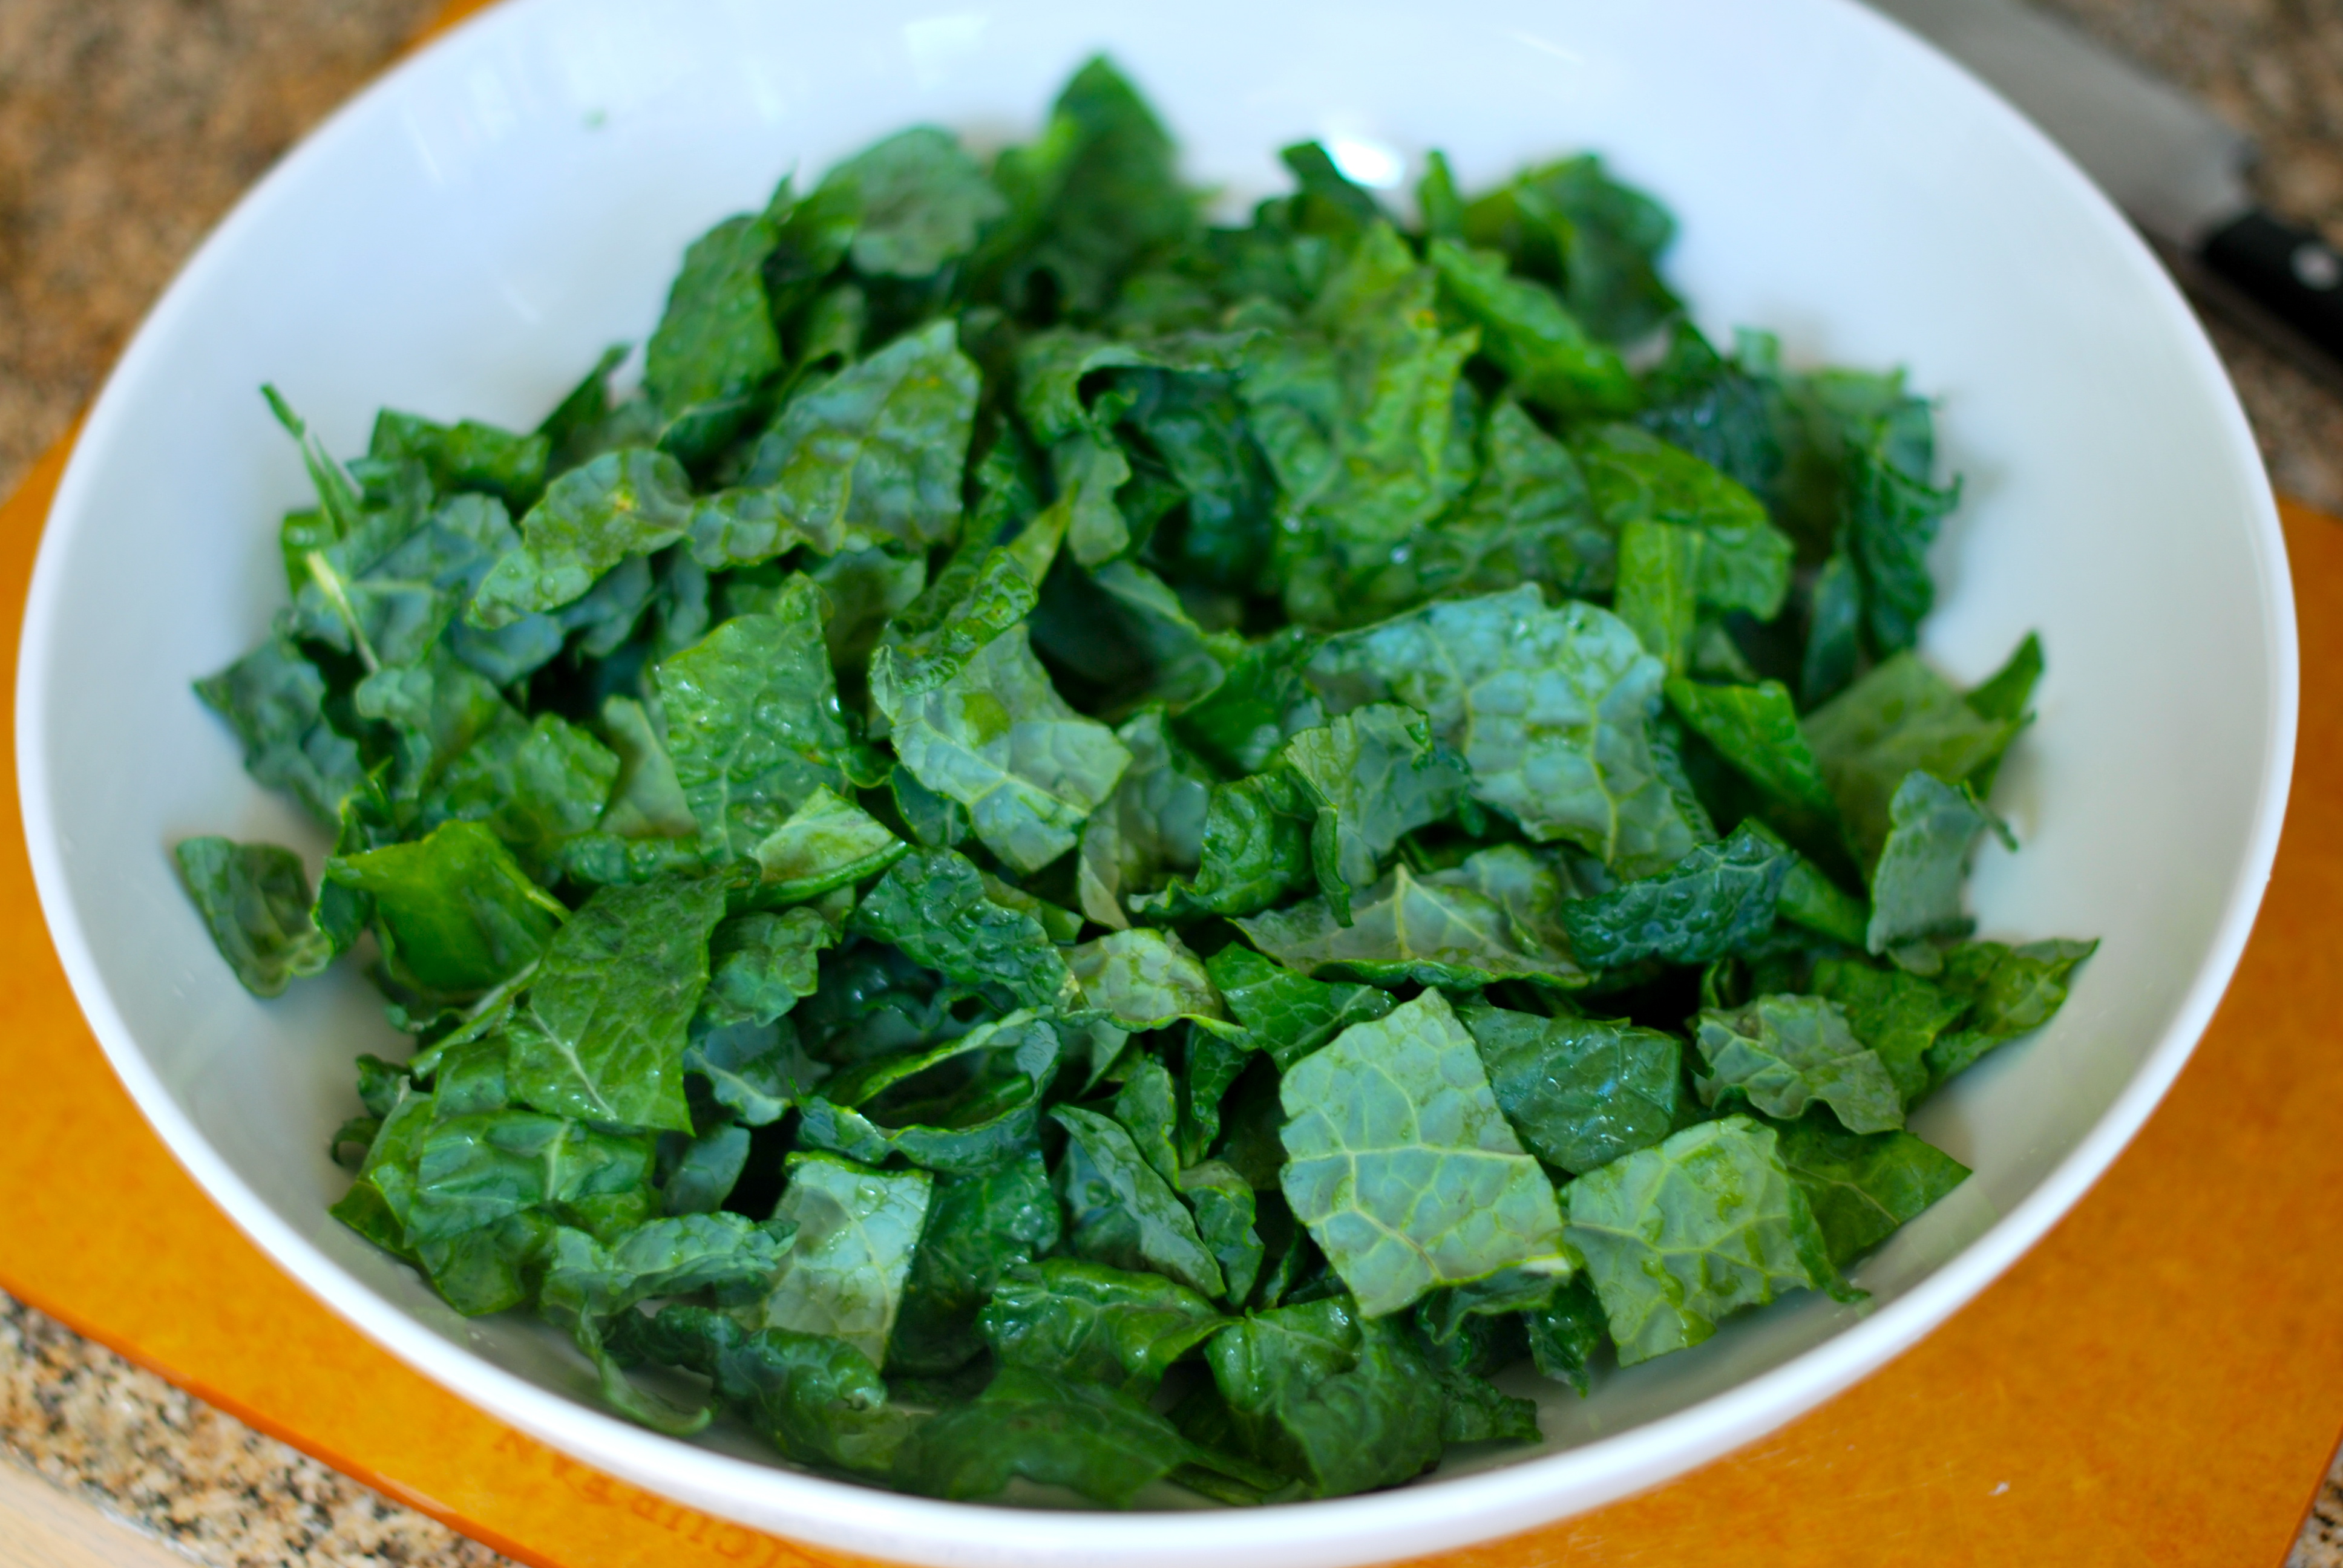
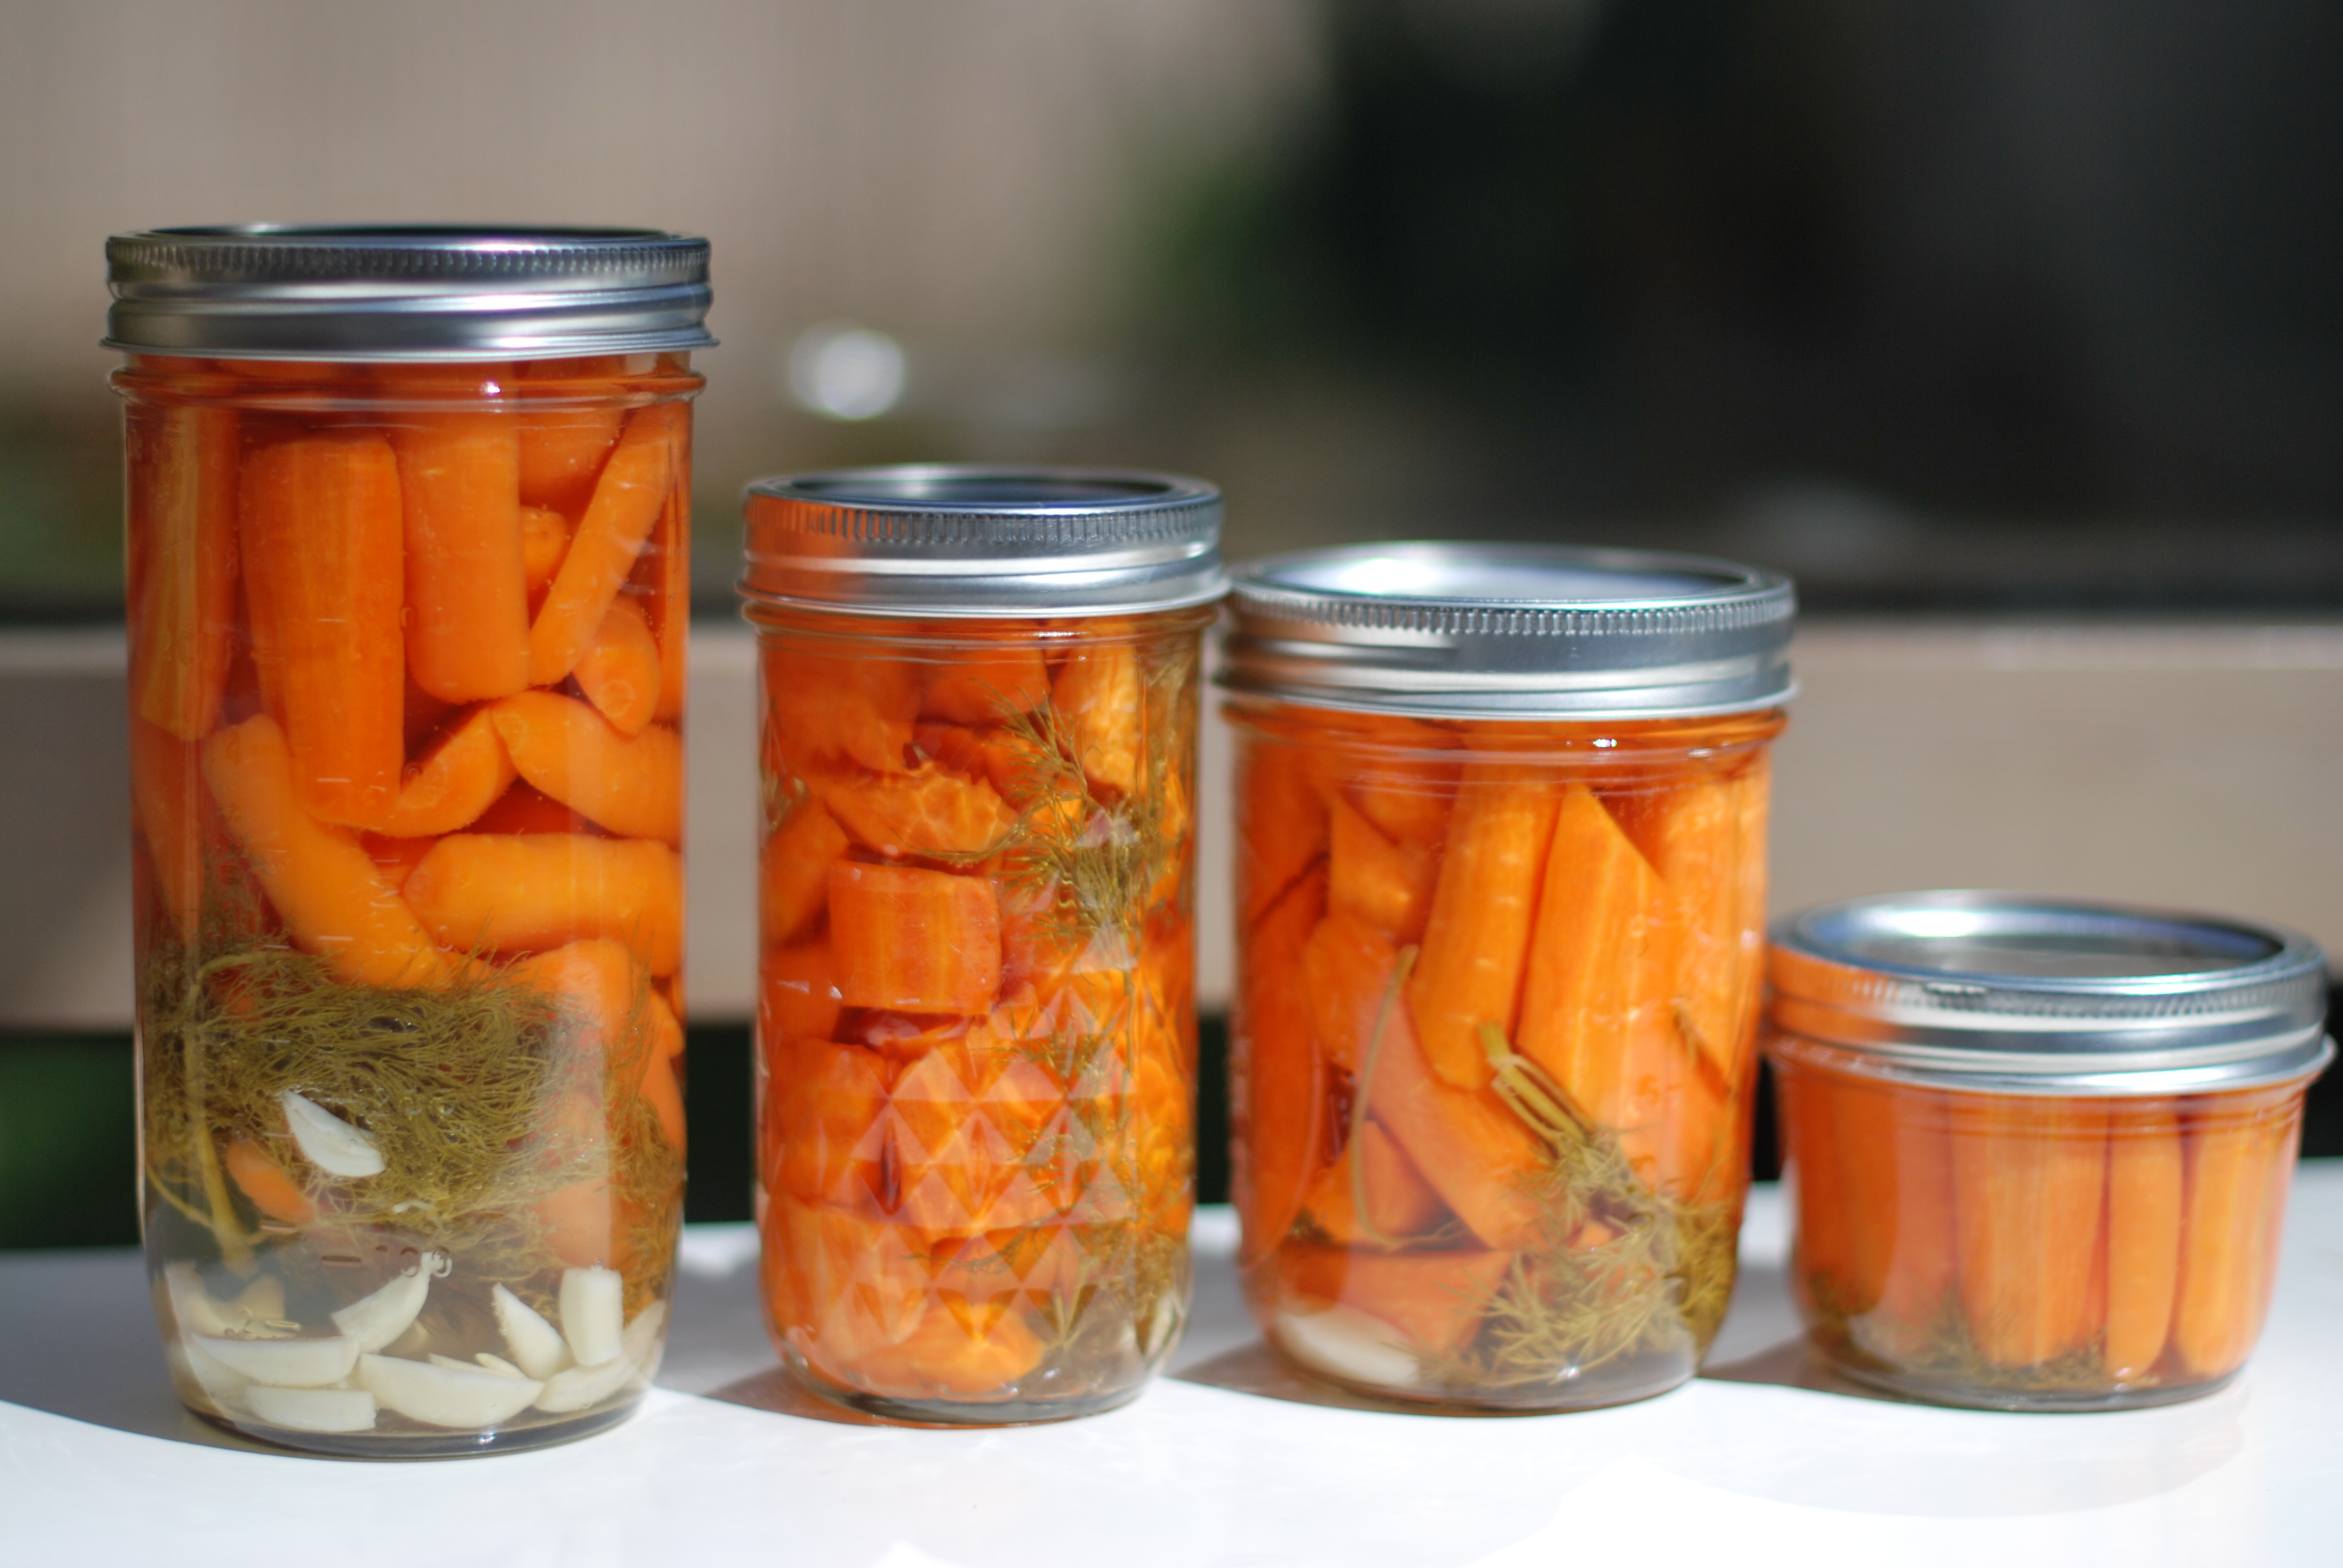
It is getting to be that time of year again!  Canning season is approaching and Dill Carrots seem like the perfect recipe to begin the season.  This great recipe is perfect for beginners as it is super easy and very straightforward.  If you have never tried it, pickling something is extremely satisfying!  You get to hear the joyous “pop, pop, pop” sounds in you kitchen as your jars seal… And it requires less time and stirring than small-batch jams.  Plus, the vibrant jewel-toned colors are enough to brighten anyone’s day!

Dill Carrots were introduced to me by a friend who also claims the title of “most accomplished canning lady I know.”  She brought them to a canning party I threw and everyone raved about them.  When she mentioned that her kids gobble them up too, we all immediately requested the recipe!  Dill Carrots is inspired by a the recipe in Ball Complete Book of Home Preserving.  This canning cook book is a great guide for just about anything you might wish to preserve.  The Dill Carrots recipe is quite versatile in that you can add spice (or not), make with fresh dill (or use dried if not available), cut up carrots from the garden (or use bagged baby carrots from the grocery store).  All variations produce a nice perky flavor that will add interest to your antipasti trays or make a great garnish for sandwiches.  This time around I decided to double the batch and make half out of bagged carrots and half cut from full size.  I will report back in a few weeks if I can tell any real difference in the flavor or texture of this variation.  I also omitted the red pepper flakes, as I wanted to make this batch family-friendly!

DSC_0003 DSC_0005 DSC_0006 DSC_0016 DSC_0021


Dill Carrots

Makes about seven pint (500 mL) jars

6 cups white vinegar

2 cups water

1/2 cup pickling or canning salt

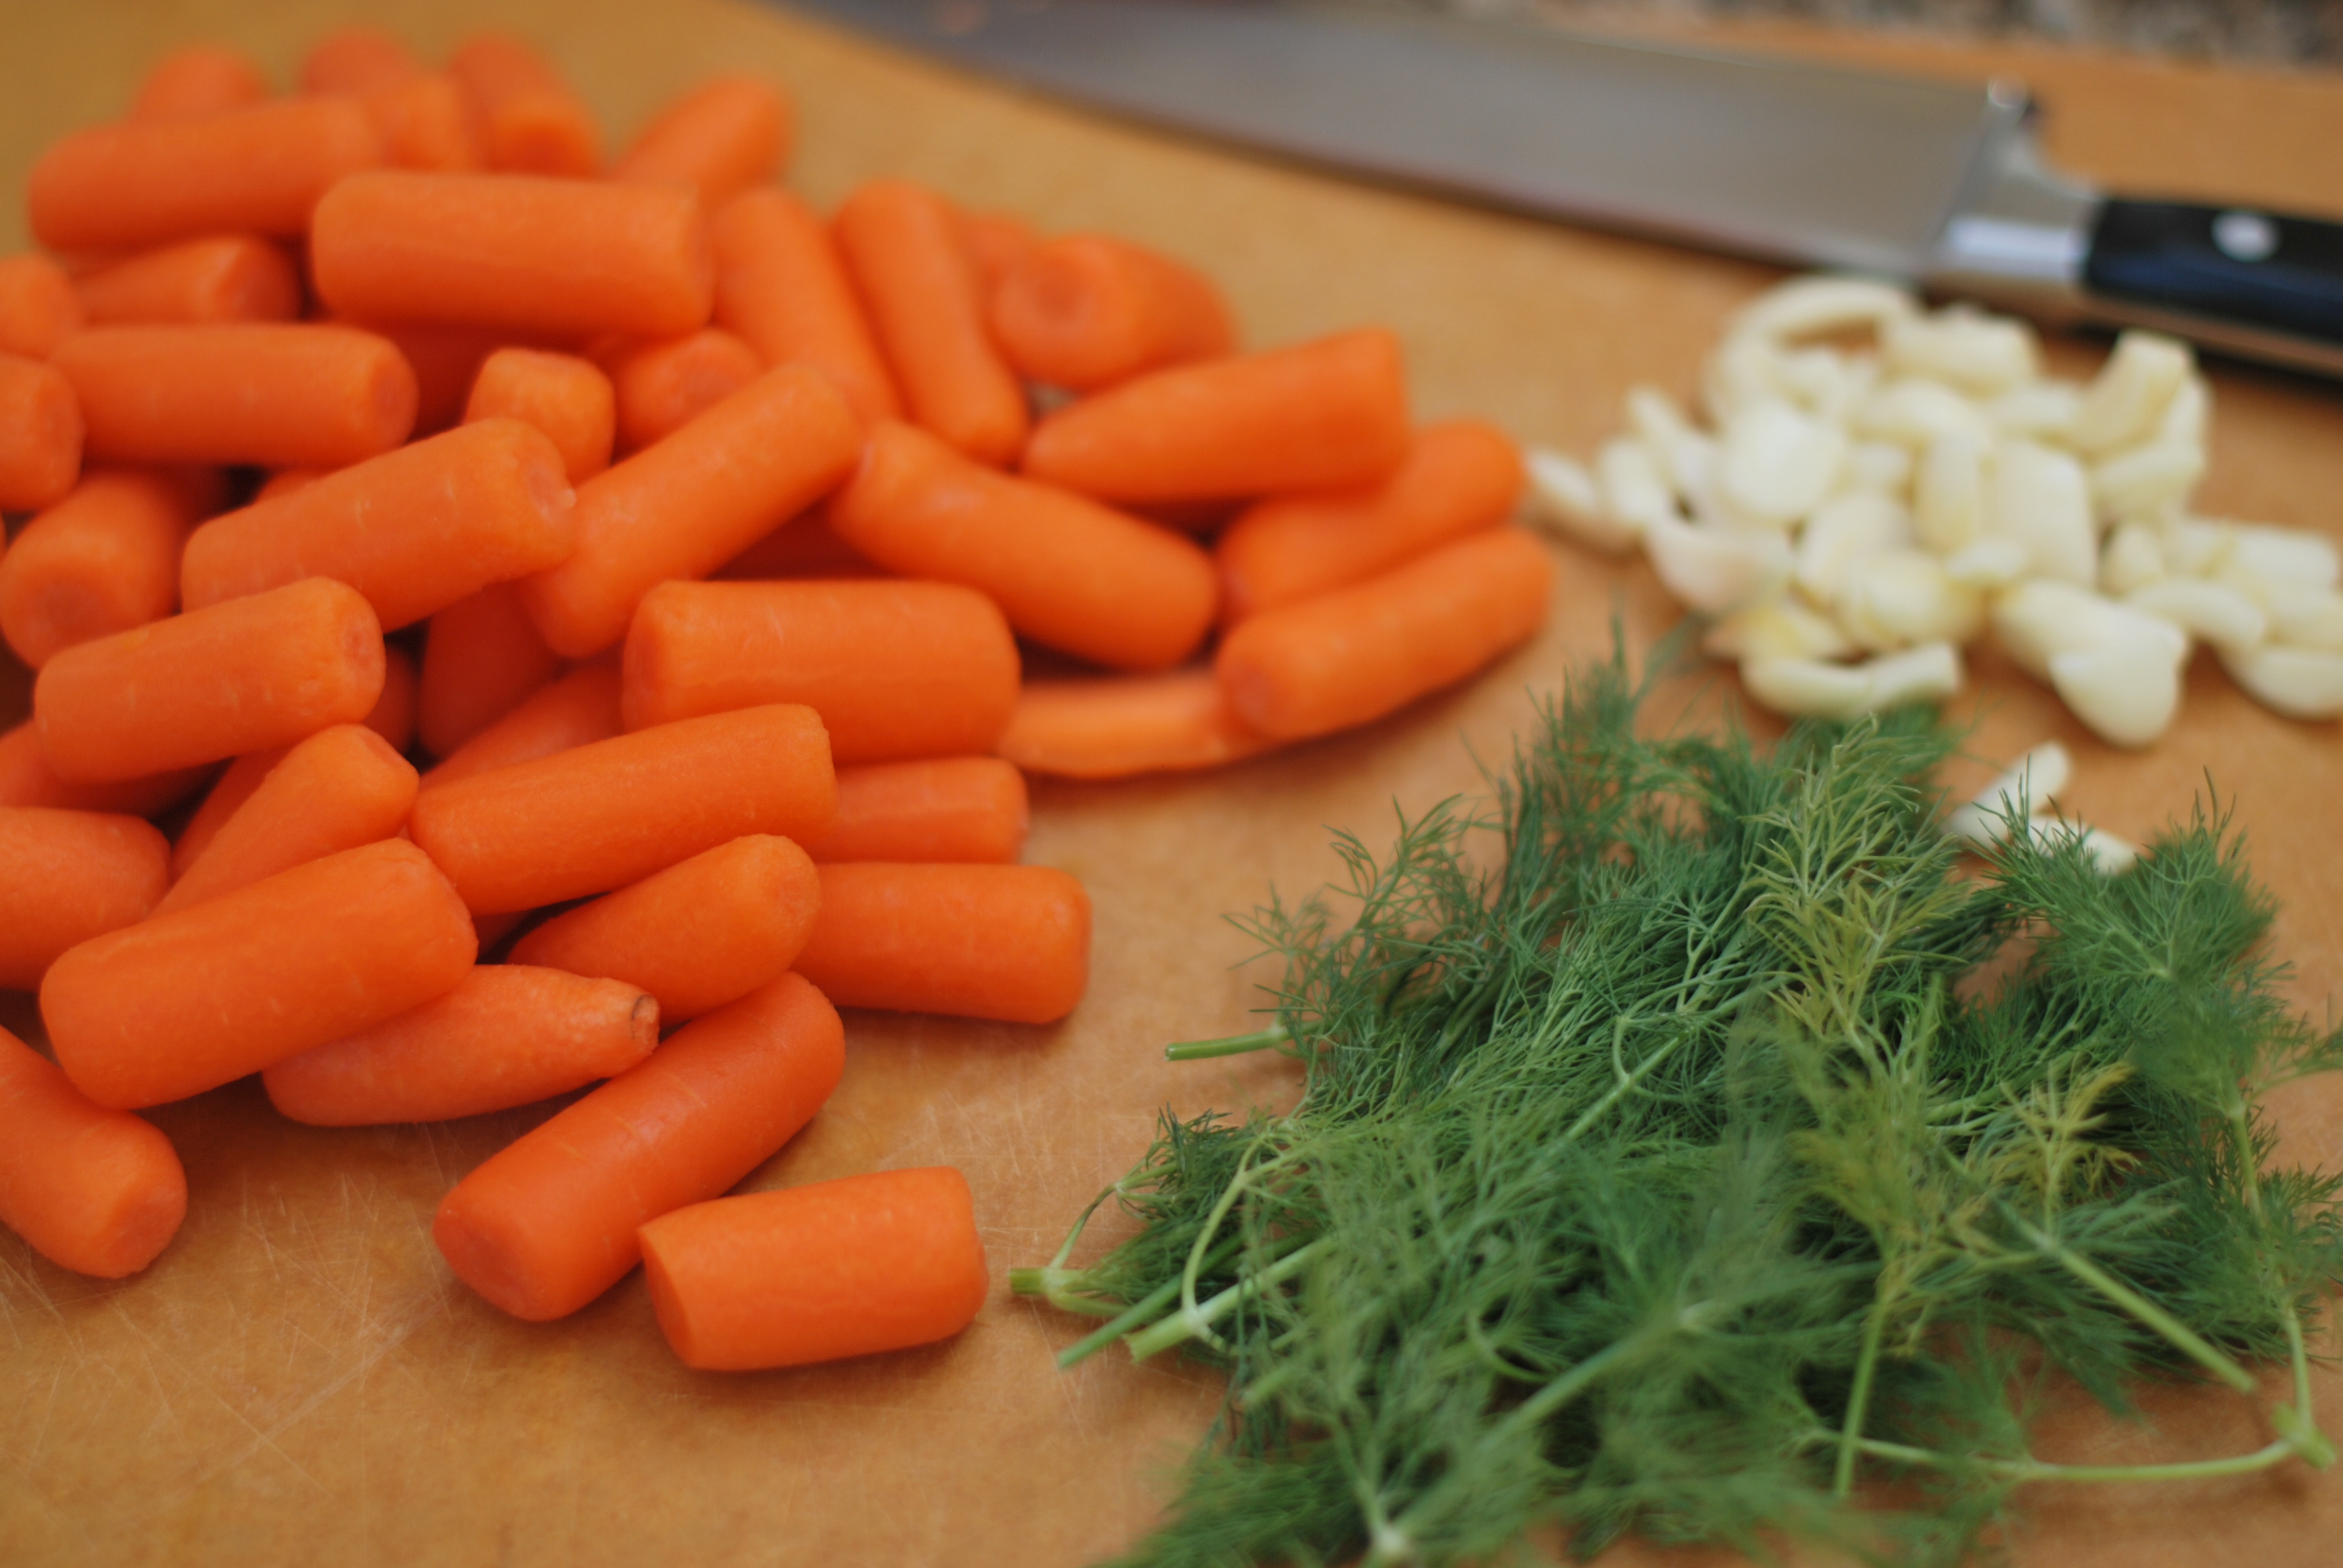
7 cloves of garlic, halved

14 sprigs of fresh dill (if using dried dill, use 1/2 teaspoon per jar)

3 1/2 teaspoons hot pepper flakes (optional)

5 lbs carrots (20-30 medium, ends removed, peeled and cut diagonally)

Prepare canning water, jars, and lids.

In a large steel saucepan, combine vinegar, water and salt.  Bring to a boil over medium-high heat, stirring to dissolve salt.

Place 1 clove (2 halves) of garlic, 1 sprig of dill, and 1/2 tsp of hot pepper flakes (if using), in each hot jar.  Pack carrots into hot jars to within a generous 1/2 inch of top of jar.  Top with second sprig of dill.  Ladle hot pickling liquid into jar to cover carrots, leaving 1/2 inch headspace.  Insert chop stick or skewer into jar and move around to release air bubbles.  Wipe rim with wet paper towel.  Center lid on jar.  Screw band down until resistance is met, then increase to fingertip-tight.

Place jars in boiling water bath, ensuring they are completely covered with water.  Process for 10 minutes.  Remove jars, let cool completely, and store.  Your Dill Carrots will reach full flavor after a few weeks of “marinating”.

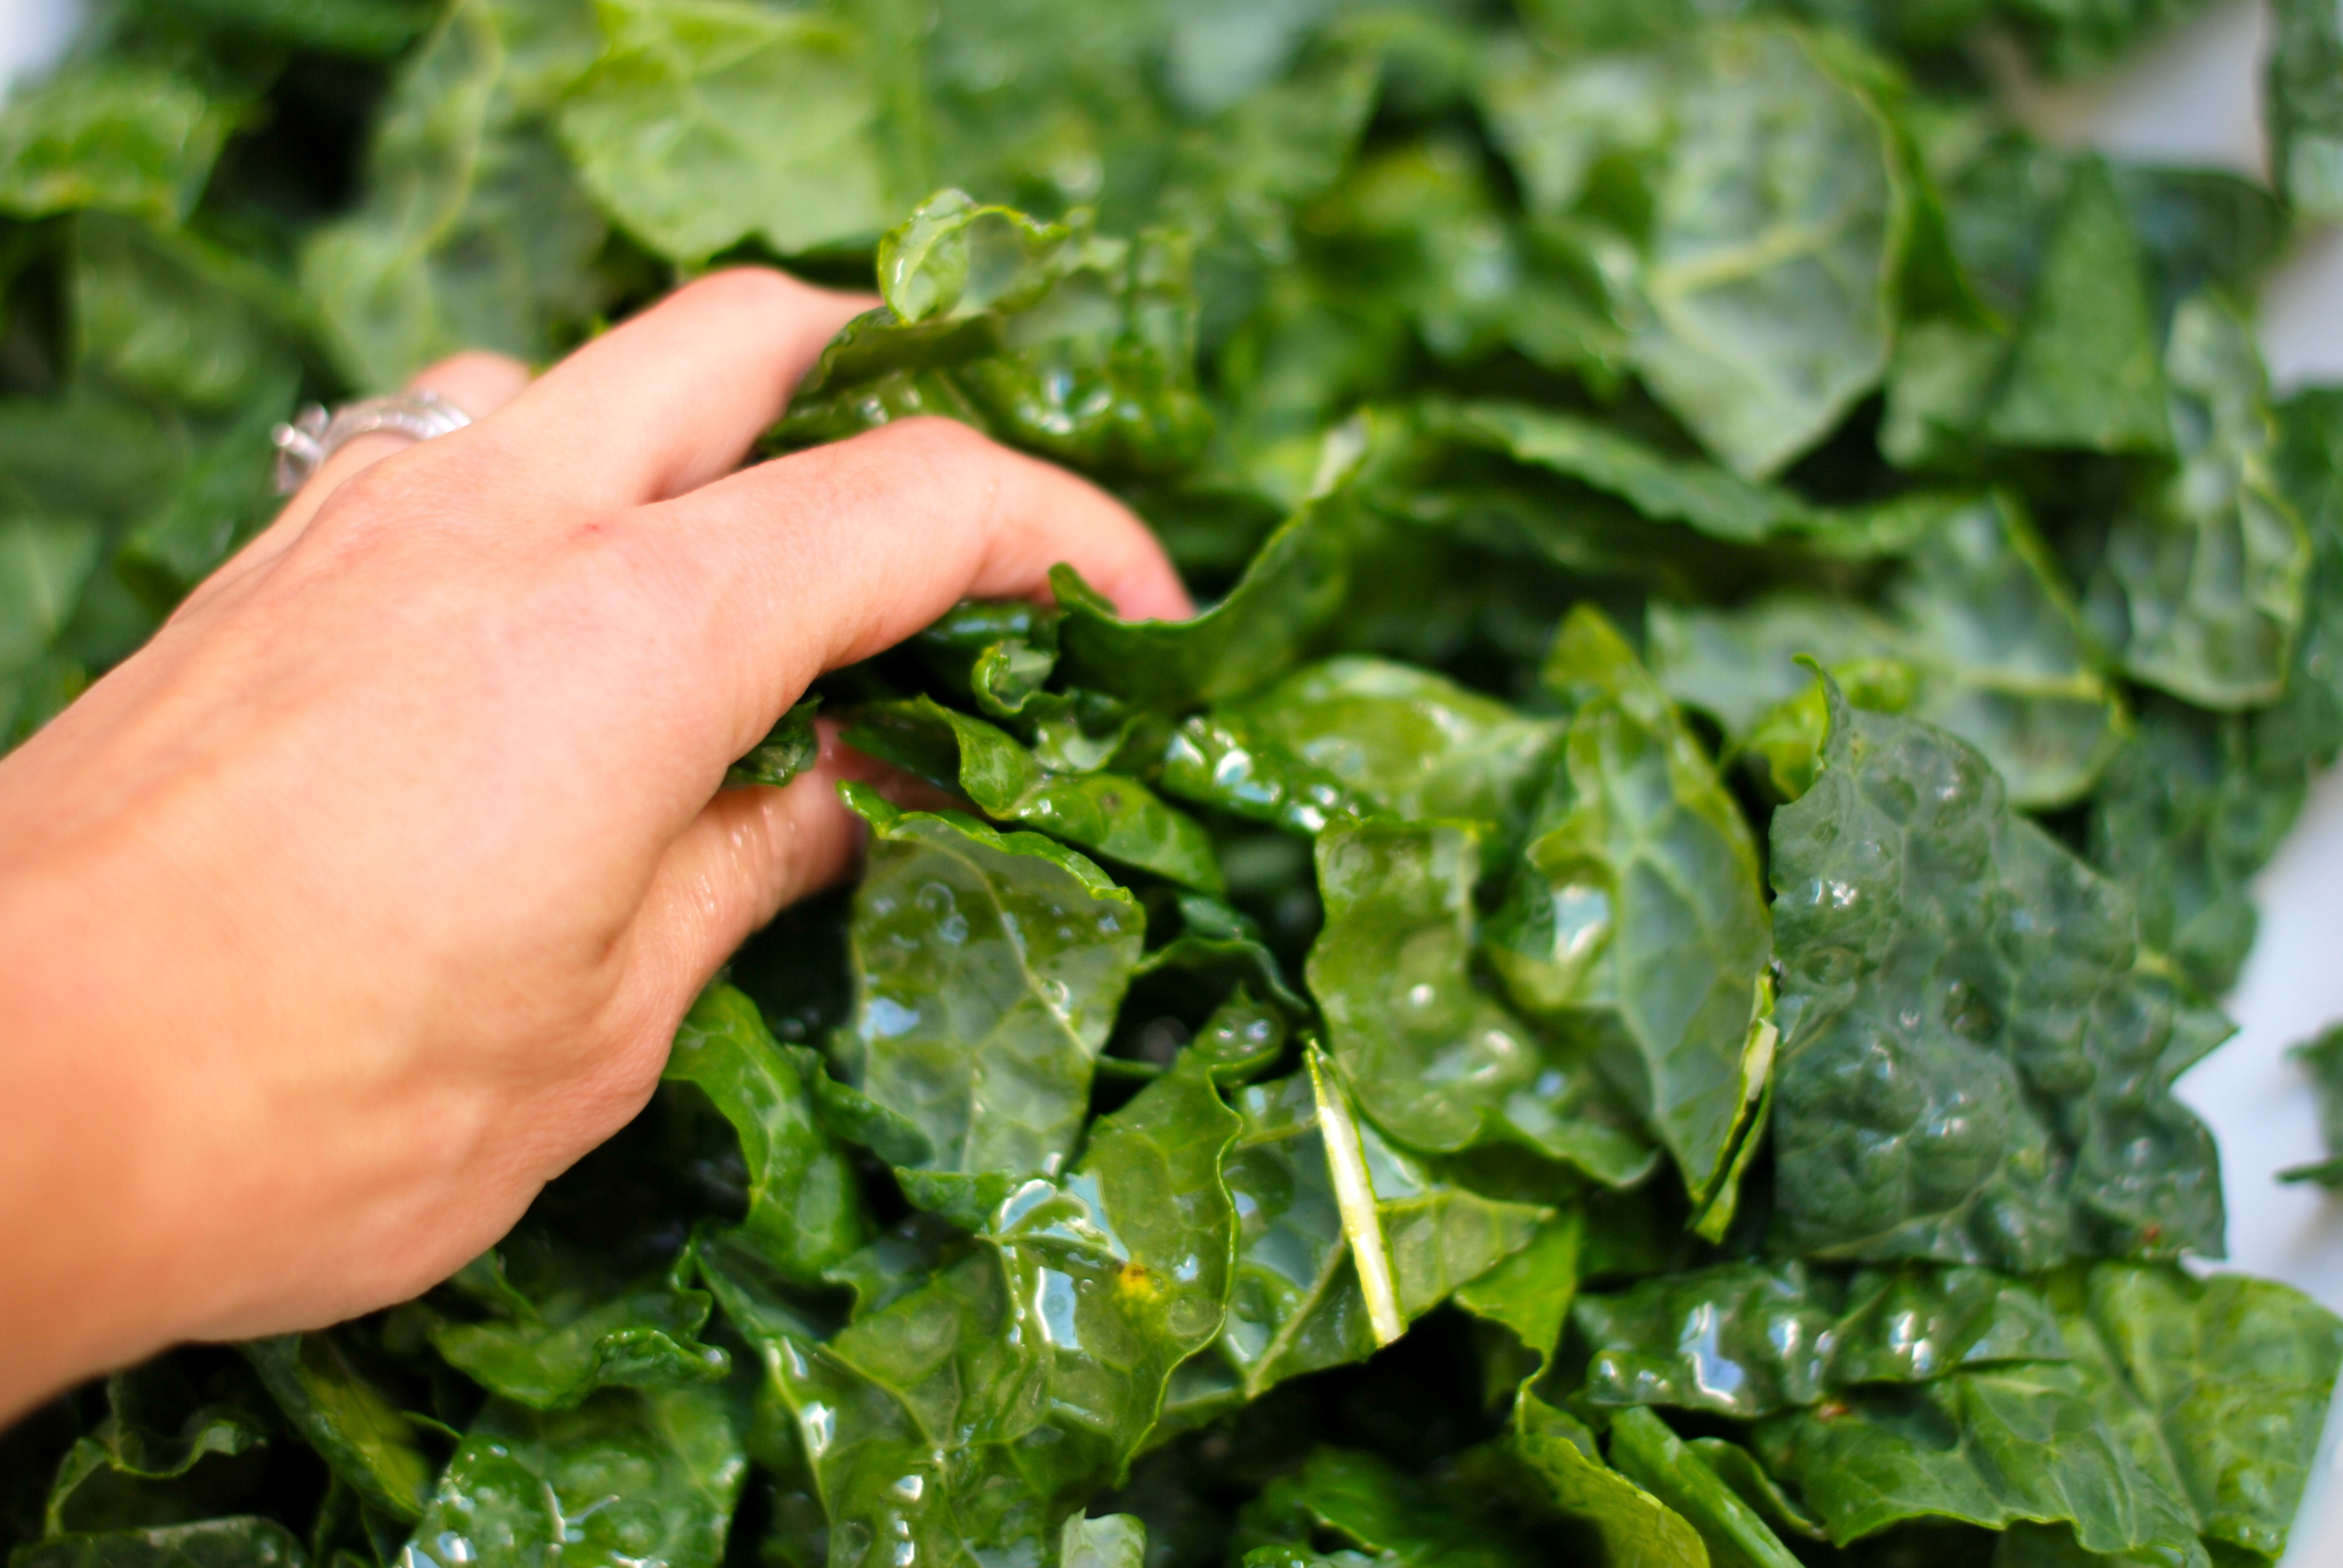
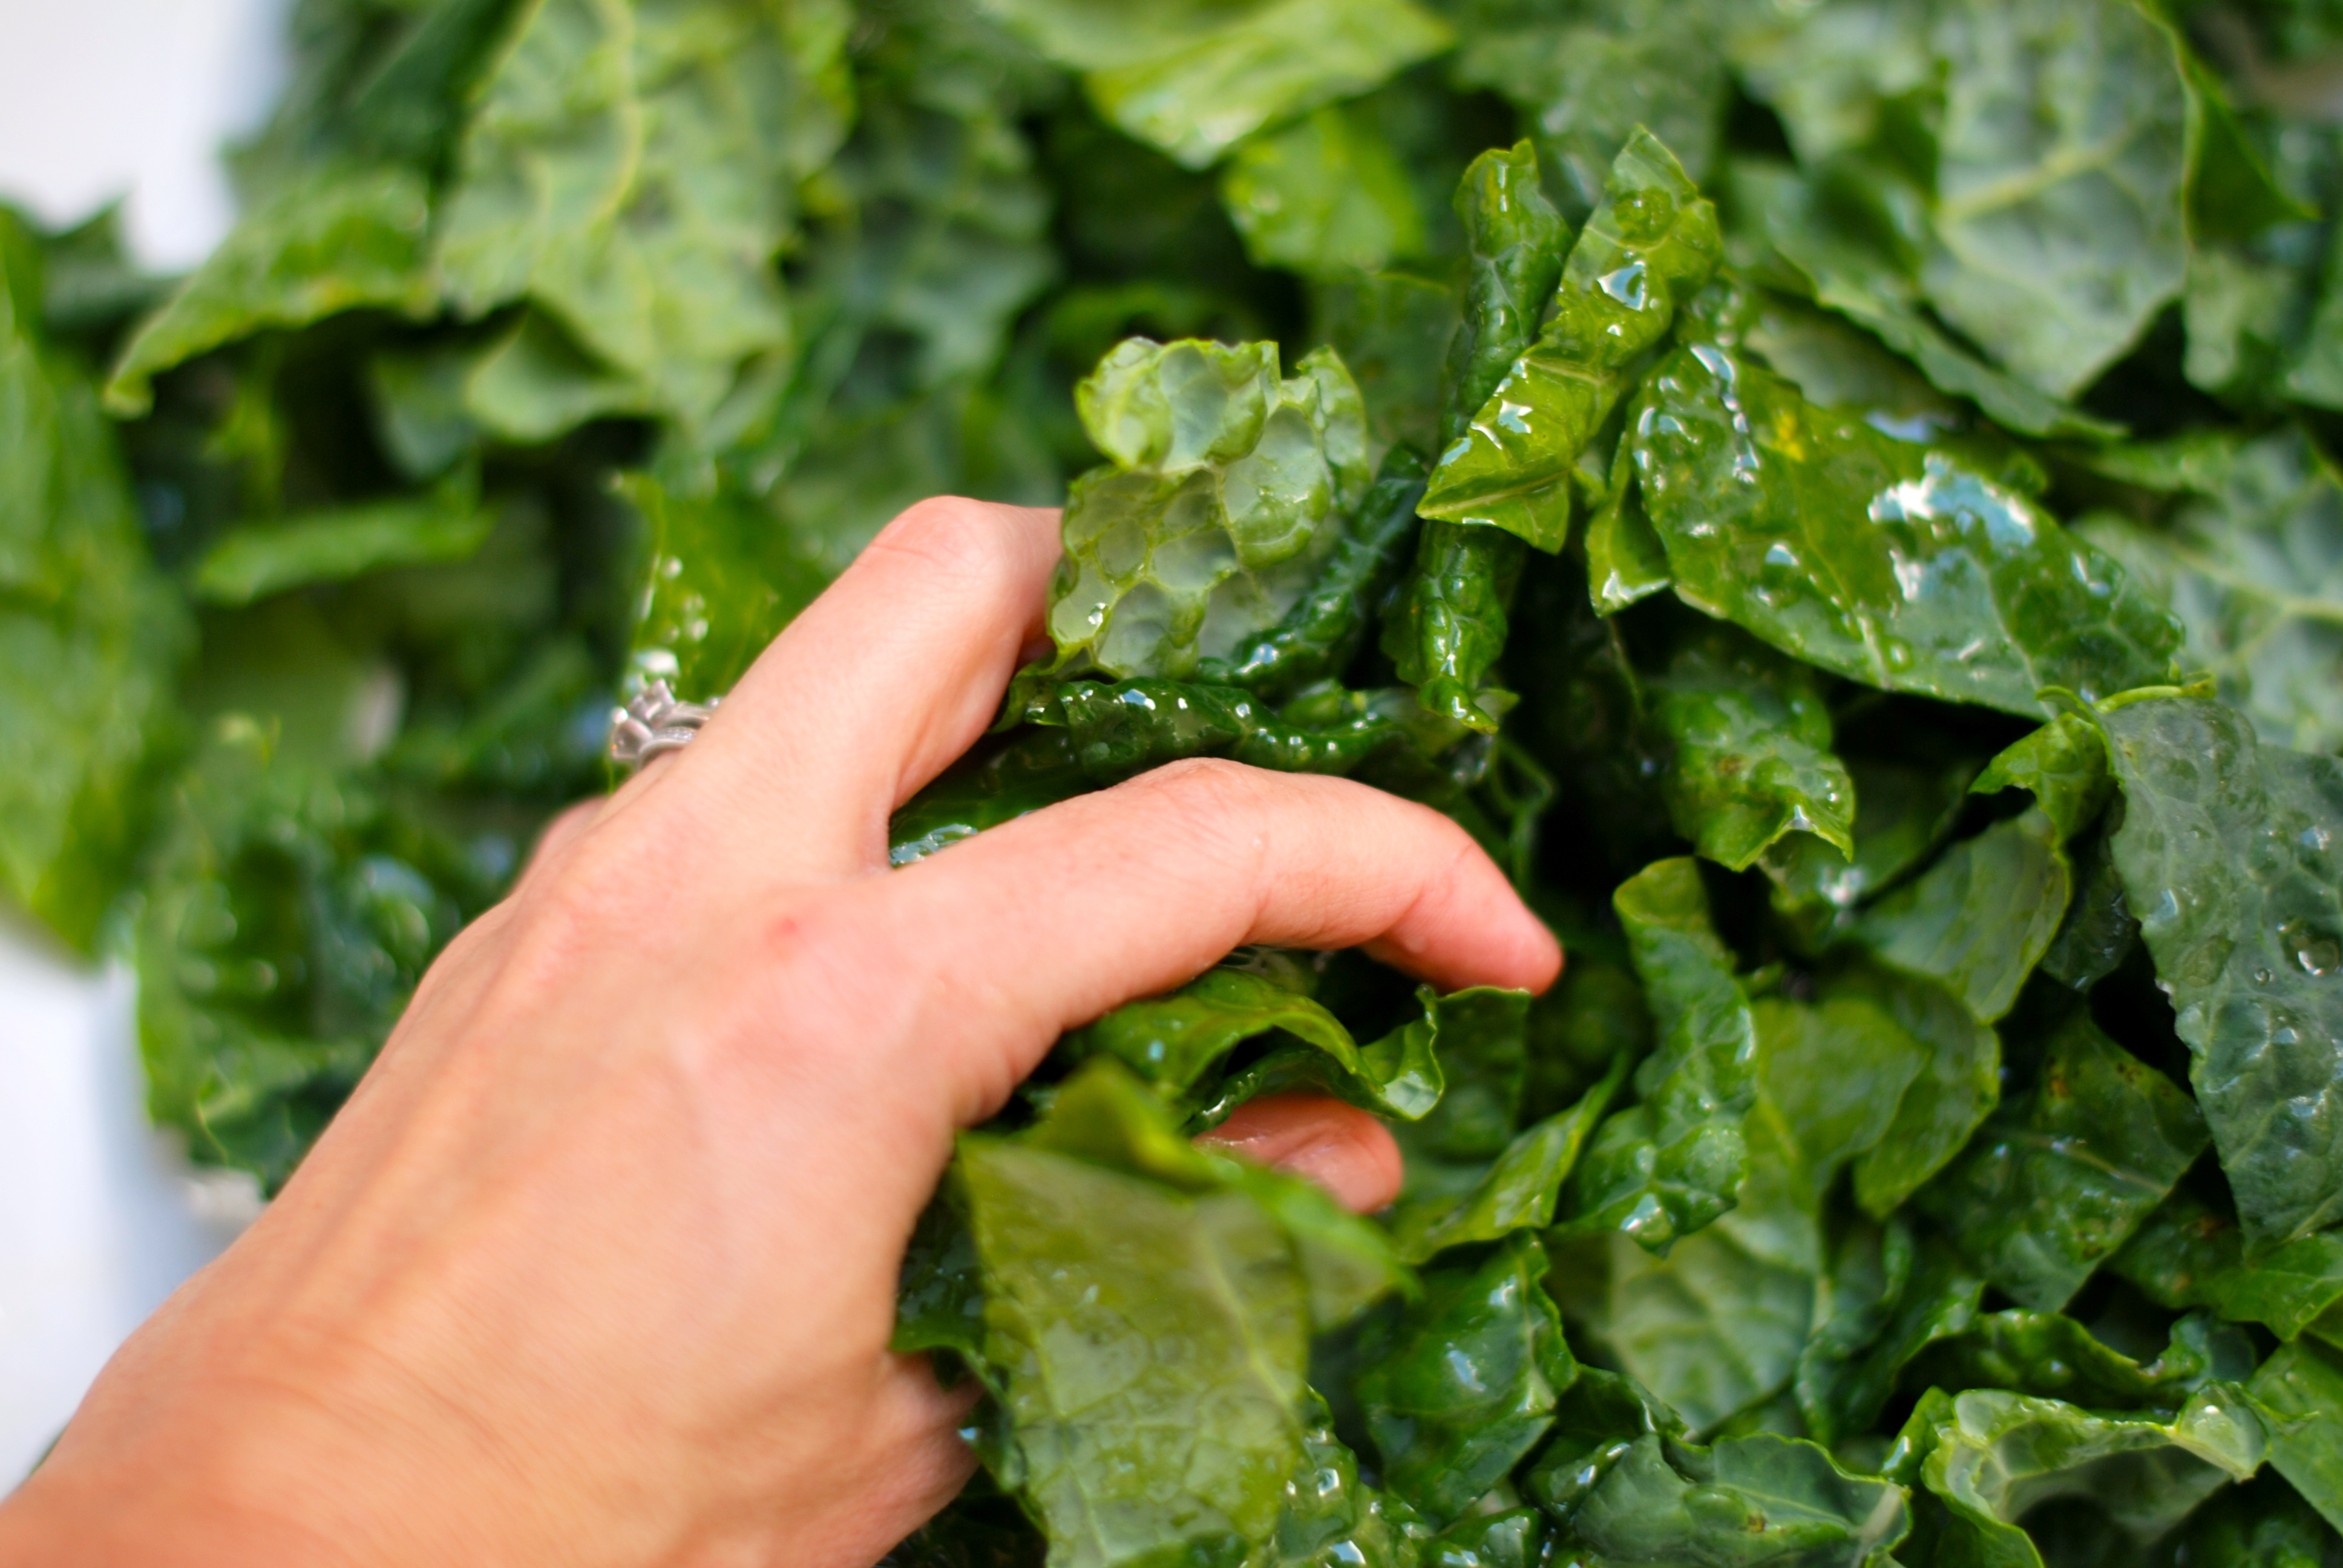
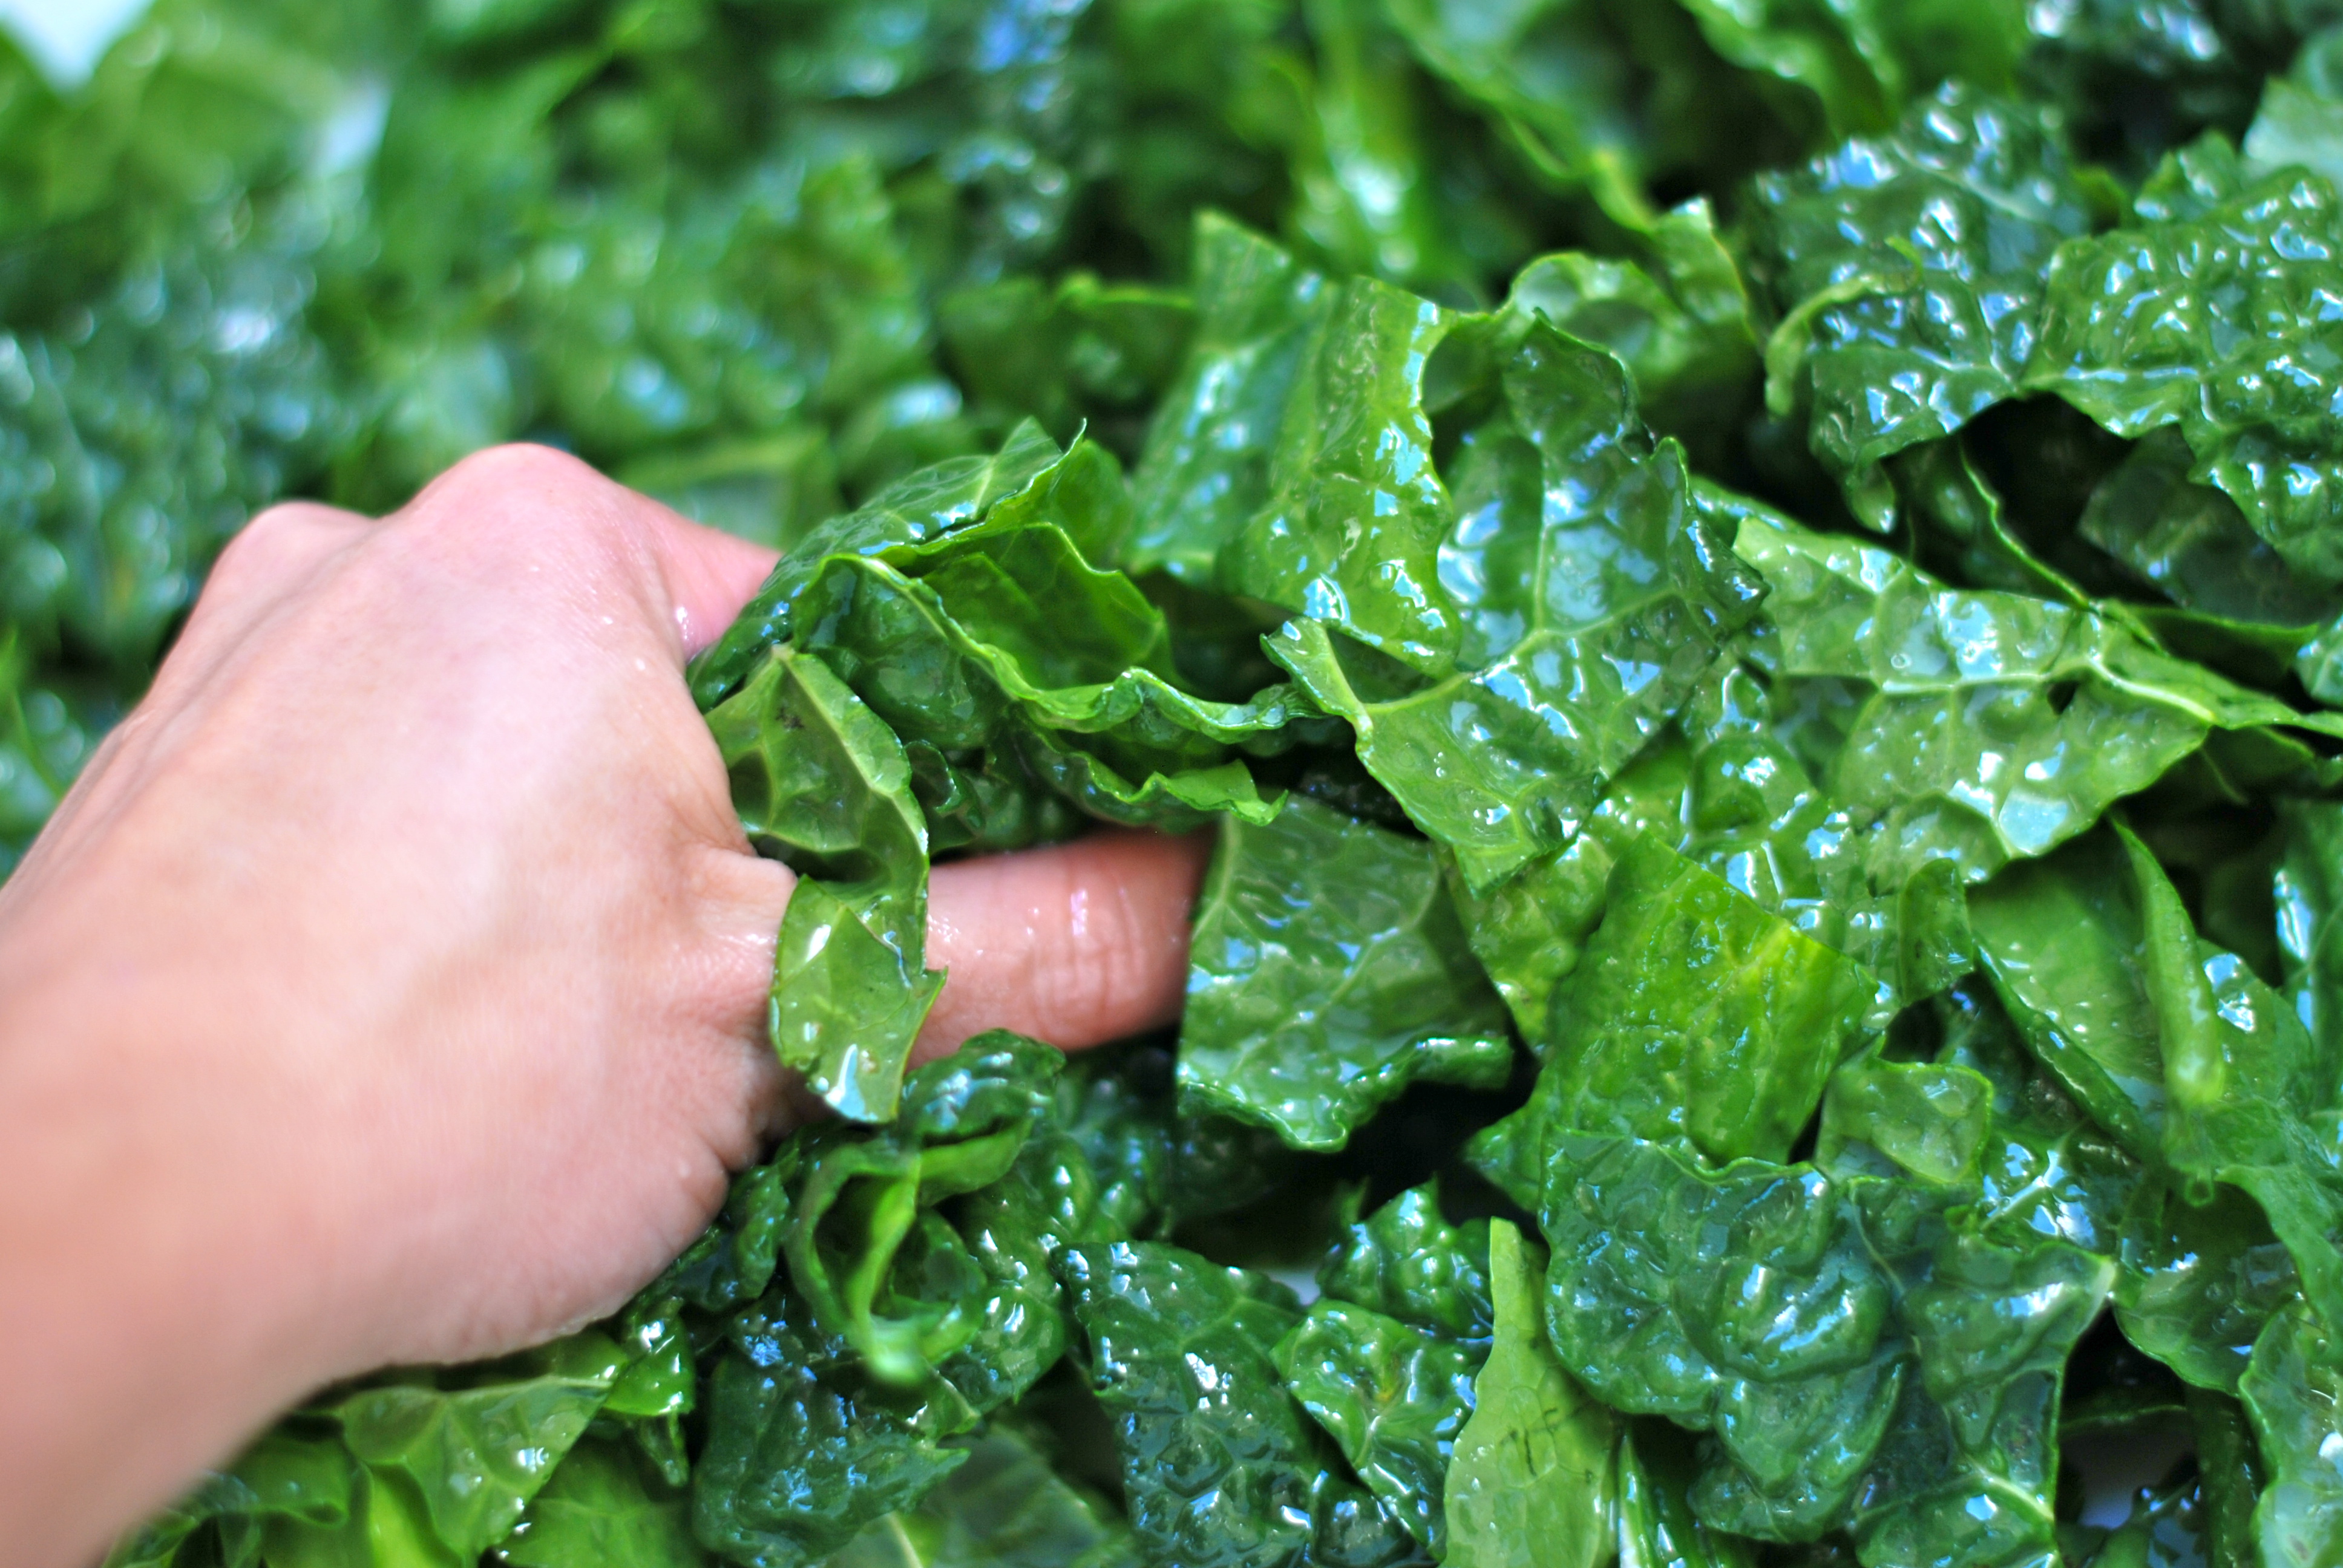
You will be surprised by how popular these guys are.  We easily go through a jar whenever one is opened whether we have company, or it is just our family snacking on them.  You can see that my kids are reaching for them even as I make them!

A few more tips:  Remember that canning is about preserving great produce, so can with the best ingredients you can find.  When packing jars for pickling, pack the jars as tightly as possible, without bruising produce, as the liquid will make everything float and ingredients will shift around.  I find that I never cease to be surprised by this.  Canning, especially if you are just beginning, is always more fun with a friend or two.  Use this project as the excuse to get together with a like-minded friend!  The act of having a project to do together always takes away the guilt I feel when just getting together with someone for coffee and a much-needed catch up.  That may not be your hang up, but it is one of mine.

Happy Pickling!

DSC_0093

DSC_0094


This slideshow requires JavaScript.

Serious Kale

I have been obsessed with kale salad for two weeks now.  I recently went to dinner at Serious Pie in Seattle.  If you are not familiar, this is one of Tom Douglas’ restaurants.  Tom Douglas is a Seattle restauranteur, famous for his delicious crab cakes and many successful restaurants.  At Serious Pie, he has re-imagined pizza for the better.  The crust is super thin and topped with delicious items that although delicious, sometimes require a bit of navigational help from one’s server.  My favorite pizza on the menu is the traditional buffalo mozzarella, tomato and basil; showcasing the beautiful technique and high quality ingredients used at this establishment.  We often order this simple beauty along with a more exotic pie, think seasonal mushroom and truffle cheese or sweet fennel sausage.  The pizza is phenomenal, but leaving the restaurant on this particular night, I was still thinking about kale.

We had decided to try Serious Pie’s second location, Serious Pie Westlake.  I prefer this location to the original, it seems to have a bit more seating and there was no wait at all!  We ordered our food, planning to share.  The kale salad arrived I had to hold myself back from gobbling down the whole dish.  A second plate was quickly requested from our server.  Not only did it taste fresh and lemony, but the texture was nicely soft.

I have been riding on the kale bandwagon since last summer.  My husband literally rolled his eyes when I start whipping up yet another kale salad.  Usually they involve everything but the kitchen sink, but not this one.  This salad’s beauty is in its restraint.  I had to try to recreate it.

Serious Kale  

(inspired by the kale at Serious Pie), serves 4

Ingredients:
1 bunch lacinato (or Tuscan) kale
1 1/2 oz Garlic Olive Oil
juice of 1 lemon (about 2 oz)
1/3 cup finely grated parmesan (I prefer pecorino), reserve a bit for a garnish
pinch of sea salt (to taste)
1/3 cup pine nuts
finely sliced calabrian chilies  (used at Serious Pie, but omitted this time around in hopes that my kids might try it)

DSC_0002 DSC_0009 DSC_0012 DSC_0014 DSC_0016 DSC_0017 DSC_0020 DSC_0021 DSC_0022 DSC_0026 DSC_0027 DSC_0031

 Wash and cut out ribs of kale.  Dispose of ribs.  Roughly chop greens.  Massage chopped kale with olive oil, lemon juice, parmesan and salt (I find this part nicely therapeutic).  Let rest 30-45 minutes.  This step is important.  By allowing the kale to marinate and rest, the texture softens dramatically.  Add pine nuts and salt to taste.  Garnish with additional parmesan.  Serve.  Enter culinary nirvana…
 
So this is my second attempt at trying to get this recipe just right.  Last week I tried it and amazingly, three of the four of us who enjoyed dinner together were all attempting it on the same night!  Seriously, Serious Pie???  We had not spoken since having dinner the week before.  Clearly I was not the only one dreaming of kale… 

Gratitude

There is a man in my life that deserves some thanks.

Every morning my kids make a bit of a stink about getting ready for school and then an even bigger stink about getting in the car. What is it about transitions that are so universally difficult? I remember back to when my first son was around two or three years old and we realized that “getting out the door” was one of the great hurdles of parenthood. Well, I take that back… at birth there is a realization that you cannot just walk out the door like a normal person anymore. There is process, procedure and packing to contend with upon every departure. But, once toddlerhood arrives, not only are you packing snacks and making sure the diaper bag is stocked, you are also dealing with a little person that has his or her own ideas of how the day should go. Most likely, you are screwing up their plans.

So, when “getting out the door” becomes enough to make you not want to leave the house, it is time to come up with a new strategy. Usually this involves distraction. The distraction I am currently employing with abandon is helped by this man I mentioned. My husband is wonderful, but this is not the man I speak of. Right now, the favorite “other man” in our house is someone named Chris Ballew. It is true, we don’t even know him, and yet this morning he made “getting out the door” to go to school a dream.

Chris_Ballew_2

Chris Ballew is a member of the alternative band The Presidents of the United States of America, but he has an alias (which makes him even more popular in my house). He is Caspar Babypants and he is awesome. Since 2009, Chris (or Caspar) has been singing children’s songs that are palatable to adults. There are other great groups who achieve this, but he is the first I learned of and my favorite. Caspar Babypants has released at least six albums and if you don’t know about him yet (and are a parent, an aunt, a grandparent or friend of a child), you need to! One of the things I love about his children’s music project is that he makes his performances very accessible to children around Seattle and many are free to the public. We have gotten to see him perform a few times and my kids go crazy. He is so creative and enthusiastic – it is contagious. Another cool thing about Caspar Babypants is that it is a family run business. His wife, Kate, does all the artwork on the album covers!

So, without further ado… Thanks, Chris, for making my mornings a little easier!

One more thing, if you see us rocking out on the way to school, it is probably to this song:

Youtube links:

Baby’s Getting Up

or maybe this one…

Run Baby Run

Happy Listening!

 Newest Album:

6 I FOUND YOU! cover art

Here I Am! This Is Fun! More Please! Hot Dog! Sing Along!

Bean Bag Balls

It is Spring Break and that means lots of time for kid crafts and adventures!

We found a great project on Spoonful.com; bean bag balls!  These are cheap and easy to make, and best of all they turned out just like the picture!  I love that.  Once made, these squishy balls can be used for a game of toss or would be ideal for the novice juggler.  The feel also remind me of those “stress balls” from years ago… It is quite possible that this mama will be using them by the end of this fun, busy week!

What you’ll need:

  • 9 (11-inch) balloons (for 3 balls)
  • Funnel
  • 2 1/4 cups of dried lentils
  • Scissors
  • Skewer or chop stick (not included on the original directions, but we found it helpful to push the lentils down the funnel.)

How to make it:

  1. Stretch the first balloon by inflating it halfway, holding it closed for about 30 seconds, and deflating it.
  2. Place a funnel in the balloon’s neck and gradually pour in 3/4 cup of lentils, pushing them in as you go. The balloon should be firm but squeezable.
  3. Snip off the balloon’s thick rubber lip. Cut the neck off a second balloon and gently stretch the opening.
  4. Ease the second balloon over the filled balloon, tucking in the neck as you go.
  5. Cut the neck off the third balloon, stretch the opening, and ease it over the other two. Repeat this process to make a set of three balls, or however many you’d like.

Tips:  We ended up using about 1/2 cup of lentils instead of the 3/4 cup recommended.  It was extremely helpful to inflate the first balloon all the way before holding it for the thirty seconds.  This helps to make sure the balloon is stretched out before beginning the funnel step.  A nicely stretched out balloon made filling much easier!  We also used a skewer to help push the lentils down the funnel.  The kids had a great time picking out their personal color combinations and helping both to measure and fill.

DSC_0134 DSC_0135 DSC_0137 DSC_0138 DSC_0141 DSC_0143 DSC_0144 DSC_0145 DSC_0146

This was a fun project that I would definitely recommend.  And, since making the balls didn’t use all the balloons we purchased, we had the secondary activity of blowing up the rest of the balloons and playing in the backyard for the afternoon!

Happy Spring Break!

This slideshow requires JavaScript.